
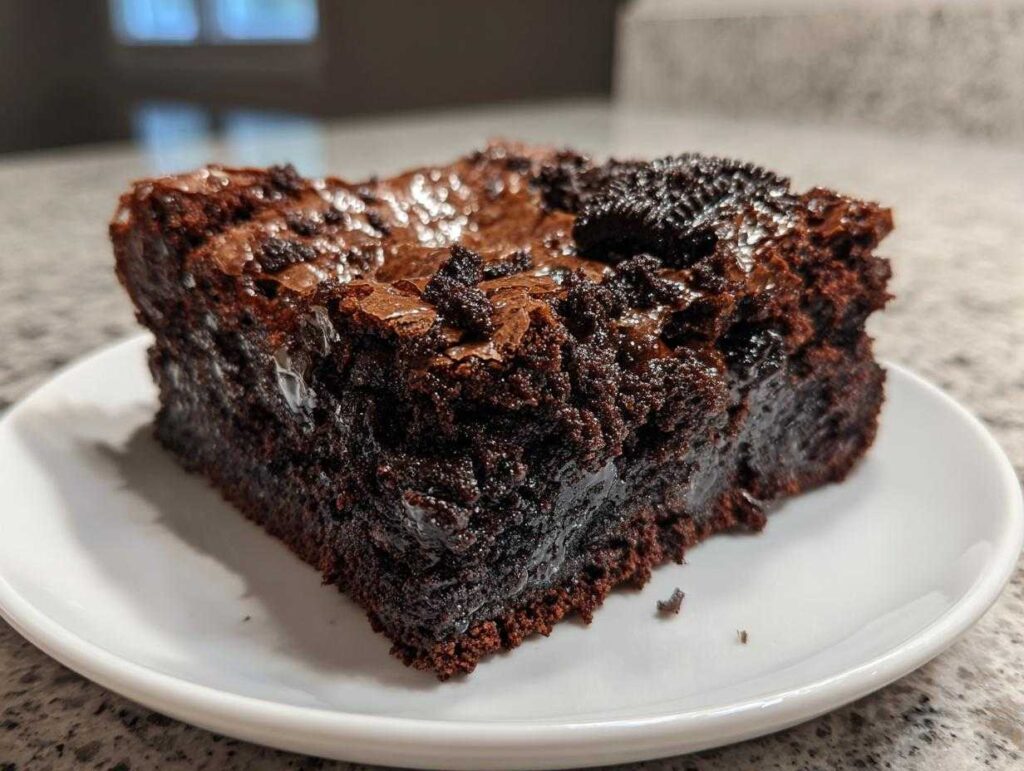
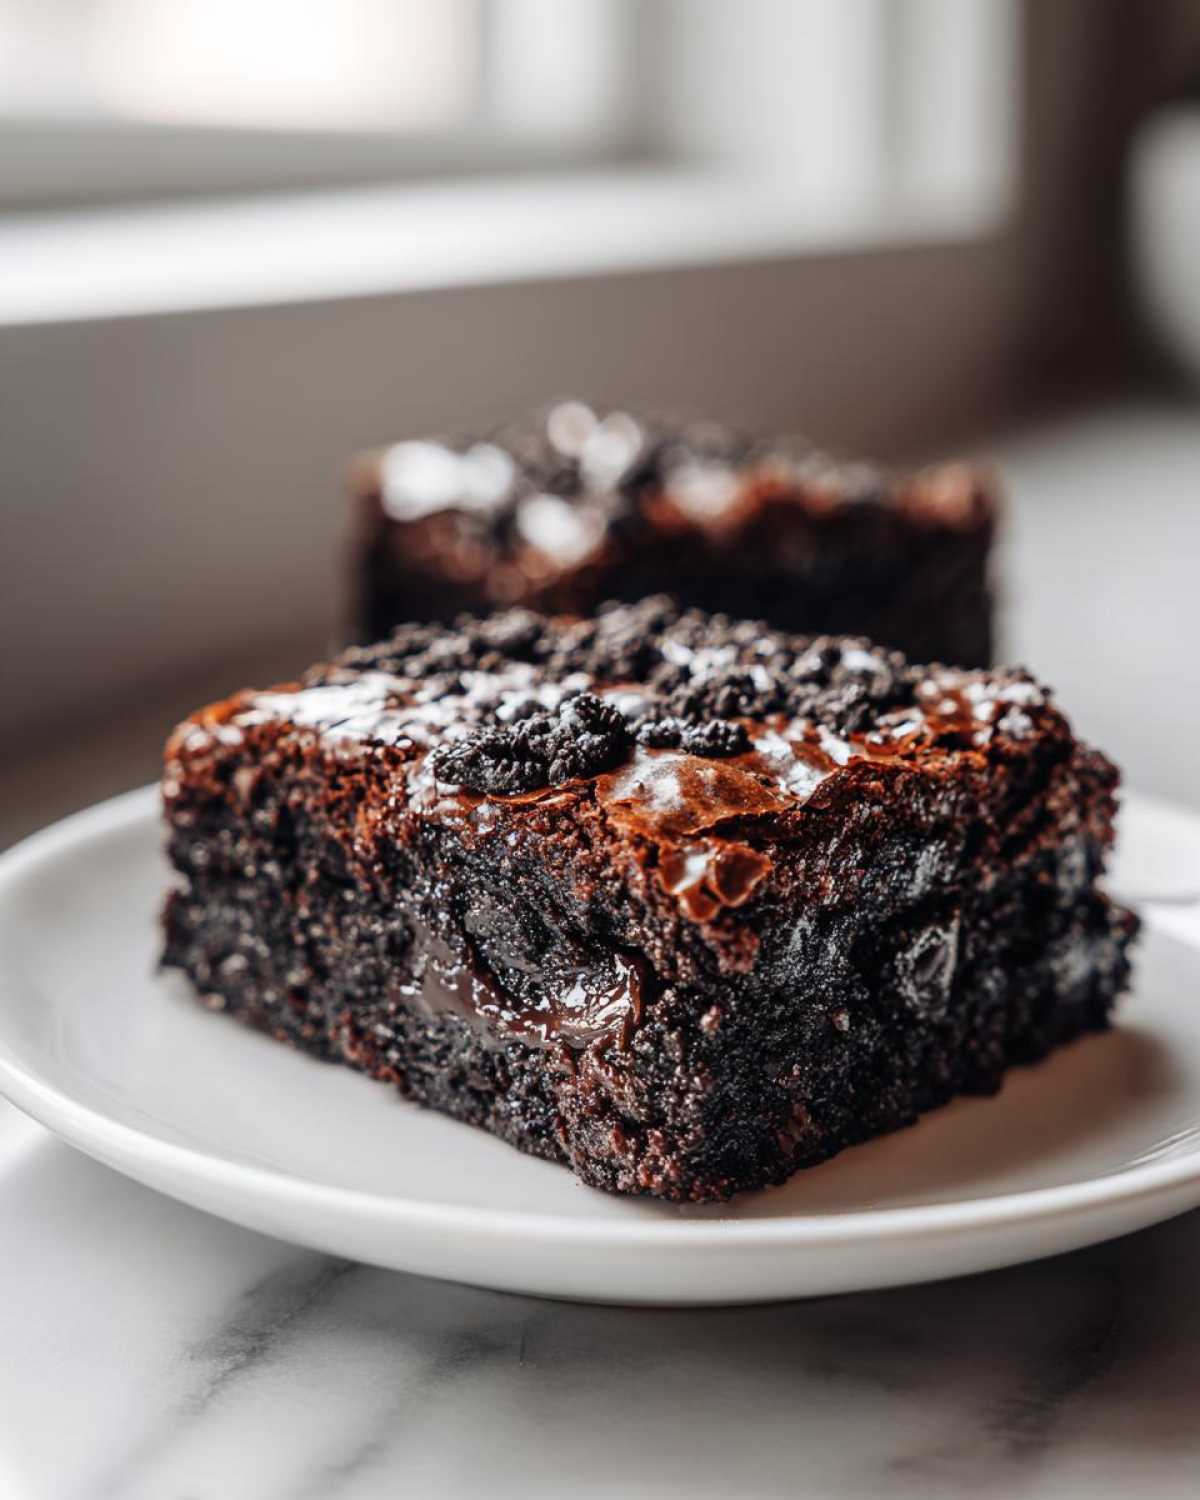
Oh, if you know me, you know my heart belongs to chocolate and cookies when it comes to baking! There is just something so satisfying about that rich cocoa flavor paired with a creamy crunch. Today, my friends, we are elevating the humble bar cookie by creating what I firmly believe are the ultimate fudgy oreo brownies, complete with that gorgeous, shiny crackly top everyone dreams about. As Sophia, I’ve spent years chasing that perfect texture—that dense, chewy center that practically melts in your mouth—and trust me, this recipe delivers. Forget boxed mixes; these homemade fudgy brownies recipe will fix any intense chocolate craving you have!
- Why You Need These Fudgy Oreo Brownies in Your Life
- The Essential Ingredients for Perfect Oreo Brownies
- Step-by-Step Guide to Making Your Ultimate Oreo Brownies
- Tips for Achieving the Best Fudgy Oreo Brownies Texture
- Ingredient Notes and Substitutions for Oreo Brownies
- Variations: Beyond Classic Oreo Brownies
- Storage and Keeping Your Oreo Brownies Fresh
- Frequently Asked Questions About Oreo Brownies
- Nutritional Estimates for Decadent Chocolate Desserts
- Share Your Favorite Oreo Brownies Creations
Why You Need These Fudgy Oreo Brownies in Your Life
Honestly, why settle for a mediocre dessert when you can have this pure chocolate magic? These aren’t just good; they are top-tier! Here’s why this recipe needs to go straight to the top of your baking list:
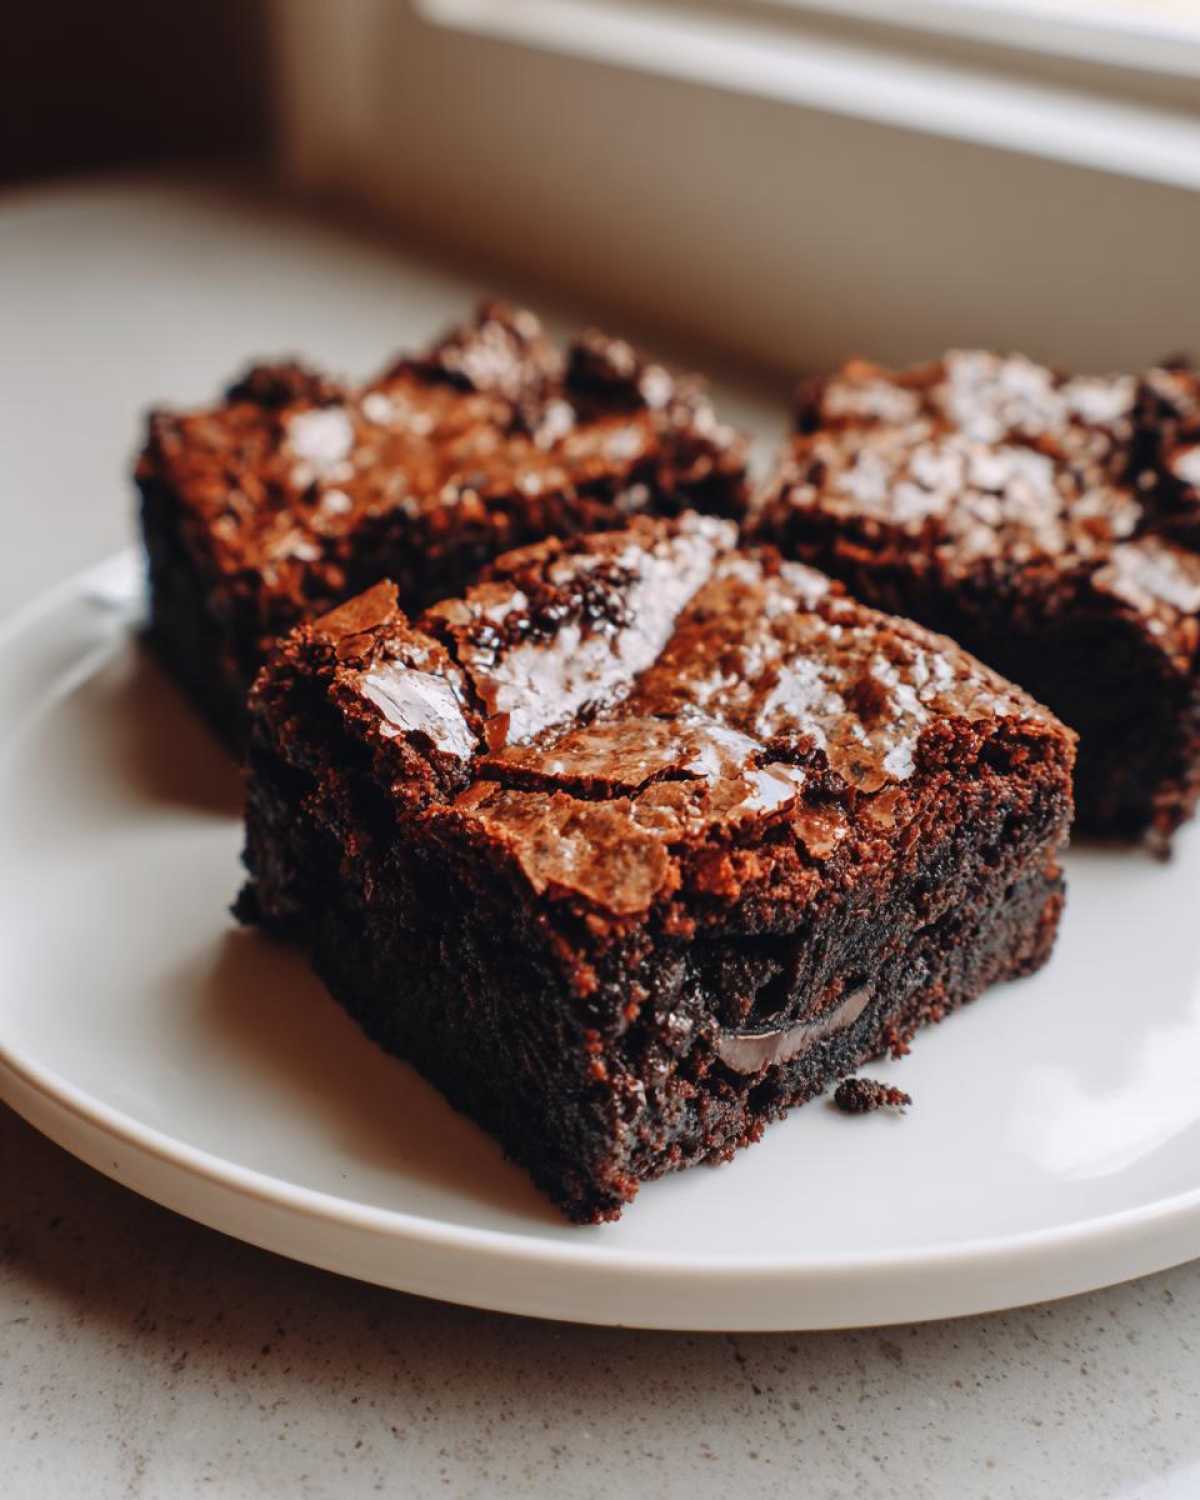
- Texture Perfection: They are incredibly fudgy inside, wonderfully chewy around the edges, and deliver that coveted shiny, crackly top. Talk about decadent chocolate desserts!
- Cookies and Cream Heaven: We hide whole Oreos inside and sprinkle crushed ones on top, making these the ultimate cookies and cream brownies experience.
- Speedy Treat: Despite how fancy they taste, these are a super quick and easy dessert to whip up when a craving hits!
If you’re looking for fudgy chocolate crinkle cookies, you’ll absolutely adore the deep flavor profile in these bars!
The Essential Ingredients for Perfect Oreo Brownies
Okay, listen up! The reason these turn out so spectacularly rich and fudgy isn’t some secret technique—it’s the quality of what we put in! When we’re making the ultimate brownie recipe, you can’t skimp on the chocolate components. I always use high-quality unsweetened cocoa powder because it really brings out that deep, dark chocolate flavor we are looking for in these brownies from scratch.
Also, pay attention to the sugars! The combination of granulated sugar helps create that shiny top, but the brown sugar adds essential moisture for that chewy texture. Here is the full roster for your shopping list:
- 1 cup unsalted butter, just melted until smooth
- 1 1/4 cups granulated sugar
- 3/4 cup packed light brown sugar (don’t skip the packing—that molasses is key!)
- 4 large eggs, room temperature is always best for smooth mixing
- 1 tablespoon vanilla extract
- 3/4 cup unsweetened cocoa powder (the good stuff!)
- 1/2 cup all-purpose flour
- 1/2 teaspoon salt
- 1/2 teaspoon baking powder
- 1 cup semi-sweet chocolate chips (for extra gooey pockets)
- 18 whole Oreo cookies (These are our secret layer weapon!)
- 1/2 cup crushed Oreo cookies for topping
Get these ready, and we’re halfway to the most decadent chocolate desserts you’ve ever made!
Step-by-Step Guide to Making Your Ultimate Oreo Brownies
Alright, let’s get these incredible stuffed oreo brownies assembled! This process is super straightforward—it honestly takes me about 15 minutes max before they go into the oven. Remember, the structure of these bars is what gives us that perfect fudge factor, so follow these steps, and you’ll get those gorgeous, clean cuts that look like they came straight from a bakery with our ultimate cheesy Italian rice balls recipe inspiration for structure!
Prep Work and Melting the Butter for Fudgy Oreo Brownies
First things first, we need heat! Always preheat your oven to 350°F (175°C). Next up is the pan prep; do not skip this part! Line a 9×9 inch baking pan with parchment paper, making sure you leave an overhang on two sides. This overhang is your handle later—it lets you lift the entire block out easily later before slicing into perfect bakery style brownies.
Now, grab a saucepan and melt your butter over low heat. You want it melted, not sizzling or browned! Once it’s liquid gold, take it off the burner and immediately whisk in both the granulated sugar and the brown sugar until they look happy together.
Mixing Wet and Dry Ingredients for Rich Chocolate Dessert
Once the sugar and butter mixture has cooled just a tiny bit—we don’t want scrambled eggs!—it’s time for the eggs. Add them in one at a time, whisking well after each addition to make sure they incorporate fully. Stir through that vanilla extract.
In a separate bowl (a little organizational habit I swear by!), whisk together your dry ingredients: the cocoa powder, flour, salt, and baking powder. Now, slowly add these dry things into your wet mixture. This is where you need to stop mixing aggressively. Just mix until you see no more white flour streaks. Seriously, overmixing ruins the fudgy texture of these oreo brownies!
Fold in those chocolate chips gently. Don’t whip them in!
Assembling and Topping Your Stuffed Oreo Brownies
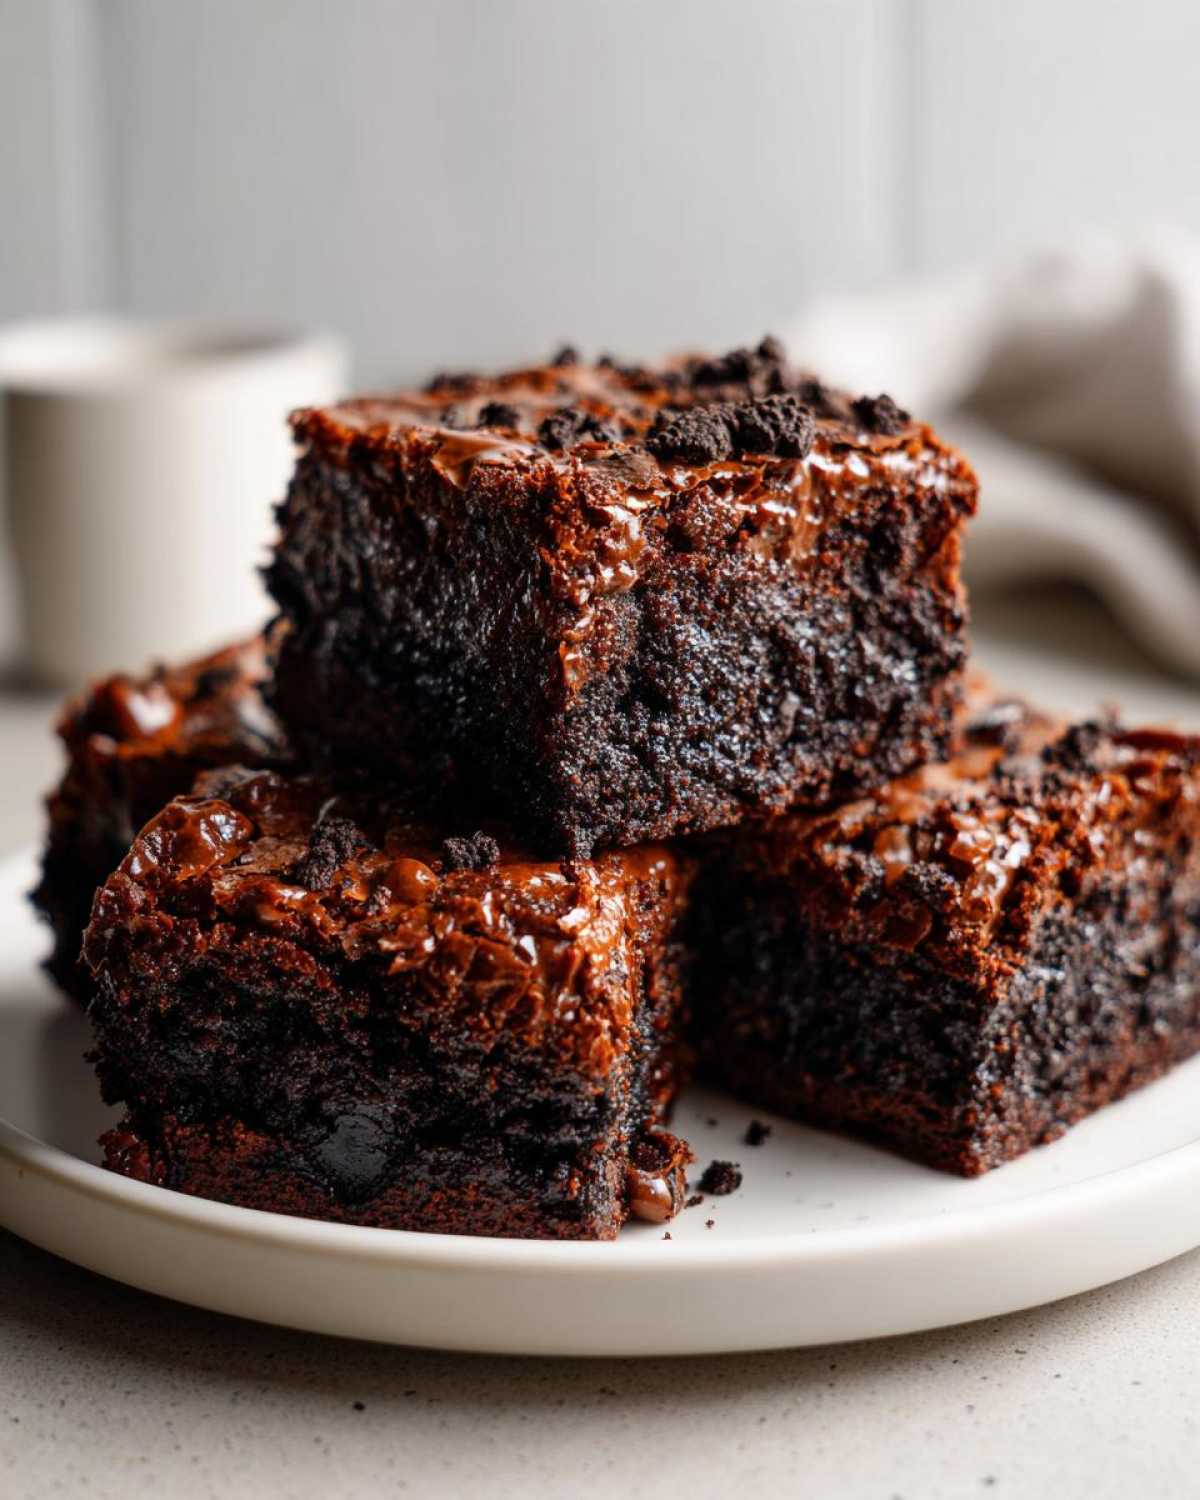
This is the fun part where they turn into homemade oreo treats! Spread exactly half of your glorious chocolate batter evenly into that prepared pan. Now, take 9 of your whole Oreos and arrange them snugly over that layer. They should be relatively even, but don’t stress about perfection.
Spoon the rest of the batter right over those hidden cookies. Gently spread it around; you might get a little peek of the cookies underneath, which is fine! Then, place the remaining 9 whole Oreos right on top of this final batter layer. To finish that beautiful look that makes them an easy dessert for parties, sprinkle that half-cup of crushed Oreos evenly over the top surface. Check out my easy no-bake Oreo balls recipe for more simple cookie ideas!
Baking Time and Cooling for Chewy Chocolate Bars
Pop the pan into that 350°F oven and let them bake for 30 to 35 minutes. You are looking for set edges and a toothpick test that pulls out moist, fudgy crumbs—not wet, runny batter. We want chewy chocolate bars, not cake!
This next step is the hardest part, but it’s non-negotiable for that perfect slice. Let those brownies cool completely in the pan on a wire rack. Honestly, I usually let mine cool for an hour or two, and then I chill them in the fridge for another hour before lifting them out with the parchment overhang and slicing cleanly. Patience here means you get those gorgeous, perfect squares every single time. You can see how I apply this same principle for getting perfect homemade chocolate chip cookies, too!
Tips for Achieving the Best Fudgy Oreo Brownies Texture
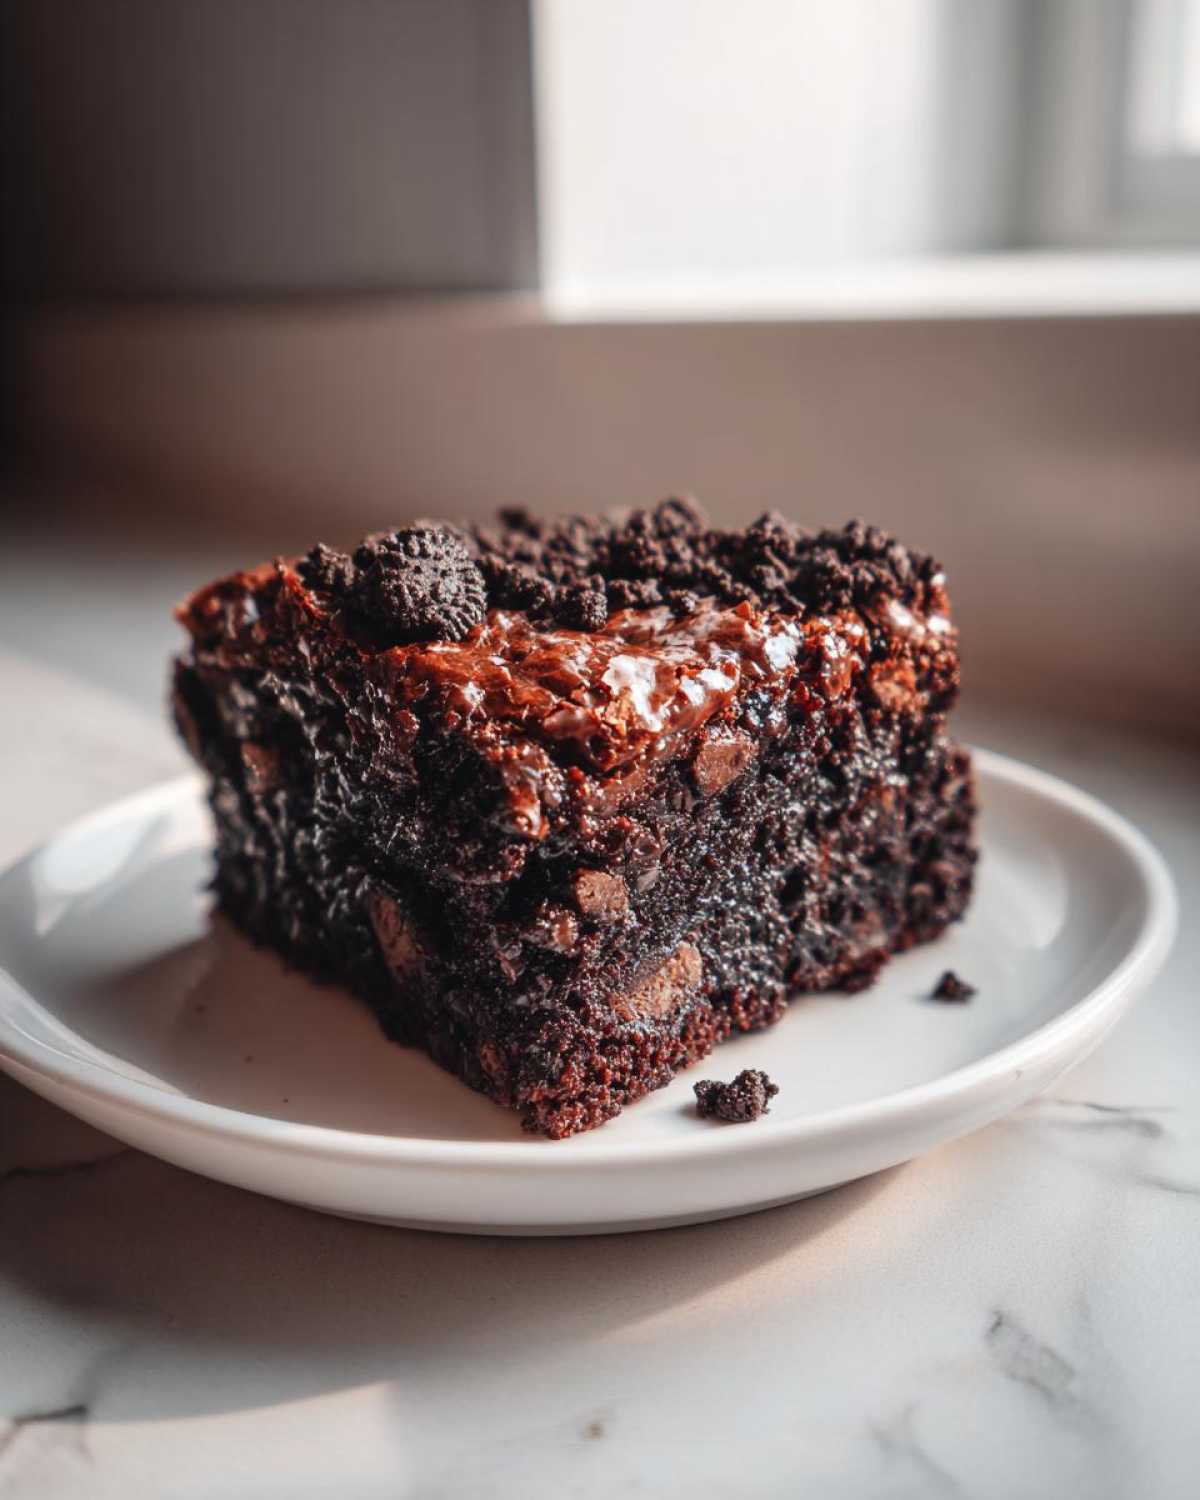
You asked for the secret to the fudgy center and that signature shiny top? It all comes down to a couple of key moments, and honestly, managing the heat is number one! The biggest mistake people make when aiming for a rich chocolate dessert is leaving these in a second too long. Seriously, if a toothpick comes out clean, you’ve gone too far. We are aiming for moist crumbs clinging to it!
Also, remember my obsession with sugar ratios? That combination of melted butter, eggs, and both white and brown sugar is what creates those beautiful, thin, crackly sheets right on top. That’s why I always make sure my eggs and butter aren’t freezing cold when they go in—warm ingredients emulsify better, promising you that perfect texture every time. You can read more about my general philosophy on getting that glossy look in my ultimate fudgy brownies shiny top guide!
Ingredient Notes and Substitutions for Oreo Brownies
One thing I learned from my grandmother is that while the technique is important, the right ingredients make the whole thing sing! People always ask me about swapping things out in my oreo brownies recipe, and while I totally encourage your kitchen creativity, I want you to know what those changes might do to our precious texture. This is how we keep them from turning into boring, cakey squares!
If you’re in a pinch and don’t have Oreos—though I highly recommend sticking to the original for that true cookies and cream brownies experience—you certainly can use other sturdy cookies. Think Keebler Fudge Stripes or even chunks of peanut butter cookies. Just know that swapping them moves you further away from that classic cookies and cream flavor! Make sure whatever cookie you choose is sturdy enough to handle a good bake time.
Now, let’s talk sugar. The recipe calls for light brown sugar, and that’s intentional! If you only have granulated white sugar, you can use it, but you’ll definitely get a slightly less moist and chewy result. Brown sugar holds onto moisture because of that molasses content, which is crucial for making these the best fudgy brownie recipe around. If you must substitute, use white sugar and consider adding an extra teaspoon of vanilla extract to compensate for the lost depth.
These are fantastic for making ahead for an easy oreo dessert gathering later in the week. If you are making a batch just for yourself and want to simplify, you can skip completely pressing those whole Oreos inside and just fold the crushed ones into the second half of the batter. That skips steps 5 and 6, making it even faster, but you miss out on those amazing, thick cookie layers! It’s up to whether you want ‘stuffed oreo brownies’ or just ‘oreo-infused fudgy treats.’ Speaking of other Oreo ideas, have you checked out my recipe for oreo pound cake? It uses these flavors in a totally different way!
Variations: Beyond Classic Oreo Brownies
While these classic oreo brownies are absolutely perfect as they are—a truly rich chocolate dessert experience—I always love tinkering when I have a little batter left over! If you’re feeling adventurous, try turning this into a true Brookie experience. For instance, after you spread that second layer of batter, instead of just adding more Oreos, drop dollops of cookie dough right on top. That gives you an amazing textured bar!
Or, if you love peanut butter with your chocolate, fold in a half-cup of peanut butter chips along with the standard chocolate chips. They melt slightly and give everything an extra layer of salty goodness. For a different spice note, sometimes I’ll add a tiny pinch of cayenne pepper to the dry mix—it really makes the chocolate pop! It’s amazing how small changes can launch these into new territory. If you want to see another fun cookie twist, definitely hop over and check out my red velvet cake mix cookies!
Storage and Keeping Your Oreo Brownies Fresh
You know, I always tell people that one of the best parts about making big batches of rich chocolate dessert like this is having them ready for later. Unlike some cakes that go stale fast, these oreo brownies actually settle in and get even better over the next day or two! The fudge kind of firms up, making them incredible for grab-and-go snacking.
For short-term storage, just keep them right on the counter! Once they are totally cool—and remember, they must be cool before you cut them—store them in an airtight container. I usually fit them snugly in a large plastic container, maybe putting a little piece of parchment paper between layers if I stack them. They keep beautifully like this at room temperature for about four to five days. Don’t worry about them drying out; the sugar and butter lock in the moisture perfectly.
Now, if you’ve made a massive batch because you know you’ll want your fix all week long, freezing is your best friend! This definitely supports that ‘quick and easy baking’ idea for busy days. Once you have completely cooled and sliced your chewy chocolate bars, arrange them in a single layer on a sturdy baking sheet and freeze them solid for about an hour. Once they are rock hard, you can transfer them to freezer-safe bags or containers. They freeze like a dream for up to three months!
When you need one, just pull one or two out and let them thaw on the counter for about 30 minutes, and they taste almost freshly baked. It’s perfect for last-minute emergencies! For more fantastic ‘make-ahead’ ideas, check out my recipe for homemade granola bars—chewy recipe!
Frequently Asked Questions About Oreo Brownies
I know you might have a few burning questions once you see how fudgy and gorgeous these treats are! It’s totally normal when you move from a standard mix to this level of decadent chocolate dessert. Since these are truly made as brownies from scratch, a few tweaks might be necessary depending on what baking gear you have on hand. Here are the things I get asked the most when people tackle this recipe! For all the details on making sure these are perfect brownies from scratch, check out my guide right here: brownies from scratch.
Can I use a different size pan for these Oreo Brownies?
That is such a common question! We specifically designed this batter for a 9×9 pan because it hits that sweet spot for thickness, which allows for perfect baking time and those amazing Oreo layers. If you use a larger 9×13 pan—which is definitely an option for an easy dessert for parties—your bars will be much thinner. They will bake faster, maybe in about 20-25 minutes, so keep a close eye on them! On the flip side, if you have a smaller 8×8 pan, they will be super thick and decadent (almost like a cakey-fudge bomb!), but you’ll need to bake them significantly longer, probably closer to 45 or even 50 minutes. Check them early, though, because the outside will look done long before the center is ready!
How long do I need to cool the brownies before slicing?
Oh, the eternal struggle! If you try to slice these beautiful stuffed oreo brownies while they are warm, you will end up with chocolate lava pooling on your counter. It’s messy, and you don’t get those clean, Instagram-worthy squares. For the best cuts—the ones that look like professional bakery style brownies—you should let them cool on the counter for at least 2 hours. Better yet? Once they are barely warm to the touch, pop that whole pan into the fridge for another hour. Chilling solidifies that butter and chocolate structure, ensuring those clean, chewy slices every time. It makes all the difference!
Are these fudgy brownies recipe suitable for bake sales?
Are you kidding? These aren’t just suitable; they are the headline attraction! These are rich, look amazing with the cookies peeking out, and they are sturdy enough to travel well when wrapped individually. Because they are so rich, one square goes a long way, making them economical too. They definitely qualify as simple dessert bars when you consider that they just drop in a pan and bake—minimal fussy decoration needed! If you want to see more great bake sale ideas, take a peek at my graham cracker toffee recipe—easy bars!
Nutritional Estimates for Decadent Chocolate Desserts
I always try to be transparent about what goes into my baking, even when it’s pure, unadulterated decadence like these!
It’s important to remember that because these oreo brownies are made entirely from scratch, using specific brands of cocoa, type of butter, or even exact Oreo sizes can change these numbers slightly. Think of this as your best starting point for tracking, not a strict lab analysis. I used standard calculations based on the ingredients listed to give you this rundown for one square.
Here is what you can generally expect from one serving of these incredible chewy chocolate bars:
- Serving Size: 1 square
- Calories: 320
- Sugar: 35g
- Sodium: 180mg
- Fat: 18g
- Saturated Fat: 10g
- Unsaturated Fat: 8g
- Trans Fat: 0g
- Carbohydrates: 38g
- Fiber: 1g
- Protein: 4g
- Cholesterol: 65mg
See? Worth every single glorious, chocolatey, cookie-stuffed bite! While they are definitely an indulgent treat, knowing what’s inside helps us appreciate this rich chocolate dessert all the more!
Share Your Favorite Oreo Brownies Creations
Whew! I am so excited for you to get into the kitchen and make these oreo brownies. Seriously, making decadent, fudgy chocolate desserts from scratch should always be fun, and I hope this recipe brings you tons of joy—and major cookie/brownie satisfaction!
Once you’ve let them cool completely (I know it’s hard, but trust me on the slicing!) and tasted that perfect balance of rich chocolate and crunchy Oreo, I would absolutely love to hear what you think! Head back here and leave a rating for the recipe so other bakers know how fantastic these simple dessert bars turned out for you.
And please, take a picture! I’m always looking for more easy dessert inspiration and want to see your perfect crackly tops and chunky layers. Tag me on social media when you post them; it truly makes my day to see my recipes ending up on your tables.
While you’re looking for more inspiration for quick and easy baking projects, be sure to check out my dedicated Pinterest account for tons of other ideas that are guaranteed crowd-pleasers. It’s where I share all my favorite tips and tricks, especially for those fun, easy-to-transport desserts. You can find lots of inspiration for more homemade treats like these at our Pinterest page!
PrintUltimate Fudgy Oreo Brownies with Shiny Crackly Top
Make these decadent Oreo Brownies for a rich, chewy, and fudgy chocolate dessert experience. This recipe features whole Oreos baked inside and a crushed Oreo topping for the perfect cookies and cream crunch.
- Prep Time: 15 min
- Cook Time: 35 min
- Total Time: 50 min
- Yield: 16 servings 1x
- Category: Dessert
- Method: Baking
- Cuisine: American
- Diet: Vegetarian
Ingredients
- 1 cup unsalted butter
- 1 1/4 cups granulated sugar
- 3/4 cup packed light brown sugar
- 4 large eggs
- 1 tablespoon vanilla extract
- 3/4 cup unsweetened cocoa powder
- 1/2 cup all-purpose flour
- 1/2 teaspoon salt
- 1/2 teaspoon baking powder
- 1 cup semi-sweet chocolate chips
- 18 whole Oreo cookies
- 1/2 cup crushed Oreo cookies for topping
Instructions
- Preheat your oven to 350°F (175°C). Line a 9×9 inch baking pan with parchment paper, leaving an overhang on two sides for easy removal. Lightly grease the paper.
- In a medium saucepan over low heat, melt the butter. Remove from heat and whisk in the granulated sugar and brown sugar until combined.
- Whisk in the eggs one at a time until fully incorporated. Stir in the vanilla extract.
- In a separate bowl, whisk together the cocoa powder, flour, salt, and baking powder. Gradually add the dry ingredients to the wet ingredients, mixing until just combined. Do not overmix.
- Fold in the chocolate chips.
- Spread half of the brownie batter into the prepared pan. Arrange 9 whole Oreo cookies evenly over the batter.
- Spoon the remaining batter over the Oreos, gently spreading to cover them. Place the remaining 9 whole Oreo cookies on top of the batter.
- Sprinkle the crushed Oreo cookies evenly over the top layer.
- Bake for 30 to 35 minutes. The edges should look set, and a toothpick inserted near the center should come out with moist, fudgy crumbs attached, not wet batter.
- Let the brownies cool completely in the pan on a wire rack before lifting them out using the parchment overhang.
- Cut into squares. Enjoy this rich chocolate dessert!
Notes
- For the best fudgy texture and shiny top, do not overbake the brownies.
- Cooling completely before slicing helps achieve clean, bakery-style brownies.
- You can substitute the whole Oreos with broken pieces if you prefer more distribution throughout the batter.
- This recipe is a fantastic easy dessert for parties.
Nutrition
- Serving Size: 1 square
- Calories: 320
- Sugar: 35
- Sodium: 180
- Fat: 18
- Saturated Fat: 10
- Unsaturated Fat: 8
- Trans Fat: 0
- Carbohydrates: 38
- Fiber: 1
- Protein: 4
- Cholesterol: 65