
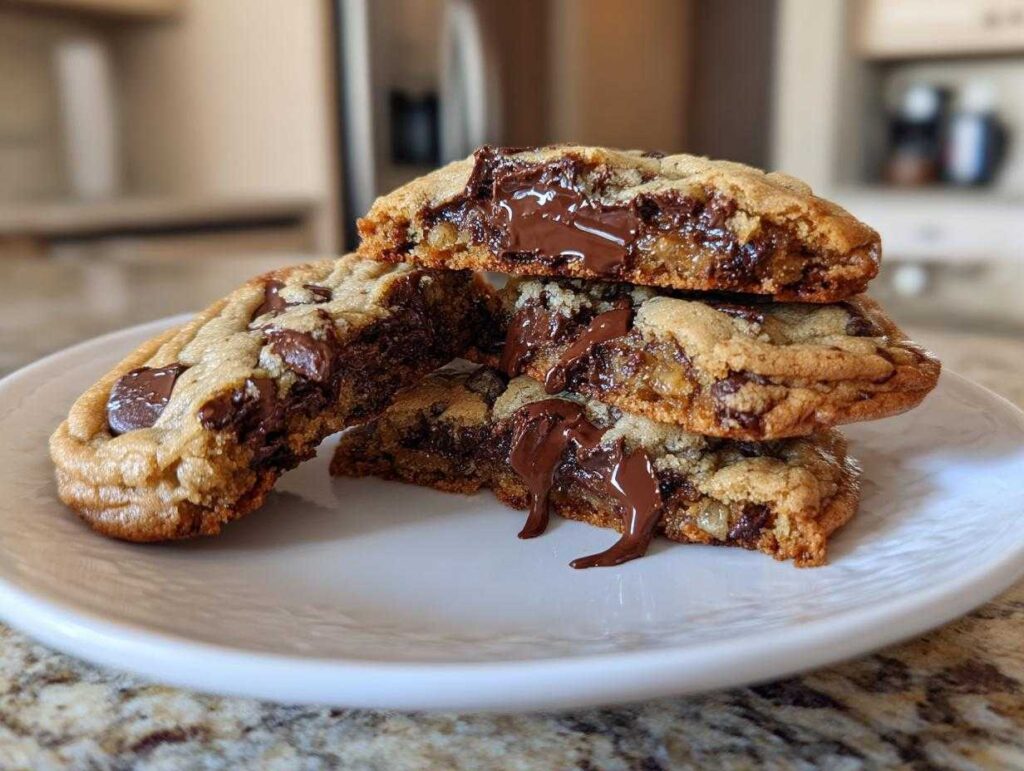
Oh, my friends, if you have ever walked into one of those fancy, high-end bakeries and thought, “Why can’t I make a chocolate chip cookie that tastes that incredible?”—then STOP RIGHT THERE! I’m Sophia Collins, and I have spent years chasing that elusive perfect bite. This isn’t just another recipe; this is The Ultimate Bakery-Style Soft and Chewy Chocolate Chip Cookie recipe that consistently delivers thick warmth, crispy edges, and that ridiculously gooey center we all crave. Forget thin, sad cookies! I promise you, after baking this classic chocolate chip cookie recipe from scratch, you’ll never buy one again. This is my absolute favorite comfort food, and getting the texture right is my personal mission!
- Why This Ultimate Chocolate Chip Cookie Recipe is Your New Favorite
- Essential Ingredients for the Best Homemade Chocolate Chip Cookies
- Step-by-Step Instructions: How to Make Perfect Cookies
- Cookie Perfection Tips for the Ultimate Chocolate Chip Cookie
- Make-Ahead and Storage Instructions for Your Chocolate Chip Cookie Dough
- Serving Suggestions for This Buttery Chocolate Chip Cookie
- Frequently Asked Questions About Our Classic Chocolate Chip Cookie Recipe
- Estimated Nutritional Data for One Chocolate Chip Cookie
- Share Your Bakery Style Cookies Creation
Why This Ultimate Chocolate Chip Cookie Recipe is Your New Favorite
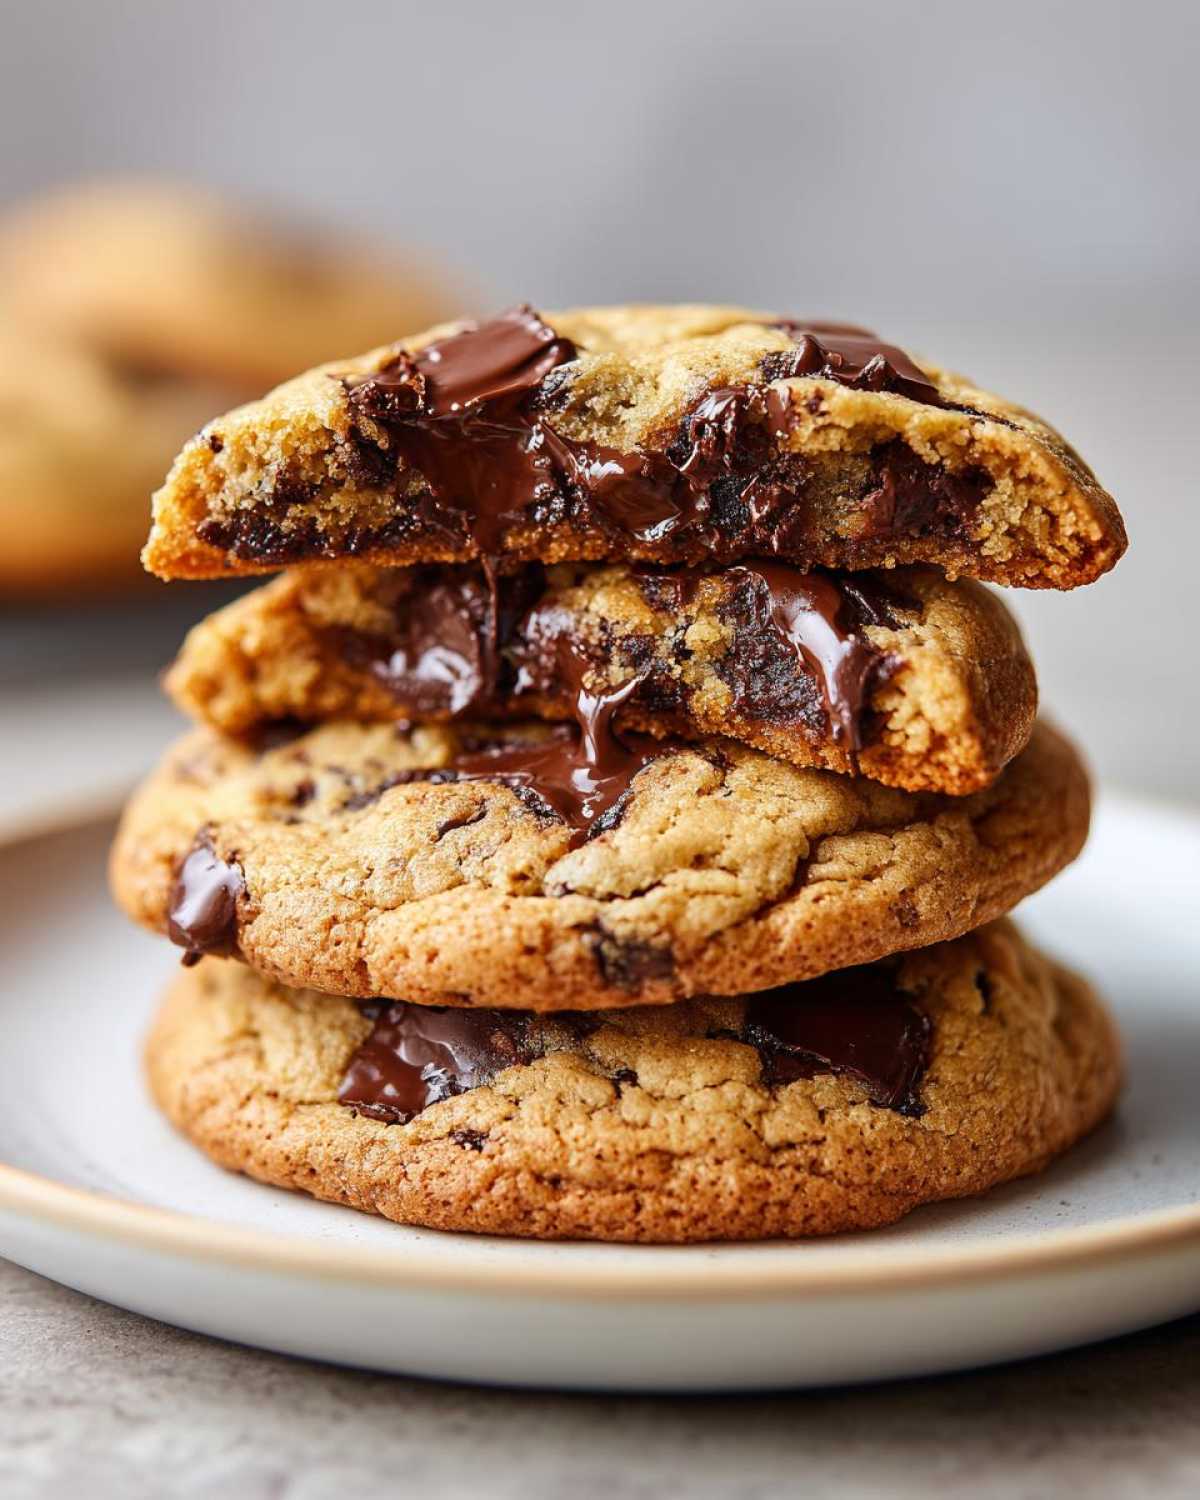
When I tell you this is the best homemade chocolate chip cookies recipe you’ll ever meet, I’m not exaggerating. This dough comes together fast, but the results taste like they were developed over weeks, not minutes! Seriously, this batch is designed to impress everyone who tries one. You get all the texture talk you want in one perfect bite.
- You get that dreamy combination: crispy edges! Gooey center cookies! Thick chocolate chip cookies!
- It’s a foolproof recipe that results in genuinely buttery chocolate chip cookies.
- Even though the result is bakery style cookies, the process is surprisingly straightforward—it’s seriously one of my favorite easy cookie recipes.
If you love deep, rich flavor, you might also adore how these turn out when baked right alongside my recipe for super gooey chocolate chip cookies!
Achieving Bakery Style Cookies Texture
The texture payoff here is huge! We aren’t aiming for flat lace cookies; we want sturdy giants. How do we do it? It really comes down to the sugar mix and the butter temperature. That perfect ratio of brown sugar to white sugar locks in moisture while ensuring the edges crisp up beautifully as they bake. This recipe uses softened, not melted, butter, which gives the dough structure so it holds its height, trapping steam inside to guarantee those famously soft baked cookies centers.
Simple Steps for Easy Cookie Recipes
Don’t let the ‘bakery style’ description scare you off! I designed this to be quick enough for a weeknight craving. We aren’t taking days to rest the dough (though we’ll talk about chilling later, which helps!). The actual mixing time—the creaming, the adding of dry ingredients—is very fast. If you have 15 minutes to prep, you’ll have warm, buttery chocolate chip cookies cooling down before you know it. It’s truly one of the simplest ways to achieve a from scratch cookie recipe masterpiece.
Essential Ingredients for the Best Homemade Chocolate Chip Cookies
Okay, here we go! You can’t make the ultimate chocolate chip cookie without respecting the ingredients. This recipe relies on simple pantry staples, but how you treat them matters immensely. I’ve listed exactly what you need below. Notice I specified “unsalted” butter—that’s key so I can control the saltiness myself!
- 1 cup (2 sticks) unsalted butter, softened
- ¾ cup packed brown sugar (Don’t skimp! This is crucial for chewiness.)
- ¾ cup granulated sugar
- 2 large eggs (These need to be room temperature, trust me!)
- 1 tablespoon vanilla extract (Use the good stuff if you have it!)
- 2 ¼ cups all-purpose flour
- 1 teaspoon baking soda
- ½ teaspoon salt
- 2 cups semi-sweet chocolate chips (I usually use a mix of semi-sweet and some milk chocolate for extra melt factor!)
The quality of these starting points makes or breaks your final chocolate chip cookie. If you want that deep, rich flavor that screams “bakery time,” don’t substitute the sugars or skip the vanilla. If you need creamy frosting later, check out my guide on the best vanilla buttercream recipe.
Ingredient Notes and Substitutions for Your Chocolate Chip Cookie
Let’s talk specifics because this is where we nail down the expertise part of cookie making. First, the eggs! They absolutely must be room temperature. Cold eggs drop the temperature of your creamed butter mixture, making it seize up and ruining the air pockets we just worked so hard to create. If you forget to pull them out, just put them in a bowl of warm (not hot!) water for about five minutes.
Next up: leavening. We are using baking soda here, not baking powder. Baking soda needs an acid (like the brown sugar brings) to react and helps the cookie spread just a tiny bit, giving us those lovely thin edges. Baking powder would make them puff up too much and taste cakier, which we are actively trying to avoid in this specific recipe.
And finally, the chocolate chips! I mentioned I use a mix, but feel free to experiment! Using chunks of dark chocolate instead of chips gives you huge pools of melted chocolate goodness. If you use milk chocolate, expect a sweeter overall cookie. For this recipe, semi-sweet is the perfect happy medium!
Step-by-Step Instructions: How to Make Perfect Cookies
This is the fun part! Follow these steps closely, and you’ll see exactly why this is, hands down, the best homemade chocolate chip cookies recipe. Remember, baking is like following a map—you want to stay right on the road for the best destination. We want thick, buttery, soft baked cookies, so precision during mixing counts!
- First things first: Preheat your oven to 375°F (190°C). Get those baking sheets lined with parchment paper. Paper is your friend; it keeps the bottoms from getting too dark too fast!
- In a big bowl, you’re going to cream together the softened butter, brown sugar, and granulated sugar. This isn’t just stirring, folks! You need to beat this mixture until it’s visibly lightened up in color and definitely fluffy. This usually takes me about 3 to 4 minutes with a hand mixer. Don’t rush it!
- Once it looks like fluffy, sandy perfection, beat in your two eggs, one at a time, making sure the first one is fully incorporated before adding the second. Then, stir in that tablespoon of vanilla extract.
- In a separate, smaller bowl, give your flour, baking soda, and salt a quick whisk together. This is your dry team getting ready to join the party.
- Now, the crucial part: gradually add the dry ingredients to the wet. Mix this on the lowest setting, just until you see the white streaks disappear. I mean it—stop mixing right when it comes together! I learned this the hard way when I accidentally turned a batch into hard little hockey pucks because I mixed the flour in too long. It develops way too much gluten!
- Gently fold in those 2 cups of chocolate chips by hand with a spatula.
- Use a rounded tablespoon (or a cookie scoop, if you have one!) to drop the dough onto your prepared sheets. Make sure you leave about 2 inches between each one. They need room to breathe and spread just a little bit.
- Bake for just 9 to 11 minutes. This is the make-or-break moment for that gooey center cookie promise! The edges should be turning a lovely golden brown, but the middle absolutely needs to look a little underdone and slightly puffy when you pull them out.
- Let them sit right there on the hot pan for a full 5 minutes. They are still cooking on that residual heat! Then, carefully transfer them to a wire rack to cool completely.
If you want to browse more amazing techniques on how to make perfect cookies, I have a whole guide dedicated to general cookie wisdom!
Creaming Butter and Sugars for Thick Chocolate Chip Cookies
Seriously, let’s talk about Step 2 again because it’s the foundation of a thick chocolate chip cookie! If your butter is too hard, it won’t incorporate air. If it’s too warm or melted, the sugar just dissolves into an oily mess rather than creating those vital, microscopic air pockets. When you cream them until they are light and fluffy—pale yellow and almost cloud-like—you are physically trapping air inside your fat. That air expands in the oven, giving your cookie the height and structure to become a substantial, bakery style cookie instead of something flat!
Baking Tips for Gooey Center Cookies
This is the secret I stole from my favorite local bakery! Always, always pull the cookies out when they look slightly pale or shiny in the middle. If you wait until the middle looks completely dry and matte, they will be over-baked by the time they cool down. They should look almost *wrong* coming out of the oven. That soft center will firm up just enough on the hot pan during the mandatory 5-minute rest, leaving you with the ultimate reward: a perfectly crisp edge giving way to a gloriously gooey center.
Cookie Perfection Tips for the Ultimate Chocolate Chip Cookie
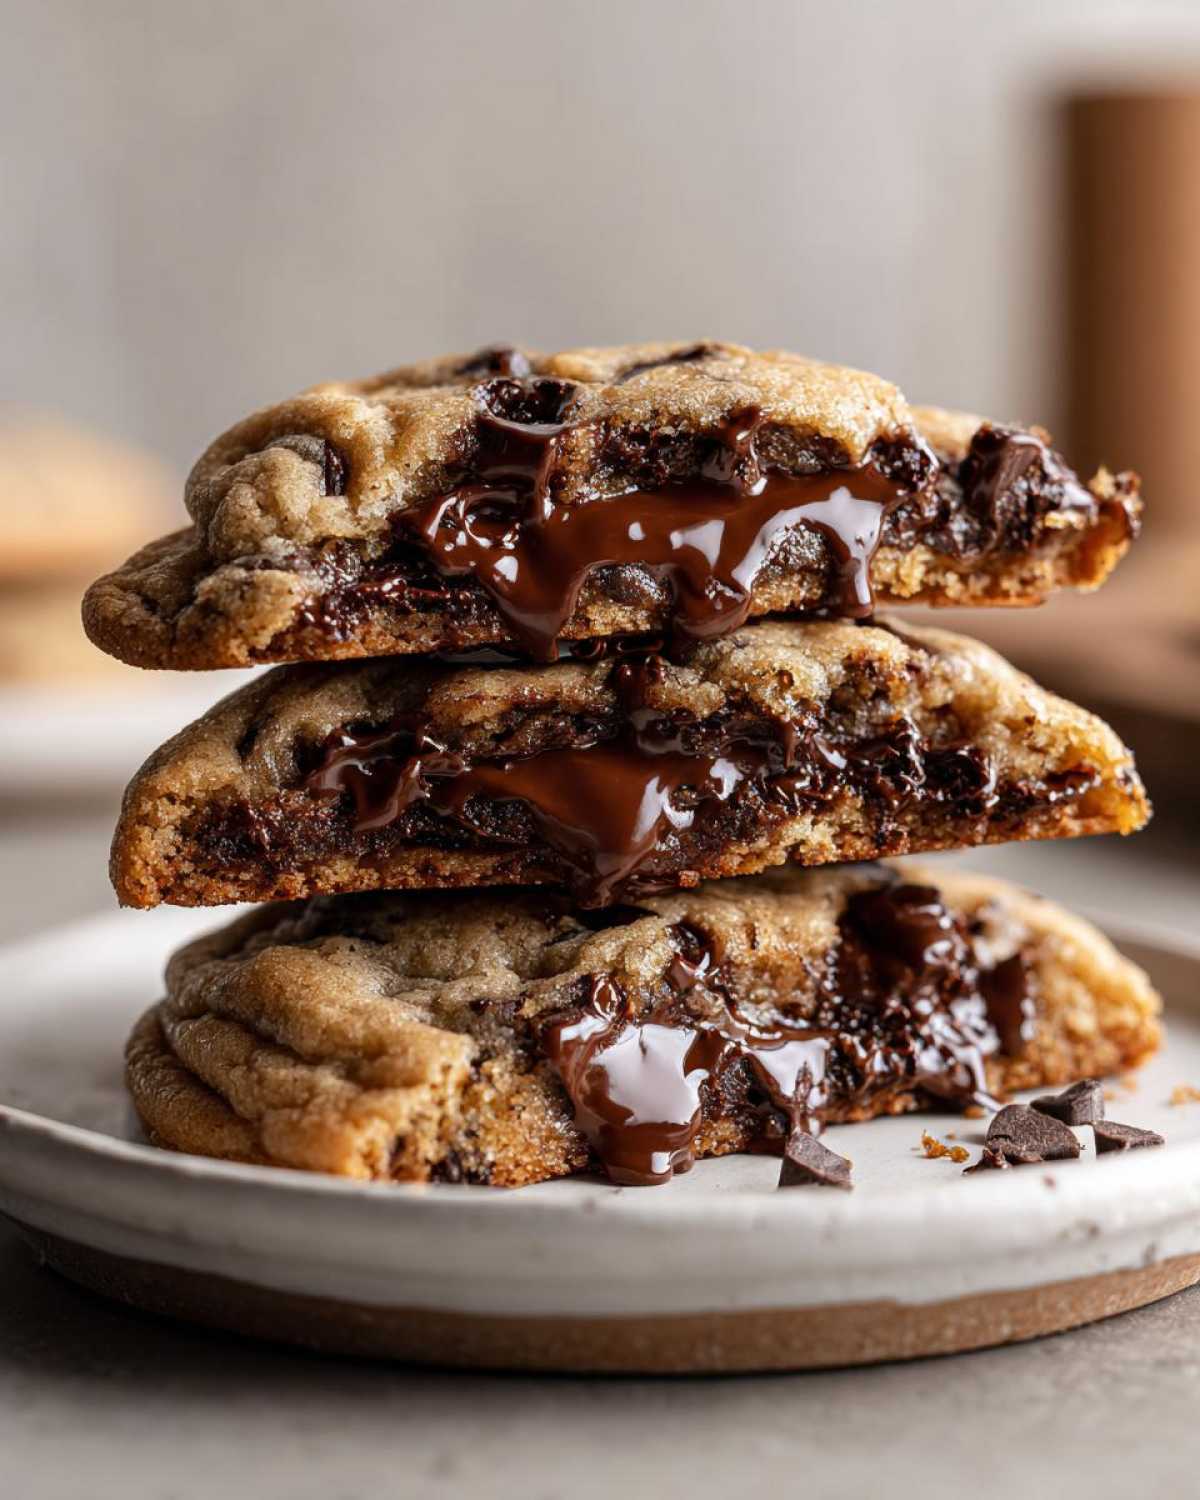
We’ve made the dough, we’ve baked the cookies, but now let’s talk about leveling up. I want every single batch you make to be identical to the ones coming out of my kitchen. Getting the ultimate chocolate chip cookie is about small tweaks that make a massive difference. If you follow these little secrets, you’ll achieve cookie perfection every single time. I’ve included some troubleshooting advice because, let’s be honest, sometimes the dough just doesn’t cooperate!
The Secret to Chewy Chocolate Chip Cookies: Resting the Dough
I know, I know—the recipe says you can bake them right away, and you totally can get good cookies that way! But if you want those next-level, dense, intensely flavored, chewy chocolate chip cookies that taste like they took three days to prepare, you have to chill the dough. I always aim for at least an hour, but overnight is the absolute dream. Why? When the dough rests in the fridge, the flour fully hydrates, almost like it’s softening before it hits the heat, which means a less cakey result.
More importantly, chilling firms up the fat (that amazing, softened butter!). When the solid fat hits the hot oven, it takes longer to melt. This time delay is critical because it stops the cookies from spreading too thin immediately. They hold their shape better, resulting in that thick profile we want. Plus, the sugars and flour get to hang out and mingle, deepening that wonderful buttery flavor!
Troubleshooting Common Chocolate Chip Cookie Issues
Baking is chemistry, and sometimes the variables fight back! Here are my go-to fixes for the two biggest disappointments I hear about when folks try from scratch cookie recipe:
- Problem: My cookies are too flat! This usually means one of two things: either your butter was way too warm or melted (see the chilling tip above—cold fat equals taller cookie!), or you used too much white sugar relative to the brown sugar. White sugar melts faster, causing spread.
- Problem: My cookies are too cakey or puffy! This is almost always the flour culprit. You either measured your flour incorrectly (packing it into the cup!) or you overmixed the dough once the flour was added. Remember when I talked about stopping when the streaks just disappear? Listen to past me—overmixing builds gluten, making them tough and cakey instead of soft and chewy.
If you ever get stuck, take a look at my more in-depth guide on homemade chocolate chip cookies for even more pro tips on temperature and ingredients!
Make-Ahead and Storage Instructions for Your Chocolate Chip Cookie Dough
This is one of those fantastic recipes because the dough is almost better the next day! You can totally make these ahead of time, which is a lifesaver when company is coming over or you just want warm cookies instantly without doing all the work. Whether you’re planning a party or just stocking the freezer, I’ve got you covered for storing your glorious chocolate chip cookie dough.
When it comes to making these a little in advance, refrigeration is your best friend for that chewy texture we love. Cover your mixed dough tightly with plastic wrap—I mean *really* wrap it so no air gets in—and stick it in the fridge. It’s great for up to three days! When you decide it’s time to bake, take it out, let it sit on the counter for about 15 to 20 minutes just to take the chill off, and then proceed with the recipe as written, scooping and baking immediately. Don’t forget to allow those extra 5 minutes on the baking sheet for cooling, though!
If you’re looking for long-term storage, freezing the dough balls is the way to go. Roll the dough into uniform balls, place them on a parchment-lined baking sheet, and freeze until they are solid—maybe an hour or two. Once they are hard little rocks, transfer them into a heavy-duty freezer bag or airtight container. They keep beautifully for up to three months!
The best part about freezing dough is the freezer-to-oven hack! You don’t even have to thaw them. Just pull the frozen balls off the sheet, put them directly onto your parchment-lined baking sheet, and add about 2 to 4 minutes to the baking time listed in the recipe. Because they start frozen, they won’t spread as much, giving you even thicker cookies right out of the freezer! It’s a game-changer for those times you need easy cookie recipes fast.
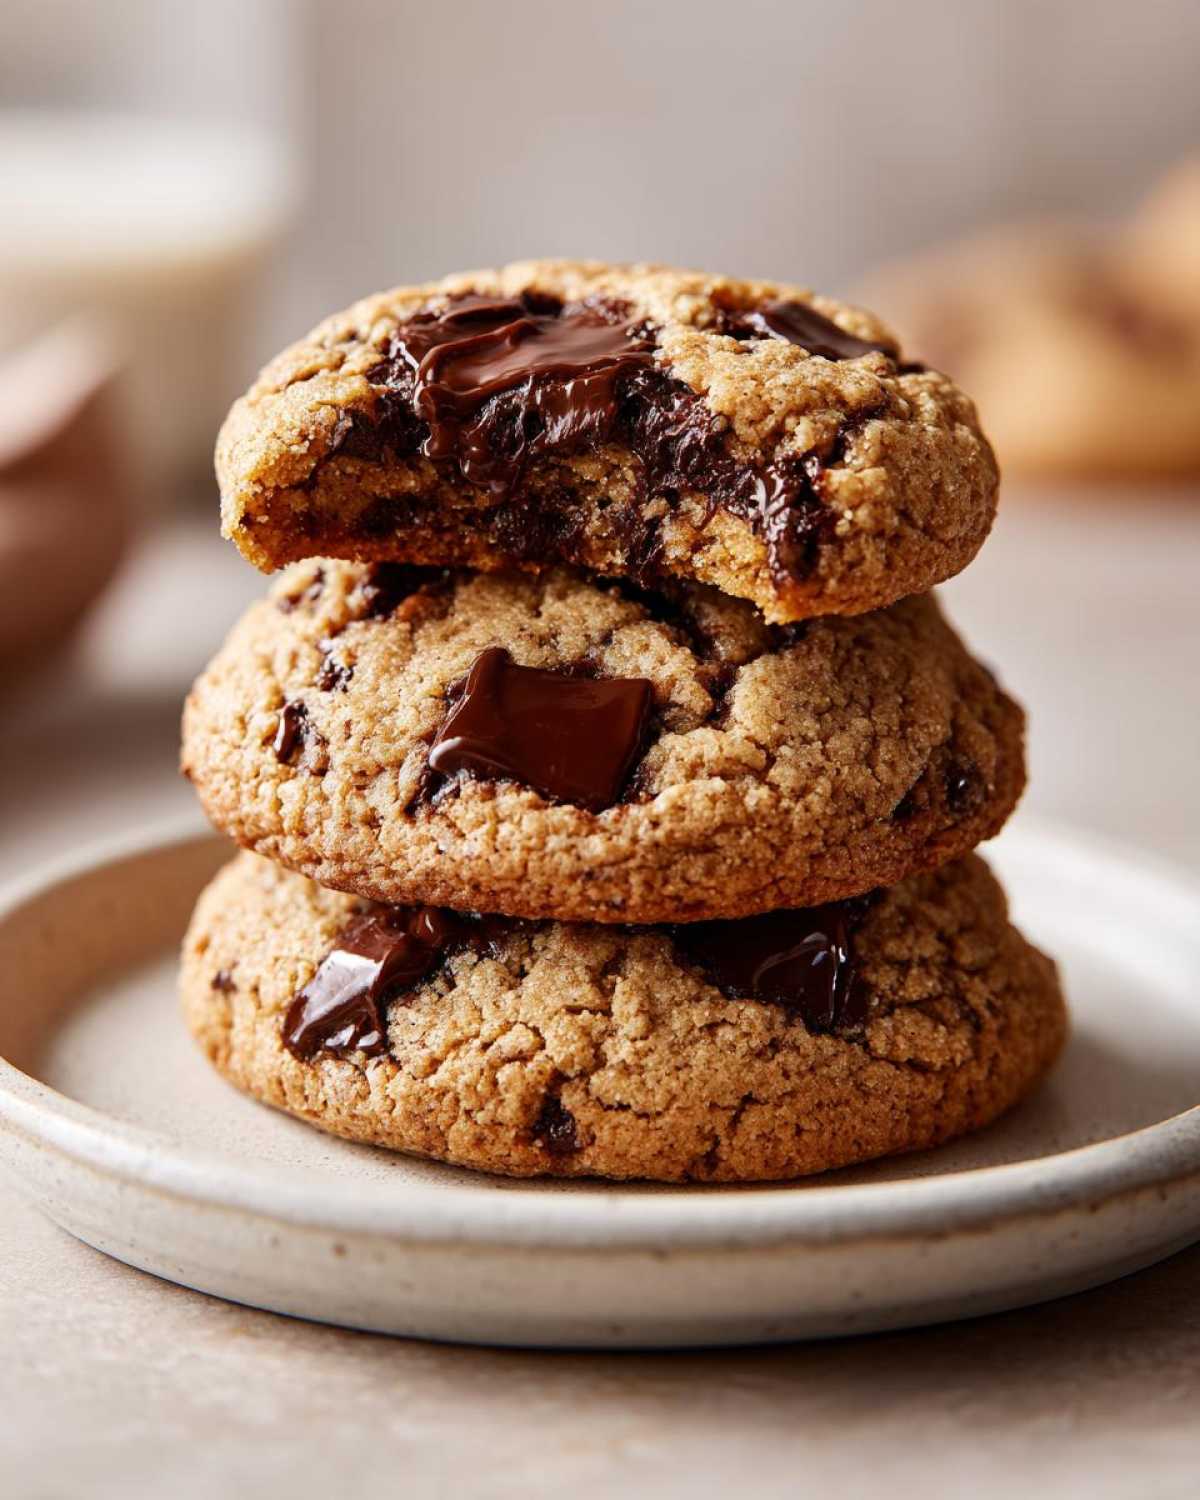
For more tips on making ahead and great recipes that save time when you’re busy cooking, check out my guide on easy cookie recipes. You’ll find lots of great ways to keep your kitchen stocked!
Serving Suggestions for This Buttery Chocolate Chip Cookie
So, you’ve achieved cookie perfection! Congratulations! Now, how do we serve these magnificent, buttery chocolate chip cookies? Honestly, you can’t go wrong. They are amazing straight off the rack, still warm from the oven, just crinkly and chewy. But if you want to transform this classic chocolate chip cookie into a full-blown dessert experience, I have a few ideas that never fail at my house.
First up, you absolutely must try the classic ice cream sandwich. Take two slightly cooled cookies and sandwich a scoop of high-quality vanilla bean ice cream between them. The combination of warm, gooey chocolate and cold cream is just dreamy. If you’re feeling extra adventurous, try rolling the ice cream edge in some crushed nuts or flaky sea salt—that little sprinkle on top totally elevates the experience!
Another favorite is making a simple cookie skillet dessert. Grab a small cast-iron pan, press a layer of dough into the bottom, load it up with extra chocolate chips, and bake until gooey. Serve it right in the skillet with a drizzle of caramel sauce. It’s incredibly decadent and perfect for sharing (or not, I don’t judge!). If you are looking for other show-stopping desserts, you might want to check out my recipe for the ultimate no-bake Oreo ice cream pie.
For a simpler pairing, these buttery cookies go wonderfully with a tall glass of cold milk, of course, but they are also fantastic alongside a strong cup of coffee or an espresso shot to balance out all that brown sugar goodness. The bitterness of the coffee really cuts through the richness of the butter and chocolate.
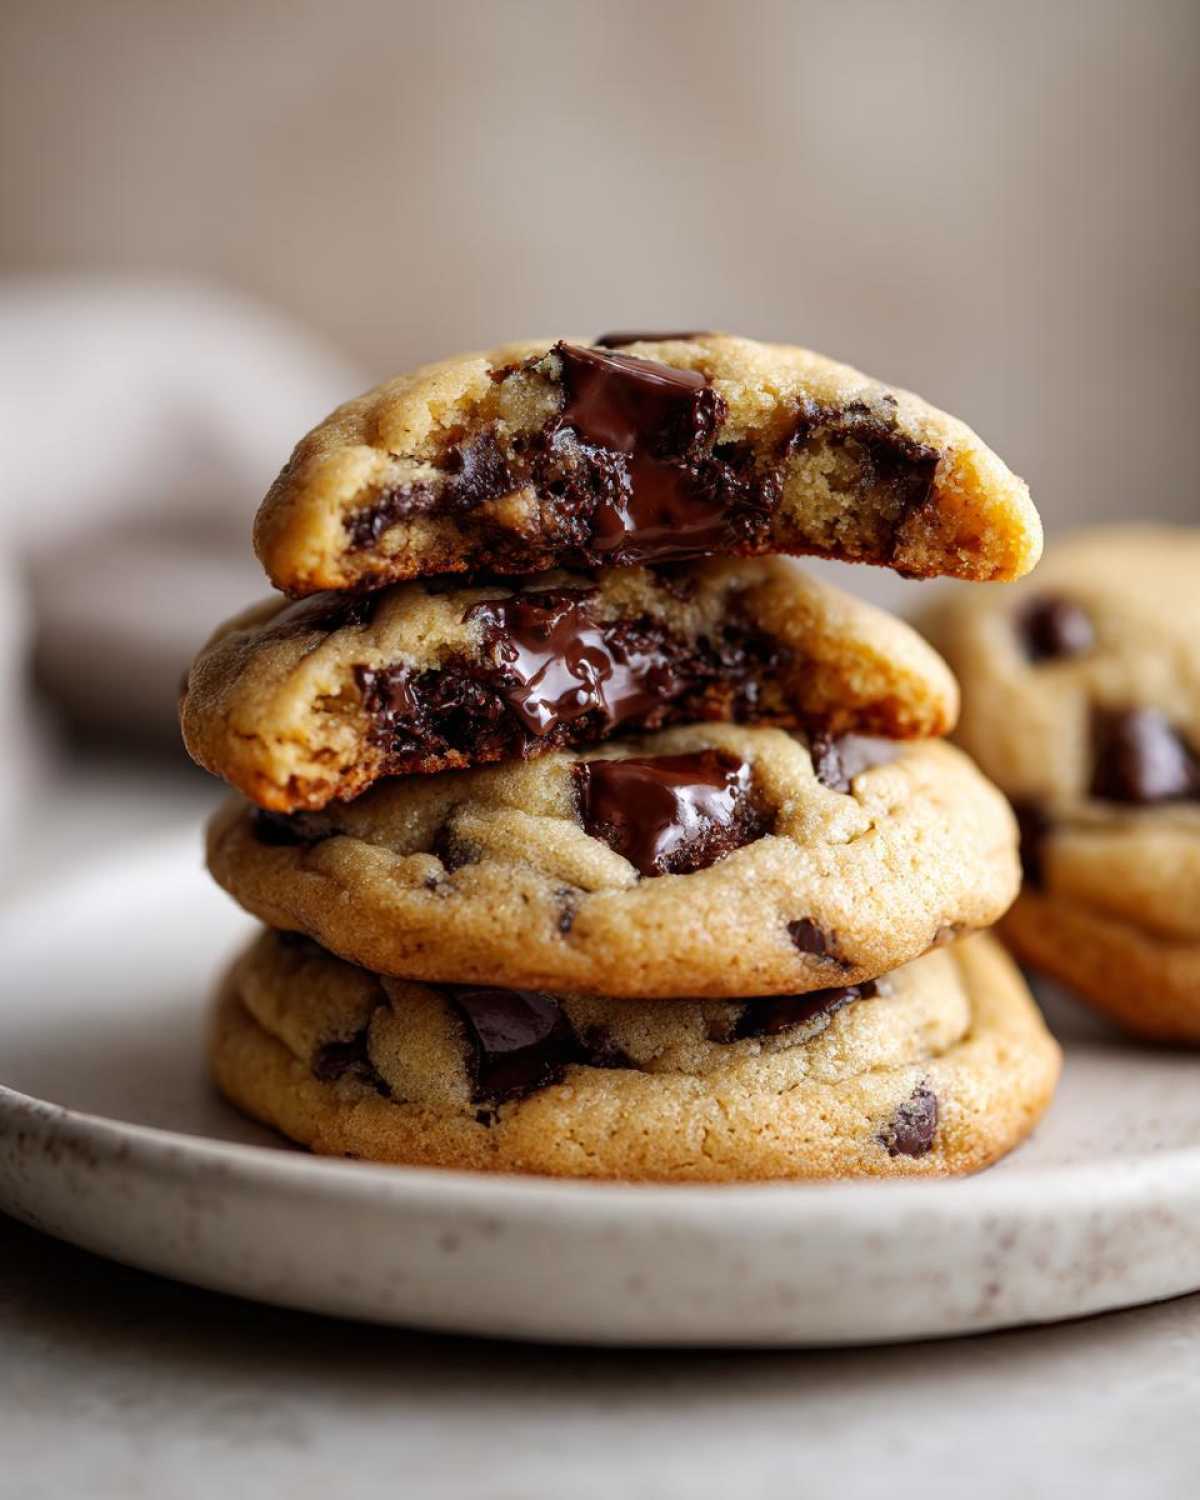
If you need more inspiration for sweet treats and favorite cookie recipes to try out, make sure you pop over and check out our Pinterest for more favorite cookie recipes! You’ll find tons of inspiration over at our Pinterest page for these and so many other amazing finds.
Frequently Asked Questions About Our Classic Chocolate Chip Cookie Recipe
I know you might have a few lingering questions—after all, achieving cookie perfection is serious business! I’ve gathered the top things people ask me when they try making this recipe for the first time. Getting the texture right can sometimes feel like magic, but once you know the simple rules, it’s easy to master this from scratch cookie recipe time and time again!
Can I use melted butter in this chocolate chip cookie recipe?
That is such a common question! While yes, you absolutely *can* use melted butter in many cookie recipes to achieve an extra chewy, dense, almost fudgy texture, this specific recipe is designed around softened butter. Because we are aiming for that beautiful balance—crispy edges with a slightly thicker, almost cake-like height in the center—we need the structure that softened butter provides when creamed with the sugars. Melted butter skips that crucial creaming step where we trap all the air. If you use melted butter here, you’ll end up with a much flatter cookie, which is great sometimes, but it won’t give you the specific bakery style results we are promising here.
How do I ensure my cookies stay thick and don’t spread too much?
This is the eternal battle of the home baker! To keep these beauties thick—especially if your kitchen runs warm—you have two non-negotiables. First, make sure your butter and eggs are just cool enough not to feel warm to the touch when you mix them in. Too warm, and they melt instantly in the oven, causing spread. Second, and most importantly, chill that dough! Even 30 minutes in the fridge firms up the fat enough so the cookies need time to melt before they start spreading across the pan. A higher oven temperature (like the 375°F we use) helps set the edges faster, locking in the thickness before the center fully melts down. Follow those steps, and you’ll get those fabulous thick chocolate chip cookies every time!
If you are still searching for more foundational baking knowledge, you’ll want to dive into my deep guide on classic chocolate chip cookies recipe for more tips on ingredient ratios!
Estimated Nutritional Data for One Chocolate Chip Cookie
I always try to keep things balanced in my kitchen, even when we’re talking about pure indulgence like the perfect chocolate chip cookie! Since we load these up with buttery goodness and those melty chocolate chips, they definitely count as a treat. Below are the estimated nutritional facts for just one of these glorious cookies. Please keep in mind these are based on the ingredients listed above and can shift slightly depending on the brand of chocolate or sugar you use.
For reference, here is what one of our soft baked cookies generally contains:
- Serving Size: 1 cookie
- Calories: 180
- Sugar: 15g
- Sodium: 95mg
- Fat: 10g
- Saturated Fat: 6g
- Unsaturated Fat: 4g
- Trans Fat: 0g
- Carbohydrates: 23g
- Fiber: 1g
- Protein: 2g
- Cholesterol: 25mg
I always say, any cookie that has 1g of fiber is practically health food, right? Just kidding! But these numbers look pretty good for such a rich, satisfying treat. If you’re looking at this and wondering about tweaking ingredients to lower the sugar, remember that the sugar ratio is key to that wonderful soft and chewy texture we worked so hard to achieve!
Share Your Bakery Style Cookies Creation
Whew! You made them! You trusted my process, you respected the creaming time, and now you are holding the ultimate chocolate chip cookie in your hands. I am genuinely so excited for you! Since I pour my heart into developing these recipes right here in my kitchen, seeing your results is the best part of my day!
Please, please, please come back here and leave a star rating! It helps other bakers know this recipe is the real deal, especially if you achieved that perfect bakery style cookies texture we were aiming for. I love hearing about your successes. Did the edges get perfectly crispy? Was the center perfectly gooey? Tell me everything in the comments below!
And if you snapped a picture of your gorgeous, thick chocolate chip cookies—and I bet you did!—please share it on social media! Tag me so I can see your masterpieces. There’s nothing better than scrolling through and seeing what you all are creating. It connects us all over one of the world’s best simple baking recipes.
If you enjoyed tackling this ultimate recipe and want more guides on how to keep your baking repertoire fresh and easy, don’t forget to bookmark my guide on easy cookie recipes. Happy baking, friends!
PrintThe Ultimate Bakery-Style Soft and Chewy Chocolate Chip Cookies
Bake the best homemade chocolate chip cookies with this recipe for thick, bakery-style results. You get crispy edges, gooey centers, and rich buttery flavor every time.
- Prep Time: 15 min
- Cook Time: 11 min
- Total Time: 26 min
- Yield: 24 cookies 1x
- Category: Dessert
- Method: Baking
- Cuisine: American
- Diet: Vegetarian
Ingredients
- 1 cup (2 sticks) unsalted butter, softened
- ¾ cup packed brown sugar
- ¾ cup granulated sugar
- 2 large eggs
- 1 tablespoon vanilla extract
- 2 ¼ cups all-purpose flour
- 1 teaspoon baking soda
- ½ teaspoon salt
- 2 cups semi-sweet chocolate chips
Instructions
- Preheat your oven to 375°F (190°C). Line baking sheets with parchment paper.
- In a large bowl, cream together the softened butter, brown sugar, and granulated sugar until light and fluffy.
- Beat in the eggs one at a time, then mix in the vanilla extract.
- In a separate bowl, whisk together the flour, baking soda, and salt.
- Gradually add the dry ingredients to the wet ingredients, mixing on low speed until just combined. Do not overmix.
- Stir in the chocolate chips by hand.
- Drop rounded tablespoons of dough onto the prepared baking sheets, spacing them about 2 inches apart for thick cookies.
- Bake for 9 to 11 minutes, or until the edges are golden brown and the centers look slightly underbaked.
- Let the cookies cool on the baking sheet for 5 minutes before transferring them to a wire rack to cool completely.
Notes
- For the best chewy texture, chill the dough for at least 30 minutes before baking. This prevents excessive spreading.
- Use a mix of brown sugar and white sugar to achieve that perfect balance of chewiness and spread.
- If you want extra gooey centers, press a few extra chocolate chips onto the tops of the dough balls right before baking.
- This recipe makes cookies that are better than a bakery! Check out our Pinterest for more favorite cookie recipes.
Nutrition
- Serving Size: 1 cookie
- Calories: 180
- Sugar: 15g
- Sodium: 95mg
- Fat: 10g
- Saturated Fat: 6g
- Unsaturated Fat: 4g
- Trans Fat: 0g
- Carbohydrates: 23g
- Fiber: 1g
- Protein: 2g
- Cholesterol: 25mg