
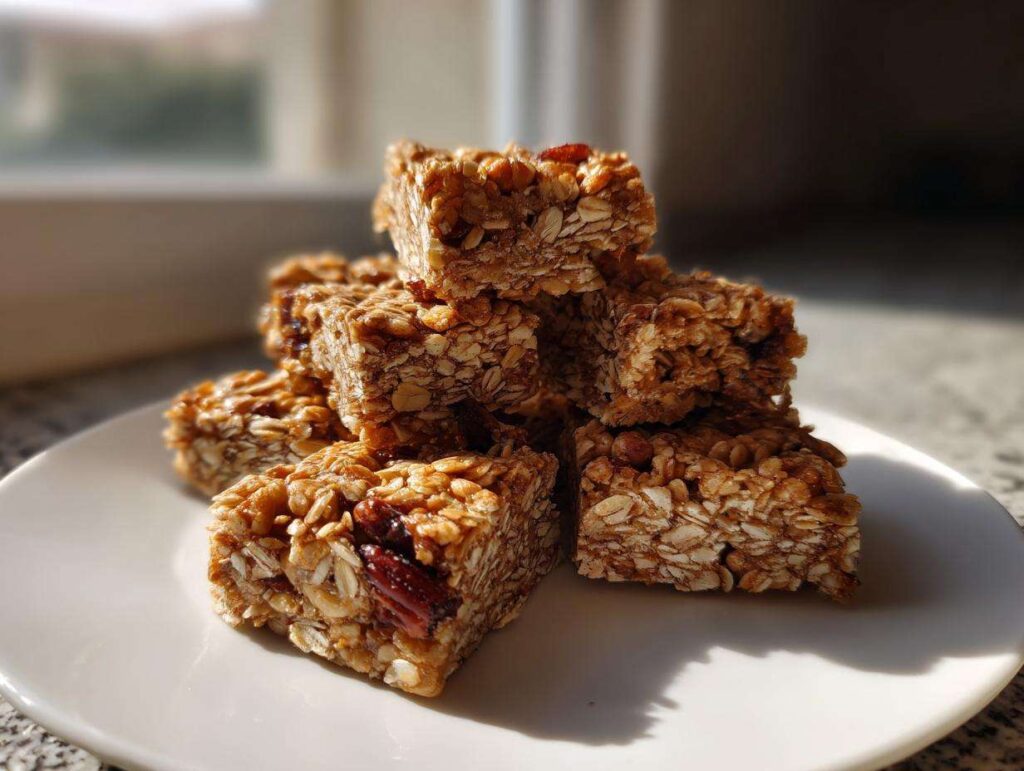
Oh, I have such fantastic news for you! If you’re tired of those dry, crumbly, sugar-laden bars masquerading as ‘healthy snacks’ from the grocery store, you are in the absolute right place. Seriously, throw those boxes out. We are making the best homemade granola bars right now, and they are going straight into my family’s snack rotation. These are truly chewy, surprisingly easy to put together, and naturally sweetened so I feel great handing them to my kids for school.
For years, getting my kids to eat anything remotely wholesome as a grab-and-go snack was a battle. I tried every trick in the book! When I finally perfected this recipe using just a few wholesome ingredients, it was like hitting the jackpot. Every time I pull a fresh batch out of the oven, the entire house smells like toasted oats and honey. Trust me, once you try these, you won’t look back. Let’s get baking!
- Why These Are the Best Homemade Granola Bars You Will Ever Make
- Gathering Your Ingredients for Homemade Granola Bars
- Step-by-Step Instructions for Easy Homemade Granola Bars
- Baking vs. No Bake Granola Bars: Which Homemade Granola Bars to Choose?
- Tips for Perfect Homemade Granola Bars Every Time
- Storing and Making Ahead with Homemade Granola Bars
- Frequently Asked Questions About Homemade Granola Bars
- Serving Suggestions for Wholesome Breakfast Bars
- Estimating Nutrition for Your Homemade Granola Bars
Why These Are the Best Homemade Granola Bars You Will Ever Make
What sets these apart from every other recipe you’ve scrolled past? It’s all about the payoff: texture and total control. These aren’t those breakfast bricks you have to gnaw through! We are aiming for wonderfully chewy granola bar recipe perfection. They are so reliably tasty that they instantly become your go-to for quick healthy snack bars.
And you know how kids can be—they only eat what they like! That’s why these are the ultimate kid friendly snacks. You get to be the boss of every single ingredient. Add pecans, skip coconut, go heavy on the dark chocolate chips? You decide! That level of customization, combined with how simple they are to make, keeps my pantry stocked all the time. If you like other compact sweets, you really must check out my recipe for pecan pie balls too!
Achieving the Perfect Chewy Texture in Homemade Granola Bars
Okay, this is the secret sauce, people. If you want them chewy, you absolutely must press the mixture down HARD into that pan, just like I mention in step six. That firm pack compresses the oats against the sticky binding agents (the peanut butter and honey). Don’t be shy! Pressing firmly is what ensures they stick together beautifully when cooling and give you that satisfyingly dense chew rather than crumbling apart.
Gathering Your Ingredients for Homemade Granola Bars
Alright, let’s get your kitchen prepped! Making these homemade granola bars is a breeze because the ingredient list is super straightforward. We need the basics to make a great foundation, and then we get to play around with the fun stuff. Don’t worry about fancy techniques here; this is pure, simple assembly.
Here is what you need right here to get started. Make sure you grab rolled oats—quick oats get a little mushy, so stick to rolled ones for the best texture!
- 2 cups rolled oats (don’t substitute quick oats!)
- 1 cup mix-ins like chopped nuts, pumpkin seeds, dried cranberries, or even mini chocolate chips!
- 1/2 cup gooey binder, like creamy peanut butter or almond butter
- 1/3 cup natural sweetener, such as honey or pure maple syrup
- 1 teaspoon of vanilla extract for depth
- 1/4 teaspoon of salt to balance all that sweetness
Ingredient Notes and Substitutions for Customizable Snack Bars
The beauty of these bars is that they crave customization! If you have a tree nut allergy, swap the peanut butter for sunflower seed butter. If you use maple syrup instead of honey, you’ll notice the final product is slightly less sticky, which is totally fine for customizable snack bars. Just remember that wetter mix-ins, like shredded coconut, might add a bit more moisture, so give everything an extra thorough mix before pressing it into the pan.
Step-by-Step Instructions for Easy Homemade Granola Bars
Okay, you’ve got your ingredients, your pan is lined—let’s get these easy homemade granola bars into the oven! This process is really fast. I mean, prep time is only about ten minutes, which is why I love them for busy afternoons.
First things first: preheat your oven to 350°F (175°C). And please, don’t skip lining that 8×8 pan with parchment paper, making sure you leave a nice overhang on the sides. That little paper sling is your best friend when it comes time to lift the entire block out later for cutting.
- Get your dry stuff ready: dump those rolled oats and all the fun mix-ins into a big bowl and give them a quick stir.
- Next, in a small saucepan—low heat is key here, we are *not* boiling anything—gently warm up your nut butter and your chosen sweetener (honey or syrup). You just want them liquid enough that they marry perfectly together into a smooth blend. Immediately take it off the heat and stir in the vanilla and salt.
- Pour that heavenly, warm wet mixture right over your dry oat mound. Now stir! Stir it well until every single last oat is coated and sticky.
- Here comes the most important part for chewy texture: transfer that sticky mess into your prepared pan. Grab the bottom of a glass—yes, an actual drinking glass—or a sturdy spatula and seriously pack it down. You need serious elbow grease here to make sure it’s super dense and flat for those perfect bars.
- Pop it into the preheated oven and bake for about 15 to 18 minutes. You’re looking for the edges to just turn a tiny bit golden brown.
If you’ve ever struggled with dips, you might want to check out my recipe for easy beer cheese dip; it’s foolproof, much like these bars when you follow the packing step!
The Crucial Cooling Phase for Chewy Granola Bar Recipe Success
Listen to me closely on this next part, because this is where most people mess up their chewy granola bar recipe! You absolutely must let these cool completely in the pan on a wire rack before you even *think* about cutting them. Seriously, walk away. If you try to cut them warm, they will crumble everywhere, and you’ll end up with oat dust instead of bars. Patience here rewards you with clean slices and that satisfying, chewy texture you worked so hard for!
Baking vs. No Bake Granola Bars: Which Homemade Granola Bars to Choose?
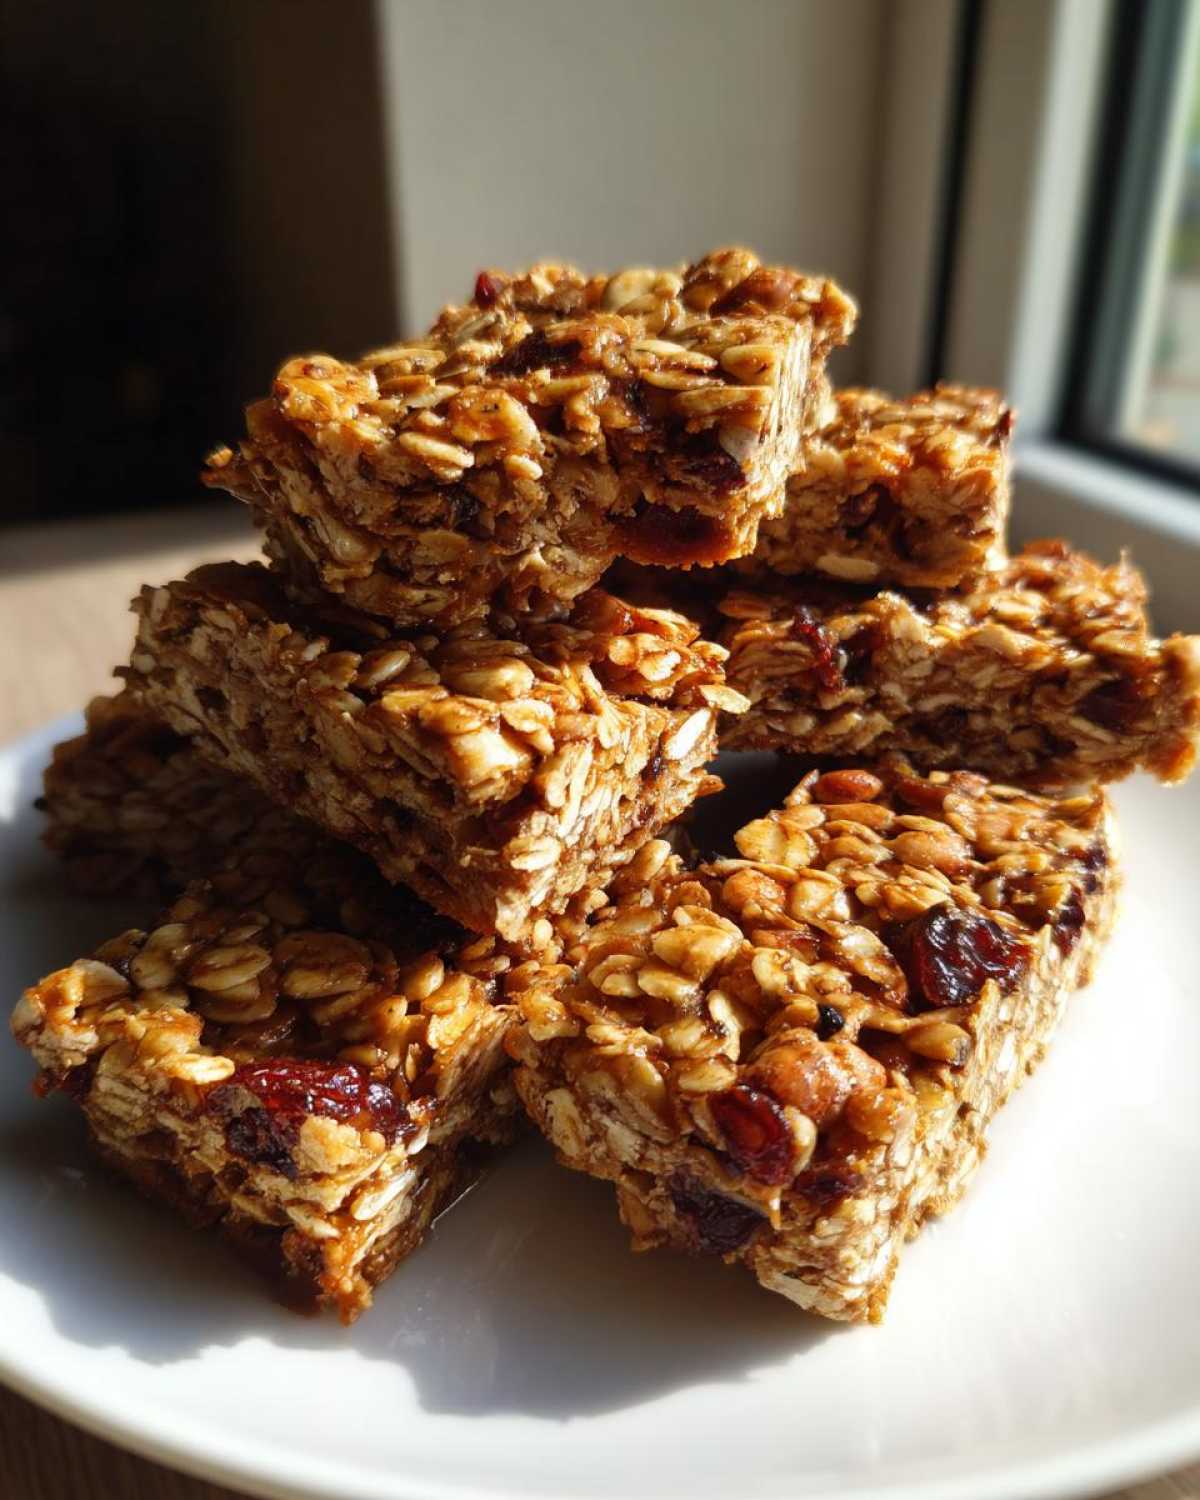
Now you might be wondering if you absolutely *have* to fire up the oven for these. I get it—sometimes you need a snack fast! We used the baking method for this recipe because it gives you slightly more structure and those wonderfully toasty edges, which I adore. The baking process helps them set up firm, leaning towards crisp on the outside while staying chewy inside.
If speed is your main goal, the no bake granola bars variation mentioned in the notes is fantastic. It’s a completely different texture—it stays softer and more uniform throughout, almost like a dense cookie dough bar. If you prefer a less cakey result, you might even pull these baked ones out just slightly early to lean into that soft baked granola bars category. Want more no-bake magic? My no-bake peanut butter pie is super popular, too!
Either way, it’s delicious, but I highly recommend giving the baked version a try first, especially if you want them packed up for your Pinterest followers to pin to their recipe vaults!
Tips for Perfect Homemade Granola Bars Every Time
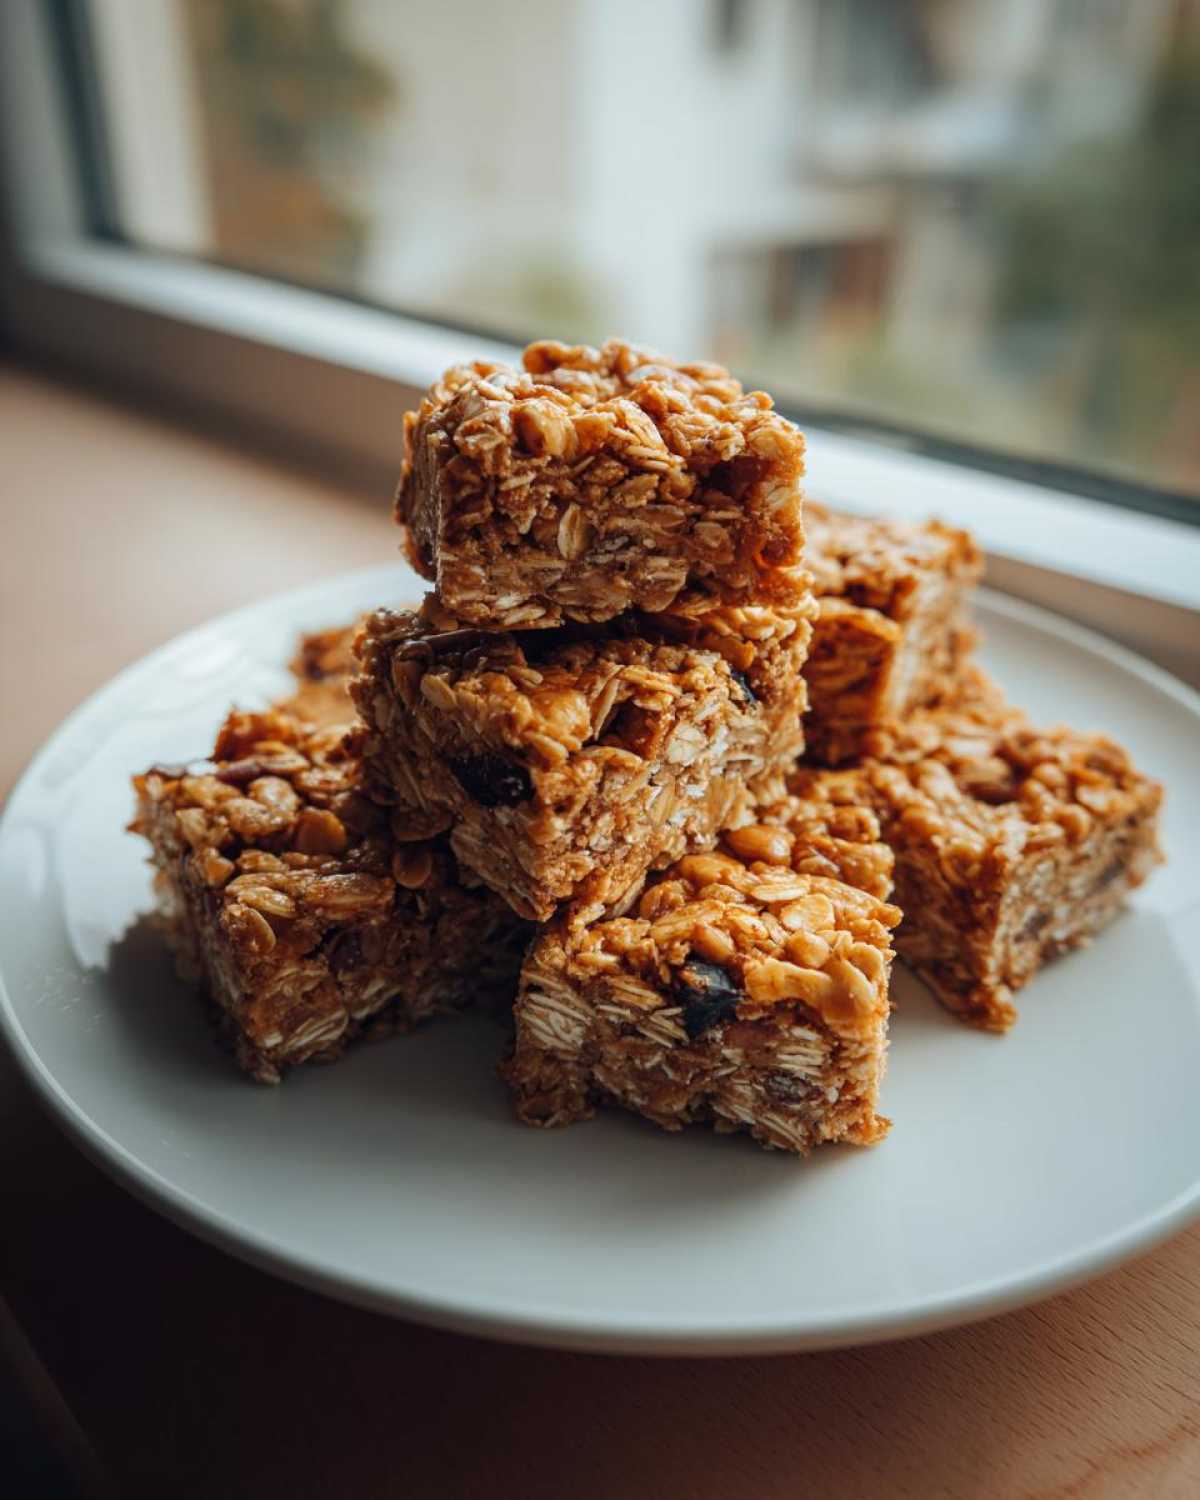
Now that you know how to mix them and the critical cooling step, let’s talk about those little things that take these homemade granola bars from good to absolutely phenomenal. I’ve learned so many tricks over the years, especially when I’m trying to sneak in extra goodness for the kids’ lunch boxes!
Tip number one, which sounds obvious but trips people up: make sure you are pressing that mixture down really, really firmly into that 8×8 pan. If you’re loose with it, they will definitely crumble when you try to cut those clean squares. Use something heavy and flat, and press until you feel like you might break the bottom of the pan!
When it comes to even baking, make sure your oven rack is centered in the oven. Also, if you are adding mini chocolate chips—because who isn’t?—try mixing them in only for the last minute of stirring the wet ingredients together, or even sprinkle them on top before baking. If they sit too long in the warm wet binder, they can sometimes start to melt a little before they even hit the heat, which messes up the final look. For those who love a classic dessert, these tips are almost as important as making sure your pie crust is perfect, like in my easy classic apple pie recipe!
Making Homemade Granola Bars Naturally Sweetened
I really pushed to use honey or maple syrup here instead of plain white sugar. Why? Because using these natural sweeteners not only boosts flavor complexity in our oatmeal snack bars but also helps with that wonderfully sticky bind! It keeps these wholesome breakfast bars tasting fresh and less artificial.
Storing and Making Ahead with Homemade Granola Bars
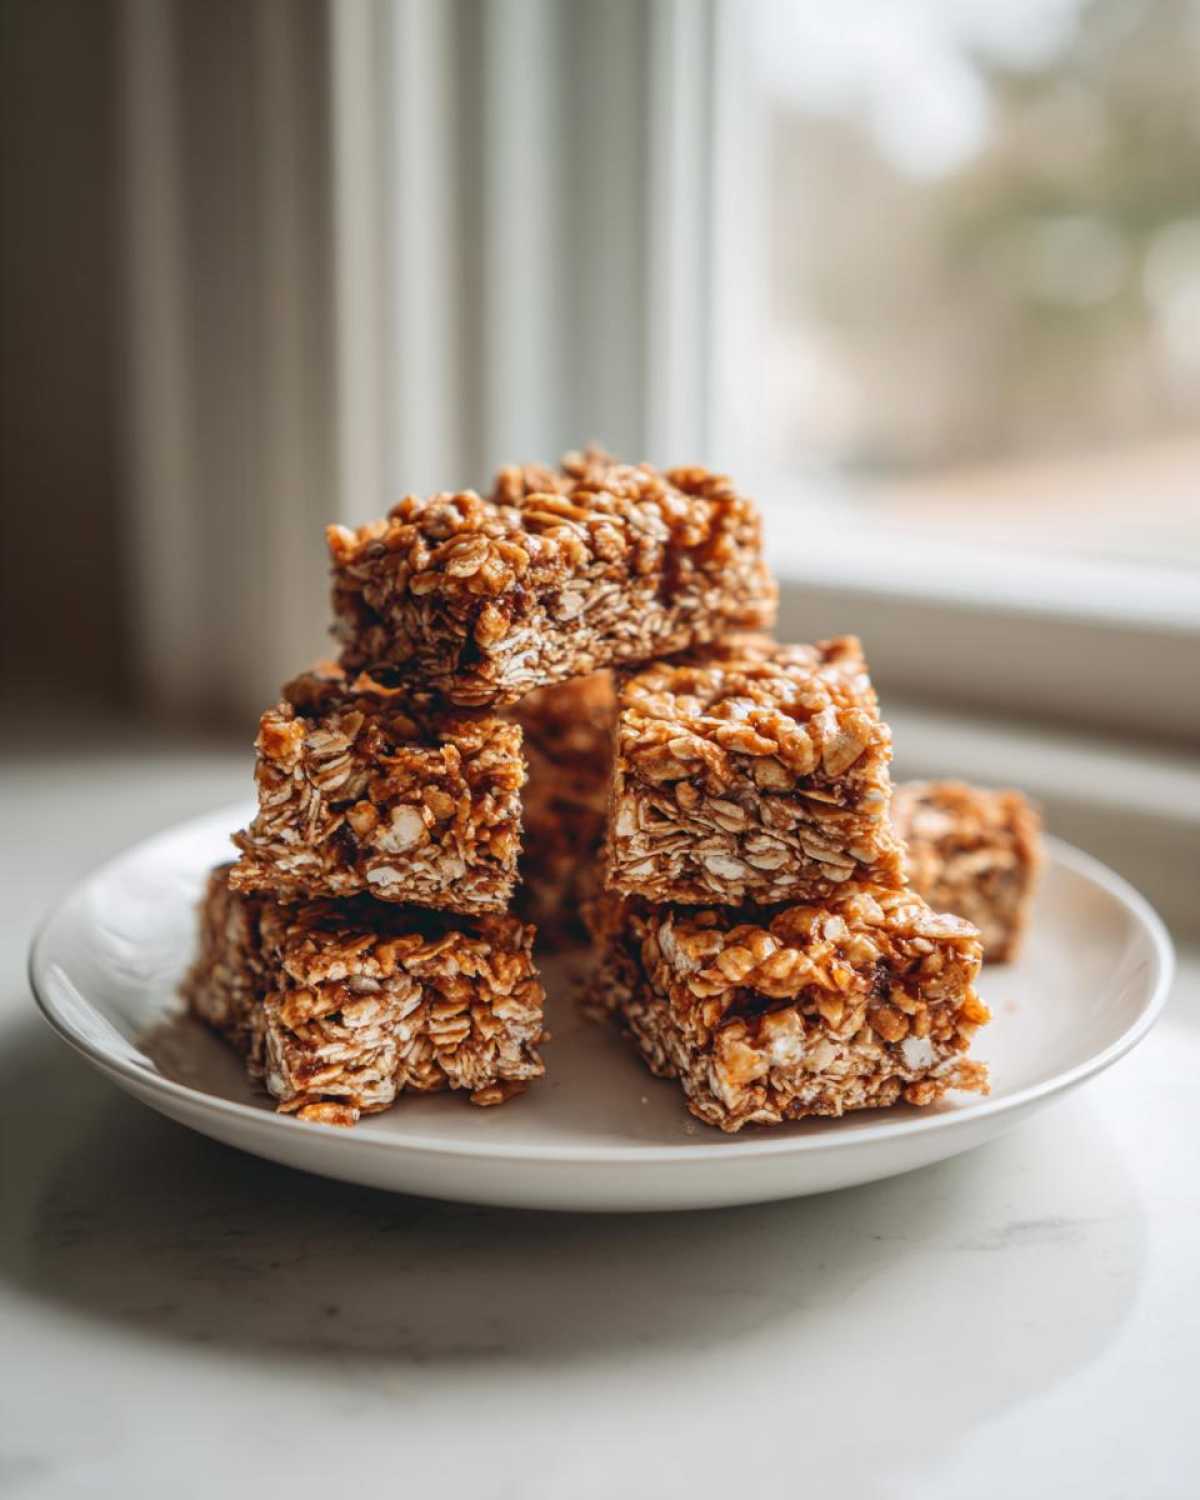
One of the best things about these homemade granola bars is how well they keep! Honestly, half the battle with making snacks for the week is keeping them fresh, right? You want them ready to grab for quick breakfasts or tossing into those inevitable school lunch boxes.
Once they are completely cooled, slice them up and store them in a truly airtight container at room temperature. They stay perfectly soft and chewy just sitting on the counter for nearly a week! That’s already fantastic, but what if you want that freshness to last even longer when you are meal prepping for the month?
That’s where the freezer comes in! These are excellent make ahead freezer snacks. Just wrap the individual bars tightly in plastic wrap or parchment paper first—this stops them from sticking together in one giant frozen clump, which is the worst! Then, pop those wrapped bars into a single large freezer bag.
If you freeze them, they last beautifully for up to a full month! When you need one, just pull it out of the freezer. I find they thaw perfectly on the counter in about an hour. If you’re in a real pinch, you can even microwave them for just 10 or 15 seconds. It slightly softens the texture, making it even more gooey. It’s almost as handy as having easy homemade soft pretzel bites ready to go!
Frequently Asked Questions About Homemade Granola Bars
I bet you have a few lingering questions swirling around, especially when mixing up new snack recipes! That’s totally normal when you’re trying to get the absolute best homemade granola bars consistency. I tried to cover every tricky spot in the main instructions, but let’s tackle the most common things folks ask me about after they try out this recipe.
Can I make these 5 ingredient granola bars without nuts?
Absolutely! If nuts aren’t your jam, or maybe you’re trying to keep things nut-free for a friend or school, you can totally skip them! If you use sunflower seed butter instead of peanut butter, you’ve already cut out the nuts. To make up for the missing bulk from the nuts themselves, just add an extra 1/4 cup of rolled oats or maybe toss in some toasted pumpkin or sunflower seeds. This keeps our focus on naturally sweetened granola while keeping that essential density!
How do I get my homemade granola bars to hold together without baking?
This is the secret if you opt for the quick and easy no bake granola bars approach! Whether baked or not, the binding agent needs pressure. If you skip baking, you must compensate with extra firm pressing and chilling time. Press the mixture into the pan with everything you’ve got, making sure it’s packed down tighter than you think is necessary. Then, place it in the fridge for a minimum of two hours, maybe even three, until it’s totally solid before attempting to cut. That long chill time lets the nut butter and sweetener harden up enough so they don’t fall apart. If you follow that, you’ll have fantastic bars!
If you are looking for other simple, hands-off side dishes, you have to try my easy garlic parmesan roasted broccolini recipe!
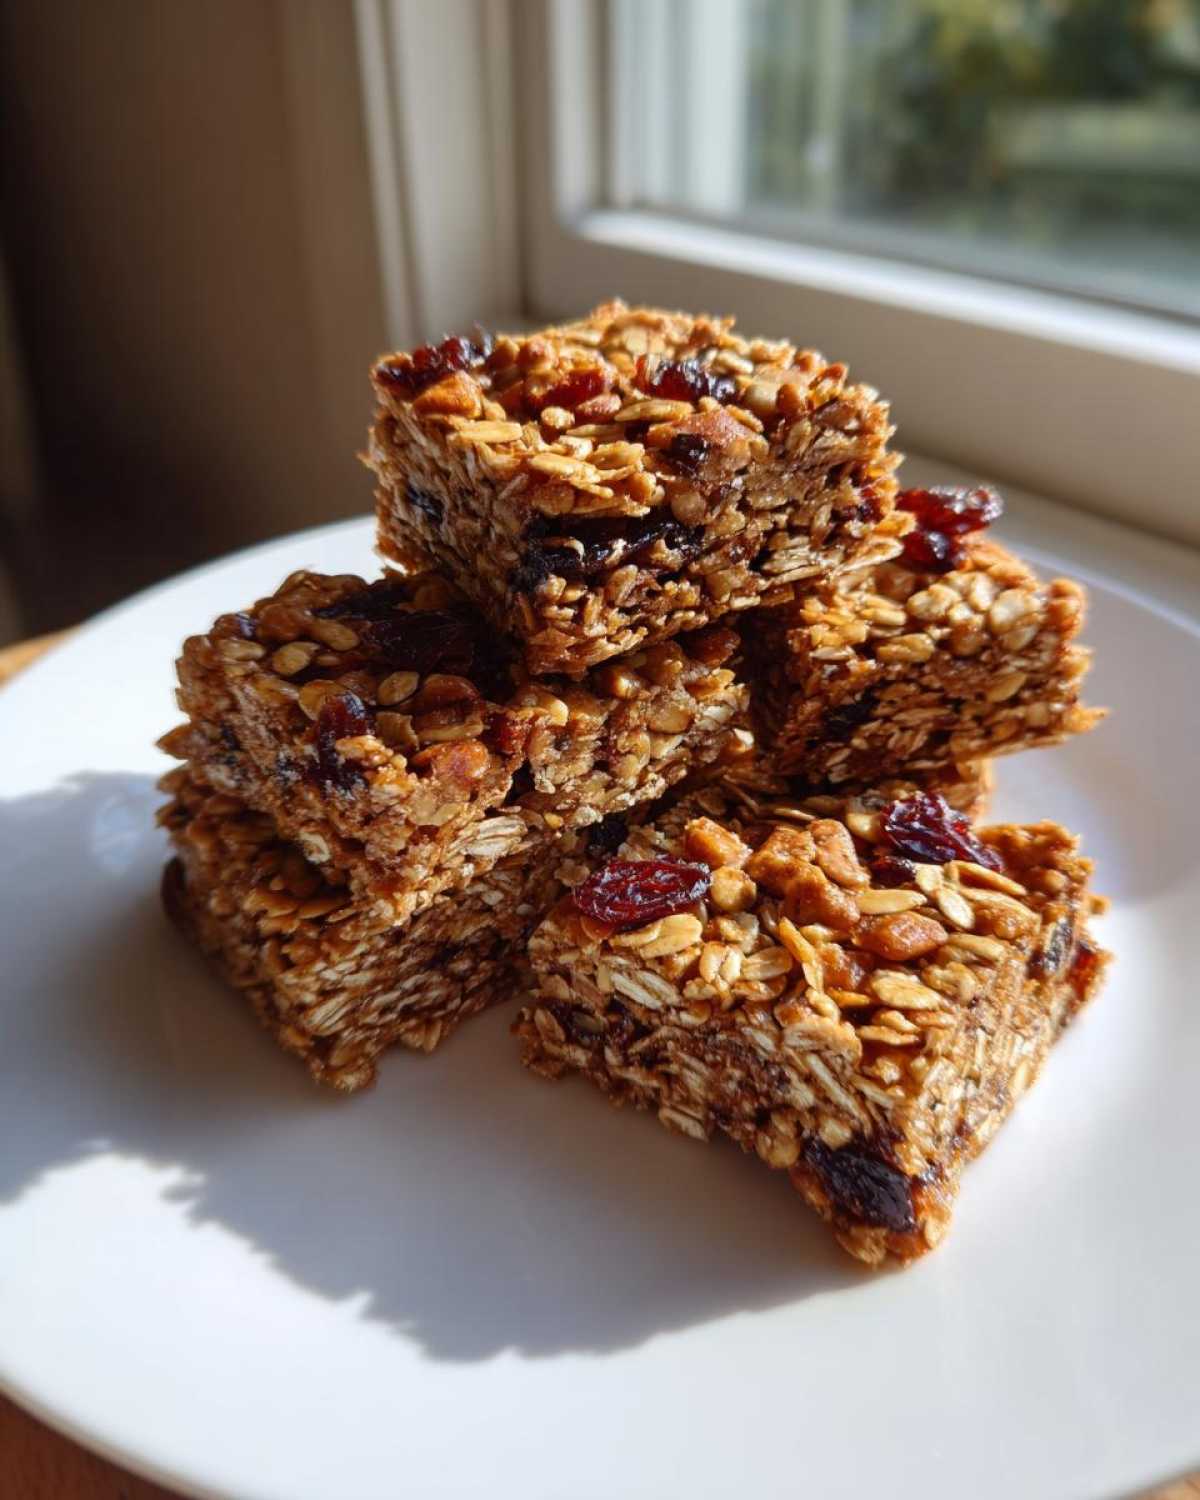
Serving Suggestions for Wholesome Breakfast Bars
So, you’ve mastered the chewy texture and stored them perfectly—now for the best part: eating them! These aren’t just emergency snacks; they are fantastic anchors for a full meal. I often serve them as wholesome breakfast bars alongside a big dollop of plain Greek yogurt. The slight tartness cuts through the sweetness of the honey perfectly.
They are also incredible just as they are, maybe warmed up for just 10 seconds if you want to mimic that fresh-out-of-the-oven feel. For the younger crowd (and let’s be honest, me too), they are the ultimate granola bar recipe for lunch boxes. Pack one up with some fresh berries or apple slices, and you’ve got a balanced meal that beats any pre-packaged option any day of the week. They even pair shockingly well with a glass of cold milk or a hot cup of coffee! If you’re looking for another breakfast favorite, you have to try my recipe for chocolate chip pancakes!
Estimating Nutrition for Your Homemade Granola Bars
I know some of you are tracking macros or just curious about what exactly you’re sneaking into those little wrappers, so I wanted to give you a general idea of the nutrition in these homemade granola bars. I kept the binding ingredients natural and low in refined junk, but remember, this is an estimate!
The exact count changes dramatically based on what you throw in the mix-in bucket. If you go heavy on the dried fruit or opt for milk chocolate chips over the dark ones, those numbers will shift! Treat this chart as a great baseline for using standard ingredients.
Here is the approximate breakdown per one bar:
- Serving Size: 1 bar
- Calories: 180
- Sugar: 8g
- Sodium: 50mg
- Total Fat: 8g (1.5g saturated fat)
- Carbohydrates: 24g
- Fiber: 3g
- Protein: 5g
See? That 5g of protein is so great for stabilizing energy throughout the day, making these perfect healthy snack bars. Just remember, if you load these up with walnuts and chia seeds, you might see the fat and protein numbers climb higher, which is totally fine if you’re looking for more staying power!
PrintBest Homemade Granola Bars: Easy, Chewy & Kid-Friendly Recipe
Make your own chewy, naturally sweetened homemade granola bars packed with wholesome ingredients. These are easy to customize and perfect for healthy snacks or lunch boxes.
- Prep Time: 10 min
- Cook Time: 18 min
- Total Time: 28 min
- Yield: 12 servings 1x
- Category: Snack
- Method: Baking
- Cuisine: American
- Diet: Vegetarian
Ingredients
- 2 cups rolled oats
- 1 cup mix-ins (nuts, seeds, dried fruit, mini chocolate chips)
- 1/2 cup binder (e.g., peanut butter or almond butter)
- 1/3 cup natural sweetener (e.g., honey or maple syrup)
- 1 teaspoon vanilla extract
- 1/4 teaspoon salt
Instructions
- Preheat your oven to 350°F (175°C). Line an 8×8 inch baking pan with parchment paper, leaving an overhang for easy removal.
- In a large bowl, combine the rolled oats and your chosen mix-ins.
- In a small saucepan over low heat, gently warm the nut butter and natural sweetener until they are smooth and easily combined. Do not boil.
- Remove the binder mixture from the heat and stir in the vanilla extract and salt.
- Pour the wet ingredients over the dry oat mixture. Stir well until everything is evenly coated.
- Press the mixture firmly and evenly into the prepared baking pan. Use the bottom of a glass or a spatula to pack it down tightly for chewy bars.
- Bake for 15 to 18 minutes, or until the edges are lightly golden brown.
- Let the bars cool completely in the pan on a wire rack. This step is crucial for them to set properly.
- Once cool, use the parchment paper overhang to lift the block out of the pan. Cut into 12 to 16 bars.
Notes
- For a no-bake version, skip baking and press the mixture firmly into the pan. Chill in the refrigerator for at least 2 hours until firm before cutting.
- Customize your bars! Add 1/2 cup of mini chocolate chips or shredded coconut for extra flavor.
- These are great make ahead freezer snacks; store them in an airtight container for up to one month.
- If you prefer soft baked granola bars, slightly underbake them by 1-2 minutes.
Nutrition
- Serving Size: 1 bar
- Calories: 180
- Sugar: 8
- Sodium: 50
- Fat: 8
- Saturated Fat: 1.5
- Unsaturated Fat: 6.5
- Trans Fat: 0
- Carbohydrates: 24
- Fiber: 3
- Protein: 5
- Cholesterol: 0