
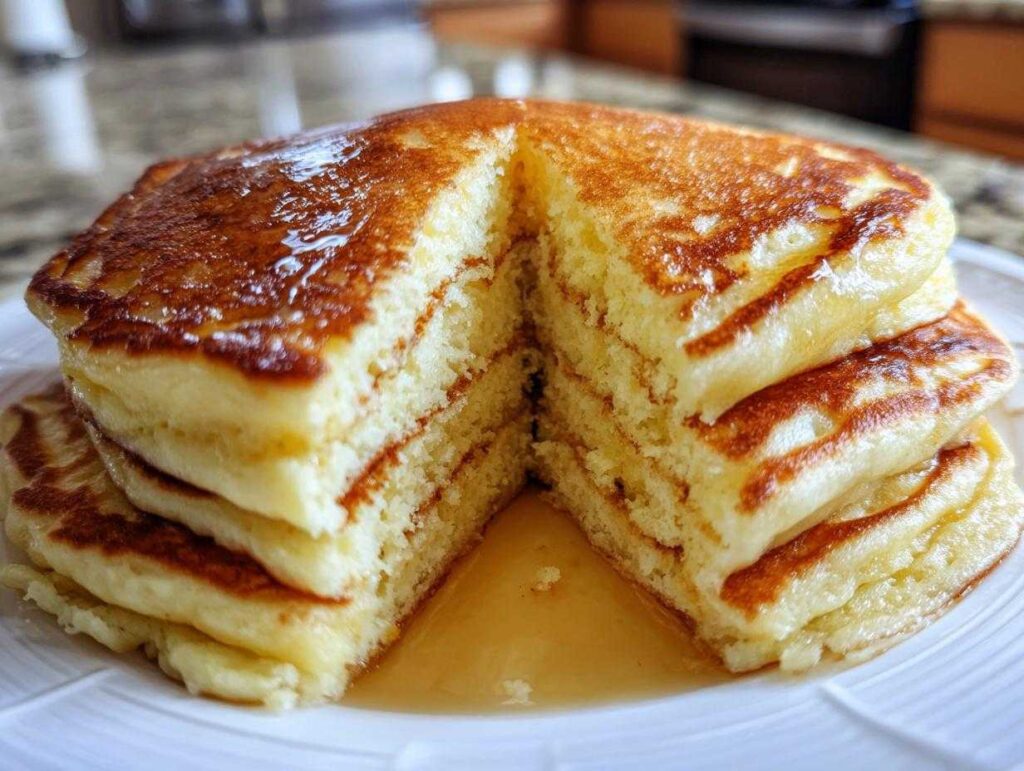
Oh, friends, stop right there—because I’m about to change your mornings forever! You know I pride myself on sharing recipes that truly stand the test of time, and when it comes to breakfast comfort food, nothing beats a perfect stack. I have spent years perfecting the ultimate fluffy, old-fashioned pancakes recipe, and trust me, we are never going back to those sad, flat discs or, heaven forbid, a box mix ever again. This is my go-to, beginner-friendly, from-scratch method using real buttermilk to achieve those soaring, light, and airy pancakes that make weekend brunch legendary. If you’ve been searching for the secret to truly unforgettable homemade pancakes, you’ve found your new best friend right here! I’m Sophia Collins, and get ready to stack ‘em high!
- Why These Are The Best Homemade Pancakes You Will Ever Make
- Essential Ingredients for Perfect Pancakes
- Step-by-Step Instructions for Fluffy Pancakes
- Sophia's Expert Tips for Tall Stack Pancakes
- Serving Suggestions for Your Fluffy Pancakes
- Storage and Reheating Instructions for Leftover Pancakes
- Making Pancakes: Troubleshooting Common Issues
- Frequently Asked Questions About Our Pancakes Recipe
- Estimated Nutritional Snapshot for These Pancakes
Why These Are The Best Homemade Pancakes You Will Ever Make
I know, I know—everyone promises the best pancakes, but I genuinely mean it this time! If you are tired of pancake layers that look more like crepes, you need to see what this recipe truly delivers. These aren’t just good; they are the definition of a light and airy breakfast.
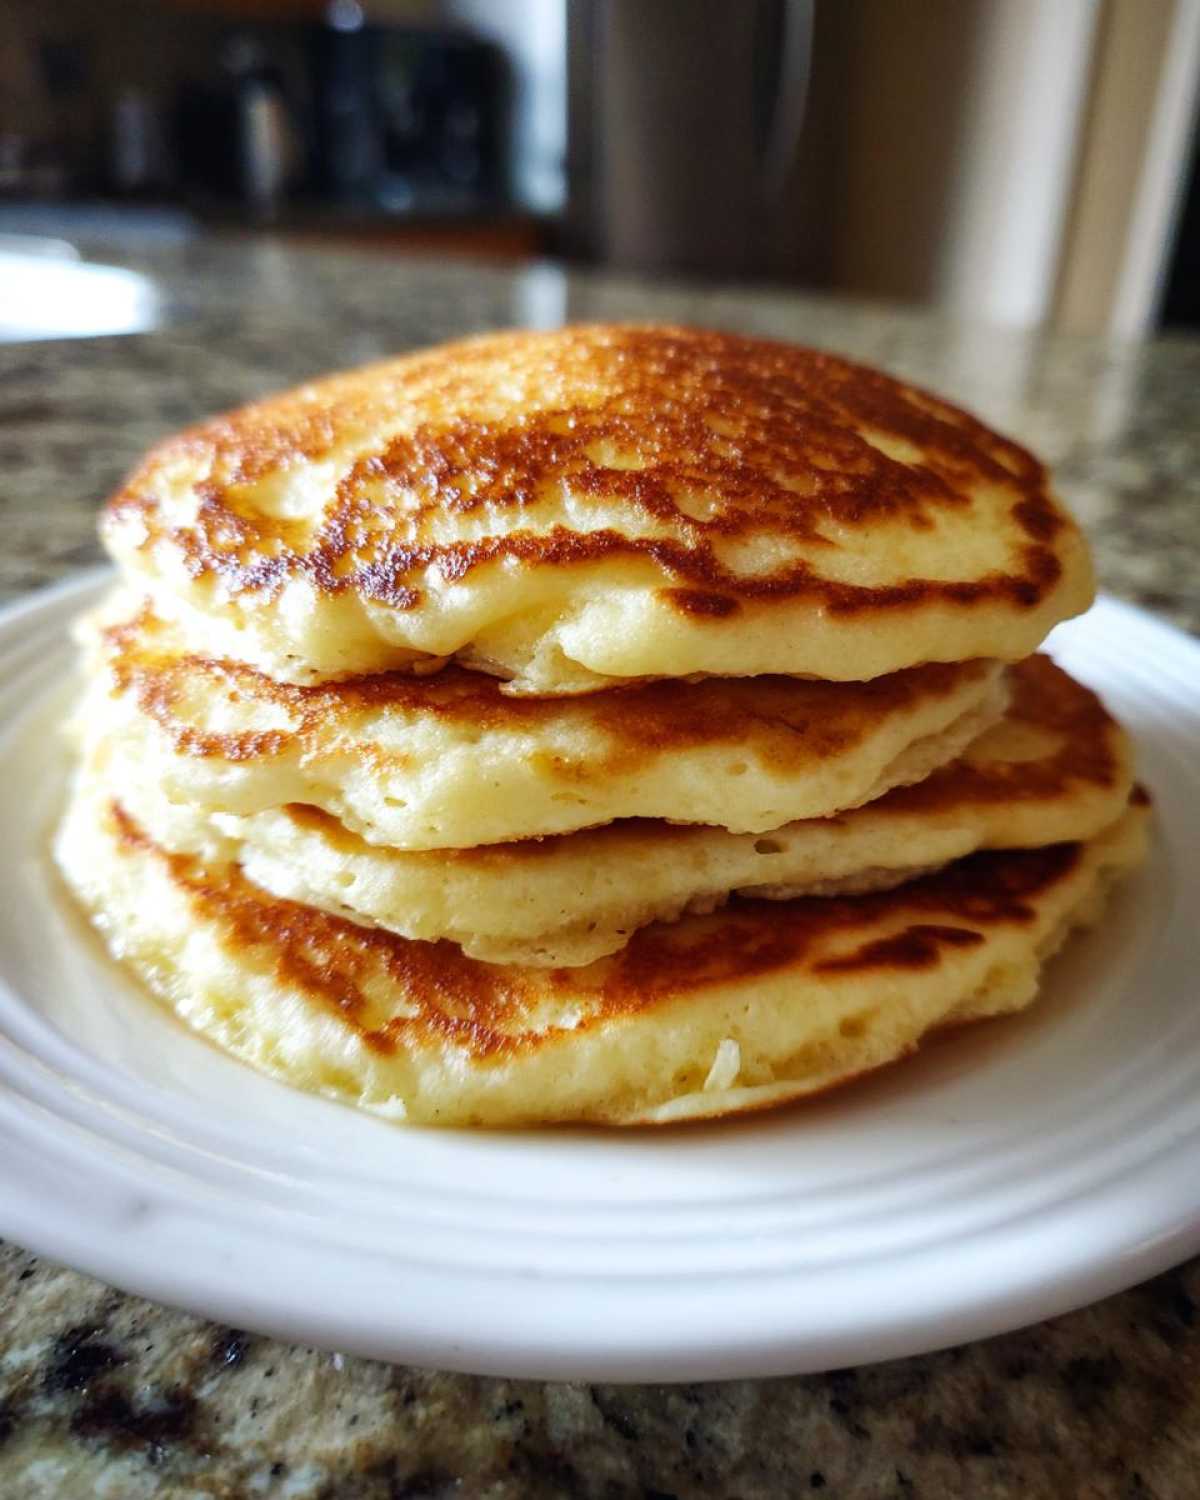
- Guaranteed Fluffy Pancake Recipe Results: We unlock the pancake secrets for fluffiness by using buttermilk reacting perfectly with our gentle mix of baking powder and soda. Plus, that critical resting time sets us up for ultimate success.
- Simple One Bowl Pancake Batter Method: Seriously, it’s all in one spot! This is the easiest one bowl pancake batter you’ll ever make, meaning cleanup is a breeze, and you get that easy pancake recipe from scratch experience you’ve been craving.
- Classic Old Fashioned Pancakes Flavor: That unmistakable tang and rich depth only come from real buttermilk. These taste exactly like the nostalgic old fashioned pancakes you remember from the best diners, not something sugary from a box.
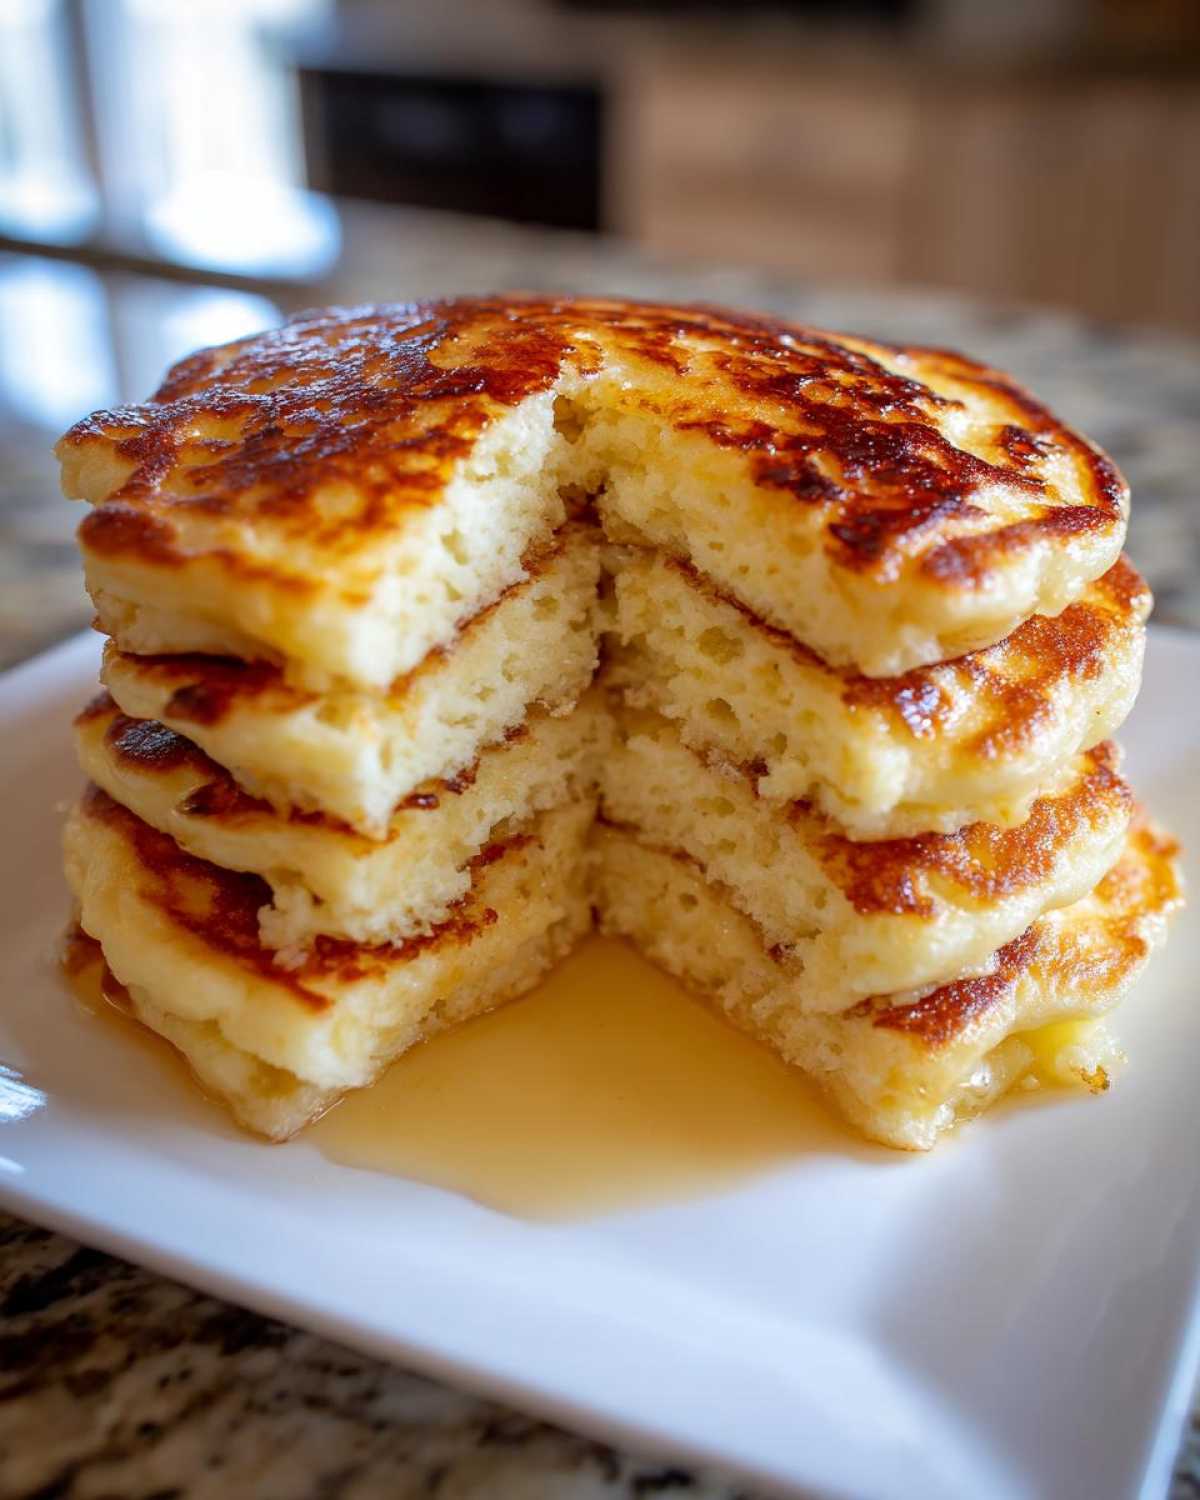
Prepare yourself for some seriously tall stack pancakes, folks. You won’t believe how high they go!
Guaranteed Fluffy Pancake Recipe Results
The secret sauce here is chemistry, but I promise it’s easy chemistry! When the acidic buttermilk meets the baking soda, you get an immediate, powerful lift. That chemical reaction, combined with letting the batter sit for 10 minutes, is one of the biggest pancake secrets for fluffiness. It gives you that airy structure that holds up all your syrup.
Simple One Bowl Pancake Batter Method
Forget dirtying three bowls just for breakfast! This is truly an easy pancake recipe from scratch, centered around developing that incredible flavor payoff with minimal fuss. Everything goes into one big bowl until barely combined. It’s so fast, you can whip this up right before the kids even get out of bed.
Classic Old Fashioned Pancakes Flavor
You simply cannot replicate the taste of real buttermilk. That slight tang cuts through the sweetness perfectly. If you want proper old fashioned pancakes that taste timeless and decadent, skip the milk substitutes. The flavor profile here is rich, deep, and absolutely worth it for that special weekend morning.
Essential Ingredients for Perfect Pancakes
Okay, let’s get serious for a moment. The magic of these tall stack pancakes starts *before* you even turn on the griddle. Using quality components is everything, especially when you are aiming for that classic, rich flavor. Don’t substitute when it comes to the dairy here; fresh buttermilk is non-negotiable for that amazing tang and lift we are after!
Here is exactly what you need for about 10 glorious pancakes:
- 1 3/4 cups all-purpose flour
- 2 tablespoons granulated sugar
- 2 teaspoons baking powder
- 1 teaspoon baking soda
- 1/2 teaspoon salt
- 1 3/4 cups buttermilk
- 2 large eggs
- 4 tablespoons unsalted butter, melted, plus more for the griddle
- 1 teaspoon vanilla extract
Ingredient Notes and Substitutions
I want you to aim for full-fat buttermilk, please! That higher fat content guarantees the richest texture and helps us achieve those diner style pancakes recipe results. But hey, I know buttermilk isn’t always on hand! If you are in a pinch, never worry. You can make a super quick substitute.
Just take 1 3/4 cups of regular whole milk and whisk in 1 tablespoon of white vinegar or fresh lemon juice. Let it sit on the counter for about five minutes until it looks slightly curdled. That’s your homemade buttermilk! It works wonderfully so you don’t have to run to the store just for this buttermilk pancakes easy treat.
Step-by-Step Instructions for Fluffy Pancakes
Now that we have our superstar ingredients gathered, let’s talk technique! This is where the magic happens, transforming simple flour and buttermilk into that gorgeous, towering stack. Remember, we are aiming for a thick batter pancakes texture here, not soup! Follow these steps exactly, and I promise you’ll get those perfect, perfectly golden pancakes every time you use this recipe. By the way, if you loved the buttermilk magic here, you should see how I use it in my biscuit recipe over at my buttermilk biscuits guide!
Mixing the Pancakes Batter Correctly
First things first, whisk your dry stuff together really well in that big bowl—we want the leavening agents evenly distributed! Pour in your wet ingredients. Now, stop! Grab a whisk or a rubber spatula and mix *gently*. You only want to mix until the flour streaks are *almost* gone. Look, I need you to embrace the lumps! Overmixing develops gluten, and gluten makes tough, flat pancakes. Lumpy batter means light, airy pancake secrets for fluffiness are protected!
Griddle Preparation and Cooking Pancakes
Time to heat up your cooking surface! Medium heat is your friend; if it’s too high, the outside burns before the inside cooks through. A little melted butter for your pan helps flavor the edges. You’ll know the griddle is ready when a drop of water immediately sizzles and vanishes. Pour about 1/4 cup of that thick batter onto the hot spot. Watch closely! When you see bubbles start popping up on the surface and the edges look set and slightly dull, that’s your cue. Flip it immediately, cook the second side for just a couple of minutes until it’s golden, and slide it onto a plate!
Sophia’s Expert Tips for Tall Stack Pancakes
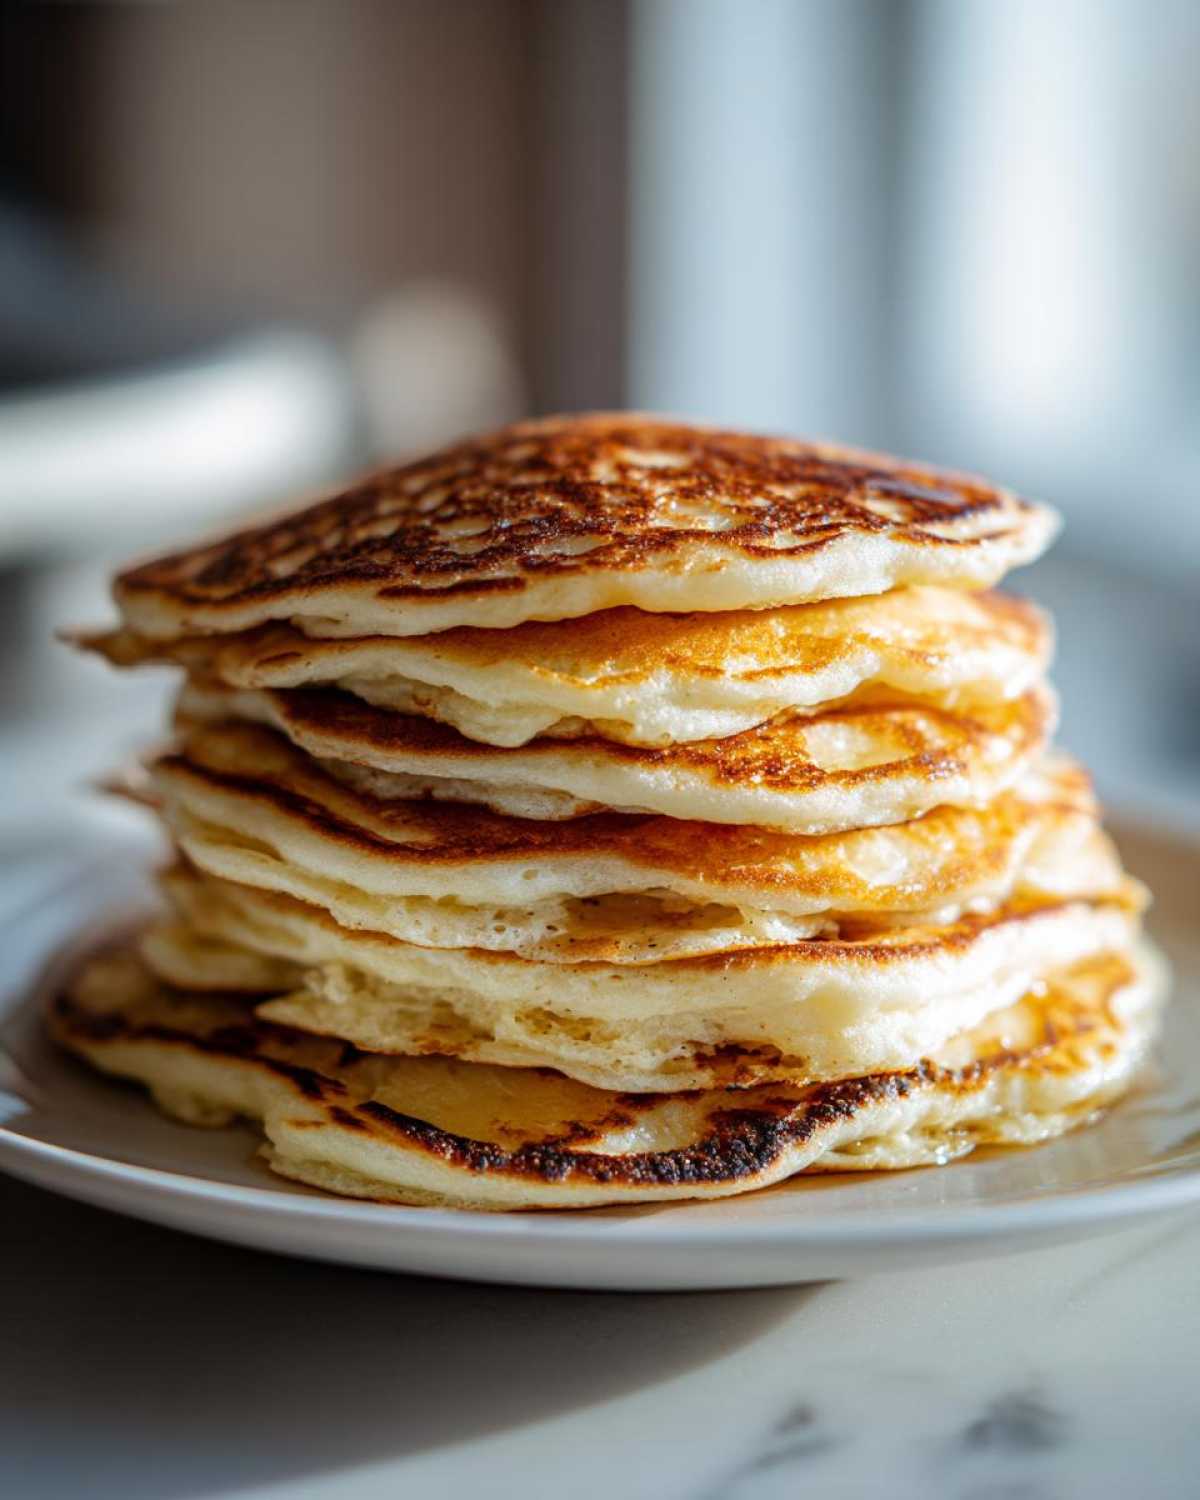
If you really want to move these from ‘great’ to ‘OMG, what are these?!’ territory, you need to know my top-tier pancake secrets for fluffiness. I’ve got two essential moves that separate the light layers from the dense disappointments. These little tricks are what make me famous for my best homemade pancakes!
The Importance of Resting the Pancakes Batter
I mentioned it briefly, but I need you to take this seriously: don’t skip the 5 to 10-minute rest! While you are waiting, the baking powder and baking soda are busy reacting with the buttermilk. They are creating all those little carbon dioxide bubbles. If you rush to the griddle, those bubbles escape too fast. Letting it rest stabilizes those bubbles, ready to expand with serious thermal power when they hit the heat. It’s crucial for that lift!
Maintaining Consistent Griddle Heat for Pancakes
Seriously, folks, heat control is half the battle. If your griddle is too hot, you get dark, crispy edges that are raw in the middle. Too cold, and the chemical reaction dies out before the pancake sets, resulting in flat disasters. Keep it steady at medium heat. If you need to cook a huge batch, move the pan off the flame for a minute between rounds to let the temperature settle back down. This careful management is how you achieve those perfectly golden pancakes every single time. Also, check out my tips for achieving that creamy fluff in my scrambled eggs recipe—it involves similar delicate heat control!
For the ultimate showstopper, if you want unbelievable lift beyond what the baking powder gives you, try whipping your egg whites! Separate the yolks and whisk those whites until they form soft peaks. Gently fold those whipped whites into your finished batter (after adding the melted butter) right before cooking. It’s a little extra work, but it delivers the airiest, most spectacular tall stack pancakes imaginable. You can follow some of my other favorite morning methods over on my Pinterest board, or find more inspiration by checking out my Pinterest profile!
Serving Suggestions for Your Fluffy Pancakes
Now that you have these gorgeous, towering beauties, what are you going to put on top? Don’t let the fun stop at just pouring syrup! While classic maple and a pat of melting butter are absolutely divine for a traditional breakfast, we can have some fun with our pancake topping ideas. I personally love fresh, tart berries—blueberries or thinly sliced strawberries—to cut through the richness of our buttermilk pancakes easy recipe.
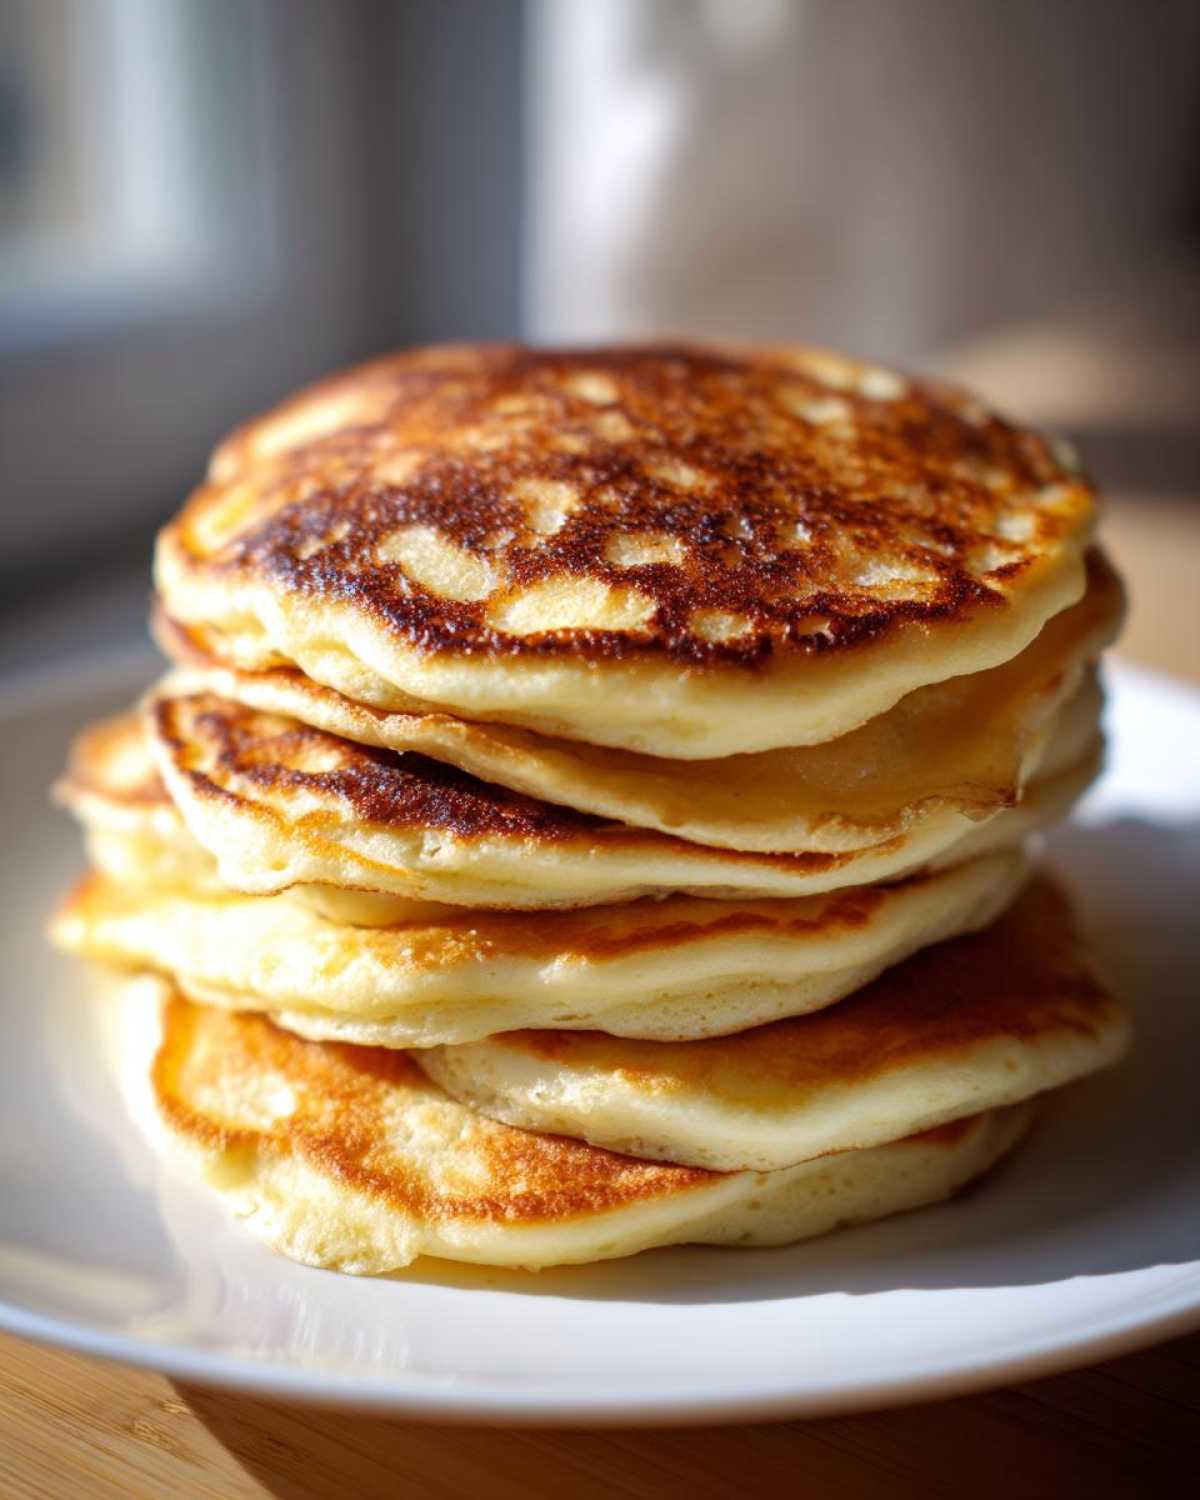
For a real treat, consider a dollop of my homemade whipped cream (check out my vanilla buttercream recipe; it makes phenomenal topping, too!). A light dusting of powdered sugar is stunning, or if you’re feeling like dessert for breakfast, you can never go wrong with toasted pecans or a drizzle of warm chocolate sauce. These classic breakfast comfort food pancakes are the perfect canvas for whatever sweet creation you dream up!
Storage and Reheating Instructions for Leftover Pancakes
I almost never have leftovers because my family dives in before they even cool down, but when I manage to squirrel away a couple of these fluffy beauties, storage is key! You want to make sure they are completely cool before you package them up, that’s rule number one—otherwise, you’ll end up with soggy steam traps.
For the fridge, I stack them with a small piece of parchment paper between each pancake. This keeps them from sticking together, which is a lifesaver when you’re sleepy and just want breakfast fast! They’ll keep nicely in an airtight container in the refrigerator for about three days. This is perfect for quick weekday mornings when you need a quick breakfast recipe without the fuss!
Now, if you’re thinking big batch for later, the freezer is your best friend! Stack them with parchment dividers, wrap the whole stack tightly in plastic wrap, and then pop that into a heavy-duty freezer bag. They freeze beautifully for up to three months!
The Best Way to Reheat Pancakes
Okay, how do we get that fluffy texture back? Forget the microwave if you can; it heats unevenly and often turns them chewy or tough. My preferred method is the toaster oven or a regular oven!
- Oven Method (Best for large batches): Lay the pancakes in a single layer on a baking sheet and heat them at 350°F (175°C) for about 5 to 8 minutes, until warmed through. They fluff right back up!
- Toaster Oven/Skillet (Best for 1-2 serving): If you only have a couple, just a quick touch on a dry skillet over **very low** heat, flipping once, works miracles. It crisps the outside just a bit while warming the inside perfectly.
These reheating tips make these old fashioned pancakes just as good the next morning!
Making Pancakes: Troubleshooting Common Issues
Even with the perfect recipe, sometimes things go a little sideways on the griddle, right? It happens to me too! Cooking pancakes is mostly about timing and heat control, so if your stack isn’t quite looking like those pictures, don’t stress! We can troubleshoot these common hiccups easily by going back to the principles we just covered. Let’s fix those flat, sticky, or burnt boys!
Why Are My Pancakes Sticking to the Griddle?
If your cooked pancakes look ragged and stick to the pan, nine times out of ten, your surface isn’t hot enough, or you didn’t grease it adequately. Remember how I said a drop of water should sizzle right away? If it just sits there and slowly steams, the temperature is too low. Give the pan another minute on the heat! Also, make sure you are using a tiny bit of melted butter or oil between batches. If the pan gets sticky, wiping it down and adding another thin coat of fat can save the next batch.
My Pancakes Are Flat—What Went Wrong?
This is the one that breaks my heart, but it usually ties back to two things we’ve talked about! First, did you mix that batter too much? If you whisked until it was perfectly smooth, you developed the gluten, making them elastic instead of soft. Lumpy batter is your friend! Second, did you let it rest? That 5 to 10-minute wait time allows the leavening to get really active. If you skip the rest, you skip the lift, resulting in dense, flat pancakes. We want those old fashioned pancakes to be thick, not thin!
Why Are My Pancakes Burning on the Outside but Still Raw Inside?
This is the classic sign of heat that is way too high! If your stovetop dial says ‘medium’ but it’s really blazing hot, the outside is going to char before the heat ever reaches the center of that thick batter. If you notice your first pancake looks dark brown almost immediately, turn your heat down a notch immediately. Medium-low is often a safer bet when you’re aiming for those perfectly golden pancakes. Lower and slower means the inside cooks fully while the outside browns beautifully. Consistency is everything for that perfect diner style breakfast!
Frequently Asked Questions About Our Pancakes Recipe
I get so many great questions after people try this recipe for the first time, and that’s wonderful! It just goes to show how much everyone loves a proper stack of treats. I’ve gathered a few of the most common ones here to make sure your next breakfast is absolutely flawless. You deserve that perfect, melt-in-your-mouth texture whether you’re making a small batch or planning a full brunch!
Can I use regular milk instead of buttermilk in these pancakes?
You totally *can*, but honestly, I plead with you not to if fluffiness is your main goal! Regular milk just doesn’t provide the necessary acidity to react strongly with the baking soda, which is essential for that dramatic lift that gives you fantastic buttermilk pancakes easy results. If you must use regular milk, make sure you whip up the quick substitute I mentioned above—milk plus vinegar or lemon juice—and let it sit for five minutes. That acidity is what helps us nail that authentic diner style pancakes recipe flavor.
What makes these pancakes so much fluffier than others?
It’s a two-part harmony, really! First, it’s the chemical reaction happening between the buttermilk and the leavening agents, which creates tons of internal air pockets. Second, and this is critical for maximizing that lift, is the mandatory 5 to 10-minute rest period for the batter. You’re giving those tiny bubbles time to stabilize and grow stronger before they even hit the heat. That combination is the ultimate guarantee for those tall stack pancakes!
How do I keep a large batch of pancakes warm?
This is such a practical question for feeding a crowd! You absolutely shouldn’t just stack them on a plate while you finish the rest, or they will steam themselves silly and get dense. Once a pancake is perfectly golden and cooked through, immediately slide it onto a baking sheet. Then, pop that sheet into an oven set very low, around 200°F (93°C). This keeps them piping hot and ready to serve without overcooking them. This tip ensures every single pancake you serve is fresh, light, and ready to go, just like my directions suggest!
If you are looking for more simple breakfast techniques that deliver restaurant quality results at home, check out how I handle my homemade English muffins—it follows a similar philosophy of rewarding patience!
Estimated Nutritional Snapshot for These Pancakes
I always think it’s important to have a general idea of what we’re eating, especially when whipping up something as comforting as our best homemade pancakes! Now, please remember that these numbers are just estimates based on standard measurements for one large pancake based on this recipe. Since we all measure slightly differently and brand ingredients can vary, think of this as a helpful guide, not a strict contract!
We designed this recipe to be a satisfying treat without relying on heavy processed sugars, focusing instead on that real buttermilk tang and structure. You’ll see how wholesome the core ingredients are!
- Serving Size: 1 pancake
- Calories: 180
- Fat: 7g
- Saturated Fat: 4g
- Carbohydrates: 25g
- Sugar: 4g
- Protein: 6g
- Sodium: 350mg
See? That low sugar count is fantastic! That’s because the sweetness comes mainly from natural ingredients and just a couple of tablespoons of granulated sugar—the rest is pure, delicious, fluffy satisfaction. Enjoy every bite of your perfect weekend breakfast!
PrintThe Ultimate Fluffy Old-Fashioned Buttermilk Pancakes: Easy, From-Scratch Recipe
Make the best homemade pancakes that are incredibly fluffy, light, and airy. This easy, one-bowl recipe uses buttermilk for a classic, old-fashioned taste that beats any box mix for your weekend brunch.
- Prep Time: 10 min
- Cook Time: 15 min
- Total Time: 25 min
- Yield: About 10 pancakes 1x
- Category: Breakfast
- Method: Griddling
- Cuisine: American
- Diet: Vegetarian
Ingredients
- 1 3/4 cups all-purpose flour
- 2 tablespoons granulated sugar
- 2 teaspoons baking powder
- 1 teaspoon baking soda
- 1/2 teaspoon salt
- 1 3/4 cups buttermilk
- 2 large eggs
- 4 tablespoons unsalted butter, melted, plus more for the griddle
- 1 teaspoon vanilla extract
Instructions
- In a large bowl, whisk together the flour, sugar, baking powder, baking soda, and salt. This is your dry mix.
- In a separate medium bowl, whisk together the buttermilk, eggs, and vanilla extract.
- Pour the wet ingredients into the dry ingredients. Gently whisk until just combined. Do not overmix; a few lumps are fine.
- Stir in the 4 tablespoons of melted butter until barely incorporated. The batter should be thick. Let the batter rest for 5 to 10 minutes. This resting time helps the leavening agents activate, which is one of the secrets for tall stack pancakes.
- Heat a lightly oiled griddle or large non-stick pan over medium heat. You know the griddle is ready when a drop of water sizzles and evaporates quickly.
- Pour 1/4 cup of batter onto the hot griddle for each pancake. Cook for 2 to 3 minutes per side. You will see bubbles form on the surface and the edges will look set before you flip.
- Flip the pancakes and cook for another 1 to 2 minutes until golden brown and cooked through.
- Serve immediately with your favorite toppings. For the best results, keep finished pancakes warm on a baking sheet in a 200°F oven while you cook the rest of the batch.
Notes
- For extra fluffiness, separate the egg yolks and whites. Whisk the yolks into the buttermilk mixture. Whip the egg whites to soft peaks, then gently fold them into the final batter right before cooking.
- Use full-fat buttermilk for the best flavor and texture in these old fashioned pancakes.
- If you do not have buttermilk, mix 1 3/4 cups of whole milk with 1 tablespoon of white vinegar or lemon juice. Let it sit for 5 minutes before using.
- For perfectly golden pancakes, maintain a consistent medium heat on your cooking surface.
Nutrition
- Serving Size: 1 pancake
- Calories: 180
- Sugar: 4g
- Sodium: 350mg
- Fat: 7g
- Saturated Fat: 4g
- Unsaturated Fat: 3g
- Trans Fat: 0g
- Carbohydrates: 25g
- Fiber: 1g
- Protein: 6g
- Cholesterol: 60mg