
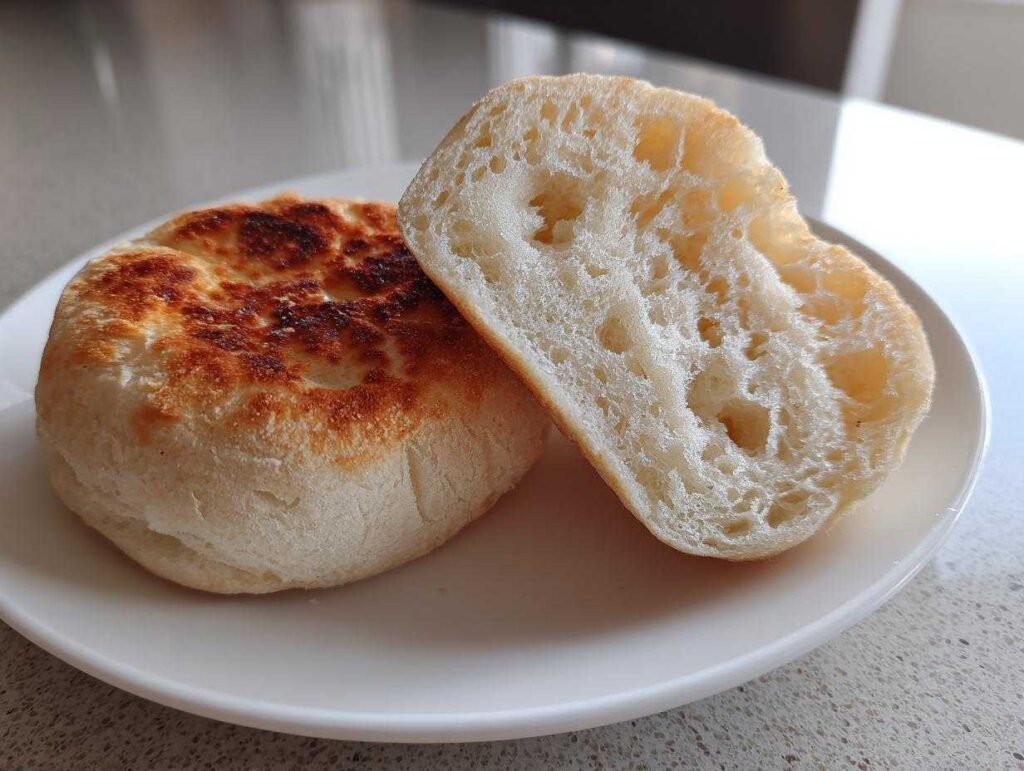
Oh my gosh, you absolutely have to try making these! I’m Sophia, and if there’s one thing I learned from my grandmother—besides how to bake a perfect pie crust—it’s that nothing beats the smell of fresh baked bread filling your home. Forget those plastic bags of spongy things from the store! We are officially ditching the mediocre and diving headfirst into making the homemade english muffins you dream about. I’m talking about bakery-quality texture right here on your stovetop. The goal, always, is those glorious, buttery pockets we call nooks and crannies. Trust me, once you master this easy, no-knead method, you won’t look back. This recipe is my go-to for the best homemade breakfast bread, and I just know it’s going to become yours, too! If you love bread like I do, you might enjoy mastering my recipe for soft and fluffy homemade raisin bread next!
- Why This is the Best Homemade English Muffins Recipe
- Ingredients for Classic Homemade English Muffins Recipe
- Step-by-Step Instructions for Soft Fluffy Homemade English Muffins
- Tips for Making the Best Homemade Breakfast Bread
- Storage and Reheating Homemade English Muffins
- Serving Suggestions for Your Homemade English Muffins
- Frequently Asked Questions About Homemade English Muffins
- Nutritional Estimates for This Buttery English Muffin Recipe
- Share Your Homemade English Muffins Creations
Why This is the Best Homemade English Muffins Recipe
I’m telling you, this isn’t just another bread recipe; this is *the* one. I’ve tweaked my grandmother’s original yeast dough method so many times to make it foolproof for weeknights. When people tell me they are scared of yeast breads, I point them right here because it’s so reliable! These deliver soft, fluffy English muffins that redefine breakfast. You’ll find yourself wanting to make a double batch every weekend.
- They are incredibly simple and use basic pantry staples, making them the perfect Easy English Muffins from scratch.
- The texture isn’t just soft; they have that sought-after buttery chew that commercial versions just can’t match anymore.
- You get that marvelous bakery-style quality without needing a stand mixer or spending hours kneading!
We make these all the time, and when we see them on our Pinterest boards, we know others want this same easy magic. If you love classic comfort bakes, you simply have to try my recipe for the best soft and chewy classic Snickerdoodle recipe too!
Achieving Perfect English Muffin Nooks and Crannies
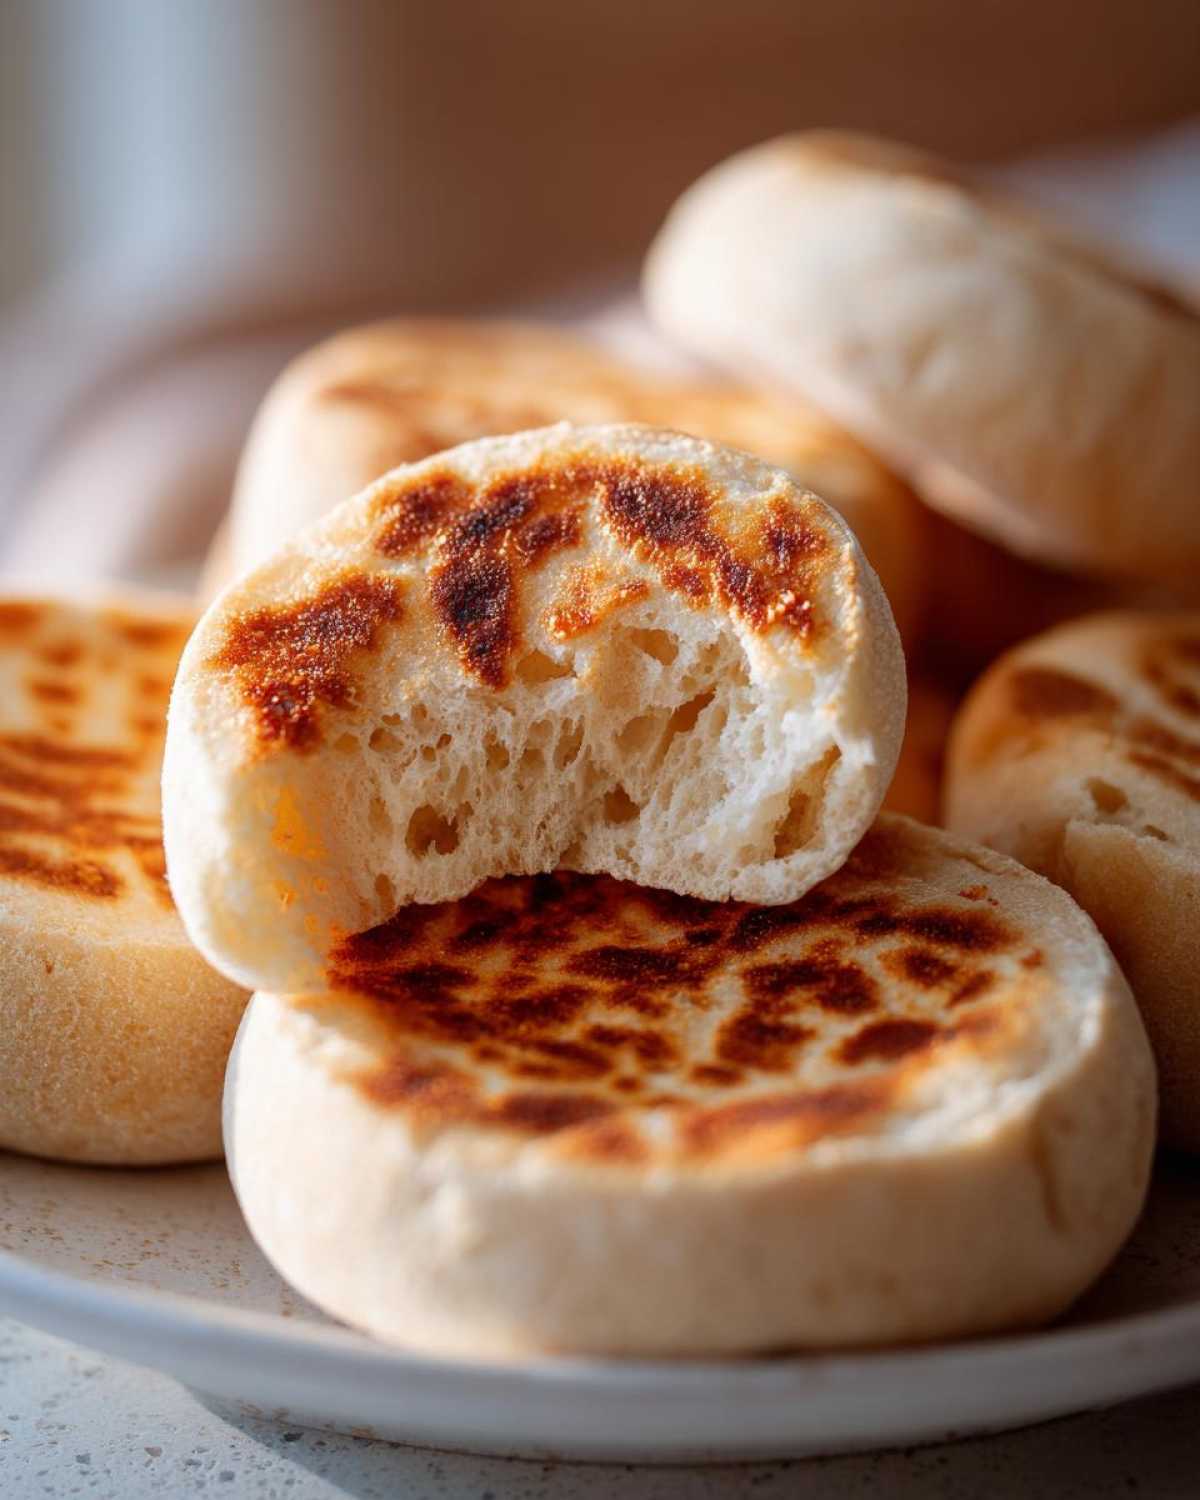
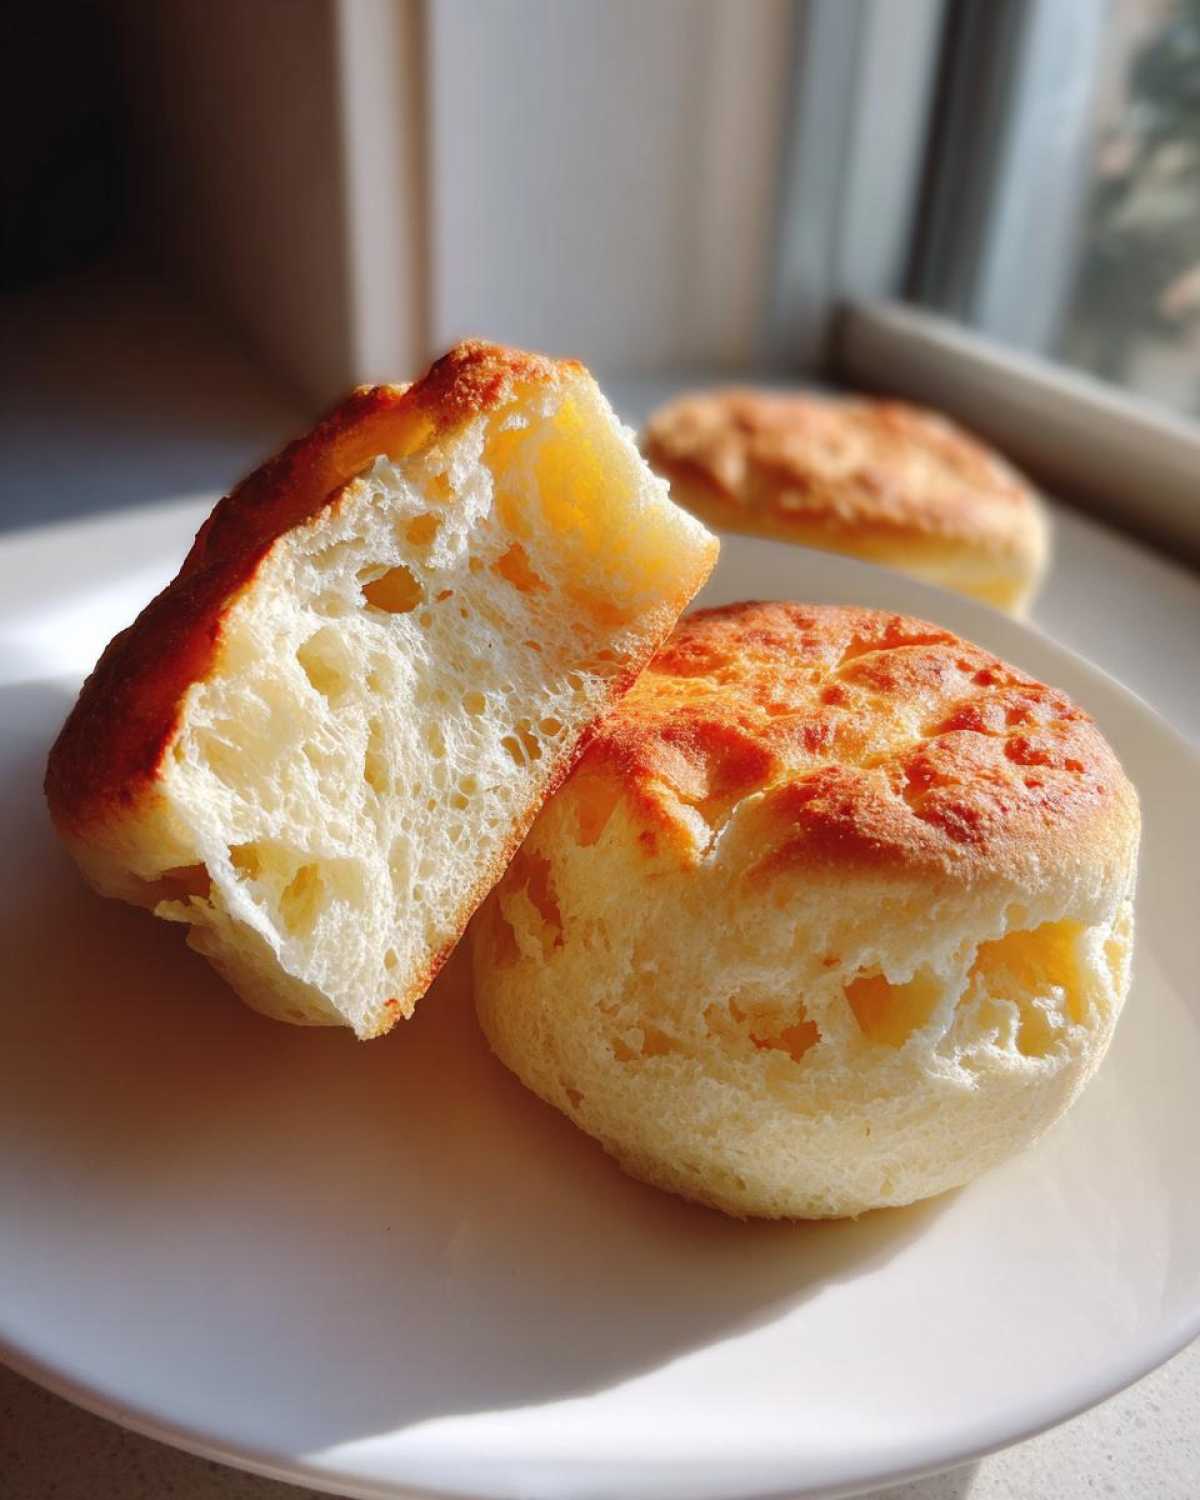
The secret to those gaping holes isn’t just luck—it’s the cooking method! Because we cook these rounds slowly on a dry griddle, the dough manages to steam itself inside while the outside gently browns. This low-and-slow process traps the yeast activity, forcing those beautiful little tunnels to form deep inside the dough. This is how you guarantee those signature English Muffin nooks and crannies that grab onto melted butter!
Easy English Muffins from Scratch: No Kneading Required
Seriously, if you’re a beginner, start here. There’s almost no effort involved once the yeast is activated. We mix it just enough to bring the shaggy dough together, cover it, and let time do the heavy lifting during that first rise. That’s it! No sore arms needed, just the sweet reward of fresh baked English muffins that taste like they came straight from an old-fashioned bakery.
Ingredients for Classic Homemade English Muffins Recipe
Okay, let’s talk ingredients for what I insist is the Classic English Muffins recipe. The beauty of making homemade English Muffins recipe work at home is that everything you need is probably already in your pantry! No obscure items here, promise. Keep your flour handy because you’ll be dusting surfaces a lot!
- 2 cups warm milk (It needs to be about 110°F—think baby bottle warm—to wake up your yeast!)
- 2 teaspoons sugar
- 2 1/4 teaspoons active dry yeast
- 4 cups all-purpose flour, plus more for dusting every surface you own
- 1 teaspoon salt
- 1/4 cup unsalted butter, melted (Use the good stuff!)
- Extra flour for dusting and shaping
- Butter or oil for griddle cooking
If you’ve mastered this, you’re ready for my easy pizza dough recipe next!
Step-by-Step Instructions for Soft Fluffy Homemade English Muffins
Alright, let’s get our hands a little messy! Making these soft fluffy English Muffins is more about resting than wrestling the dough, which is why I love this no-knead approach. Follow these steps closely, especially around the temperature checks, and you’ll be rewarded with that beautiful, hole-filled texture.
Mixing the Dough and First Rise
First things first, we need happy yeast! In a big bowl, mix your warm milk, sugar, and yeast. Don’t rush this part; wait until it gets bubbly and foamy—that’s the yeast telling you it’s ready to party. Next, whisk in the melted butter and salt. Now, add your flour halfway, mix it up, and slowly add the rest. You want a dough that looks soft and a little bit sticky—trust me on this! When I first made these, I worried the dough was too wet, but trust the process for the right texture! Cover that bowl up tight, find a warm spot in your kitchen, and let it chill out and double in size. It usually takes between an hour and an hour and a half.
How to Make English Muffins Stovetop (Dry Griddle Method)
Once doubled, gently punch the air out and turn the dough onto a very well-floured counter. Pat it out slowly to about 3/4-inch thick—we aren’t rolling out cookies here! Use your 3-inch cutter and place those lovely rounds on parchment-lined baking sheets for a quick little 30-minute rest. Now comes the magic: Heat your cast-iron griddle or heavy skillet to medium-low. I mean it, medium-low! We are dry frying these first, so no butter or oil yet. Cook them for about 6 to 8 minutes per side until they look nicely golden brown. If the heat is too high, the outside burns before the inside cooks. If you want them extra fluffy, throw them in a 350°F oven for five minutes after the griddle. You can find other great bread ideas over at my friend’s board on Pinterest!
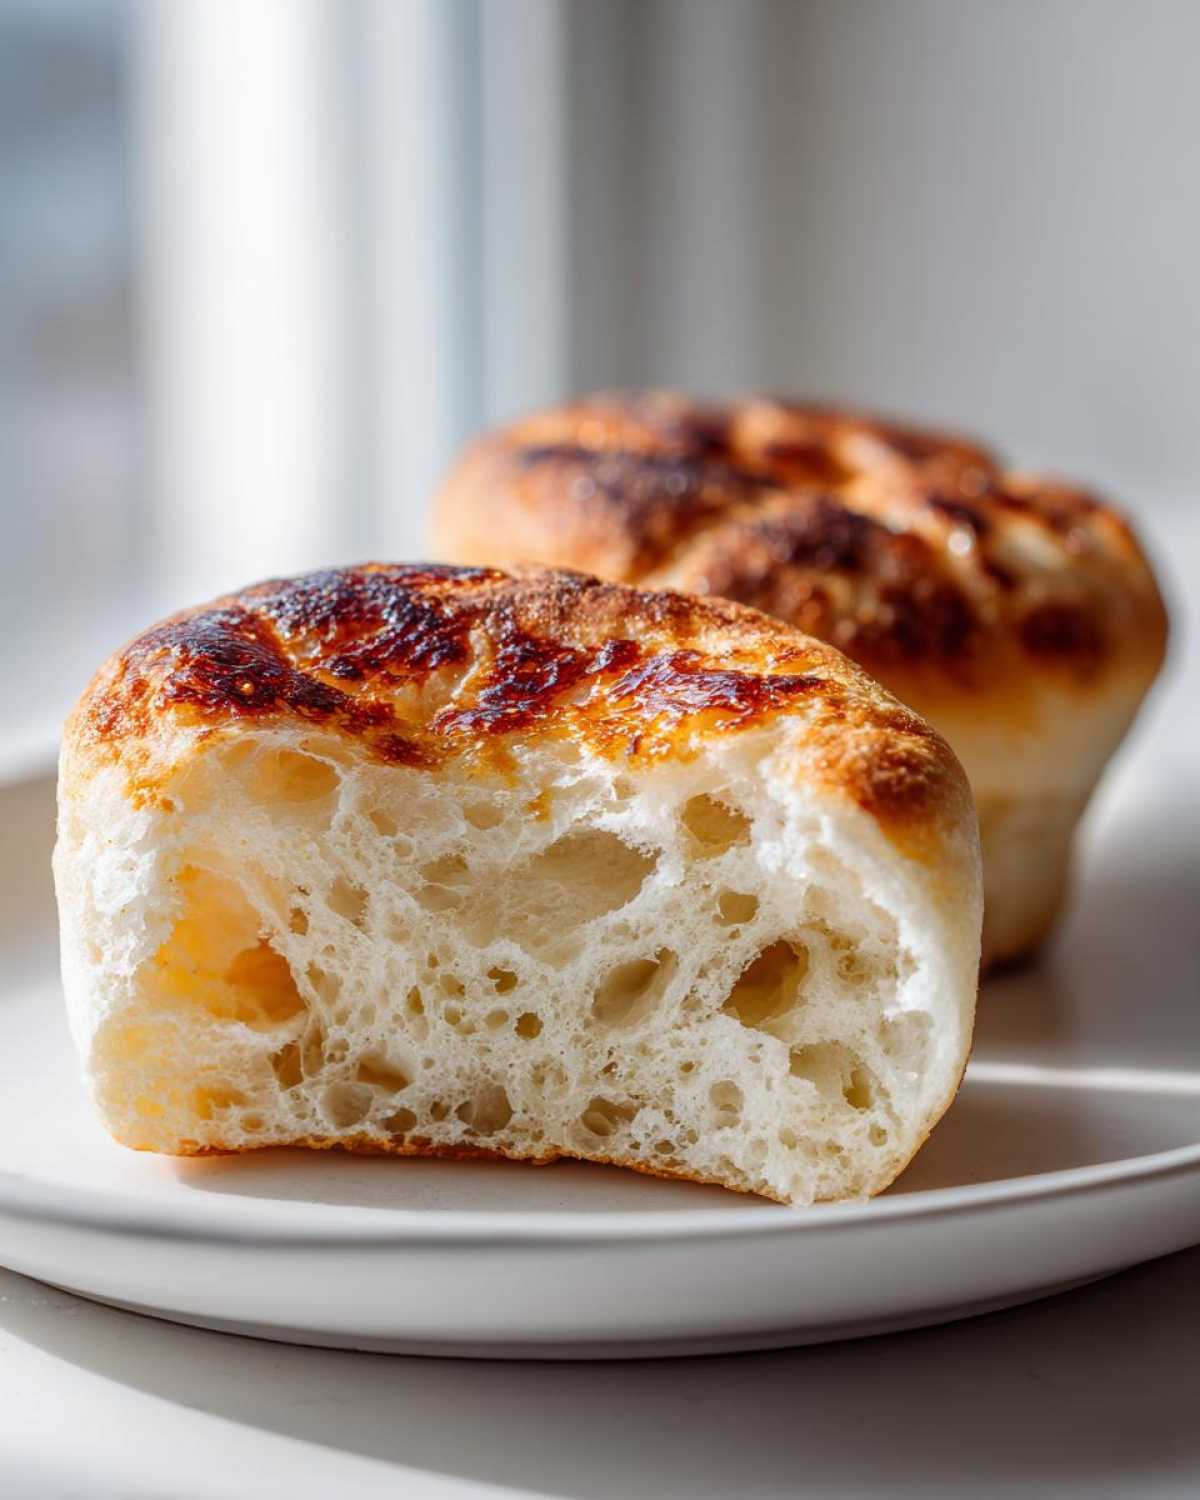
The Secret to Perfect Nooks and Crannies
This is absolutely crucial, so listen up! When they’ve cooled down enough to handle (don’t cut them hot!), you must resist the urge to use a sharp knife. A knife just seals up those beautiful air pockets we worked so hard to create. Instead, grab a fork and gently prick along the edge, then split the muffin open. See those holes? That’s what we want! A nice, rough opening is perfect for soaking up all that melted butter or holding scrambled eggs when you make easy homemade soft pretzel bites.
Tips for Making the Best Homemade Breakfast Bread
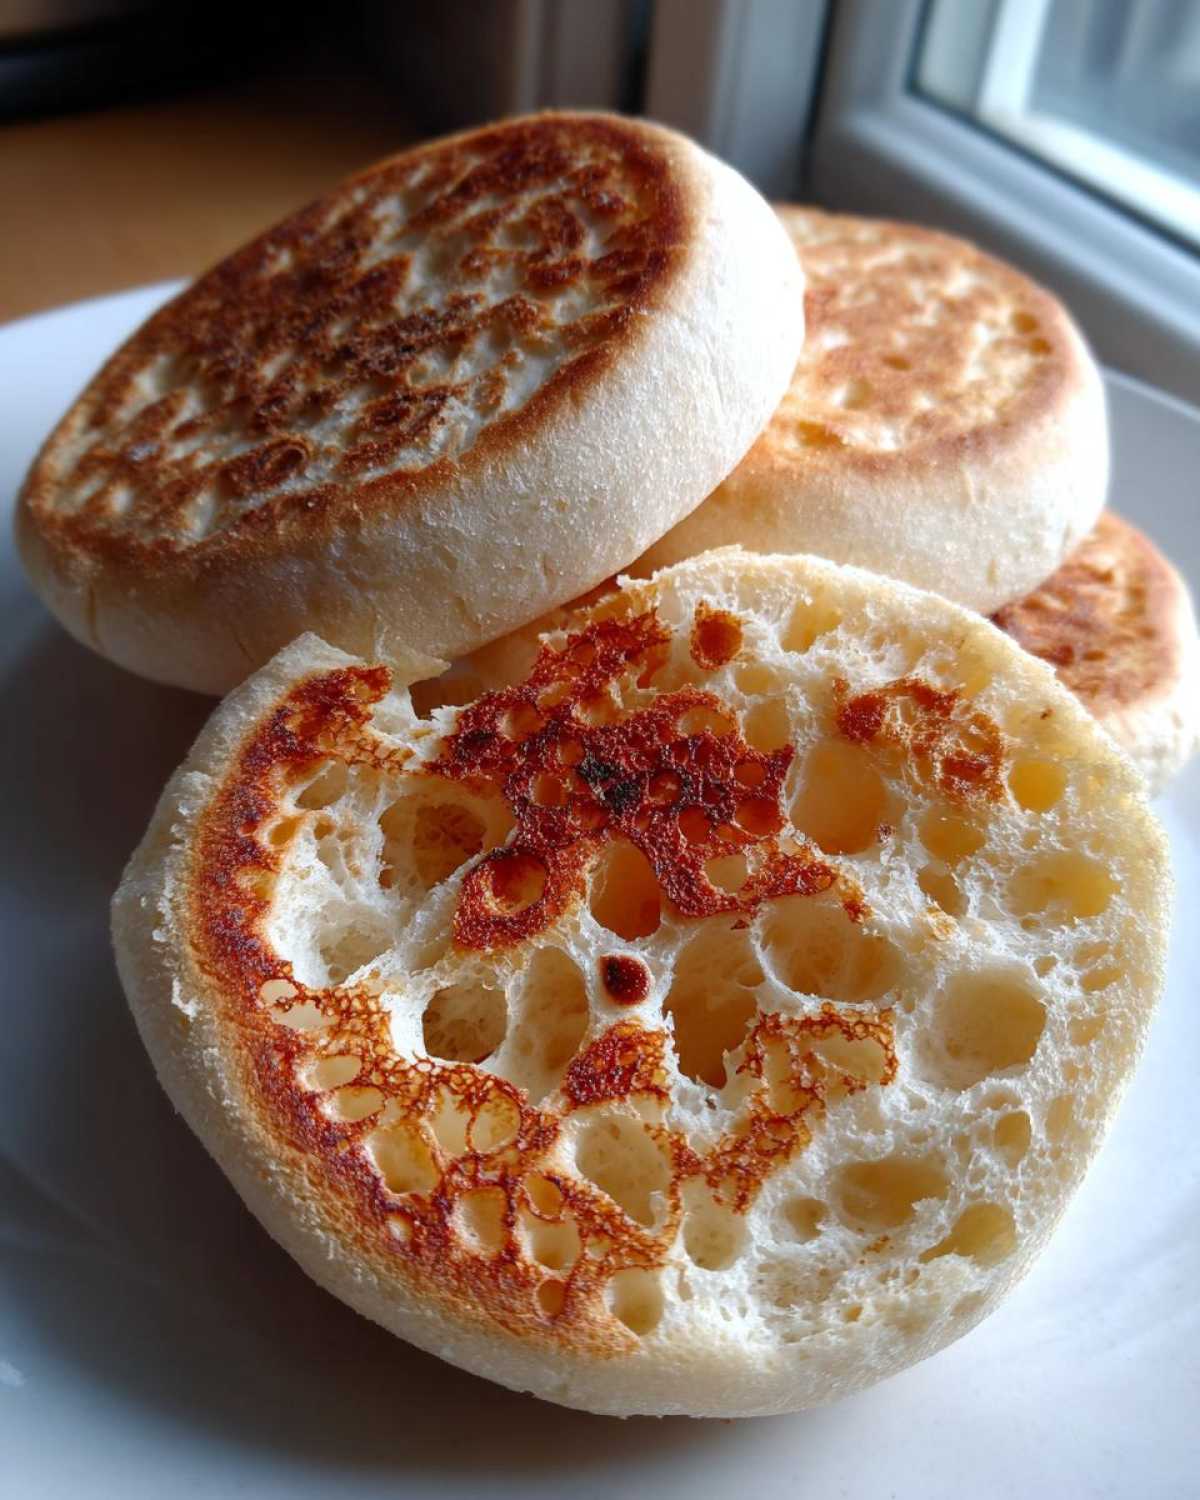
Even though this is a no knead English Muffins recipe, paying attention to the little details makes a huge difference between “good” and “absolutely incredible.” The biggest tip I can pass along, straight from my grandmother’s kitchen wisdom, is about temperature control. If your milk is too hot when you add the yeast, you kill it—poof!—no rise, dense muffins.
Also, watch that griddle like a hawk during the cooking phase! Medium-low sounds gentle, but cast iron holds heat fiercely. You want that slow, even browning, which means you might need to adjust your burner down halfway through your batch. A muffin should take a good 12 to 16 minutes total on the griddle to cook all the way through without scorching the outside. If you want to explore more great quick bakes, check out how I make flaky buttermilk biscuits from scratch—they rely on that same careful heat management!
Storage and Reheating Homemade English Muffins
These are definitely best eaten the day you make them, as that’s when they are the softest and chewiest! But don’t worry if you have leftovers; we need a plan for those glorious fresh baked English muffins. Once they are completely cool after cutting them open (and admiring those holes!), store them in an airtight container at room temperature for about two days. If you need them to last longer, they freeze beautifully!
When it’s time for the ultimate breakfast experience, you must toast them correctly. Forget the toaster slot—it crushes those delicate interiors. Split them open and toast them cut-side down on that same dry skillet you cooked them on, or under the broiler, until they are gloriously golden brown. That crisps up the edges perfectly while keeping the inside fluffy for spreading on butter and jam!
Serving Suggestions for Your Homemade English Muffins
Now that you have these delightful, hole-filled treasures, how should you eat them? Honestly, any way you want is the right way! For a simple morning, a thick smear of good salted butter melts right into every single crevice, followed by a dollop of homemade strawberry jam. Heaven!
But where they really shine is when they become the star of a substantial meal. These are hands-down the base material for the very best breakfast sandwich bread recipes you can imagine. Picture this: a perfectly toasted split muffin holding a melted slice of sharp cheddar, a crisp slice of bacon, and a runny fried egg. It’s sturdy enough to handle sloppy fillings without falling apart. If you’re prepping ahead, try using these muffins with my easy egg muffin recipe for meal prep—stack it high!
If you’re looking for more inspiration on how to serve up breakfast goodness, be sure to check out what others are pinning over at our Pinterest page!
Frequently Asked Questions About Homemade English Muffins
I know baking can sometimes bring up a few wobbles, but don’t sweat it! I’ve collected the questions I get asked most often about getting these homemade english muffins just right. If you have other thoughts or need extra help, leave a comment below. I live to watch people succeed in the kitchen!
Can I use Sourdough English Muffins instead?
That’s a great thought, especially if you love that tangy flavor! While this recipe uses active dry yeast for that classic, quick rise, the sourdough English Muffins approach is slightly different. Sourdough requires a much wetter, stickier dough and relies on your active starter or discard instead of commercial yeast. It’s delicious, but frankly, it requires a whole different hydration balance. For now, stick to this easy method to nail the texture, and then we can tackle sourdough next time!
Why are my English Muffins dense instead of fluffy?
Oh, the dreaded dense muffin! This nearly always comes down to two things, so don’t be hard on yourself. First, check your yeast activation—if it didn’t foam up, you started with dead yeast, and you won’t get that airy lift. Second, you might have overworked the dough when you were shaping or cutting. Remember, we want to handle this dough gently because kneading develops gluten, and gluten makes chewy bread, not fluffy pockets. Keep it light!
What is the best way to get perfectly toasted English Muffins?
We talked about splitting them with a fork earlier because that’s the secret to the interior, but toasting is key for the exterior experience! My absolute favorite way to get that perfect crunch without drying the center out is to toast them cut-side down on a dry, lightly preheated skillet or griddle. It gives you an extra level of golden crispness and warms them right through. This is way better than just popping them in the toaster slots, which often scorches the edges. If you’re out of bread and need a quick fix after this, you might enjoy my recipe for quick, creamy homemade nacho cheese sauce!
Nutritional Estimates for This Buttery English Muffin Recipe
I always like to give a little peek at the numbers, though remember these estimates are based on the basic ingredients listed above and don’t account for what you slather on top! A single buttery English muffin recipe round made this way is surprisingly light considering how satisfying it is. Things like the exact brand of flour or milk you use can change things slightly, so take these as a good guiding line.
- Serving Size: 1 muffin
- Calories: 180
- Fat: 4g (2g Saturated Fat)
- Carbohydrates: 32g
- Protein: 6g
- Sugar: 2g
- Sodium: 250mg
If you’re watching your carbs but still want that comfy bread feel, you might want to try my recipe for quick potato soup next time you’re craving comfort food!
Share Your Homemade English Muffins Creations
I am so excited for you to try these! Baking is better when we share the results, don’t you agree? Please come back and leave me a star rating—I want to know if you nailed those incredible nooks and crannies on your first try!
If you snapped a picture of how perfectly golden your homemade english muffins turned out, tag me on social media! Seeing your breakfast creations truly makes my day. Happy baking, and if you’re already thinking about your next bake, you absolutely have to check out my classic homemade chocolate chip cookies!
PrintThe Best Homemade English Muffins with Classic Nooks and Crannies

Bake soft, fluffy, and chewy English Muffins from scratch. This easy, no-knead recipe delivers those perfect nooks and crannies for holding melted butter or your favorite breakfast sandwich fillings.
- Prep Time: 20 min
- Cook Time: 25 min
- Total Time: 1 hour 55 min
- Yield: 10 muffins 1x
- Category: Breakfast
- Method: Stovetop Griddle
- Cuisine: American
- Diet: Vegetarian
Ingredients
- 2 cups warm milk (about 110°F)
- 2 teaspoons sugar
- 2 1/4 teaspoons active dry yeast
- 4 cups all-purpose flour, plus more for dusting
- 1 teaspoon salt
- 1/4 cup unsalted butter, melted
- Extra flour for dusting and shaping
- Butter or oil for griddle cooking
Instructions
- Combine the warm milk, sugar, and yeast in a large bowl. Let it sit for 5 to 10 minutes until foamy. This activates the yeast.
- Whisk in the melted butter, salt, and half of the flour into the yeast mixture. Mix until just combined.
- Gradually add the remaining flour until a soft, slightly sticky dough forms. You do not need to knead this dough; mix until the ingredients are incorporated.
- Cover the bowl with plastic wrap or a clean towel and let the dough rise in a warm place for about 1 to 1.5 hours, or until it has doubled in size.
- Gently punch down the risen dough. Turn it out onto a well-floured surface. Dust the top of the dough lightly with flour.
- Pat or gently roll the dough out to about 3/4-inch thickness. Do not overwork the dough.
- Use a 3-inch round cutter to cut out the English muffins. Gather the scraps, gently re-pat, and cut out any remaining rounds.
- Place the cut rounds on baking sheets lined with parchment paper, ensuring they do not touch. Cover loosely and let them rest for 30 minutes.
- Heat a large, dry cast-iron griddle or heavy skillet over medium-low heat. You are dry-frying these, not using oil yet.
- Carefully place the dough rounds onto the warm griddle, leaving space between them. Cook for 6 to 8 minutes per side, until golden brown. The internal temperature should be around 190°F.
- Remove the muffins from the griddle. For extra fluffiness, you can finish them in a 350°F oven for 5 minutes, though this step is optional.
- Cool the muffins completely on a wire rack before splitting them with a fork to reveal the nooks and crannies. Toast before serving with butter or jam.
Notes
- To get those famous nooks and crannies, split the cooled muffins using a fork rather than slicing them with a knife.
- Serve these fresh baked English Muffins warm for the best texture.
- These are perfect for making breakfast sandwich bread.
Nutrition
- Serving Size: 1 muffin
- Calories: 180
- Sugar: 2
- Sodium: 250
- Fat: 4
- Saturated Fat: 2
- Unsaturated Fat: 2
- Trans Fat: 0
- Carbohydrates: 32
- Fiber: 1
- Protein: 6
- Cholesterol: 15