
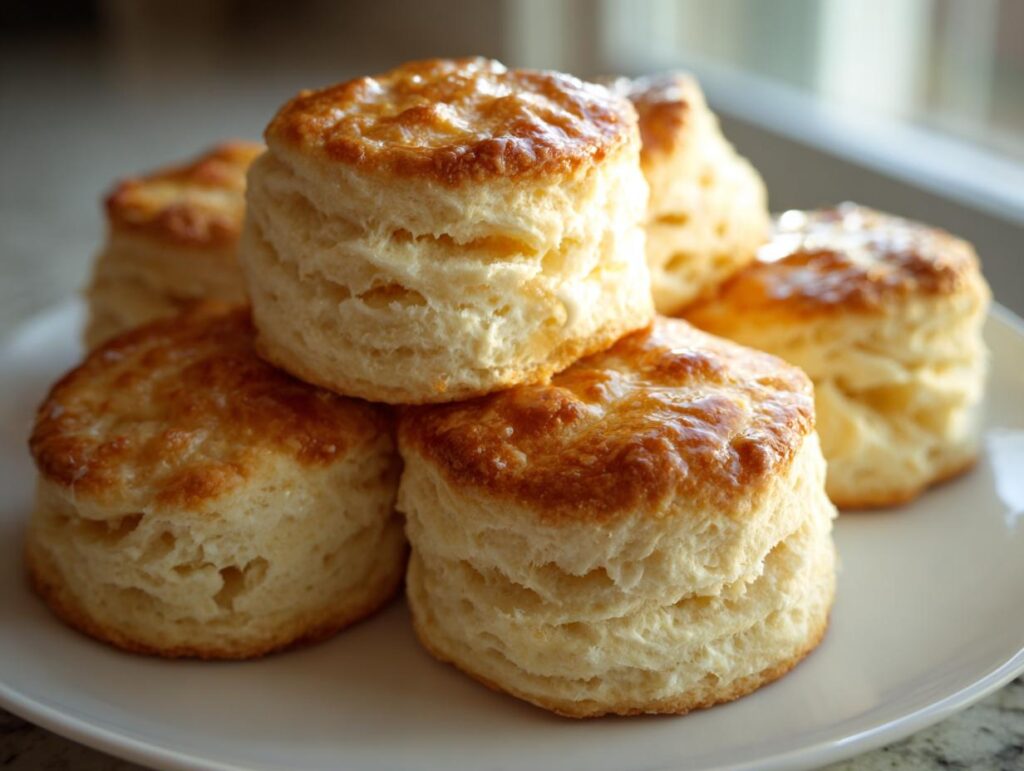
Oh, there is truly nothing in this world quite like pulling apart a warm, steamy buttermilk biscuit fresh out of the oven! Seriously, that first bite—flaky layers separating perfectly, rich with buttery flavor—it just screams comfort, doesn’t it? For years, I chased that elusive height and tenderness you see in the best Southern bakeries. Well, folks, I finally cracked the code! I promised myself I’d master the perfect Southern biscuit texture, and today, I’m sharing my blueprint for the most incredible buttermilk biscuits from scratch. These aren’t just biscuits; they are guaranteed to be tall, unbelievably flaky, and melt-in-your-mouth tender.
- Why These Are the Best Buttermilk Biscuits Recipe You Will Ever Make
- Ingredients for Tall and Flaky Buttermilk Biscuits
- Step-by-Step Instructions for Perfect Buttermilk Biscuits
- Baking Tips for Flaky Layers in Buttermilk Biscuits
- Ingredient Notes and Substitutions for Buttermilk Biscuits
- Serving Suggestions for Your Buttery Homemade Bread
- Make Ahead Biscuits and Storage for Buttermilk Biscuits
- Frequently Asked Questions About Fluffy Homemade Biscuits
- Estimated Nutritional Data for Buttermilk Biscuits
Why These Are the Best Buttermilk Biscuits Recipe You Will Ever Make
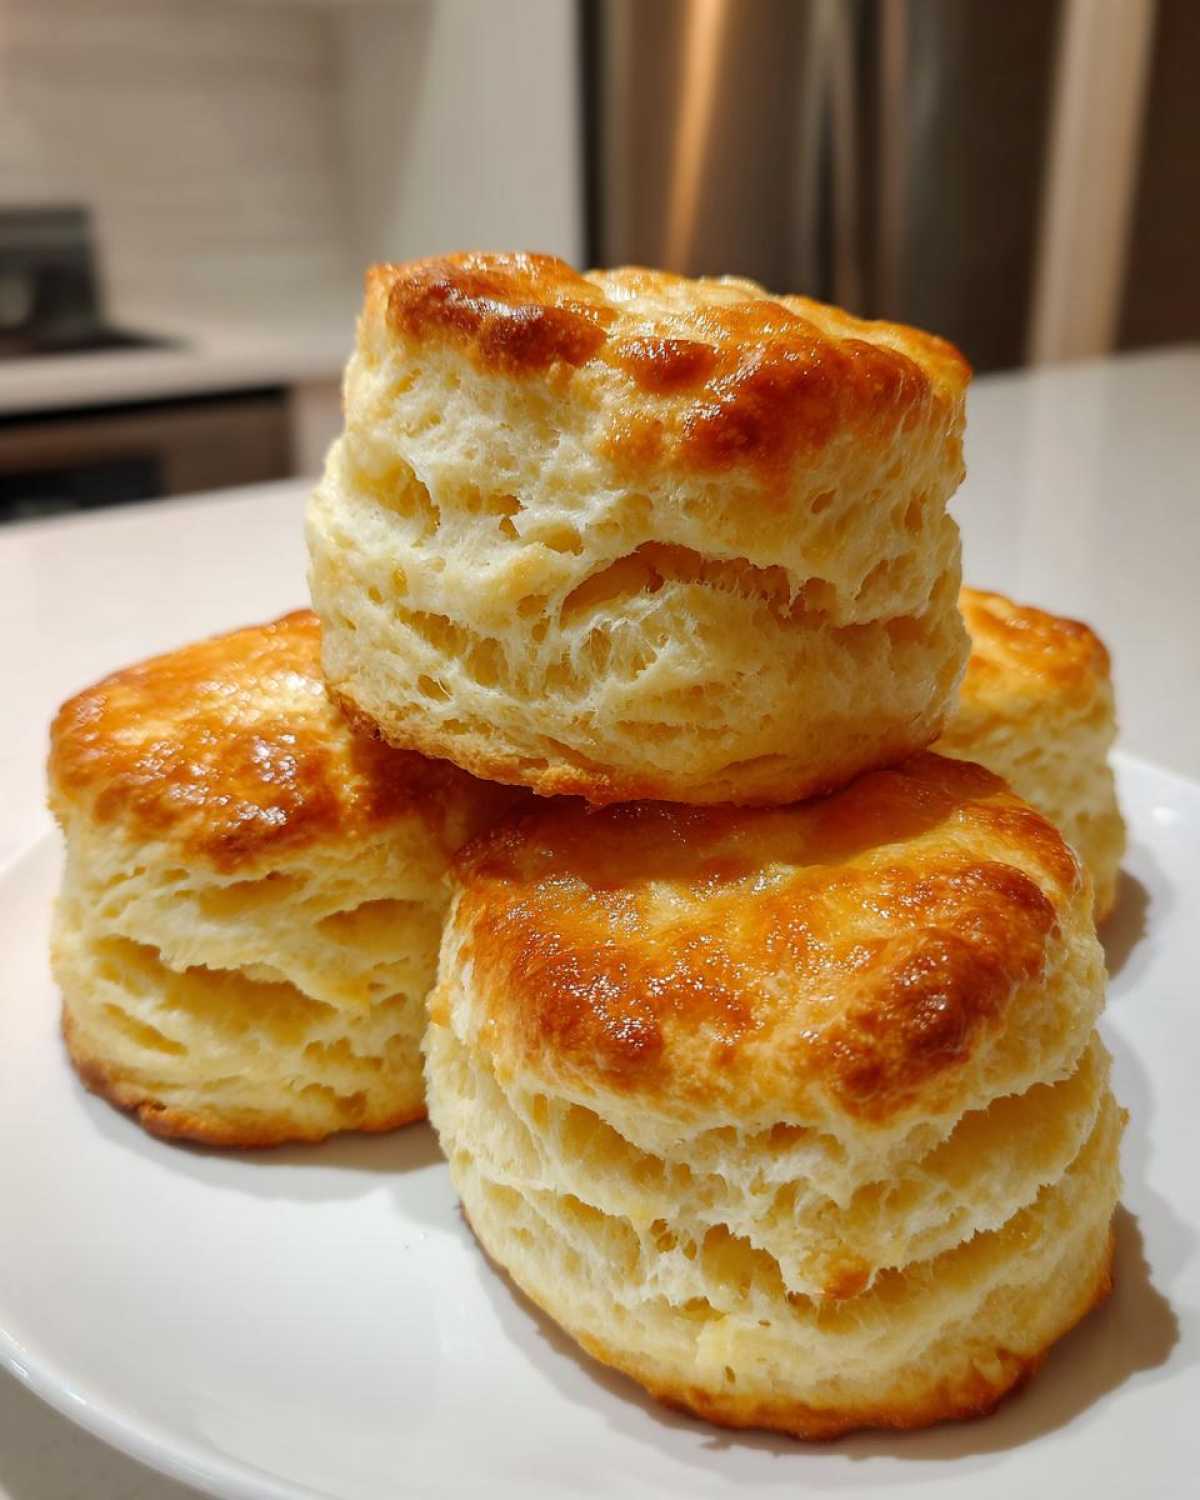
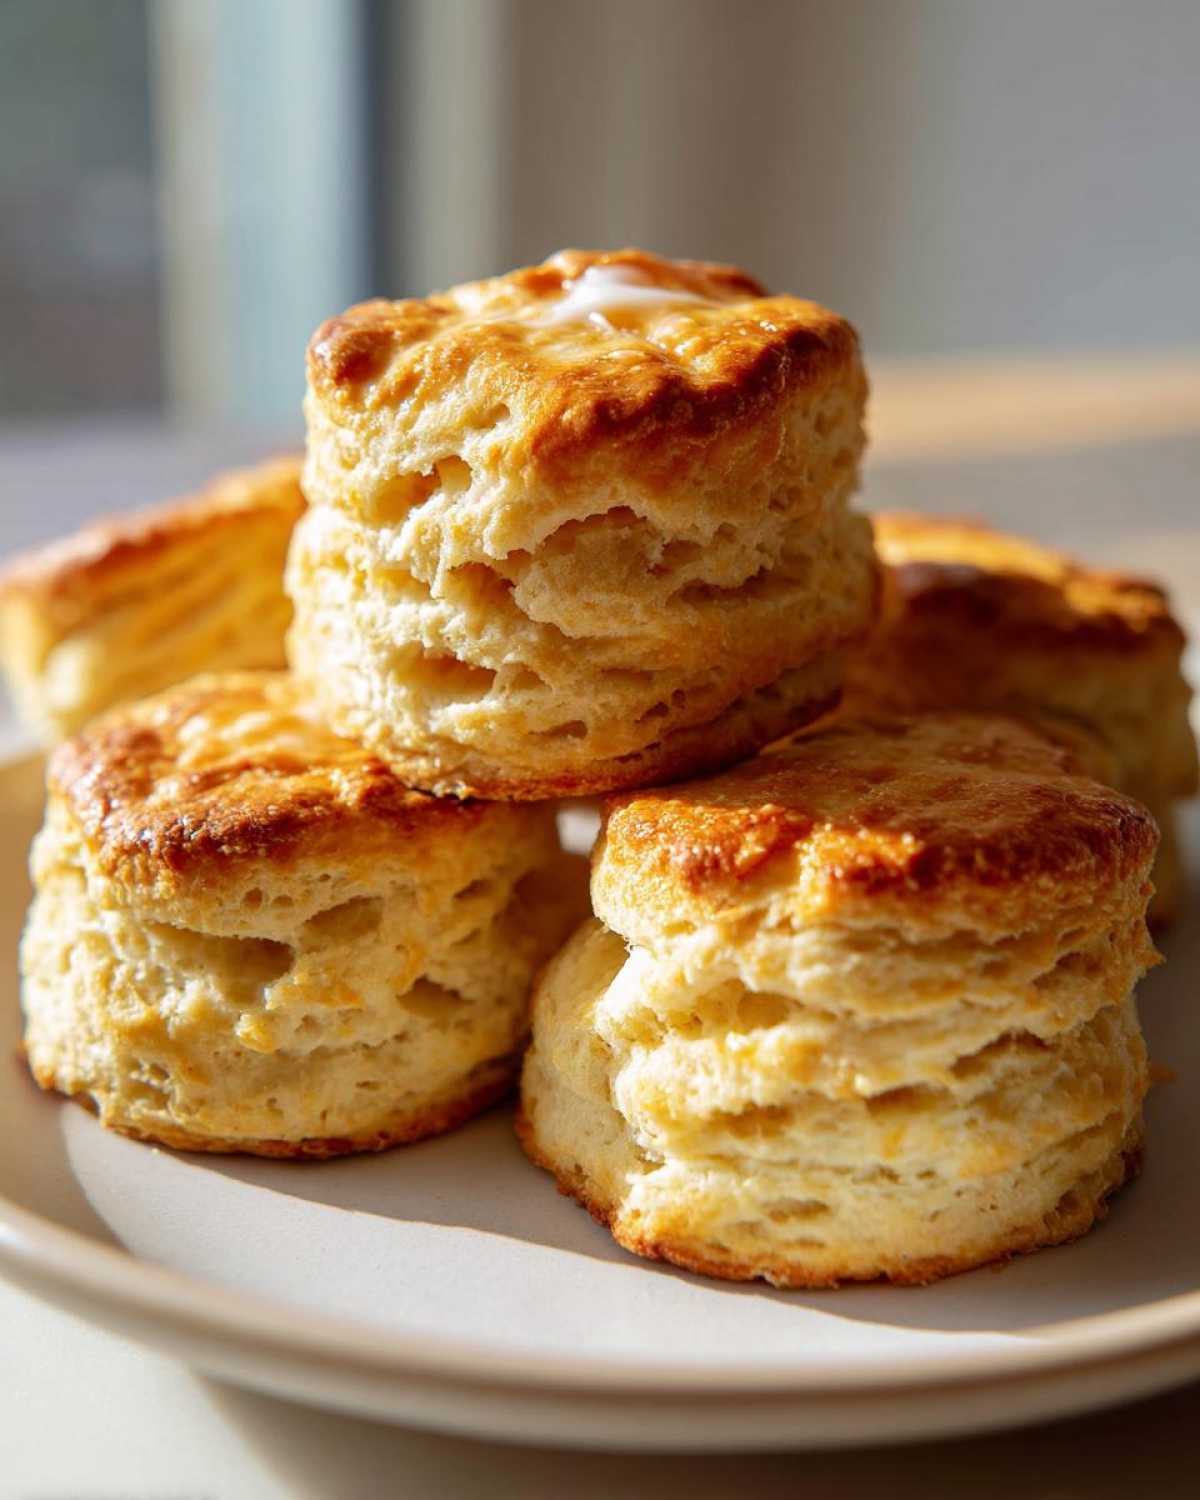
I know, I know, everyone claims they have the *Best Buttermilk Biscuits Recipe*, but stick with me just a minute! What sets ours apart is simply the texture we achieve. We’re aiming for height and incredible flakiness—those beautiful, tall and flaky biscuits that look like they came straight off a farm table. The magic behind the fluffiness isn’t some complicated secret; it’s all about keeping everything icy cold and using a gentle fold. Trust me, once you see how high these rise, you won’t go back to any other method. If you need a good tool for cutting in the butter, check out my favorite pastry cutter right here!
Achieving That Perfect Biscuit Texture: Fluffy and Tender
If you want that heavenly, tender crumb that doesn’t feel dense or heavy, you have to respect the cold ingredients! The secret weapon for *Fluffy Homemade Biscuits* is the way the cold butter melts during baking. That melting creates steam pockets right inside the dough, and those pockets push up, up, up! When you handle the dough gently and use that simple folding trick, you build beautiful, separate layers inside. That’s what makes them so tender and light—it’s pure comfort food baking magic!
Ingredients for Tall and Flaky Buttermilk Biscuits
When it comes to really successful buttermilk biscuits from scratch, the quality and temperature of your ingredients are non-negotiable. Trust me on this—if your butter is soft or your buttermilk is warm, you might as well stop right there! We need everything freezing cold for maximum lift and flakiness. I always pull my butter and buttermilk out of the fridge right before I start measuring everything else out. We aren’t just tossing things in a bowl here; we are building structure! For a fantastic side to these, you absolutely must try my sweet potato cornbread recipe next week.
Here is exactly what you need. Pay close attention to how I describe the butter and the buttermilk; that’s super important for getting those beautiful *buttery homemade bread* results!
We are using two cups of all-purpose flour, of course. For leavening, we need one full tablespoon of baking powder and a teaspoon of baking soda—that duo gives us the best rise. Don’t forget a teaspoon of salt to balance the flavor. The critical element, the fat, is half a cup—that’s one full stick—of unsalted butter. And this butter MUST be cold and cut into small little cubes. Finally, we need three-quarters of a cup of very cold buttermilk. That perfect ratio of fat and acid is what creates our tender buttermilk biscuits.
Oh, and one last thing! Have one tablespoon of melted butter ready on the side for brushing the tops right before they go into that hot oven. That final brush makes the tops golden and adds just a touch more richness!
Step-by-Step Instructions for Perfect Buttermilk Biscuits
Alright, time to put those amazing cold ingredients to work! Remember how I said watching Grandma bake was like watching art? These steps are where you become the artist. We need a hot oven—preheated to 425 degrees Fahrenheit—and a lightly prepared pan. Get your baking sheet ready before you even touch the dough, because once everything comes together, we move fast! If you make these often, you’ll want to check out my recipe for the best olive oil dipping bread to serve alongside them.
Mixing Dry Ingredients and Cutting in the Butter for Buttermilk Biscuits
First things first: Whisk the flour, baking powder, soda, and salt together until they are completely friends. Then, you toss in those icy cold butter cubes! Using your fingers or a pastry blender, you’re cutting that butter in until it looks like coarse cornmeal, with some bigger pea-sized chunks still hanging out. These little pockets are exactly what makes our buttermilk biscuits so wonderfully flaky. Don’t stress if you see some butter chunks—that’s the goal for the best texture!
Handling the Dough: Folding for Maximum Layers in Your Buttermilk Biscuits
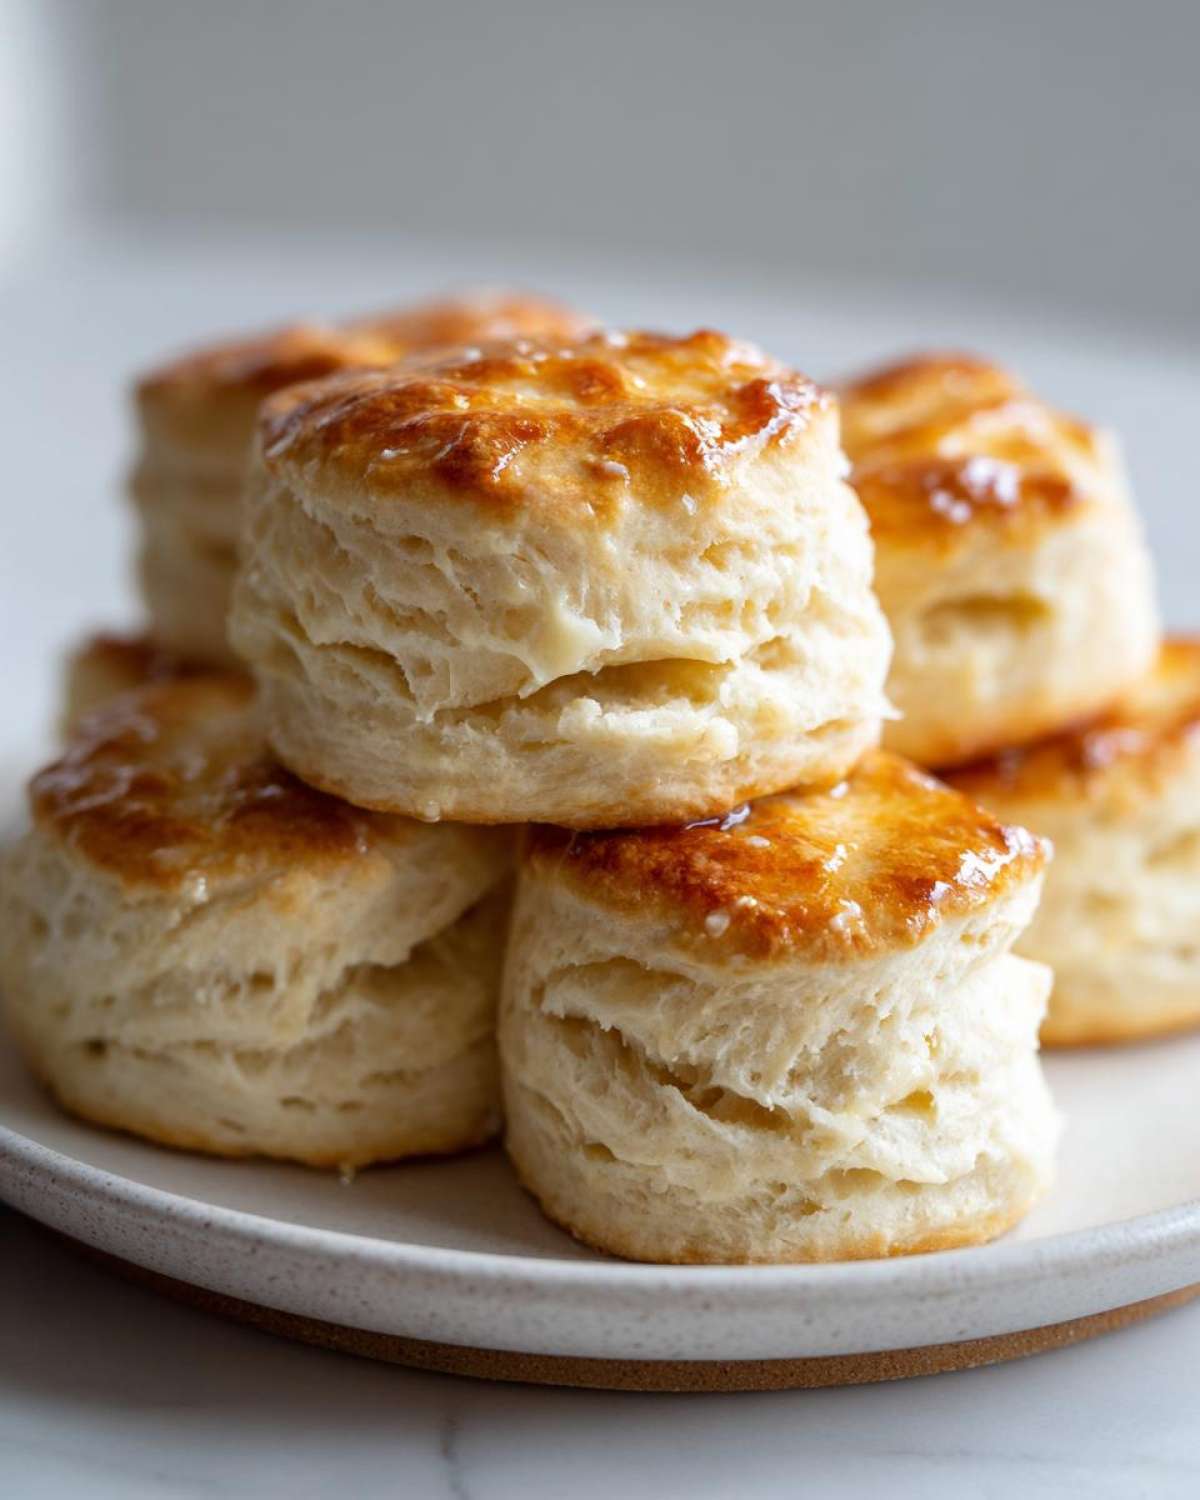
Now for the buttermilk! Pour it all in at once and just mix with a fork until it’s shaggy. Do not, and I mean *do not*, overmix this dough! We want it barely held together. Turn that rough dough onto a lightly floured surface. Gently pat or roll it out to about 3/4-inch thick, then fold it over on itself, like a simple letter fold. Do that folding motion two times total. This gentle folding is the real secret to those gorgeous, *Fluffy Homemade Biscuits* layers.
Cutting and Baking Your Tall and Flaky Biscuits
After those two folds, roll the dough one last time to about an inch thick. Here’s the golden rule: Grab your biscuit cutter and press straight down! Never twist it! Twisting seals the edges shut, and we want those clean edges so your biscuits can puff up tall. Place them close together on your sheet if you like soft sides, or spread them out a bit if you want crispier edges. Brush with melted butter, pop them into that hot 425°F oven for 12 to 15 minutes, and wait for the best smell ever!
Baking Tips for Flaky Layers in Buttermilk Biscuits
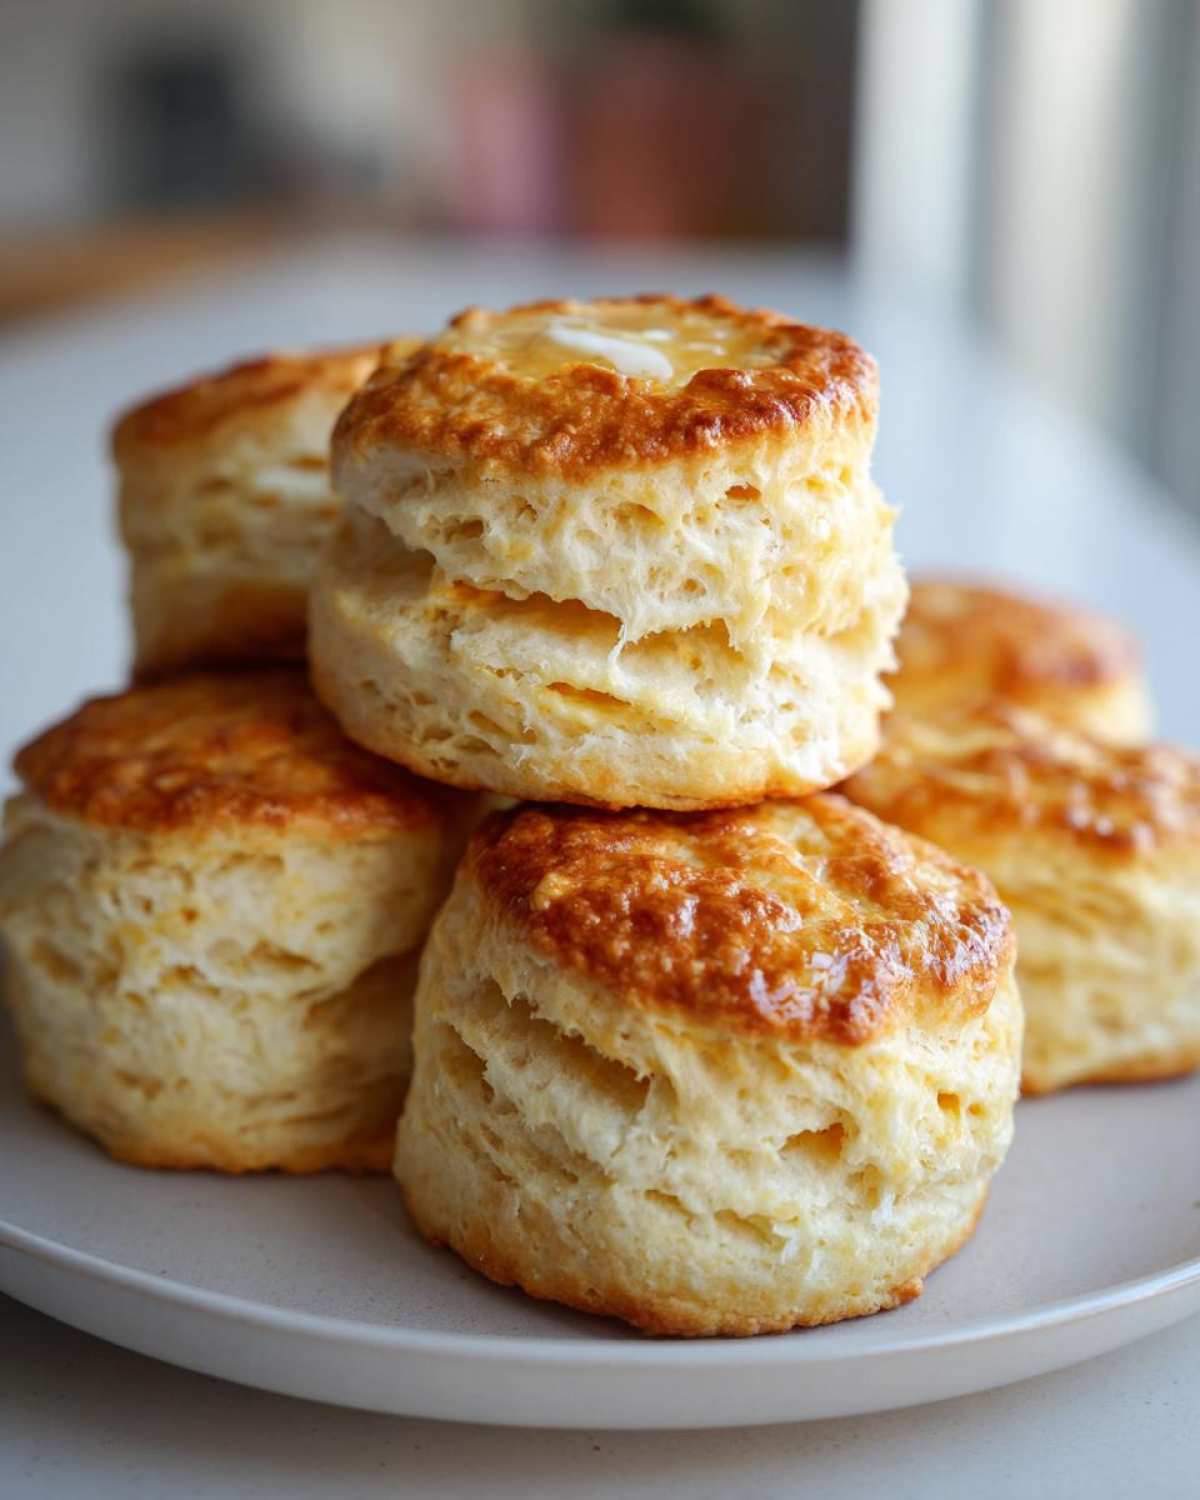
We’ve covered the folding trick, but let’s talk more about the absolute must-dos if you want textbook, *Tall and Flaky Biscuits* every single time. These are the details that take your buttermilk biscuits from good to legendary! I’ve learned these the hard way, so you don’t have to repeat my flat-biscuit disasters!
Tip number one, which I can’t say enough: everything must be cold. I mean, use your butter straight from the freezer if you can, and if your buttermilk feels even slightly lukewarm, set it aside and chill it for 15 minutes! Cold fat is the engine of flaky layers. Also, when you brush with that melted butter right before baking, make sure you are brushing the tops *only*. We don’t want butter dripping down the sides, or it will stop them from climbing high.
And please, repeat after me: DO NOT TWIST THE CUTTER! You press straight down, hard, like you mean it. Twisting is the enemy of height because it seals up those beautiful sides we need to climb. If you want even more cheesy goodness to dunk these into later, you should absolutely try out the recipe for my easy beer cheese dip here. These little baking tips for flaky layers are truly the key to success!
Ingredient Notes and Substitutions for Buttermilk Biscuits
Even though this recipe for buttermilk biscuits is pretty specific—because I want you to have the absolute best experience!—I totally get that sometimes you’re heading to the pantry and realize you’re one ingredient short. So, let’s talk substitutions. If you are completely out of buttermilk, you *can* create a passable substitute: measure out your full 3/4 cup of regular milk and mix in one tablespoon of white vinegar or lemon juice. Let that sit for about 10 minutes until it curdles slightly—that acid helps activate the baking soda for lift!
However, I have to warn you, it won’t give you that same deep, tangy flavor profile that real buttermilk lends to these *buttery homemade bread* creations. If you use cream instead of buttermilk, you’ll need to thin it with a little water, otherwise, the fat content is too high and they might end up heavy. Remember, the absolute non-negotiable is the cold temperature! When you pull those biscuits out, you want them flaky, not tough, and cold fat ensures that. If you need a great dipping sauce for these later, you have to try my recipe for easy thick homemade pizza sauce!
Serving Suggestions for Your Buttery Homemade Bread
I think the true test of a successful batch of buttermilk biscuits is how many different ways you can use them up in one day! These are obviously required for a truly epic breakfast, smothered in sausage gravy so the bottom soaks up all that deliciousness. But don’t stop there, friends! They make the absolute best companion for almost any dinner plate, providing that fantastic, *Buttery Homemade Bread* element we all crave.
Try serving them alongside a hearty bowl of chili, or maybe even use them to top a hearty casserole—like my amazing cheesy loaded meatloaf bake when you need something really comforting. And of course, if you just want to keep it simple, slicing one open while it’s still hot and slathering it with good quality strawberry jam? Perfection! They are just so versatile.
Make Ahead Biscuits and Storage for Buttermilk Biscuits
Listen, sometimes life is too busy for fresh-from-the-oven goodness, even when we deeply crave those classic buttermilk biscuits! That’s why I leaned into mastering the art of *Make Ahead Biscuits*. The good news is, you absolutely can prep these ahead of time and still get that glorious height!
Here’s what I do: After you cut the rounds, instead of putting them immediately on the baking sheet, lay them out on your prepared pan, press them gently close together if you like soft sides, cover the whole thing tightly with plastic wrap, and stash it in the fridge for up to 12 hours. When it’s go-time, skip the thawing step! Just pop that cold pan right into the preheated 425°F oven, but know you might need to add about 3 to 5 extra minutes to the baking time since they start colder. They bake up perfectly flaky, just like fresh! For a fantastic dinner idea to serve them with, you’ve got to try my chicken broccoli rice casserole recipe.
If you want to freeze them, bake them fully first, let them cool completely, and then freeze them in a sturdy freezer bag. When you are ready to eat one, just pop it into a 350°F oven for about 10 minutes to crisp up the outside again. Voila! Instant comfort food!
Frequently Asked Questions About Fluffy Homemade Biscuits
I thought about every question someone making their first batch of buttermilk biscuits might have! We’ve covered all the tips and tricks, but I want to make sure you feel totally confident about achieving these *Fluffy Homemade Biscuits*. If you’ve been searching for the *Easy Buttermilk Biscuits* method that actually works, hopefully, this clears everything up so you can get baking those *From Scratch Biscuits*!
Can I use regular milk instead of buttermilk for these buttermilk biscuits?
You absolutely can try! Regular milk lacks the acidity that reacts with the baking soda to give us that beautiful lift. If you must, sour the milk first by adding a teaspoon of vinegar or lemon juice to 3/4 cup of regular milk, letting it sit for 10 minutes. But just know, the flavor won’t have that signature tang you get from authentic buttermilk biscuits, and the rise might be slightly less dramatic.
What is the secret to making *Tall and Flaky Biscuits*?
It boils down to three non-negotiables, honestly! First: keep your butter ice cold! Second: handle the dough as little as possible—no heavy kneading! And third, and this is huge: when you use your biscuit cutter, press straight down hard and lift straight up. Don’t twist! Twisting seals the edges, and these beautiful biscuits need a clean path to climb those glorious layers high. If you’re looking for another easy make-ahead breakfast, try my taco pizza crescent roll recipe!
If you need more inspiration, especially around the holidays, make sure you follow my baking board over on Pinterest! You can find me there showcasing all my favorite comfort food baking ideas, so be sure to check out my account there!
Estimated Nutritional Data for Buttermilk Biscuits
Now, I’m really not a nutritionist—I focus on the deliciousness factor—but because total transparency is crucial for building trust here on the blog, I always like to give a rough idea of what’s in these fantastic buttermilk biscuits. Please remember, this is just an estimate based on standard ingredients and serving size, since what you use (like the brand of flour or the amount of butter brushed on top) can change things slightly! If you’re pairing these melt-in-your-mouth beauties with something savory, you should definitely check out my recipe for easy garlic parmesan roasted broccolini!
When you enjoy one of these Fluffy Homemade Biscuits, here is the rough breakdown:
- Serving Size: 1 biscuit
- Calories: 250
- Fat: 14g
- Saturated Fat: 9g
- Carbohydrates: 28g
- Protein: 5g
- Sugar: 1g
- Sodium: 450mg
- Cholesterol: 35mg
Tall and Flaky Southern Style Buttermilk Biscuits From Scratch
Learn the simple method to make tall, flaky, and buttery buttermilk biscuits from scratch. These tender homemade biscuits are perfect for breakfast or as a side for any meal.
- Prep Time: 15 min
- Cook Time: 15 min
- Total Time: 30 min
- Yield: 8 servings 1x
- Category: Breakfast
- Method: Baking
- Cuisine: American
- Diet: Vegetarian
Ingredients
- 2 cups all-purpose flour
- 1 tablespoon baking powder
- 1 teaspoon baking soda
- 1 teaspoon salt
- 1/2 cup (1 stick) cold unsalted butter, cut into small cubes
- 3/4 cup cold buttermilk
- 1 tablespoon melted butter, for brushing
Instructions
- Preheat your oven to 425 degrees Fahrenheit. Line a baking sheet with parchment paper or lightly grease it.
- In a large bowl, whisk together the flour, baking powder, baking soda, and salt. This mixes your dry ingredients well.
- Add the cold butter cubes to the flour mixture. Use a pastry blender or your fingers to cut the butter into the flour until the mixture resembles coarse crumbs with some pea-sized pieces of butter remaining. These pieces create the flaky layers.
- Pour in the cold buttermilk all at once. Use a fork to mix until the dough just comes together. Do not overmix; a shaggy dough is what you want for perfect biscuit texture.
- Turn the dough out onto a lightly floured surface. Gently pat or roll the dough to about 3/4-inch thickness.
- Fold the dough over itself (a simple letter fold) two times. This builds layers for tall and flaky biscuits.
- Pat or roll the dough again to about 1-inch thickness. Use a 2.5-inch biscuit cutter to cut out rounds. Press the cutter straight down without twisting to keep the edges clean and promote rising.
- Place the biscuit cutouts onto the prepared baking sheet. For taller biscuits, place them close together; for crispier sides, space them slightly apart.
- Brush the tops lightly with melted butter.
- Bake for 12 to 15 minutes, or until the tops are golden brown and the biscuits have risen well.
- Remove from the oven and brush the tops again with any remaining melted butter immediately after baking. Serve warm.
Notes
- Keep all your ingredients, especially the butter and buttermilk, very cold. Cold fat creates steam in the oven, resulting in flaky layers.
- Do not twist the biscuit cutter when cutting the dough; press straight down. Twisting seals the edges and prevents the biscuits from rising high.
- If you prefer a richer flavor, you can use melted butter instead of cold butter cubes, but you must chill the mixture thoroughly before proceeding.
- You can make these ahead; assemble the cut biscuits on the pan, cover, and refrigerate for up to 12 hours. Add a few extra minutes to the baking time if baking directly from the refrigerator.
Nutrition
- Serving Size: 1 biscuit
- Calories: 250
- Sugar: 1
- Sodium: 450
- Fat: 14
- Saturated Fat: 9
- Unsaturated Fat: 5
- Trans Fat: 0
- Carbohydrates: 28
- Fiber: 1
- Protein: 5
- Cholesterol: 35