
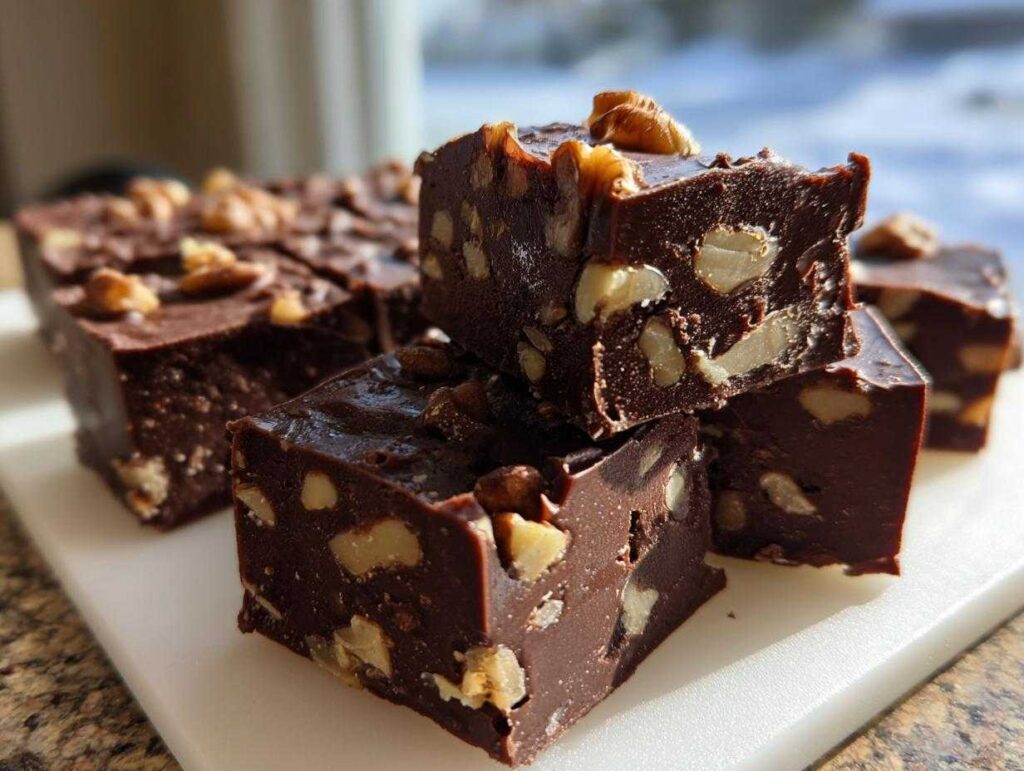
Oh my goodness, friends, can you smell that? Happy National Nutty Fudge Day to all of you! I simply couldn’t let this day pass without sharing my absolute favorite, time-tested recipe for the most decadent, dense **Nutty fudge**. This one is pure magic because it’s completely foolproof. Seriously, we’re talking rich, smooth **homemade chocolate fudge** packed with those crunchy walnuts, and the best part? Absolutely no candy thermometer required! This is the kind of reliable, traditional recipe I learned from my grandmother, built on simple ingredients that deliver huge flavor. If you need a show-stopping, high-yield treat that looks like you worked all day on it, this easy method is what you need. You can check out my guide on easy chocolate fudge if you want another variation later!
- Why This Foolproof Nutty Fudge Recipe is Your New Go-To
- Gather Your Ingredients for Homemade Chocolate Fudge
- Step-by-Step Instructions for Perfect Nutty Fudge Every Time
- Expert Tips for Achieving Silky Smooth Nutty Fudge
- Making This Traditional Fudge Recipe Ideal for Gifting
- Storage and Reheating for Your Nutty Fudge Treats
- Ingredient Notes and Substitutions for Easy Walnut Fudge
- Frequently Asked Questions About No Bake Desserts
- Share Your Fudge for Gifting Creations
Why This Foolproof Nutty Fudge Recipe is Your New Go-To
I know what you’re thinking: fudge sounds scary. I get nervous around candy thermometers, too! That’s why I love this no-bake approach so much. It delivers that unbelievably dense, smooth texture without any fuss. It’s just so reliable!
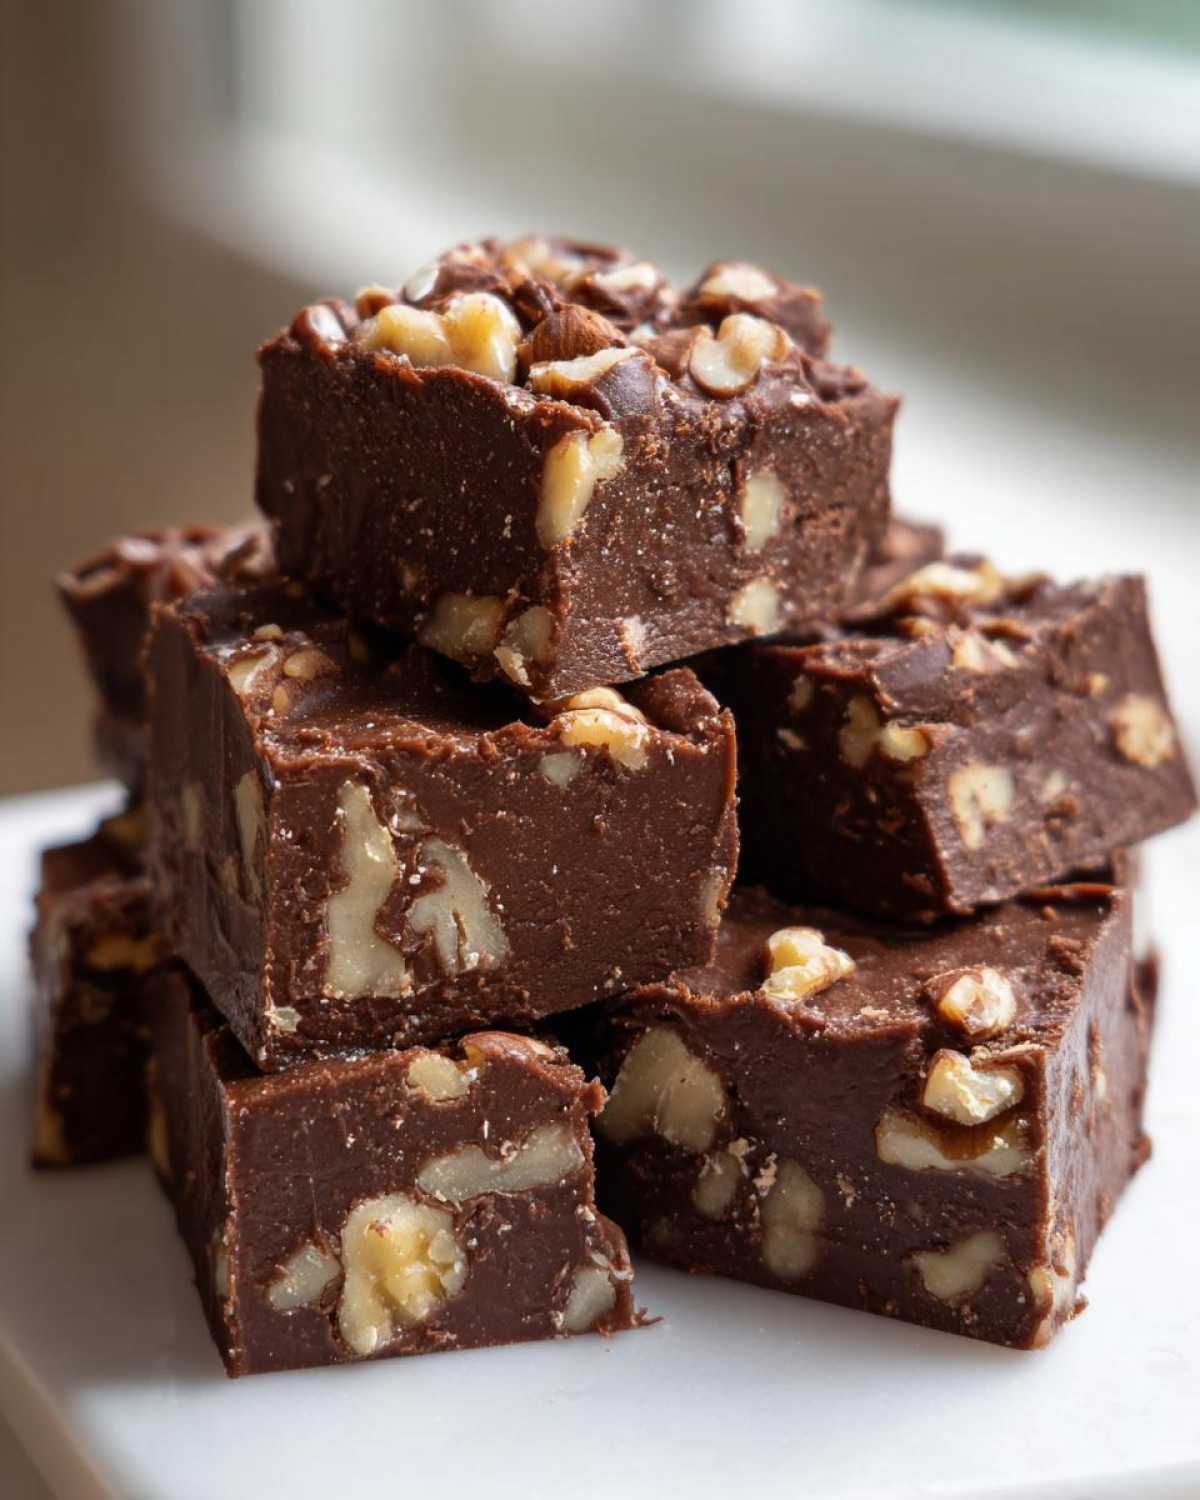
- It’s 100% no-bake, so you skip all the tricky temperature guesswork.
- The velvet-smooth texture is guaranteed as long as you keep the heat low!
- It yields a high amount—about 36 squares—which is perfect when you need **fudge for gifting** to nurses or teachers.
It’s honestly the quickest way to make something that tastes like it took hours of work. You’ll be amazed at how rich this **easy walnut fudge** turns out! If you love super fudgy textures, you simply need to check out my tips for ultimate fudgy brownies next!
Gather Your Ingredients for Homemade Chocolate Fudge
Okay, let’s get our stations ready! Since this is a no-bake recipe, prep is everything, and these ingredients are totally straightforward. You won’t need anything complicated, which is why it’s so fantastic for last-minute treats. The quality of your chocolate chips really matters here since they are the star! Don’t skimp if you want that truly rich flavor.
Here’s the simple list you’ll need for about 3 dozen pieces of gorgeous **nutty fudge**:
- One full 14-ounce can of sweetened condensed milk (this is the foundation of the smooth texture, trust me!).
- One 12-ounce package of semi-sweet chocolate chips—I love using a high-quality brand for the best melt.
- One tablespoon of unsalted butter; this helps everything blend right together.
- One teaspoon of pure vanilla extract.
- One full cup of chopped walnuts—give them a quick rough chop right before you use them!
- Just a tiny pinch of salt to balance all that sweetness.
It’s amazing how these few things turn into such a classic **traditional fudge recipe**. If you want to see another recipe where sweetened condensed milk shines, you must check out my sweetened condensed milk pound cake guide!
Step-by-Step Instructions for Perfect Nutty Fudge Every Time
This is where the magic happens, and trust me, it moves fast! Because we aren’t making grain candy, we are just melting goodness together. The most important thing here is keeping your heat low. I cannot stress this enough if you want that buttery smooth finish that makes this traditional fudge recipe so special.
Preparing the Pan and Melting the Base
First up, get your 8×8 inch pan lined with parchment paper. Make sure you leave a little overhang on two sides—that’s our handle for lifting this gorgeous block out later! In a saucepan over really low heat, combine your sweetened condensed milk, the chocolate chips, and that tablespoon of butter. Now, stir constantly! You are waiting for everything to melt totally smooth. Seriously, watch it like a hawk. Boiling it, even for a second, will ruin that smooth texture you are aiming for in your homemade chocolate fudge. We want gentle dissolving, not a raging melt!
Incorporating Nuts and Setting the Easy Walnut Fudge
Once that mixture is glossy and perfectly combined, yank the pan right off the burner. It’s done cooking! Now, quickly stir in your vanilla and those crunchy chopped walnuts. Pour everything into your waiting pan and spread it out evenly. You’ll need patience now: let it cool on the counter for about two hours until it’s mostly firm, or you can speed it up in the fridge for one hour. Once it sets up—wow!—use those parchment handles to lift the whole slab out. That dense, perfect block of easy walnut fudge is now ready to be cut into small squares. If you’re looking for more perfectly structured chocolate treats, peep my fudgy chocolate crinkle cookies next!
Expert Tips for Achieving Silky Smooth Nutty Fudge
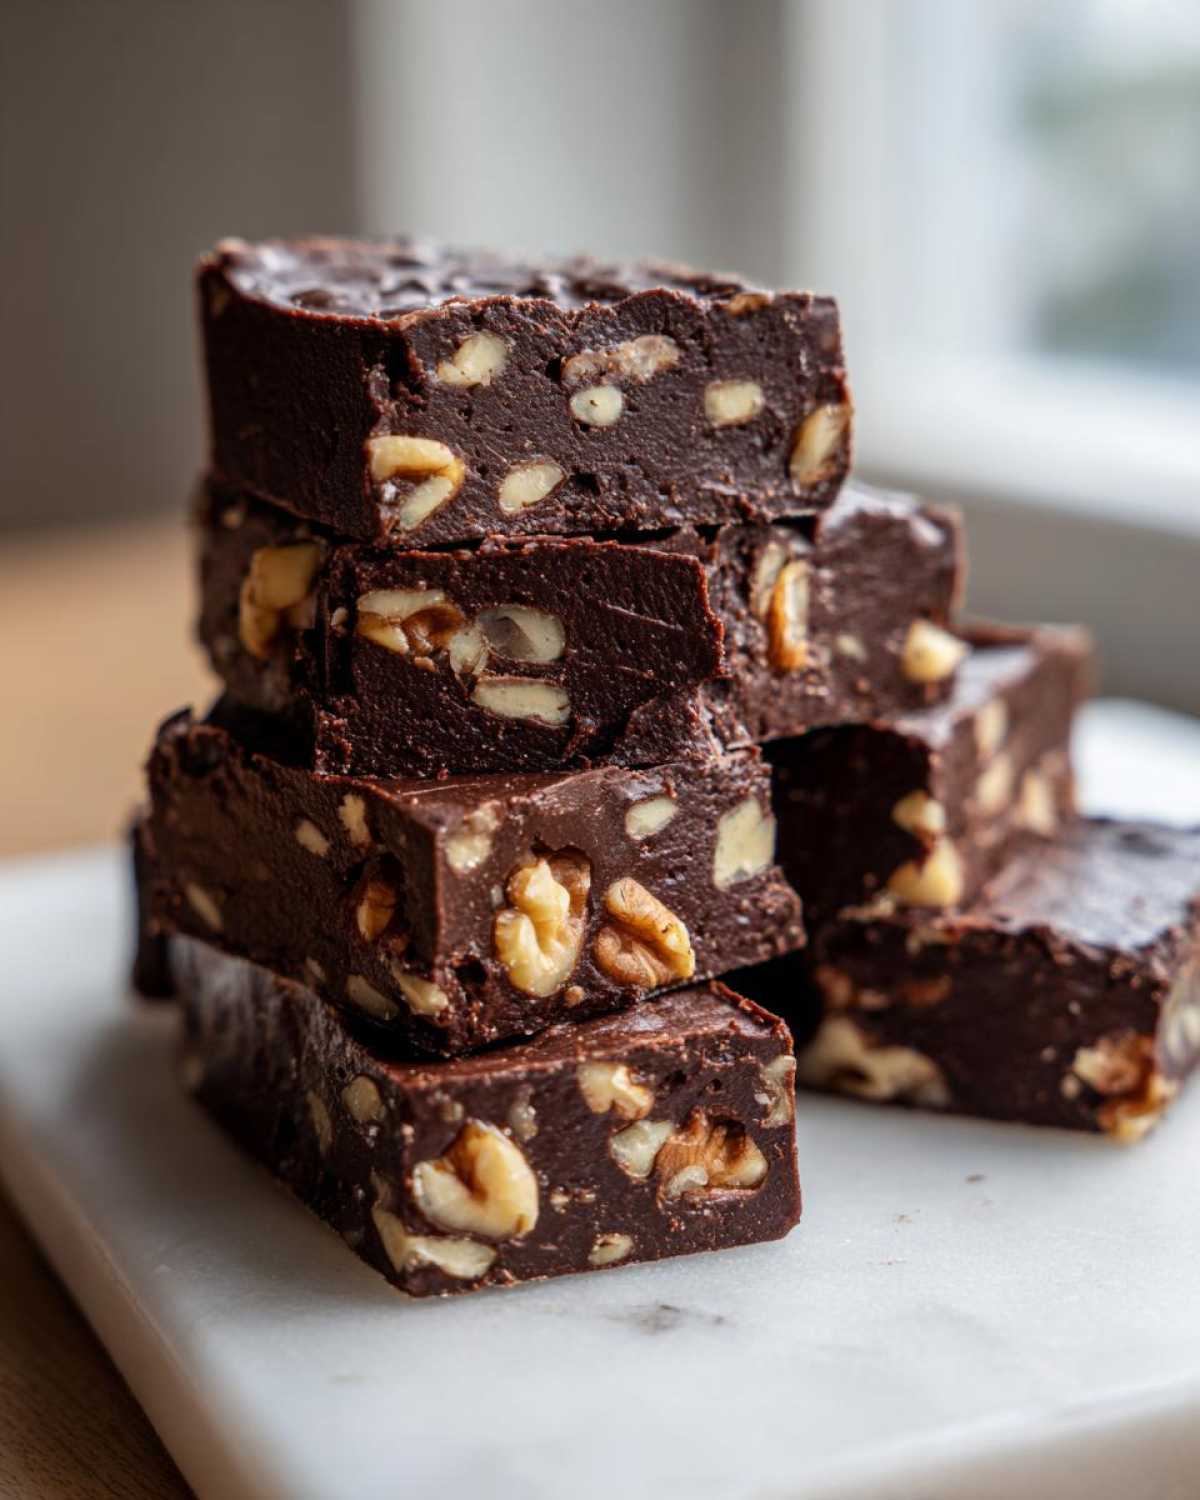
Achieving that famously smooth, non-grainy texture in **homemade chocolate fudge** is simpler than you think, but it’s all about respecting the process. My biggest lesson came when I rushed the melt—it resulted in little gritty bits, and that’s just tragic for **nutty fudge**!
Remember, since this is a no-bake recipe, the quality of your ingredients is 90% of the work. Always use good chocolate chips; they melt cleaner. Also, I always use unsalted butter so I can control that pinch of salt perfectly. My personal trick for extra silkiness? I stir for a good minute *after* I take it off the heat, just incorporating air and making sure all those chocolate chips have fully surrendered to the heat before adding the vanilla and nuts.
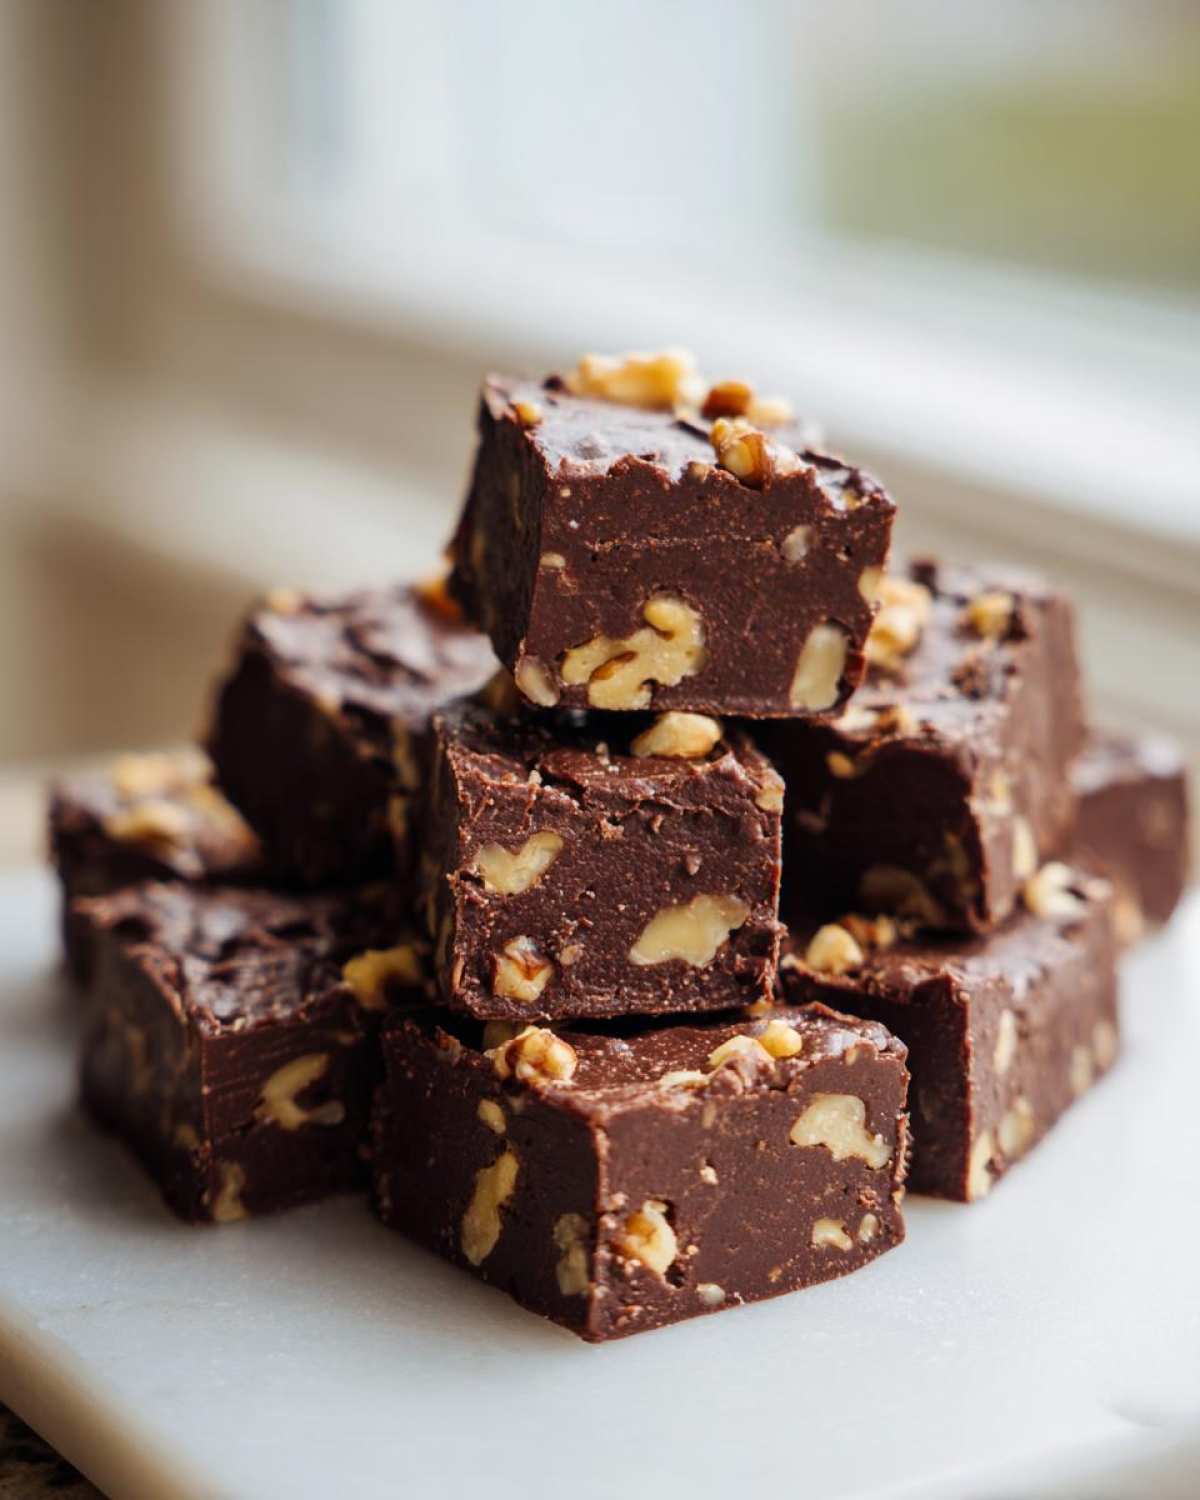
I can’t wait for you to try making these, and if you are looking for another wonderful chocolate recipe, my homemade chocolate chip cookies are always a hit!
Making This Traditional Fudge Recipe Ideal for Gifting
One of the best parts about this recipe is how beautifully it sets up for **fudge for gifting**. Because it yields about 36 small squares, you can easily wrap up little bags of this dense **nutty fudge** for the nurses at the hospital or the teachers at the end of the year. Presentation really matters when you’re giving something homemade, so take your time cutting!
When the fudge is fully chilled and firm, use that parchment overhang to lift it onto your cutting board. I always use a large, sharp chef’s knife and wipe it with a dry paper towel between cuts. This prevents the fudge from sticking to the blade and gives you those clean, professional-looking edges everyone loves in a **traditional fudge recipe**.
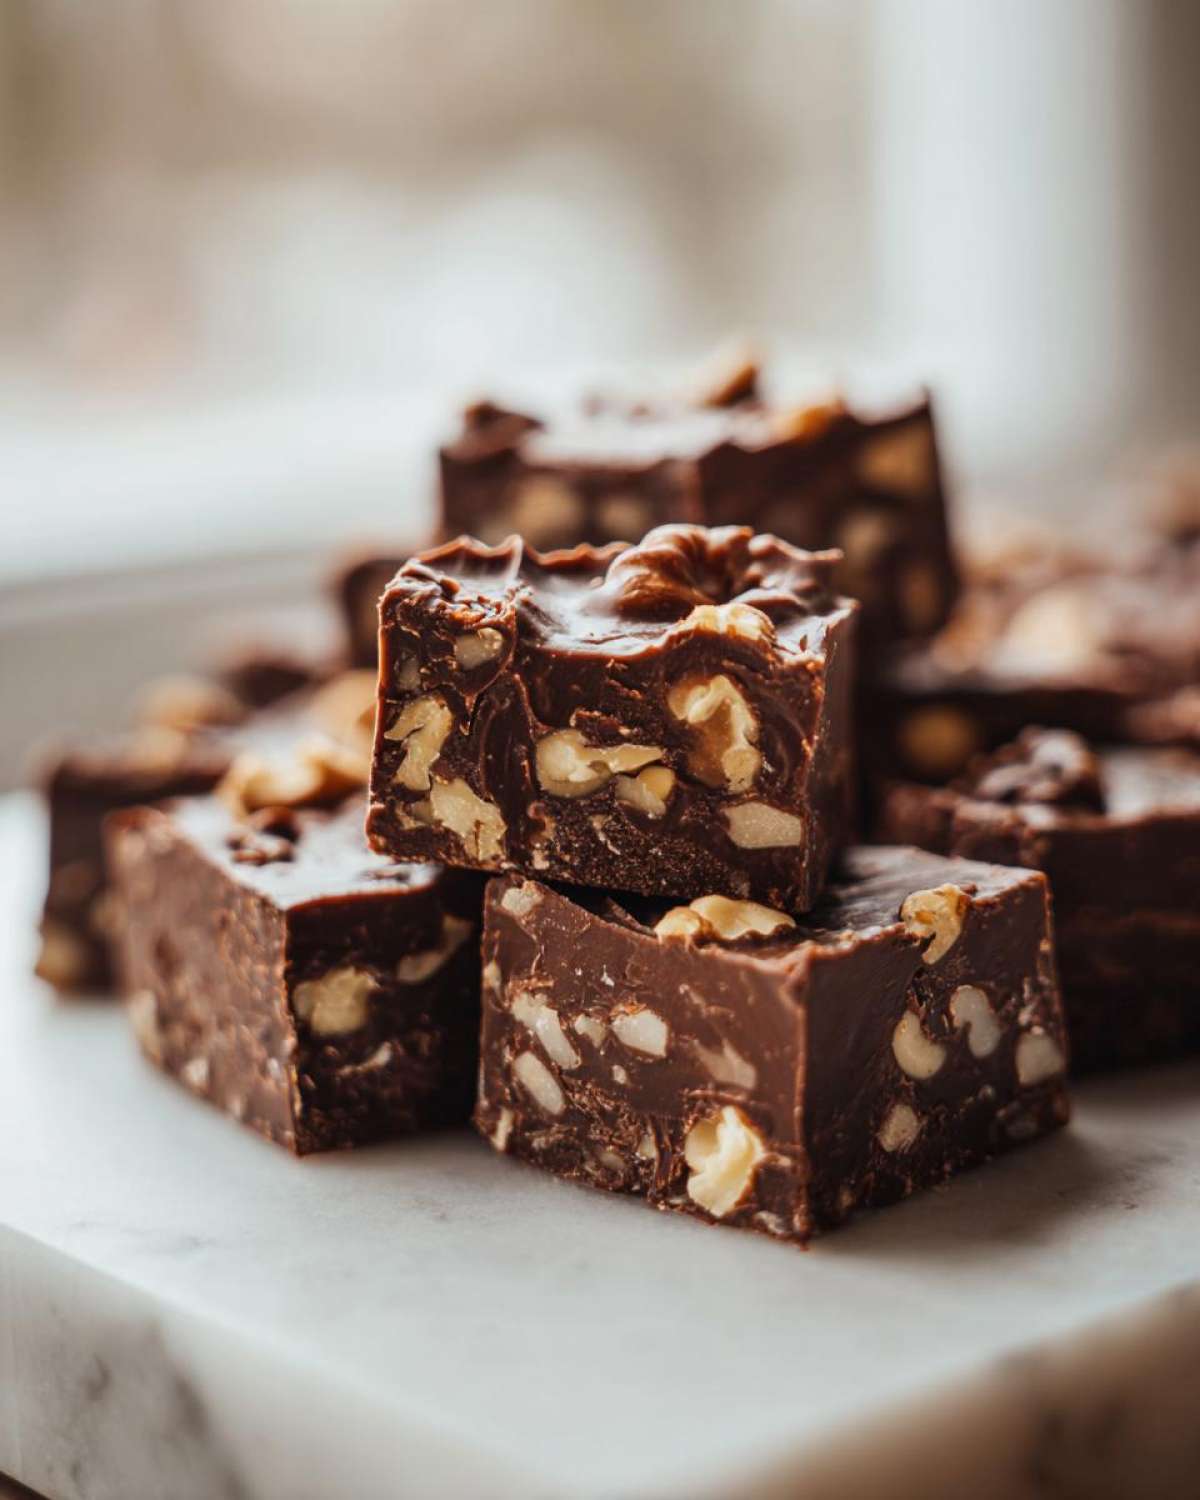
For packaging, simple clear cellophane bags tied with a nice ribbon look incredible. If you want to add a little extra flair, a swirl of my vanilla buttercream on top (after it sets completely!) makes them look so festive. And hey, if you’re looking for more ideas to pin, you can always follow the inspiration vault over at this spot on Pinterest!
Storage and Reheating for Your Nutty Fudge Treats
I know you won’t be able to resist eating it immediately, but if you manage to save some of this **nutty fudge**, storage is super easy! Since we skipped the candy thermometer and used condensed milk, we don’t have to worry about recrystallizing or anything fussy.
Just place your cut squares into a truly airtight container. Honestly, you can keep this on the counter at room temperature for up to a week. It stays wonderfully fresh! It’s one of the best things about **no bake desserts**—no complicated fridge space needed. For longer storage, you can chill it, but I find the texture is best when it’s slightly warmer. If you’re making granola bars for your next snack prep, remember to check out my chewy homemade granola bars too!
Ingredient Notes and Substitutions for Easy Walnut Fudge
I want to talk just a second more about the ingredients because tweaking things slightly can change the outcome, especially when we go for that **easy walnut fudge** texture. We talked about using good chocolate chips, but let’s chat about the fat. I insist on unsalted butter, and it’s not because I’m a snob! It’s because that pinch of salt needs to be precise. If you only have salted butter on hand, just cut out the extra salt in the recipe entirely.
What about the nuts? You can absolutely swap walnuts for pecans or even almonds if that’s how you like your **nutty fudge**! Just make sure they are toasted lightly first—it brings out so much more flavor. If someone has a nut allergy, leaving them out results in amazing, smooth **homemade chocolate fudge** too, though it won’t be ‘nutty’! Ready for a different kind of cooked fudge? Take a peek at my penuche fudge recipe next week.
Frequently Asked Questions About No Bake Desserts
I always get so many questions when I share this recipe, especially since it’s the ultimate answer to needing quick **no bake desserts**! Here are the things I hear most often about getting that perfect, dense texture without any fuss.
Can I make this Nutty Fudge without walnuts?
Absolutely! If you’re not a huge fan of walnuts or if you need to cater to a nut allergy, you can simply leave them out. The texture will still be fantastic and dense. For a replacement, try swapping them for mini marshmallows or crushed pretzels! That gives you a different kind of crunch in your **homemade chocolate fudge**, but it’s still totally delicious.
Why is my homemade chocolate fudge grainy?
This is the most common panic moment, and nine times out of ten, it’s because the mixture got too hot! Remember, we are making a rich, buttery melt, not candy. If you let that condensed milk and chocolate mixture boil even slightly, the sugar structure changes, and you get graininess. Keep that heat on low, stir constantly, and pull it off the heat *just* when it’s fully melted smooth. That’s the ticket for a traditional result!
Is this considered one of the best no bake desserts?
In my book, yes! It requires about 15 minutes of actual work, and the payoff is huge. It looks and tastes so rich, making it perfect for **fudge for gifting**. It’s certainly the most reliable, simple **traditional fudge recipe** out there if you are avoiding the stovetop thermometer struggles. If you’re looking for another fail-proof treat, you have to try my easy no-bake Oreo balls next time!
Share Your Fudge for Gifting Creations
Wow, I really hope this **nutty fudge** made your day a little sweeter! I’m so excited for you to enjoy this **easy walnut fudge**. When you try this recipe, please come back and let me know how it went for you!
Did it set up perfectly without using a thermometer? Did you package it up nicely for **fudge for gifting**? Drop a comment below and give this recipe a star rating—it helps other bakers know they can trust this simple, delicious method. If you made any fun swaps for the nuts, tell me about those too!
And as always, if you loved diving into this rich chocolate adventure, you have to keep the inspiration going! Check out my recipe for the most wonderful moist homemade chocolate cake when you’re ready for baking on the slightly longer side!
PrintFoolproof No-Bake Nutty Fudge for Gifting
Make rich, dense, homemade chocolate fudge with walnuts using this easy, no-bake recipe. Achieve a smooth texture perfect for traditional fudge gifting.
- Prep Time: 10 min
- Cook Time: 5 min
- Total Time: 15 min
- Yield: About 36 small squares 1x
- Category: Dessert
- Method: Stovetop/No-Bake
- Cuisine: American
- Diet: Vegetarian
Ingredients
- 1 (14 ounce) can sweetened condensed milk
- 1 (12 ounce) package semi-sweet chocolate chips
- 1 tablespoon unsalted butter
- 1 teaspoon vanilla extract
- 1 cup chopped walnuts
- Pinch of salt
Instructions
- Line an 8×8 inch baking pan with parchment paper, leaving an overhang on two sides for easy removal.
- In a medium saucepan over low heat, combine the sweetened condensed milk, chocolate chips, and butter.
- Stir constantly until the chocolate and butter are completely melted and the mixture is smooth. Do not let it boil. This step is key for a smooth texture.
- Remove the pan from the heat. Stir in the vanilla extract and chopped walnuts.
- Pour the fudge mixture into the prepared pan. Spread evenly.
- Let the fudge cool at room temperature for about 2 hours, or chill in the refrigerator for 1 hour until firm.
- Use the parchment paper overhang to lift the fudge from the pan. Place on a cutting board.
- Cut into small squares. This recipe makes a high yield of treats.
Notes
- For the smoothest fudge, use good quality chocolate chips.
- If you want a richer chocolate flavor, substitute half the semi-sweet chips with dark chocolate chips.
- This easy walnut fudge stores well in an airtight container at room temperature for up to one week.
- Follow Kitchen User on Pinterest for more easy dessert ideas.
Nutrition
- Serving Size: 1 square
- Calories: 150
- Sugar: 18g
- Sodium: 30mg
- Fat: 8g
- Saturated Fat: 4g
- Unsaturated Fat: 4g
- Trans Fat: 0g
- Carbohydrates: 19g
- Fiber: 1g
- Protein: 3g
- Cholesterol: 10mg