
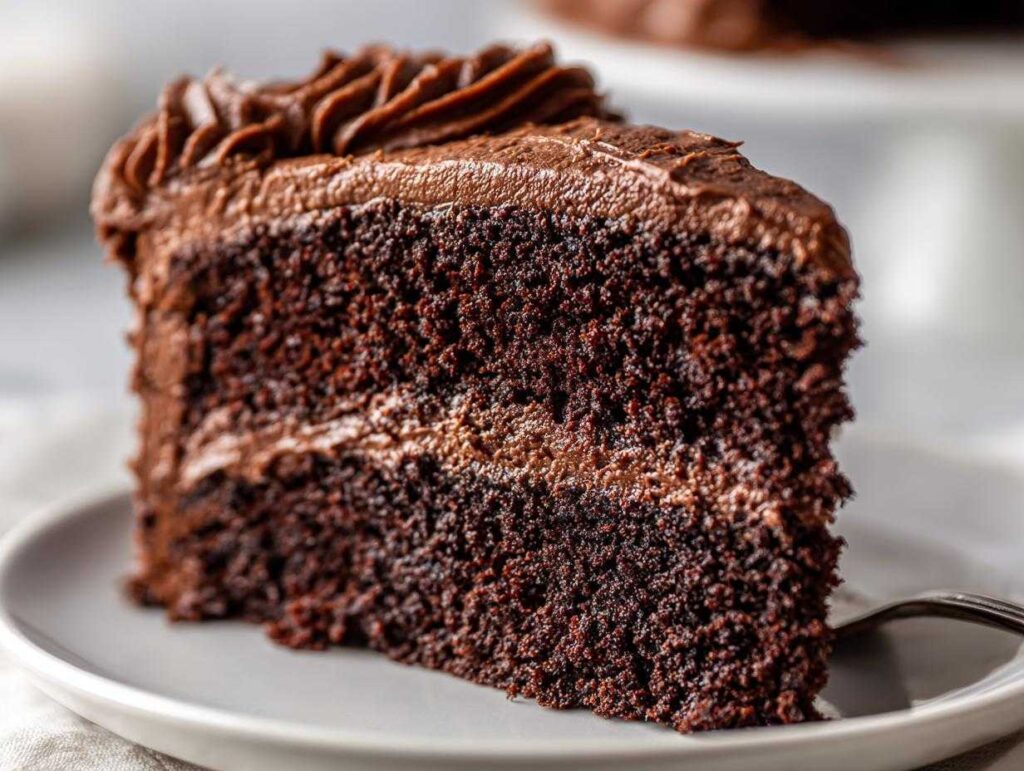
Oh, there is just nothing in the world like the smell of a truly amazing **homemade chocolate cake** filling your kitchen. Forget those dry mixes, friends; when I want that rich, deep chocolate flavor, I go straight to scratch baking, and this is the recipe I keep going back to! I call it the Ultimate Moist & Easy Homemade One-Bowl Chocolate Cake, and trust me, it lives up to the name. It’s incredibly moist, surprisingly simple because almost everything goes into one bowl—can you believe it?—and it’s topped with the most decadent chocolate buttercream frosting you’ve ever slathered on a layer cake. This isn’t just any cake; this is my emergency celebration cake—it tastes like pure love!
- Why This Homemade Chocolate Cake Recipe is the Best
- Ingredients for the Ultimate Moist Homemade Chocolate Cake
- How to Make This Easy Chocolate Cake From Scratch
- Tips for the Best Homemade Chocolate Cake Texture
- Variations for Your Homemade Chocolate Cake
- Serving Suggestions for Your Homemade Chocolate Cake
- Storage and Reheating Instructions for Homemade Chocolate Cake
- Frequently Asked Questions About This Homemade Chocolate Cake
- Estimated Nutritional Snapshot for This Homemade Chocolate Cake
- Share Your Ultimate Homemade Chocolate Cake Creations
Why This Homemade Chocolate Cake Recipe is the Best
If you are looking for a Moist Chocolate Cake Recipe that truly delivers, stop searching! This recipe is my absolute favorite because it guarantees that perfect chocolate hit every single time. I know you’re going to be amazed by the results.
- It’s a true one-bowl wonder! Less mess means more time for licking the spoon, which is essential when making homemade chocolate cake.
- The secret ingredient—hot coffee—creates an unbelievably deep, fudgy chocolate flavor that just can’t be beaten.
- You end up with a wonderfully soft and Tender Crumb Chocolate Cake that holds up beautifully for stacking.
- It’s surprisingly quick! We’re talking a truly Easy Chocolate Cake From Scratch that’s ready for the oven in minutes.
Seriously, if you’re looking for the easiest way to make the Best Homemade Chocolate Cake, stick with this method, okay? You won’t regret it. I even wrote down my favorite pancake recipe in case you need a simple breakfast idea after all this cake happens!
Ingredients for the Ultimate Moist Homemade Chocolate Cake
Okay, this is where the magic starts! Precision matters here, but don’t let the list scare you. Because we are making a Simple Chocolate Cake Baking masterpiece, we need the right components ready to go. Remember, this recipe comes together so quickly because everything gets dumped in one big bowl!
If you’re curious about how buttermilk transforms things, you should check out my flaky biscuit recipe. It works wonders in chocolate cake too!
Cake Batter Ingredients
Make sure your eggs and buttermilk are at room temperature; it helps everything blend smoothly!
- 1 3/4 cups all-purpose flour
- 1 3/4 cups granulated sugar
- 3/4 cup unsweetened cocoa powder (good quality makes a huge difference!)
- 1 1/2 teaspoons baking soda
- 1 1/2 teaspoons baking powder
- 1 teaspoon salt
- 2 large eggs, lightly beaten
- 1 cup buttermilk (room temperature)
- 1/2 cup vegetable oil
- 2 teaspoons vanilla extract
- 1 cup hot brewed coffee (this is super important!)
Rich Chocolate Buttercream Frosting Ingredients
We want this frosting fluffy, so make sure that butter is properly softened—no cold chunks allowed!
- 1 cup (2 sticks) unsalted butter, softened to room temperature
- 3 cups powdered sugar, sifted
- 1/2 cup unsweetened cocoa powder (give this a good whisk first)
- 1/2 cup milk or heavy cream
- 1 teaspoon pure vanilla extract
If you want to see how I make a super easy fluffy chocolate frosting separately, I have a dedicated post for it!
How to Make This Easy Chocolate Cake From Scratch
This mixing process is why I sing the praises of this One Bowl Chocolate Cake recipe again and again! It saves my sanity on busy baking days. We’re going to handle the cake layers first, and then whip up that amazing frosting while they cool down. Pay close attention to integrating that hot coffee; it’s the key to getting that deep chocolate note without making the cake taste bitter.
Preparing the Cake Layers
First thing, always start by getting your oven hot—we need it set to 350°F (175°C). Then, grease and flour two 9-inch round cake pans. We don’t want any sticking later, especially with such a moist cake!
- In your biggest mixing bowl—see, only one!—whisk together all the dry stuff: the flour, sugar, that 3/4 cup of cocoa powder, baking soda, baking powder, and salt. Sophia’s Tip: When you mix the dry ingredients together first, that’s what ensures the leavening agents (soda and powder) are evenly distributed. No flavor pockets or sunken spots for us!
- Now, add the eggs, buttermilk, oil, and the 2 teaspoons of vanilla extract right into that dry mix. Beat it with your electric mixer on medium speed for a full two minutes. You’ll see it start to come together.
- Here comes the important part! Carefully pour in that cup of hot brewed coffee. Mix it on low speed until everything is *just* combined. Please don’t overmix once the liquid goes in—that’s how we keep our crumb so tender!
- I need you to not panic here: the batter will look quite thin. Totally normal! That hot liquid makes it runny, but that thinness is what gives us that incredible fudgy texture when it bakes up.
- Divide that batter evenly between your two prepared pans. Pop them into the oven for about 30 to 35 minutes. You want a wooden pick inserted into the very center to come out clean—that means it’s done.
- Once they are baked, let them cool in the pans for about 10 minutes. Then, carefully invert them onto a wire rack so they can cool completely. Seriously, they must be totally cool before frosting!
Whipping Up the Homemade Chocolate Cake with Frosting
While those layers are chilling out, we start on the frosting so everything lines up perfectly for assembly.
- In a separate big bowl, beat that softened butter until it looks really creamy and light. This step builds air into our frosting, so take your time!
- Now, add the powdered sugar and the remaining 1/2 cup of cocoa powder, alternating slowly with the milk or cream. Beat it slowly at first, or you’ll have a cocoa cloud taking over your kitchen!
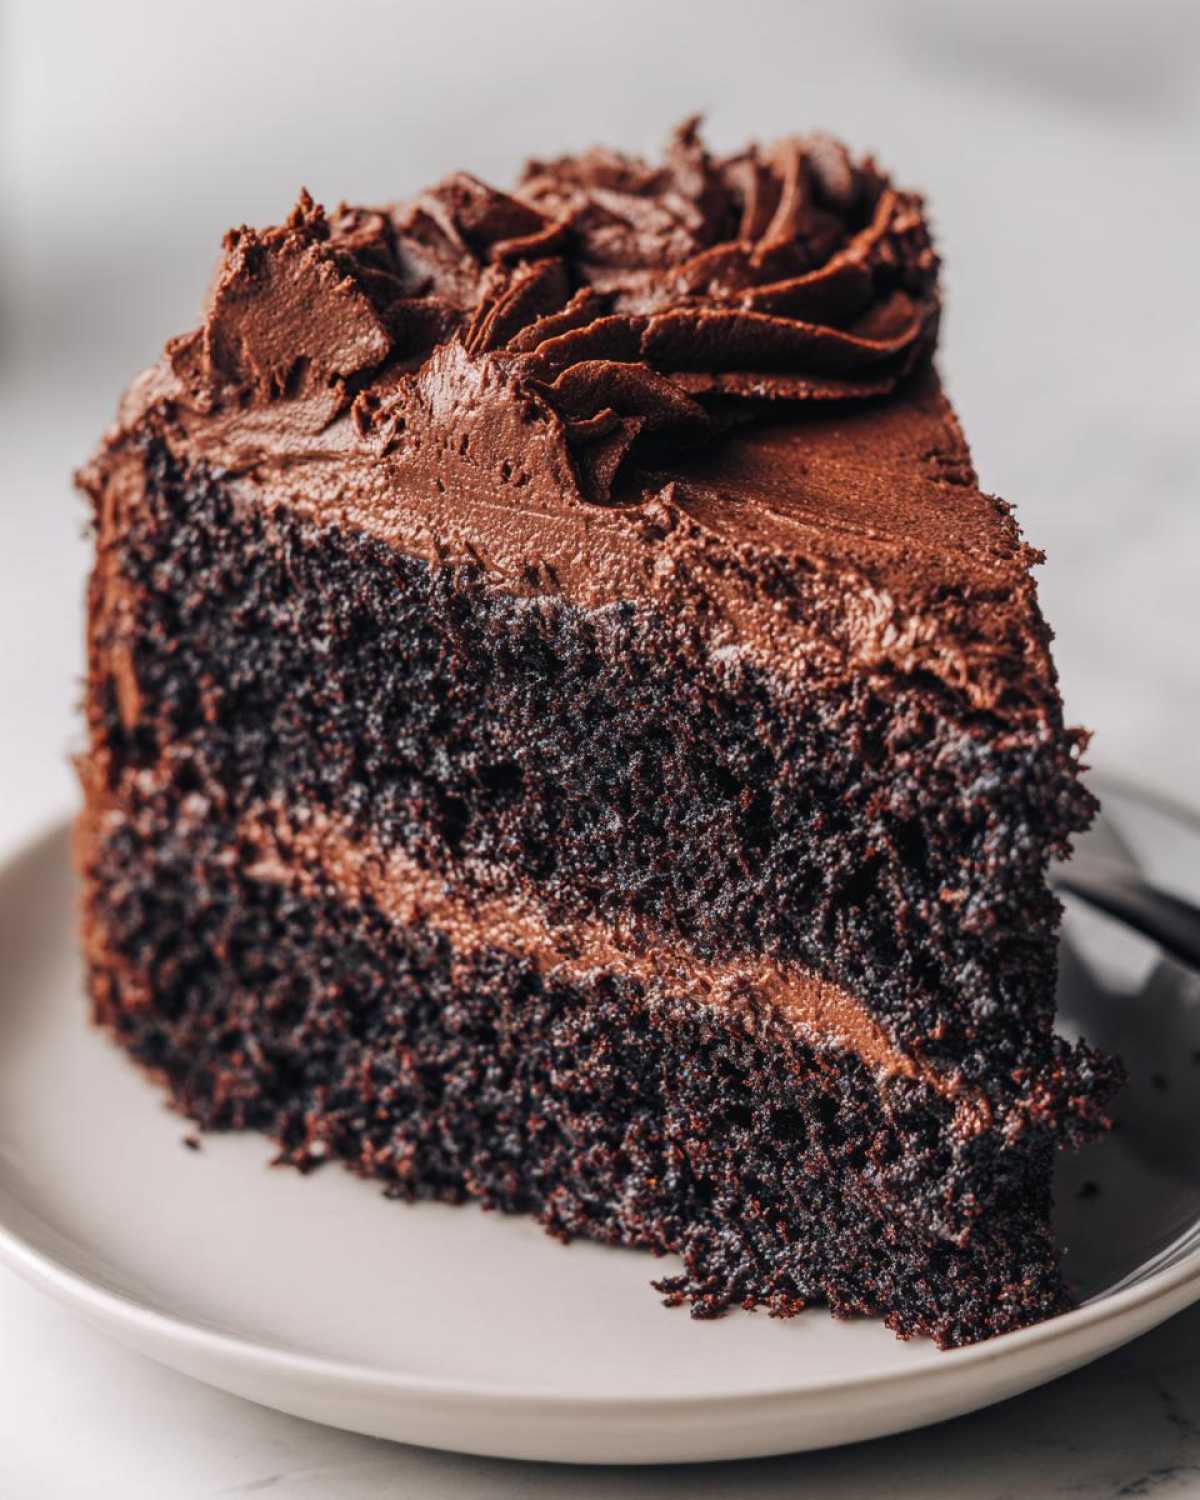
- Once it’s all mixed in, crank that mixer up high and beat it until it looks airy and fluffy—this is what dreams are made of for a Decadent Chocolate Layer Cake! Stir in that final teaspoon of vanilla extract.
- When your cakes are completely cool—and I mean *completely*—you can frost and stack them up tall. Enjoy seeing that beautiful homemade chocolate cake come together!
Tips for the Best Homemade Chocolate Cake Texture
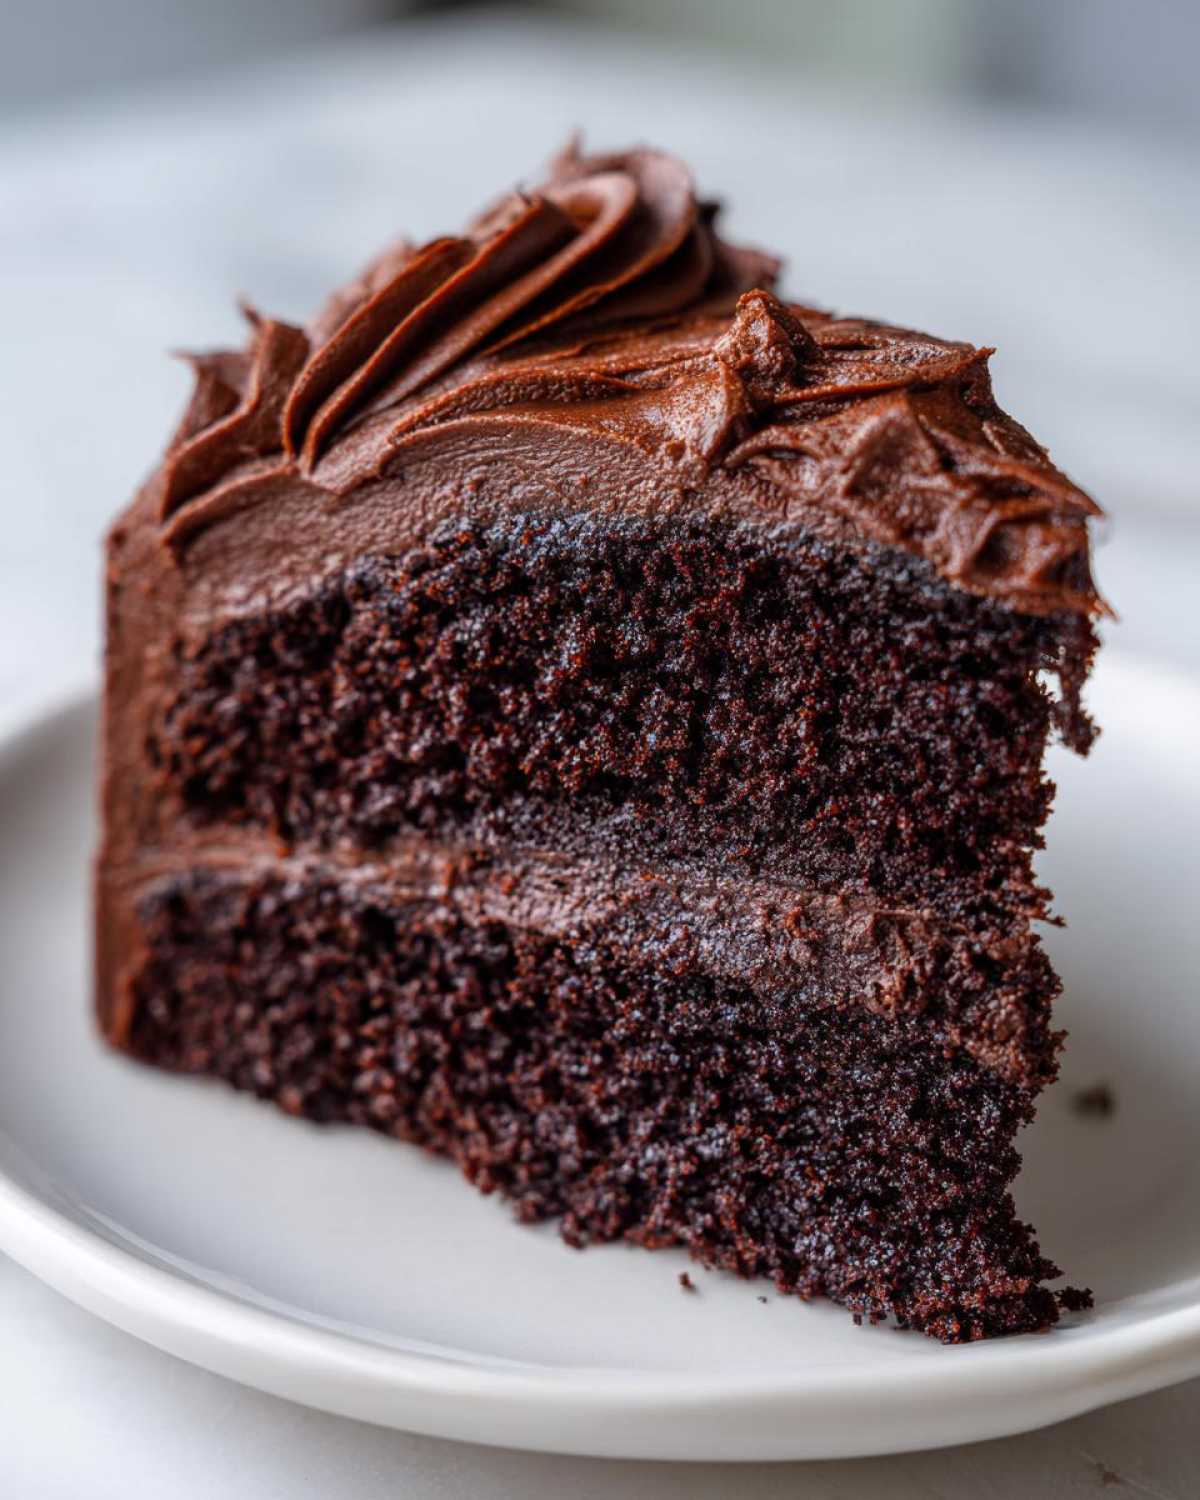
Achieving that melt-in-your-mouth, Fudgy Chocolate Cake Recipe texture isn’t rocket science, but it does require honoring a couple of key details in this recipe. We already chatted about the importance of the hot coffee, but let’s talk about how to handle the liquids!
Remember when I said the batter looks thin after adding the hot coffee? That’s your cue to be gentle! Resist the urge to keep beating it once that last liquid goes in. Mix just until you no longer see streaks of flour, and then stop immediately. Overmixing after that point develops gluten when we want a soft, pillowy crumb, not a tough one.
Also, if you happen to be out of buttermilk—it happens to the best of us—my note suggests a quick substitute. If you swap it out for regular milk, just stir in a teaspoon of vinegar or lemon juice and let it sit for five minutes. That acidity is crucial for reacting with the baking soda to give us that perfect lift. If you wanted something extra decadent, I also have an amazing chocolate fondue recipe that would be incredible poured over the top instead of frosting!
Variations for Your Homemade Chocolate Cake
One thing I love about a truly great homemade chocolate cake recipe is how forgiving it is! If you need to pivot for a party theme or just want something different next time you bake this Simple Chocolate Dessert, I have a few quick tweaks that work beautifully without ruining that wonderful texture we worked so hard to achieve.
Don’t be afraid to customize! It’s still your homemade cake, after all. Here are my top three suggestions for customizing this batter before it hits the pans:
- Turn them into Cupcakes: This batter is amazing for cupcakes! Just line standard muffin tins, fill those cups about two-thirds full, and reduce your baking time significantly—usually to about 18–22 minutes at that same 350°F. They make perfect little grab-and-go treats. If you want to lean into the cozy theme, check out my recipe for hot chocolate cupcakes!
- Add Chocolate Chips: For extra chocolate intensity, gently fold in one cup of semi-sweet or dark chocolate chips *right* before you divide the batter between the pans. Make sure the chips are coated in a light dusting of flour first so they don’t all sink straight to the bottom while baking.
- Try New Extracts: While the vanilla is classic, sometimes you want a little twist! Try swapping the vanilla for one teaspoon of peppermint extract or a half teaspoon of almond extract. A little peppermint makes this perfect for a winter holiday gathering, giving you a completely different vibe from the usual birthday celebration cake.
See? It’s so easy to keep this recipe fresh. You’ll never get tired of making this cake!
Serving Suggestions for Your Homemade Chocolate Cake
We’ve made the ultimate homemade chocolate cake, frosted it beautifully, and now we have to decide how to present this masterpiece! I firmly believe the best chocolate cake deserves the best accompaniments. Since this cake is so incredibly rich and has that deep fudgy flavor from the coffee, you don’t need to do much—but a little something extra never hurt anyone, right?
When I serve this for birthdays, I like to keep things bright to cut through that decadence. A sprinkling of fresh raspberries or sliced strawberries on top of that rich chocolate buttercream is just gorgeous. The little burst of tartness against the sweet frosting? Perfection!
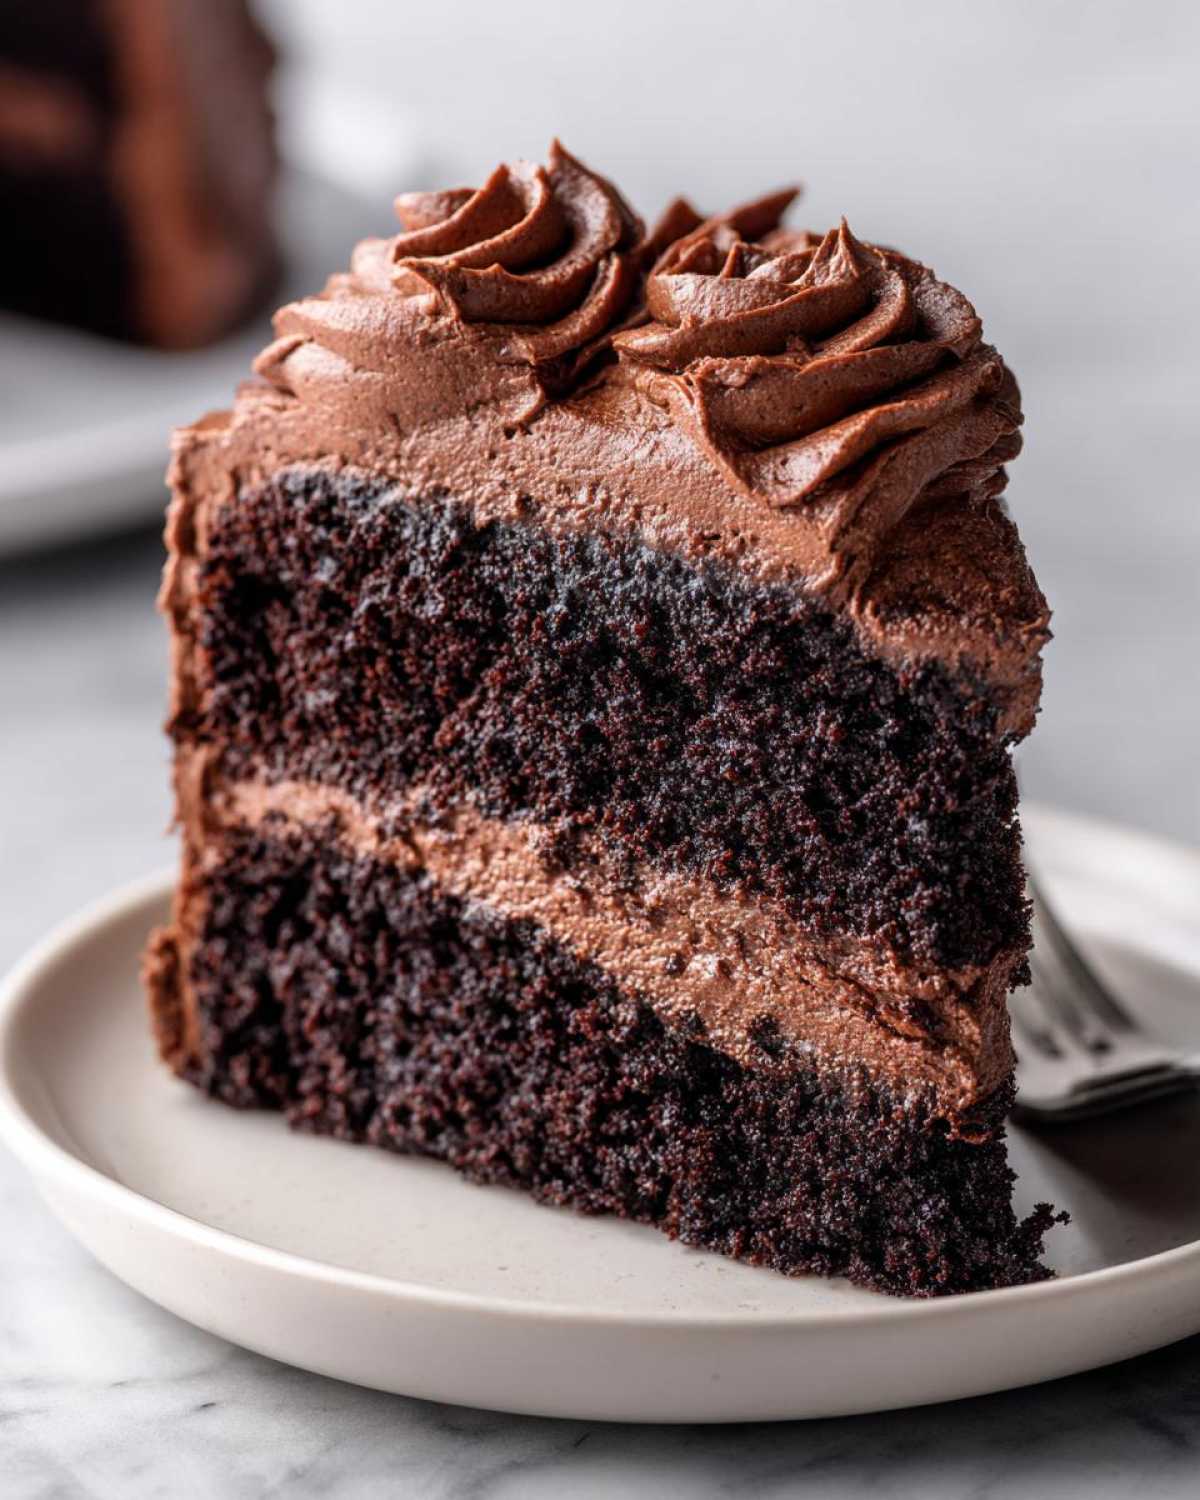
If you are serving it warm—maybe you didn’t wait for it to cool completely, oops!—you absolutely *must* have a couple of scoops of high-quality vanilla bean ice cream melting slowly next to it. That combination of warm, moist chocolate cake and cold vanilla is just pure comfort. If you need a good base to go with, you should check out my easy vanilla cupcake recipe; the vanilla component will sing against this chocolate!
For a much simpler, more elegant approach when you’re just having a casual Sunday dessert, you don’t even need fruit or ice cream. Just take a fine-mesh sieve, dust the entire top lightly with a little plain cocoa powder, or even some powdered sugar if you want a visual contrast. It gives it that professional bakery look with almost zero effort. Honestly, the best part of having such a great chocolate cake recipe is knowing it tastes amazing no matter how simply you choose to serve it!
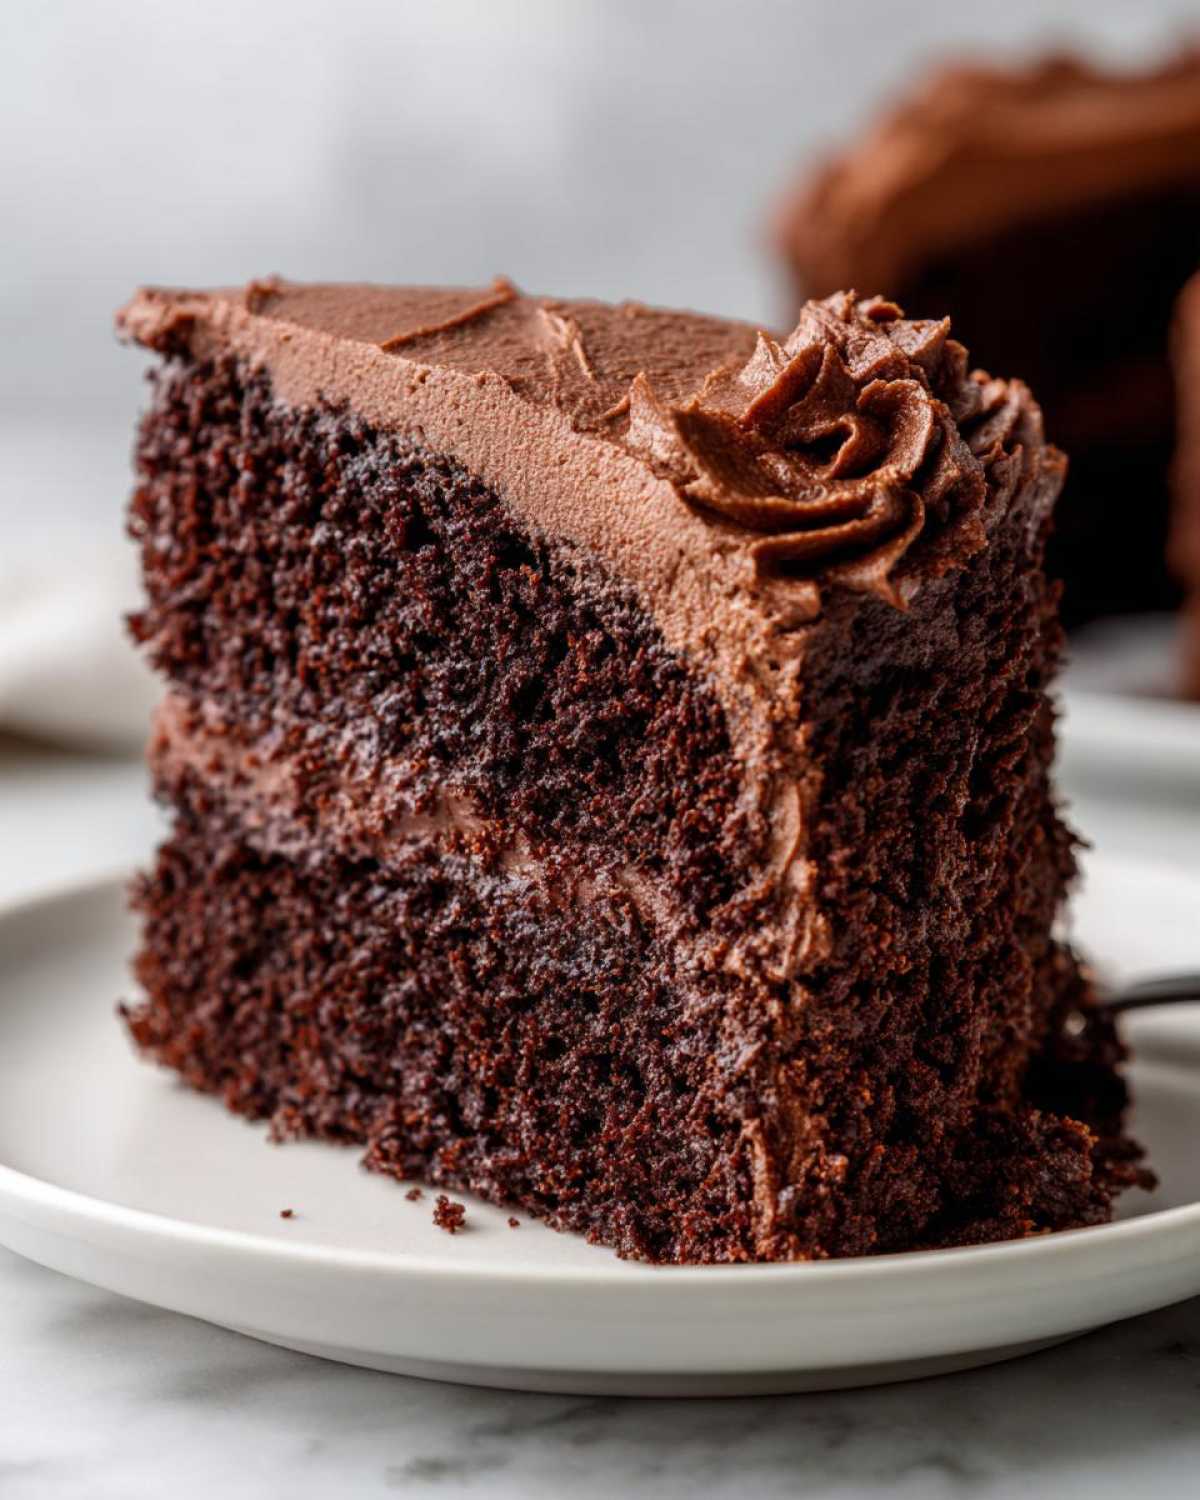
Storage and Reheating Instructions for Homemade Chocolate Cake
I’m smiling just thinking about you having leftovers! Seriously, this homemade chocolate cake tastes even better the next day, which is why I always tell people it’s the Best Homemade Chocolate Cake for leftovers. How you store it really depends on what you did with the topping, though.
If you used my rich chocolate buttercream frosting, you can actually keep the cake happily sitting out at room temperature for about two days, covered tightly with a cake dome or a securely sealed container. Why? Because the sugar content in that frosting acts as a great little preservative! If you plan on storing it longer—say, you made this massive cake for a party that lasts a few days—then yes, wrap the layers tightly in plastic wrap and pop them into the fridge. Just remember, cold cake isn’t the best cake!
When you pull that refrigerated slice out, give it at least 30 to 45 minutes to come back up to room temperature on the counter. That time allows the fats in the butter and oil to soften again, bringing back that gorgeous, moist texture we worked so hard for. If you’re in a real hurry, you can microwave a single slice for about 10 to 15 seconds, but test it carefully—we want warm, not molten!
If you only frosted one layer or you have unfrosted layers you need to save for a few days, wrap those tightly in plastic wrap and then aluminum foil before freezing. They keep beautifully for up to three months this way. Just let them thaw overnight on the counter before frosting and serving!
Frequently Asked Questions About This Homemade Chocolate Cake
I always get so many questions when readers dive into making this recipe for the first time, especially around texture and timing! It’s totally normal to have questions when you’re aiming for the Best Homemade Chocolate Cake, so I wanted to put my two cents in right here. If you’re still wondering about the hot coffee or how to make this ahead for Chocolate Cake for Birthdays, you’ll find your answers below!
And hey, if you’re done with cake and looking for a totally different kind of easy treat, you should see my guide on making easy pizza pinwheels—they disappear just as fast!
Can I skip the buttermilk in this homemade chocolate cake?
That’s the number one question! You really shouldn’t skip the buttermilk if you can avoid it, because that lovely acidity is what reacts perfectly with the baking soda to give us that beautiful lift and that classic slightly tangy background flavor that balances the rich chocolate. But if you absolutely must swap it out, here’s the fix: Measure out exactly one cup of regular milk (whole milk is best!) and stir in one tablespoon of white vinegar or fresh lemon juice. Let that mixture sit on the counter for about five to ten minutes until it visibly curdles a little bit. That’s your DIY buttermilk, and it’s a fantastic stand-in for this Easy Chocolate Cake From Scratch!
How far ahead can I bake the layers for this chocolate cake for birthdays?
This is great news for party planners! You can certainly bake the layers ahead of time. Once they have cooled completely on the rack, don’t frost them yet. Wrap each cooled cake layer super tightly—I mean *really* tightly—first in plastic wrap, and then you can add another layer of aluminum foil around that. This traps all that moisture in. You can store beautifully wrapped layers at room temperature for two days, or you can freeze them for up to three months! When you are ready to assemble your Decadent Chocolate Layer Cake, just let them thaw completely before you even think about touching the frosting.
What is the secret to the ‘moist chocolate cake recipe’ outcome?
Oh, I’m so glad you asked! If you want that unbelievably moist texture that makes people ask for the recipe, it comes down to two non-negotiable elements working together. First is the hot liquid—that cup of hot brewed coffee. Heating the cocoa powder releases deeper flavor compounds and makes the cake fudgy. Second is the combination of the oil and the buttermilk. The oil stays liquid when cool, which keeps the cake velvety soft, and the buttermilk provides the necessary acid. It’s the perfect marriage for a Moist Chocolate Cake Recipe!
Estimated Nutritional Snapshot for This Homemade Chocolate Cake
I always get asked about the numbers, especially since this is such a rich recipe! While I focus mostly on taste and making sure we get that perfect homemade chocolate cake texture, I do want to give you a general idea of what’s in a slice of this decadent treat. Please remember, these figures are just estimates!
These calculations are based on the recipe yielding 12 generous slices, but if you cut smaller pieces for a very large event or if you use a different type of milk in the frosting, those numbers will shift a bit. This is meant to be an indulgence, after all!
- Serving Size: 1 slice
- Calories: 450
- Sugar: 55g
- Sodium: 320mg
- Fat: 25g
- Saturated Fat: 14g
- Unsaturated Fat: 11g
- Trans Fat: 0.5g
- Carbohydrates: 58g
- Fiber: 3g
- Protein: 5g
- Cholesterol: 75mg
See? Lots of energy packed into that beautiful slice of Chocolate Cake for Birthdays! It just confirms what we already knew: This is worth every single glorious bite of amazing Homemade Chocolate Cake with Frosting. If you’re watching sugar, maybe skip the extra frosting layer, but honestly, where would the fun be in that?
Share Your Ultimate Homemade Chocolate Cake Creations
Well, that’s it! We’ve walked through every secret step to making what I truly believe is the best homemade chocolate cake you’ll ever encounter. Now that you have the recipe for this deep, dark, decadent dessert, the best part begins for me: seeing what you create! I absolutely love seeing your beautiful layers stacked up high, perfectly slathered with that creamy chocolate buttercream frosting.
When you pull that gorgeous creation out of the oven, please don’t keep it a secret! Come back here and leave a rating below—it helps so many other bakers know they are clicking on the right recipe for their next celebration, be it a birthday or just a Tuesday that deserves a treat. I live for those excited comments!
If you snap a photo of your stunning, moist layer cake, tag me on social media! I’m always sharing my favorite reader photos on my page, so make sure you’re sharing those efforts across the platforms. And hey, if you’re looking for another delicious bake that disappears instantly, you’ve got to try my homemade chocolate chip cookies next; they are just as addictive!
While you’re sharing, if you want to see what delicious things I’m testing out in my own kitchen daily—from quick dinners to elaborate desserts—you can find me over on Pinterest too. Looking through the boards there gives me so much inspiration, and I hope it does the same for you as you plan your next baking adventure! You can follow along at our Pinterest page for tons of sweet inspiration!
PrintThe Ultimate Moist & Easy Homemade One-Bowl Chocolate Cake with Rich Chocolate Buttercream Frosting
You need this recipe for the best homemade chocolate cake from scratch. It delivers a deep chocolate flavor, a wonderfully moist texture, and a tender crumb. This easy, one-bowl method makes it perfect for birthdays or any sweet craving.
- Prep Time: 20 min
- Cook Time: 35 min
- Total Time: 55 min
- Yield: 12 servings 1x
- Category: Dessert
- Method: Baking
- Cuisine: American
- Diet: Vegetarian
Ingredients
- 1 3/4 cups all-purpose flour
- 1 3/4 cups granulated sugar
- 3/4 cup unsweetened cocoa powder
- 1 1/2 teaspoons baking soda
- 1 1/2 teaspoons baking powder
- 1 teaspoon salt
- 2 large eggs
- 1 cup buttermilk
- 1/2 cup vegetable oil
- 2 teaspoons vanilla extract
- 1 cup hot brewed coffee
- 1 cup (2 sticks) unsalted butter, softened
- 3 cups powdered sugar
- 1/2 cup unsweetened cocoa powder (for frosting)
- 1/2 cup milk or heavy cream
- 1 teaspoon vanilla extract (for frosting)
Instructions
- Preheat your oven to 350°F (175°C). Grease and flour two 9-inch round cake pans.
- In a large bowl, whisk together the flour, sugar, 3/4 cup cocoa powder, baking soda, baking powder, and salt. This is your one-bowl start!
- Add the eggs, buttermilk, oil, and 2 teaspoons of vanilla extract to the dry ingredients. Beat with an electric mixer on medium speed for two minutes.
- Carefully pour in the hot coffee and mix on low speed until just combined. The batter will be thin.
- Divide the batter evenly between the prepared cake pans.
- Bake for 30 to 35 minutes, or until a wooden pick inserted into the center comes out clean.
- Let the cakes cool in the pans for 10 minutes before inverting them onto a wire rack to cool completely.
- While the cakes cool, make the frosting: In a large bowl, beat the softened butter until creamy.
- Gradually add the powdered sugar and 1/2 cup cocoa powder, alternating with the milk, beating until smooth.
- Stir in the remaining 1 teaspoon of vanilla extract. Beat on high speed until light and fluffy.
- Once the cakes are completely cool, frost and stack them to create your decadent chocolate layer cake.
Notes
- Using hot coffee deepens the chocolate flavor without making the cake taste like coffee. It is key for that fudgy chocolate cake recipe texture.
- For an extra rich flavor, substitute sour cream for the buttermilk.
- You can easily turn this into a quick homemade chocolate cake by using 8-inch pans, which will require a slightly longer bake time.
Nutrition
- Serving Size: 1 slice
- Calories: 450
- Sugar: 55g
- Sodium: 320mg
- Fat: 25g
- Saturated Fat: 14g
- Unsaturated Fat: 11g
- Trans Fat: 0.5g
- Carbohydrates: 58g
- Fiber: 3g
- Protein: 5g
- Cholesterol: 75mg