
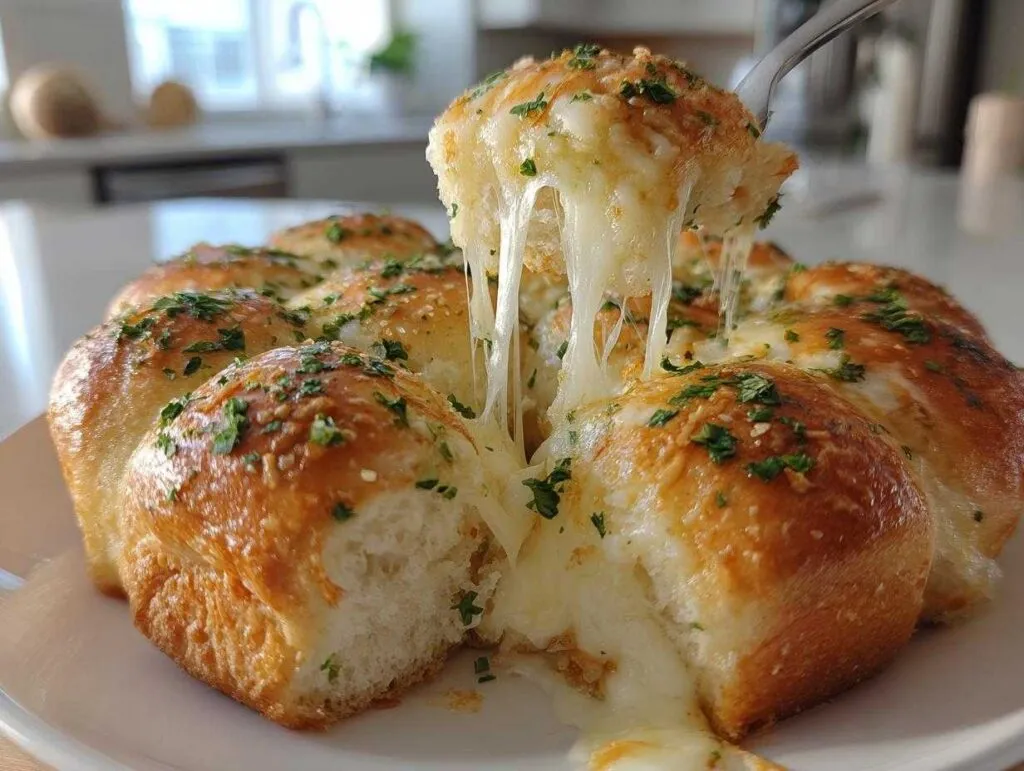
There’s nothing quite like the smell of cheesy garlic rolls baking in the oven – that golden, buttery garlic perfume that makes everyone in the house come running to the kitchen! These pull-apart beauties have been my secret weapon for making ordinary family dinners feel special and holiday meals absolutely unforgettable. I still remember helping my grandmother shape these when I could barely see over the counter – she’d let me sprinkle the cheese while she expertly rolled the dough, always sneaking me a pinch of mozzarella when Mom wasn’t looking.
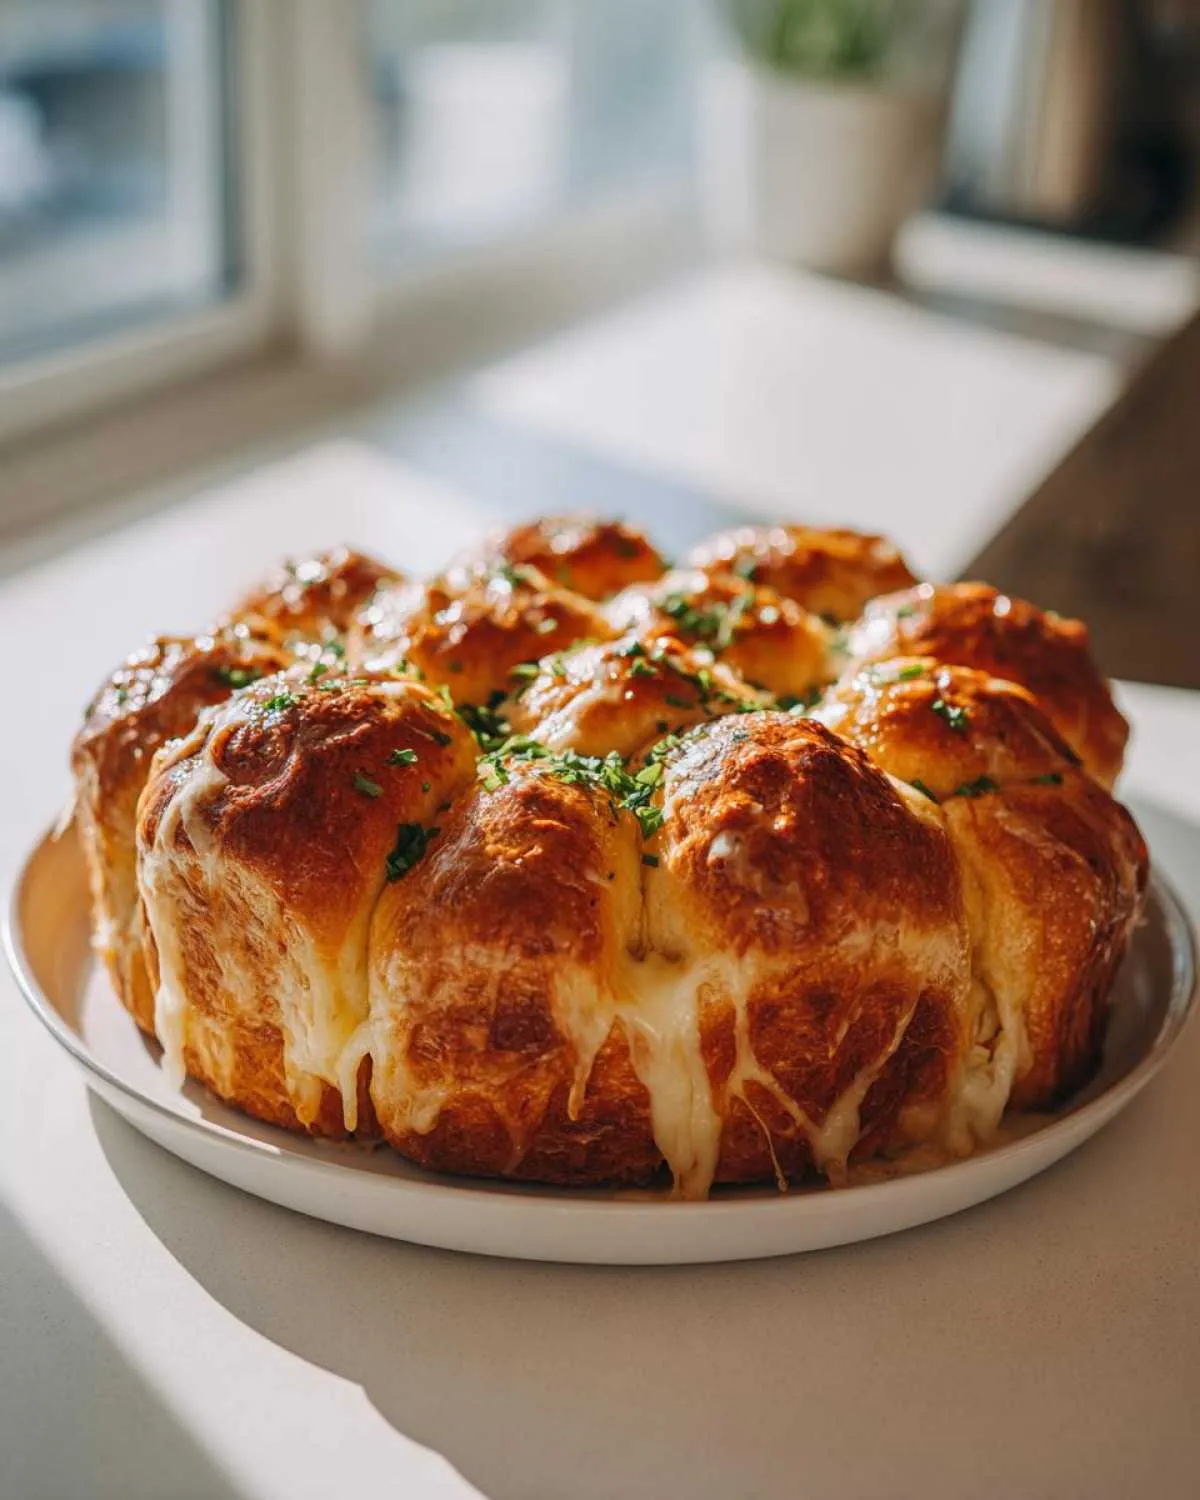
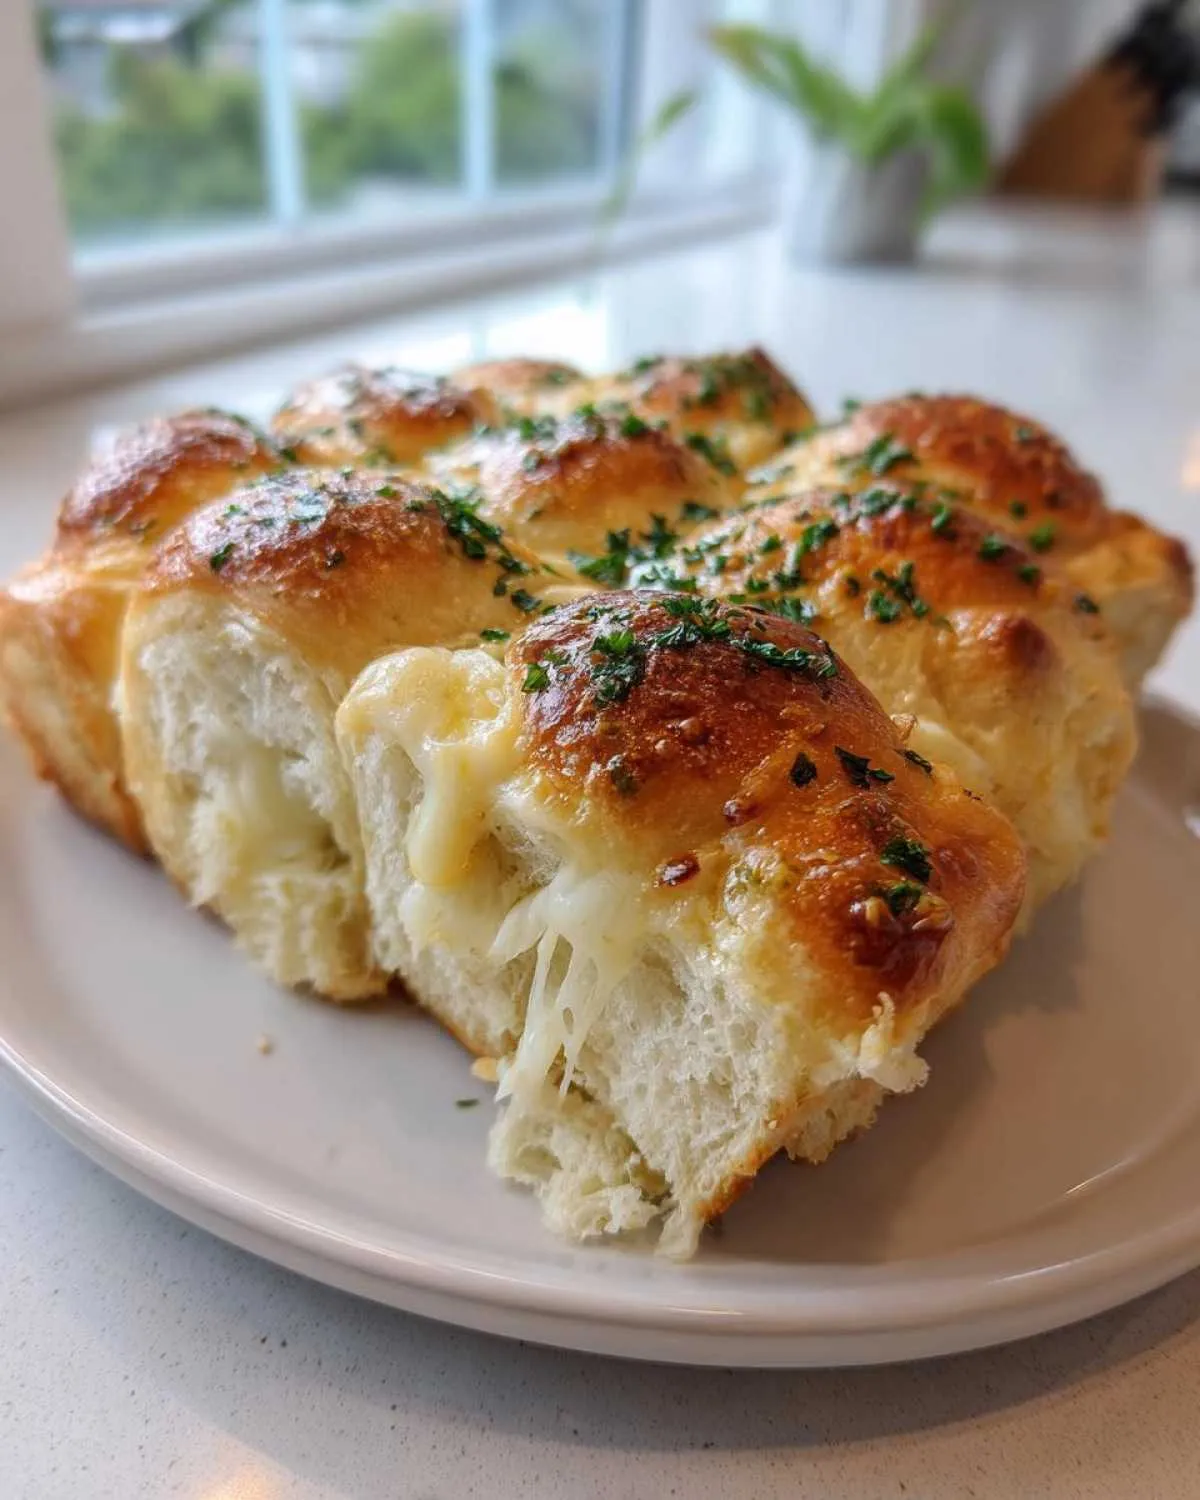
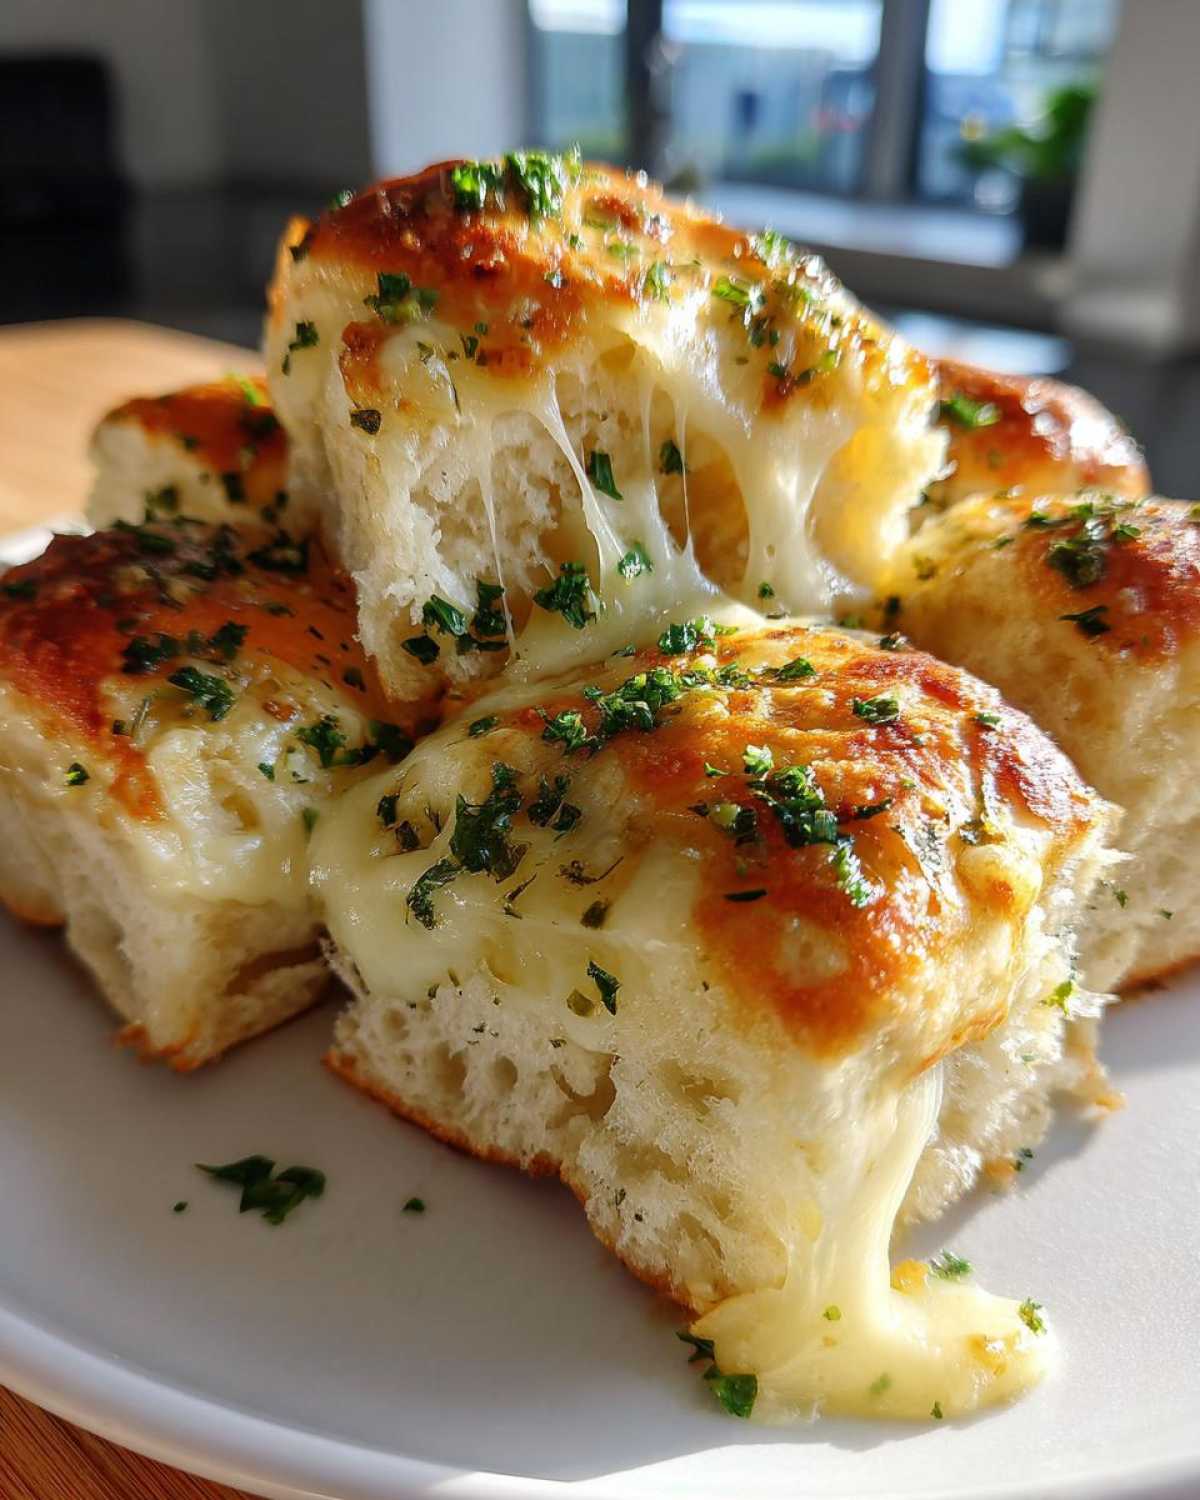
What makes these cheesy garlic rolls so magical is how something so simple can transform a meal. That first bite – when you pull apart a warm roll and see the stretchy cheese strands connecting it to its neighbor – just does something to people. Suddenly, the pasta, the roast chicken, whatever you’re serving alongside them becomes secondary. I’ve watched grown adults at dinner parties sneak seconds (and thirds) of these rolls when they think no one’s looking. And honestly? I don’t blame them one bit.
- Why You'll Love These Cheesy Garlic Rolls
- Ingredients for Cheesy Garlic Rolls
- How to Make Cheesy Garlic Rolls
- Tips for Perfect Cheesy Garlic Rolls
- Serving Suggestions for Cheesy Garlic Rolls
- Storage and Freezing Instructions
- Nutritional Information
- Frequently Asked Questions
- Share Your Cheesy Garlic Rolls Experience
Why You’ll Love These Cheesy Garlic Rolls
Oh, where do I even begin? These cheesy garlic rolls are the sort of recipe that’ll make you look like a kitchen genius with minimal effort. Let me count the ways they’ll become your new obsession:
- That pillow-soft texture – The combination of warm milk and proper kneading creates rolls so tender, they practically dissolve in your mouth (but still hold all that gooey cheese inside).
- Cheese pulls for days – Packed with melty mozzarella, each roll stretches like your favorite pizza slice when you pull them apart – totally Instagram-worthy.
- Foolproof for beginners – No fancy skills needed. If you can stir and roll dough, you’ve got this. My 10-year-old nephew makes them perfectly!
- Freezer magic – Prepare the rolls up to the final rise, then freeze them before baking. Future-you will high-five present-you when dinner’s ready in 20 minutes flat.
- Meal planning MVP – These cheesy garlic rolls elevate everything from weeknight spaghetti to holiday feasts. Bonus: they reheat beautifully for next-day lunches.
Seriously – one batch, and you’ll understand why I always double the recipe. They disappear faster than you can say “garlic butter!”
Ingredients for Cheesy Garlic Rolls
Gathering the right ingredients is half the battle when making these heavenly cheesy garlic rolls. Here’s what you’ll need to create that perfect balance of fluffy dough, gooey cheese, and fragrant garlic butter:
For the Dough
- 3 cups all-purpose flour (spooned and leveled – don’t pack it!)
- 1 packet (2¼ tsp) instant yeast – the secret behind that quick rise
- 1 tbsp sugar – just enough to feed the yeast
- 1 tsp salt – for flavor balance
- 1 cup warm milk (about 110°F – think baby bottle temperature)
- ¼ cup melted butter (unsalted is my go-to)
- 1 large egg – for richness and structure
For the Garlic Cheese Filling
- 2 cups shredded mozzarella cheese (whole milk mozzarella melts best)
- 4 cloves garlic, minced (about 1 tbsp – adjust to your garlic love level)
- 2 tbsp chopped fresh parsley (or 2 tsp dried if that’s what you’ve got)
For That Glorious Topping
- 2 tbsp melted butter – for brushing after baking
- Optional: 1 tbsp grated Parmesan – because more cheese is never wrong
See? Simple ingredients you probably already have! Pro tip: If you love garlic as much as I do, try my garlic naan bread recipe next – it uses similar flavors in a flatbread form. And if you’re craving more cheesy goodness (who isn’t?), my garlic parmesan chicken meatloaf pairs beautifully with these rolls.
How to Make Cheesy Garlic Rolls
Okay, let’s get to the fun part – making these incredible cheesy garlic rolls! I promise it’s easier than it looks, and the results will have everyone thinking you trained at a fancy bakery. Just follow these steps exactly, and you’ll be pulling golden, cheesy perfection out of your oven in no time.
Step 1: Make the Dough
First, grab your biggest mixing bowl and whisk together the flour, yeast, sugar, and salt. Now, make a little well in the center and pour in your warm milk, melted butter, and egg. Here’s a pro tip: if you’re using a stand mixer with a dough hook attachment, let it run for about 5 minutes on medium speed until you’ve got a smooth ball of dough that springs back when poked. No mixer? No problem. Just knead by hand for about 8-10 minutes – think of it as your arm workout for the day!
Step 2: Let It Rise
Lightly grease the bowl with a bit of oil (I just use the butter wrapper), pop your dough ball in, cover it with a clean kitchen towel, and let it rise in a warm spot for about an hour. You’ll know it’s ready when it’s doubled in size – this is when I usually prep the rest of dinner or clean up my mess! If you want a super-quick version, check out my no-knead focaccia recipe, but trust me, the extra effort here is worth it.
Step 3: Roll and Fill
Now the fun begins! Punch down the dough (my favorite stress reliever) and roll it out on a floured surface into about a 12×16 inch rectangle. Sprinkle your shredded mozzarella evenly over the surface, leaving about an inch bare at the top edge. Then scatter your minced garlic and parsley over the cheese – trust your nose on this step; if that garlic smell makes your mouth water, you’re doing it right!
Step 4: Shape Your Rolls
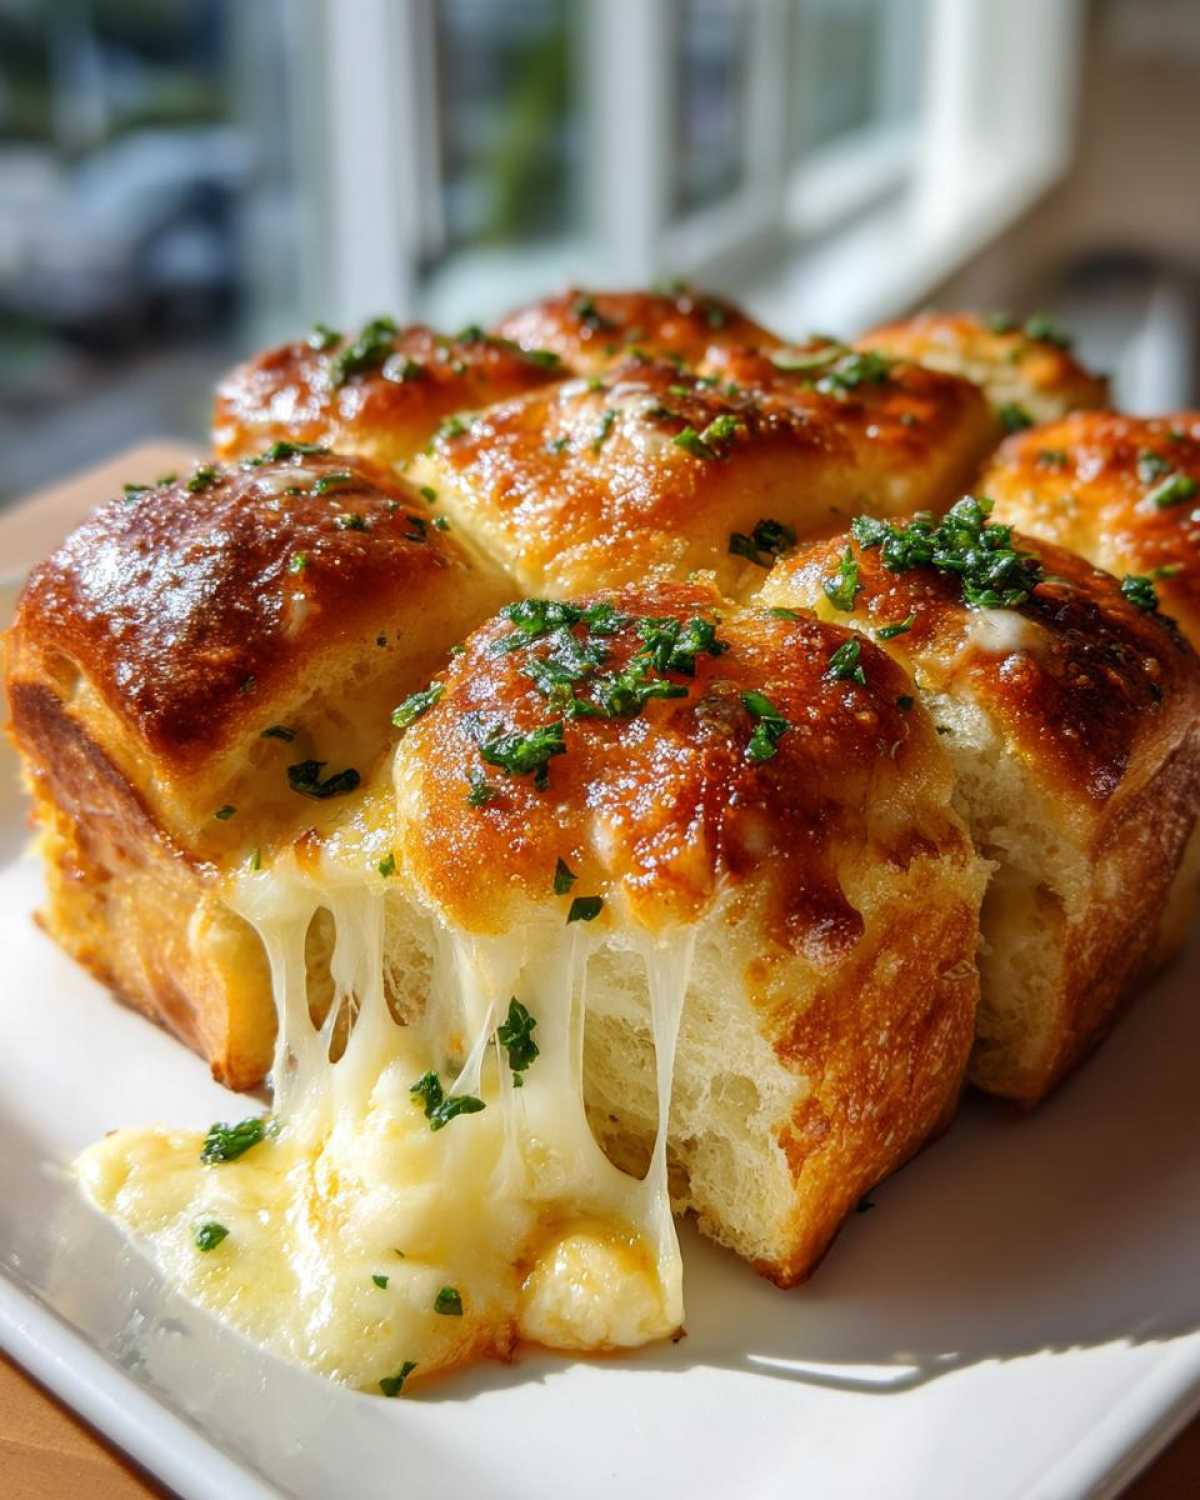
Starting from the cheese-covered long side, tightly roll the dough into a log (like a giant sushi roll). Use a sharp knife or bench scraper to cut it into 12 equal pieces. Here’s my secret for perfect portions: score the rolled dough first before making clean cuts. Place the rolls spiral-side up in a greased 9×13 baking dish – they should just barely be touching.
Step 5: Final Rise and Bake
Cover the dish with that trusty kitchen towel again and let the cheesy garlic rolls rise for another 30 minutes while your oven preheats to 375°F. They’ll puff up even more and get nice and cozy with their neighbors. Bake for 20-25 minutes until the tops are golden brown and the cheese is oozing at the sides – that’s your cue that magic has happened.
Step 6: The Finishing Touch
As soon as they come out of the oven, brush those beauties with melted butter. This gives them that irresistible shine and makes the top slightly crisp while keeping the inside pillowy soft. Let them cool for about 5 minutes (if you can resist) before serving – the cheese will set slightly so you get those perfect cheese pulls without burning your fingers.
There you have it – cheesy garlic rolls so good, they might just upstage your main course! The whole process takes about 2 hours from start to finish, but most of that is hands-off rising time. And trust me, when you see your family’s faces after that first cheesy, garlicky bite, you’ll know every minute was worth it.
Tips for Perfect Cheesy Garlic Rolls
Alright, let me share all my hard-earned secrets for cheesy garlic rolls that’ll have everyone begging for the recipe! First, that perfect soft texture comes from kneading just enough – stop when the dough is smooth and slightly sticky, like a baby’s cheek. Overworking it makes tough rolls (we’ve all been there!). For the cheese, I swear by a mix of mozzarella and sharp cheddar – the mozz gives you those glorious cheese pulls, while the cheddar adds serious flavor. When baking, pull them out when they’re golden but not too dark – they’ll keep cooking a bit from residual heat. And here’s my weirdest tip: if you’re into meal planning and own a sous-vide precision cooker, you can proof the dough in it at exactly 85°F for the perfect rise every time. Works like a charm!
Serving Suggestions for Cheesy Garlic Rolls
Oh, these cheesy garlic rolls are total showstoppers wherever you put them—but let me tell you the dishes they truly shine next to! For cozy nights, they’re dreamy dunked in my slow-cooker pot roast gravy or paired with creamy tomato soup. Holiday dinners? They upstage everything—pile them next to your glazed ham or turkey, and watch them vanish before the salad even gets touched. And for garlic lovers (like me!), serve them with my garlic parmesan chicken—double the garlic, double the fun. Pro tip: pull them apart straight from the oven onto a wooden board at the table—guests can’t resist grabbing one!
Storage and Freezing Instructions
Here’s the good news: If you somehow have leftovers (big if in my house!), these cheesy garlic rolls keep beautifully. Just let them cool completely, then tuck them into an airtight container at room temp for up to 2 days—or in the fridge for 3 days. To revive them, I swear by the 10-second microwave trick: Wrap a roll in a damp paper towel and zap it just until warm. Or, for that fresh-baked crispness, pop them in a 350°F oven for 5 minutes.
Want freezer magic? Freeze them unbaked after shaping—just arrange the rolls on a parchment-lined sheet to freeze solid, then transfer to a ziplock bag (they’ll keep for 3 months!). When cravings hit, let them thaw and rise on the counter for an hour, then bake as usual. Boom—hot, gooey rolls anytime!
Nutritional Information
Just a quick note: these nutritional estimates are for one cheesy garlic roll and can vary based on brands and exact measurements. We’re talking roughly 220 calories per roll with 10g of fat (that’s the good stuff – butter and cheese!), 8g of protein, and 25g of carbs. Not bad for something this delicious, right? These definitely aren’t diet rolls, but hey – everything in moderation, including moderation!
Frequently Asked Questions
Can I use fresh yeast instead of instant yeast?
Absolutely! Fresh yeast works wonderfully for these cheesy garlic rolls. Just use about ¾ oz (or a 2-inch cube) of fresh yeast instead of the packet. Crumble it into your warm milk (not too hot or it’ll kill the yeast!) and let it sit for 5 minutes until frothy before adding. I love the traditional flavor fresh yeast gives – my grandmother swore by it for her holiday dinner rolls.
How can I make gluten-free cheesy garlic rolls?
Easy swap! Use a 1:1 gluten-free flour blend (I like ones with xanthan gum already added) and add an extra egg white to help bind everything. The texture will be slightly denser, but still delicious. Pro tip: Let gluten-free dough rest for 10 minutes before shaping – it makes the rolls easier to handle.
What other cheeses work besides mozzarella?
Oh, the possibilities! For pull-apart garlic rolls with extra personality, try:
- Fontina and Parmesan (so nutty and rich)
- Pepper jack for a spicy kick
- Aged cheddar for bold flavor (though it won’t stretch as much)
The key is using at least half a melty cheese. Find more cheesy inspiration on my Pinterest board!
Can I prep the rolls ahead and bake them later?
You’re reading my mind! After shaping (but before the second rise), cover tightly and refrigerate for up to 24 hours. When ready, let them sit at room temp for 30 minutes while the oven preheats. I do this for holidays – fresh-baked buttery garlic rolls with zero morning stress!
Share Your Cheesy Garlic Rolls Experience
Nothing makes me happier than hearing about your kitchen adventures! Did these cheesy garlic rolls turn into a family favorite? Snap a pic of those golden, pull-apart beauties and drop me a comment below – I read every one. Don’t forget to rate the recipe if you loved it as much as we do! And if you’re looking for more drool-worthy inspiration, follow me on Pinterest (KitchenUser) where I’m always pinning new ideas. Happy baking, friends – may your rolls be cheesy and your garlic butter plentiful!
PrintCheesy Garlic Rolls
Ultra-soft dinner rolls loaded with garlic butter and melty cheese, perfect for family meals and holiday gatherings.
- Prep Time: 1 hour 30 min
- Cook Time: 25 min
- Total Time: 1 hour 55 min
- Yield: 12 rolls 1x
- Category: Dinner
- Method: Baking
- Cuisine: American
- Diet: Vegetarian
Ingredients
- 3 cups all-purpose flour
- 1 packet instant yeast
- 1 tbsp sugar
- 1 tsp salt
- 1 cup warm milk
- 1/4 cup melted butter
- 1 egg
- 2 cups shredded mozzarella cheese
- 4 cloves minced garlic
- 2 tbsp chopped parsley
- 2 tbsp melted butter (for topping)
Instructions
- Mix flour, yeast, sugar, and salt in a bowl.
- Add warm milk, melted butter, and egg. Knead until smooth.
- Let the dough rise for 1 hour or until doubled.
- Roll out the dough and sprinkle with cheese, garlic, and parsley.
- Cut into strips, roll up, and place in a baking dish.
- Let rise for 30 minutes.
- Bake at 375°F for 20-25 minutes until golden.
- Brush with melted butter before serving.
Notes
- Freeze unbaked rolls for later use.
- Use a stand mixer for easier kneading.
- Add grated Parmesan for extra flavor.
Nutrition
- Serving Size: 1 roll
- Calories: 220
- Sugar: 2g
- Sodium: 300mg
- Fat: 10g
- Saturated Fat: 6g
- Unsaturated Fat: 3g
- Trans Fat: 0g
- Carbohydrates: 25g
- Fiber: 1g
- Protein: 8g
- Cholesterol: 40mg