
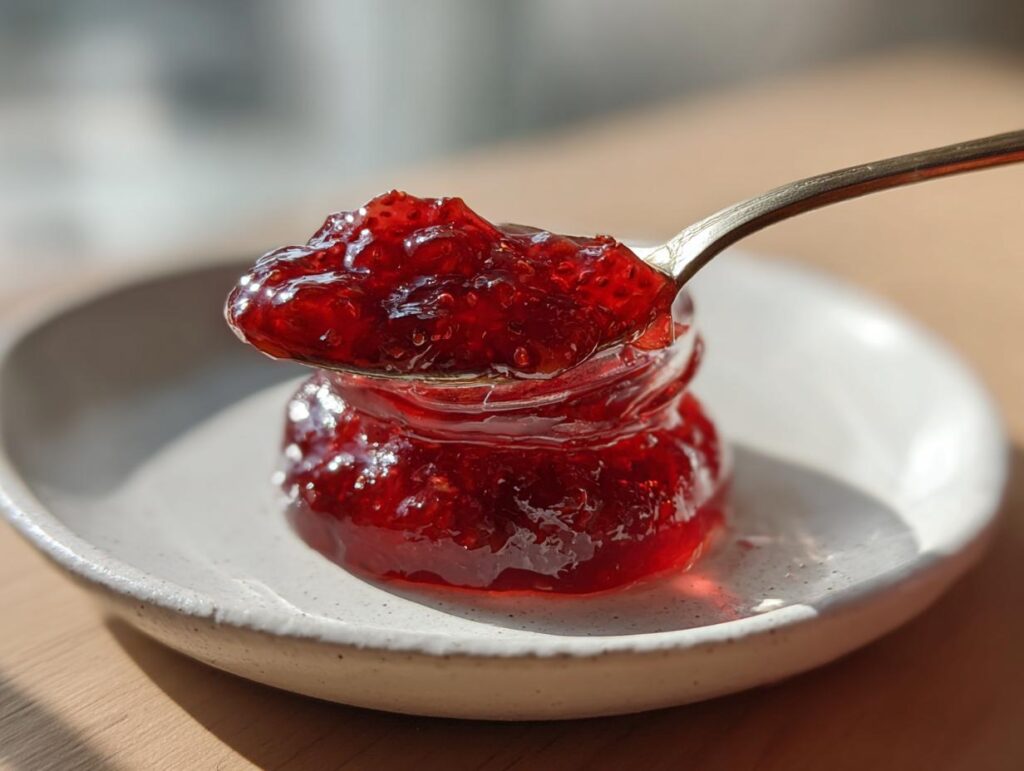
Oh my gosh, friends, is there anything better than that first perfect strawberry of the season? When those ruby-red jewels start piling up at the market, I just know it’s time to get preserving! This isn’t some huge, intimidating canning project; this is my favorite small batch jam recipe, guaranteed to give you the freshest, brightest homemade strawberry jam you’ve ever tasted. It sets up perfectly with just sugar and lemon—no pectin needed! My grandmother used to set aside a day every spring just for making jam, and that tradition is what inspired this wonderfully easy canning recipe. It’s the perfect thing to get ready now for those lovely Mother’s Day biscuits or to package up as a truly personal, Mothers day diy gift. Trust me, this flavor is addictive!
- Why This Small Batch Homemade Strawberry Jam Shines
- Gathering Ingredients for Your Homemade Strawberry Jam
- Equipment Needed for Perfect Small Batch Homemade Strawberry Jam
- Step-by-Step Instructions for Homemade Strawberry Jam
- Tips for Artisanal Gifting with Your Homemade Strawberry Jam
- Ingredient Notes and Substitutions for Homemade Strawberry Jam
- Storing Your Delicious Homemade Strawberry Jam
- Frequently Asked Questions About Small Batch Jam Making
- Share Your Ruby-Red Homemade Strawberry Jam Creations
Why This Small Batch Homemade Strawberry Jam Shines
I absolutely adore this recipe because it’s pure, unadulterated strawberry flavor. Because we’re working with a small batch jam, we can actually control the cooking time perfectly. This means we retain that gorgeous, bright, ruby-red color and don’t end up with dull, overcooked preserves!
The best part? It’s one of those truly easy canning recipes that doesn’t rely on store-bought pectin. We get that beautiful, glossy set just from the natural fruit, sugar, and a little acid. It’s fantastic for creating those beautiful, artisanal gifts. Imagine wrapping a jar of these stunning strawberry preserves with a simple ribbon. Honestly, nothing beats serving these fresh fresh berry recipes alongside warm fluffy biscuits!
Gathering Ingredients for Your Homemade Strawberry Jam
When you’re making something as exquisite as homemade strawberry jam, the ingredients need to be top-notch. Since this is a small batch, you don’t need much, but quality makes all the difference here. I always grab the sweetest berries I can find!
Here is exactly what you need for about one pint of delicious preserves. Remember to have your berries hulled and then quartered—this helps them break down nicely during the cooking process. For more fresh ways to use those amazing fruits, check out my guide to strawberry milk!
- 2 cups fresh strawberries, hulled and quartered
- 1 cup granulated sugar
- 1 tablespoon fresh lemon juice
Equipment Needed for Perfect Small Batch Homemade Strawberry Jam
Since this is a small-batch project, you don’t need massive industrial canners! We just need a few key items to make this homemade strawberry jam shiny and safe. You’ll want a good, heavy-bottomed saucepan—we don’t want our beautiful berries sticking and scorching, right?
Grab your candy thermometer, half-pint canning jars with new lids, and of course, a water bath canner ready to go. Simple tools for simple, perfect results!
Step-by-Step Instructions for Homemade Strawberry Jam
Alright, let’s get down to the fun part! Making this homemade strawberry jam is really straightforward, I promise. We are moving from fruit to finished jar faster than you might think. The secret to getting that deep, natural sweetness is letting the sugar do some of the heavy lifting before we even turn on the heat. Follow these steps closely, especially around the temperature check, and you’ll have perfect jars ready for gifting! If you’re looking for beautiful ways to serve this jam, check out my strawberry shortcake cupcakes recipe!
Macerating the Fruit for Flavorful Homemade Strawberry Jam
First up, in your heavy saucepan, gently combine those quartered strawberries and all that lovely sugar. Just stir it lightly so everything gets coated. Now, here’s where patience pays off: walk away for 30 minutes! This resting period lets the sugar actively draw out the juices from the fruit. This step is key, as it ensures you don’t burn your fruit trying to boil down just water later. That’s how we guarantee the best flavor for our homemade strawberry jam.
Achieving the Right Set for Your Homemade Strawberry Jam
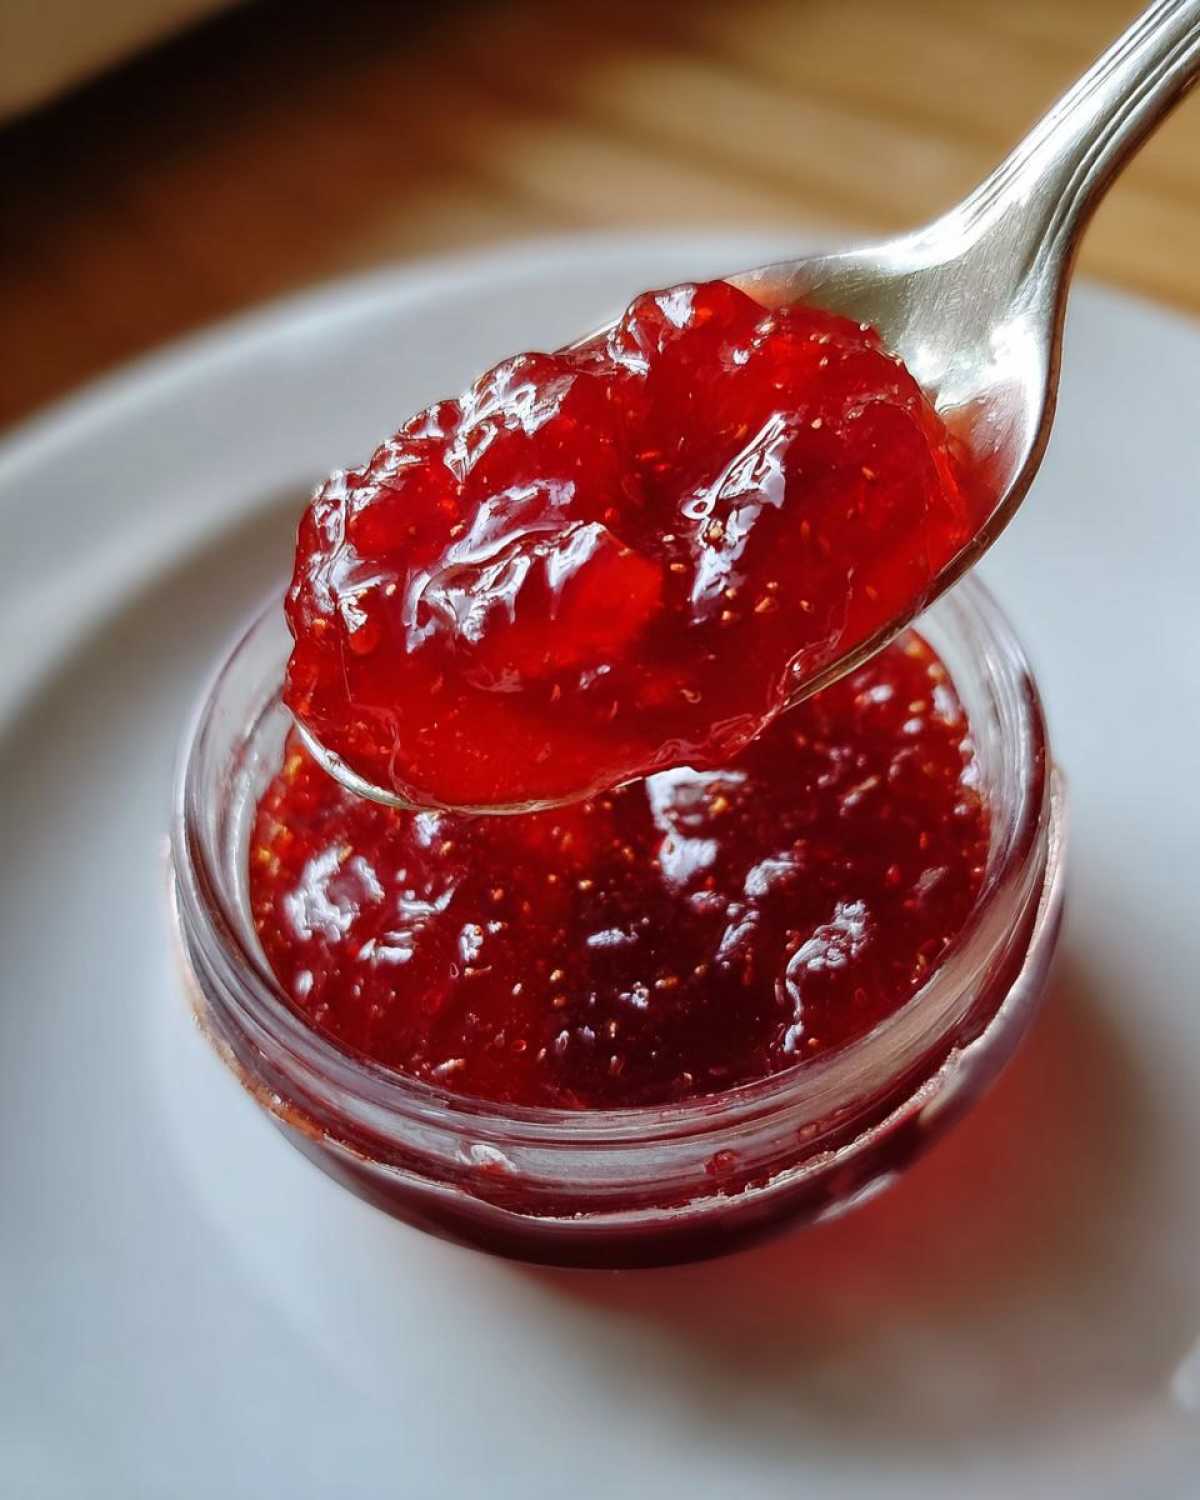
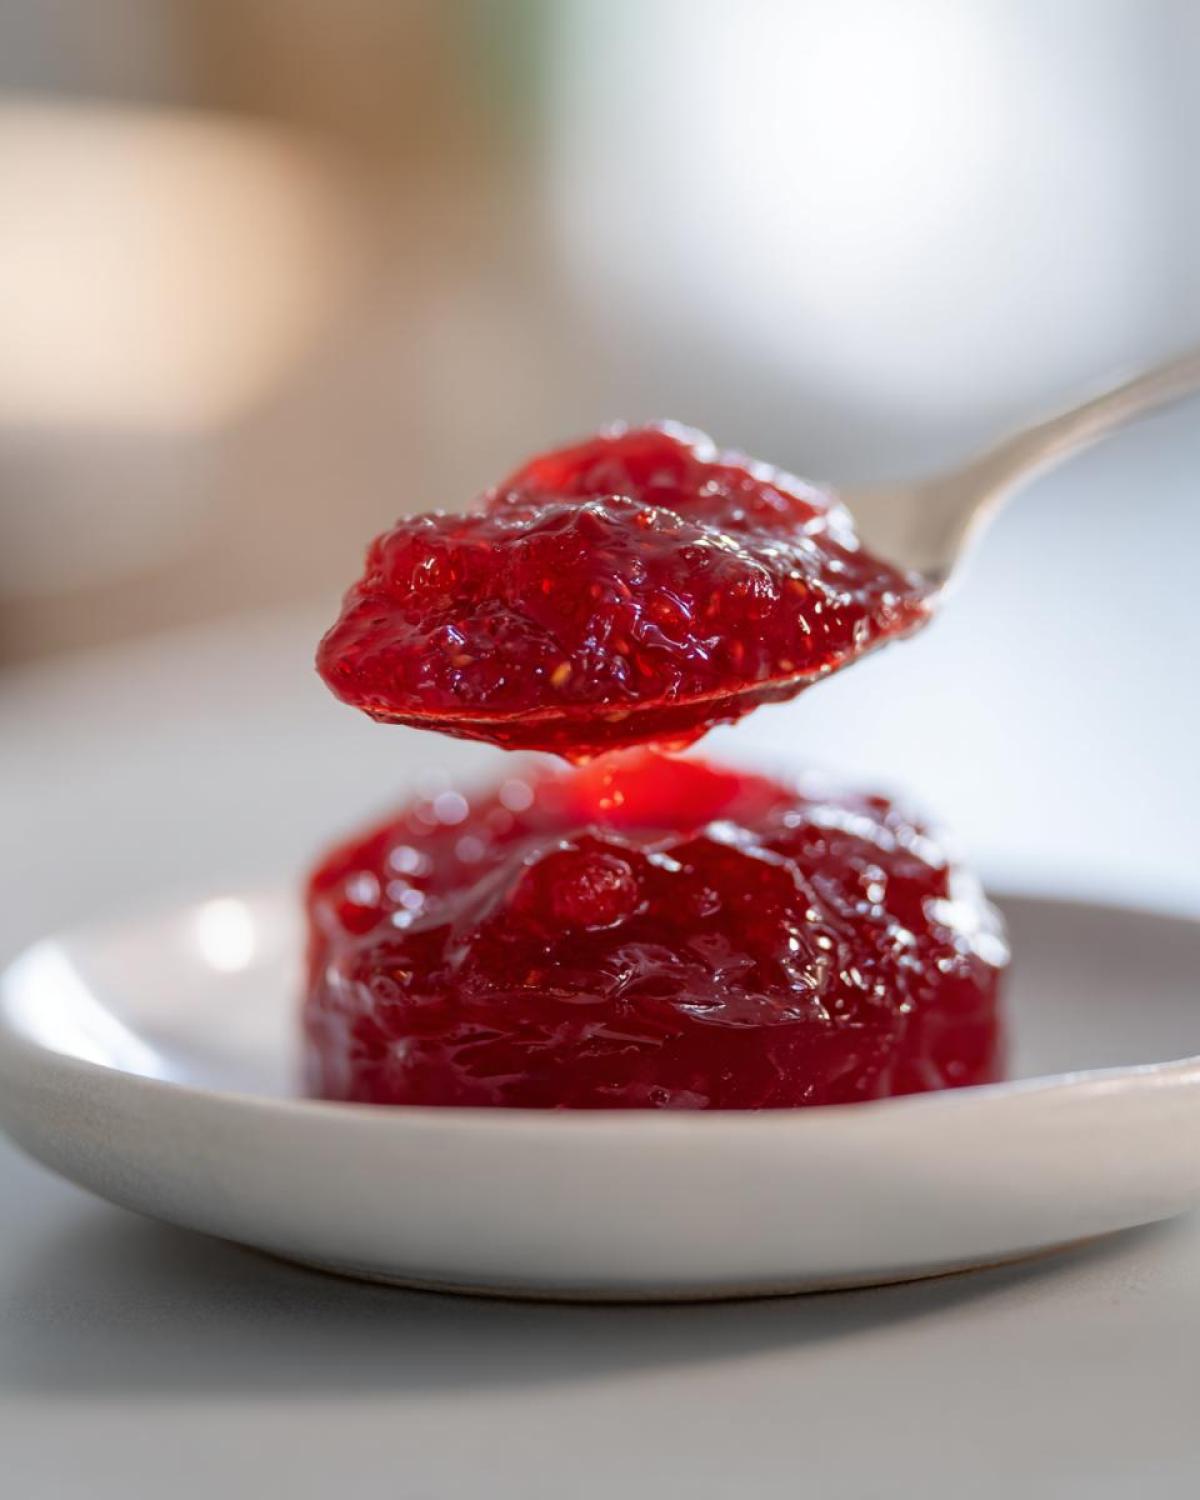
Time to turn up the heat! Stir constantly until that sugar is completely gone, and then bring it to a rolling boil—the kind that doesn’t stop when you stir it. Add your lemon juice in right away. Now, you need a thermometer (it’s the easiest way for easy canning recipes!) and aim for 220°F. If you don’t have one, put a plate in the freezer now! Once the jam hits temperature, or when the spoonful on the cold plate wrinkles when you push it, take it right off the heat. That wrinkly texture is the sign of perfect homemade strawberry jam!
Jarring and Water Bath Processing for Safe Homemade Strawberry Jam
Once the jam is cooked, use a spoon to skim off any pink foam floating on top—it keeps your jars looking crystal clear. Carefully ladle the hot homemade strawberry jam into your sterilized jars, leaving about a quarter-inch of space at the top. That is crucial headspace! Wipe those rims super clean, put the lids on tight, and drop them into your boiling water bath. Process them for exactly 10 minutes. When they come out, just let them chill undisturbed on the counter. You’ll hear those satisfying pings later!
Tips for Artisanal Gifting with Your Homemade Strawberry Jam
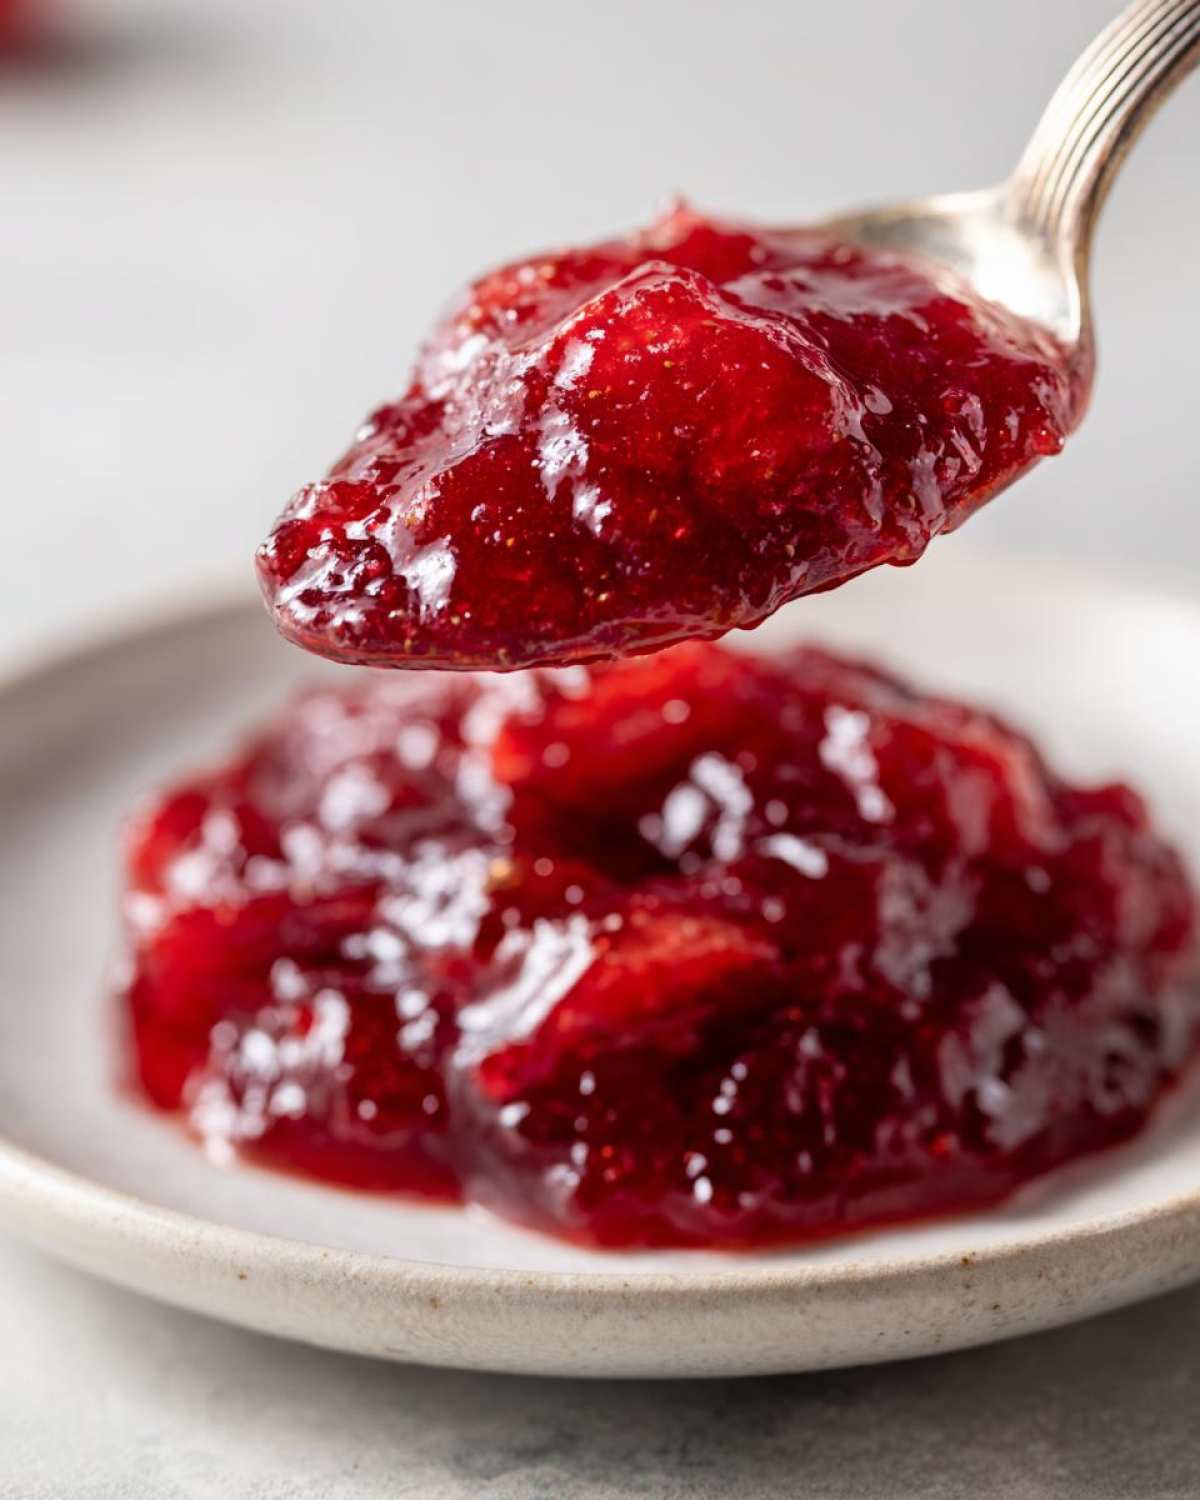
This ruby-red homemade strawberry jam is practically begging to be gifted! Since we made a perfect small batch jam, it feels extra special when you package it up nicely. For a wonderful Mothers day diy gift, use small, pretty jars—half-pint ones are perfect for dipping. I like tying a little piece of gingham fabric over the lid with twine! It really elevates the look of your strawberry preserves. You can find great inspiration on my pinterest board at pinterest for quick decorating ideas if you need a visual boost!
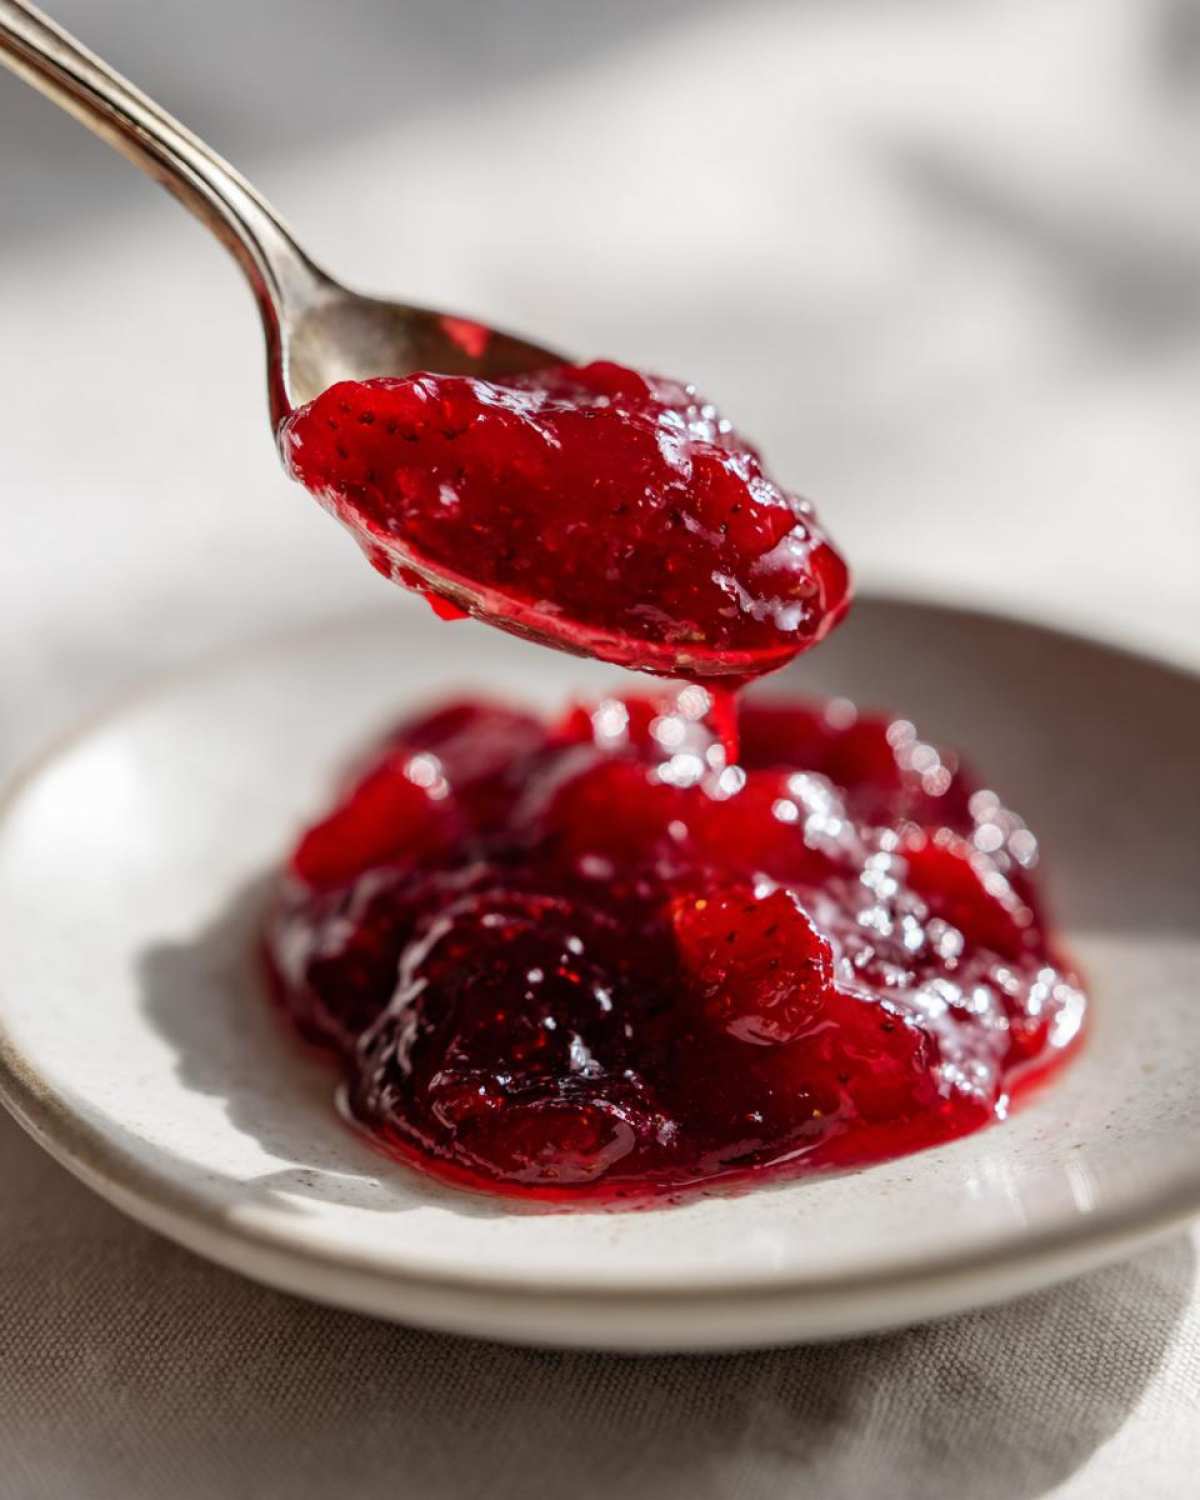
Don’t forget pretty tags! You can write down your canning date, or even better, suggest what to serve it with, like fresh scones or maybe a slice of my vanilla buttercream toast! If you want a chunkier texture instead of smooth jam, just gently mash about half of your berries before they start cooking; it turns it right into strawberry preserves. This way, you nail that artisanal look every single time!
Ingredient Notes and Substitutions for Homemade Strawberry Jam
Okay, let’s talk science for a second, because this is where we nail that perfect set without artificial help! Since this is a small batch jam, we are skipping commercial pectin completely. That’s how we keep the flavor so intensely fresh!
The lemon juice is absolutely non-negotiable, folks! It’s not just for a little tang; that acid works with the sugar and the natural pectin in the berries to create that beautiful, thick texture without needing any weird additives. If you skip it, your homemade strawberry jam might just stay liquidy! For more unexpected flavor twists, check out my guide to homemade tartar sauce—yes, I put strawberries on everything!
Storing Your Delicious Homemade Strawberry Jam
Now that you’ve got these gorgeous jars of ruby-red homemade strawberry jam, we need to make sure they stay perfect! If you processed them correctly in the water bath, just let them cool completely on the counter before checking the seals. Sealed jars are happy on a shelf in a cool, dark pantry. They’ll last easily for a whole year, though I doubt they stick around that long!
Once you pop that lid open—maybe to slather some on warm buttermilk biscuits—you must pop that jar right into the fridge. Opened jam should be eaten within about three to four weeks. See? So easy to manage these small batches!
Frequently Asked Questions About Small Batch Jam Making
I always get so many questions once folks try making their first batch of homemade strawberry jam, especially when they stick to these fresh berry recipes! It’s totally normal to have a few snags, but don’t worry, we can usually fix them right up. This recipe is designed to be foolproof, but here are the common sticking points for that perfect set. For more tips on mastering the process, check out my guide to easy canning recipes!
Can I double this recipe for Homemade Strawberry Jam?
You totally can try doubling it, but you have to be careful! When you increase the volume for easy canning recipes, the boiling time required to hit that 220°F mark changes significantly. You might need more time to reach the setting point, and honestly, a really big batch can sometimes cook unevenly in a standard pot. I always stick to this small batch size for the best, glossiest results.
What if my Homemade Strawberry Jam doesn’t set?
Ugh, the dreaded runny jam! If you used your thermometer correctly and it still didn’t set after cooling, it’s usually a balance issue between acid and sugar. Don’t throw it out! You can rescue it. Pour the runny jam back into the pot, add another tablespoon of lemon juice, and boil it down again until it passes the plate test. That extra acid helps everything firm up beautifully.
Is this recipe suitable for refrigerator jam instead of canning?
Absolutely! If canning feels like too much hassle, you can turn this into refrigerator jam (which is great for strawberry preserves). Just skip steps 6 through 8—no need to sterilize jars for the water bath. Ladle the hot jam into clean jars, wipe the rims, and let them cool on the counter. Once cool, keep them in the fridge! They’re ready to eat right away, though they only last a few weeks, unlike the sealed shelf-stable jars.
Share Your Ruby-Red Homemade Strawberry Jam Creations
I truly hope you had as much fun making this intensely flavorful, ruby-red homemade strawberry jam as I do every single time! Now that you’ve got your jars cooling, I absolutely need to see what you’ve cooked up! Did you manage to get those jars looking perfect for gifting? Are you planning to slather them on fresh biscuits tomorrow morning?
Please leave a comment down below and let me know how your small batch jam turned out! Seriously, tell me about your favorite jar-dressing ideas or what you plan to serve this incredible jam with. If you snapped a picture of your beautiful jars—especially if they are destined for a Mothers day diy gift basket—I’d love to see it! Your results inspire my next cooking adventure.
If you loved this recipe and want some savory inspiration to balance out all that sweetness, make sure you check out my guide to the easy smoked salmon dip recipe next. Happy preserving, friends!
PrintSmall-Batch Homemade Strawberry Jam for Gifting
Make bright, ruby-red strawberry preserves with this easy canning recipe perfect for Mother’s Day gifts or enjoying with fresh biscuits.
- Prep Time: 15 min
- Cook Time: 25 min
- Total Time: 40 min
- Yield: About 1 pint 1x
- Category: Preserves
- Method: Water Bath Canning
- Cuisine: American
- Diet: Vegetarian
Ingredients
- 2 cups fresh strawberries, hulled and quartered
- 1 cup granulated sugar
- 1 tablespoon fresh lemon juice
Instructions
- Combine the quartered strawberries and sugar in a heavy-bottomed saucepan. Stir gently.
- Let the mixture sit at room temperature for 30 minutes to allow the sugar to draw out the juices from the fruit.
- Place the saucepan over medium-high heat. Stir constantly until the sugar dissolves completely and the mixture begins to boil rapidly.
- Add the lemon juice. Continue to boil, stirring often to prevent sticking, until the jam reaches 220 degrees Fahrenheit on a candy thermometer, or until it passes the plate test (a small spoonful dropped onto a chilled plate wrinkles when pushed). This usually takes about 15 to 20 minutes.
- Remove the jam from the heat. Skim off any foam that forms on the surface using a spoon.
- Ladle the hot jam into sterilized half-pint jars, leaving 1/4 inch headspace. Wipe the rims clean.
- Secure the lids and bands. Process the jars in a boiling water bath canner for 10 minutes, adjusting for altitude if necessary.
- Carefully remove the jars and let them cool completely on a towel-lined counter. Check the seals after 24 hours. Store sealed jars in a cool, dark place.
Notes
- For the plate test, chill a small plate in the freezer before starting. Drop a small amount of jam onto the cold plate and return it to the freezer for one minute. If the jam wrinkles when you push it with your finger, it is ready.
- This small batch recipe is great for making personalized, handmade gifts.
- If you prefer strawberry preserves over jam, lightly mash some of the berries before cooking.
Nutrition
- Serving Size: 2 tablespoons
- Calories: 85
- Sugar: 21
- Sodium: 1
- Fat: 0
- Saturated Fat: 0
- Unsaturated Fat: 0
- Trans Fat: 0
- Carbohydrates: 22
- Fiber: 0
- Protein: 0
- Cholesterol: 0