
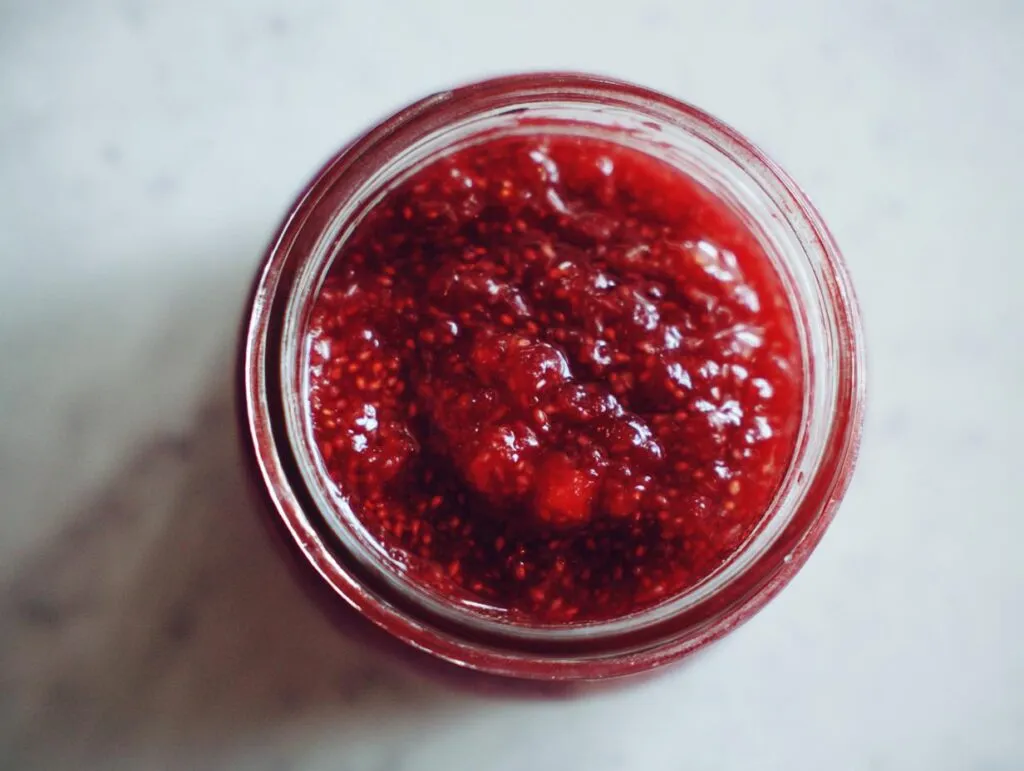
Oh, friends, if you’ve ever wished you could bottle that perfect, sun-ripened flavor of a summer strawberry and keep it safe all year long, I have found the absolute best way! Forget the long, hot afternoons spent hovering over a boiling canner—we are skipping all of that fuss today. I’m sharing my secret for what I affectionately call the Easiest No-Cook Strawberry Freezer Jam.
This recipe is truly magic. It comes together in under 30 minutes, requires zero actual cooking, and sets up beautifully right on the counter. It’s the perfect beginner jam recipe, which is why I turn to it every year when my local berry stand has the sweetest haul. It tastes exactly like pure, fresh summer harvest, just waiting to be spread on warm biscuits! If you love this style of quick preserving, you absolutely have to check out my tips for making easy raspberry jam recipe no pectin.
- Why This is the Best Strawberry Freezer Jam Recipe for Beginners
- Gathering Ingredients for Your Strawberry Freezer Jam
- Step-by-Step Instructions: How to Make Freezer Jam
- Tips for Success Making Easy Strawberry Freezer Jam
- Serving Suggestions for Fresh Strawberry Flavor Jam
- Storage and Freezer Jam Gift Ideas
- Frequently Asked Questions About Strawberry Freezer Jam
- Enjoying Your Homemade Strawberry Freezer Jam
Why This is the Best Strawberry Freezer Jam Recipe for Beginners
If you’ve been scared off by traditional canning recipes, stop right there! This recipe is exactly what you need to get started with fruit preservation. It saves you time, skips the water bath entirely, and locks in that unbelievably bright, fresh flavor from ripe strawberries. Trust me, once you try homemade strawberry jam no canning is this simple, you’ll never go back!
No Cook Strawberry Jam: Maximum Fresh Strawberry Flavor
The secret to capturing pure summer taste is keeping the heat low and fast—or in this case, nonexistent! Because we are making a true no cook strawberry jam, we avoid cooking out the bright, vibrant notes of the fresh berries. The pectin does the setting work, which means the resulting spread tastes exactly like biting into a sweet berry right off the vine. It’s truly unbeatable!
A True Beginner Jam Recipe: No Canning Stress
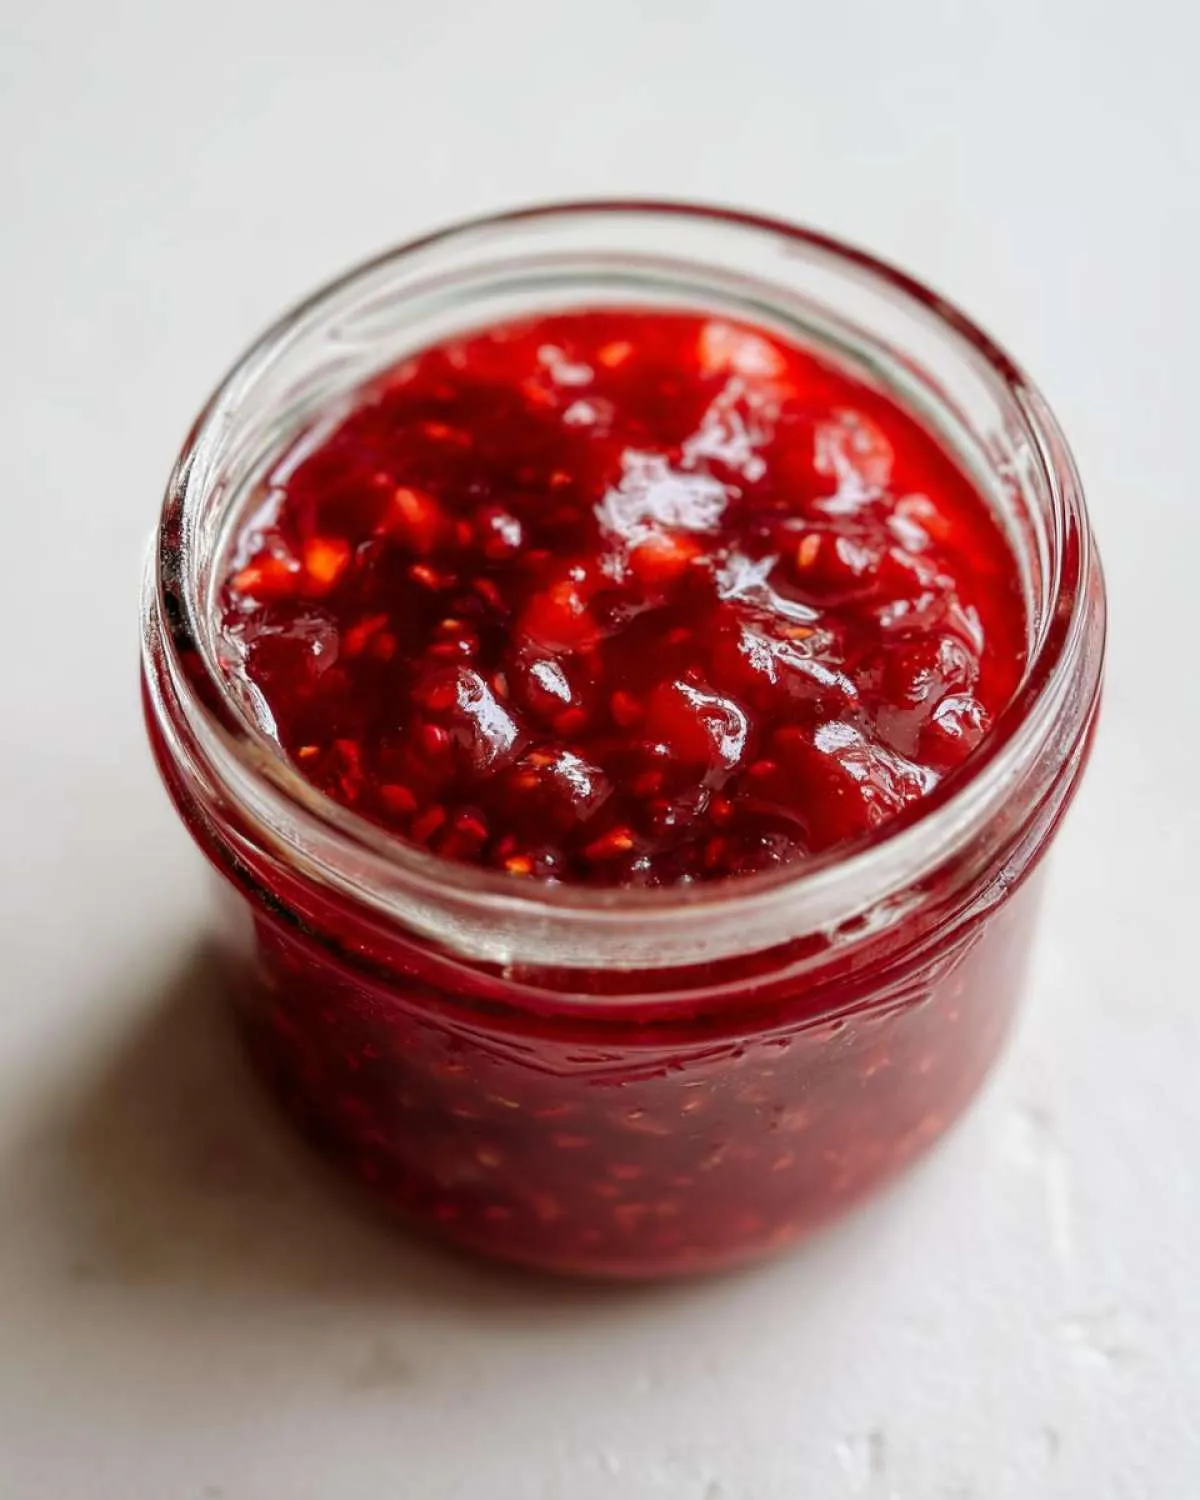
Look, the canning process feels intimidating, right? Jars need to be perfectly sterilized, you worry about seals, and frankly, it takes forever. That’s why this is the perfect beginner jam recipe. Since we’re using the freezer for preservation, there is zero pressure about shelf stability or achieving that perfect vacuum seal. You stir it, jar it, and pop it in the freezer! Easy peasy!
Gathering Ingredients for Your Strawberry Freezer Jam
Okay, now for the best part: the shopping list! Seriously, one of the reasons I adore this strawberry freezer jam recipe is how short the list is. You don’t need endless specialty items or anything weird. It relies on the quality of your main star, the strawberry, to shine through. If you grab the perfect berries, you’ve already won half the battle!
I know some folks stress about this, but don’t let the pectin worry you. It’s what helps this no cook strawberry jam get that lovely, spreadable set without having to babysit it on the stove for an hour. It’s designed to be fast, which is why we keep the ingredient count super low!
The Essential 4 Ingredients for Perfect Strawberry Freezer Jam
Don’t go looking for substitutions here, folks. This delicious, bright strawberry spread really only needs these four things to sing. If you see a recipe claiming to be a 4 ingredient strawberry jam, chances are it’s using this exact combo! Remember, the prep work on the fruit is key here.
- 4 cups fresh strawberries, make sure they are hulled and then crushed roughly before you toss them in the bowl!
- 6 cups granulated sugar. Yes, it’s a haul of sugar, but remember, this is what helps the set and preserves that fresh flavor.
- 1 package (1.75 oz) dry pectin (like Sure-Jell).
- 1 tablespoon lemon juice. This just helps everything activate nicely.
When you’re done, you’ll have enough to make about four perfect little jars. You can check out my recipe for strawberry shortcake cupcakes next if you want another way to use up those gorgeous berries!
Step-by-Step Instructions: How to Make Freezer Jam
Alright, this is where the magic happens super fast! Since we aren’t actually applying heat, the process relies on proper mixing and timing to get that perfect set. Don’t rush this part, but honestly, watch the clock—it flies by! It feels like cheating how quick this strawberry freezer jam comes together, but take your time during the mixing stages.
Preparing Jars and Fruit for Your Strawberry Freezer Jam
First things first, get those jars ready! We want to have everything clean before we start mixing chemistry in the bowl. You’ll need to wash and thoroughly dry four half-pint (8 oz) jars and their lids. Set them aside so they are waiting patiently for their sweet contents.
Next up is the fruit prep. Grab your 4 cups of fresh strawberries—make sure they are hulled, of course! Then you need to crush them up. I like mine a little chunky, but you want to make sure they are well crushed so they release all those gorgeous juices before we mix anything in. Aim for about 4 cups of that lovely, crushed berry mess.
Activating the Pectin in Your Quick Strawberry Preserves
This sequence matters, so follow along! In a small, separate bowl, whisk together your dry pectin and just the first cup of that granulated sugar. Getting a good dry mix prevents clumping later. Once that’s combined, dump that pectin-sugar mix into your large bowl with the crushed strawberries and stir it up well.
Now, here is the important bit for your quick strawberry preserves to set right. Add in the remaining 5 cups of sugar and that tablespoon of lemon juice. You need to stir this mixture non-stop for exactly three minutes. Seriously, set a timer! This constant movement is what helps that pectin do its job. Don’t stop stirring that whole time—it’s how we avoid that runny texture!
Filling, Sealing, and Storing Your Strawberry Freezer Jam
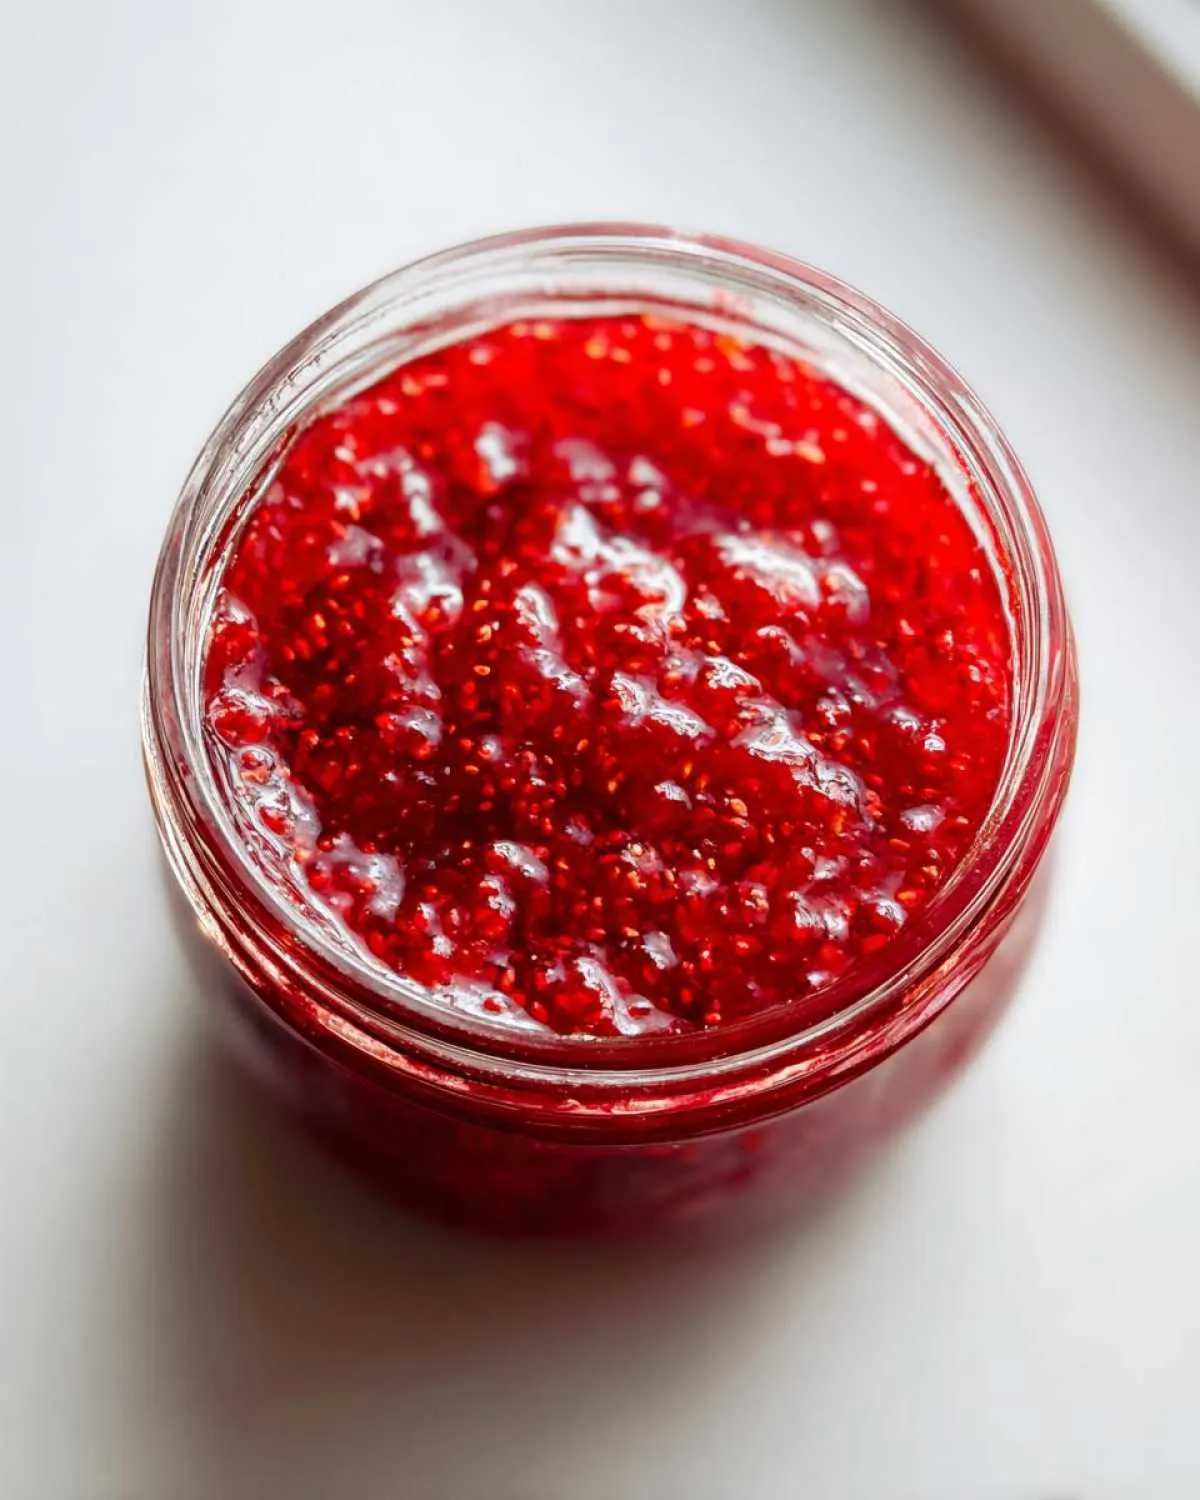
After those three intense minutes, let the mixture sit for about 10 minutes. You’ll notice it starting to thicken slightly; that’s the pectin waking up! Spoon your developing jam into those prepared jars. Make absolutely sure you leave about a half-inch of empty space—that’s called headspace—at the top of every jar. If you fill them too high, they might crack when freezing!
Take a clean, thin knife or spatula and gently run it around the inside edge of your jars to pop any trapped air bubbles. Wipe the rims clean—this helps the lids seal nicely. Screw on your lids and rings, but just until they are fingertip tight, okay? Then, let the jars sit right out on the counter for 30 minutes to set up a little more. After that sweet waiting period, you can tuck them in the fridge (for up to 3 weeks) or move them to the freezer for up to a whole year! You can find more ways to make homemade freezer jam right here on the blog!
Tips for Success Making Easy Strawberry Freezer Jam
Making this easy strawberry freezer jam is usually totally foolproof, but since we aren’t boiling everything down, sometimes things can go a little sideways if you aren’t careful with three key spots. Don’t stress if you’re new to this; I’m sharing the insider tricks I learned from my early jamming days!
Ingredient Notes and Low Sugar Strawberry Freezer Jam Options
First off, those berries! You absolutely want the ripest strawberries you can find. Seriously, use the ones that smell intensely sweet—that’s where 90% of your flavor comes from! This recipe relies on the sugar to help it set with the pectin, so if you are looking for low sugar strawberry freezer jam, you might need to look at recipes that use different, often liquid, pectin types specifically designed for less sugar. This classic method needs ample sugar for success.
Troubleshooting: Why Didn’t My Strawberry Freezer Jam Set?
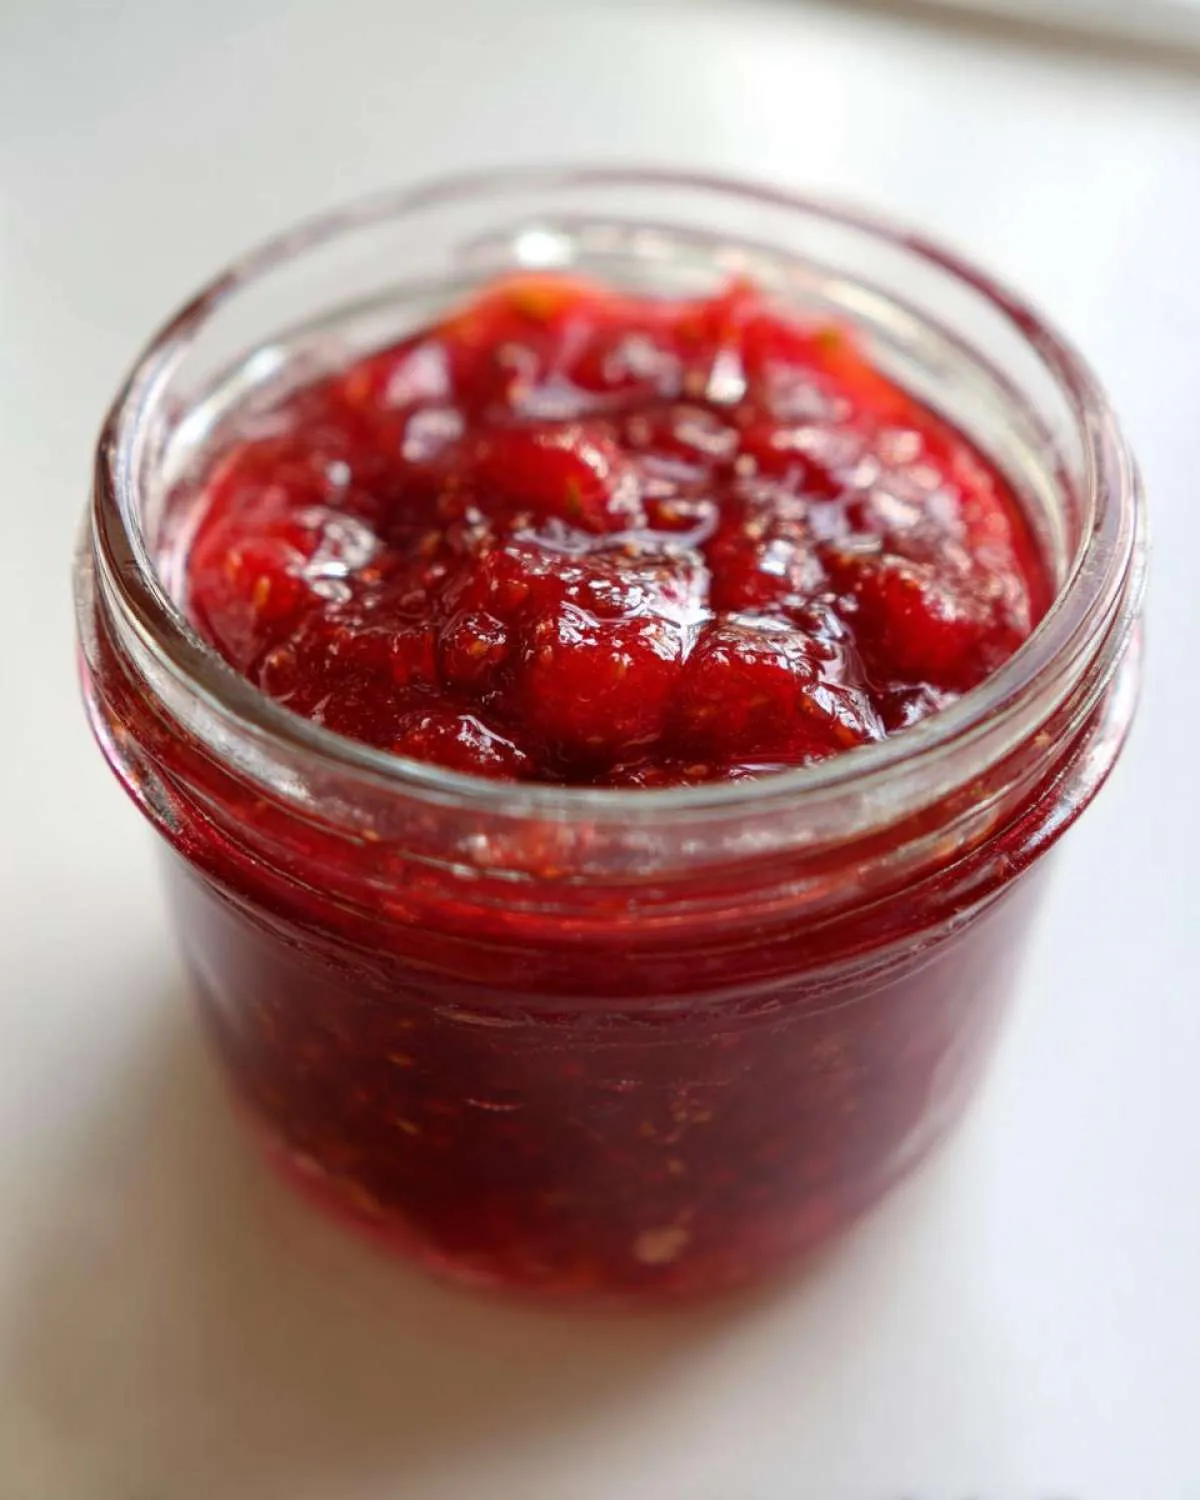
If you open a jar and it’s watery instead of lovely and thick? Don’t panic! Nine times out of ten, it’s because that crucial three-minute stir wasn’t quite three minutes long, or maybe you stirred too slowly. The pectin needs to be activated evenly! If that happens, just pour the runny jam back into a bowl, add a tiny bit more pectin (stirred well with a spoonful of sugar first!), and stir like crazy for another minute. It usually thickens right up! Also, make sure your fruit wasn’t too cold when you mixed it.
We all want that perfect set when we try these homemade English muffins recipe nooks jam recipes, and usually, a little extra vigorous stirring is all it takes!
Serving Suggestions for Fresh Strawberry Flavor Jam
This is the moment of truth, isn’t it? You’ve got the jar of bright red, unbelievably fresh-tasting strawberry freezer jam, and now you have to decide what to eat it on first! Honestly, I love sneaking a spoonful straight over vanilla ice cream—it melts just perfectly. But I know most of you are ready to spread this goodness everywhere!
The classics are classics for a reason, though. This jam is fantastic dolloped onto warm, flaky biscuits or spread thick on your morning toast. For the ultimate throwback, you must try making a proper PB&J. You won’t believe the difference fresh flavor makes!
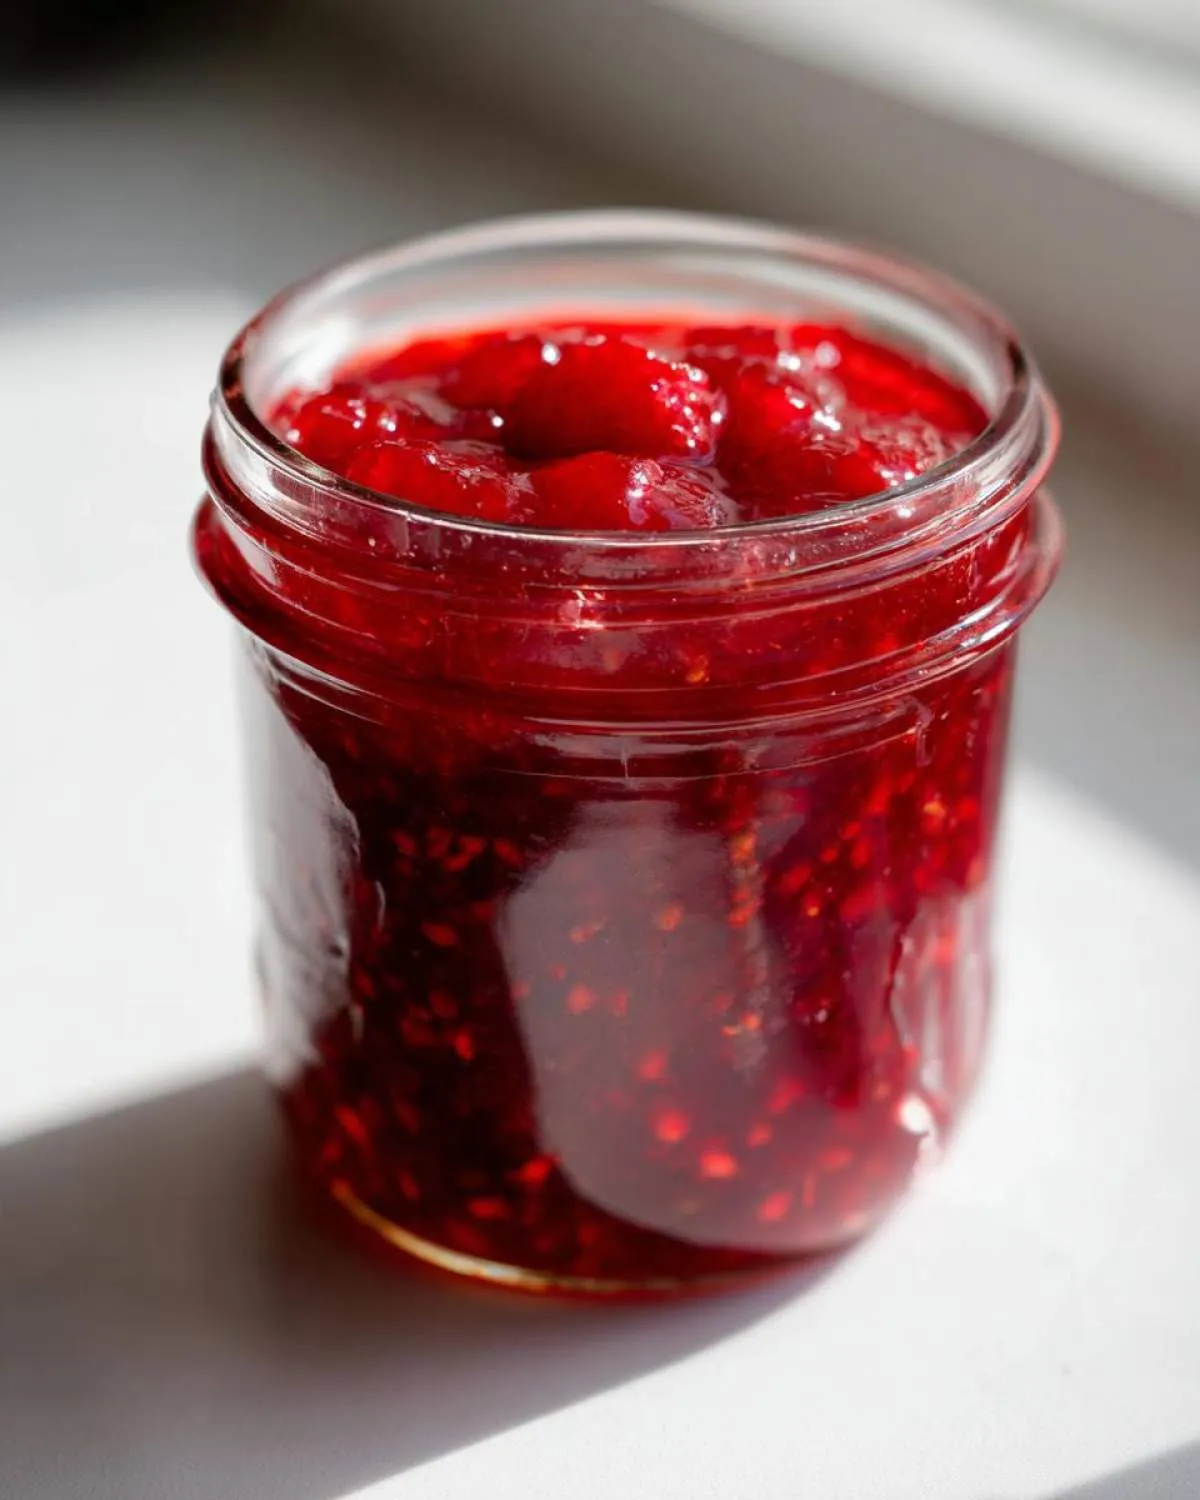
It’s also amazing layered into things like my strawberry shortcake trifle recipe when strawberries aren’t quite in season later on. Honestly, once you make this, your breakfast game changes forever!
Storage and Freezer Jam Gift Ideas
So, how long does this deliciousness last? I’m so happy to report that since this is a strawberry freezer jam, it keeps amazingly well! If you have jars tucked into the fridge, they should be good for about three weeks. But if you put them straight into the freezer (like you should!), that sweet, fresh flavor is locked in for up to a whole year! Wow, right?
This jam is also one of my favorite things to make when I have a huge haul—it turns into fantastic freezer jam gift ideas. If you end up making extra, grab some cute little tags or labels and write down those storage instructions for the recipient. Honestly, who wouldn’t want a jar of sunshine?
If you want to make something fun to drink to go along with your jam, you should totally check out my recipe for homemade fresh strawberry milk recipe! Also, if you love finding great ideas, you should see what our friends are pinning over at the Recipes Vault Pinterest board. If you decide to share your beautiful jam jars, be sure to tag us! Don’t forget to check out our boards on Pinterest!
Frequently Asked Questions About Strawberry Freezer Jam
I know when you try something new in the kitchen, you always have questions popping up! It’s totally normal, especially when you’re trying out your first easy strawberry freezer jam. I’ve gathered the ones I hear most often to get you canning (or, well, *freezing*) with confidence!
Can I use frozen strawberries to make this strawberry freezer jam?
That’s a great question! While this specific no cook strawberry jam recipe is designed to highlight the flavor of *fresh* berries because we aren’t cooking them down, you totally can use frozen ones in a pinch! If you do, let them thaw completely first, and you might need to crush them a tiny bit less since they are softer. Just know that those vibrant fresh notes might be slightly muted compared to using just-picked berries, but it still makes wonderful jam!
What is the difference between this and regular canning jam?
Oh, the difference is HUGE, and that’s why so many folks love this! Regular canning—water bath or pressure canning—is all about creating a vacuum seal to make the jam shelf-stable for years on the pantry shelf. Since this is a homemade strawberry jam no canning recipe, we skip the heat and the boiling water bath entirely. That means we keep the fruit super fresh tasting, but it needs to stay cold! It’s stored only in the fridge or freezer.
How long does homemade strawberry jam no canning last?
Because we aren’t sealing them in an airtight, shelf-stable way, the timing is different. If you keep a jar tucked away in the refrigerator, you should plan to use it within about three weeks. But if you pop those sealed jars into the freezer, they are good to go for up to a whole year! That’s why learning how to make freezer jam is such a great way to preserve a big summer haul for the whole year. We want you to enjoy that great flavor we talked about!
If you need more ideas on preserving things, check out some of my favorite tips for making homemade chocolate chip cookies if you’re looking for a non-jam treat!
Enjoying Your Homemade Strawberry Freezer Jam
That’s it! See how fast that was? You’ve just whipped up the freshest, brightest strawberry freezer jam possible without breaking a sweat over a stove. I hope you run, not walk, to slather this on something warm right now. Whether it’s slathered on toast or dropped onto a slice of my chewy homemade granola bars recipe, you deserve this sweet reward for such quick work!
PrintEasiest No-Cook Strawberry Freezer Jam (Ready in 30 Minutes!)
Capture the bright taste of summer with this super simple, no-cook strawberry freezer jam. This beginner-friendly recipe uses just a few ingredients and sets up fast, giving you fresh, homemade preserves without the hassle of traditional canning. Perfect for toast, biscuits, or gifting!
- Prep Time: 15 min
- Cook Time: 0 min
- Total Time: 45 min
- Yield: 4 half-pint jars 1x
- Category: Preserves
- Method: No-Cook Stirring
- Cuisine: American
- Diet: Vegetarian
Ingredients
- 4 cups fresh strawberries, hulled and crushed
- 6 cups granulated sugar
- 1 package (1.75 oz) dry pectin (like Sure-Jell)
- 1 tablespoon lemon juice
Instructions
- Prepare your jars: Wash and dry four half-pint (8 oz) jars and lids. Set them aside.
- Crush the strawberries: Place the hulled and crushed strawberries in a large bowl. You want about 4 cups of crushed fruit.
- Combine sugar and pectin: In a separate small bowl, whisk together the dry pectin and 1 cup of the granulated sugar until fully mixed.
- Mix wet and dry ingredients: Add the pectin-sugar mixture to the crushed strawberries. Stir well to combine.
- Add remaining sugar and lemon juice: Pour in the remaining 5 cups of sugar and the lemon juice. Stir the mixture continuously for exactly 3 minutes. Do not stop stirring during this time to help the pectin activate correctly.
- Rest the jam: Let the mixture stand, stirring occasionally, for about 10 minutes until the mixture begins to thicken slightly.
- Fill the jars: Carefully spoon the jam mixture into the prepared jars, leaving 1/2 inch of headspace at the top of each jar.
- Remove air bubbles: Run a clean, thin spatula or knife around the inside edge of each jar to release any trapped air bubbles. Wipe the rims clean.
- Seal and chill: Place the lids and rings on the jars, tightening them to fingertip tight. Let the jars sit on the counter at room temperature for 30 minutes to allow the jam to set up further.
- Freeze: After 30 minutes, place the jars in the refrigerator for up to 3 weeks or transfer them to the freezer for up to 1 year.
Notes
- For the best fresh strawberry flavor, use ripe, in-season berries.
- If you prefer a lower sugar option, look for recipes specifically designed for reduced sugar, often requiring different pectin types.
- This jam is excellent for making quick PB&J sandwiches or as an ice cream topping.
- If you are gifting this jam, consider printing out simple labels to include storage instructions (refrigerate after opening).
Nutrition
- Serving Size: 2 tablespoons
- Calories: 100
- Sugar: 25
- Sodium: 5
- Fat: 0
- Saturated Fat: 0
- Unsaturated Fat: 0
- Trans Fat: 0
- Carbohydrates: 26
- Fiber: 0
- Protein: 0
- Cholesterol: 0