
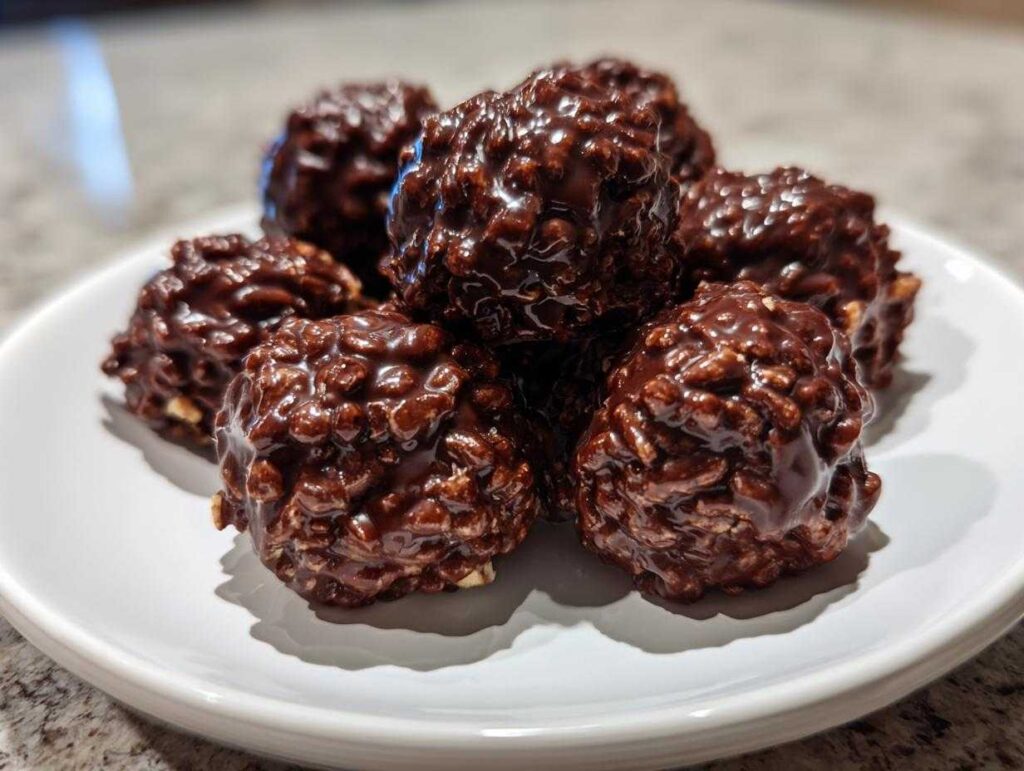
Oh my gosh, are you ever in one of those moods where you need a decadent, crunchy, sweet fit right this second but the thought of heating up the oven makes you sweat? I totally get it! That’s why I’m so thrilled to share my absolute go-to recipe for making **chocolate rice krispie balls**. Forget complicated baking; these beauties come together in minutes using zero actual baking. They are crunchy, chewy, perfectly chocolatey, and they absolutely blow people away at parties!
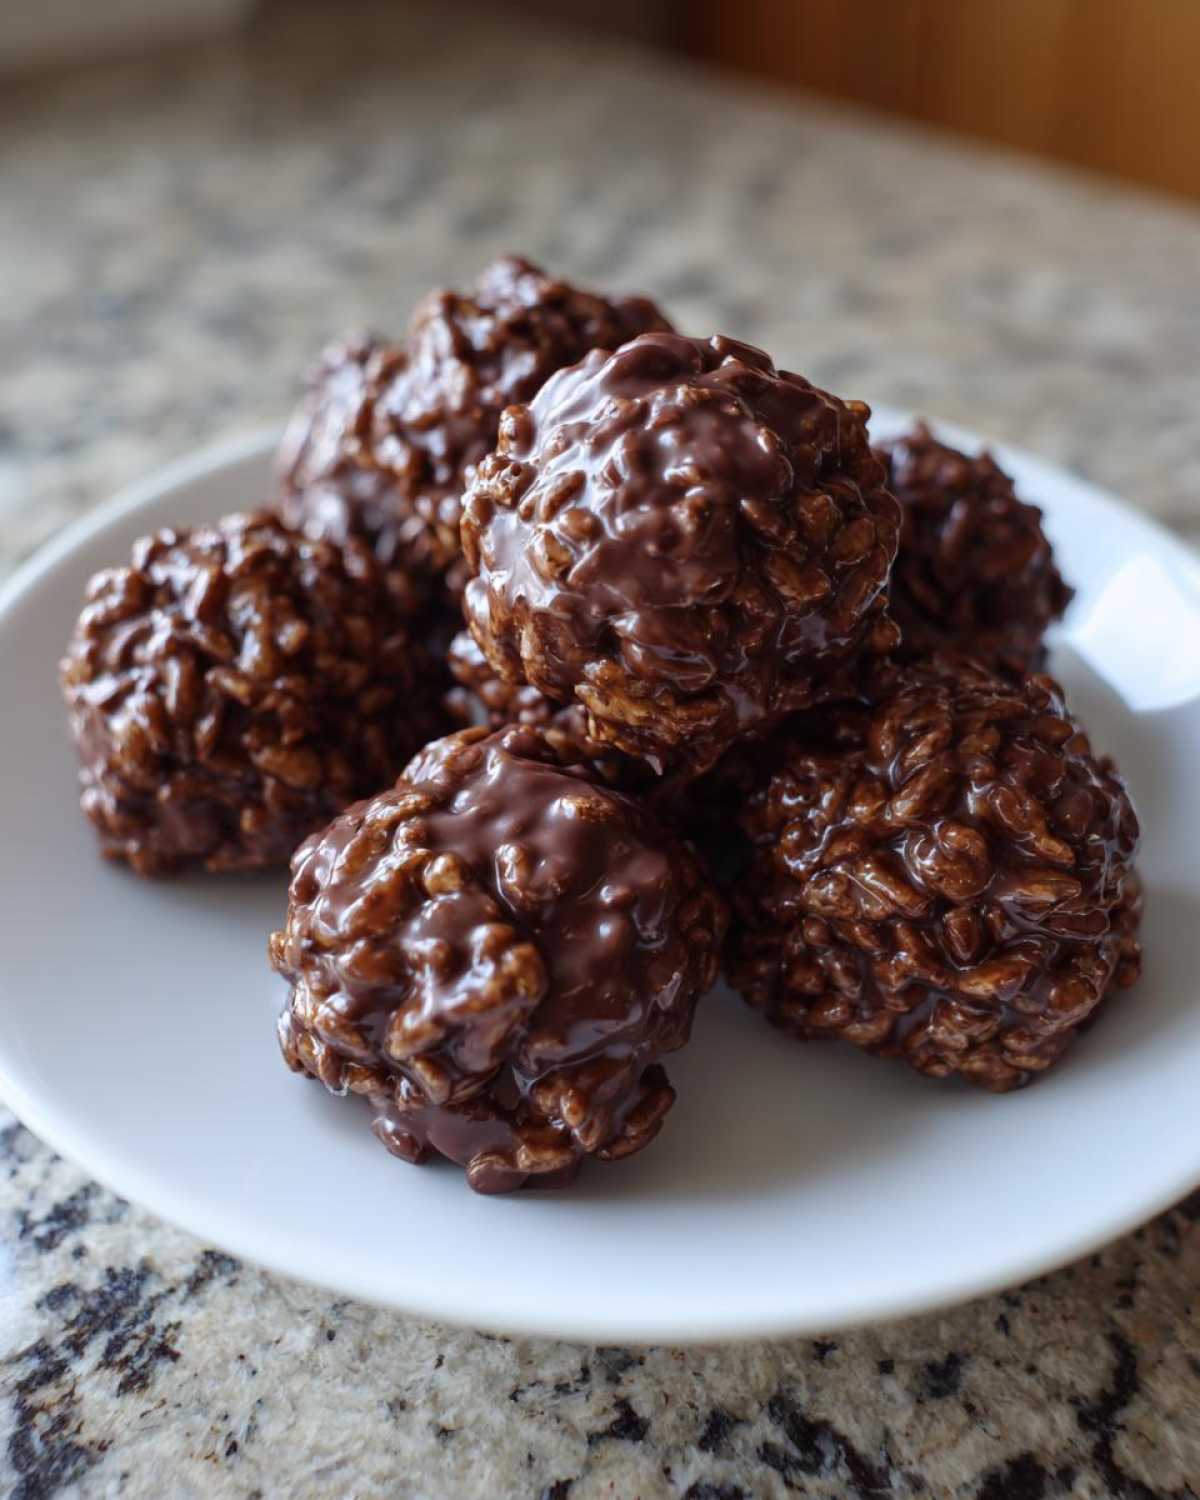
For me, as Sophia, finding quick desserts that look impressive is half the battle. Adding creamy peanut butter into the mix isn’t just for flavor—though that salty-sweet combo is amazing—it really locks everything together so you get that satisfying shape every single time. Trust me, once you see how simple these **chocolate rice krispie balls** are, they’re going straight into your regular rotation. If you’re loving no-bake wonders, you’ll definitely want to check out my ultimate no-bake Oreo pie recipe too!
- Why You Will Love These Easy Chocolate Rice Krispie Balls
- Gathering Your Ingredients for Perfect Chocolate Rice Krispie Balls
- Step-by-Step Instructions for No Bake Chocolate Rice Krispie Balls
- Tips for Making the Best Peanut Butter Rice Krispie Balls Recipe
- Serving Suggestions for Your Crunchy Chocolate Balls
- Storage and Keeping Your Chocolate Rice Krispie Balls Fresh
- Troubleshooting Common Issues with Chocolate Rice Krispie Balls
- Frequently Asked Questions About These Quick Chocolate Cereal Balls
- Estimated Nutrition for Your Chocolate Rice Krispie Balls
- Share Your Perfect Chocolate Rice Krispie Balls Creations
Why You Will Love These Easy Chocolate Rice Krispie Balls
Seriously, what’s not to adore about a treat that delivers maximum flavor with minimum effort? These balls are a total win for busy weeknights!
- They are super speedy! We’re talking fast assembly for the ultimate easy no-bake Oreo balls recipe style, but with cereal crunch.
- Zero heat required! These are true **No Bake Rice Krispie Treats**, meaning your kitchen stays cool—a lifesaver in the summer months.
- The peanut butter makes them rich and helps them hold their shape perfectly.
- They look festive and taste amazing, making them the best kind of **Easy Chocolate Rice Krispie Balls** for sharing.
Gathering Your Ingredients for Perfect Chocolate Rice Krispie Balls
Okay, gathering ingredients is almost as fun as eating these, almost! Since we aren’t baking, the quality of what goes into the base really shines through. I try to keep things simple, though technically we’re hitting around six main components here, which makes them fantastic *Quick Dessert Ideas*!
For the very rich and sturdy center—which is what makes these **Peanut Butter Rice Krispie Balls Recipe** so reliable—you’ll need:
- 6 cups of your favorite crispy rice cereal. Don’t crush it too much when measuring!
- 1 full cup of creamy peanut butter. Make sure it’s room temperature so it mixes without a fight.
- 1 cup of powdered sugar, sifted if you can, just to avoid any little lumps.
- 1 teaspoon of pure vanilla extract. That little bit of depth goes a long way!
Then, for the glorious chocolate shell that locks in that flavor, grab:
- 12 ounces of semi-sweet chocolate chips—I find these melt best.
- 2 tablespoons of coconut oil or shortening. This is my secret weapon to keep the coating from getting too stiff when it cools.
Having everything ready is key for these quick-assembly treats. I keep this recipe bookmarked mentally for when I need something fast, like one of the best no-bake desserts!
Step-by-Step Instructions for No Bake Chocolate Rice Krispie Balls
This is where the magic happens super fast! Since we are skipping the oven entirely, these are proudly part of my collection of No Oven Dessert Recipes. The key here is speed and making sure things are cold when they need to be. Follow these parts closely, and you won’t have any melty messes!
Mixing the Base for Your Chocolate Rice Krispie Balls
Grab that big bowl we talked about! You want to gently fold the crispy rice cereal in with the peanut butter, powdered sugar, and vanilla. Don’t go crazy with mixing! Seriously, use a giant spoon or even your hands, but be gentle. If you mash the cereal too much, you lose that lovely crunch we are aiming for in the final product. You just want everything well coated and sticky enough so it clumps together nicely when you squeeze a handful.
Forming and Chilling the Chocolate Rice Krispie Balls
Now that your peanut buttery base is mixed, grab a small scoop or just use a teaspoon to measure everything out. Roll these into balls that are about 1 inch across. They should be compact, but not rock hard. Once they are all rolled—and you should get about two dozen—lay them out on that parchment-lined sheet. Pop them straight into the freezer for about 15 minutes. This chilling time is absolutely non-negotiable; it firms them up so they don’t fall apart when you dunk them!
Melting Chocolate for Dipping Your Chocolate Rice Krispie Balls
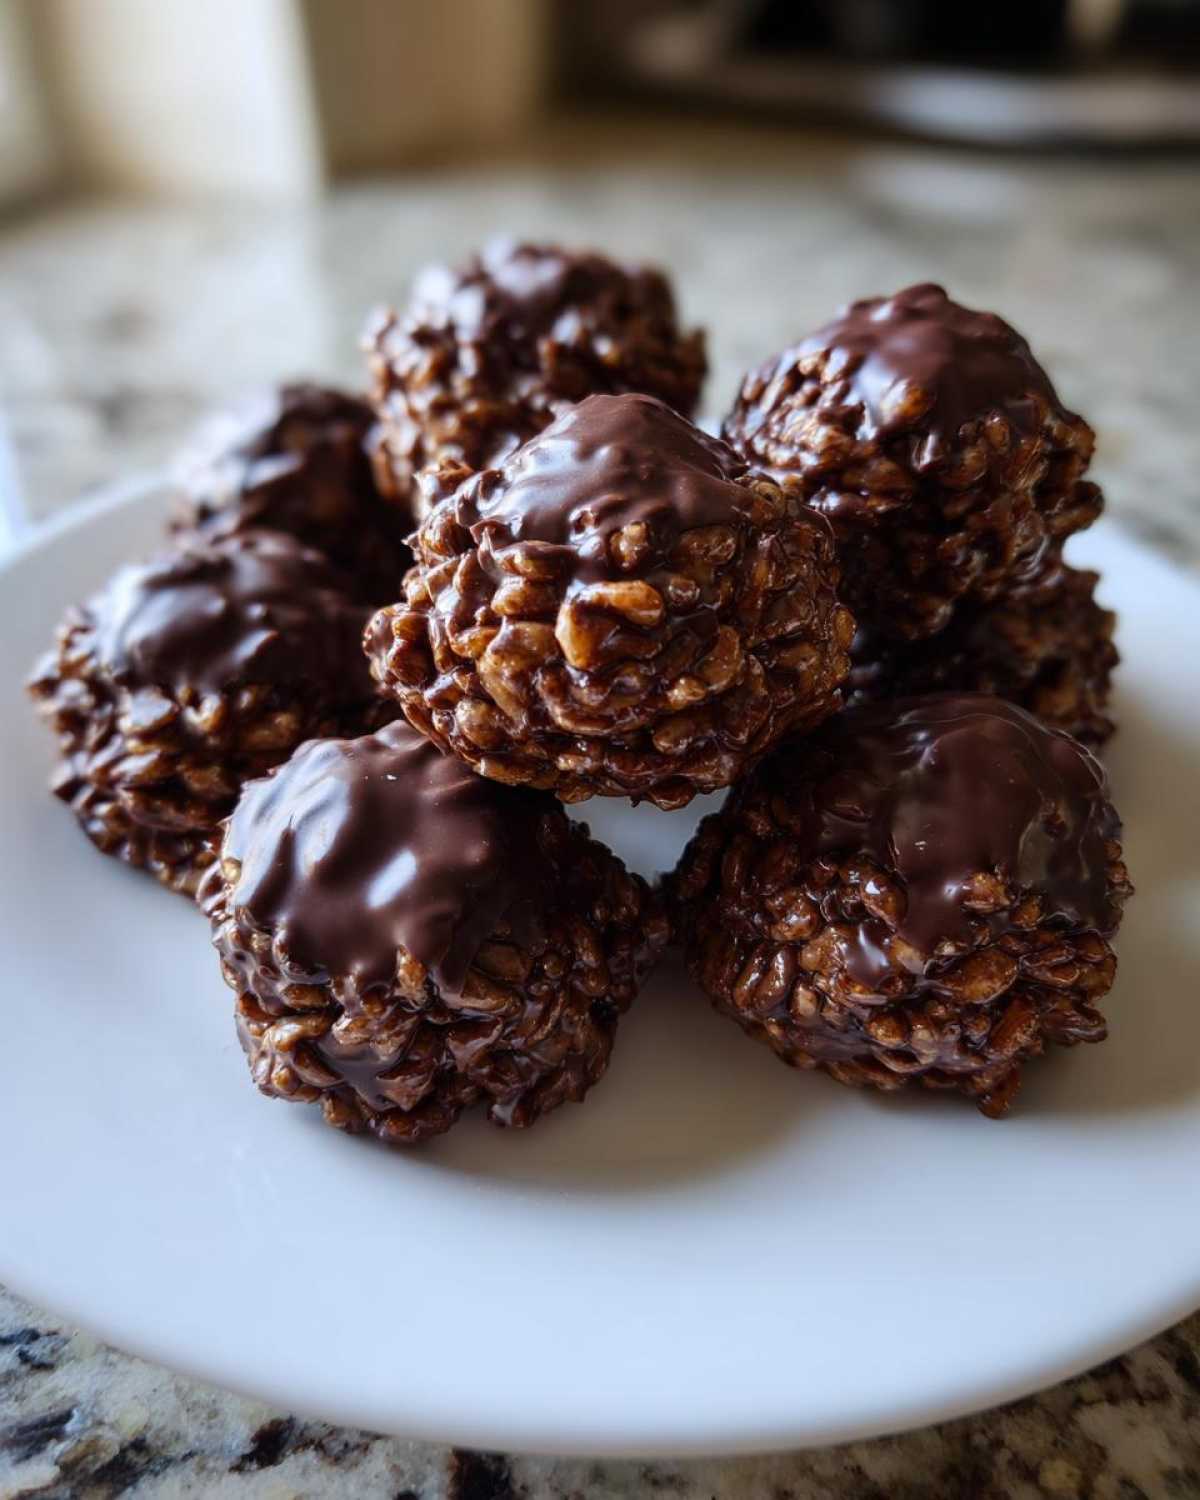
While those beauties are chilling, melt your chocolate chips and coconut oil. Use a microwave-safe bowl, please! I always do this in short bursts—30 seconds at a time—stirring really well in between each burst. If you rush it, the chocolate can seize up on you, and nobody wants that! Stir until it’s silky smooth. That little bit of coconut oil makes the final shell of your **Chocolate Covered Rice Krispies** coating easy to dip and gives it a beautiful shine after it sets. Once the balls are firm, you are ready for the final dip!
Tips for Making the Best Peanut Butter Rice Krispie Balls Recipe
To truly elevate these from good to ‘You have to give me the recipe NOW!’ status, I always follow a couple of little rules. First, when they come out of the chocolate bath—and be quick about it!—sprinkle them immediately. If you wait even a minute, the chocolate hardens, and your sprinkles just slide right off. Colored sprinkles look amazing for parties, but crushed nuts are divine for a richer crunch.
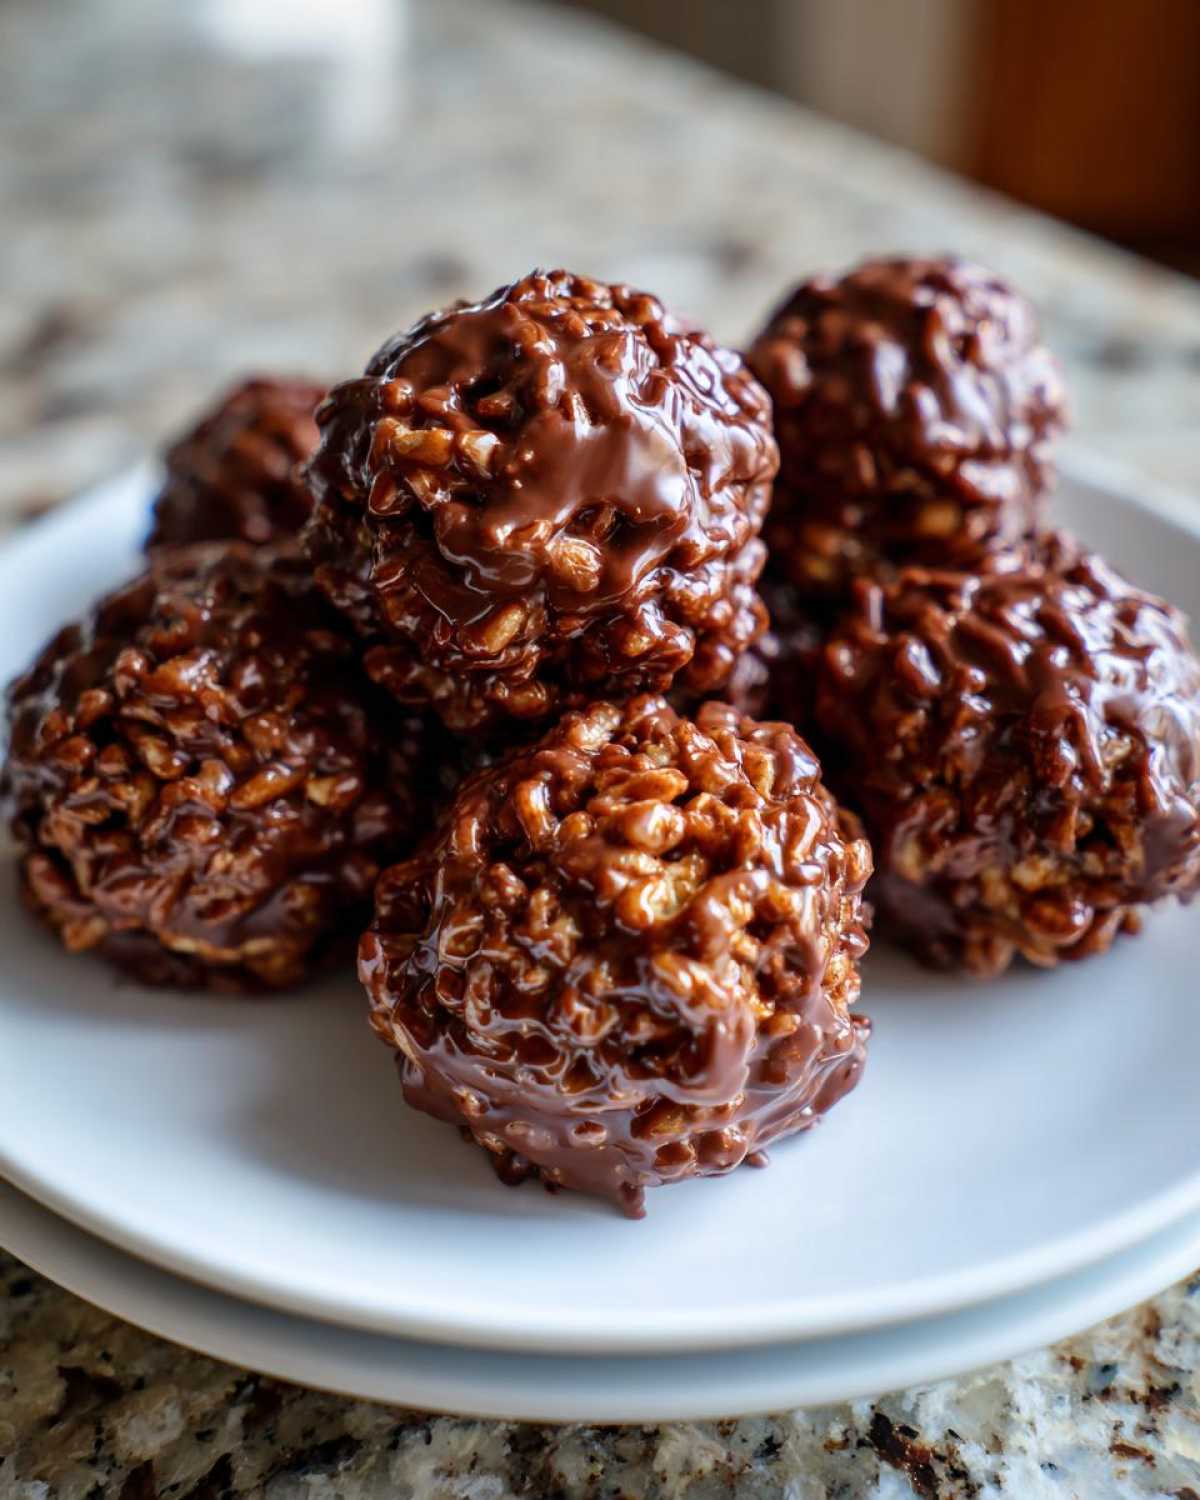
Also, don’t skip the coconut oil! If you want the slimmest, prettiest coating on your **Peanut Butter Rice Krispie Balls Recipe**, that oil makes all the difference. I once ran out of coconut oil before a big neighborhood potluck and tried using regular vegetable oil. Ugh, disaster! The chocolate stayed soft and messy, taught me that you need that specific fat content there. Don’t forget to check out my recipe for the absolute best vanilla buttercream recipe if you ever need a great frosting, but for these balls, stick to the coating fat!
If you’re packing these for a lunchbox or gifting them, a nice drizzle of contrasting white chocolate over the dark coating is just gorgeous. If you need some inspiration while you bake, seeing what others are making on Pinterest is always fun; you can find tons of ideas over at Recipes Vault!
Serving Suggestions for Your Crunchy Chocolate Balls
These **Crunchy Chocolate Balls** are almost too easy—they disappear! They are fantastic on their own, of course, but they really shine next to something light and tart. When I bring these to a gathering, I always make sure they are part of a larger dessert spread.
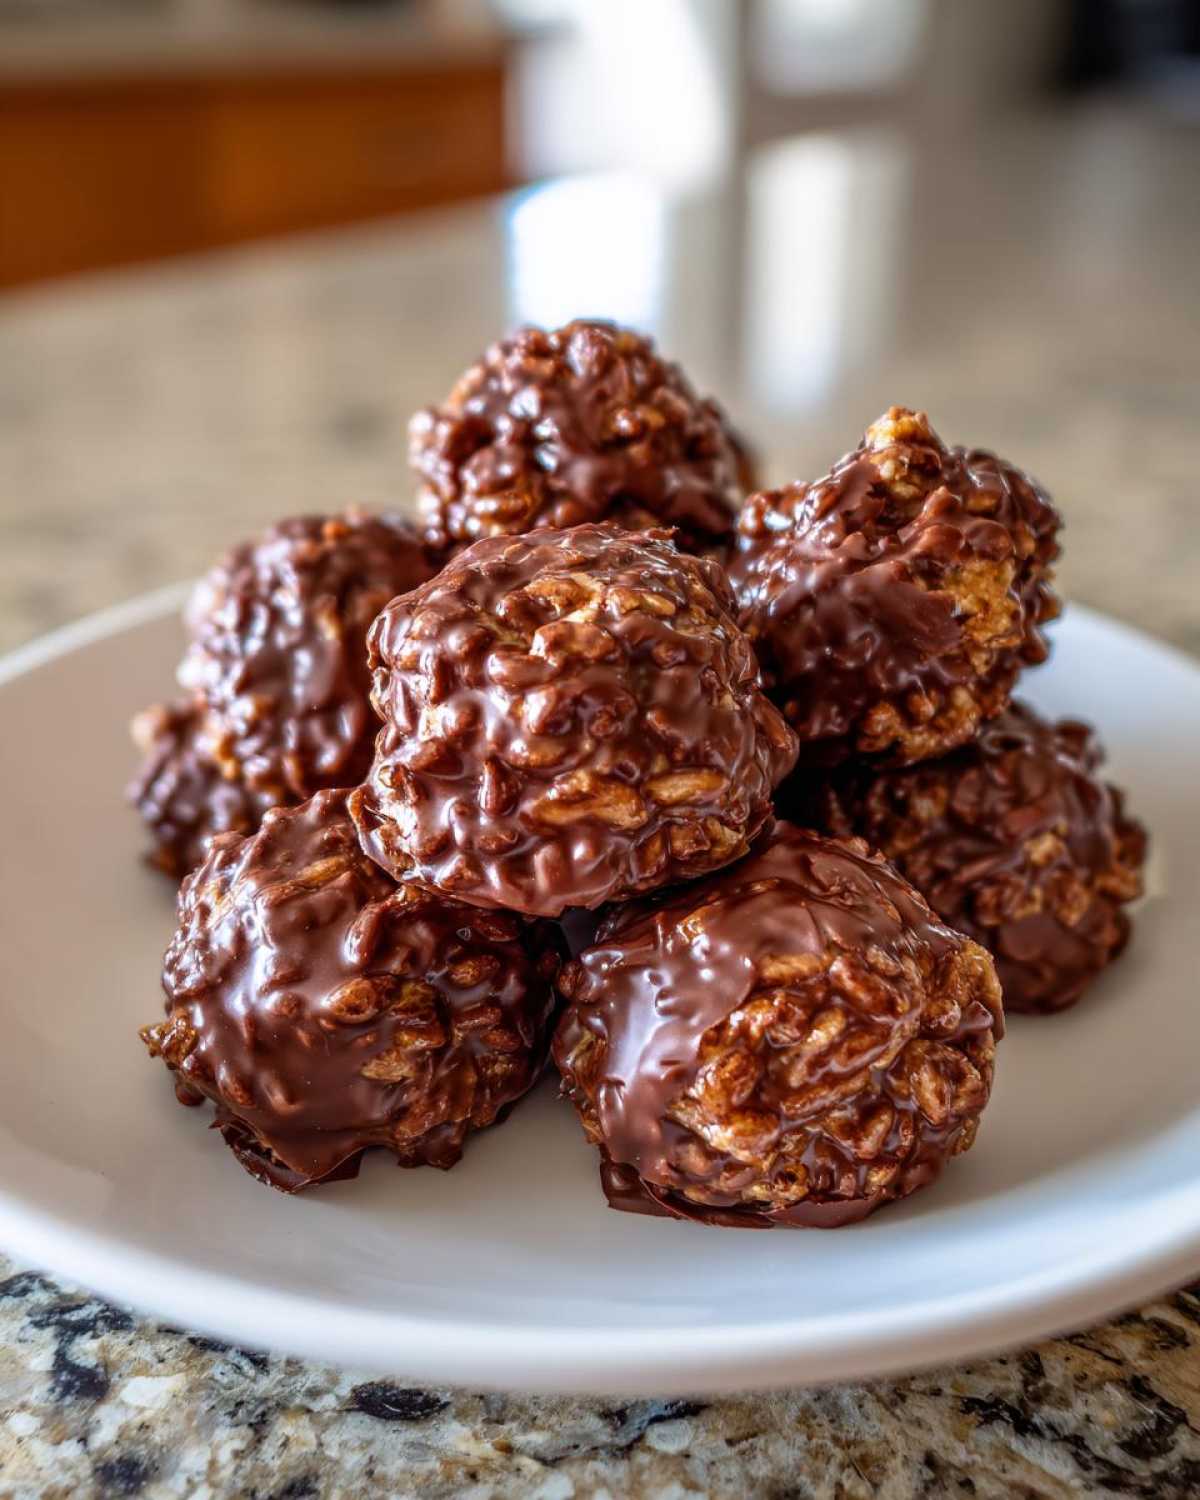
They make absolutely perfect **Party Treats with Rice Krispies** because they are stable and don’t require plates! For holidays, they look stunning nestled right next to something festive, like my recipe for a Christmas Poke Cake. The richness of the chocolate and peanut butter really balances well with fruitier desserts. They are also wonderful additions when curating a holiday platter of **Holiday Rice Krispie Balls** alongside shortbread or fudge!
Storage and Keeping Your Chocolate Rice Krispie Balls Fresh
Since these are **Simple Chocolate Snack Balls** and thankfully don’t have any super delicate frostings, storage is a breeze! You can definitely keep them on the counter in an airtight container for about three days, as long as your kitchen isn’t scorching hot. If it’s warm, or if you want them to last longer—say, for a big holiday bake ahead—pop them in the fridge.
Refrigeration keeps that lovely chocolate coating nice and firm. If you chill them, just remember to let them sit on the counter for about 15 minutes before serving so the truffle center softens up just a touch; that makes biting into them even better! For the longest life, I sometimes even freeze them! They keep beautifully in a sealed container for up to two months. If you are into making things ahead of time, check out my guide on homemade granola bars—it has great make-ahead storage tips!
Troubleshooting Common Issues with Chocolate Rice Krispie Balls
Even with the simplest recipes, sometimes things go a little sideways in the kitchen, right? Don’t panic if your **chocolate rice krispie balls** aren’t looking perfect right away. Most issues are super fixable! If your base mixture feels way too crumbly—I mean, you can’t even form a decent ball—it usually means you need a touch more binder. Try warming up just two tablespoons of extra peanut butter and gently folding that in until it just comes together. Be careful not to add too much, or they get greasy!
The biggest headache, though, is when the chocolate decides to seize up. That usually happens if even a tiny bit of water gets in there, or if you overheat it trying to rush things. If your chocolate looks grainy or stiff instead of smooth, immediately take it off the heat. Stir in just half a teaspoon of coconut oil or a tiny splash of vegetable oil. It helps loosen up that stiff chocolate so you can still dip your treats. For more baking fixes, my guide on getting that perfect shine on ultimate fudgy brownies has some great chocolate tips that apply here too!
Frequently Asked Questions About These Quick Chocolate Cereal Balls
I always get lots of questions when I post these, because everyone wants to know how they are so simple and yet so satisfying! These **chocolate rice krispie balls** are truly the best little secret weapon for fast dessert making. They are definitely one of my favorite kid friendly chocolate snacks!
Can I make chocolate rice krispie balls without peanut butter?
That is a fantastic question! Since peanut butter plays such a big role in binding everything, it’s not a direct 1-to-1 swap. You absolutely *can* make these without it—I mentioned sunflower seed butter as a nut-free option above—but just know that the texture will be different. The final balls won’t be quite as dense or rich, and they might be a hair more crumbly when rolling. If you skip the peanut butter entirely, you might need to melt a bit more chocolate or add just a tablespoon of honey to help everything stick!
How long do these chocolate rice krispie balls take to set?
This is the beauty of a great no-bake treat! The “setting” happens in two stages. First, you want the base mixture firm enough to handle, so chilling them in the freezer for about 15 minutes is crucial prior to dipping. Then, after you dip them in the melted chocolate coating, they need about 30 minutes in the refrigerator for that shell to become fully firm and crunchy. So, you’re looking at around 45 minutes total waiting time before you can start munching!
Estimated Nutrition for Your Chocolate Rice Krispie Balls
I always get asked about the nutritional breakdown for these little powerhouses! Keep in mind that because these **chocolate rice krispie balls** are so customizable—especially if you swap out the chocolate type—these numbers are just a guide based on the recipe above. You might find these nutrition estimates helpful if you’re keeping track of things, especially since they’re made with wholesome peanut butter!
Here is the average breakdown per ball:
- Serving Size: 1 ball
- Calories: 180
- Sugar: 15g
- Protein: 4g
- Fat: 10g
- Total Carbohydrates: 22g
Remember, these are just estimates, so your exact results might vary slightly depending on the brand of cereal or chocolate chips you use. If you’re feeling adventurous with savory pairings, you should definitely check out my recipe for roasted sweet potato with honey and cinnamon for a different kind of sweet satisfaction!
Share Your Perfect Chocolate Rice Krispie Balls Creations
Now it’s your turn to get creative! I truly hope you loved making these easy **chocolate rice krispie balls** as much as I love developing them for you. Please, please pop down to the comments and let me know what you thought! Did you add festive sprinkles, or maybe use dark chocolate instead? Rating the recipe helps other home cooks find this simple gem too. I always adore seeing your photos shared online—it makes my day to see my recipes in your kitchens!
If you’re looking for another incredibly delicious, no-fuss recipe to try next, you should really try my whipped ricotta dip with hot honey! Happy baking (or, in this case, no-baking)!
PrintUltimate No-Bake Chocolate Peanut Butter Rice Krispie Balls

Make these ultimate no-bake chocolate peanut butter rice krispie balls for a quick, crunchy, and satisfying snack. This simple recipe is perfect for parties or when you need a fast dessert.
- Prep Time: 20 min
- Cook Time: 5 min
- Total Time: 25 min
- Yield: About 24 balls 1x
- Category: Dessert
- Method: No Bake
- Cuisine: American
- Diet: Vegetarian
Ingredients
- 6 cups crispy rice cereal
- 1 cup creamy peanut butter
- 1 cup powdered sugar
- 1 teaspoon vanilla extract
- 12 ounces semi-sweet chocolate chips
- 2 tablespoons coconut oil (or shortening)
Instructions
- In a large bowl, combine the crispy rice cereal, peanut butter, powdered sugar, and vanilla extract. Mix well until all ingredients are evenly incorporated and the mixture holds together when pressed.
- Scoop the mixture and roll it into small balls, about 1 inch in diameter. Place the formed balls on a baking sheet lined with parchment paper.
- Place the baking sheet in the freezer for 15 minutes to help the balls firm up. This step is key for easy dipping.
- In a microwave-safe bowl, combine the semi-sweet chocolate chips and coconut oil. Microwave in 30-second intervals, stirring well after each interval, until the chocolate is completely smooth and melted.
- Remove the chilled balls from the freezer. Dip each ball into the melted chocolate, ensuring it is fully coated. Use a fork to lift the ball out, allowing excess chocolate to drip off.
- Return the coated balls to the parchment-lined baking sheet.
- Refrigerate the chocolate rice krispie balls for at least 30 minutes, or until the chocolate coating is set.
Notes
- For a festive look, sprinkle the tops with colored sprinkles immediately after dipping them in chocolate.
- If you do not have peanut butter, you can substitute it with sunflower seed butter for a similar texture, though the flavor will change.
- These are fantastic for holiday treats and are a great kid friendly chocolate snack.
Nutrition
- Serving Size: 1 ball
- Calories: 180
- Sugar: 15
- Sodium: 85
- Fat: 10
- Saturated Fat: 4
- Unsaturated Fat: 6
- Trans Fat: 0
- Carbohydrates: 22
- Fiber: 1
- Protein: 4
- Cholesterol: 5