
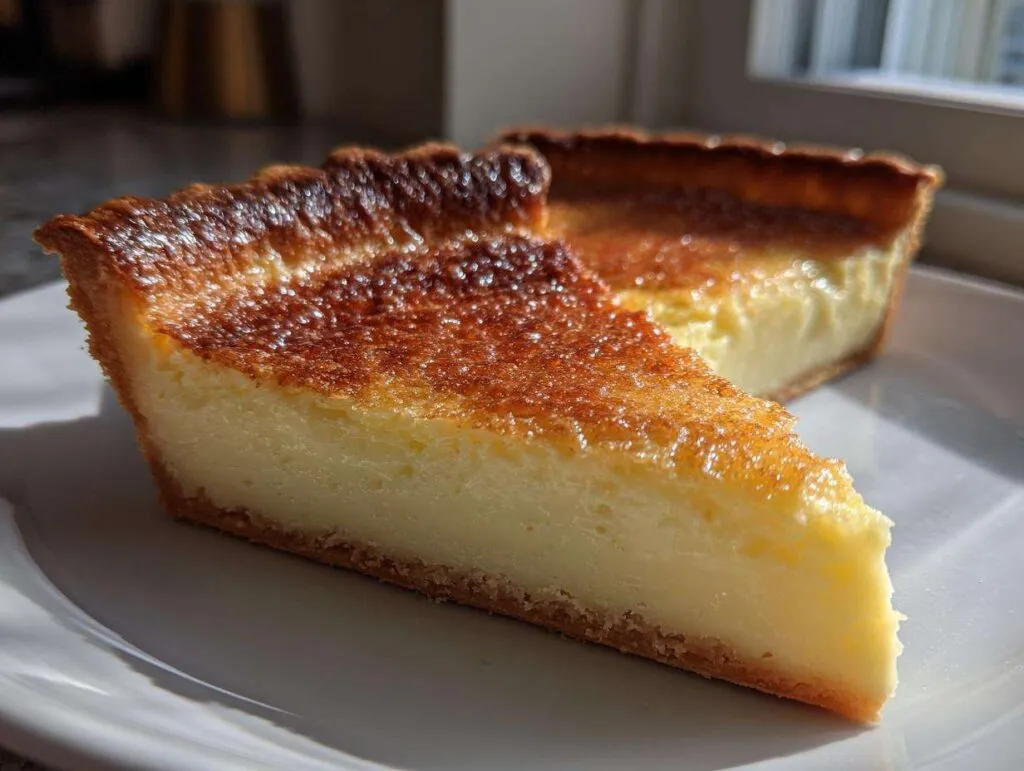
Oh, there’s just nothing like the magic of a truly classic dessert, is there? Something simple, humble, yet utterly soul-satisfying. For me, that’s always been the magnificent **buttermilk pie**. It’s the heart of old-school Southern baking—that creamy, slightly tangy filling baking up beautifully inside a crisp, flaky crust. Growing up around my family’s Southern traditions, I learned that the best things in life often use the simplest ingredients you already have on hand. Trust me when I say this **Classic Buttermilk Pie Recipe** is proof! It’s shockingly easy, yet it delivers that luxurious, melt-in-your-mouth texture that makes everyone ask for the recipe.
- Why This Classic Buttermilk Pie Recipe is a Southern Favorite
- Gathering Your Ingredients for the Best Buttermilk Pie
- Step-by-Step Guide to Making Your Homemade Buttermilk Pie
- Expert Tips for the Perfect Creamy Custard Pie
- Variations on the Traditional Buttermilk Pie
- Serving Suggestions for Your Tangy Sweet Pie
- Storage and Reheating Instructions for Buttermilk Pie
- Frequently Asked Questions About Making Buttermilk Pie
- Share Your Southern Buttermilk Pie Creations
Why This Classic Buttermilk Pie Recipe is a Southern Favorite
If you’re looking for that quintessential taste of the South, this is it, friends! This **buttermilk pie** hits all the right notes; it’s simultaneously sweet and delicately tangy, making it the ultimate palate-pleaser. It truly embodies what a great **Southern Comfort Food Dessert** should be—warm, inviting, and deeply satisfying.
Honestly, what I love most is how approachable it is. You don’t need fancy equipment or exotic ingredients for this! If you need a last-minute treat, this qualifies as a wonderful **No-Fuss Pie Recipe**. If you love this kind of traditional flavor profile, you might even want to check out my sweet potato pound cake recipe—it shares that same cozy, comforting heritage!
Here’s why this recipe always wins at my house:
- The texture is incredible—that perfectly smooth, **Creamy Custard Pie** filling just melts on your tongue.
- It relies entirely on **Pantry Staple Pies** ingredients, so I can whip it up almost anytime inspiration strikes.
- It’s the perfect balance of flavor; you get that glorious **Tangy Sweet Pie** profile that keeps you coming back for just one more sliver.
Every time I serve this, I’m reminded of my Aunt Clara’s porch gatherings during the summer. She insisted that the best desserts were the ones that didn’t require hours of fuss, just high-quality ingredients and a whole lot of love. This recipe always brings those sweet memories right back into my kitchen. You absolutely have to try it next time you need a guaranteed crowd-pleaser!
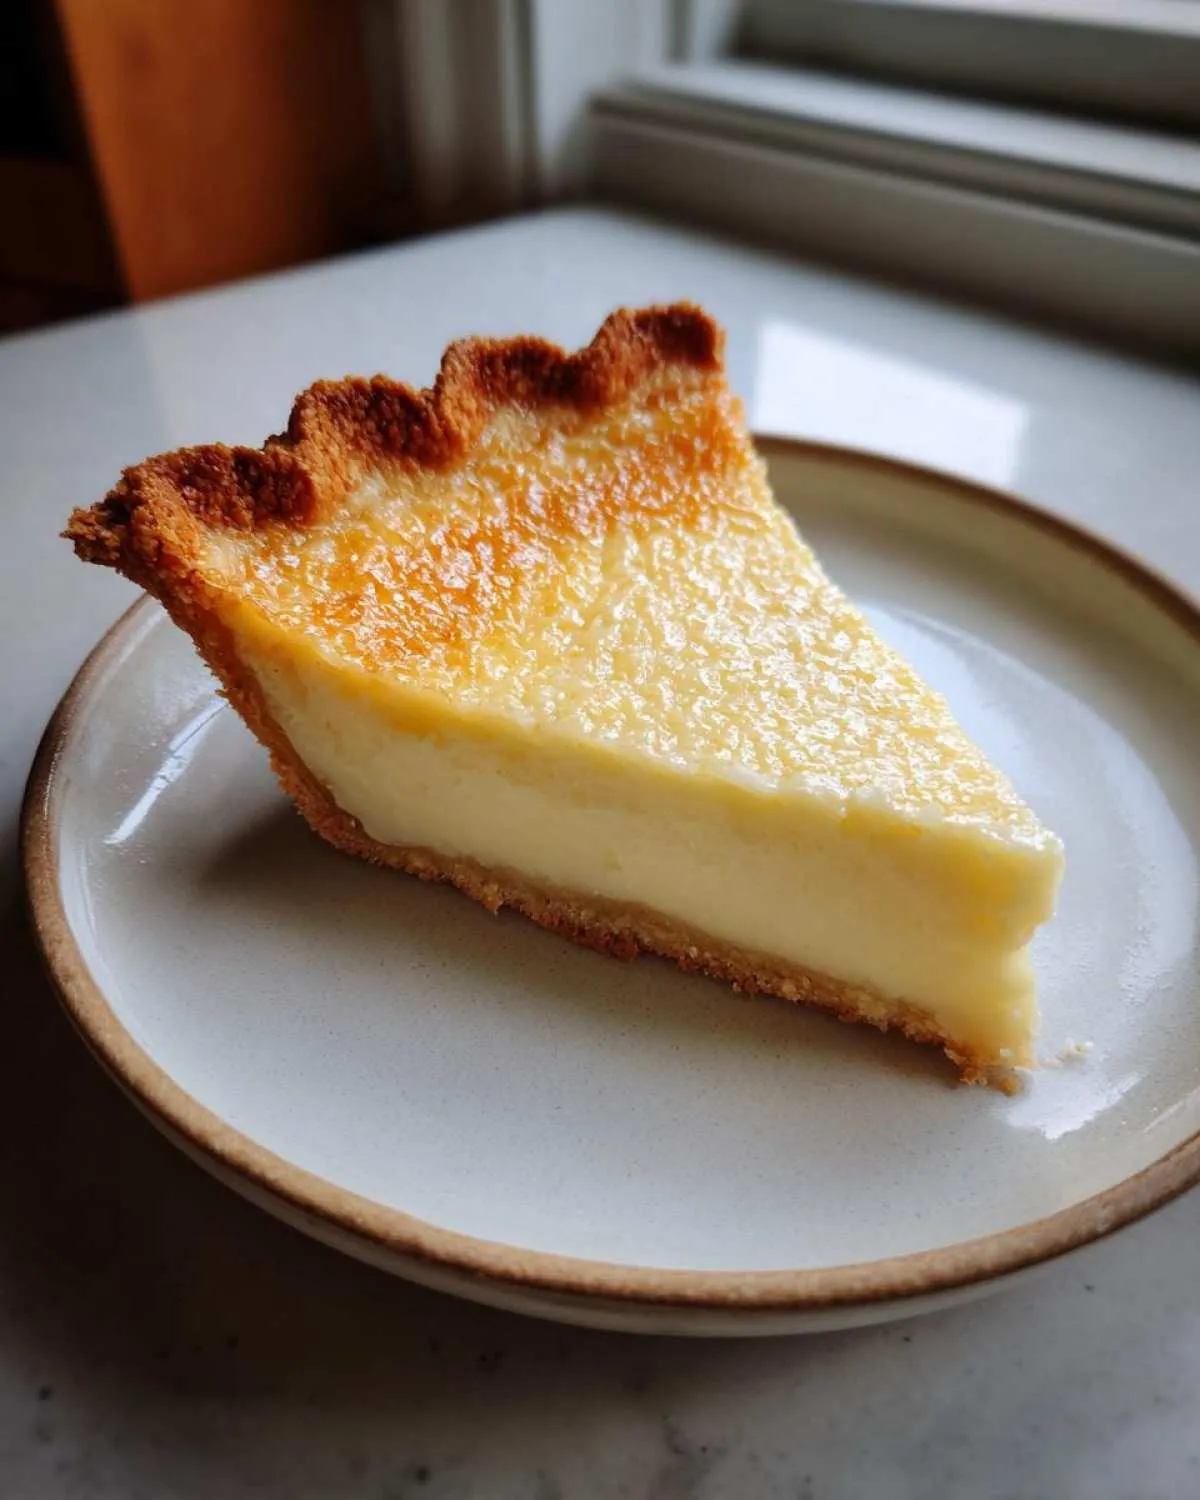
Gathering Your Ingredients for the Best Buttermilk Pie
Okay, here’s the fun part! I love this specific **buttermilk pie** setup because it truly is a testament to **Pantry Staple Pies**. You probably have most of this stuff tucked away right now! Unlike those fancy layered desserts that need a special shopping trip, this beauty comes together with basics. But even with simple ingredients, precision matters, especially when we are aiming for that luxurious texture we talked about.
When you gather everything, make sure your measurements are spot on. Especially that crust needed for this **Flaky Crust Pie**—it has to be a standard 9-inch unbaked shell ready to go. Also, your butter needs to be melted, not just softened, so be sure to melt that stick first! Here is exactly what you need to pull together this Southern treasure.
Essential Components for Your Buttermilk Pie
- 1 (9-inch) unbaked flaky pie crust
- 1 1/2 cups granulated sugar
- 1/4 cup all-purpose flour
- 1/4 teaspoon salt
- 1 cup buttermilk
- 1/2 cup (1 stick) unsalted butter, melted
- 2 large eggs, lightly beaten
- 1 teaspoon vanilla extract
- Pinch of ground nutmeg (optional, for topping)
Step-by-Step Guide to Making Your Homemade Buttermilk Pie
Alright, let’s get serious. This is where the magic happens, and honestly, it’s the easiest part! We aren’t messing around with complicated techniques here; we just need to honor the order of operations so that beautiful custard sets up just right on top of that **Flaky Crust Pie** shell. Remember what I always say: baking is chemistry, but the best chemistry is simple chemistry! I showed you how to make flaky buttermilk biscuits last week, and this pie uses that same wonderful tang!
Prepping the Oven and Crust
First things first, we need some heat! Preheat your oven right away to a steady 350 degrees F (175 degrees C). While that’s warming up, take your **unbaked pie crust** and settle it gently into its 9-inch pie plate. That’s it for step one—nice and simple, letting the oven do the heavy lifting while we focus on that filling.
Mixing the Creamy Custard Filling for Your Buttermilk Pie
We are using the two-bowl method here, which keeps everything running smoothly. Grab a medium bowl and whisk together all your dry guys first: the sugar, the flour, and that tiny bit of salt. Whisk them until they look happy and combined! Set that aside because the next bowl is for the wet stuff. In a separate bowl, mix the buttermilk, the melted butter (make sure it’s not hot!), the eggs that you’ve already lightly beaten, and the vanilla extract until everything is smooth. Now for the crucial move: you’re going to gradually add the wet ingredients right into the dry, mixing just until the batter becomes **uniform**. Stop as soon as those streaks disappear! Seriously, don’t overmix! Overmixing is the enemy of a tender custard, and we want that classic, smooth result.
Baking and Setting the Classic Buttermilk Pie Recipe
Gently pour that beautiful filling right into your waiting crust. If you feel like making it extra fancy—and honestly, why wouldn’t you?—sprinkle just a tiny pinch of nutmeg over the absolute top. Pop it into the oven for about 45 to 55 minutes. Our target when it comes out? The edges should look set and maybe puffed up a little, and the very center, if you give the plate a gentle nudge, should have just a slight, barely-there jiggle. This jiggle is important! That’s how you know it’s not overbaked. But listen up: the final secret for the Best Buttermilk Pie is patience! Let it cool completely on a wire rack—I mean at least 2 hours. That cooling time is when that creamy custard truly sets up into that divine texture you’re hoping for. If you cut it too soon, it’ll run everywhere. Don’t sabotage your hard work after baking!
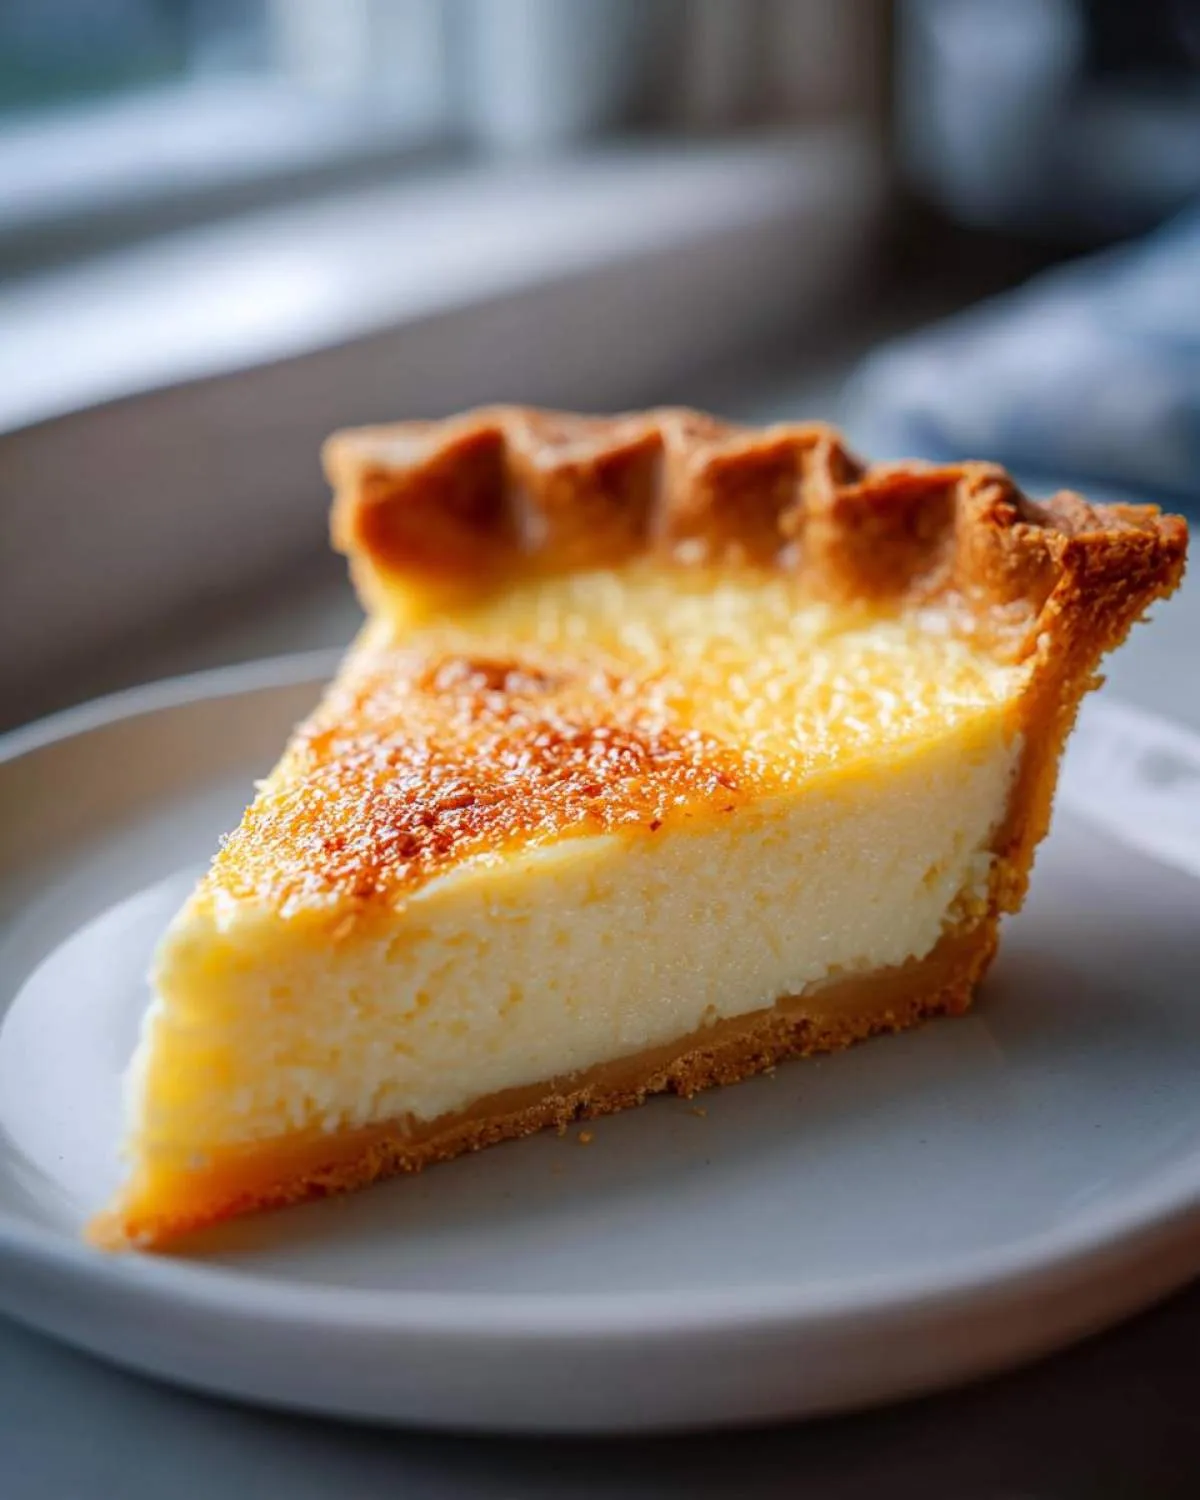
Expert Tips for the Perfect Creamy Custard Pie
Achieving that legendary melt-in-your-mouth quality in this **buttermilk pie** isn’t luck, it’s technique! Getting this right elevates it from just good to truly amazing. When you’re aiming for the absolute best **Creamy Custard Pie**, two details from those old recipe cards really stand out. First, you must use full-fat buttermilk. Seriously, don’t swap it out for low-fat milk—that extra fat contributes significantly to the richness and mouthfeel. You want that full, luxurious body in the custard!
Second, and this is a fun one, try browning the butter instead of just melting it! Melt the half-cup of butter over medium heat until it starts to foam and little brown bits form at the bottom. It takes just an extra minute, but that nutty, toasted flavor that leaches into the filling is divine and adds such depth. If you want even more ideas on how to up your baking game, check out my post on the best vanilla buttercream recipe for other creamy delights!
Remember, the gentler you are mixing the final batter, the smoother that custard is going to bake up. Happy baking!
Variations on the Traditional Buttermilk Pie
Now that you’ve mastered our perfect **Classic Buttermilk Pie**, you might be thinking about tweaking things! That’s the fun of cooking, right? The foundation of this recipe is so solid that it welcomes a little customization, making it a fantastic canvas for all sorts of **Baking Dessert Ideas**.
My absolute favorite twist, especially when I want to double down on that delicious tang, is adding citrus zest. Toss in the zest of one whole lemon right along with your vanilla extract. Wow! It brightens everything up beautifully and cuts through the sweetness just enough.
If you’re feeling brave and want a slight change in color and depth, try swapping out half the granulated sugar for good quality dark brown sugar. It gives the custard a rich, almost caramel-y undertone without masking the pure buttermilk flavor. For other unexpected flavor adventures, you might want to peek at my chocolate babka recipe—it’s a totally different world, but equally delicious!
The key is to keep the wet-to-dry ratio the same since that’s what governs the set. As long as you keep the flour, eggs, and buttermilk proportions locked down, you can play with flavorings all day long!
Serving Suggestions for Your Tangy Sweet Pie
That gorgeous, golden **buttermilk pie** is finally ready, and now we get to the fun part: serving it! Since this **Tangy Sweet Pie** has such a delicate custard texture, presentation really matters. I usually let it completely cool—at least to room temperature, but chilled is even better for clean slices—before dragging out the serving platter.
To complement that gorgeous tang, you absolutely must pair it with something creamy, like a big dollop of freshly whipped cream. If you’re feeling extra festive, topping those slices with some bright, fresh berries balances the richness perfectly. We are always sharing new ideas for sweet finishes over at the blog, so if you love fruit and cream toppings, be sure to check out my strawberry shortcake cupcakes recipe for inspiration!
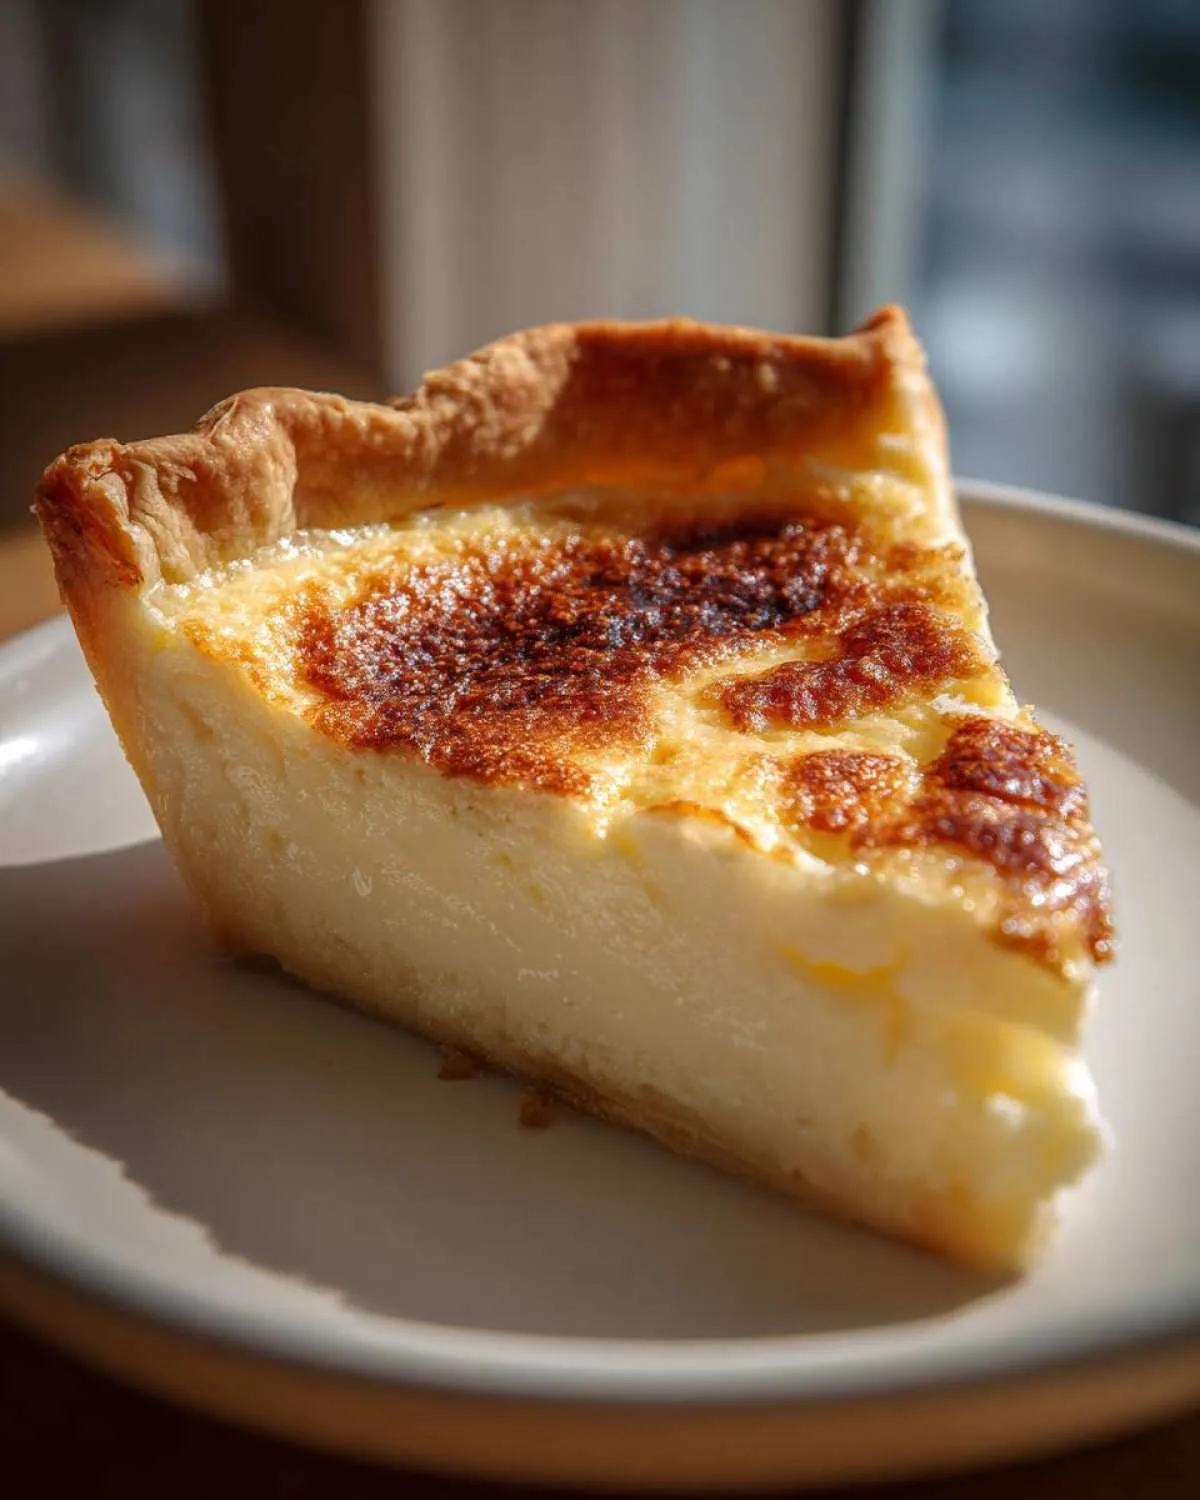
Serve it up however you like—room temp or slightly chilled—and watch everyone scoop up every last bite!
Storage and Reheating Instructions for Buttermilk Pie
Because this wonderful pie is basically a delicate baked custard, we have to treat it with respect once it cools! Forget leaving leftovers on the counter overnight. This **buttermilk pie** needs to go straight into the fridge. Keep it covered tightly—plastic wrap works great, just don’t let it touch the surface if you can help it!
When you’re ready to serve the next day, you have two great options. You can dig in straight from the fridge when it’s nice and cold, which makes the custard texture firmer. Or, you can let it sit out on the counter for about 30 minutes to take the chill off. That little bit of warmth really lets the full sweet and tangy flavor profile come through. It stores beautifully for about three days!
Frequently Asked Questions About Making Buttermilk Pie
I get so many wonderful questions after folks try their hand at this magnificent dessert! It’s funny how something that seems so much like an **Easy Dessert Pie** can still leave even experienced bakers scratching their heads on a few points. Don’t worry at all; that’s completely normal when dealing with custard pies. Since this is such a beloved **Old Fashioned Pie Recipe**, I wanted to tackle the most common concerns right here so you are set up for success!
Can I substitute regular milk for buttermilk in this buttermilk pie recipe?
Oh, I wish you could! But the short answer for this *Classic Buttermilk Pie Recipe* is a definite no, trust me on this one! Buttermilk isn’t just about flavor; the acidity in it reacts with the flour and eggs to give you that smooth, stable custard we are after. If you use regular milk, you’ll end up with something that’s way too sweet, likely curdled, and it just won’t set up correctly. If you are absolutely desperate and out of buttermilk, you can try making a quick substitute by adding one tablespoon of white vinegar or lemon juice to one cup of regular whole milk and letting it sit for five minutes. But please know, it won’t give you the true, authentic, wonderfully tangy flavor of the genuine article!
How do I prevent my buttermilk pie from cracking on top?
Cracking is the bane of every custard pie baker’s existence! It usually happens because the custard sets too fast or cools too abruptly. My biggest tip here is temperature control during baking. Don’t be tempted to peek or open that oven door for at least the first 40 minutes—a sudden draft of cool air can cause it to deflate and crack immediately. Also, remember that slight jiggle in the center? That means it’s done! Taking it out when the center is still a *little* wobbly ensures it doesn’t overbake. The residual heat finishes the cooking process, and cooling it slowly on the counter afterward helps create that perfect, unblemished surface. If you already love creamy delights, you should take a look at my no-bake Oreo ice cream pie recipe for another crowd-pleaser!
Is this an Old Fashioned Pie Recipe that requires chilling?
Yes, it absolutely is! This recipe hails from a time before refrigeration was super speedy, but chilling is still your best friend now. While you *can* serve this **buttermilk pie** once it hits room temperature, I strongly recommend chilling it for at least three hours, or until completely cold. Why? Cutting a room-temperature custard risks a slightly messy slice. When it’s cold, that creamy custard tightens up beautifully, allowing you to get those beautiful, clean wedges you see in all the magazines! It keeps the integrity of the filling perfectly intact.
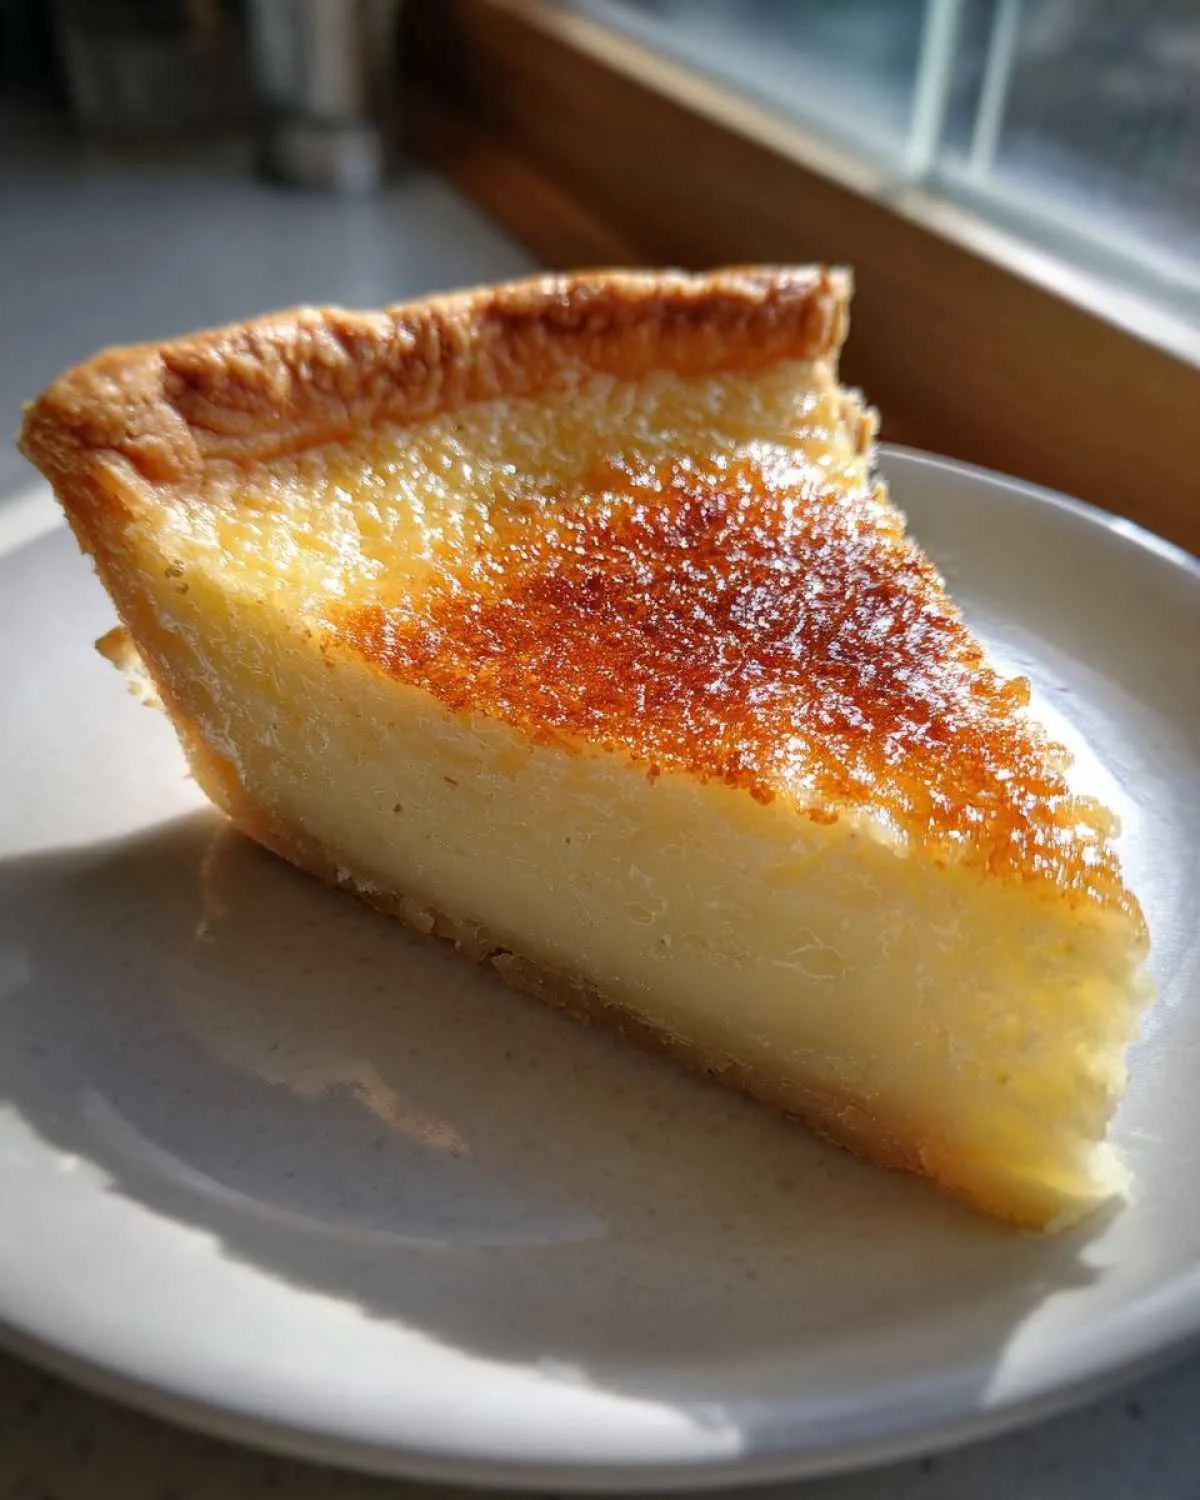
Share Your Southern Buttermilk Pie Creations
Now that you’ve whipped up this incredible **buttermilk pie**, I absolutely cannot wait to see what you created! Seriously, sharing your baking triumphs is my favorite part of running this kitchen. Please, please, please rate this recipe five stars if it earned a spot in your family cookbook. It helps other bakers find this cozy, comforting classic!
Snap a picture of that beautiful golden top and tag me on social media! I love seeing your results, whether it’s a perfect slice ready for Sunday dinner or maybe you paired it with my skillet cornbread (that’s a dangerous, but delicious, combination if you ask me!).
If you are looking for even more Southern-inspired baking and all the inspiration you need for your next holiday baking adventure, be sure to follow along on Pinterest! We share tons of new food ideas there every week, so come join the fun over at our Pinterest page. Happy baking, friends!
PrintClassic Southern Buttermilk Pie Recipe
Make this creamy, tangy, and sweet Classic Buttermilk Pie. This old-fashioned recipe is easy to prepare and results in a dessert that melts in your mouth, perfect for holidays or any family dinner.
- Prep Time: 15 min
- Cook Time: 50 min
- Total Time: 1 hour 5 minutes
- Yield: 8 servings 1x
- Category: Dessert
- Method: Baking
- Cuisine: American (Southern)
- Diet: Vegetarian
Ingredients
- 1 (9-inch) unbaked flaky pie crust
- 1 1/2 cups granulated sugar
- 1/4 cup all-purpose flour
- 1/4 teaspoon salt
- 1 cup buttermilk
- 1/2 cup (1 stick) unsalted butter, melted
- 2 large eggs, lightly beaten
- 1 teaspoon vanilla extract
- Pinch of ground nutmeg (optional, for topping)
Instructions
- Preheat your oven to 350 degrees F (175 degrees C). Place your unbaked pie crust into a 9-inch pie plate.
- In a medium bowl, whisk together the sugar, flour, and salt until combined.
- In a separate bowl, whisk together the buttermilk, melted butter, eggs, and vanilla extract until smooth.
- Gradually add the wet ingredients to the dry ingredients, mixing until the batter is uniform. Do not overmix.
- Pour the buttermilk filling into the unbaked pie crust.
- If desired, sprinkle a small pinch of nutmeg over the top of the filling.
- Bake for 45 to 55 minutes. The pie is done when the edges are set and slightly puffed, and the center has only a slight jiggle when gently shaken.
- Let the pie cool completely on a wire rack for at least 2 hours before slicing. This allows the creamy custard to set properly.
- Serve at room temperature or slightly chilled.
Notes
- This pie uses pantry staples, making it a great no-fuss pie recipe for last-minute baking.
- For the best flavor, use full-fat buttermilk.
- If you want a richer color, you can brown the butter slightly before melting it completely.
- This recipe is a wonderful example of Southern comfort food dessert.
Nutrition
- Serving Size: 1 slice
- Calories: 350
- Sugar: 35g
- Sodium: 250mg
- Fat: 18g
- Saturated Fat: 10g
- Unsaturated Fat: 8g
- Trans Fat: 0g
- Carbohydrates: 45g
- Fiber: 1g
- Protein: 5g
- Cholesterol: 90mg