You know that first sneeze of the season? The one that makes your heart sink because you just know what’s coming? That’s when I reach for my jar of homemade elderberry syrup. Trust me, this stuff is liquid gold when cold season hits. I started making my own elderberry syrup recipe years ago after one too many expensive bottles from the health food store. What shocked me was how ridiculously easy it is to whip up at home – just berries, water, honey, and a few warming spices. The best part? You can make a big batch to can or just pop it in the fridge when you need it.
My kids used to fight me on taking medicines, but they’ll actually ask for spoonfuls of this syrup. (Okay, fine – I might’ve convinced them it’s “blackberry magic potion” at first.) Whether stirred into tea, drizzled over yogurt, or taken straight from the spoon, this deep purple elixir has become our family’s go-to when the sniffles start. And that recipe I cobbled together from my grandmother’s notes? It’s saved us more sick days than I can count.
Why You’ll Love This Elderberry Syrup Recipe
This isn’t just another immune-boosting tonic – it’s the one you’ll actually want to take! Here’s why this elderberry syrup recipe stole my heart (and became a permanent fixture in my fridge):
- Immune support you can trust: Packed with antioxidants from real elderberries, it’s like giving your body a comforting hug during cold season
- No weird ingredients: Just berries, honey (raw please!), and spices – I can actually pronounce everything in my medicine cabinet now
- Kid-approved magic: My picky eaters think it’s “berry candy” – especially when I add that splash of orange juice
- Meal planning superstar: Swirl it into oatmeal, drizzle over pancakes, or stir into tea – way more fun than gulping supplements
- Prepper-friendly: Water-bath can a big batch or freeze in ice cube trays for ready-to-go doses
The first time I made it, I was shocked how something so simple could taste so good while actually working. Now I keep jars ready year-round – one less thing to worry about when the sniffles strike!
Ingredients for Your Elderberry Syrup Recipe
Gathering these simple ingredients feels like assembling nature’s own medicine cabinet. Here’s everything you’ll need to whip up this powerhouse syrup:
- Elderberries: 1 cup dried (or 2 cups fresh if you’re lucky enough to find them)
- Water: 4 cups (filtered if you can)
- Raw honey: 1 cup (local is fantastic if available, but any raw honey works)
- Cinnamon stick: 1 whole (or 1/2 tsp ground cinnamon in a pinch)
- Fresh ginger: 1 tsp grated (peel it first – I use the side of my spoon!)
- Vanilla extract: 1 tsp optional, but adds lovely warmth
That’s it – just six simple ingredients! Though I sometimes sneak in these extras when the mood strikes:
- Kid-friendly variation: 2 tbsp orange juice (it cuts the earthiness beautifully)
- Extra immune boost: A few cloves or star anise pods for serious spice lovers
The honey is the only slightly pricey ingredient, but trust me – cheaper processed honey won’t give the same health benefits. The rest? Probably already in your pantry or easy to find!
How to Make Elderberry Syrup
Making elderberry syrup is so easy you’ll wonder why you ever bought the store-bought stuff. The hardest part? Waiting for it to simmer! But that deep, purple brew is worth every minute. Here’s how I make mine – just follow these simple steps and you’ll have immune-boosting magic ready in no time.
Step 1: Simmer the Elderberries
Toss those elderberries into your favorite pot (I use my enamel-lined Dutch oven) with the water, cinnamon stick, and grated ginger. Bring it all to a rolling boil, then immediately turn it down to the gentlest simmer. You want happy little bubbles, not a volcanic eruption! Let it bubble away for 30 minutes – your kitchen will start smelling like a cozy winter day.
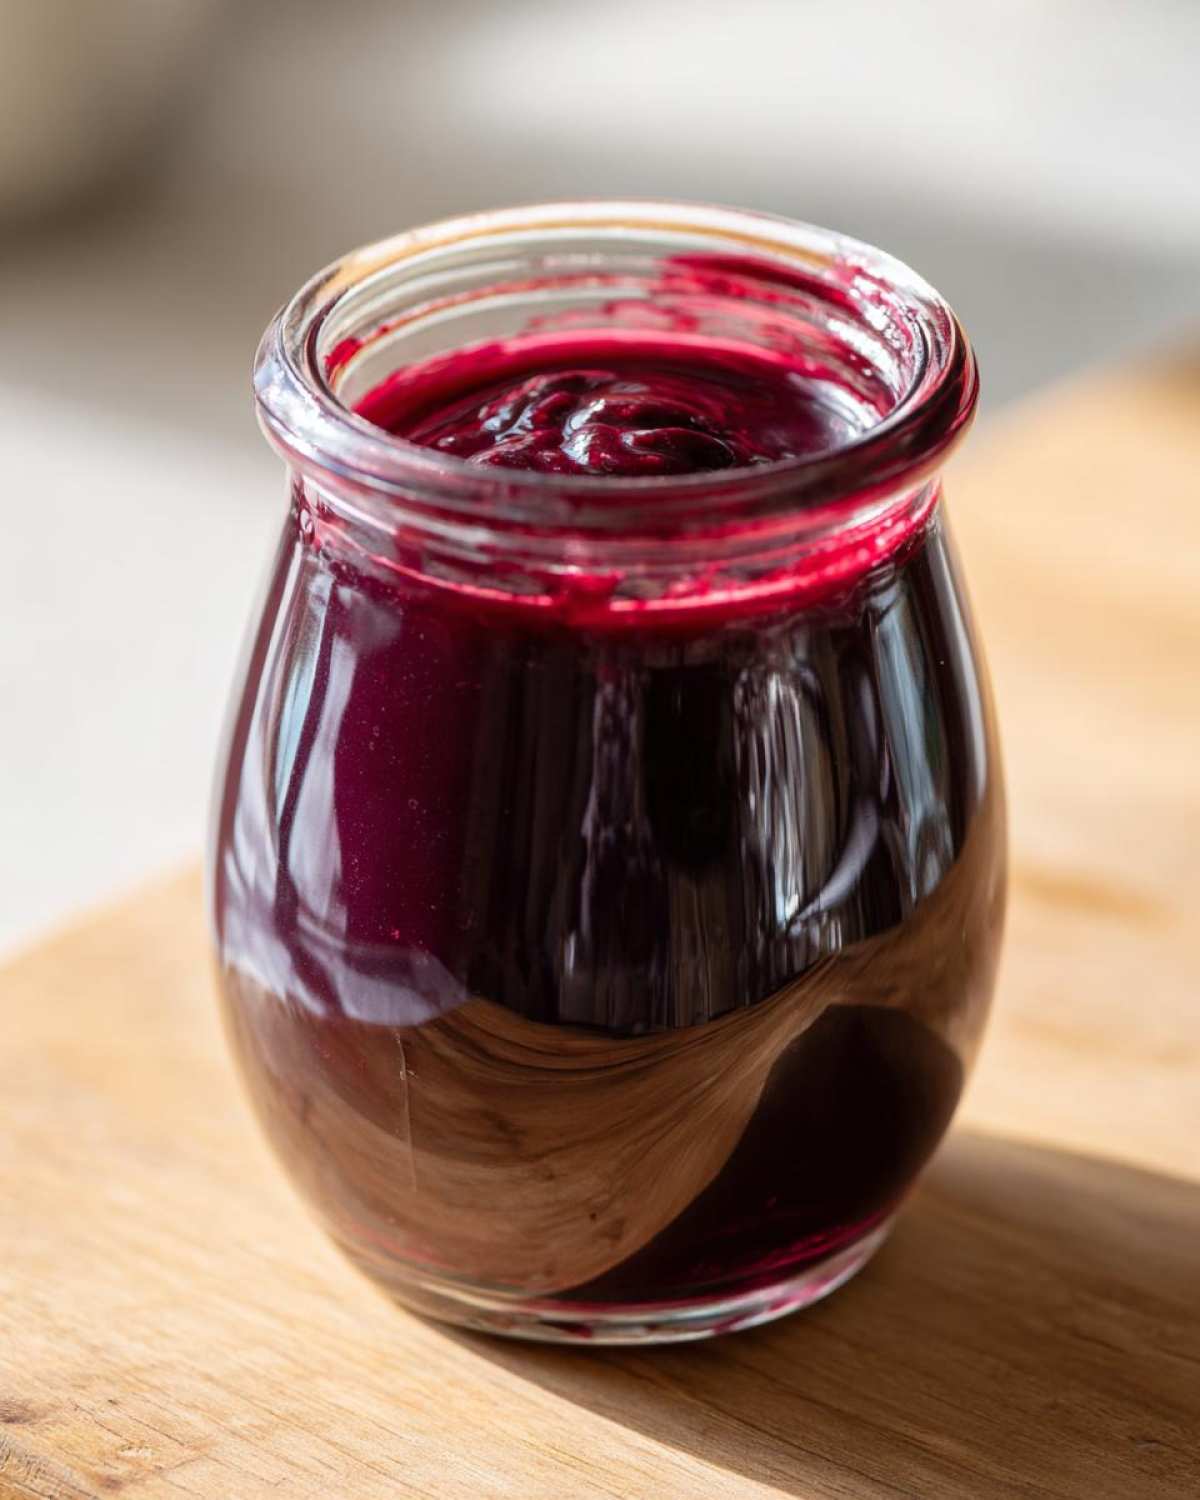
Step 2: Strain and Sweeten
Now for the messy-but-fun part! Pour the mixture through a fine sieve (I line mine with cheesecloth for extra smooth syrup). Press those berries gently to get every last drop of goodness. While the liquid is still warm but not boiling hot, stir in the honey and vanilla if using. Pro tip: adding honey too hot destroys its benefits, so let it cool just a bit first!
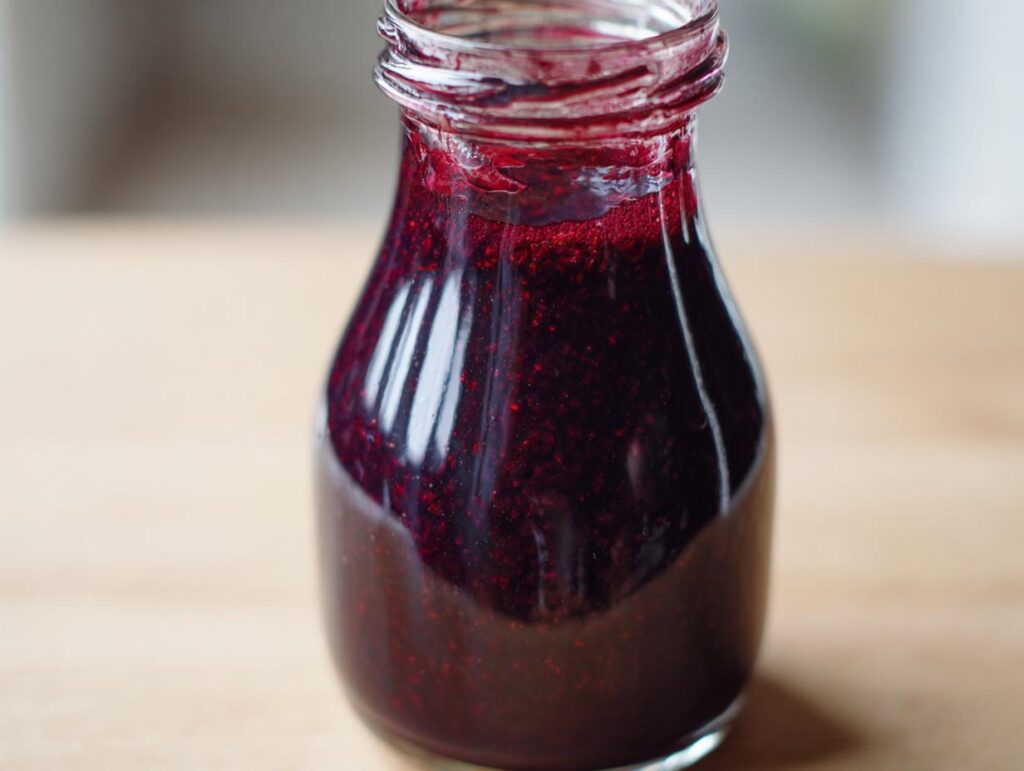
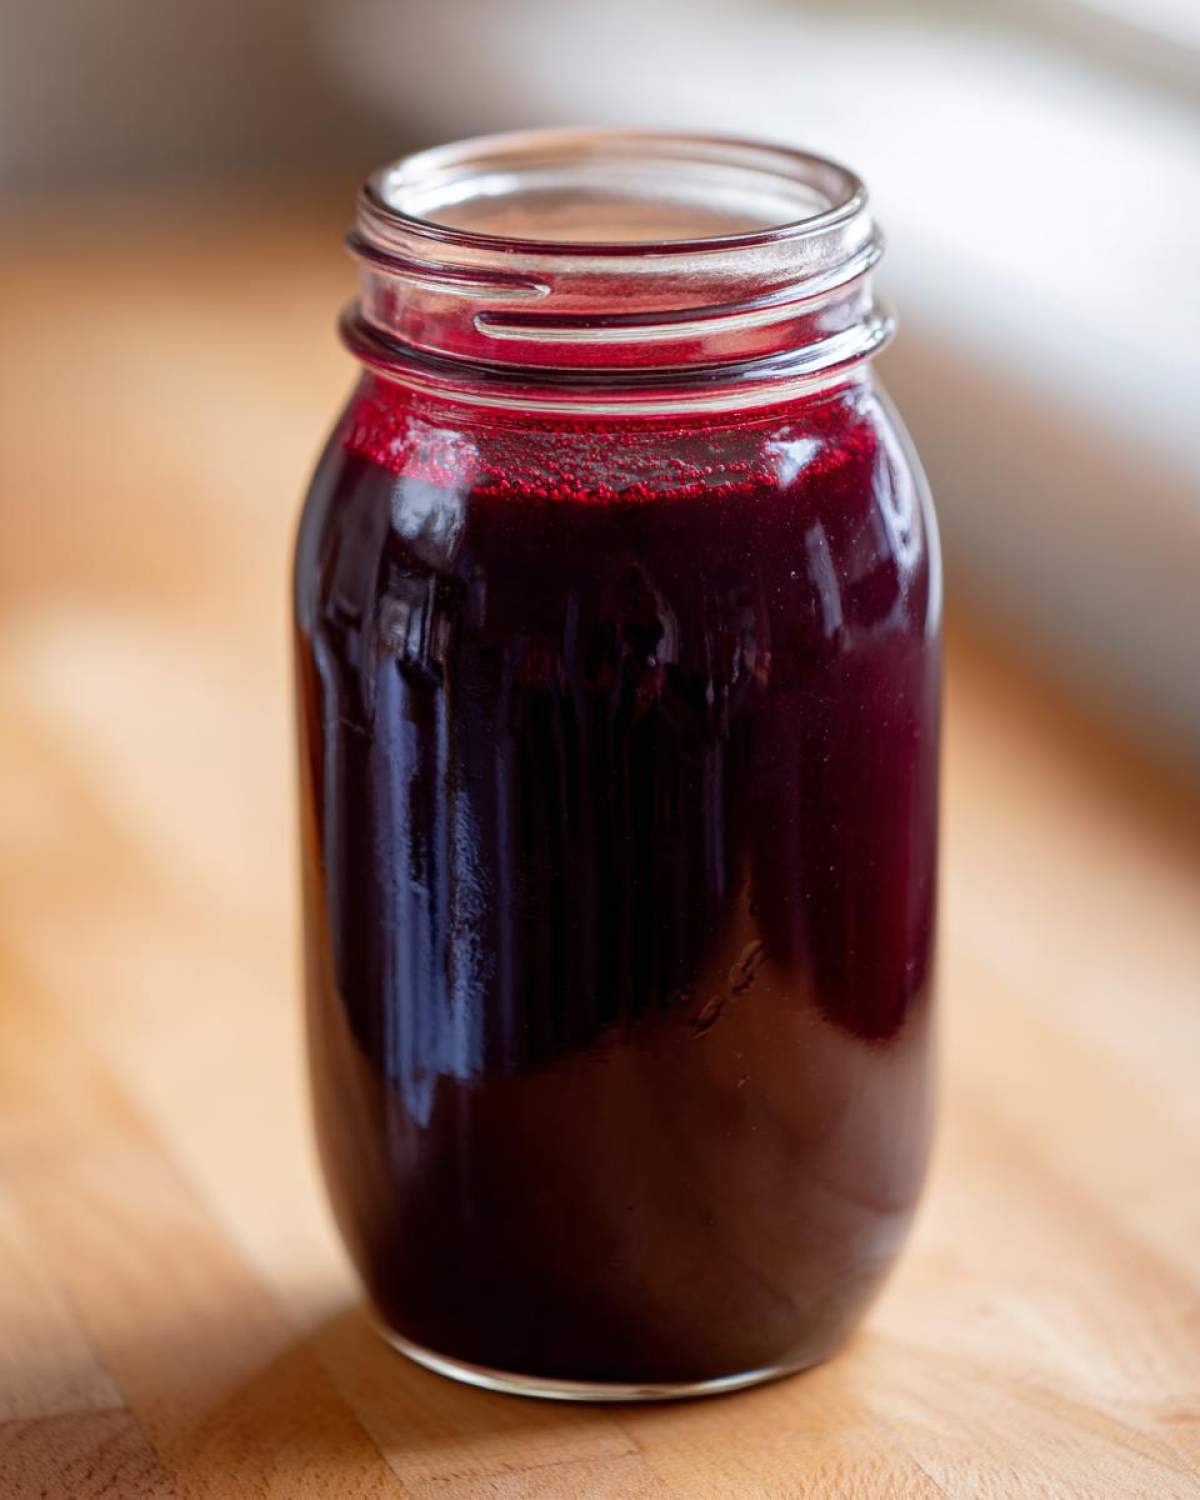
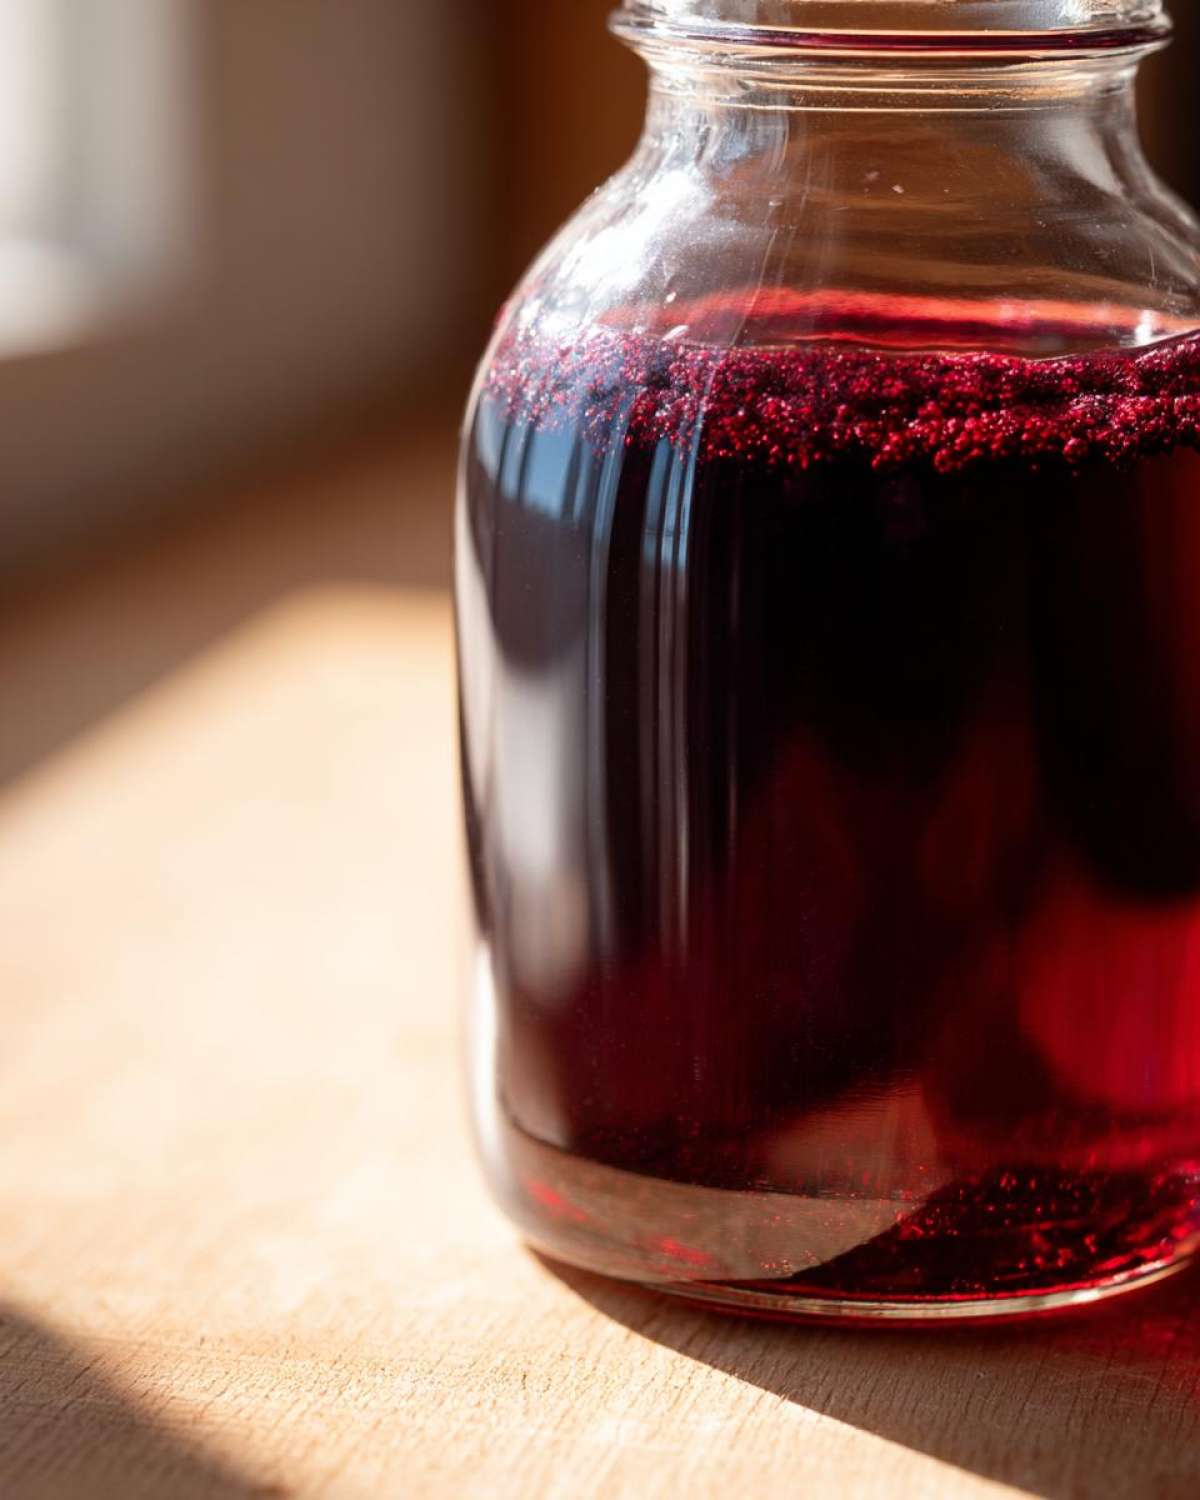
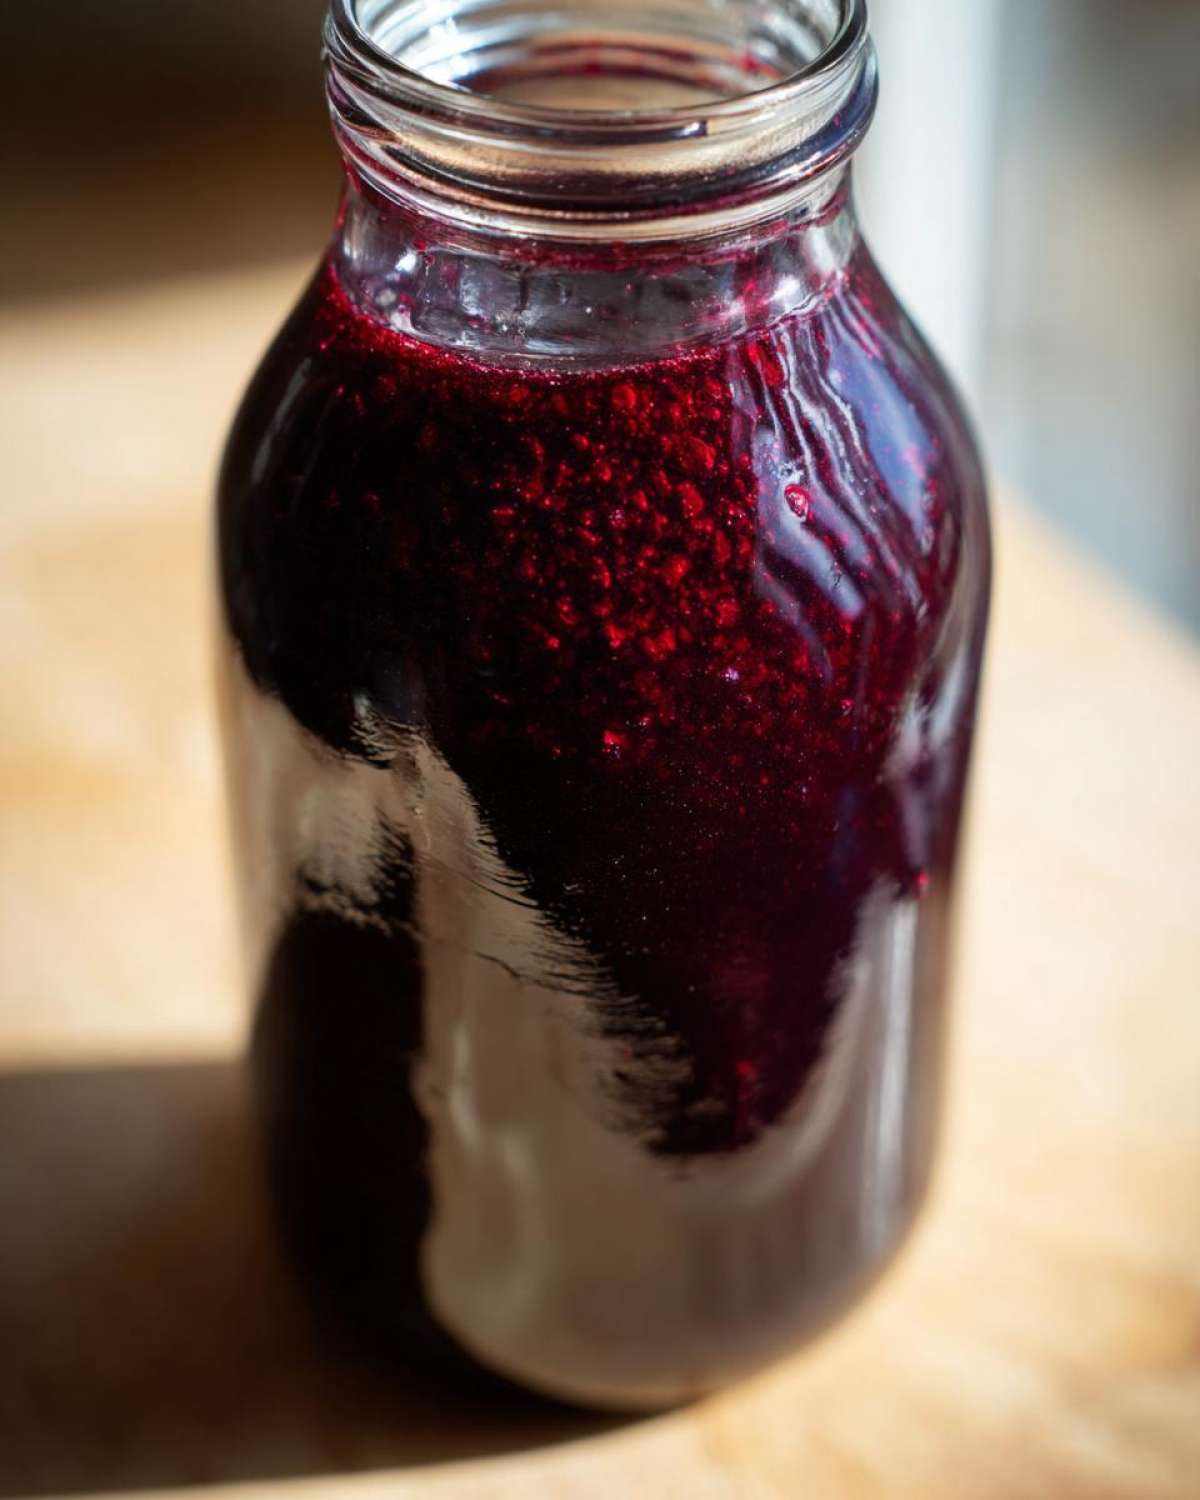
Step 3: Store Your Elderberry Syrup
Pour your gorgeous syrup into clean jars or amber glass bottles. It keeps perfectly in the fridge for 2 months – if it lasts that long! For longer storage, water-bath can it following safe canning practices. My freezer hack? Pour into ice cube trays for single-dose portions that thaw in seconds!
Tips for Perfect Elderberry Syrup Every Time
After making batch after batch of this elderberry syrup recipe (some more successful than others – I’ll admit I scorched my first attempt!), I’ve picked up some foolproof tricks:
- Raw honey is non-negotiable: Heat destroys its benefits, so always stir it in after cooling slightly. I give my jar a taste test – once it’s warm like bathwater instead of scalding, it’s honey time!
- Customize thickness: Too thin? Simmer another 10 minutes uncovered. Too thick? Just stir in 1-2 tbsp warm water.
- Make it kid-friendly: That splash of orange juice disguises the earthy berry taste beautifully. My kids call it their “purple juice”.
- Strain with cheesecloth: The fine mesh catches all those tiny seeds so your syrup stays perfectly smooth.
- Cinnamon swap: Fresh sticks give subtle flavor, but 1/2 tsp ground cinnamon works perfectly fine!
A little syrup wisdom? Always label your jars with the date – this stuff disappears faster than you’d think!
Elderberry Syrup Dosage and Usage
Here’s the scoop on how we use this magical syrup in our house – because let’s be real, even the best remedies don’t work if they sit untouched in the fridge! For everyday immune support, adults take 1 teaspoon daily. When cold symptoms sneak up, bump it up to 1 tablespoon 3-4 times a day. My trick? Measure doses into mini mason jars for tea stirring!
For kids over age two, I do half doses – think 1/2 teaspoon for maintenance, 1/2 tablespoon when sick. Under two? Always check with your pediatrician first. The orange juice version helps mine take it willingly – though some days they insist on licking it straight off the spoon like berry candy!
FAQs About Elderberry Syrup
After years of making this homemade immune syrup (and fielding questions from curious friends), I’ve answered just about every elderberry query imaginable. Here are the big ones that always come up – consider this your syrup cheat sheet!
Can I use fresh elderberries for this recipe?
Absolutely! Though dried elderberries are easier to find year-round, fresh ones make a gorgeous syrup too. Just double the amount – use 2 cups fresh berries instead of 1 cup dried. One word of caution though – never eat raw elderberries! Always cook them thoroughly first.
How long does homemade elderberry syrup last?
In the fridge, it keeps beautifully for 2 months. For pantry storage, water-bath canning gives you a shelf-stable syrup that lasts up to a year. My thrifty trick? Freeze small batches in ice cube trays for ready-to-go doses all winter long!
Can I make this syrup in my Instant Pot?
You sure can – it cuts the cooking time in half! Just toss everything except the honey in your pressure cooker, seal it up, and manually set for 12 minutes. Quick release, strain, then add honey once it’s cooled slightly. Instant elderberry magic!
Is this honey elderberry tonic safe for kids?
For children over two, yes! I halve the adult dose for my little ones. Always check with your pediatrician first for tiny tots. Pro tip: That splash of orange juice makes it go down much easier with picky palates!
Nutritional Information
A teaspoon of this elderberry syrup packs about 20 calories and 4 grams of natural sugar – all from that glorious raw honey! One little spoonful gives you antioxidants from the elderberries plus a touch of warmth from the ginger and cinnamon. Your exact nutritional values might dance around a bit based on your specific honey and whether you add that optional splash of orange juice. But when something tastes this good while supporting your immune system, who’s counting?
Share Your Elderberry Syrup Experience
Nothing makes me happier than hearing how this elderberry syrup recipe works for your family! Did you add a special twist? Maybe swapped the cinnamon for cardamom? Drop your sweet (or spicy!) variations in the comments below. And if you snap a pic of your gorgeous purple potion, I’d love to see it on Pinterest – tag me so I can admire your handiwork!
PrintHomemade Elderberry Syrup

A simple, honey-sweetened elderberry syrup for immune support, perfect for canning or refrigerating.
- Prep Time: 5 min
- Cook Time: 30 min
- Total Time: 35 min
- Yield: 3 cups 1x
- Category: Remedy
- Method: Simmering
- Cuisine: American
- Diet: Vegetarian
Ingredients
- 1 cup dried elderberries (or 2 cups fresh)
- 4 cups water
- 1 cup raw honey
- 1 cinnamon stick
- 1 tsp grated ginger
- 1 tsp vanilla extract (optional)
Instructions
- Combine elderberries, water, cinnamon, and ginger in a pot.
- Bring to a boil, then reduce heat and simmer for 30 minutes.
- Remove from heat and strain the mixture through a fine mesh sieve.
- Stir in honey and vanilla extract (if using) while still warm.
- Let cool, then transfer to sterilized jars or bottles.
Notes
- For a kid-friendly version, add a splash of orange juice.
- Store refrigerated for up to 2 months or water-bath can for longer shelf life.
- Dosage: 1 tsp daily for prevention, 1 tbsp during illness (adults).
Nutrition
- Serving Size: 1 tsp
- Calories: 20
- Sugar: 4
- Sodium: 1
- Fat: 0
- Saturated Fat: 0
- Unsaturated Fat: 0
- Trans Fat: 0
- Carbohydrates: 5
- Fiber: 0
- Protein: 0
- Cholesterol: 0