
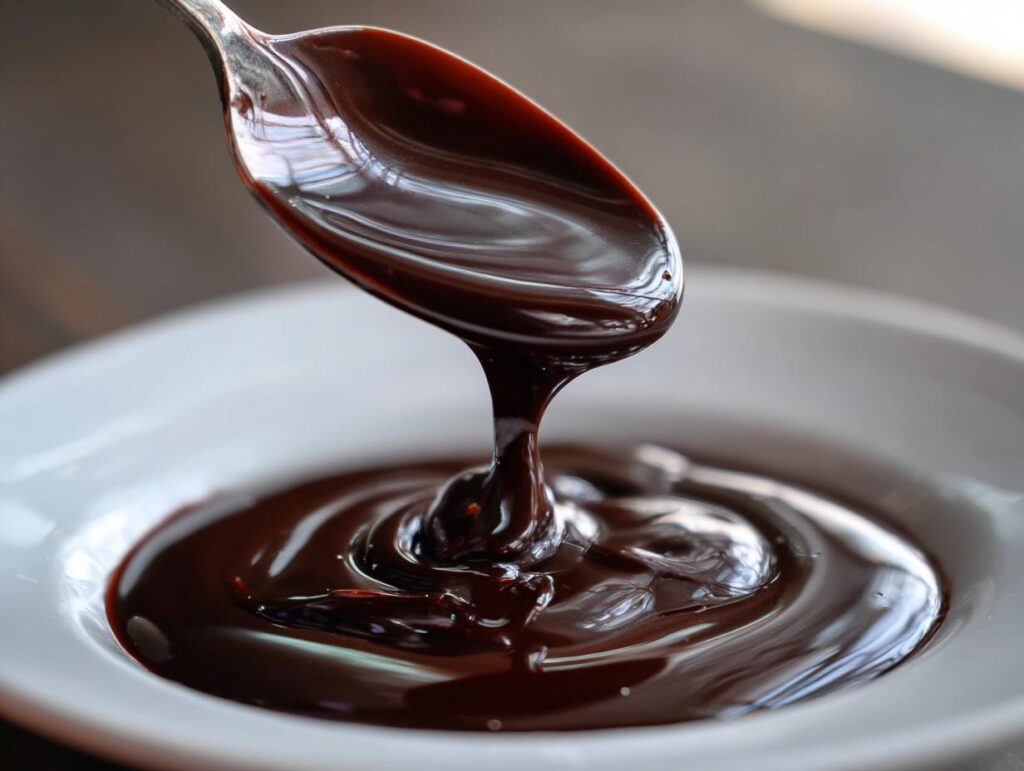
Okay, stop right there! How many times have you reached for that bottle of stuff on the shelf, only to be disappointed by the thin, overly sweet flavor? I’m kicking that habit forever, and you should too! I’ve spent way too long trying to stop my chocolate milk from tasting watery. After years of trying to replicate that perfect velvety coating, I finally perfected this easy chocolate syrup recipe. Trust me when I say this is the ultimate, rich, 5-minute homemade chocolate syrup that tastes way better than Hershey’s, and the best part? Absolutely no corn syrup in sight!
- Why This Homemade Chocolate Syrup Beats Store-Bought (Better Than Hershey's Syrup!)
- Gathering Ingredients for Your Easy Chocolate Syrup Recipe
- How to Prepare Your 5-Minute Homemade Chocolate Syrup
- Tips for Success with Your Cocoa Powder Chocolate Syrup
- How to Use Your Decadent Chocolate Drizzle
- Storage and Shelf Life for Homemade Chocolate Syrup
- Frequently Asked Questions About Making Chocolate Syrup
- Estimated Nutritional Information for Homemade Chocolate Syrup
- Share Your Decadent Chocolate Syrup Creations!
Why This Homemade Chocolate Syrup Beats Store-Bought (Better Than Hershey’s Syrup!)
Seriously, once you try this, you’ll throw out that old bottle. Why bother with syrups full of ingredients you can’t pronounce when you can make something gourmet in a flash? This homemade chocolate syrup is where it’s at!
- It creates a super rich, velvety texture—perfect for drizzling and mixing!
- It’s genuinely better than Hershey’s Syrup; the chocolate flavor pops way more.
- It’s incredibly fast: you just need 5 minutes of active work!
Rich Chocolate Topping in Under 10 Minutes
I love that this recipe is so snappy. We’re talking 5 minutes of prep work and then just 5 minutes on the stove. That’s it! Before you know it, you have a sensational quick dessert sauce ready to go. It’s perfect for those last-minute cravings!
No Corn Syrup Chocolate: Simple Pantry Ingredients
You have total control here, which I adore. We’re relying on pure, deep chocolate flavor from good quality cocoa powder, not sticky fillers. If you’re looking to avoid the artificial stuff, this cocoa powder chocolate syrup is your new hero!
Gathering Ingredients for Your Easy Chocolate Syrup Recipe
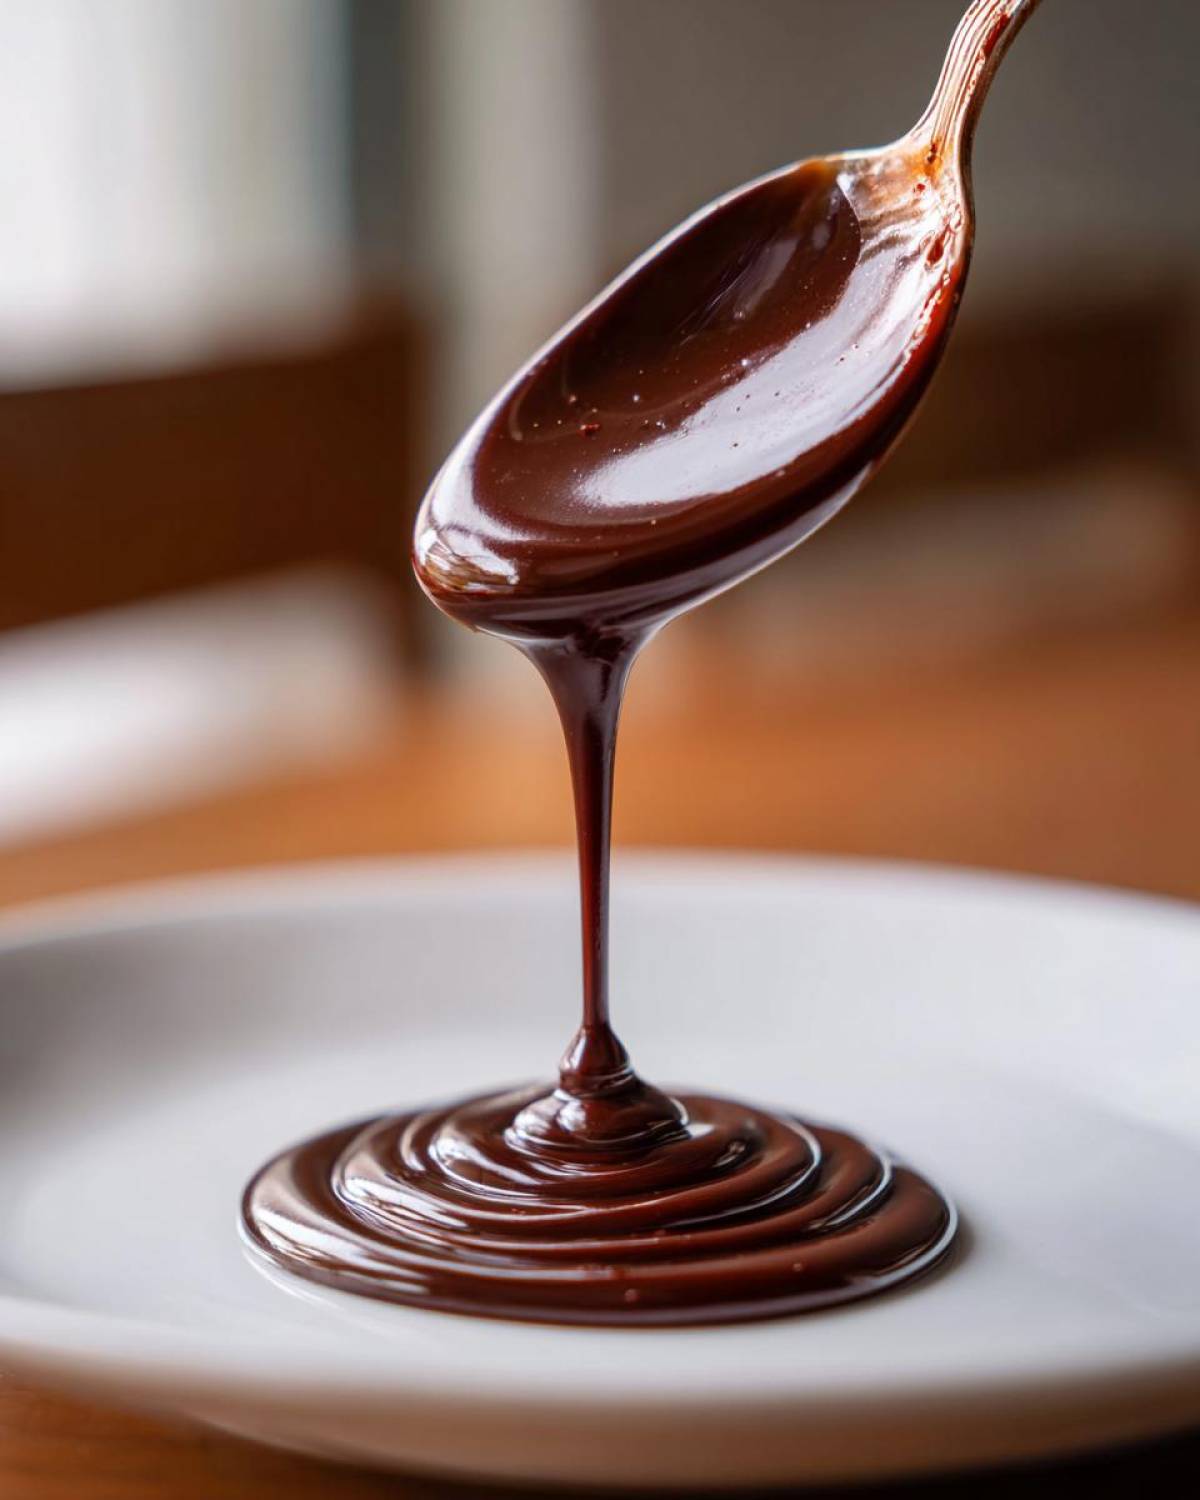
Okay, before we dive into the stovetop action, we need to get our little army of ingredients ready. The beauty of this recipe is how simple it is—it relies on pure pantry basics, which means you probably already have everything you need to make this incredible homemade chocolate syrup right now! You want to measure everything out precisely; that’s the secret to getting that perfect consistency we talked about.
Here is exactly what you need on hand for about 1.5 cups of syrup:
- 1 cup granulated sugar
- 1 cup unsweetened cocoa powder
- 1 cup water
- 1 teaspoon vanilla extract
- Pinch of salt
Ingredient Clarity for Rich Chocolate Drizzle
Listen, I have to stress this: the quality of your cocoa powder really matters here. Since this recipe is so short, there’s nowhere for weak flavors to hide! Use a good Dutch-processed or high-quality unsweetened cocoa powder for the deepest, most luxurious chocolate flavor. This isn’t the time for the dusty old tin from the back of the cupboard, okay?
And don’t skip that little pinch of salt! It’s my secret weapon in almost all sweet recipes. Salt doesn’t make the syrup salty; it just wakes up the chocolate flavor, making it taste intensely rich and balanced. It really helps elevate this from good to, well, *better than Hershey’s*!
How to Prepare Your 5-Minute Homemade Chocolate Syrup
Alright, let’s get this show on the road! This is the fun part, and honestly, it’s the easiest cooking project you’ll do all week. Because we’re making this rich, full-flavored chocolate syrup on the stovetop, you need to pay attention, especially during that short boiling window. Grab a small saucepan—nothing fancy needed—and let’s go!
Cooking the Chocolate Syrup Base
First things first, toss in your sugar, your cocoa powder, and all your water directly into that little saucepan. Turn the heat on to medium. Now, you *must* whisk constantly at this stage. We want to see that sugar completely disappear and the mixture turn beautifully smooth and glossy. If you see any little sandy spots of sugar stuck to the bottom, just keep swirling your whisk around there until everything is homogenous. It shouldn’t take long!
Achieving the Perfect Consistency for Chocolate Syrup
Once it’s perfectly smooth, we bring it up to a gentle boil. And here is the critical moment: let it simmer for just one single minute while you keep stirring. Seriously, only 60 seconds! If you cook it longer, I promise you’ll end up with a thick, almost fudge-like chocolate sauce when it cools down instead of that pourable syrup we want. After that minute is up, immediately yank that pan off the hot burner. Stir in your vanilla extract and that tiny pinch of salt really well.
Cooling and Storing Your DIY Chocolate Syrup
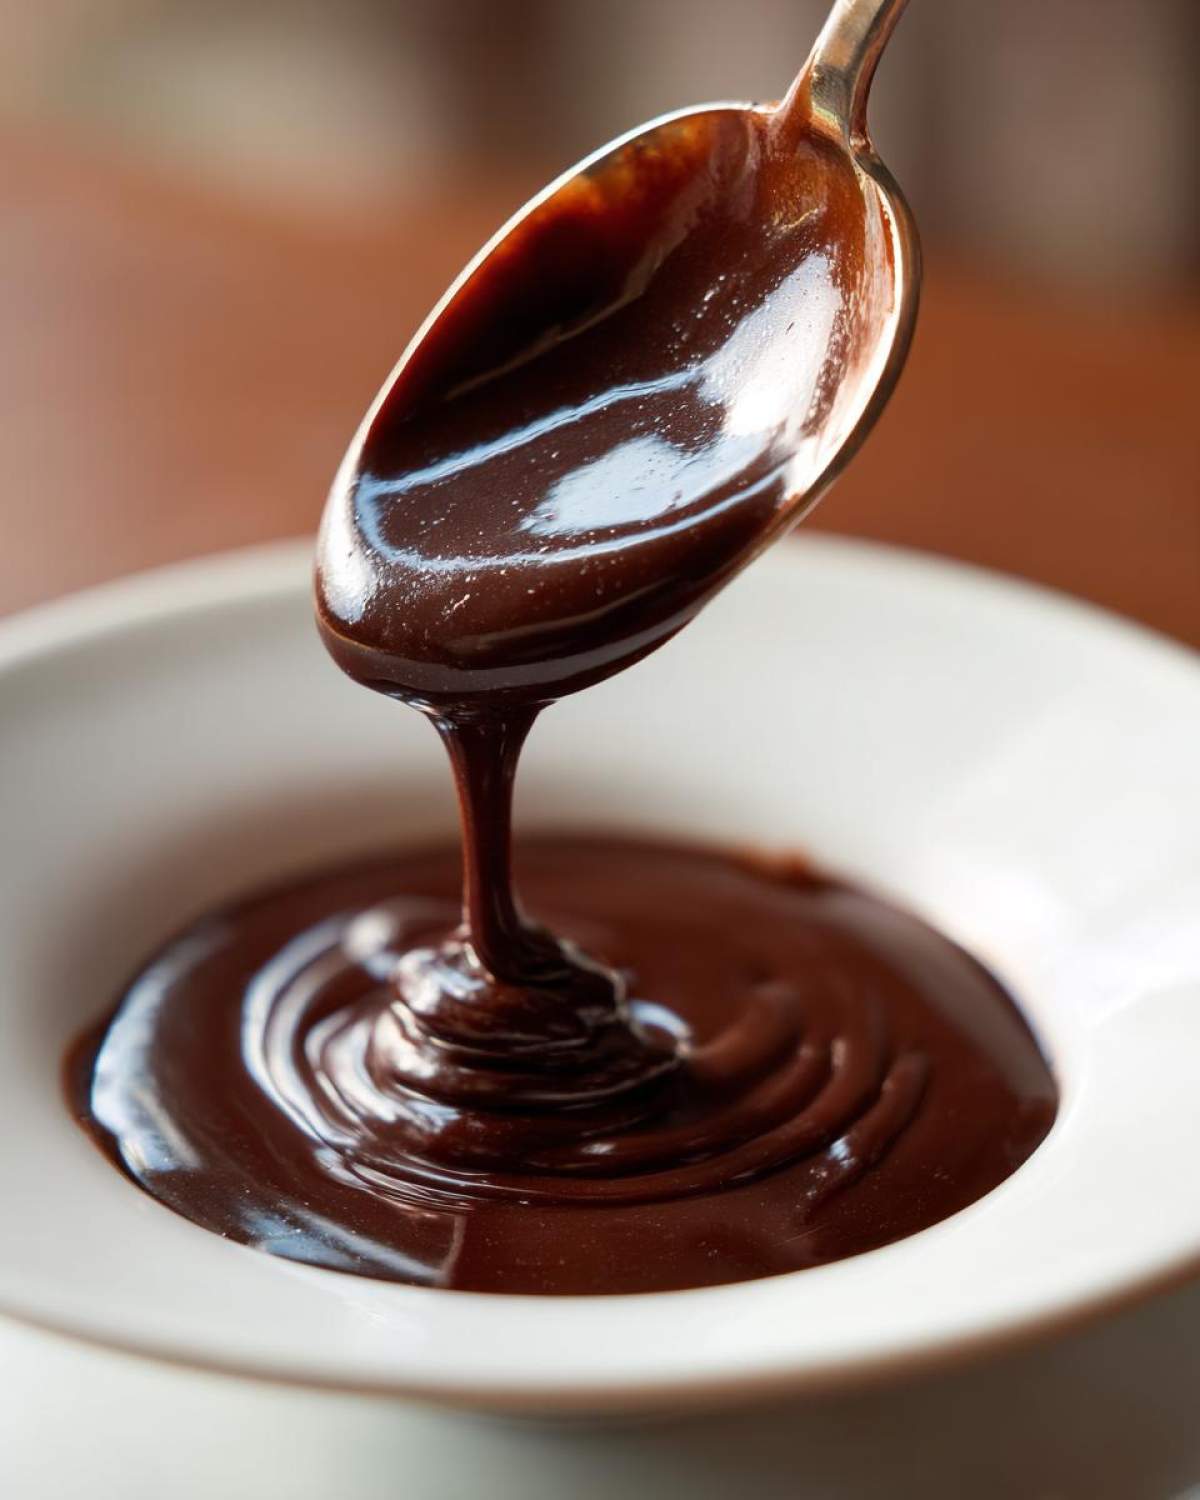
Now for patience—which is the hardest part, I know! Pour your gorgeous, liquid creation into a heat-safe jar. Let it sit out on the counter until it’s totally cooled down to room temperature. When it cools, it thickens up significantly, which is exactly what we want for a great DIY chocolate syrup. Once cool, cap it tight and stick it in the fridge. It’ll be ready to use in just a little while!
Tips for Success with Your Cocoa Powder Chocolate Syrup
I know we just made this spectacular, rich chocolate syrup, but the real expertise comes from knowing how to tweak it for *your* needs! Since this is all done from scratch, you get to be the boss of the consistency and sweetness. Don’t be intimidated; these little adjustments make a huge difference in how you use it later!
Adjusting Thickness for Chocolate Milk Recipe Ingredient
If you followed my instructions perfectly, your syrup should be wonderfully pourable when cool. But listen, sometimes water content varies, or maybe you just like your chocolate milk super thin, more like a standard store-bought version. If you find your finished chocolate syrup sets up a little too thick once it’s chilled (perfect for drizzling ice cream, maybe not great for milkshakes!), don’t panic. Just scoop a little bit back into a small saucepan, add maybe an extra teaspoon or two of water, give it a quick stir over low heat until it loosens up, and let it cool again. That’s the secret to making it the perfect chocolate milk recipe ingredient!
Making a Sugar Free Chocolate Syrup Recipe Variation
I get a lot of questions about swapping out the sugar, especially when people are trying to cut back—and you absolutely can! If you want to go the route of a sugar free chocolate syrup recipe, you’ll substitute the full cup of granulated sugar with your favorite granular sweetener. Erythritol or monk fruit blends work great, but here’s the kicker: sweeteners don’t usually dissolve or caramelize the same way sugar does.
You might need to simmer this slightly longer, maybe an extra minute or two, just to get the texture right. Always taste it while it’s warm! You might need a little more sweetener than the direct sugar measurement, so start low and add a bit more until it tastes perfect to you. It still comes out wonderfully rich!
How to Use Your Decadent Chocolate Drizzle
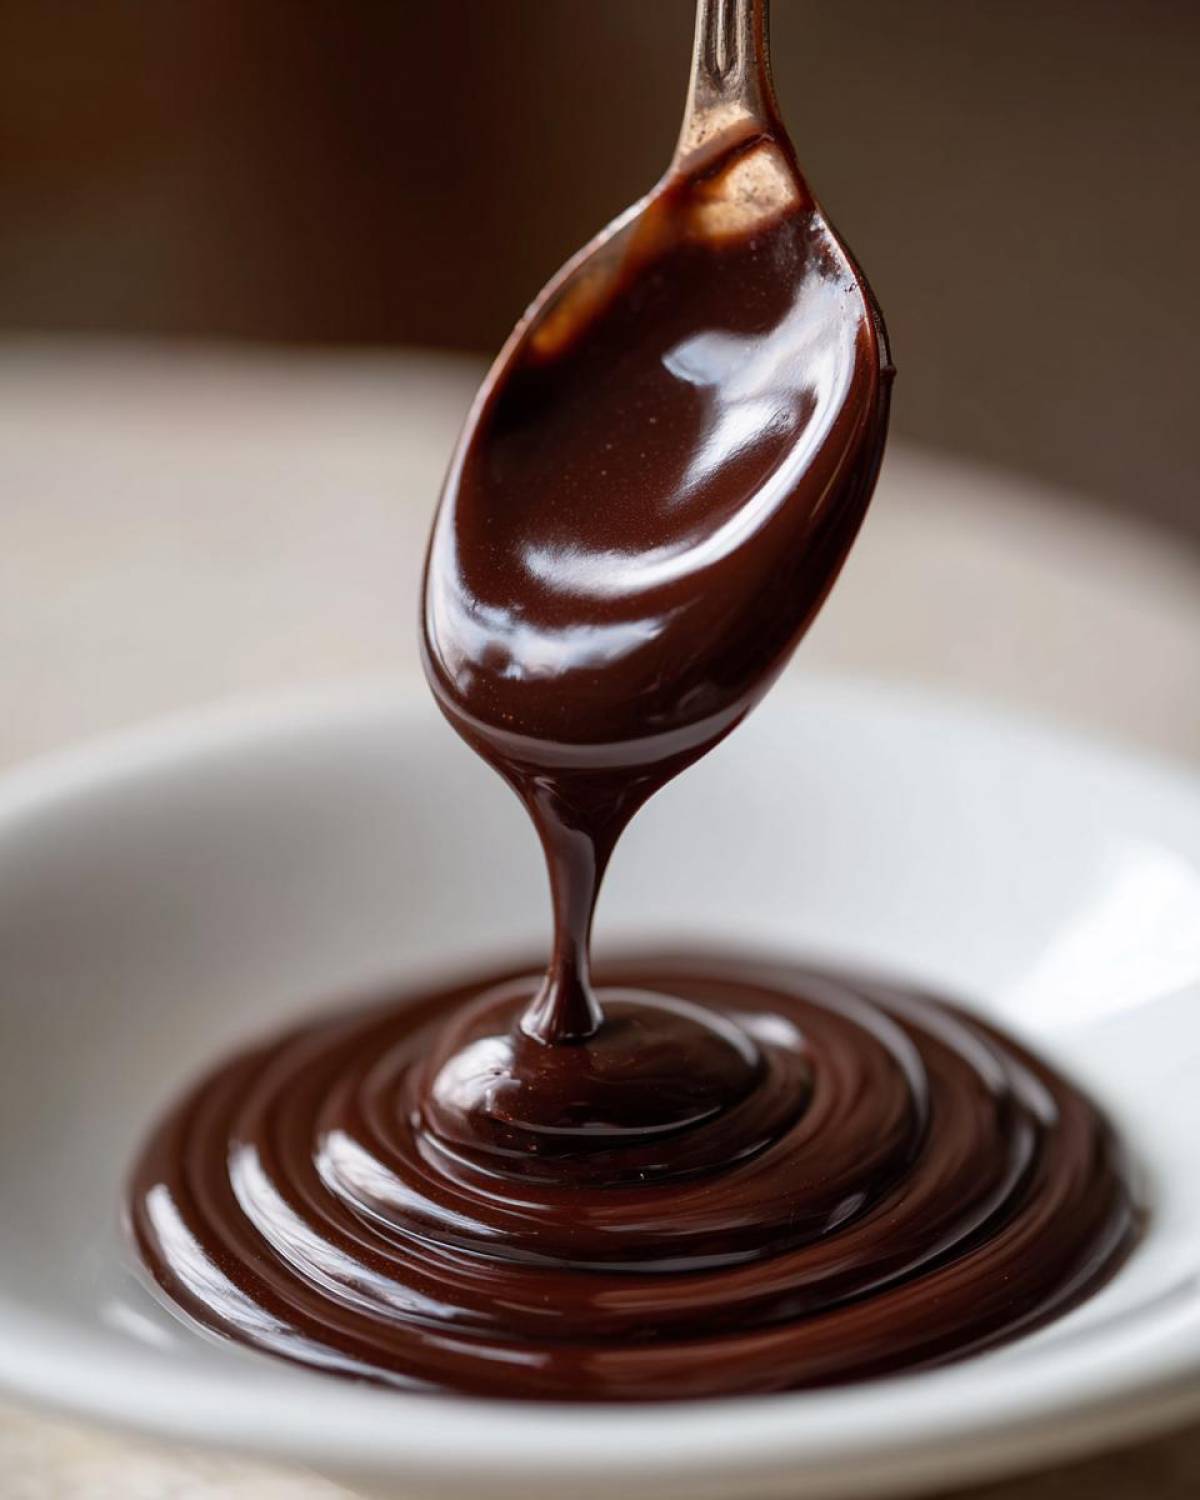
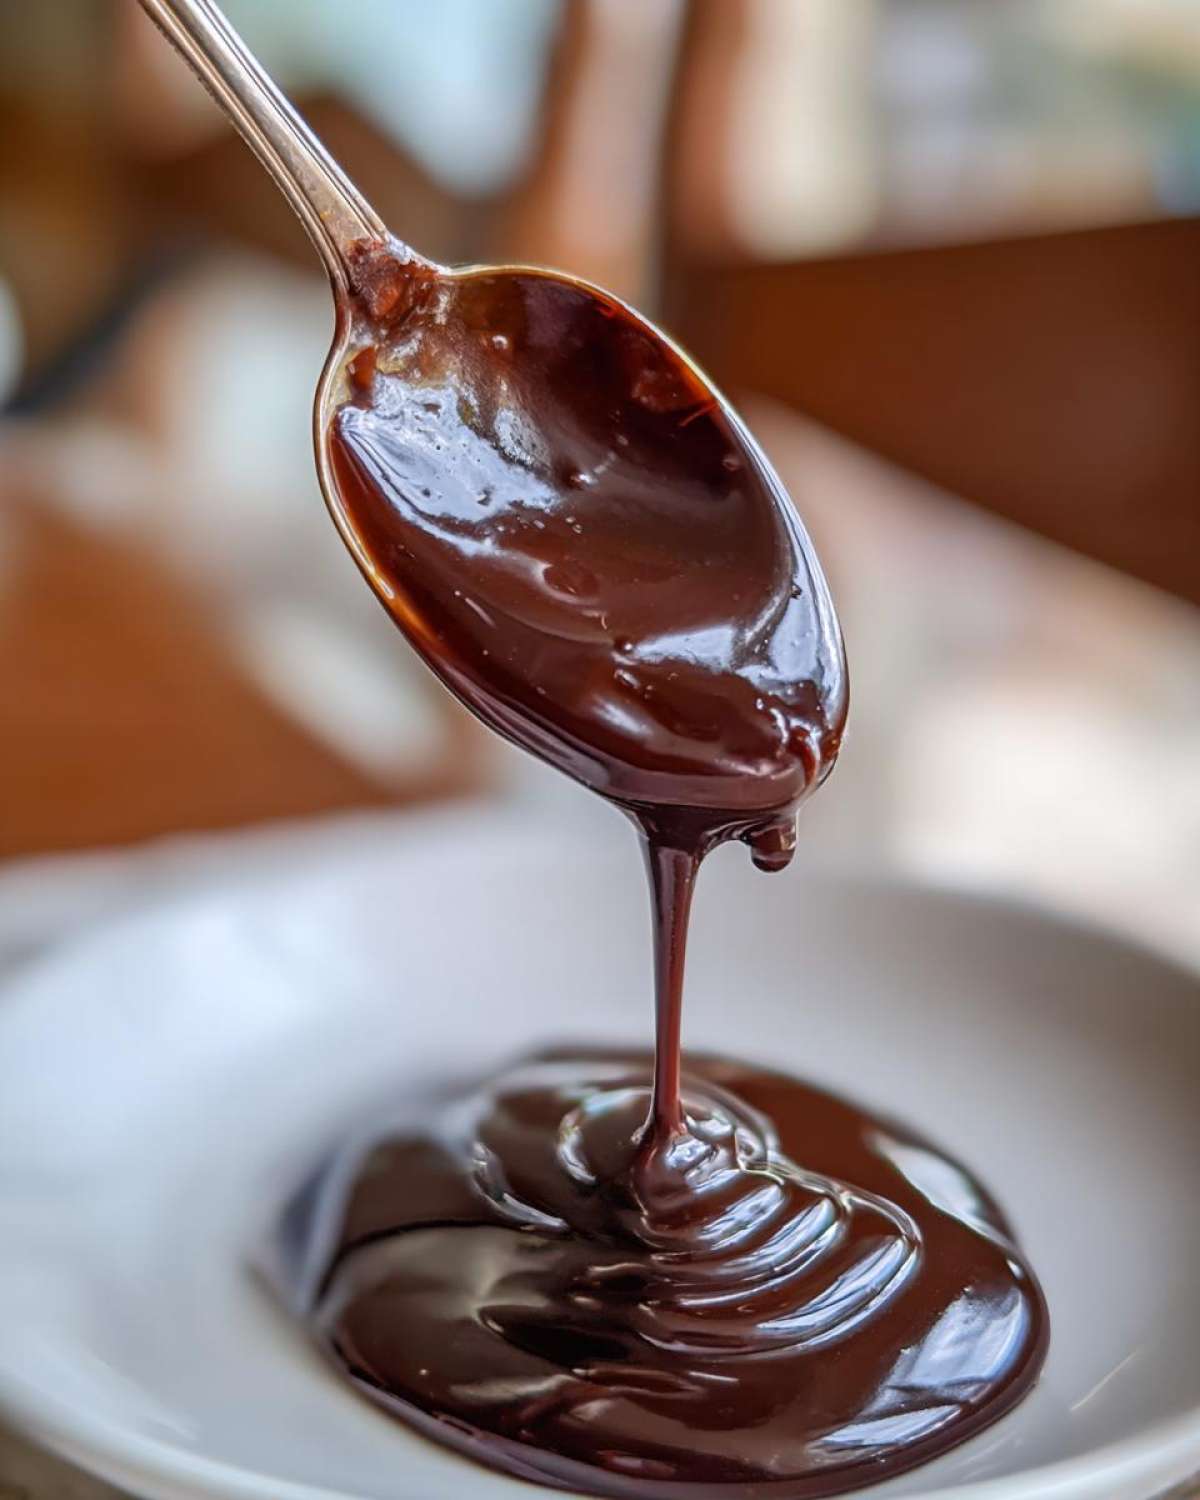
Okay, now that you have this amazing, rich homemade chocolate syrup, what are you waiting for? Pouring it on ice cream is the obvious first step, but this sauce is so versatile! I love having this on hand because it turns any simple snack into something special. This decadent chocolate drizzle is seriously addictive, so feel free to get creative with it across all your favorite treats.
The Best Ice Cream Topping Syrup Application
When this syrup cools in the fridge, it gets this beautiful, slightly thick texture, but the best part is that it stays perfectly soft! Unlike some store-bought syrups that get hard and cracky when cold, this one stays beautifully glossy and drippy over your ice cream. It’s the perfect ice cream topping syrup because it blends right in without freezing solid.
Flavoring Coffee Drinks with Homemade Chocolate Syrup
If you’re a massive coffee drinker like me, this changes everything. Forget those fancy coffee shop flavorings! I toss a generous spoonful right into my hot espresso before adding steamed milk, and bam—instant mocha. It dissolves beautifully when it meets heat, giving you this premium, deep chocolate flavor in your latte that just screams homemade quality.
Storage and Shelf Life for Homemade Chocolate Syrup
Now that you’ve made this powerhouse of deliciousness, you need to know how to keep it happy! Since we skipped those preservatives found in the commercial stuff, storage is super simple but important. We want this luscious, rich chocolate topping to last long enough for you to use it on everything, right?
The rule here is non-negotiable: it has to be stored in an airtight container. I love using those cute little jars with the clamp lids, but even a simple mason jar works perfectly fine. Pop that capped jar straight into the refrigerator immediately after it has cooled down completely to room temperature. Don’t leave it sitting on the counter overnight, okay?
The good news? This homemade chocolate syrup is surprisingly robust! You can expect it to last beautifully for up to two full weeks in the fridge. That’s two whole weeks of perfect chocolate milk, amazing coffee additions, and drizzling! If you notice any odd smells or change in texture way past that two-week mark, it’s probably time to whip up a fresh, quick batch!
Frequently Asked Questions About Making Chocolate Syrup
It’s funny how making something as simple as homemade chocolate syrup can spark so many questions! Since this recipe focuses on that perfect, drizzle-able texture, I wanted to cover the common things people ask when they move away from the commercial stuff. We want you to have the best homemade syrup experience possible!
Can I use Dutch-process cocoa powder in this chocolate syrup recipe?
Oh, that’s a fantastic question for anyone serious about chocolate flavor! Yes, you absolutely can use Dutch-process cocoa powder. In fact, many people prefer it! Regular cocoa powder is a bit more acidic, which gives it a slightly brighter, sometimes chalkier chocolate note. Dutch-process, however, has been treated to be less acidic, which results in a much deeper, darker, and smoother chocolate color and flavor. For the *richest chocolate topping* possible, Dutch-process is a winner here, though standard unsweetened works great too!
How do I make this a chocolate sauce recipe instead of a syrup?
That’s where we talk texture! The difference between a syrup and a sauce usually comes down to thickness and richness—sauces often have more fat or are cooked down longer. Because this is specifically a quick chocolate simple syrup, it won’t become super thick. If you want a thicker chocolate sauce recipe, skip the vanilla and salt, bring the mixture to a boil after dissolving the sugar/cocoa, and let it simmer for a solid 2-3 minutes instead of just one. When it cools, it will set up much firmer, closer to what you might use for fudge, so test it carefully!
Is this the best homemade syrup if I want to use it in baking?
This depends on what you’re baking! Because this is a liquid-heavy syrup—one part sugar, one part cocoa, one part water—it’s best used where you are adding moisture already, like thinning out a frosting or swirling into muffins before baking to create ribbons. If a cake or brownie recipe calls for cocoa powder, I always recommend using the dry cocoa powder measurement specified in that recipe instead of substituting this liquid syrup. Substituting liquid for dry ingredients in baking can completely throw off the texture. For direct flavor addition as a topping or mix-in, though? It’s the best homemade syrup around!
Estimated Nutritional Information for Homemade Chocolate Syrup
Now, everyone wants to know what exactly is going into that glorious jar sitting in the fridge! Since this recipe is so simple and relies on straight-up sugar and cocoa, we know what we are dealing with, but I always want to be super upfront about the numbers. Remember, I am a home cook, not a food scientist, haha! So, consider these values an excellent guideline—a wonderful look at what you’re getting when you make this homemade chocolate syrup.
These numbers are calculated based on the full yield of the recipe (about 1.5 cups) divided into standard 2-tablespoon servings:
- Serving Size: 2 Tablespoons
- Calories: 95
- Sugar: 23g (Yes, sugar is the main player here, but it’s *good* sugar!)
- Fat: 0.5g
- Protein: 1g
- Cholesterol: 0mg
See? Almost no fat at all! That’s because we skipped the butter or cream that you see in so many commercial chocolate sauce recipes. This recipe stays true to that classic, simple preparation. Also, note the low sodium—just a tiny bit from that pinch of salt we added to boost the chocolate flavor! Keep in mind, your actual counts might vary slightly depending on the exact brand of granulated sugar or cocoa powder you use. But knowing the honest breakdown makes enjoying that rich chocolate topping guilt-free!
Share Your Decadent Chocolate Syrup Creations!
Well, that’s it—the secret to making truly superior homemade chocolate syrup is officially out! You have conquered the stove, avoided the corn syrup trap, and now you are sitting on a jar of pure, velvety liquid gold. How are you going to use yours first? Are you mixing up a massive mug of iced chocolate milk? Maybe you’re drizzling this fantastic rich chocolate topping over vanilla bean ice cream?
I’m Sophia, and I pour my heart into every recipe here on Kitchen User, and honestly, knowing you’ve made it work in *your* kitchen means the world to me. So please, when you try this out, come back and leave me a rating! A simple five stars tells me you love this recipe just as much as I do, and it really helps other home cooks find the best treats.
Also, if you share any pictures on social media—maybe a stack of pancakes drowning in this luscious drizzle or a perfect mocha—I would absolutely love to see them! Tagging is great, but honestly, just seeing the amazing things you create with these simple recipes is the best reward. Happy drizzling, everyone!
PrintThe Ultimate 5-Minute Homemade Chocolate Syrup: Richer Than Hershey’s (No Corn Syrup!)
Forget the store-bought stuff! You can make this rich, velvety smooth homemade chocolate syrup in just five minutes using simple pantry staples. This recipe delivers a decadent chocolate drizzle that tastes better than commercial brands and contains no corn syrup.
- Prep Time: 5 min
- Cook Time: 5 min
- Total Time: 10 min
- Yield: About 1.5 cups 1x
- Category: Condiment
- Method: Stovetop
- Cuisine: American
- Diet: Vegetarian
Ingredients
- 1 cup granulated sugar
- 1 cup unsweetened cocoa powder
- 1 cup water
- 1 teaspoon vanilla extract
- Pinch of salt
Instructions
- Combine the sugar, cocoa powder, and water in a small saucepan.
- Place the saucepan over medium heat. Whisk the mixture constantly until the sugar dissolves and the mixture is smooth.
- Bring the mixture to a gentle boil, stirring occasionally. Let it simmer for exactly one minute. Do not overcook, or it will become too thick when cooled.
- Remove the saucepan from the heat. Stir in the vanilla extract and salt until fully combined.
- Pour the syrup into a heat-safe jar or container. Let it cool completely to room temperature. The syrup will thicken as it cools.
- Store your finished chocolate syrup in an airtight container in the refrigerator for up to two weeks.
Notes
- For a thinner consistency, use slightly more water next time you make this quick dessert sauce.
- This recipe is perfect for making chocolate milk or as an ice cream topping syrup.
- If you want a sugar-free chocolate syrup, substitute the sugar with your preferred granular sweetener, adjusting to taste.
- This recipe is naturally vegan and gluten free.
Nutrition
- Serving Size: 2 Tablespoons
- Calories: 95
- Sugar: 23g
- Sodium: 5mg
- Fat: 0.5g
- Saturated Fat: 0.3g
- Unsaturated Fat: 0.2g
- Trans Fat: 0g
- Carbohydrates: 24g
- Fiber: 1g
- Protein: 1g
- Cholesterol: 0mg