
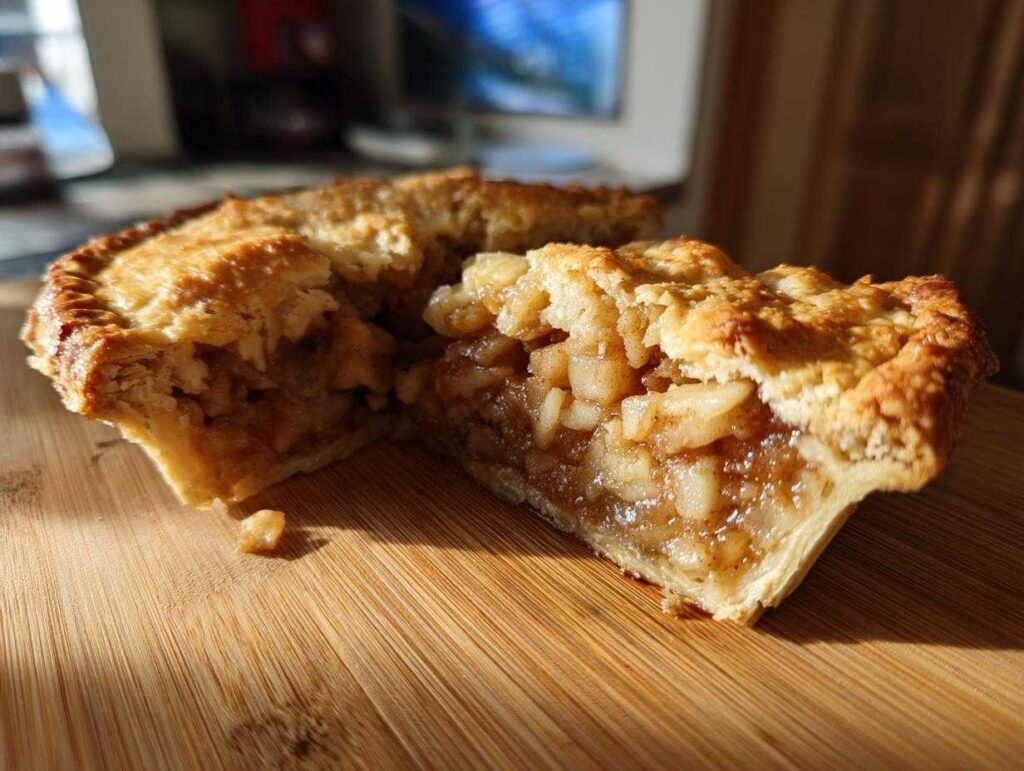
Happy Apple Pie Day, everyone! Oh, you know how serious I get when it comes to celebrating. For me, nothing screams ‘American tradition’ louder than that perfect, golden-brown lattice top. I’ve spent years chasing the ghost of my grandmother’s baking, and I truly believe I’ve finally nailed the absolute Gold Standard recipe for a **Classic apple pie**.
The goal here isn’t just ‘a pie,’ it’s *the* pie: one with a butter-rich, impossibly flaky crust that shatters just right, and a filling that’s thick, spiced perfectly with cinnamon, and absolutely zero soupy mess at the bottom. I’m sharing all the secrets I learned watching Grandma work her magic. Trust me, once you make this, you’ll never look back. It’s the best apple pie recipe, hands down!
- Why This Classic Apple Pie Recipe Delivers Nostalgic Perfection
- Ingredients for the Best Apple Pie Recipe: Crust and Filling
- Mastering the Homemade Pie Crust for Your Classic Apple Pie
- Preparing the Thick Cinnamon Apple Filling for Classic Apple Pie
- Step-by-Step Instructions to Assemble Your Classic Apple Pie
- Tips for Success with Your Traditional American Dessert
- Serving Suggestions for the Classic Apple Pie
- Frequently Asked Questions About Making a Classic Apple Pie
- Storage and Reheating Instructions for Your Classic Apple Pie
Why This Classic Apple Pie Recipe Delivers Nostalgic Perfection
I know your struggles! We’ve all been there—lifting that beautiful top crust only to find a watery pool underneath, or biting into something that tastes more like pie crust than crisp fruit. That sad ending won’t happen here, I promise!
This recipe attacks those pain points head-on:
- The secret to that incredible, flaky crust comes from treating the butter like it’s ice cold—it makes all the difference.
- We use a specific apple blend so you get texture, not mush!
- That gorgeous, thick cinnamon apple filling is guaranteed thanks to a super simple thickening trick I reveal later.
Ingredients for the Best Apple Pie Recipe: Crust and Filling
Okay, now that we’ve talked goals, let’s talk ingredients! Getting that perfect **homemade pie crust** and the right filling texture starts right here. I always organize my components before I even touch the flour. This way, nothing gets rushed, and we keep everything cold for that flakiness!
I’ve split this list so you can prep the dough first, chill it, and then work on the filling. Remember, this is where we build that thick texture!
For the Homemade Pie Crust
- 2 1/2 cups all-purpose flour
- 1 teaspoon salt
- 1 cup (2 sticks) **cold unsalted butter**, cut into cubes
- 1/2 cup **ice water**, plus more if needed
For the Cinnamon Apple Filling
- 6 medium apples (a blend of Granny Smith and Honeycrisp recommended) – make sure they are peeled, cored, and sliced about 1/4 inch thick!
- 3/4 cup granulated sugar
- 1/4 cup packed light brown sugar
- 1 teaspoon ground cinnamon
- 1/4 teaspoon ground nutmeg
- 1/8 teaspoon ground allspice
- **2 tablespoons all-purpose flour** (this is our thickening agent, don’t skip it!)
- 1 tablespoon lemon juice
- 1 large egg, beaten (for that gorgeous egg wash finish—we’ll use this later!)
When you’re ready to see how these come together into a beautiful flaky crust, head over to the next section. It’s all about the technique!
Mastering the Homemade Pie Crust for Your Classic Apple Pie
Alright, this crust. This is where people panic, but you won’t, because we’re treating this butter like it’s made of gold! For that truly flaky result we love, every single thing—your flour, your butter, and especially your water—needs to be icy cold. I usually put my cubed butter back in the freezer for ten minutes right before I start mixing. It seems fussy, but trust me, it pays off huge! You want to cut that cold butter into the flour mixture until it looks like coarse sand with some little pea-sized chunks still floating around. Those chunks are your key to layers!
When you add the ice water, do it slowly—just enough until that dough starts hugging itself together. Don’t overmix! Once it forms, divide it into two equal parts, wrap them tight, and put them in the fridge now. I always tell myself the dough needs a good hour to calm down before I try to roll it out for the actual pie assembly. It makes rolling so much easier than wrestling with warm dough.
Keeping Butter Cold for Maximum Flakiness
Why cold butter? Simple physics! When those cold butter shards hit the hot oven air, they instantly turn to steam. That steam forces the dough layers apart, creating those beautiful, airy pockets that make the crust shatter instead of crumble. That’s the secret to a truly show-stopping homemade pie crust!
Preparing the Thick Cinnamon Apple Filling for Classic Apple Pie
Now we get to the heart of the matter: the fruit! This is where we defeat the dreaded runny filling forever. If you ask me, the best flavor and texture combination absolutely requires a 50/50 blend. You need the tartness and structure of Granny Smith apples, but you also need the sweetness and aroma of a modern apple like Honeycrisp. Mixing them ensures you get those great slices that hold their shape instead of turning into baby food!
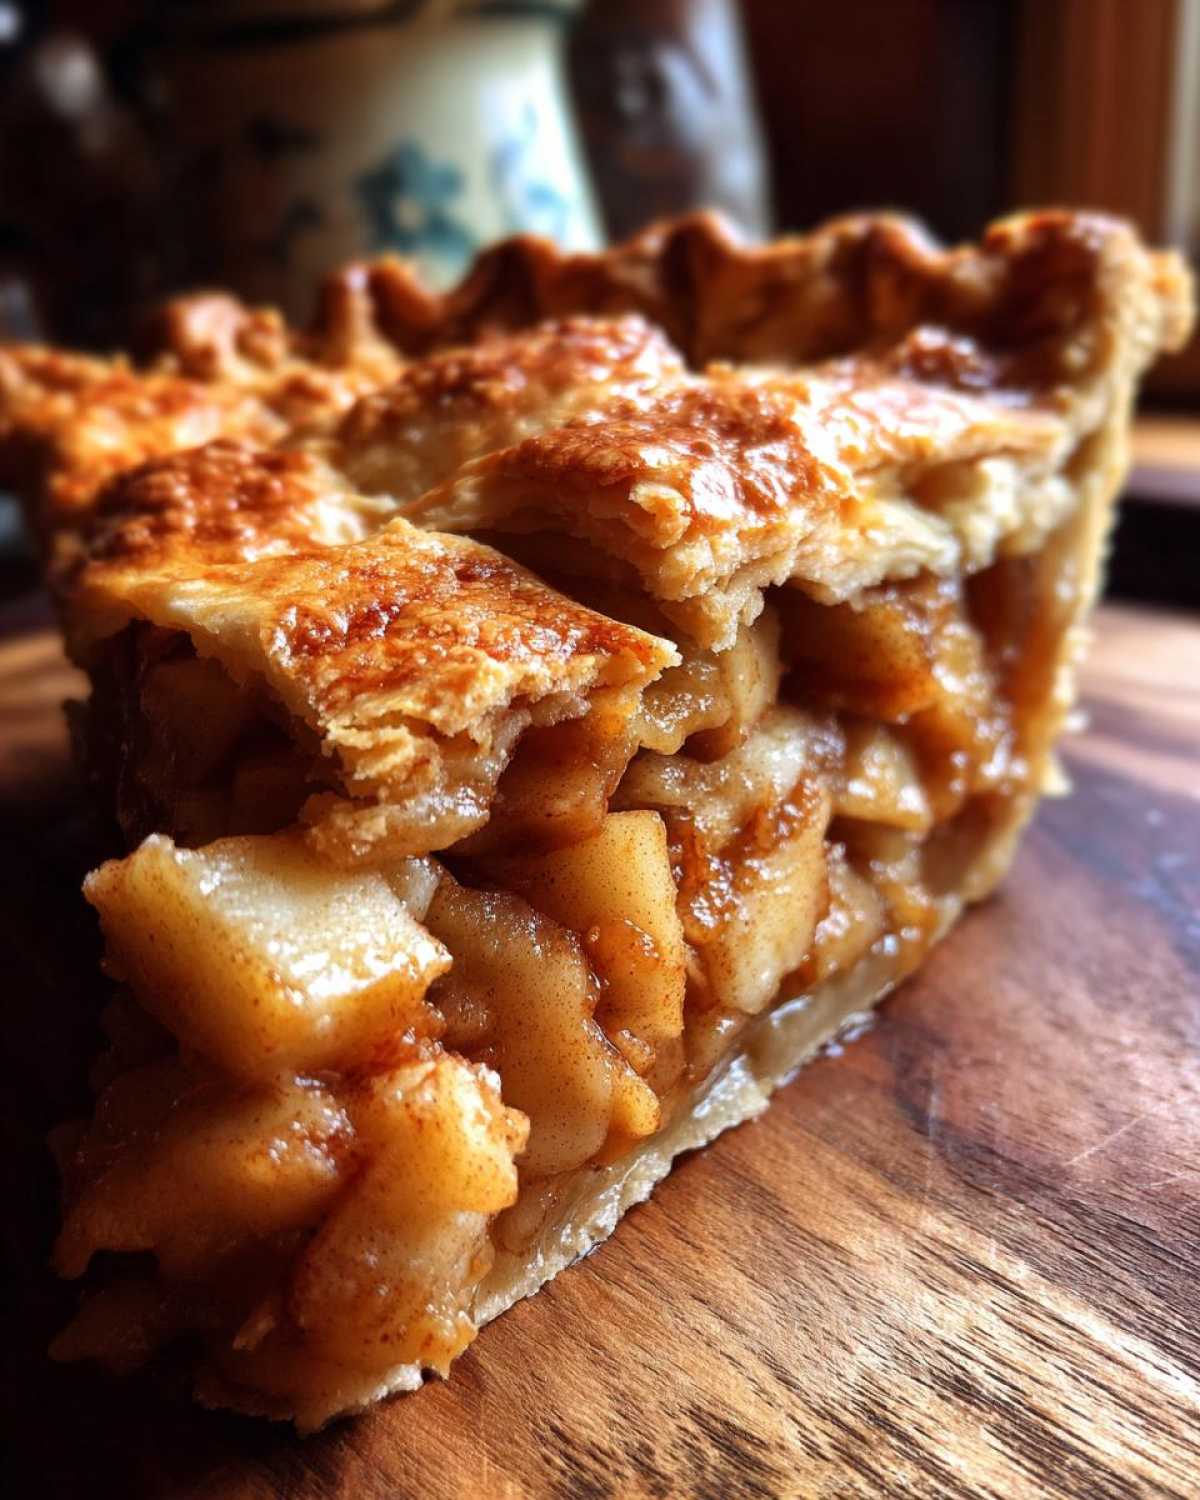
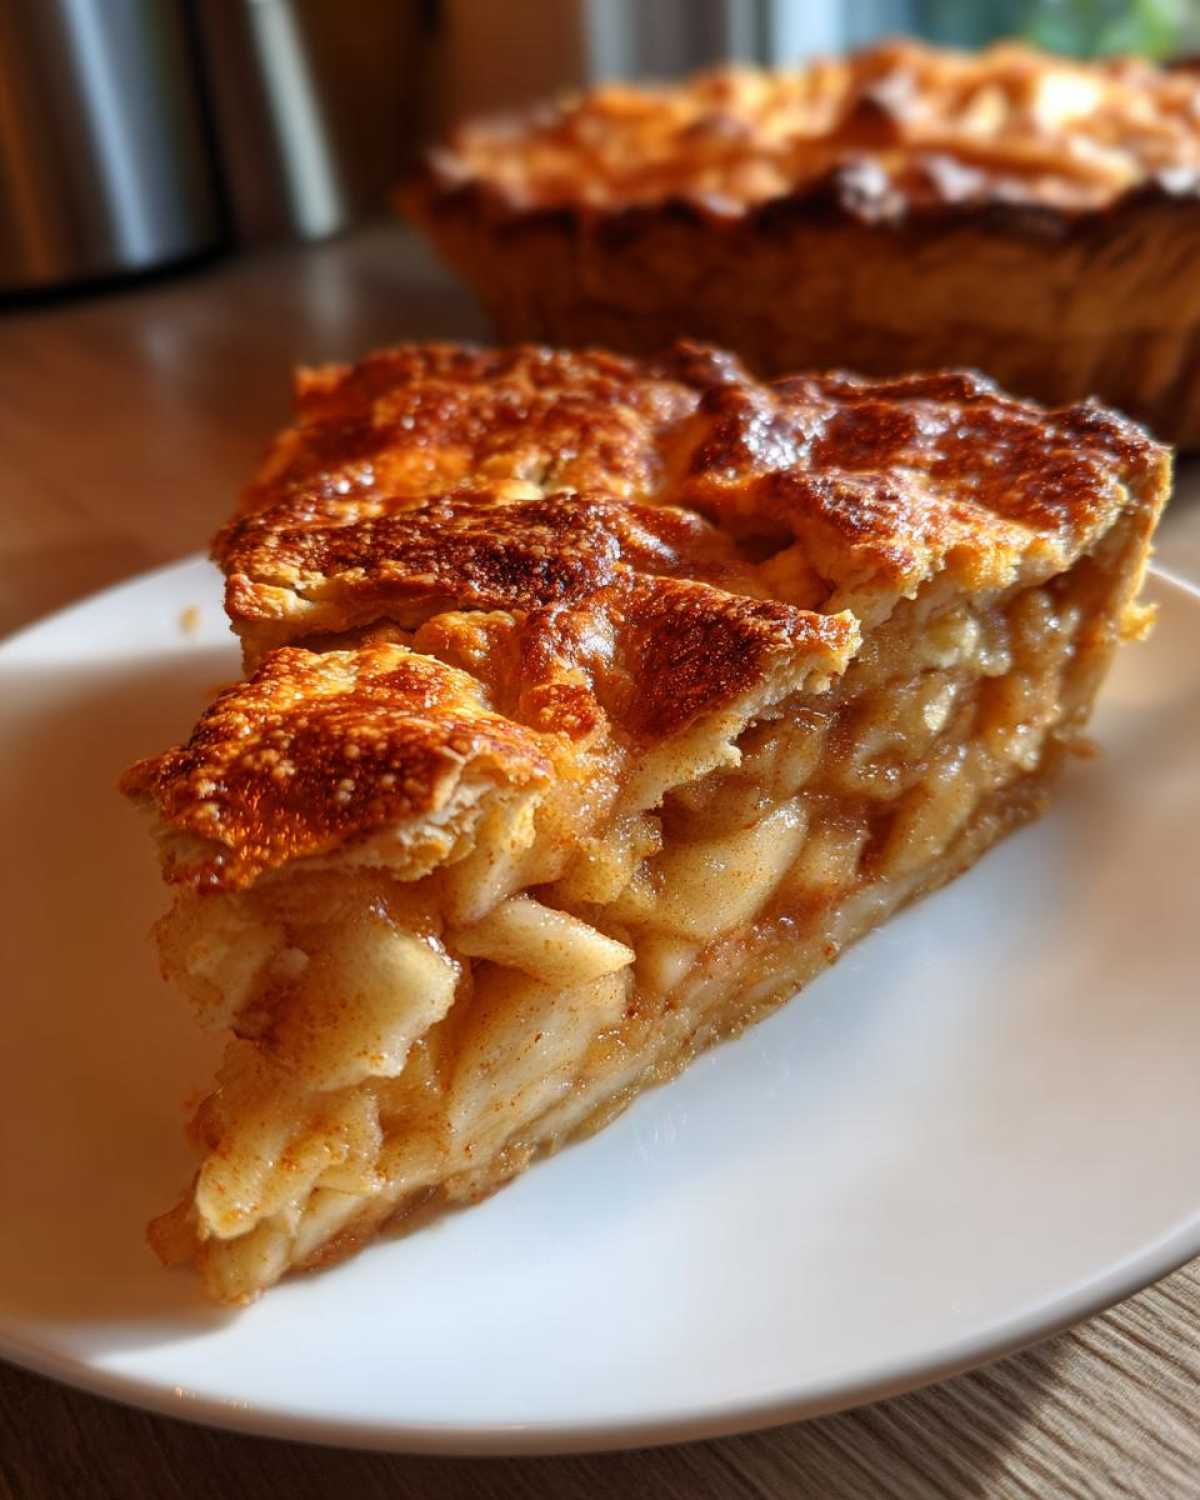
Peel, core, and slice all those beauties about 1/4 inch thick—no chunks, no mush! Toss them with both sugars, your spices—cinnamon, nutmeg, allspice—and that crucial tablespoon of lemon juice for brightness. Here’s the main secret for a thick cinnamon apple filling: we add two full tablespoons of flour right into the mix. When you toss everything well, that flour dust coats the fruit and absorbs the liquid released during baking. This creates a luscious, thick sauce instead of a runny soup in your perfect **Classic apple pie**!
Step-by-Step Instructions to Assemble Your Classic Apple Pie
Okay, take that chilled dough out—it should be much happier now! Preheat your oven to 425°F. Grab your lightly floured surface and roll out the first disk into a circle big enough to drape over your 9-inch pie plate, with about an inch hanging over the edge. Carefully lay it in. Now, pile those gorgeous, seasoned apple slices in; I always make a little mountain in the center because they bake down. You can find a great visual guide for lattice work if you’re feeling fancy, but for this standard beauty, we’ll focus on sealing for now.
Time for the top crust! Roll out the second disk and lay it gently over the apples. Take your time trimming the edges so they match up neatly. Now, seal them tight by crimping—use your fingers or a fork, whatever feels right for you! But here’s the kicker for a successful bake: you have to cut those vents. Use a sharp knife and slice 4 to 6 slits right in the middle. This lets the steam escape. If you skip this step on your **Classic apple pie**, you’re risking a crust explosion or a soggy top! When you’re ready to see how the whole thing comes together, check out the instructions for the easy apple pie recipe for reference, but stick to the baking times given here!
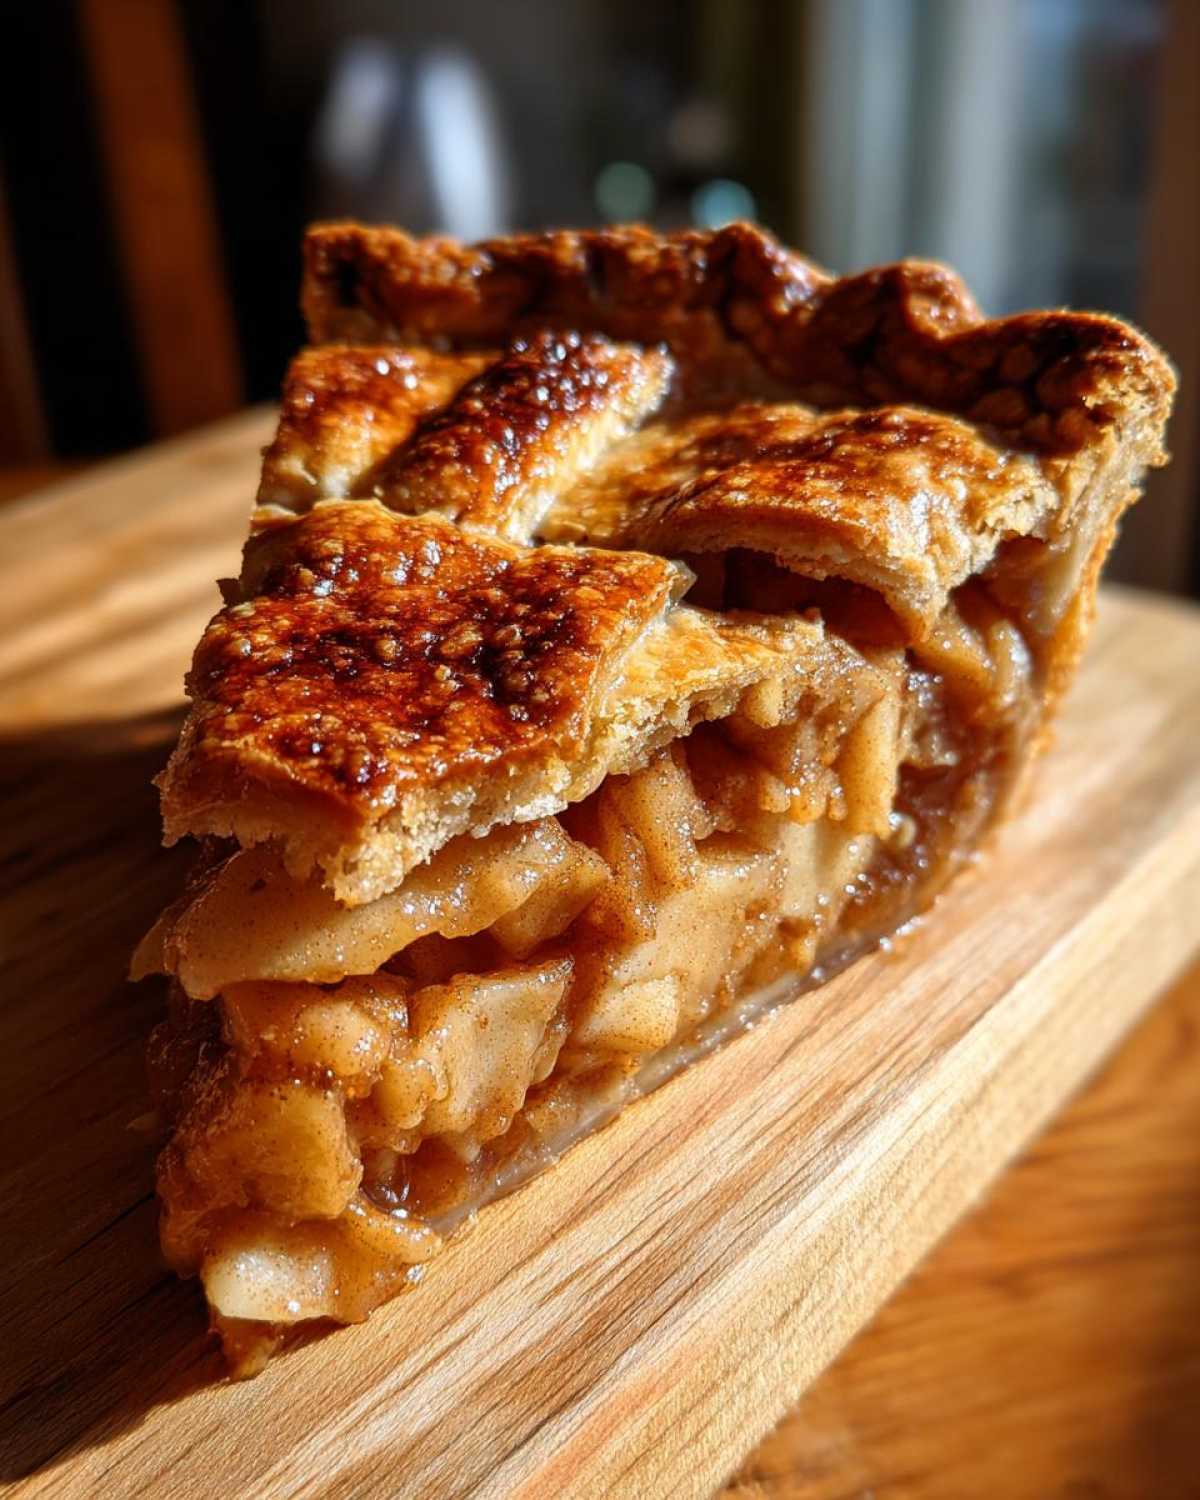
Brush the whole top lightly with that beaten egg wash—it gives us that beautiful, shiny golden finish we’re aiming for. Pop it onto a baking sheet just in case any of that thick filling decides to bubble over!
Baking Temperatures and Venting Secrets
We are baking this in two stages, which is so important. Start it hot at 425°F for about 15 minutes. This heat shock helps set the bottom crust quickly and creates those initial flaky layers in the top. Then, drop that temperature down to 375°F and let it bake for another 35 to 45 minutes. If you see the edges getting too dark—and they always seem to want to race ahead—just loosely wrap a ring of foil around the rim. That venting we talked about is crucial; it lets the steam out so your **Classic apple pie** doesn’t fight itself while baking, ensuring the filling cooks through perfectly!
Tips for Success with Your Traditional American Dessert
Seriously, don’t be tempted to cut the cooling time short! I know it’s agonizing, waiting for that amazing smell to fade while the pie sits there, but cooling is non-negotiable. That 2 tablespoons of flour we sprinkled in needs time—at least three whole hours on a wire rack—to completely thicken up the juices and set that filling. If you slice it early, you’re guaranteed hot, runny mess, even with the best ingredients in the world. Patience, friend!
Also, remember I told you to put that pie on a baking sheet? That simple step saves you from scrubbing the bottom of your oven later. The baking sheet catches any drips, which is a lifesaver when dealing with a bubbling, beautiful, traditional American dessert like this one. Keep those edges covered with foil if they look like they are going to burn before the center cooks. It’s all about managing the heat!
Serving Suggestions for the Classic Apple Pie
When that glorious **Classic apple pie** finally cools down enough to slice—and believe me, waiting those three hours is worth it—the serving ritual begins! This pie is fantastic all on its own, especially when that crust is perfectly flaky and the filling is perfectly spiced with cinnamon and nutmeg.
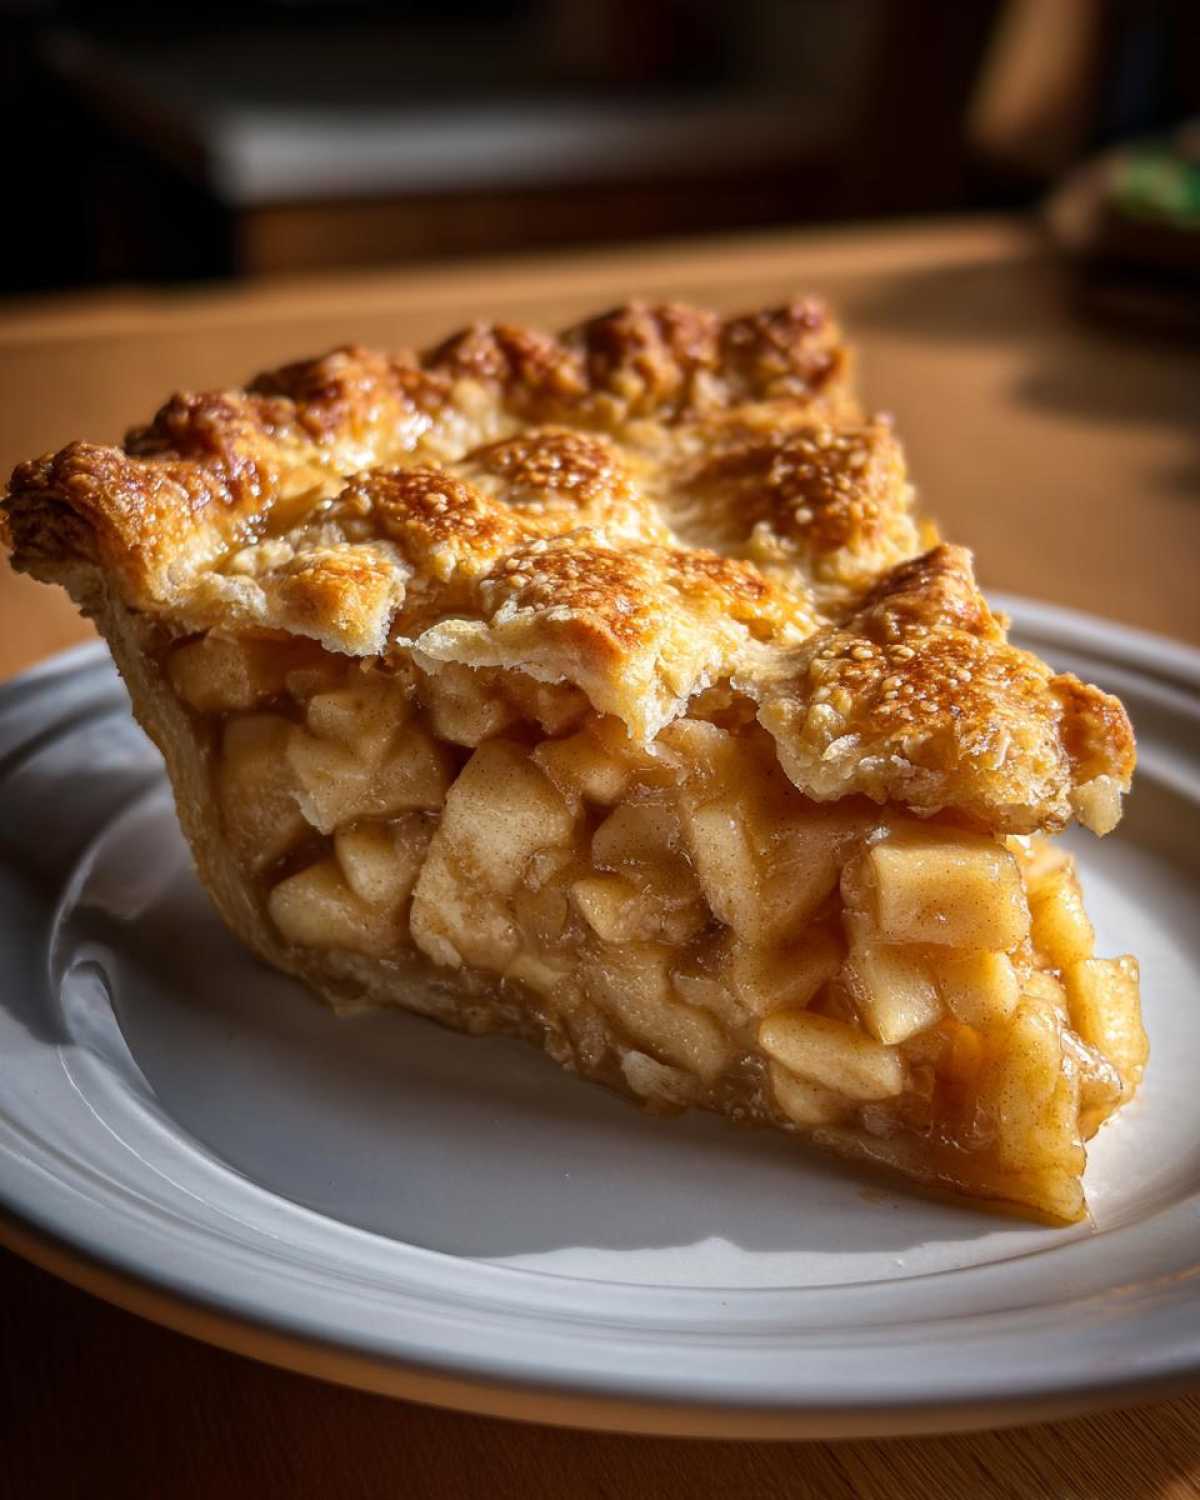
But if you want to enhance the experience, I have two absolute must-try suggestions that my family swears by. First, you can never, ever go wrong with a generous scoop of really good vanilla ice cream melting slowly over that warm slice. If you prefer homemade toppings, I bet you’d love my recipe for best vanilla buttercream recipe, though for pie, ice cream wins!
Second, and this is my parent’s favorite, you have to try it with a slice of sharp, aged cheddar cheese placed right on top. Seriously, don’t knock it until you try it! The salty, sharp tang cuts through the sweetness of the filling just beautifully. It really elevates this **traditional American dessert** experience!
Frequently Asked Questions About Making a Classic Apple Pie
I get so many questions because everyone wants *their* recipe to be the absolute **best apple pie recipe**! It’s great that you’re paying attention to the small details, because that’s what turns a good pie into a slice of heaven. Here are a few things I get asked all the time about achieving the perfect bake for this **traditional American dessert**.
Can I make the Classic apple pie dough ahead of time?
Yes, you absolutely can! That’s one of the bonuses of a good **homemade pie crust**. I actually find the flavor deepens a little overnight, which I love. Once you’ve made your dough disks, wrap them extra tight in plastic wrap and keep them in the fridge for up to three days. If you chill them longer than that, they might get too stiff to roll easily, so I wouldn’t push past four days maximum.
What is the best way to prevent a soggy bottom crust?
This is a huge concern, especially with a juicy cinnamon apple filling! The first defense is making sure you’re using that thickener (the 2 tablespoons of flour we added!) and letting the pie cool for those three hours so the juices set. But for active defense, I have two tricks. First, make sure the bottom crust touches something hot right away. Baking your pie on the lowest rack in the oven allows the bottom heat to hit that dough sooner. Second, if you have the time, you can occasionally give the bottom crust a quick 10-minute blind bake before you add the filling, just to ensure it’s fully set.
I don’t have Honeycrisp—can I use all Granny Smith?
You can, but the results will definitely change! Granny Smith apples bake up wonderfully firm, so you won’t get mushy apples, but your pie will be significantly tarter. That’s why I love the blend—the Honeycrisp brings in that necessary sweetness and slightly softer texture to balance out the sharp edges of the Granny Smith. For the absolute **best apple pie recipe**, try to mix textures!
Does the crust really need an egg wash?
Oh, yes, 100%! That beaten egg (with maybe a tiny splash of milk or water mixed in) is what gives you that professional, deep mahogany color and gorgeous shine. Without it, the crust looks dull, and honestly, a **Classic apple pie** just deserves that golden glow for **Apple Pie Day** celebrations!
Storage and Reheating Instructions for Your Classic Apple Pie
Once you’ve managed to wait those agonizing three hours and the pie has finally set, storage is easy! I leave my leftover **Classic apple pie** right on the counter, covered loosely with a dome or a clean kitchen towel, for up to two days. If you have leftovers past that, cover it tightly and pop it in the fridge. Don’t cover it airtight while it’s warm though, or you’ll just steam the crust!
To reheat a slice—because let’s be honest, cold pie is good, but warm pie is heaven—I always skip the microwave. A quick 10 minutes in a 350°F oven brings back that perfect flaky crust crunch. You can find even more ways to love your sweets when you follow Kitchen User over on pinterest for constant inspiration! If you want to try a sweeter twist next time, check out this cinnamon roll apple pie recipe!
PrintGold Standard Classic Apple Pie Recipe
Achieve nostalgic perfection with this recipe for a classic apple pie featuring a flaky crust and a perfectly spiced, thick filling. This is the best apple pie recipe for any celebration.
- Prep Time: 45 min
- Cook Time: 60 min
- Total Time: 105 min
- Yield: 8 servings 1x
- Category: Dessert
- Method: Baking
- Cuisine: American
- Diet: Vegetarian
Ingredients
- 2 1/2 cups all-purpose flour
- 1 teaspoon salt
- 1 cup (2 sticks) cold unsalted butter, cut into cubes
- 1/2 cup ice water, plus more if needed
- 6 medium apples (a blend of Granny Smith and Honeycrisp recommended)
- 3/4 cup granulated sugar
- 1/4 cup packed light brown sugar
- 1 teaspoon ground cinnamon
- 1/4 teaspoon ground nutmeg
- 1/8 teaspoon ground allspice
- 2 tablespoons all-purpose flour (for thickening)
- 1 tablespoon lemon juice
- 1 large egg, beaten (for egg wash)
Instructions
- Prepare the crust: In a large bowl, whisk together the flour and salt. Cut in the cold butter using a pastry blender or your fingers until the mixture resembles coarse crumbs with some pea-sized pieces of butter remaining. Gradually add the ice water, one tablespoon at a time, mixing until the dough just comes together. Divide the dough in half, form into disks, wrap in plastic, and chill for at least 1 hour.
- Prepare the filling: Peel, core, and slice the apples about 1/4 inch thick. In a large bowl, toss the apple slices with granulated sugar, brown sugar, cinnamon, nutmeg, allspice, 2 tablespoons of flour, and lemon juice until evenly coated. This flour is your secret to preventing a runny filling.
- Assemble the pie: Preheat your oven to 425 degrees F (220 degrees C). On a lightly floured surface, roll out one dough disk into a 12-inch circle. Carefully transfer the dough to a 9-inch pie plate. Trim the edges, leaving a 1-inch overhang.
- Fill the pie: Pour the apple mixture into the bottom crust, mounding the apples slightly in the center.
- Top the pie: Roll out the second dough disk. Place it over the filling. Trim the top crust overhang to match the bottom. Crimp the edges to seal. Cut several slits in the top crust to allow steam to escape (this is important for venting).
- Bake: Brush the top crust lightly with the beaten egg wash. Place the pie on a baking sheet. Bake for 15 minutes at 425 degrees F. Then, reduce the oven temperature to 375 degrees F (190 degrees C) and continue baking for 35 to 45 minutes, or until the crust is golden brown and the filling is bubbling. If the edges brown too quickly, cover them loosely with foil.
- Cool: Let the traditional American dessert cool on a wire rack for at least 3 hours before slicing. This allows the filling to set completely.
Notes
- For the flakiest crust, keep all ingredients, especially the butter and water, very cold.
- Using a blend of tart (Granny Smith) and sweet (Honeycrisp) apples gives the best texture and flavor balance, avoiding a mushy result.
- If you love this recipe, follow our kitchen account on pinterest for more inspiration!
Nutrition
- Serving Size: 1 slice
- Calories: 450
- Sugar: 35g
- Sodium: 250mg
- Fat: 25g
- Saturated Fat: 15g
- Unsaturated Fat: 10g
- Trans Fat: 0g
- Carbohydrates: 58g
- Fiber: 3g
- Protein: 5g
- Cholesterol: 60mg