
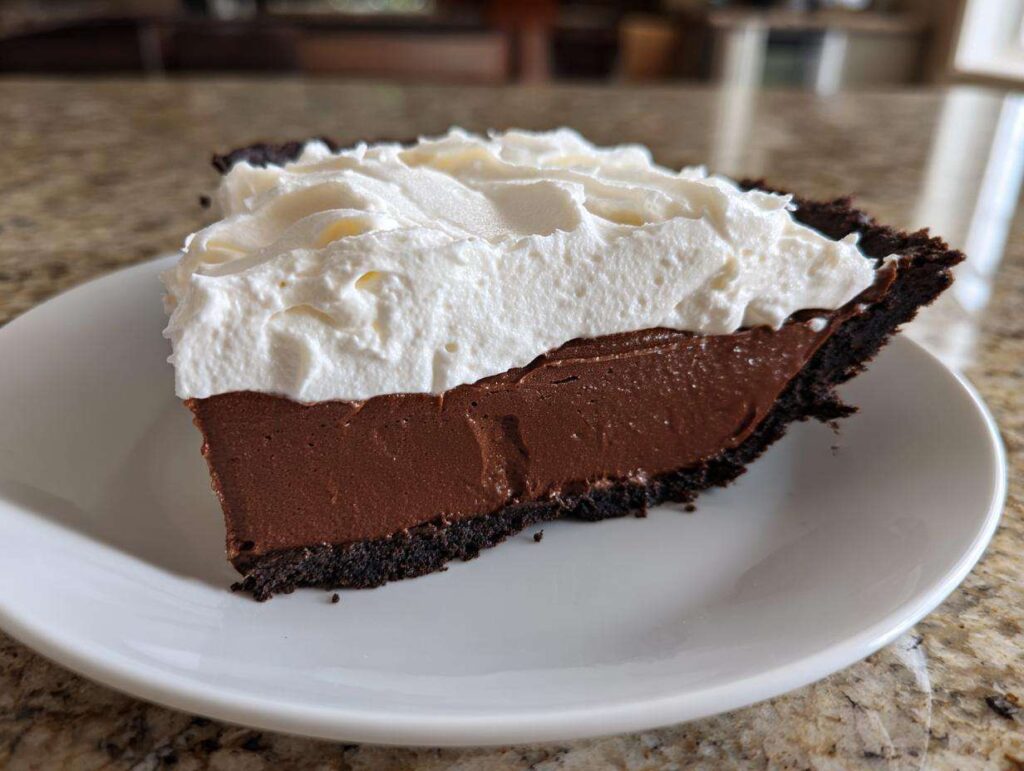
Oh my goodness, are you ready for indulgence? When I think about a dessert that stops a party dead in its tracks, it’s not a fussy tiered cake—it’s the magnificent, unapologetically rich chocolate cream pie! For me, as Sophia Collins, diving into classic baking traditions is how I connect with the kitchen wisdom I inherited from my family. This recipe proves that you absolutely don’t need fancy pastry school training to create what is truly the best chocolate cream pie you will ever taste.
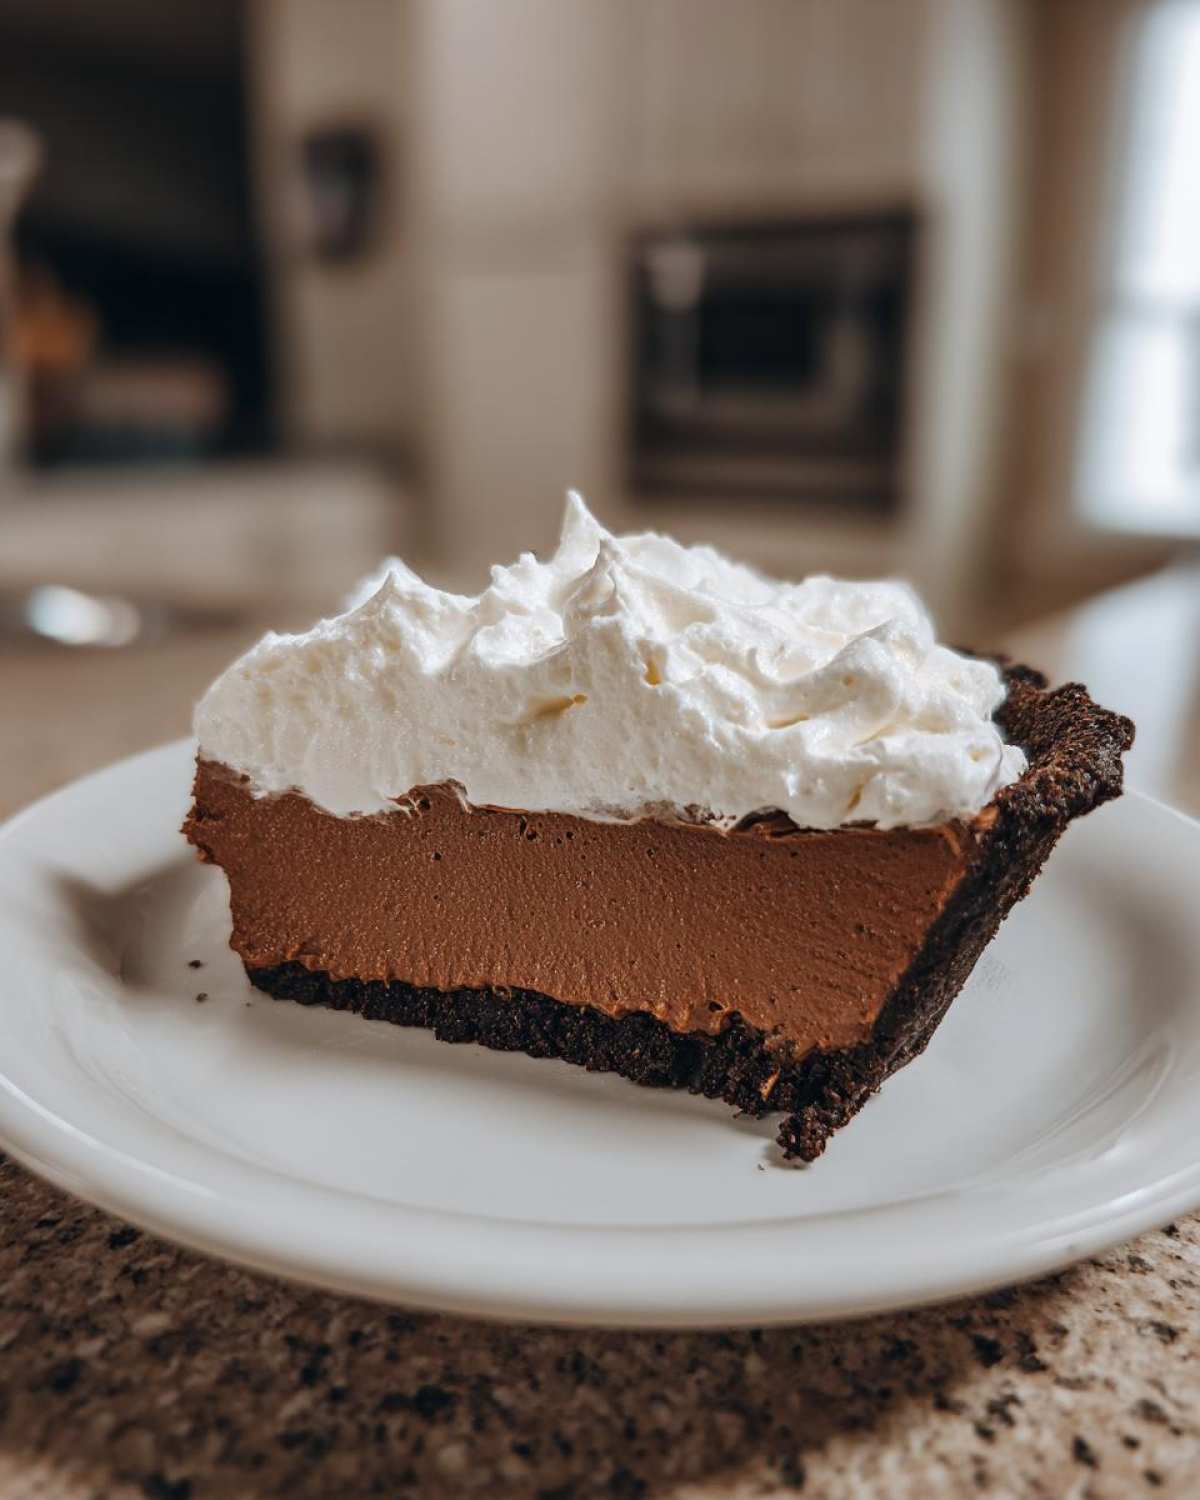
Forget the thin, overly sweet fillings you might have tried elsewhere. I’ve perfected this version to give you that impossibly decadent, silky smooth filling nestled in a crisp crust, all crowned with a cloud of fresh whipped cream. Trust me, achieving this kind of decadent chocolate dessert from scratch is easier than you think, and it’s perfect for making any weeknight feel like a holiday! If you love this level of chocolate goodness, you have to check out my guide to moist homemade chocolate cake soon!
- Why This is The Best Chocolate Cream Pie Recipe
- Ingredients for Your Decadent Chocolate Cream Pie
- Step-by-Step Instructions for the Classic Chocolate Cream Pie
- Tips for Success Making the Best Chocolate Cream Pie
- Making an Easy Chocolate Cream Pie Variation (No Bake)
- Storage and Serving Suggestions for Your Chocolate Cream Pie
- Frequently Asked Questions About Chocolate Cream Pie
- Estimated Nutritional Information for Chocolate Cream Pie
- Share Your Perfect Chocolate Cream Pie Experience
Why This is The Best Chocolate Cream Pie Recipe
I know, I know, everyone claims their chocolate cream pie recipe is the absolute best, but this one truly lives up to the hype. This isn’t just another dessert; it’s a show-stopper that delivers on every promise. My goal was always to create the ultimate easy chocolate cream pie that tastes like it took days, not hours, to prepare!
Here’s why you need this version in your baking rotation:
- It has that unbelievable, impossibly silky smooth texture that melts right on your tongue.
- It’s a surprisingly no-fail custard that sets up beautifully every single time—no rubbery filling here!
- We are going for that gorgeous, classic presentation with a towering whipped cream topping.
- The scratch made pie filling tastes infinitely better than anything from a box. I’ve got a great technique for fudgy brownies if you want to try another chocolate favorite of mine soon!
Achieving the Perfect Silky Chocolate Filling
The secret to that luxurious, non-grainy filling? It’s all about the tempering! We take our time slowly introducing the heat to those delicate egg yolks. This technique is what keeps the custard smooth and stops it from scrambling one bit. This care ensures every spoonful of that silky chocolate filling is perfection. Honestly, once you master this simple step, you’ll never go back!
Ingredients for Your Decadent Chocolate Cream Pie
Okay, let’s talk about what you need to bring this dream to life! One of the best parts of this chocolate cream pie recipe is that it relies on ingredients you probably have tucked away in your pantry right now. It’s truly an easy chocolate cream pie when you look at the shopping list. But please, pay attention to the details—especially the quality of the cocoa!
We need sugar, a good amount of unsweetened cocoa powder (don’t substitute!), cornstarch for thickness, salt, and most importantly, three rich, large egg yolks. Don’t skip beating those yolks lightly before we start tempering! We also need 2 1/2 cups of whole milk—skim milk just won’t give us that necessary richness for our scratch made pie filling.
Crust Options for Your Chocolate Cream Pie
The crust is our vessel, and we get to choose! You can absolutely use a store-bought, pre-made 9-inch pie crust if you’re in a rush. However, I find that a homemade Oreo crust or a basic graham cracker crust really elevates this dessert. Whichever path you choose, you MUST make sure that crust is completely cooled before pouring in your hot filling. Warm crust equals soupy filling, and we want a firm slice!
For the Whipped Cream Topping Pie
This is the fluffy finish line! For that beautiful crown, you only need heavy whipping cream—make sure it’s cold—and a couple of tablespoons of powdered sugar. That’s it! If you want that extra decorative touch, some chocolate shavings on top are fabulous. If you’re looking for a killer buttercream for other desserts someday, I have a great go-to vanilla buttercream recipe saved for you.
Step-by-Step Instructions for the Classic Chocolate Cream Pie
Alright, deep breath! Making this chocolate cream pie seems involved because we are making a scratch made pie filling, but I promise, if you follow my sequence, you’ll have the creamiest chocolate dessert sitting on your counter in no time. Remember, constant movement is key when stovetop cooking custards!
Preparing the Silky Chocolate Filling Base
First things first: grab that cooled, ready pie crust we talked about. We need to build the flavor base. In a medium saucepan—and I mean medium, don’t use a huge pot or the mixture will scorch—whisk together your sugar, cocoa powder, cornstarch, and salt until they look like dry sand. Next, slowly whisk in the 2 1/2 cups of whole milk until everything is totally smooth. We are aiming for zero lumps here before we even turn on the heat. You can check out some other great সহজ-to-make pie recipes while you wait for your crust to cool, but right now, stay focused on that saucepan!
Cooking and Tempering the Chocolate Custard Pie Filling
Now we add the heat! Put that saucepan over medium heat and stir constantly. Seriously, don’t leave it! After about 8 to 10 minutes, it will bubble up and get really thick, like a very heavy pudding. Once it’s bubbling, take the pan *off* the heat. In a separate little bowl, beat those 3 egg yolks lightly. This next part is where we build trust with the eggs: slowly take about half a cup of the hot chocolate mixture and drizzle it into the yolks while whisking like crazy. That’s tempering! You’ve warmed them up gently so they don’t curdle.
Pour the warmed yolk mixture *back* into the saucepan. Return it to the heat on medium-low for just another minute or two until it gets super thick—but please, do not let it boil after the yolks go in! Take it off the heat for good, stir in your cold butter pieces until they melt, and splash in the vanilla. Give it one final whisk for that signature velvety chocolate filling.
Chilling the Chocolate Cream Pie
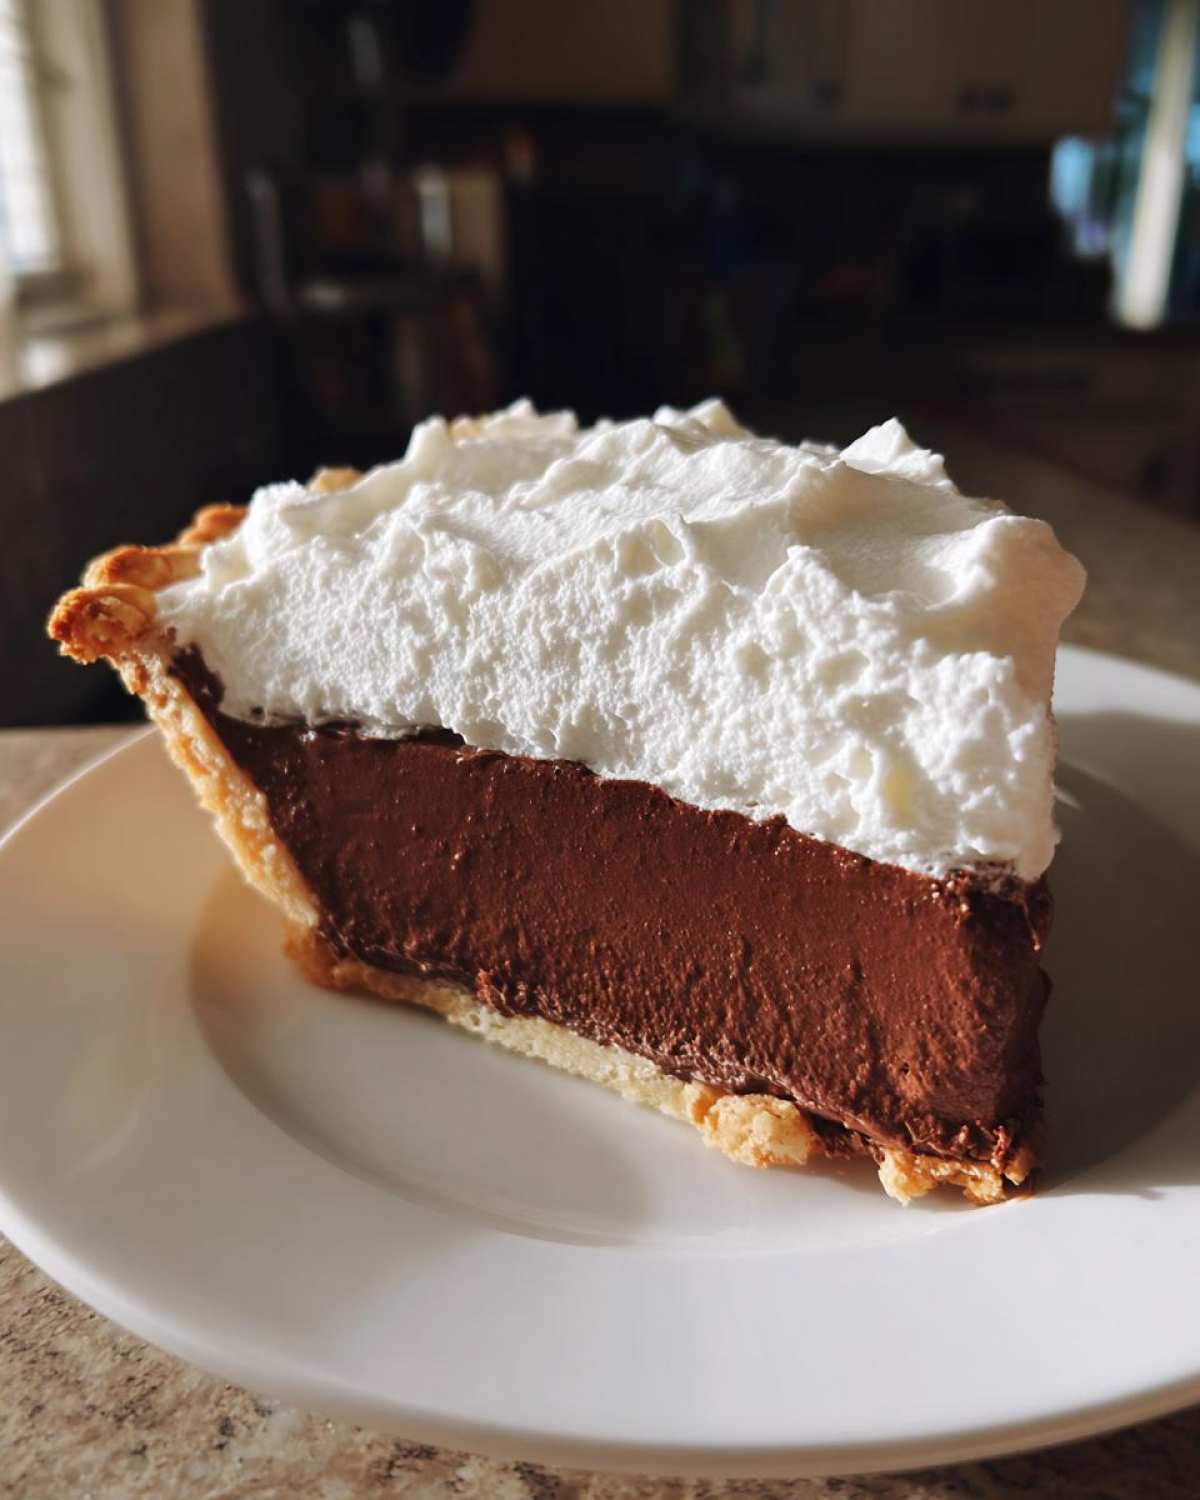
Time to fill that crust! Pour that gorgeous, hot filling right into your cooled crust. Here’s the crucial trick for making a perfect chocolate custard pie: take a piece of plastic wrap and gently press it directly against the surface of the filling itself. This stops that awful, sad skin from forming while it chills. Pop the whole thing into the fridge for a minimum of 4 hours until it’s completely firm. Patience pays off now!
Tips for Success Making the Best Chocolate Cream Pie
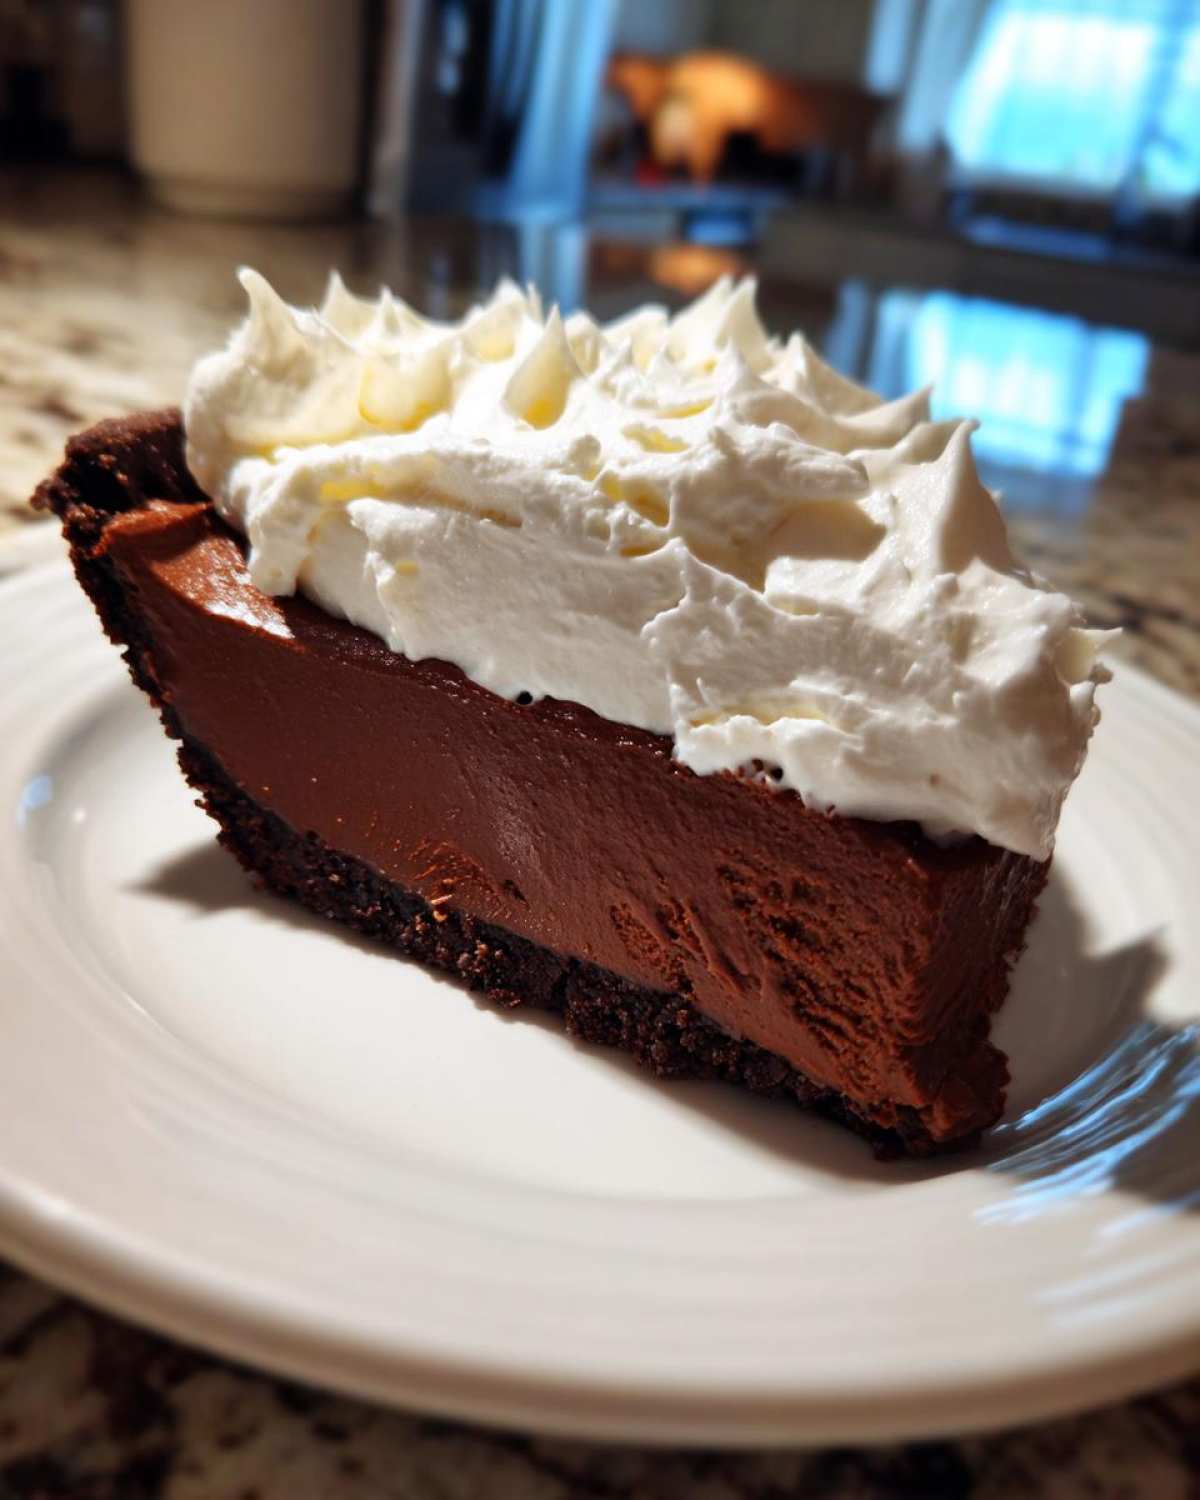
Now that you’ve mastered the technique, let me pass along the final insider wisdom for making this the absolute best chocolate cream pie. When you are preparing that scratch made pie filling, if you can swing it, spring for the Dutch-processed cocoa powder. It has a deeper, smoother chocolate profile that truly makes a difference in achieving that rich flavor. You’ll thank me later!
Also, future-proofing your dessert planning is smart! If you are making this for a big gathering like Thanksgiving or Christmas, absolutely make the filling ahead of time and keep it chilled. But, and this is important, hold off on applying that beautiful whipped cream topping. Keep the topping ingredients ready in the fridge, and whip them up right before you serve. That way, your topping stays stiff and gorgeous, not watery!
If you’re obsessed with making everything rich and chocolatey, I highly recommend checking out my advice on baking moist homemade chocolate cake next!
Making an Easy Chocolate Cream Pie Variation (No Bake)
I love my classic chocolate cream pie where we cook the custard, but sometimes, life moves fast, and you just need a *fast* dessert! We all need a simple fallback, right? If you’re looking to skip the stovetop entirely, you totally can make an easy chocolate cream pie by leaning on instant pudding mixes. This gets you into the no bake chocolate pie category, which is a huge time saver!
It’s super straightforward if you look at the back packaging of the instant pudding mix. The general idea is you swap out all that cooking and tempering we just did for a packet of instant chocolate pudding mixed with cold milk—often you’ll fold in some whipped topping or use whipped topping straight from the tub as your base to make it extra light. Just mix it according to the package directions, pour it into your cooled crust, and chill!
The texture will be slightly different—a little lighter, maybe more like a chocolate mousse pie than a dense custard—but it is still incredibly satisfying and a genuinely easy pie recipe. If you want to explore another amazing quick dessert that requires no baking, you must check out my guide on the ultimate no-bake Oreo ice cream pie. It uses the same principle: crust and filling, then chill!
Storage and Serving Suggestions for Your Chocolate Cream Pie
Once you’ve managed to make this beautiful, creamy chocolate dessert, keeping it perfect until serving time is crucial! Since we have that delicate custard filling, refrigeration is a must. You absolutely need to keep your finished chocolate cream pie chilled solid, and it’s best enjoyed within two to three days of making it, crust and all.
Remember my big hint from before? If you’re preparing this for Company, make the filling and chill it completely, but leave the whipped cream topping pie layer until the very last minute. Seriously, whip it up right before you serve it and pile it high! If you happen to have leftover filling without the topping, that stores great too. You can even explore making a no-bake chocolate mousse pie style filling if you prefer a lighter texture next time!
Frequently Asked Questions About Chocolate Cream Pie
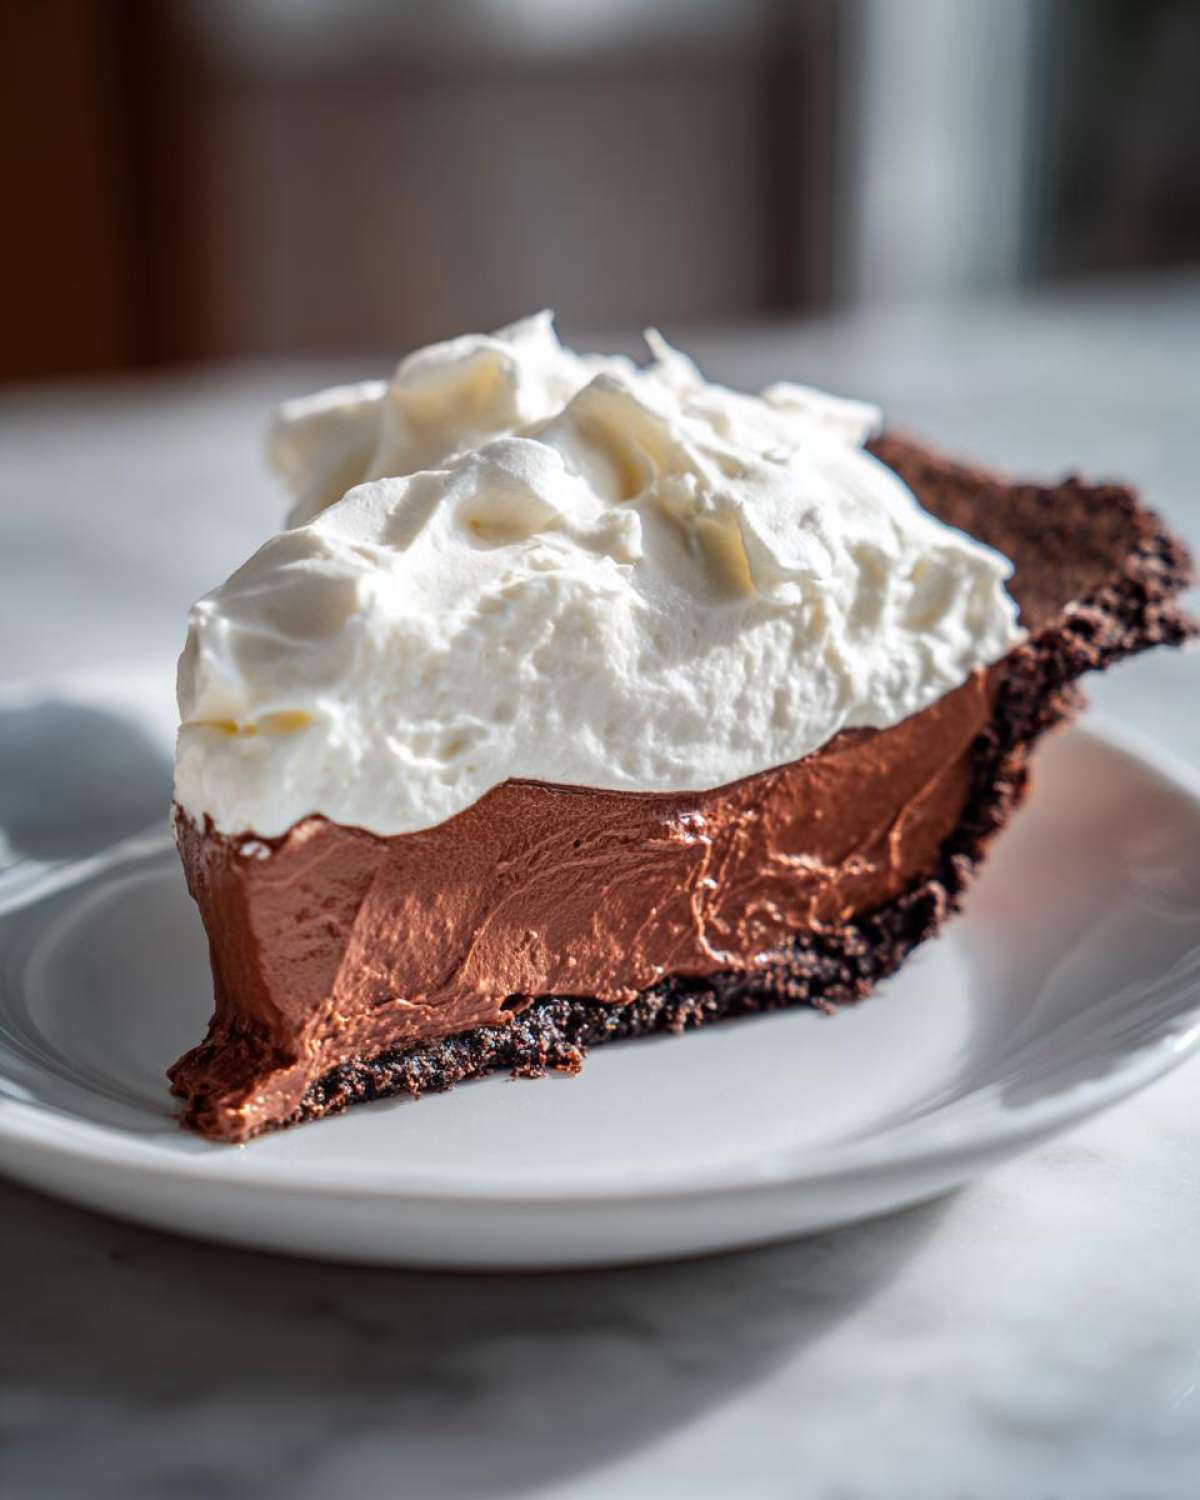
I always get so many questions when I post this recipe because everyone wants that guaranteed perfect slice! It’s totally understandable; this chocolate cream pie is special, and we want it to turn out right. Here are the ones I hear most often when people are making their first chocolate custard pie.
Why is my filling runny?
If your filling didn’t set up to be that beautiful, thick, silky chocolate filling we want, it usually comes down to one thing: not cooking it long enough, or not having enough thickening agent, like cornstarch, present. You have to let it come to a full bubble and cook for that extra second until it coat the back of a spoon heavily. If you skip that cooking time, the starch never fully activates. Don’t worry though, if this happens, you can often stir in a little cornstarch slurry (mixed with cold water!) and re-heat it gently!
Can I substitute the crust for a graham cracker crust?
Oh, absolutely! That is one of the major reasons why this is such a popular easy pie recipe. You can use a pre-baked standard flaky pastry crust, a graham cracker crust, or even that crushed Oreo crust, as I mentioned. They all work beautifully as the base for this rich filling. Just make sure whatever crust you use is completely cool before the hot filling goes in. I have a few crust guides coming soon, but for now, a good pre-made graham cracker crust is a lifesaver!
How far in advance can I make this chocolate cream pie?
This is key for holiday baking success! You can make the chocolate filling and pour it into the crust up to two days ahead of time, storing it covered in the fridge. However, for the best presentation on your classic pie, you should wait to make your fluffy whipped cream topping pie layer until just an hour or two before serving. If you put the cream on too early, it starts to weep and deflate a bit—we want big, beautiful peaks!
Do you have other questions? Drop them in the comments below, and I’ll answer them! If you’re looking for other baking inspiration that connects to this chocolate goodness, you might enjoy my guide on the best homemade chocolate babka recipe!
Estimated Nutritional Information for Chocolate Cream Pie
Okay, now for the part where we talk about the goodness that’s inside this rich, creamy chocolate dessert! Because we are using real butter, cocoa, and whole milk for that true, authentic flavor, this is definitely an indulgent treat. I always tell people that if you’re going to have dessert, you might as well make it count!
Here’s a breakdown of the estimated nutritional facts for one generous slice of this chocolate cream pie, based on 8 servings:
- Calories: 420
- Total Fat: 22g (with about 12g being saturated fat—butter is worth it!)
- Carbohydrates: 55g
- Sugar: 45g (Yes, it’s a sweet treat!)
- Protein: 5g
- Cholesterol: 110mg
Please remember, these numbers are just estimates based on all the ingredients listed in the recipe for the classic version. If you swap out for a lighter crust or use skim milk (which I advise against for the best flavor!), those numbers will change. If you are interested in other classic, comforting desserts that still offer balanced ingredients, you should take a peek at my sweet potato pound cake recipe next!
Share Your Perfect Chocolate Cream Pie Experience
Wow, I truly hope this chocolate cream pie recipe brings that same joy to your kitchen that it brings to mine! I’m always so thrilled when I hear from all of you. Please take a moment to rate this recipe—just click those stars above!—and let me know in the comments if you loved that silky chocolate filling!
If you made this show-stopper, I’d be thrilled to see your photos! Tag me on social media, and if you love saving great recipes, don’t forget to find me on Pinterest at Pinterest for tons of other treats, including my amazing homemade chocolate chip cookies!
PrintThe Best Classic Homemade Chocolate Cream Pie with Silky Filling

You need this recipe for a decadent, show-stopping chocolate cream pie. This recipe delivers a rich, silky smooth chocolate filling in a crisp crust, topped with fluffy whipped cream. It is an easy recipe for the best chocolate cream pie you will ever make.
- Prep Time: 20 min
- Cook Time: 15 min
- Total Time: 4 hours 35 min
- Yield: 8 servings 1x
- Category: Dessert
- Method: Stovetop Cooking
- Cuisine: American
- Diet: Vegetarian
Ingredients
- 1 pre-made or homemade 9-inch pie crust (Oreo or graham cracker crust works well)
- 1 1/2 cups granulated sugar
- 1/2 cup unsweetened cocoa powder
- 1/4 cup cornstarch
- 1/4 teaspoon salt
- 3 large egg yolks, lightly beaten
- 2 1/2 cups whole milk
- 2 tablespoons unsalted butter, cut into pieces
- 1 teaspoon vanilla extract
- 1 cup heavy whipping cream
- 2 tablespoons powdered sugar
- Chocolate shavings, for garnish (optional)
Instructions
- Prepare your pie crust according to your preferred method (pre-baked if using a standard pastry crust). Set aside to cool completely.
- In a medium saucepan, whisk together the granulated sugar, cocoa powder, cornstarch, and salt.
- Gradually whisk in the whole milk until smooth.
- Place the saucepan over medium heat. Cook, stirring constantly, until the mixture thickens significantly and begins to bubble. This takes about 8 to 10 minutes.
- Remove the saucepan from the heat. In a small bowl, lightly beat the egg yolks. Slowly temper the yolks by whisking about 1/2 cup of the hot chocolate mixture into the yolks.
- Pour the tempered yolk mixture back into the saucepan with the remaining chocolate mixture. Return the pan to medium-low heat. Cook for 1 to 2 minutes, stirring constantly, until the filling is very thick. Do not let it boil after adding the yolks.
- Remove from heat. Stir in the butter pieces until melted and smooth. Stir in the vanilla extract.
- Pour the hot, silky chocolate filling immediately into the cooled pie crust. Press plastic wrap directly onto the surface of the filling to prevent a skin from forming.
- Chill the pie in the refrigerator for at least 4 hours, or until the filling is completely set.
- When ready to serve, prepare the topping: In a chilled bowl, beat the heavy whipping cream and powdered sugar with an electric mixer until stiff peaks form.
- Spread or pipe the whipped cream topping over the chilled pie. Garnish with chocolate shavings if desired.
- Slice and serve this decadent chocolate dessert immediately.
Notes
- For an extra rich flavor, use high-quality Dutch-processed cocoa powder for your scratch made pie filling.
- If you are making this ahead of time, keep the whipped cream topping separate and apply it just before serving to maintain its fluffiness.
- If you want a no bake chocolate pie, you can substitute the filling ingredients with instant chocolate pudding mix combined with milk and whipped topping, following package directions, and pour into a pre-made crust.
Nutrition
- Serving Size: 1 slice
- Calories: 420
- Sugar: 45
- Sodium: 250
- Fat: 22
- Saturated Fat: 12
- Unsaturated Fat: 10
- Trans Fat: 0.5
- Carbohydrates: 55
- Fiber: 2
- Protein: 5
- Cholesterol: 110