
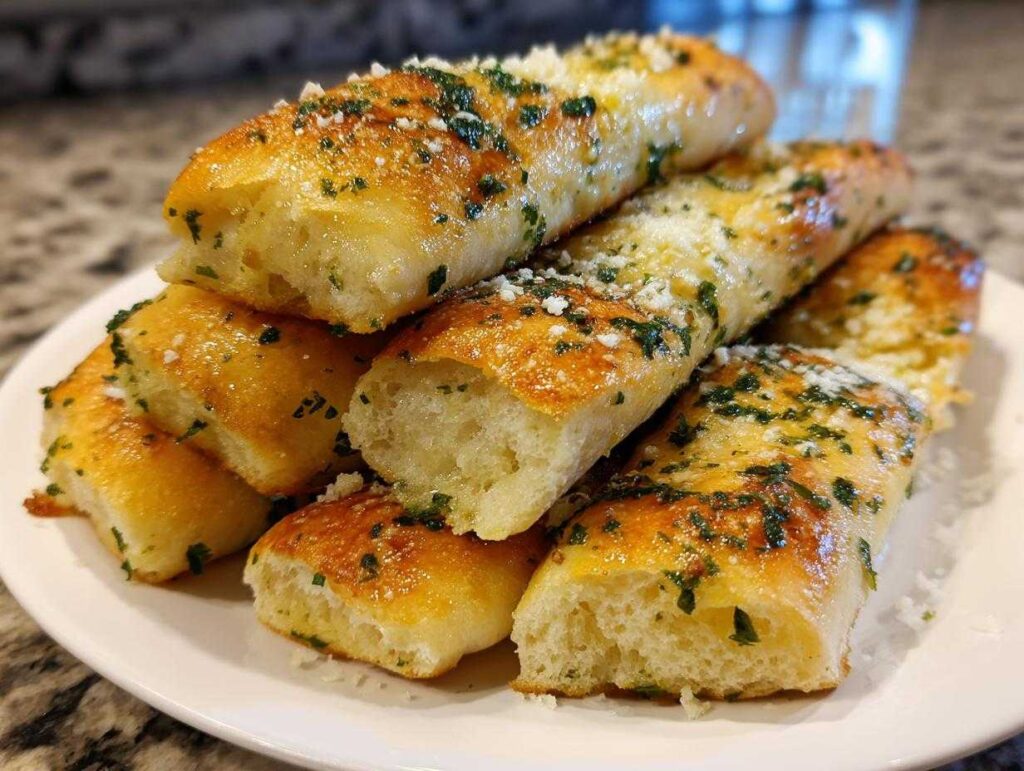
Oh, you totally know that feeling, right? You’re eating your favorite soup or pasta, and all you can think about is those warm, pillow-soft sticks drenched in garlic butter that you get at your favorite Italian spot. Well, stop daydreaming, because I have finally nailed the absolute best Copycat Olive Garden breadsticks recipe! These aren’t just good, they are unbelievably soft, fluffy, and covered in that signature garlicky goodness. Seriously, my kitchen smells exactly like that restaurant when these come out of the oven, and that’s high praise coming from me! My grandmother always preached that the best food comes from recreating comfort at home, and these homemade breadsticks certainly fit the bill. You won’t believe how easy it is to get this perfect texture from scratch. If you want the full detailed rundown, don’t forget to check out all the tips in my main post on Copycat Olive Garden Breadsticks!
- Why These Copycat Breadsticks Are the Best Homemade Breadsticks
- Gathering Ingredients for Perfect Breadsticks
- Step-by-Step Instructions for Easy Breadsticks Recipe
- Tips for Perfect Garlic Parmesan Breadsticks Every Time
- Serving Suggestions for Your Buttery Breadsticks
- Storage and Reheating Instructions for Leftover Breadsticks
- Frequently Asked Questions About Homemade Breadsticks
- Nutritional Estimate for These Breadsticks
- Share Your Breadsticks Success
Why These Copycat Breadsticks Are the Best Homemade Breadsticks
What makes these breadsticks stand out from every other recipe you’ve tried? First off, the texture is everything! We are talking ridiculously soft breadsticks that practically melt when you bite into them. They are perfectly balanced with that authentic, savory garlic and Parmesan flavor everyone craves. And the best part? We wrap up the whole process—from activating the yeast to brushing on the butter—in under 90 minutes! If you’re looking for truly buttery breadsticks that taste restaurant-quality, this is your winner. Before you jump into the instructions, check out my method for perfect homemade English muffins, because good bread starts with good technique!
The Secret to Fluffy Dinner Rolls Texture
It all comes down to waking up that yeast properly! You absolutely must use water around 110°F—not too hot, or you kill the yeast; not too cold, or it takes forever to wake up. That foamy activation step is critical. Once mixed, we knead the dough just long enough until it feels smooth and elastic. This creates the structure needed for that classic fluffy dinner rolls texture instead of a dense brick. Trust me, patience in that first rise makes these unbeatable.
Gathering Ingredients for Perfect Breadsticks
Okay, friend, the flavor magic for these breadsticks starts right here in the cabinet! We need simple things, but the quality matters, believe me. For the dough base, grab 1 cup of warm water (105-115°F)—that’s non-negotiable for happy yeast! You’ll also need 2 1/4 teaspoons of active dry yeast, 1 tablespoon of granulated sugar, 3 cups of all-purpose flour (plus a little extra for dusting, obviously), and 1 1/2 teaspoons of salt. Don’t forget 2 tablespoons of unsalted butter, melted, to mix right into that dough.
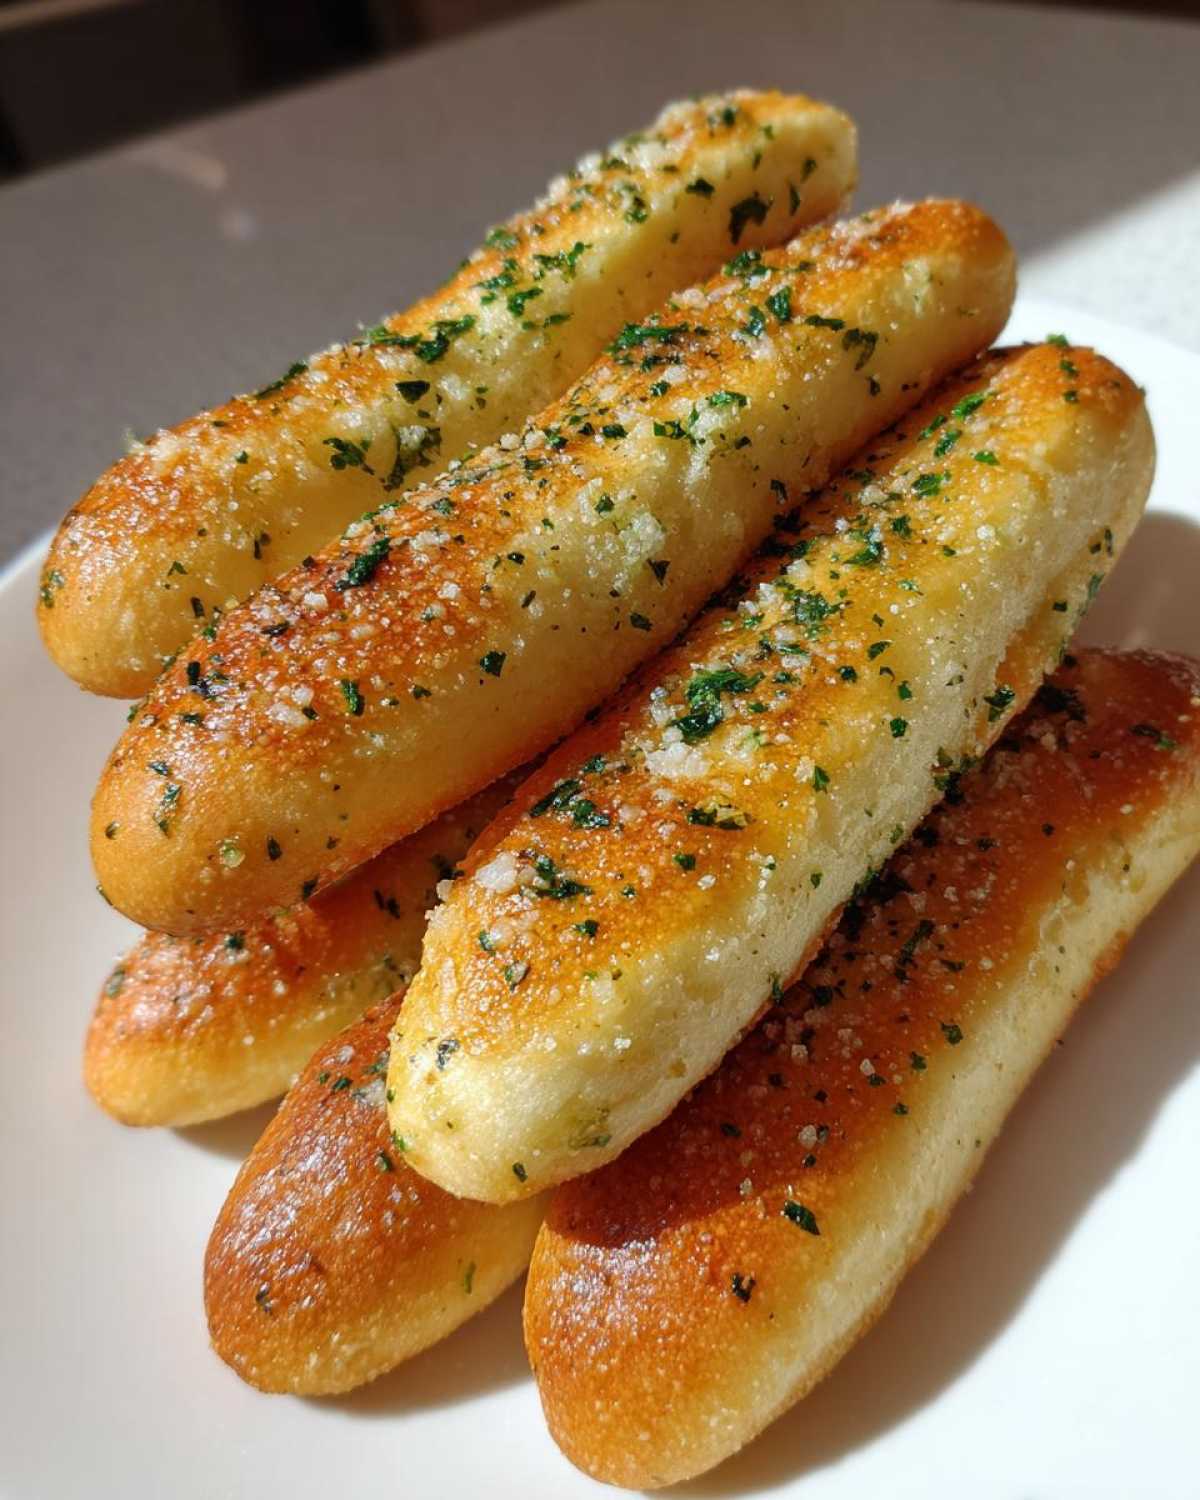
Now for the star of the show, the topping! You’ll need 1/2 cup of unsalted butter, melted (this is separate from the dough butter, heads up!), 2 teaspoons of garlic powder, 1 teaspoon of dried parsley, and a generous 1/4 cup of grated Parmesan cheese. While you’re getting organized, don’t forget to check out my ultra-simple homemade teriyaki sauce recipe for another night!
Ingredient Notes and Substitutions for Your Breadsticks
Listen, using active dry yeast is important here because we need that steady, reliable rise. If you only have instant yeast, you can absolutely skip blooming it in the water, but I always use active dry just to see that beautiful foam first, you know? Also, please, please use real grated Parmesan for the topping. The pre-grated stuff in tubs just doesn’t melt correctly or give that sharp, salty kick we need to mimic the restaurant flavor perfectly. That cheese melts right into the warm butter for that irresistible coat!
Step-by-Step Instructions for Easy Breadsticks Recipe
Alright, let’s get our hands dirty! Making these homemade breadsticks is surprisingly fast once the dough proves itself. We need to get that yeast humming, which is essential for that gorgeous, pillowy rise. Don’t worry if you’ve never baked with yeast before; it’s easier than you think. I even cover my favorite way to make towering flaky buttermilk biscuits if you want more dough practice!
Making the Soft Dough for Homemade Breadsticks
First, we wake up the yeast! Combine your warm water, sugar, and yeast. If it gets bubbly and foamy after about five to ten minutes—like a tiny little cap of foam on top—you’re good to go! That means the yeast is happy and ready to work. Next, mix the flour and salt together, then slowly add in the yeast mixture and the first bit of melted butter. If you’re using a stand mixer, let the dough hook run low for five minutes. If you’re kneading by hand, really put your back into it for about eight minutes until the dough feels smooth. Next, pop it in a lightly oiled bowl, cover it up, and let it rest somewhere warm for an hour to an hour and a half until it doubles. Don’t rush this rising time; it builds all that beautiful internal structure!
Shaping and Baking Your Breadsticks
Once that dough has puffed up nicely, gently punch it down—no sad deflating! Preheat your oven to 400°F (200°C). Now, turn the dough out onto a lightly floured surface. I like to pat mine out into about a half-inch thick rectangle. This is the fun part: use a pizza cutter to slice it into strips, maybe an inch wide—make them all roughly the same size so they bake evenly. Lay them out on your baking sheet with a bit of breathing room. They only take about 10 to 15 minutes until they look just barely golden brown. Keep a close eye on them; we want them soft, not crunchy!
The Essential Garlic Butter Topping for Restaurant-Style Breadsticks
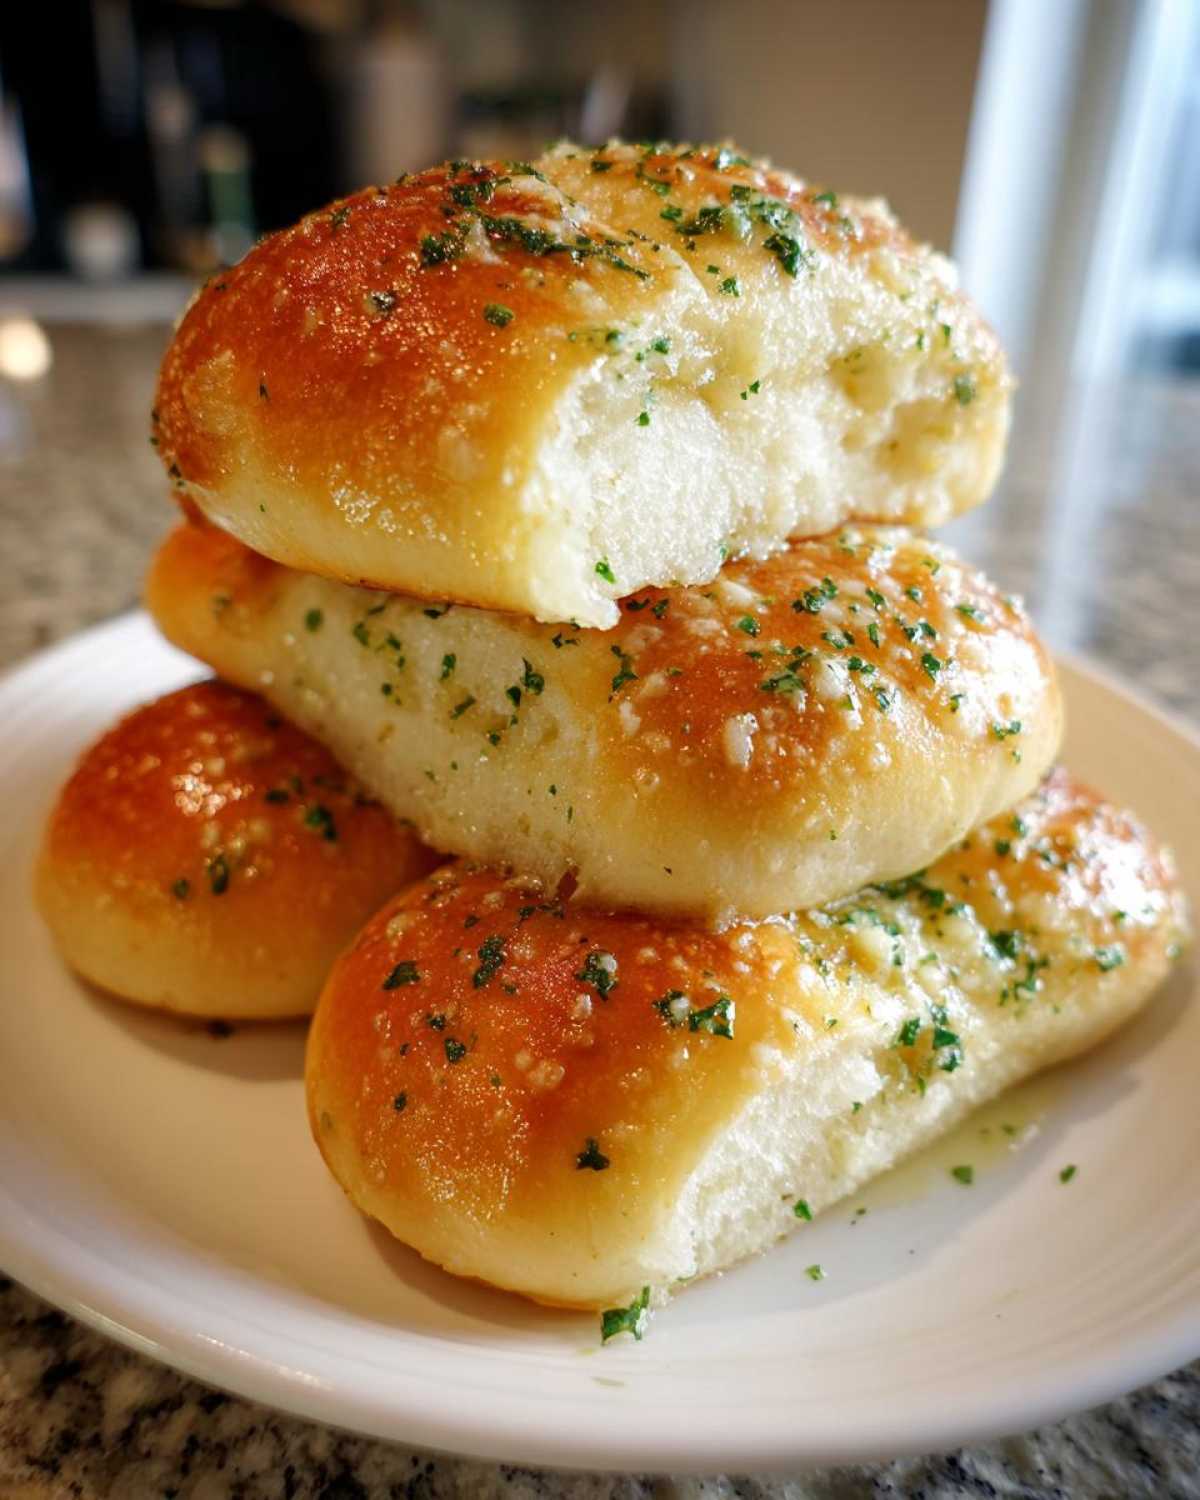
This topping is the whole reason we are making these copycat breadsticks, so don’t skip a single step here! While the breadsticks are baking, melt that final half cup of butter in a small saucepan—low and slow is best. Stir in your garlic powder and dried parsley until it smells amazing. The second those hot, baked sticks come off the oven rack, you need to brush them generously with that fragrant butter mixture. While the butter is still wet, shower them with the grated Parmesan cheese. This immediate application is key—it helps the cheese stick and lets the garlic flavor soak deep into the warm centers. They are ready to eat right away!
Tips for Perfect Garlic Parmesan Breadsticks Every Time
You can follow the recipe to the letter, but a few little secrets Sophie knows will take these from “great” to “I can’t believe I made these at home!” My biggest piece of advice, besides ensuring your yeast is happy, is about dough handling. Don’t over-flour your surface when you roll them out. Too much flour will dry out the exterior of the breadsticks, and we want that delicate, soft crust, not a tough one.
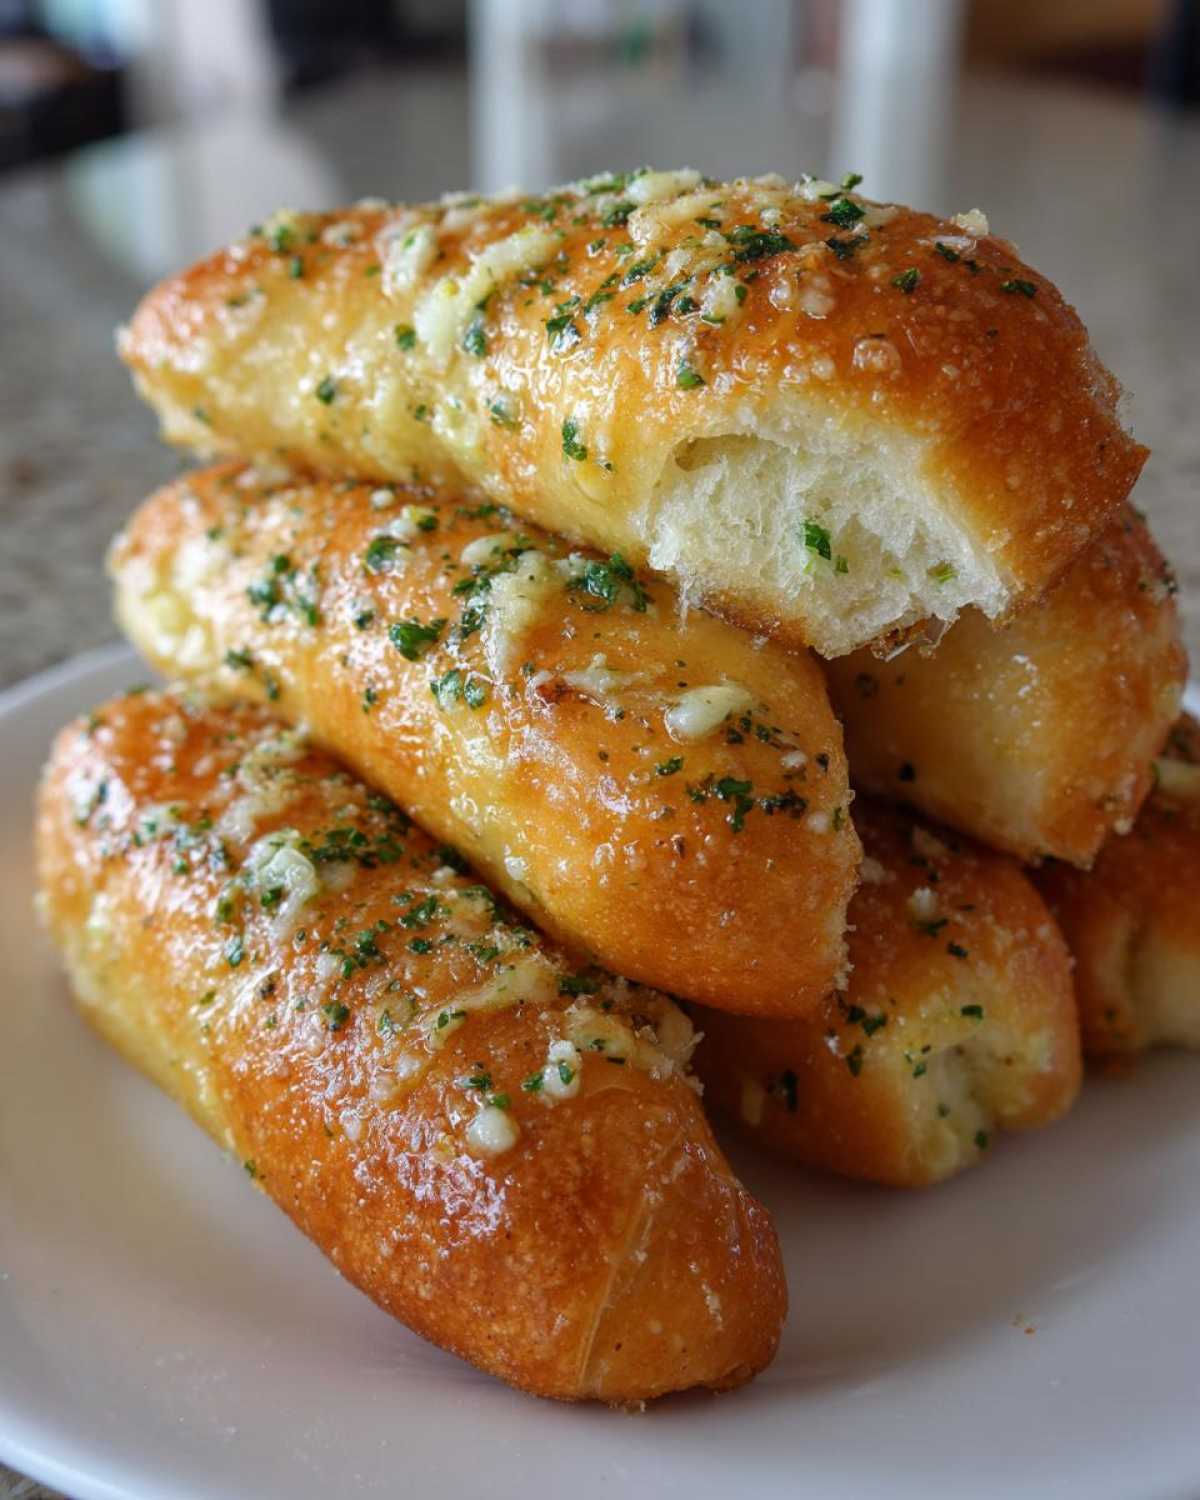
Also, temperature control in the oven is key for that fluffy result. If your oven runs hot, check them a couple of minutes early. We want golden, not brown! For maximizing that amazing garlic flavor, try blooming your garlic powder in the melted topping butter for just 30 seconds *before* you take it off the heat. It releases the oils! If you want incredibly soft dough right out of the oven, try my trick for keeping them steamy immediately after baking; I always use a clean kitchen towel to cover them—you can see more tips on this in my sweet potato rolls post!
Serving Suggestions for Your Buttery Breadsticks
Honestly, these buttery breadsticks are so good, you could eat them plain! But if you’re having them as part of a meal, they are the perfect side dish bread. They are practically mandatory next to a big bowl of creamy tomato soup. And of course, since we are going for that restaurant vibe, they pair unbelievably well with pasta dishes—especially anything with a rich red sauce that you can use the breadstick to mop up.
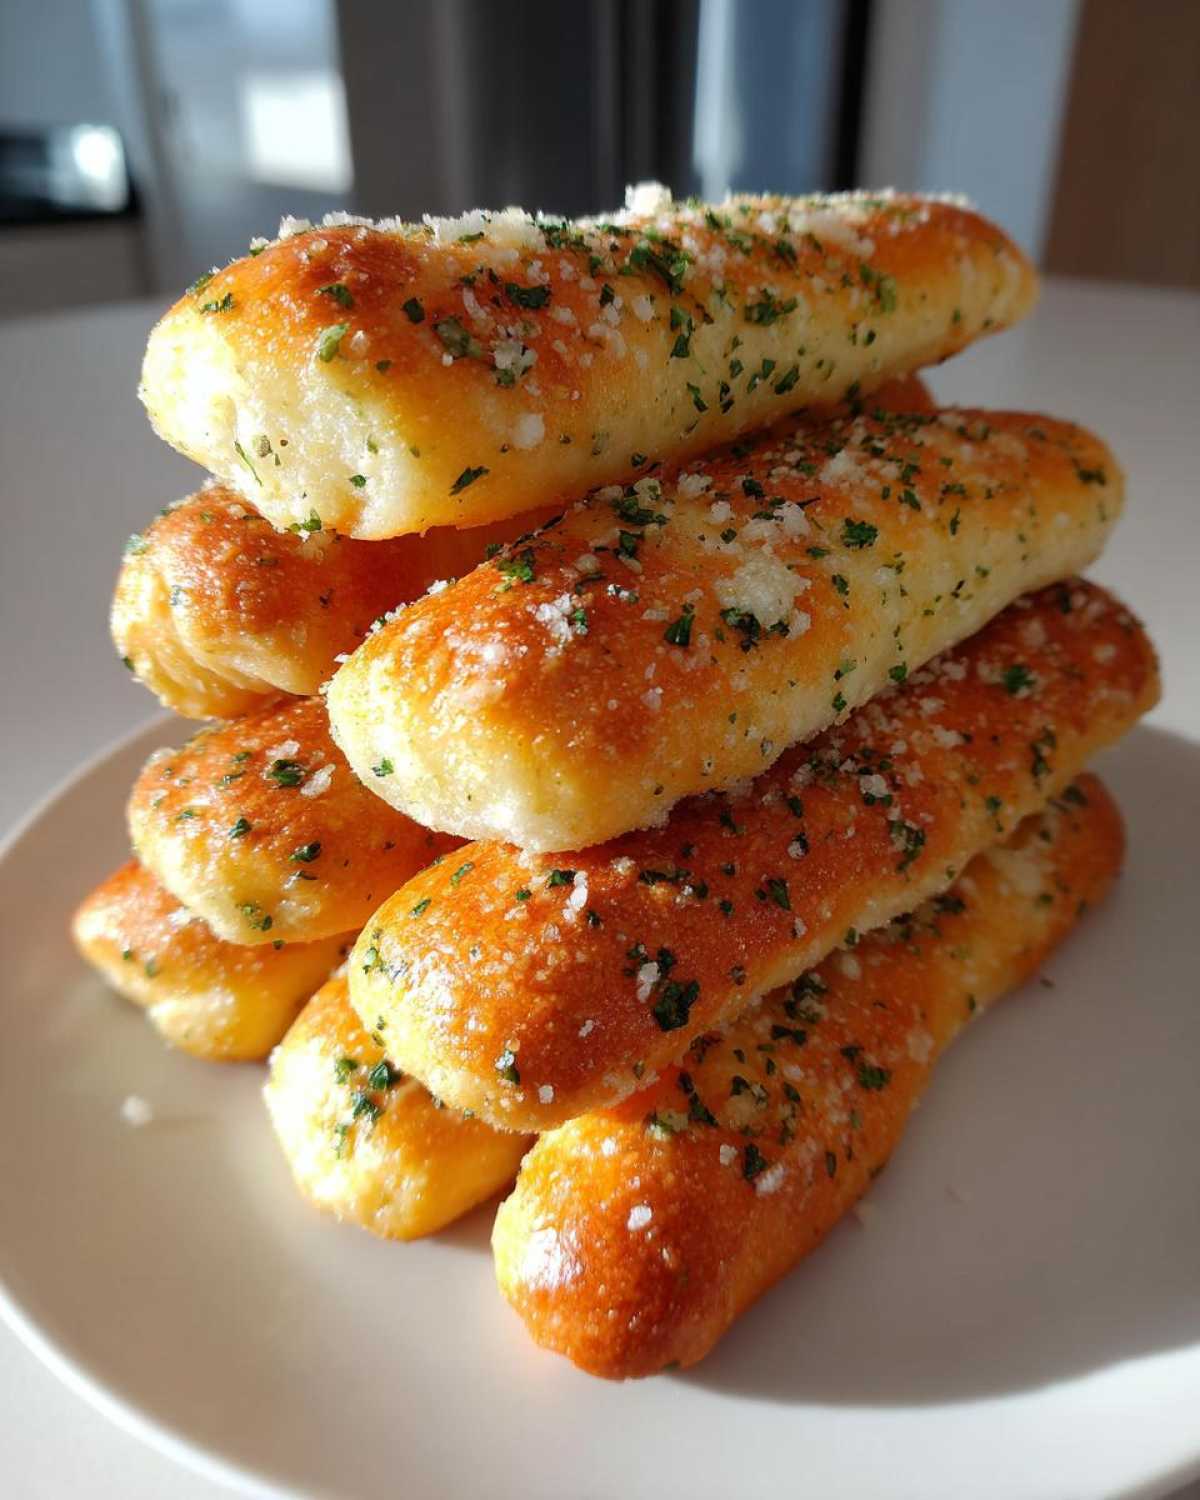
If you check out my recipe for the copycat Pasta e Fagioli, you absolutely need these on the side. They turn a simple dinner into a feast!
Storage and Reheating Instructions for Leftover Breadsticks
Don’t you hate when leftover breadsticks get a little tough? Me too! Store any extras in an airtight container at room temperature for up to two days. Forget the microwave—it just turns them chewy and sad. To bring back that bakery softness, I toss them in the oven at about 350°F for just 5 to 7 minutes. They come out warm, almost fresh-baked, ready for dipping. You can even try warming them up alongside my famous French Onion Chicken Bake!
Frequently Asked Questions About Homemade Breadsticks
I get so many questions about these breadsticks, which just tells me how much everyone loves soft, garlicky bread! It’s wonderful to see how many of you are mastering them at home. I’ve gathered the top things people ask me when baking these classic restaurant copycats.
Can I make the dough for these breadsticks in advance?
Yes, you absolutely can! If you want a head start, after kneading (Step 3), you can place the dough in a lightly oiled, sealed bowl and let it chill in the refrigerator for up to 48 hours. It will rise slowly down there, which actually develops even better flavor! Just remember to let the dough sit at room temperature for about 30 minutes before you try to shape and bake the homemade breadsticks.
How can I make these Cheesy Breadsticks?
Oh, that’s one of my favorite ways to switch things up! If you want that glorious, gooey cheese factor—turning them into cheesy breadsticks—wait until the very last step. After you brush them with the garlic butter (Step 11), but *before* you sprinkle the Parmesan, shower them generously with shredded mozzarella or a three-cheese Italian blend. Bake them for just 2 to 3 minutes longer until that cheese is bubbly and golden. It’s heavenly!
For more of my cozy weeknight recipes, you should totally bookmark my Crock Pot Chicken and Stuffing recipe!
Nutritional Estimate for These Breadsticks
Now, I always tell people that while these breadsticks are pure comfort food, they aren’t exactly side salad material! Since we are working with butter and flour, we need to keep things in perspective. Please know that these numbers are just an estimate per single breadstick, based on the recipe as written. You’ll find all the detailed breakdown below. Keep in mind, if you’re doing low-carb cooking, you might want to check out my keto chicken parmesan instead!
- Calories: 145
- Fat: 7g
- Carbohydrates: 18g
- Protein: 3g
- Sodium: 280mg
- Saturated Fat: 4g
See? Totally worth it for that perfect garlic flavor!
Share Your Breadsticks Success
I truly hope you dive into making these Copycat Breadsticks! Honestly, when you slice those warm, fluffy sticks and brush on that garlicky butter, it’s pure kitchen therapy. I get so much joy knowing you’re bringing this restaurant magic into your own home, just like I do!
Once you’ve pulled them out of the oven and they’ve cooled just enough to handle, please, please let me know how they turned out! The best compliment I can receive is when you rate the recipe five stars down below or leave a little comment telling me about your experience. Did you serve them with soup? Did your family inhale them in five minutes flat?
We absolutely love seeing your bakes! Tag me when you share photos—I always browse through our Pinterest account, and we’re always adding new inspiration there. If these amazing appetizers made your dinner table happy, you are going to adore my recipe for Ultimate Fudgy Brownies next time you need a dessert fix. Happy baking, friends!
Don’t forget to check out what everyone else is baking over at our Pinterest account!
PrintCopycat Olive Garden Breadsticks: Soft, Buttery, and Garlicky Homemade Delight
Recreate the famous soft, fluffy, and buttery breadsticks from Olive Garden right in your kitchen. This easy recipe delivers restaurant-quality flavor with a rich garlic butter topping.
- Prep Time: 20 min
- Cook Time: 15 min
- Total Time: 1 hour 35 min
- Yield: 18 servings 1x
- Category: Appetizer
- Method: Baking
- Cuisine: Italian-American
- Diet: Vegetarian
Ingredients
- 1 cup warm water (105-115°F)
- 2 1/4 teaspoons active dry yeast
- 1 tablespoon granulated sugar
- 3 cups all-purpose flour, plus more for dusting
- 1 1/2 teaspoons salt
- 2 tablespoons unsalted butter, melted, plus more for brushing
- 1/2 cup unsalted butter, melted (for topping)
- 2 teaspoons garlic powder
- 1 teaspoon dried parsley
- 1/4 cup grated Parmesan cheese
Instructions
- Combine the warm water, yeast, and sugar in a small bowl. Let this mixture sit for 5 to 10 minutes until it becomes foamy. This shows the yeast is active.
- In a large bowl or the bowl of a stand mixer, whisk together the flour and salt.
- Pour the yeast mixture and 2 tablespoons of melted butter into the dry ingredients. Mix on low speed with a dough hook or by hand until a soft dough forms. Knead for about 5 minutes until the dough is smooth.
- Place the dough in a lightly oiled bowl, turning to coat. Cover the bowl with plastic wrap or a clean kitchen towel and let it rise in a warm place for 1 to 1.5 hours, or until doubled in size.
- Preheat your oven to 400°F (200°C). Lightly grease a large baking sheet or line it with parchment paper.
- Punch down the risen dough gently. On a lightly floured surface, roll or pat the dough into a large rectangle, about 1/2 inch thick.
- Use a pizza cutter or knife to cut the dough into strips about 1 inch wide and 6 to 8 inches long. You should get about 16 to 20 breadsticks.
- Arrange the breadstick strips on the prepared baking sheet, leaving a small space between them.
- Bake for 10 to 15 minutes, or until the breadsticks are lightly golden brown.
- While the breadsticks bake, prepare the garlic butter topping: In a small saucepan, melt the 1/2 cup of butter over low heat. Stir in the garlic powder and dried parsley.
- As soon as the breadsticks come out of the oven, brush them generously with the garlic butter mixture.
- Immediately sprinkle the tops with the grated Parmesan cheese.
- Serve the **buttery breadsticks** warm. You can find more great recipes on our Pinterest account.
Notes
- For extra soft breadsticks, cover the baked breadsticks with a clean kitchen towel immediately after brushing with butter to trap the steam.
- If you want a richer flavor, substitute half of the melted butter in the topping with olive oil.
- These are fantastic served alongside your favorite pasta dishes or soup.
Nutrition
- Serving Size: 1 breadstick
- Calories: 145
- Sugar: 1
- Sodium: 280
- Fat: 7
- Saturated Fat: 4
- Unsaturated Fat: 3
- Trans Fat: 0
- Carbohydrates: 18
- Fiber: 1
- Protein: 3
- Cholesterol: 15