
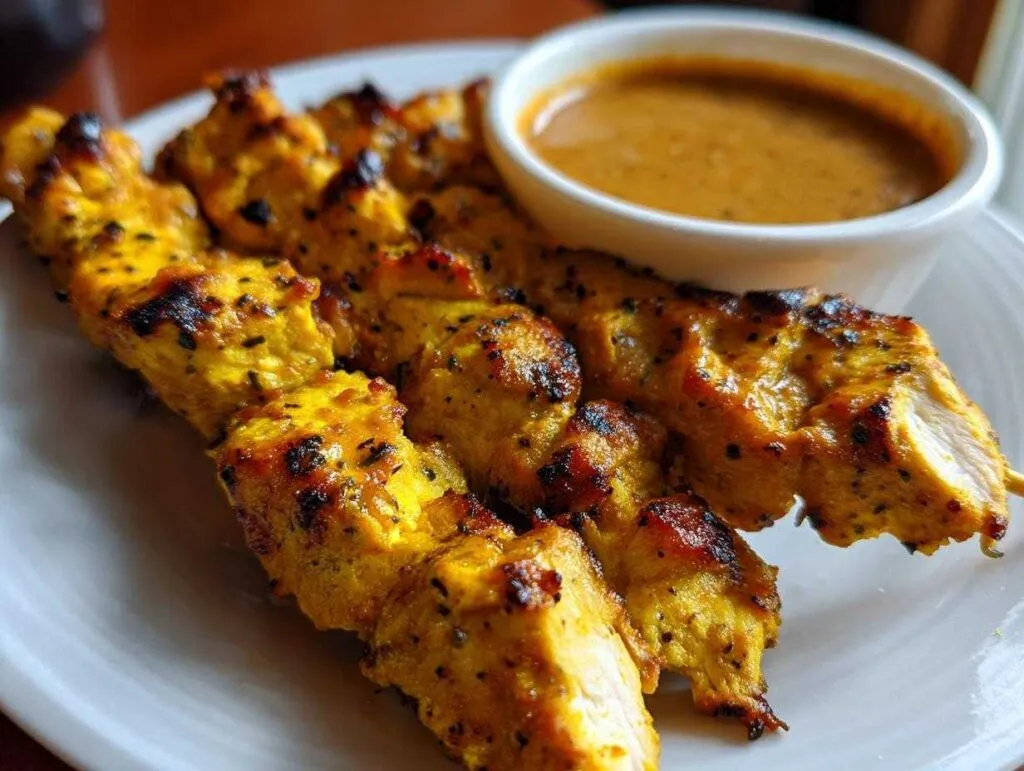
Oh my gosh, are you ready to banish those boring weeknight meals forever? Seriously, I’m sharing a recipe today that will make you forget you even thought about calling for takeout. We are making the best chicken satay skewers, and I mean it! This isn’t just some average chicken on a stick; this is seriously juicy, ridiculously flavorful chicken paired with an authentic, creamy peanut sauce that I swear tastes better than anything you’ll find at your favorite Thai spot. My love for Southeast Asian flavors really stems from watching my grandmother experiment with spices when I was small—though she never made satay, the bright, aromatic scents remind me of her kitchen magic. If you want to kick off your chicken game right, make sure you check out my tips for the best juicy, tender chicken marinade too! Promise me you’ll try this chicken satay; it’s going to become your new go-to!
- Why This Is the Best Chicken Satay Recipe You Will Make
- Gather Your Ingredients for Authentic Chicken Satay
- Mastering the Authentic Chicken Satay Marinade
- Step-by-Step Instructions for Chicken Satay and Easy Peanut Dipping Sauce
- Tips for Perfectly Juicy Chicken Skewers Every Time
- Serving Suggestions for Your Chicken Satay
- Storage and Reheating Instructions for Chicken Satay
- Frequently Asked Questions About Chicken Satay
- Share Your Amazing Chicken Satay Experience
Why This Is the Best Chicken Satay Recipe You Will Make
I know, I know, everyone promises the “best” recipe, but this chicken satay truly delivers that authentic punch you’re craving. Forget dry, flavorless skewers; we crack the code to juiciness every single time. Seriously, these highlights tell you everything:
- The secret to amazing moisture is using coconut milk in the marinade—it just keeps the meat so tender!
- Even soaking the skewers and cutting the chicken takes no time, making this a super viable quick weeknight dinner option.
- The homemade peanut sauce is rich and balances perfectly, making these so much better than almost any takeout version. You can find another easy sauce recipe here if you’re interested in alternatives!
Gather Your Ingredients for Authentic Chicken Satay
Okay, before we get into the magic of the marinade, we need to pull out everything for our chicken satay! I always lay everything out on the counter first—you know, mise en place—because when you’re ready to mix, you want to be ready to roll. This list has everything you need for unbelievably flavorful skewers and that dreamy dipping sauce we talked about.
For the Juicy Chicken Satay Skewers
The chicken part is so straightforward once you have these items ready. Remember, using thighs gives you much juicier chicken skewers, which is always my recommendation!
- 1.5 lbs boneless, skinless chicken thighs or breasts, cut into 1-inch strips (Thighs win!)
- 120 ml unsweetened full-fat coconut milk (This is our secret weapon!)
- 30 ml soy sauce (or tamari if you need a gluten free option—easy swap!)
- 1 tablespoon brown sugar
- 1 teaspoon ground turmeric (for that beautiful color!)
- 1 teaspoon ground cumin
- 1 teaspoon ground coriander
- 1/2 teaspoon salt
- 1/4 teaspoon black pepper
- Wooden or metal skewers. If you are using wooden ones, please, please remember to soak them in water for at least 30 minutes before you thread the chicken. If you skip this, they’ll just burn on the grill, and nobody wants that frustration!
For the Creamy Peanut Dipping Sauce Recipe
This is the centerpiece, the star of the show! Making this Homemade Satay Sauce Recipe from scratch is ridiculously easy, trust me. It’s so much better than anything bottled.
- 1 cup creamy peanut butter
- 1/4 cup hot water (This helps get it smooth fast)
- 3 tablespoons soy sauce
- 2 tablespoons lime juice (fresh is best here!)
- 2 tablespoons brown sugar
- 1 tablespoon rice vinegar
- 1 tablespoon grated fresh ginger (Don’t even think about using the powdered stuff!)
- 1 clove garlic, minced
- 1 teaspoon chili garlic sauce (or more, to taste—I usually add more because I like a kick!)
Mastering the Authentic Chicken Satay Marinade
Listen up, because this Authentic Chicken Satay Marinade is non-negotiable if you want that fantastic texture. The main hero in this mix is the full-fat coconut milk. It doesn’t just add a subtle background flavor that sings with the cumin and turmeric; it actually tenderizes the meat beautifully as it sits. This is key, especially if you are working with chicken breasts, although I still advocate for the juiciness that only chicken thighs can give you for the absolute best chicken satay! You can find more of my best tips for getting incredibly juicy chicken over here.
You don’t have to let this sit forever, which is another reason I love it for busy nights. I aim for at least one solid hour, but if you can swing it, letting the chicken hang out in that spice bath for three to four hours delivers next-level flavor penetration. Just be careful not to go too long—longer than eight hours can sometimes make the chicken a little too soft because of the acid and liquid. Toss everything together, make sure those chicken strips are totally submerged, cover it up, and pop it in the fridge. That’s practically all the hard work done!
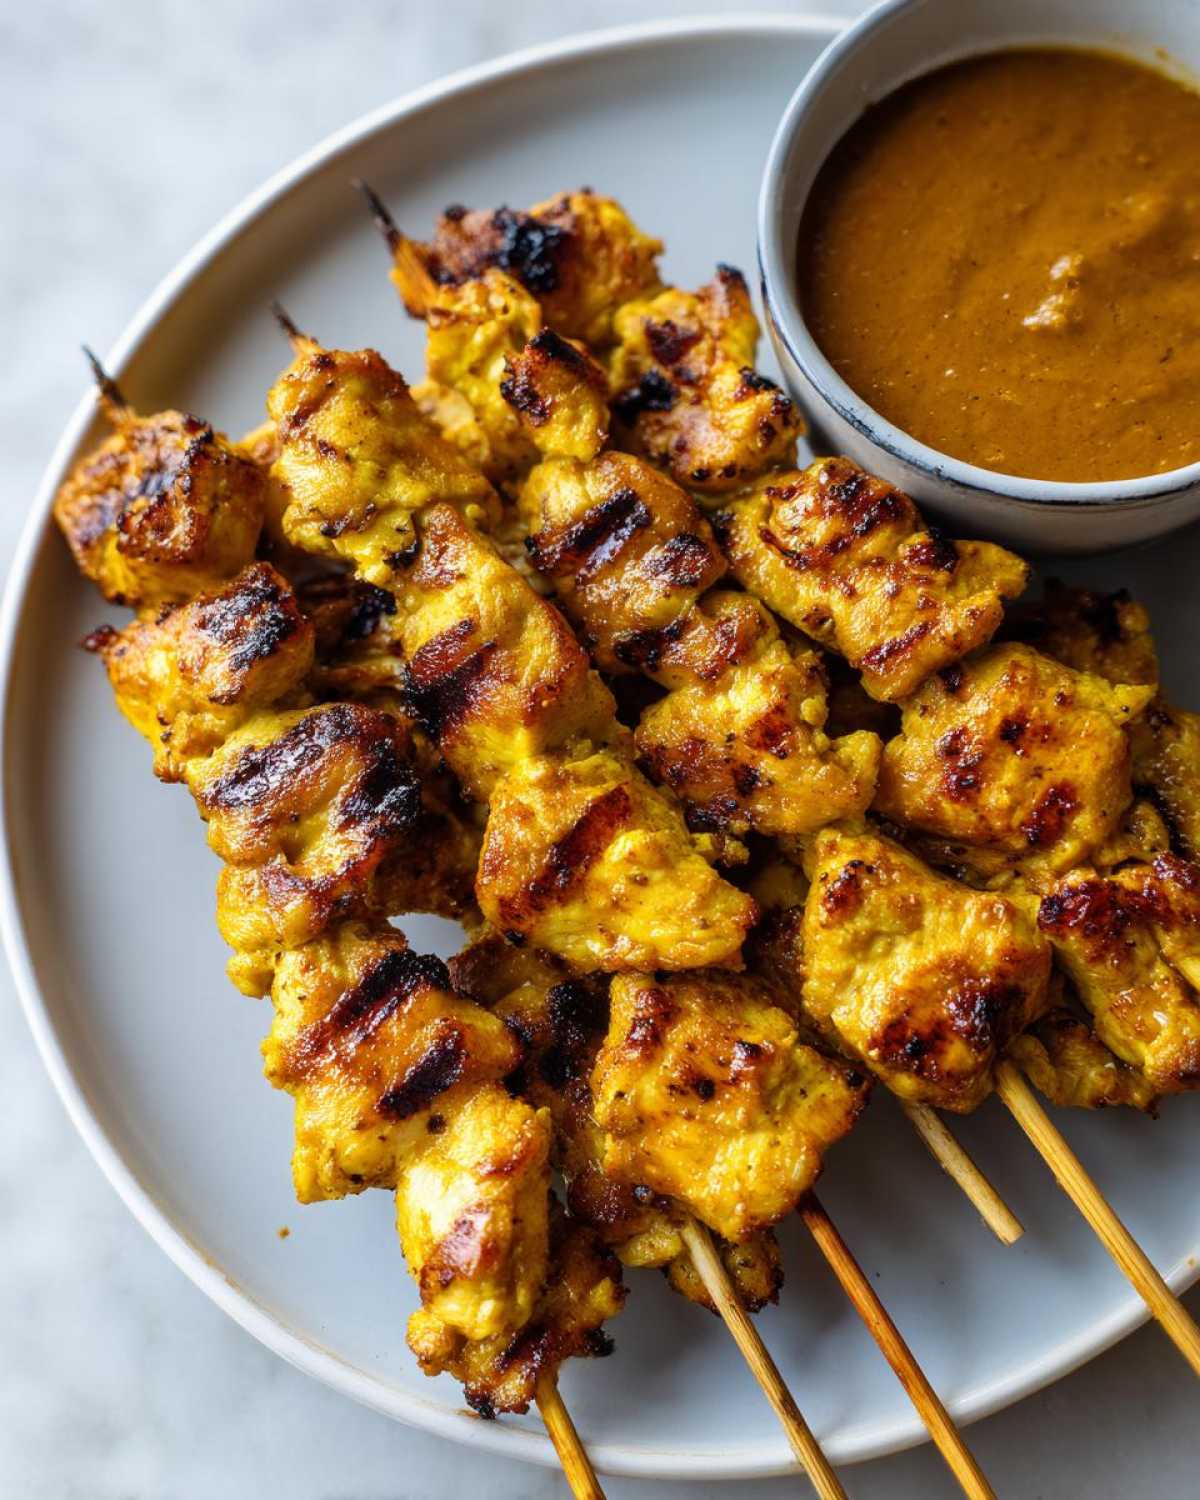
Step-by-Step Instructions for Chicken Satay and Easy Peanut Dipping Sauce
Okay! Now that your chicken is soaking up all that amazing coconut milk goodness, it’s time to tackle the sauce and get these chicken satay skewers ready for the fire—or the oven, depending on what works for you that day! Everything moves pretty fast here. We want that creamy sauce warm and ready to go!
Preparing the Homemade Satay Sauce
Let’s get right to this Creamy Peanut Sauce Tutorial. Grab a small saucepan and gently whisk together all your sauce ingredients: peanut butter, that hot water, soy sauce, lime, ginger, garlic, and sugar. Heat this mixture over medium heat. You have to whisk constantly, which is fun because you watch it transform from gritty peanut butter into this gorgeous, smooth glaze!
Let it simmer softly for just about three to five minutes until it thickens up a little. If you find it got too stiff while simmering—oops!—just whisk in a teaspoon of hot water at a time till it’s pourable but still clings nicely. Set this aside while we finish the chicken.
Cooking the Thai Chicken Satay Skewers
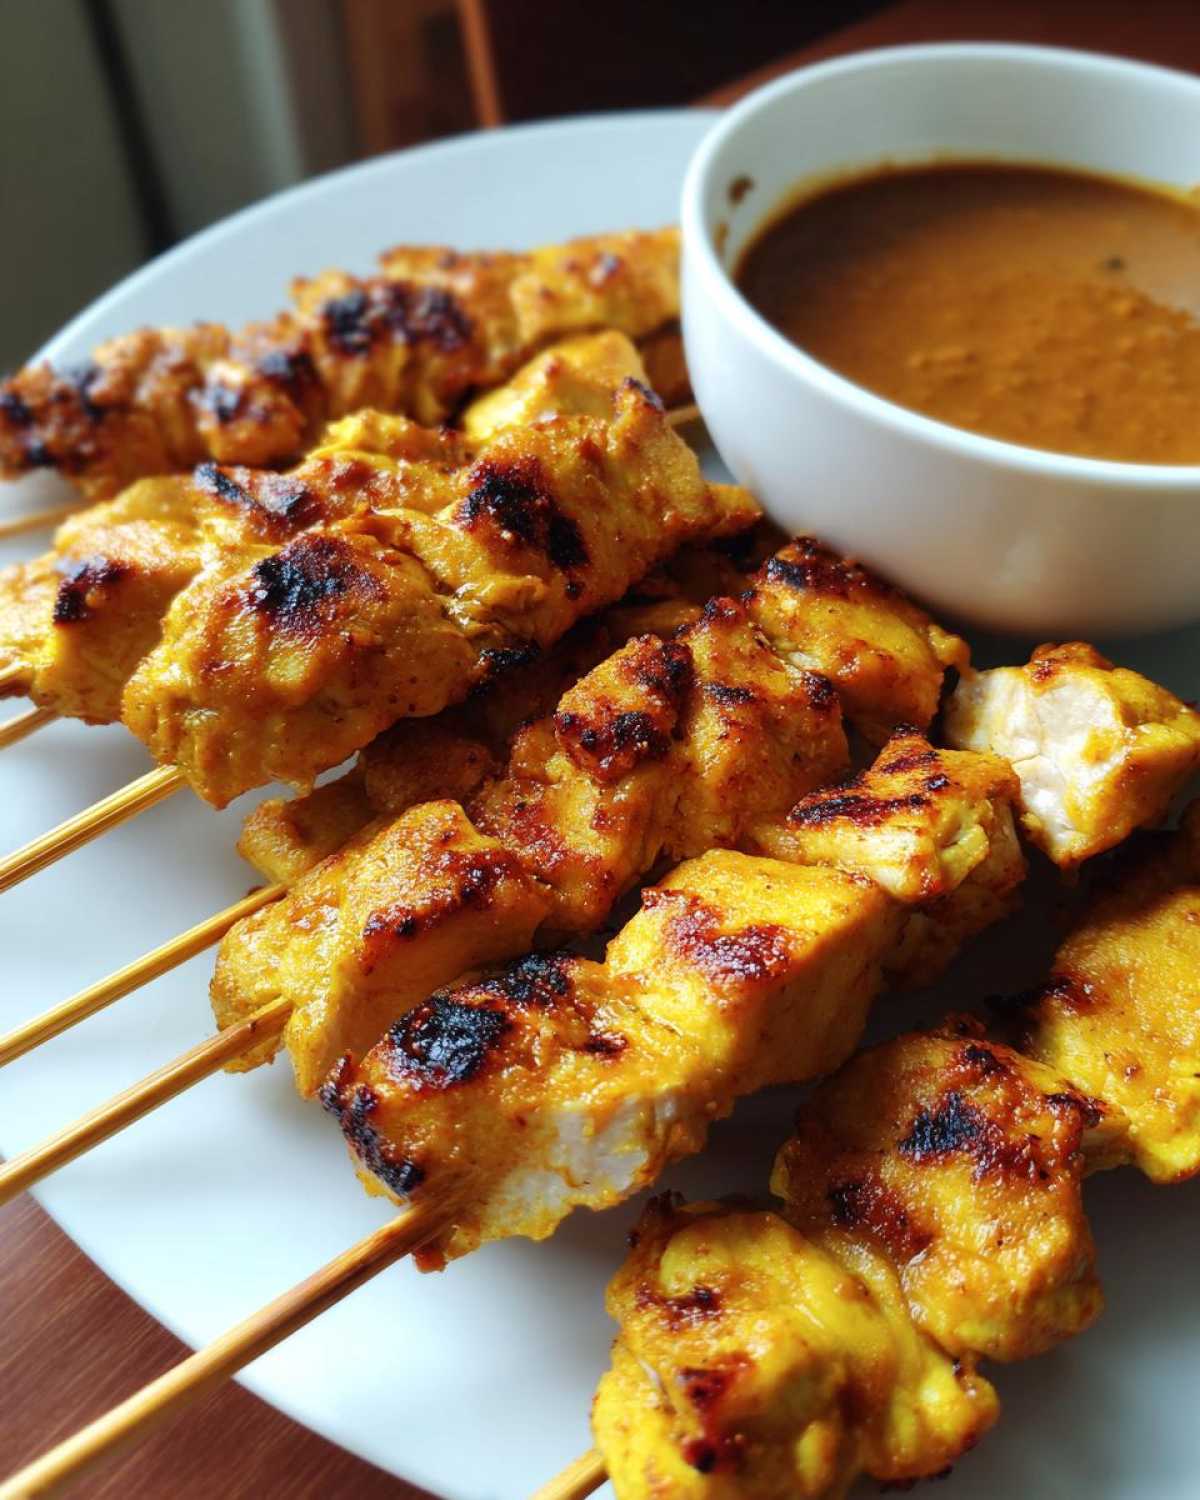
Time to thread those marinated pieces onto your soaked skewers. Throw out any leftover marinade, please! We need to cook these babies now. For the classic taste, preheat your grill to medium-high heat. You want those gorgeous char marks, so grill them for about 4 to 6 minutes on each side. You’re looking for that perfectly cooked, juicy chicken skewers texture.
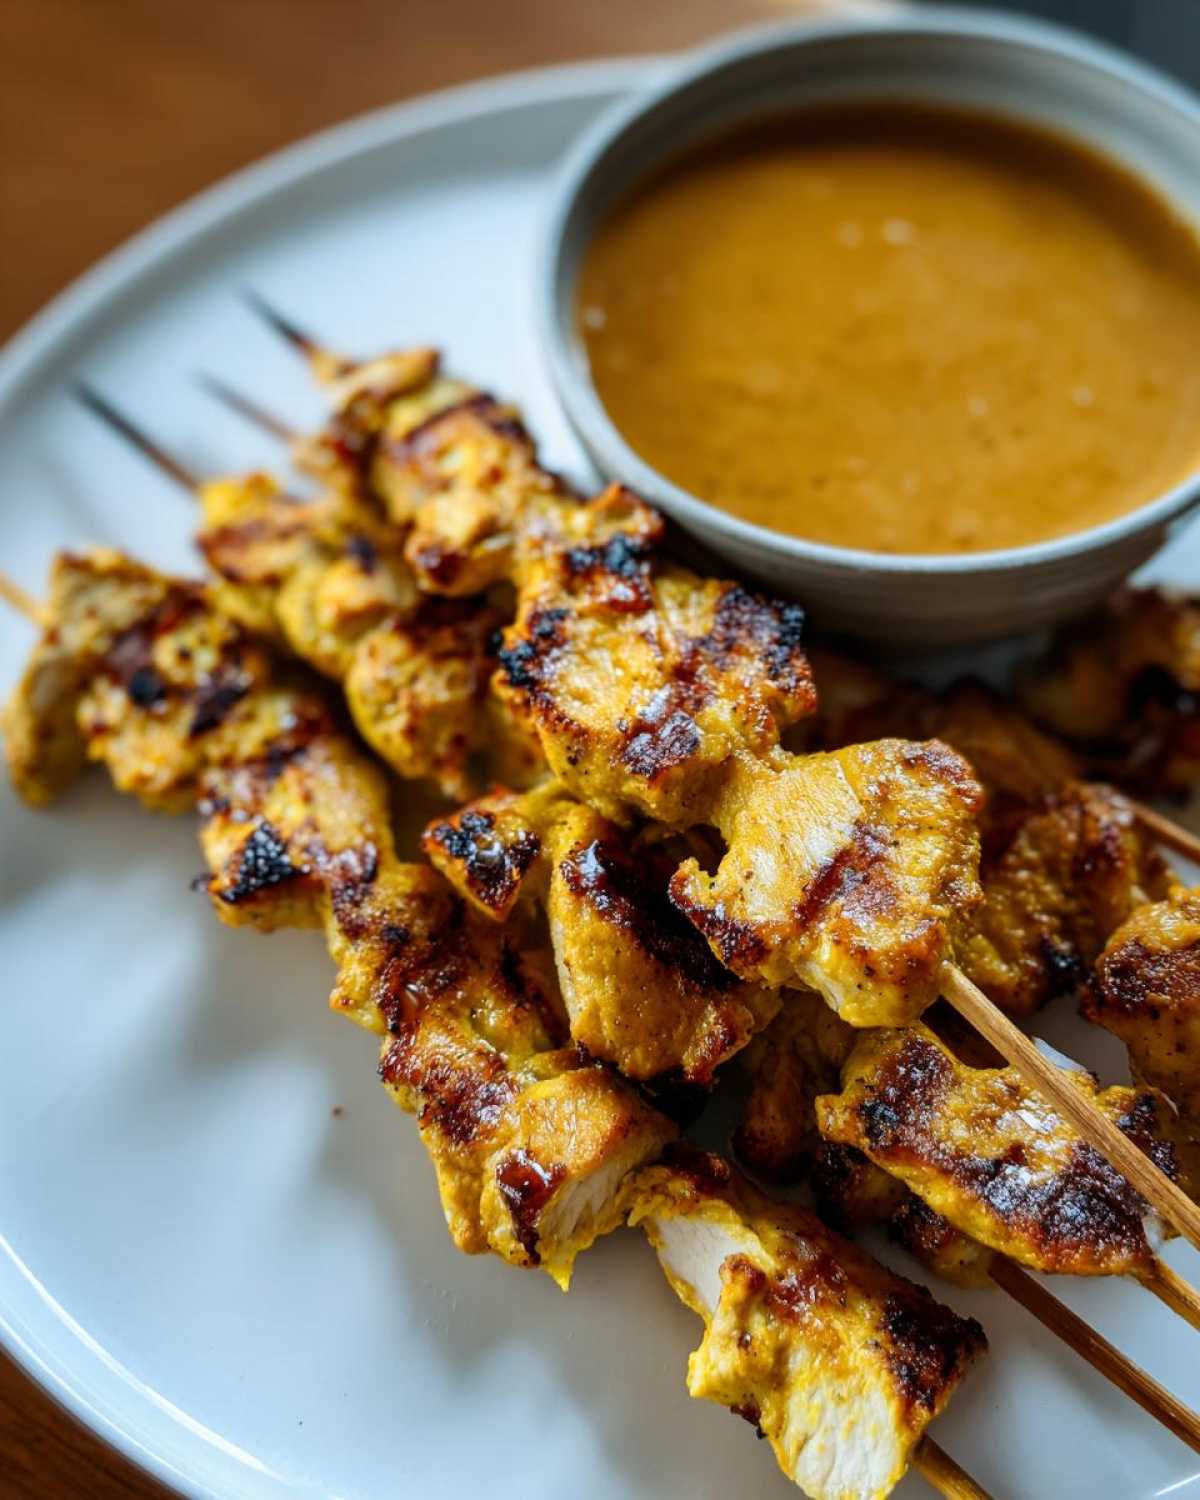
If the weather is gloomy, no sweat! Pop those beauties on a lined baking sheet. Preheat your oven to 400°F (that’s 200°C). Bake them for 15 to 20 minutes, flipping halfway through, until they’re done. Either way, serve these incredible Thai Chicken Satay Skewers immediately alongside that warm peanut sauce. For more great cooking ideas, check out my one-pan honey garlic chicken for another easy dinner!
Tips for Perfectly Juicy Chicken Skewers Every Time
We all strive for that restaurant-level tenderness, right? Because honestly, dry chicken satay is a crime! If you want truly juicy chicken skewers that melt in your mouth, remember these couple of final pointers. First, I really, really stress using chicken thighs over breasts if you can manage it. Thighs have more fat, and that fat equals flavor and moisture insurance, especially when grilling!
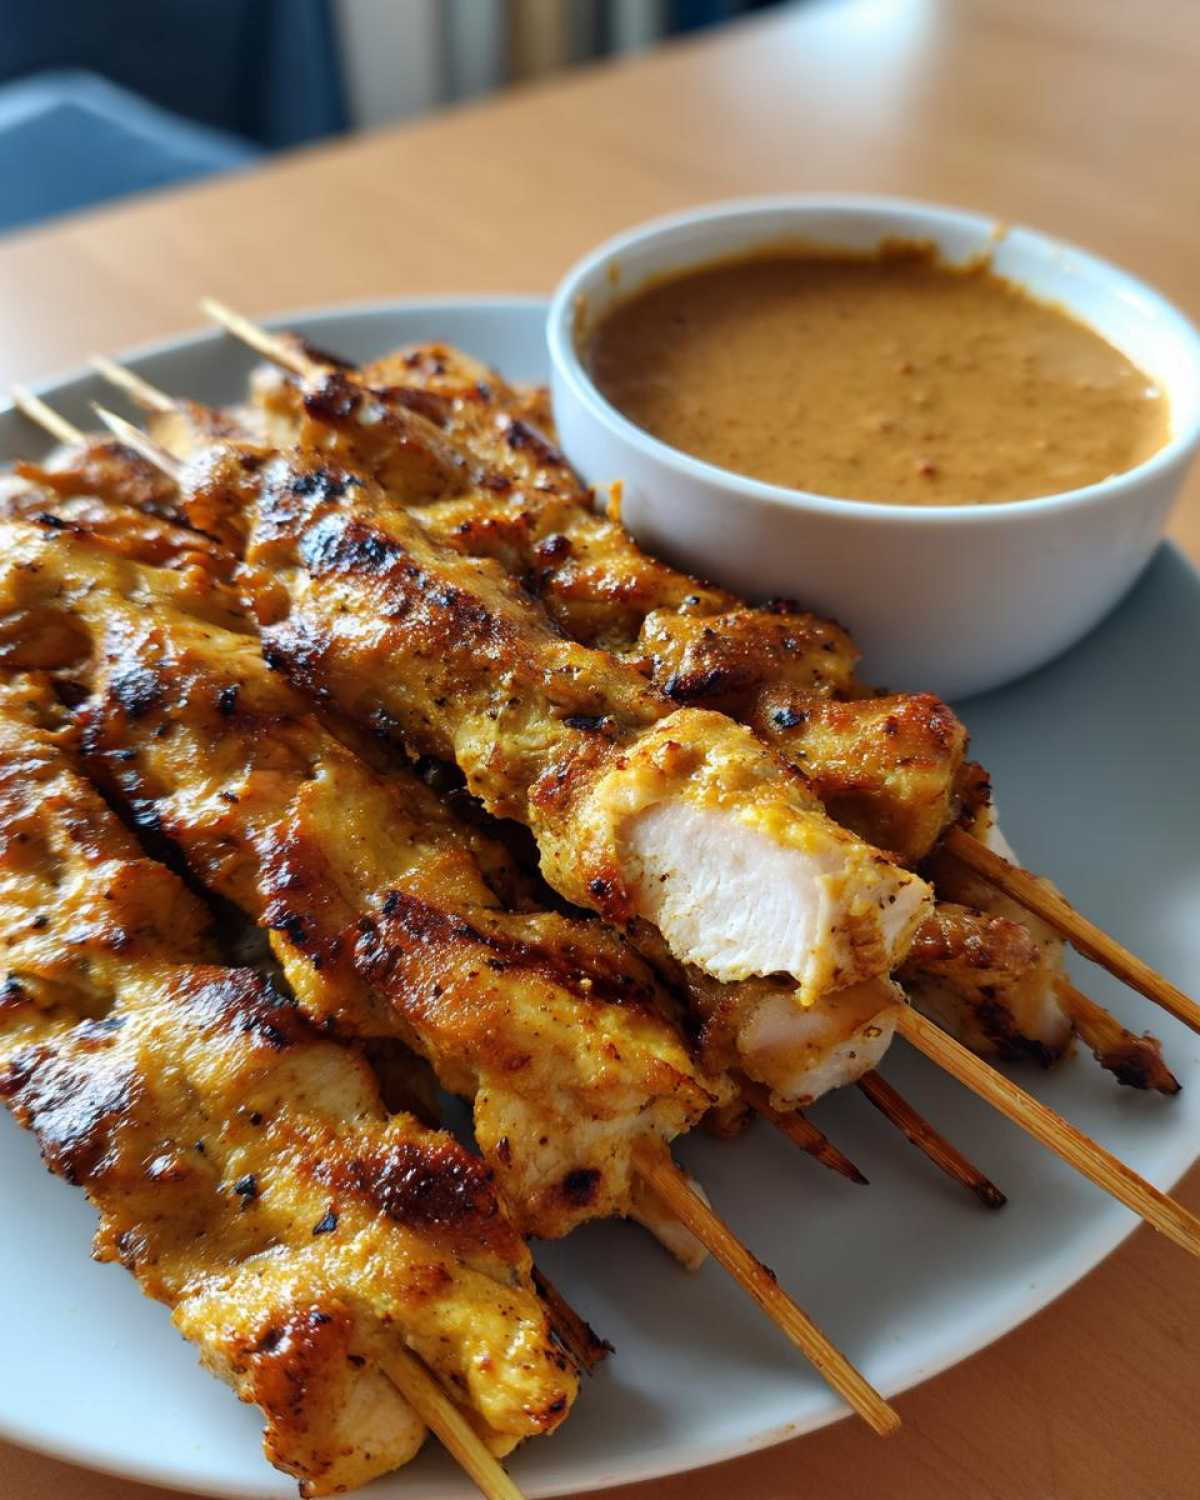
Second, while marinating is key, you can’t let it sit forever. We established that one to four hours is the sweet spot for getting that deep flavor without the chicken getting strange in texture. My final check before they hit the heat? I always grab my instant-read thermometer. Your skewers are done when the internal temperature hits 165°F—no guessing needed!
If you are looking for other ways to enhance your chicken game, you have to check out my tips on the ultimate chicken marinade for deep flavor penetration. Follow these tricks and you’ll nail this chicken satay recipe!
Serving Suggestions for Your Chicken Satay
Now that you’ve got the most amazing chicken satay ready to go, the final hurdle is deciding what beautiful sides to serve it with! These skewers are delicious enough to stand alone as a party appetizer, but if you’re making them for dinner, you need some good company.
I always lean into that fresh Southeast Asian vibe. Serve them up alongside a big bowl of fluffy jasmine rice. If you want something super easy and bright, try my Cilantro Lime Rice—it cuts through the richness of the peanut sauce perfectly! A simple, quick cucumber salad is also a winner for that crunch. Honestly, seeing these Thai Chicken Satay Skewers emerge makes any night feel like a special occasion, transforming it into a satisfying Quick Weeknight Chicken Dinner!
Storage and Reheating Instructions for Chicken Satay
No matter how good this chicken satay is—and trust me, it’s phenomenal—sometimes you end up with leftovers, which is honestly the best kind of problem to have! Keep any leftover chicken skewers sealed up tight in an airtight container in the fridge. They hold up really well for about three days. Please, resist the urge to use the microwave to reheat them; that’s the fastest way to turn perfectly juicy chicken back into rubber!
For the best texture retention, I always recommend reheating them briefly in a 350°F oven or, if you have one, popping them in the air fryer for about 3 to 4 minutes. That quick blast of dry heat revives any little bit of crispiness you had before. And the peanut sauce? That keeps great in the fridge too! If it gets too stiff, just whisk in a splash of hot water or milk when you’re ready to dip again.
Frequently Asked Questions About Chicken Satay
I always get so many great questions when I post this recipe, so I put together an FAQ section to help you nail your chicken satay! There are a few little details that really make the difference between good skewers and the absolute best ones.
Can I use chicken breast instead of thighs?
You totally can, and it’s a great option if you’re looking for a lighter meal. However, I have to be honest—chicken thighs are the winner for juicy chicken skewers! They have more fat, which keeps them tender and flavorful throughout the grilling process. If you use breasts, just really stick to that one-to-four-hour marination window so they don’t dry out.
How do I make this a Gluten Free Chicken Satay Option?
This is simple! The marinade already uses coconut milk, which is naturally gluten-free. The only place gluten usually sneaks in is the soy sauce. Just swap out regular soy sauce for tamari in both the marinade *and* the Homemade Satay Sauce Recipe. Boom! Delicious Gluten Free Chicken Satay Option ready to go!
How long is too long to marinate chicken satay?
For the most intense flavor, you can let the chicken sit in the coconut milk marinade for up to 4 hours. I wouldn’t recommend going much longer than that. If you want to see other ways to use these flavors, I have an amazing recipe for Thai Peanut Chicken Wraps!
My peanut sauce is separated. What do I do?
Don’t panic! That usually happens after it cools down. Just heat the sauce gently in a small saucepan or even the microwave for 15 seconds, then whisk vigorously. If it’s too thick now, slowly add a tiny splash of hot water until you get that perfect, clingy texture. It should be luxurious enough for dipping all your Chicken Satay Skewers!
Share Your Amazing Chicken Satay Experience
I really hope you loved making this chicken satay as much as I love eating it! When you’re done, please come back and leave me a rating—tell me if you rocked the grill or stuck to the oven. If you made some amazing Thai Street Food Recipes inspired by this, share a snap on social media! Don’t forget to check out our Pinterest account for even more inspiration over here!
PrintEasy Thai Chicken Satay Skewers with Authentic Creamy Peanut Sauce

Make restaurant-quality Thai Chicken Satay right in your kitchen! This recipe delivers juicy, flavorful grilled chicken skewers paired with a rich, homemade peanut dipping sauce. It is perfect for a quick weeknight dinner or an impressive party appetizer.
- Prep Time: 20 min
- Cook Time: 15 min
- Total Time: 1 hour 35 min
- Yield: 4 servings 1x
- Category: Appetizer
- Method: Grilling
- Cuisine: Thai
- Diet: Low Fat
Ingredients
- 1.5 lbs boneless, skinless chicken thighs or breasts, cut into 1-inch strips
- 120 ml unsweetened full-fat coconut milk
- 30 ml soy sauce (or tamari for gluten free)
- 1 tablespoon brown sugar
- 1 teaspoon ground turmeric
- 1 teaspoon ground cumin
- 1 teaspoon ground coriander
- 1/2 teaspoon salt
- 1/4 teaspoon black pepper
- Wooden or metal skewers (soak wooden ones in water for 30 minutes)
- For the Peanut Sauce: 1 cup creamy peanut butter
- 1/4 cup hot water
- 3 tablespoons soy sauce
- 2 tablespoons lime juice
- 2 tablespoons brown sugar
- 1 tablespoon rice vinegar
- 1 tablespoon grated fresh ginger
- 1 clove garlic, minced
- 1 teaspoon chili garlic sauce (or more, to taste)
Instructions
- Prepare the Marinade: In a medium bowl, whisk together the coconut milk, soy sauce, brown sugar, turmeric, cumin, coriander, salt, and pepper.
- Marinate the Chicken: Add the chicken strips to the marinade, ensuring every piece is well coated. Cover the bowl and refrigerate for at least 1 hour, or up to 4 hours, for the best flavor.
- Make the Peanut Sauce: While the chicken marinates, prepare the sauce. In a small saucepan over medium heat, combine the peanut butter, hot water, soy sauce, lime juice, brown sugar, rice vinegar, ginger, garlic, and chili garlic sauce.
- Simmer the Sauce: Whisk constantly until the sauce is smooth and creamy. Bring it to a gentle simmer, then reduce the heat to low and cook for 3 to 5 minutes until slightly thickened. Remove from heat and set aside. If the sauce is too thick, add a teaspoon of hot water at a time until you reach your desired consistency.
- Skewer the Chicken: Thread the marinated chicken pieces onto the soaked wooden or metal skewers. Discard any remaining marinade.
- Cook the Satay: You can grill, bake, or pan-cook the skewers. For grilling, preheat your grill to medium-high heat. Grill the skewers for 4 to 6 minutes per side, until the chicken is cooked through and has nice char marks. For baking, preheat your oven to 400°F (200°C). Place skewers on a lined baking sheet and bake for 15 to 20 minutes, flipping halfway through.
- Serve: Arrange the juicy chicken skewers on a platter. Serve immediately with the warm, creamy peanut sauce for dipping.
Notes
- For extra juicy chicken skewers, use chicken thighs instead of breasts. The higher fat content keeps them tender during cooking.
- If you want a smoky flavor without a grill, add 1/2 teaspoon of liquid smoke to the marinade.
- This recipe is naturally gluten free if you use tamari instead of standard soy sauce for both the marinade and the sauce.
Nutrition
- Serving Size: 3 skewers
- Calories: 410
- Sugar: 12
- Sodium: 650
- Fat: 24
- Saturated Fat: 8
- Unsaturated Fat: 16
- Trans Fat: 0
- Carbohydrates: 18
- Fiber: 3
- Protein: 30
- Cholesterol: 85