
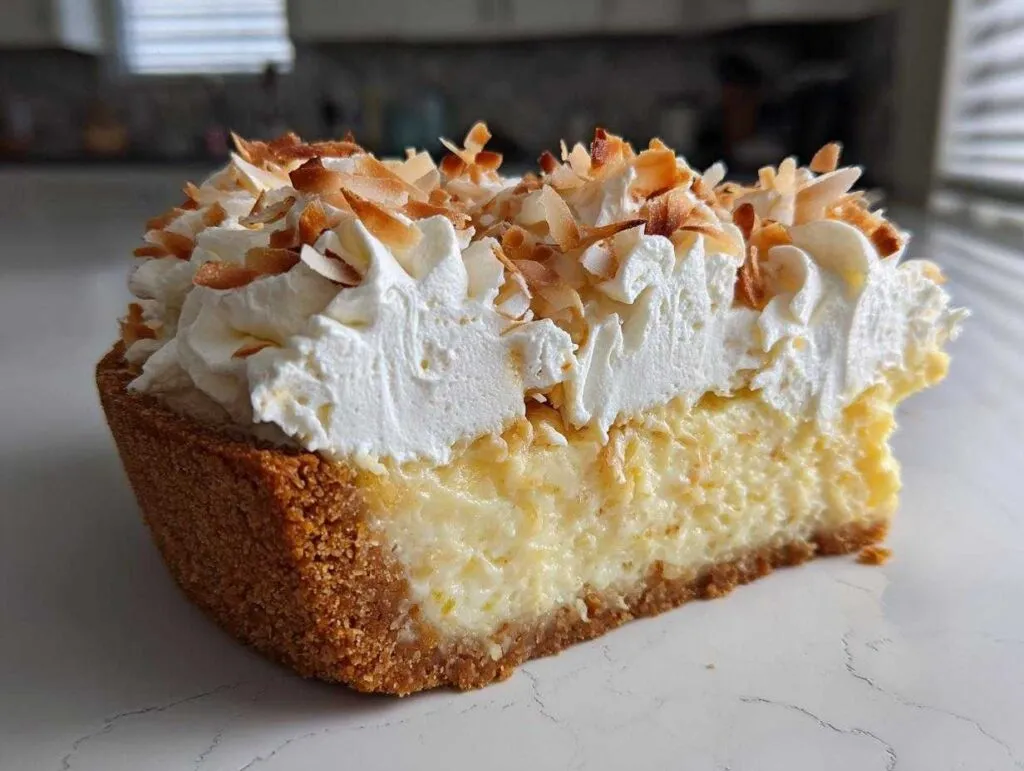
Oh my goodness, if you’re looking for a good excuse to bake something truly spectacular this week, I’ve got you covered—it’s National Coconut Cream Pie Day! In my book, that’s a serious holiday that demands the best. Forget flimsy fillings; we are making the ultimate, show-stopping Coconut cream pie today. This is the recipe I pull out when only pure, nostalgic indulgence will do. It reminds me so much of my grandmother’s kitchen; she always believed a dessert should make everyone gasp when you bring it to the table! We’re talking about a filling so thick and custardy you can practically stand a spoon up in it, all nestled in that perfect, crisp graham cracker shell, and topped with a cloud of fluffy cream. Trust me, this version is my perfected roadmap to the best old fashioned cream pie you’ll ever taste.
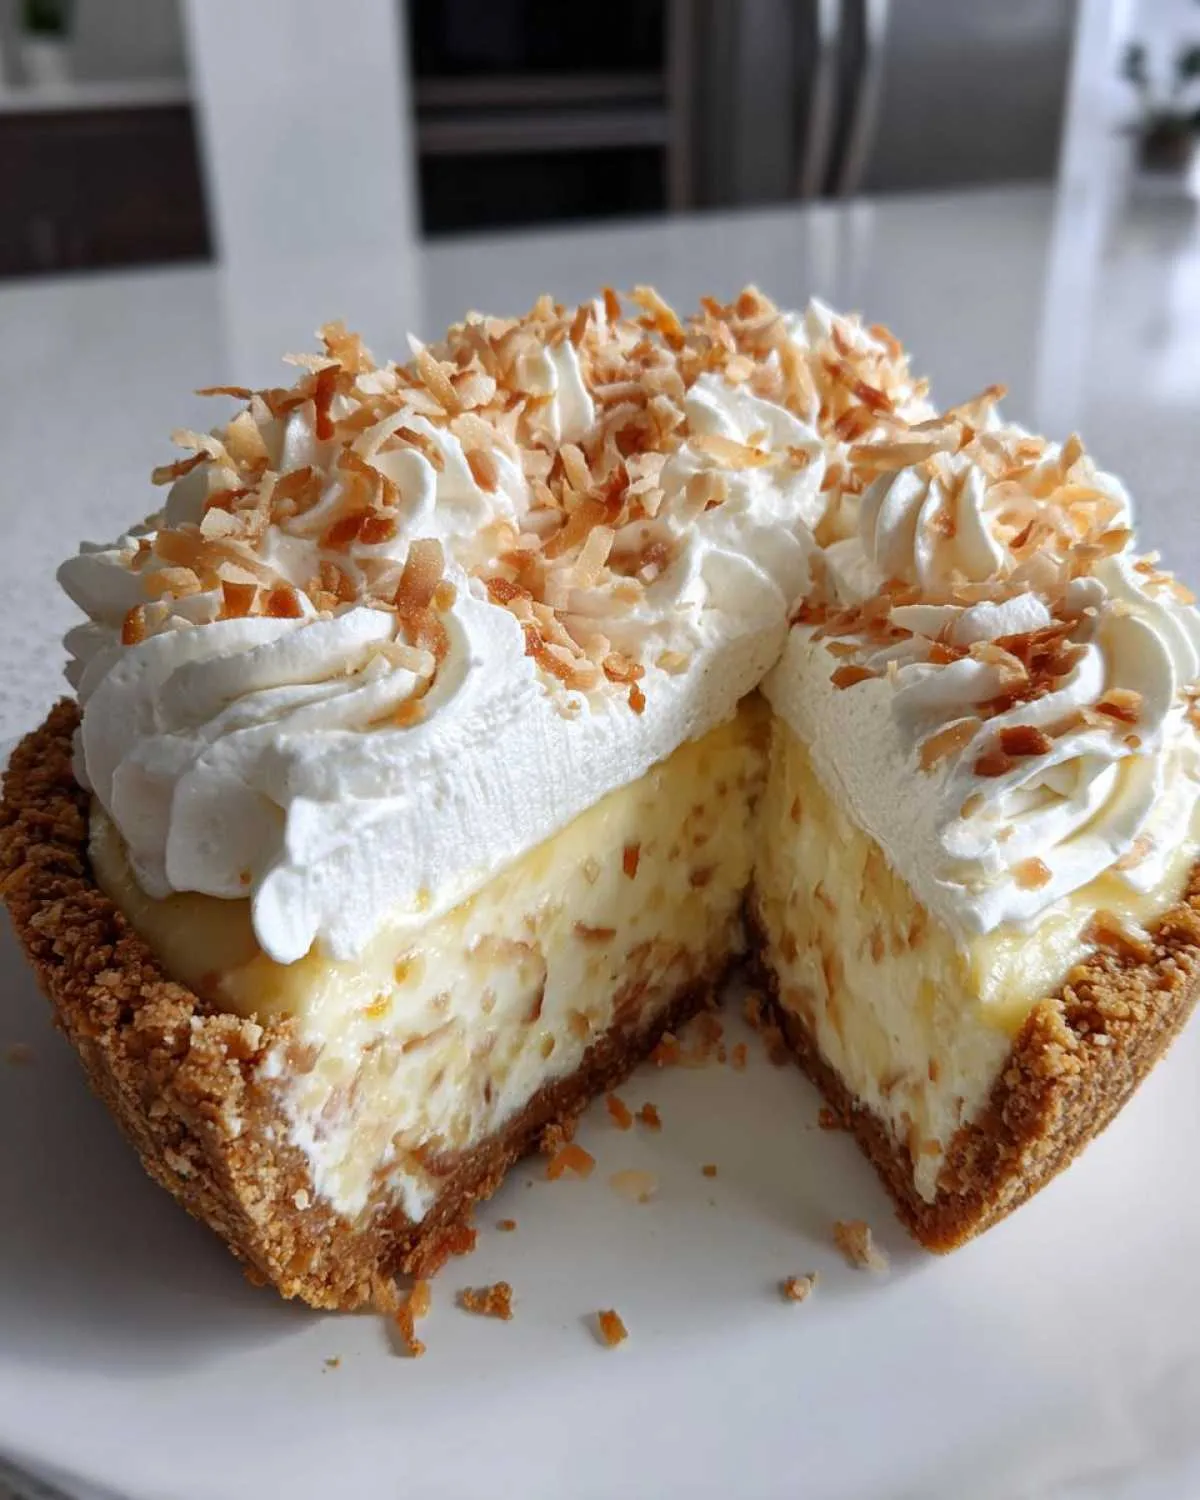
- Why This Coconut Cream Pie is Your Next Sweet Weekend Treat
- Gathering Ingredients for the Ultimate Coconut Cream Pie
- Step-by-Step Instructions for Perfect Coconut Cream Pie
- Expert Tips for a Flawless Coconut Cream Pie
- Ingredient Spotlight: Mastering the Coconut in Your Coconut Cream Pie
- Variations for Your Coconut Cream Pie
- Serving Suggestions for This Nostalgic Coconut Cream Pie
- Storage and Reheating Instructions for Coconut Cream Pie
- Frequently Asked Questions About Making Coconut Cream Pie
Why This Coconut Cream Pie is Your Next Sweet Weekend Treat
When you’re planning a big family gathering or just need a serious dose of happy nostalgia, this pie delivers exactly what you want. Skip anything less than spectacular; this is the ultimate dessert centerpiece! I promise this recipe lives up to the hype we’re building for this amazing pie.
Thick, Rich Homemade Coconut Custard
If you’ve ever been disappointed by a runny center, you can breathe a huge sigh of relief! We are making a real, old-school, spoon-standing-up-straight kind of homemade coconut custard here. This filling sets perfectly every single time, thank you to plenty of cornstarch and careful cooking.
Bakery-Style Fluffy Whipped Topping
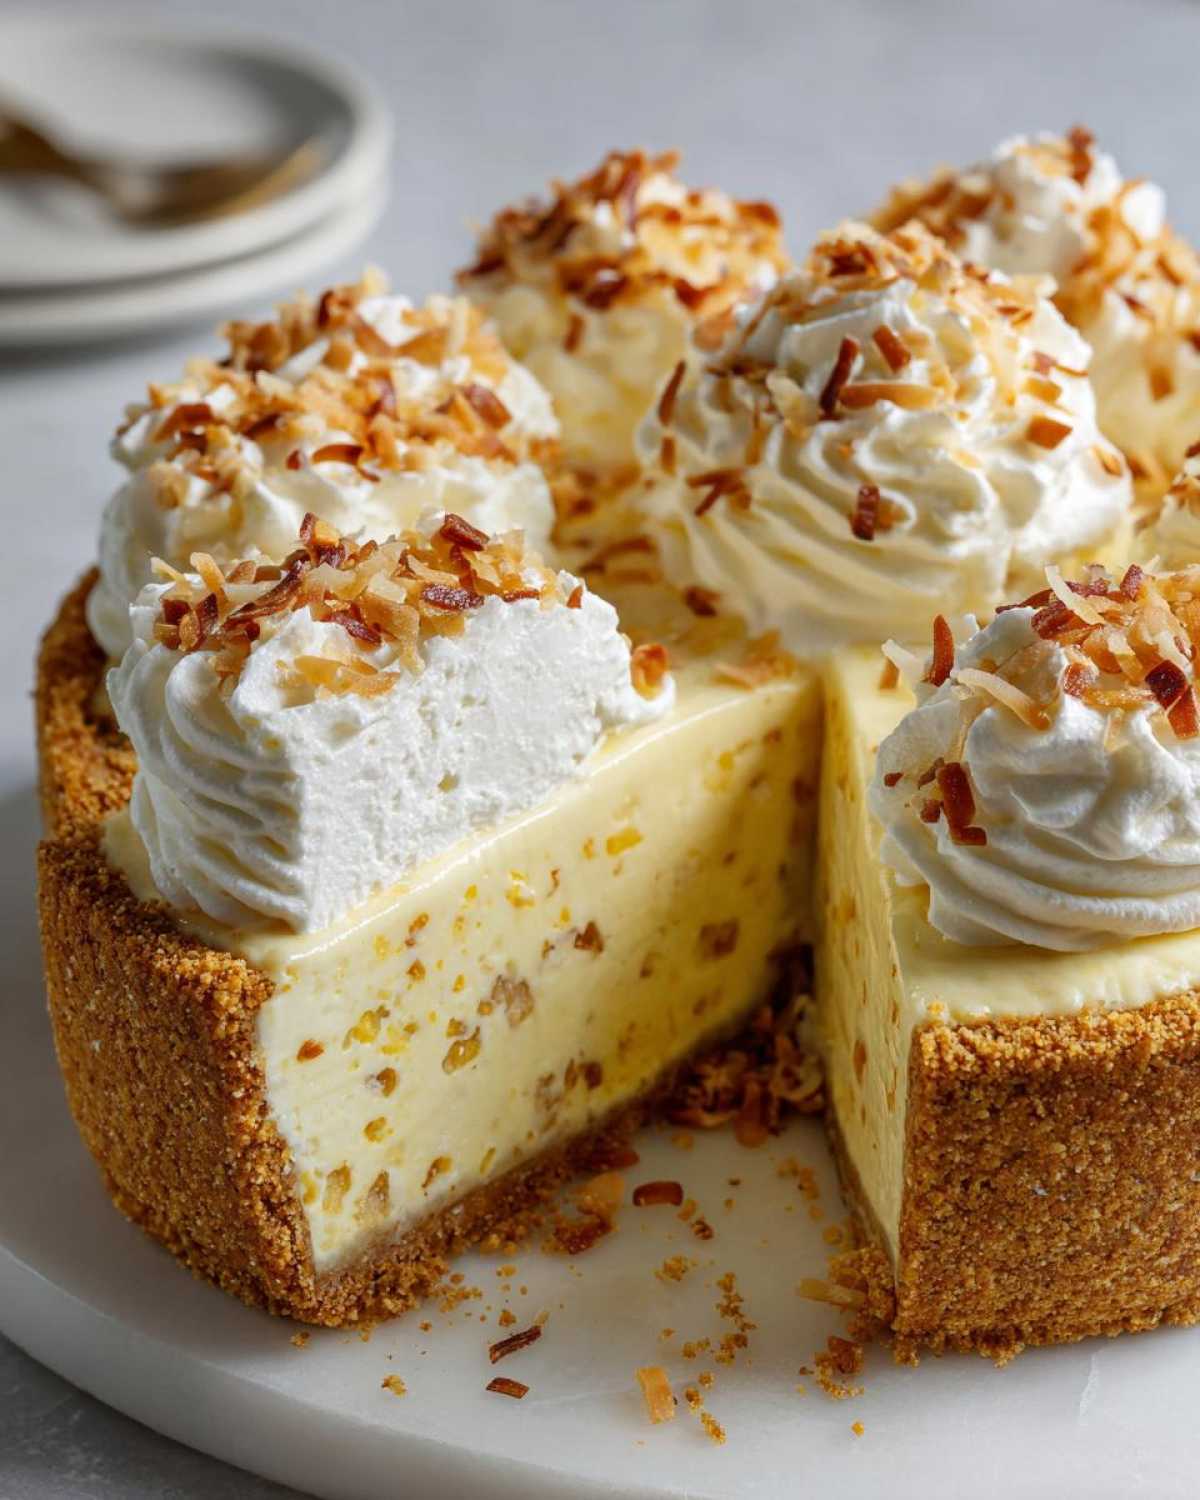
We aren’t messing around with sad, flat icing! This recipe calls for a towering, billowy cloud of whipped cream that screams indulgence. After chilling, you top it with those gorgeous, crunchy, golden-brown flakes for that picture-perfect, bakery-style finish. It’s truly a beautiful thing!
Gathering Ingredients for the Ultimate Coconut Cream Pie
Okay, let’s talk supplies! Getting the ingredients right is step one toward achieving that perfect classic pie texture. I always organize everything on my counter before I even turn on the stove—it saves so much stress, believe me! We need three main groups of ingredients to nail this dessert, especially making sure we have enough coconut to go in the filling and enough to toast beautifully on top.
For the Best Graham Cracker Crust
The foundation has to be solid! This part is super simple, but using the right ratio here is what guarantees you get that best graham cracker crust that doesn’t crumble when you slice it. Make sure your butter is melted and ready to go!
- 1 1/2 cups graham cracker crumbs
- 1/4 cup granulated sugar (for crust)
- 6 tablespoons unsalted butter, melted
For the Homemade Coconut Custard Filling
This is where the magic happens for that thick, luxurious texture. See how I specified dividing the coconut? We need a good cup mixed right into the custard so you get coconut flavor in every single bite of that homemade coconut custard.
- 2 cups milk
- 1/2 cup granulated sugar (for custard)
- 1/4 cup cornstarch
- 1/4 teaspoon salt
- 4 large egg yolks, lightly beaten
- 2 tablespoons unsalted butter
- 1 teaspoon vanilla extract
- 1 1/2 cups sweetened flaked coconut, divided (1 cup for filling, 1/2 cup for topping)
For the Towering Whipped Topping and Garnish
We need the heavy cream nice and cold for this, but the rest of these ingredients are just for whipping up that spectacular cloud of topping and getting that professional, golden crunch on top.
- 2 cups heavy whipping cream
- 1/4 cup powdered sugar (for topping)
- 1 teaspoon vanilla extract (for topping)
Step-by-Step Instructions for Perfect Coconut Cream Pie
Alright, this is where the action happens! We need to move with purpose but not rush, especially when we get to the custard part. Trust me, following this sequence will give you that perfect structure, from the crust base all the way up through the topping. If you’re ready to build a masterpiece, let’s get going!
Baking the Best Graham Cracker Crust
First things first: we give that crust a jump start so it stays crisp! Mix up your crumbs, sugar, and melted butter, and press it firmly into the 9-inch plate. Get it up the sides nicely, then bake it at 350°F for just 10 minutes. Crucially, you must let this cool completely before adding any filling. If you fill a warm crust, you’ll get that dreaded soggy bottom, and nobody wants that for their old fashioned cream pie! You can check out some great ideas for using leftover graham cracker crumbs in my toffee bars recipe if you have too much left over.
Creating the Thick Homemade Coconut Custard
In a saucepan, whisk your milk, sugar, cornstarch, and salt, and cook it until it coats your spoon well. Now, here’s the tempering magic: slowly whisk about a cup of that hot mixture into your lightly beaten egg yolks—do this super slow or you’ll scramble them! Once tempered, pour that yolk mix back into the saucepan. Cook this until it bubbles thickly and you let it boil for a full minute. That boil sets the cornstarch properly. Remove it from the heat immediately!
Chilling and Preparing Toasted Coconut Flakes
Once the custard base is cooked, stir in the last bit of butter, vanilla, and that first cup of the sweetened coconut. Pour it right into that cooled graham cracker shell. Slap plastic wrap directly onto the surface—this stops that gross skin from forming. Then, pop it in the fridge for at least four hours, or honestly, overnight! While it chills, toss the reserved half-cup of coconut on a baking sheet. Bake at 350°F for about 5 to 8 minutes, keeping a close eye on it, until you have gorgeous, golden-brown toasted coconut flakes. Let those cool completely, too!
Finishing Your Coconut Cream Pie Assembly
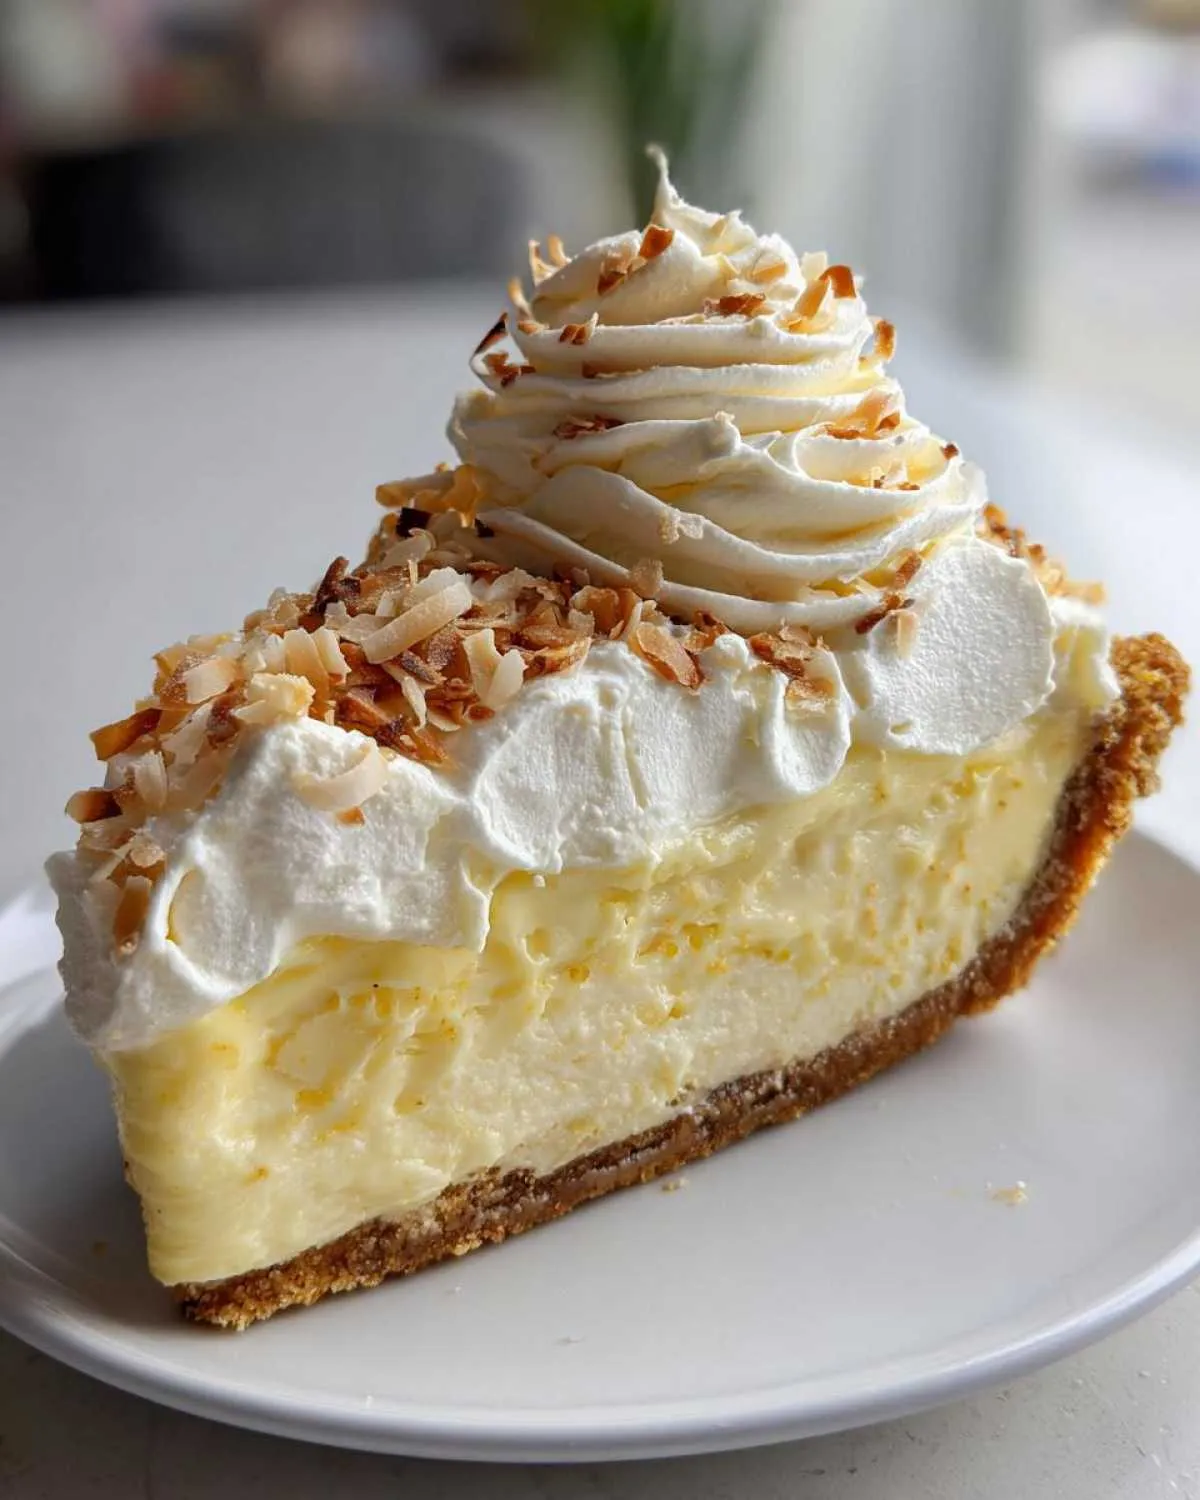
When the custard is rock solid, it’s time for the grand finale! Whip your heavy cream with the powdered sugar and vanilla until stiff peaks form—you should be able to hold the bowl upside down (though I don’t recommend testing that in front of company!). Spread that fluffy topping generously over the chilled custard layer. Finally, sprinkle those amazing toasted coconut flakes all over the top for that incredible bakery-style presentation. Time to chill until serving!
Expert Tips for a Flawless Coconut Cream Pie
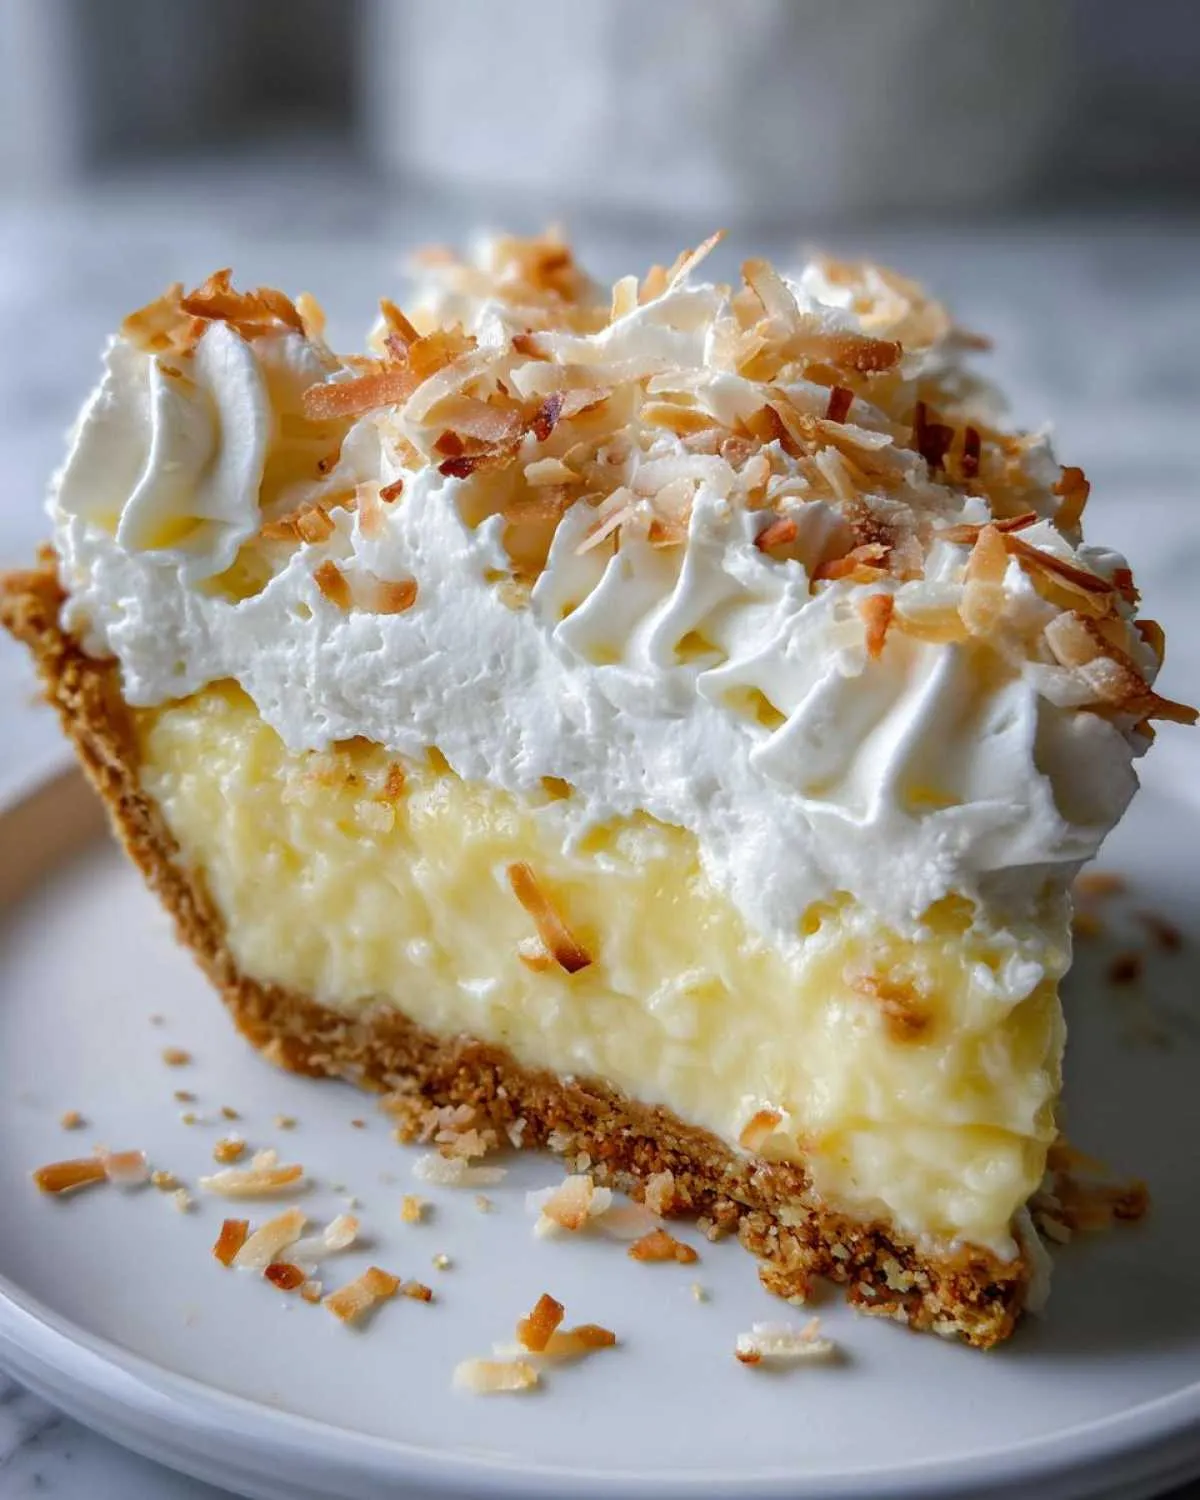
Okay, you’ve got the recipe, but getting that show-stopping, bakery-style result always comes down to the little tricks my grandma taught me. These extra steps aren’t usually in the basic instructions, but they are the secret sauce to making sure this Coconut cream pie stands up beautifully and tastes amazing for your gathering. I never skip them, especially when I know the pie needs to sit out for a bit!
Preventing a Soggy Crust on Your Coconut Cream Pie
We talked about cooling the crust, but for total insurance against sogginess—especially when dealing with a moist homemade coconut custard—I use an old trick. After that initial 10-minute pre-bake, I quickly brush the inside of the warm crust with one lightly beaten egg white. I pop it back into the oven for five more minutes until the egg white is set. It creates a little waterproof barrier before the filling goes in. Smart, right?
Achieving Maximum Whipped Cream Volume
If you want that towering, cloud-like topping that looks like it could float away, you need cold equipment! Before you even think about pouring in the heavy cream, put your mixing bowl and your whisk attachment in the freezer for a solid 15 minutes. This tiny bit of chilling time makes the fat in the cream whip up faster and hold those stiff peaks much longer. It makes a world of difference for the final look of your pie!
Ingredient Spotlight: Mastering the Coconut in Your Coconut Cream Pie
The coconut in this recipe isn’t just a garnish; it’s a core player in the flavor profile! For this particular old fashioned cream pie, I insist on using sweetened flaked coconut. The sugar in the flakes helps them caramelize perfectly when toasted, deepening the entire vanilla flavor of the custard. If you use unsweetened, you’ll miss out on that rich complexity.
When you toast those flakes—just watch them in the oven! You want a gentle golden brown, not charcoal black! Cooling them completely before sprinkling is key, too. This ensures they stay crunchy and add that great textural contrast to the silky filling. It really elevates your pie from good to unforgettable!
Variations for Your Coconut Cream Pie
This recipe is already pretty dreamy, but I love making small tweaks when I bake throughout the year! If you want to change things up a bit, try using my cookie cup version for parties next time, or add a little something extra directly to the custard. My favorite quick modification for an extra zesty kick is folding in the zest of one lime right along with the vanilla extract into the hot custard. It brightens up the whole thing beautifully!
Serving Suggestions for This Nostalgic Coconut Cream Pie
Since this Coconut cream pie is such a rich, indulgent treat, you want drinks that balance that sweetness! For family gatherings, I always serve slices alongside strong, freshly brewed coffee—the slight bitterness is amazing against the sweet custard. A strong black tea works wonderfully too. If it’s a big celebration, consider keeping the dessert centerpiece here and maybe pairing it with my classic vanilla frosting on cupcakes for the kiddos!
Storage and Reheating Instructions for Coconut Cream Pie
Now, since this is a true, luscious custard pie, we absolutely must treat it right in the fridge! You have to keep leftovers chilled because of that rich homemade coconut custard, so cover that pie tightly with plastic wrap or a dome cover. It stays deliciously fresh for about three days, but honestly, the whipped topping is best within the first 24 hours. Don’t even *think* about trying to reheat this one—it totally ruins the texture of the topping and the crispness of the graham cracker base. Just keep it cold!
Frequently Asked Questions About Making Coconut Cream Pie
I know you might have a few little questions swirling around, especially if this is your first attempt at making a true, show-stopping Coconut cream pie from scratch. That’s totally normal! We want this to be spectacular, so let’s clear up anything that might be holding you back from mixing up this amazing sweet weekend treat. I always check the comments section before I start baking! Don’t forget to follow along on my Pinterest for fun visuals of this recipe too! You can find my boards over at this link.
Can I use pre-made whipped topping instead of making the homemade topping for this Coconut cream pie?
Oh, you totally *can*, especially if you’re in a huge time crunch! But honestly? You’ll miss out on so much! The beauty of this recipe is that towering, truly fluffy topping that comes from whipping the heavy cream yourself. Pre-made stuff is often too stabilized and doesn’t have that light, pure dairy flavor that compliments the rich homemade coconut custard so well. A little extra effort here makes the final slice 100 times better, I promise!
How far ahead of time can I make the homemade coconut custard?
Because this filling relies on cornstarch and egg yolks to set up so firmly, you really need that chill time! I usually make the custard the day before I plan to serve the pie. As long as you press that plastic wrap right onto the surface or keep it tightly covered, it keeps beautifully for up to 48 hours in the fridge. Making the filling early is actually one of my favorite tricks for making a big family gathering less stressful!
What is the secret to getting the perfect golden brown toasted coconut flakes?
The secret here is to trust your nose more than the clock! The oven does all the work, but you have to watch it like a hawk, especially for those last few minutes. Spread the flakes in a single, thin layer on a baking sheet—don’t let them pile up! Bake them at 350°F, but check them every two minutes after the five-minute mark. The moment you smell that deep, warm, nutty aroma, pull them out! They go from golden to burnt in about 30 seconds flat. If you follow this advice, your toasted coconut flakes will be absolutely perfect for decorating.
If you are looking for more amazing dessert recipes like this one, you can browse everything else in the dessert section here on the blog.
PrintUltimate Old Fashioned Coconut Cream Pie with Graham Cracker Crust
Make the best homemade coconut custard pie with a thick, rich filling and a towering, fluffy whipped topping. This recipe delivers pure nostalgic indulgence perfect for your next family gathering.
- Prep Time: 30 min
- Cook Time: 20 min
- Total Time: 4 hours 50 min
- Yield: 8 servings 1x
- Category: Dessert
- Method: Chilling
- Cuisine: American
- Diet: Vegetarian
Ingredients
- 1 1/2 cups graham cracker crumbs
- 1/4 cup granulated sugar (for crust)
- 6 tablespoons unsalted butter, melted
- 2 cups milk
- 1/2 cup granulated sugar (for custard)
- 1/4 cup cornstarch
- 1/4 teaspoon salt
- 4 large egg yolks, lightly beaten
- 2 tablespoons unsalted butter
- 1 teaspoon vanilla extract
- 1 1/2 cups sweetened flaked coconut, divided
- 2 cups heavy whipping cream
- 1/4 cup powdered sugar (for topping)
- 1 teaspoon vanilla extract (for topping)
Instructions
- Prepare the Crust: Mix graham cracker crumbs, 1/4 cup sugar, and melted butter. Press firmly into the bottom and up the sides of a 9-inch pie plate. Bake at 350°F for 10 minutes. Cool completely. This step prevents a soggy crust.
- Make the Custard Base: In a medium saucepan, whisk together milk, 1/2 cup sugar, cornstarch, and salt. Cook over medium heat, stirring constantly, until the mixture thickens enough to coat the back of a spoon, about 8 to 10 minutes.
- Temper the Eggs: In a small bowl, whisk the egg yolks. Slowly pour about 1 cup of the hot milk mixture into the yolks while whisking constantly. Pour the tempered yolk mixture back into the saucepan.
- Cook the Custard: Cook over medium heat, stirring constantly, until the custard comes to a boil and bubbles thickly. Boil for 1 minute. Remove from heat.
- Finish the Filling: Stir in 2 tablespoons of butter, 1 teaspoon vanilla extract, and 1 cup of the flaked coconut. Pour the hot custard into the cooled graham cracker crust. Press plastic wrap directly onto the surface of the custard to prevent a skin from forming. Chill for at least 4 hours, or until completely firm.
- Toast Coconut: Spread the remaining 1/2 cup coconut flakes on a baking sheet. Bake at 350°F for 5 to 8 minutes, watching closely, until golden brown. Cool completely.
- Make the Topping: In a large bowl, beat the heavy whipping cream, powdered sugar, and 1 teaspoon vanilla extract until stiff peaks form.
- Assemble the Pie: Spread the whipped cream topping generously over the chilled coconut custard. Sprinkle the toasted coconut flakes over the top for bakery-style presentation. Chill until ready to serve.
Notes
- To prevent a soggy crust, brush the inside of the pre-baked crust with one lightly beaten egg white before filling with the custard. Bake for 5 more minutes until set.
- For the fluffiest topping, chill your mixing bowl and whisk attachment in the freezer for 15 minutes before whipping the cream.
- If you want a richer custard, substitute 1/2 cup of the milk with heavy cream.
Nutrition
- Serving Size: 1 slice
- Calories: 450
- Sugar: 35g
- Sodium: 250mg
- Fat: 28g
- Saturated Fat: 18g
- Unsaturated Fat: 10g
- Trans Fat: 0g
- Carbohydrates: 45g
- Fiber: 2g
- Protein: 6g
- Cholesterol: 110mg