
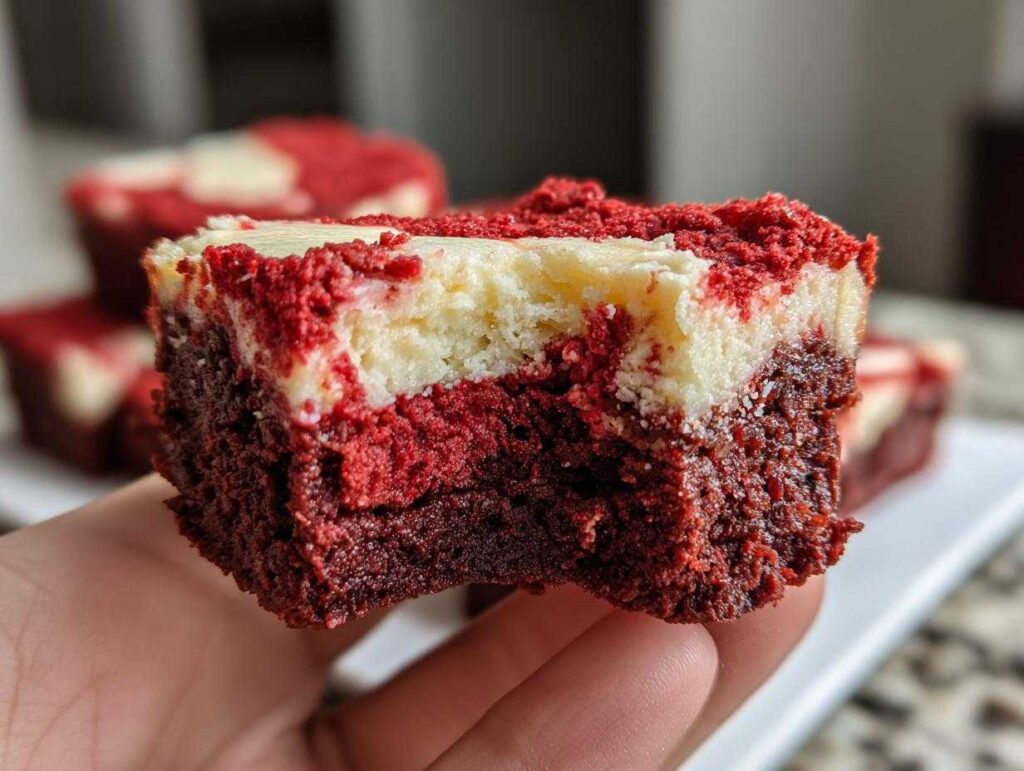
Oh, when it comes to entertaining, or honestly, just surviving a Tuesday afternoon, nothing beats a perfectly portioned, decadent little something, right? I live for those moments when you can sneak a rich bite without committing to an entire slab of dessert, and that’s exactly why I’m so thrilled to share this recipe. We’re talking about the ultimate mashup: those classic, tangy red velvet flavors married to a truly fudgy brownie texture. Trust me, these **red velvet brownie bites** are already family favorites, and they come straight from the same place my best recipes always do—my grandmother’s insistence that desserts should be both beautiful and deeply satisfying. They bake up fast, they look stunning with that little cream cheese swirl, and they disappear even faster!
- Why You Will Love These Fudgy Red Velvet Brownie Bites
- Essential Ingredients for Perfect Red Velvet Brownie Bites
- Tips for Achieving Fudgy Red Velvet Brownie Bites
- Step-by-Step Instructions to Make Red Velvet Brownie Bites
- Serving Suggestions for Decadent Small Desserts
- Storage and Reheating for Your Red Velvet Brownie Bites
- Frequently Asked Questions About Red Velvet Brownie Bites
- Baking Inspiration and Sharing Your Red Velvet Brownie Bites
- Estimated Nutritional Information for Red Velvet Brownie Bites
Why You Will Love These Fudgy Red Velvet Brownie Bites
If you’re looking for that perfect dessert that checks all the boxes without taking hours, stop right here. These little guys are seriously addictive. I’ve tweaked this recipe so many times to get the texture just right, and I think this version is the winner!
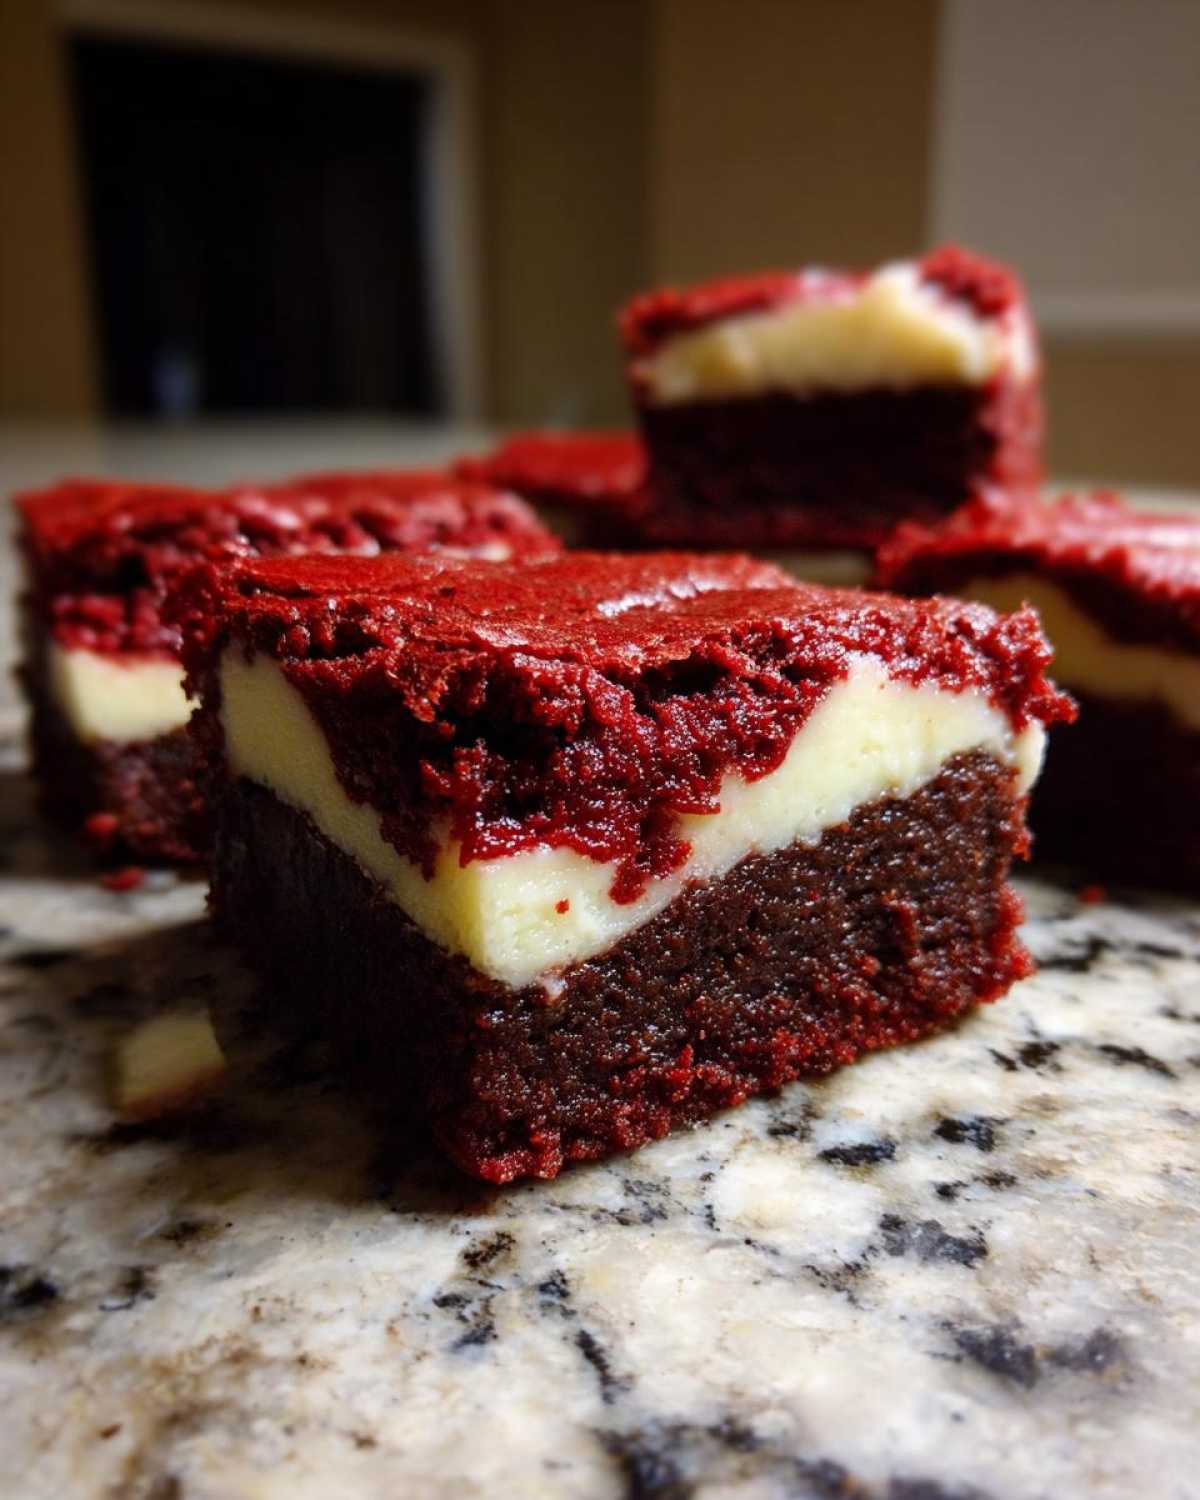
- They are unbelievably fudgy, not cakey at all—just like a perfect brownie should be.
- The portion control is fantastic because they are tiny little squares; perfect for my husband who wants just one!
- That swirl of tangy cream cheese cuts through the richness beautifully.
- They are genuinely easy to make, which means less time stressing and more time snacking.
- These are truly the ultimate fudgy brownies when you need something small for a party platter.
Essential Ingredients for Perfect Red Velvet Brownie Bites
You don’t need a huge pantry for these, but the ingredients we do use—especially the coloring—make a huge difference in the final result. I’ve separated the main batter from the swirl ingredients just so you can organize your mise en place easily. This precision really helps when you’re aiming for that perfect texture.
For the decadent brownie base, you’ll need:
- 1/2 cup unsalted butter, melted (make sure it’s melted, not just soft!)
- 1 cup granulated sugar
- 2 large eggs
- 1 teaspoon vanilla extract
- 1 teaspoon white vinegar (this helps wake up the cocoa!)
- 1 teaspoon red food coloring (I strongly suggest the gel kind for that deep, true red.)
- 1/4 cup unsweetened cocoa powder
- 1/2 cup all-purpose flour
- 1/4 teaspoon salt
And for our tangy topper, the cream cheese swirl needs:
- 4 ounces cream cheese, softened completely
- 2 tablespoons powdered sugar
- 1/4 teaspoon vanilla extract
Tips for Achieving Fudgy Red Velvet Brownie Bites
Listen, the line between a *good* red velvet brownie and an absolutely perfect, melt-in-your-mouth treat is thin! The biggest rookie mistake people make is treating this like a cake batter. We are making **Fudgy Brownie Bites**, which means we need density, not airiness.
The moment you add that flour and cocoa powder—stop mixing! I mean it! Overmixing develops the gluten, and that leads to chewiness where we want fudginess. Mix until you *just* see no more white streaks remaining. Another huge factor? The coloring. If you use liquid drops, you’ll dilute the batter, but I always recommend gel coloring—you get intense color without sacrificing texture. These are so gorgeous, especially when customized for events like Valentines Day brownies.
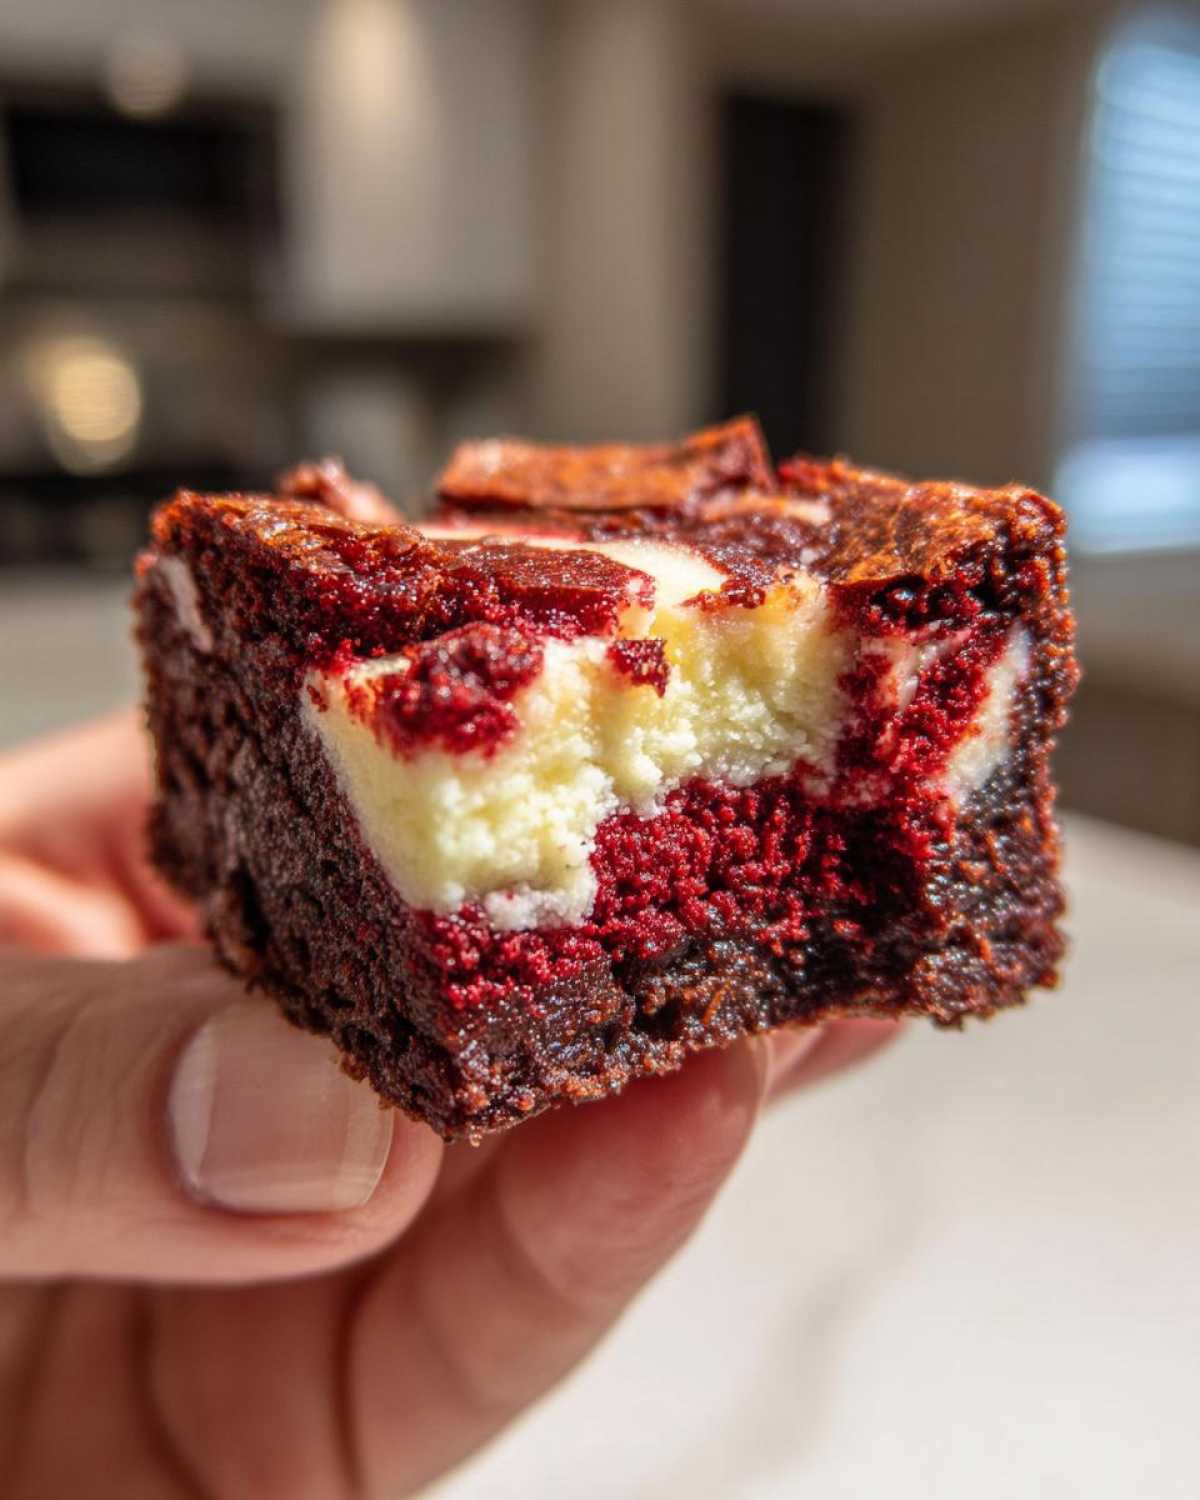
And please, please do not overbake. This is where most people fail with any brownie recipe. We are chasing moist crumbs on a toothpick—not dry ones! Pull them out slightly early, and the residual heat will finish the cooking process on the rack.
Ingredient Notes and Substitutions for Red Velvet Brownie Bites
Let’s talk about a couple of those necessary extras. That teaspoon of white vinegar isn’t just for show; it reacts with the cocoa powder to enhance the slight tang that makes red velvet *red velvet*. If you want that tang even sharper—and who doesn’t?—you can swap the vinegar for about half a teaspoon of buttermilk added right into your wet ingredients. Also, stick to unsweetened cocoa; it provides the essential chocolate base that contrasts beautifully with the vanilla notes.
Step-by-Step Instructions to Make Red Velvet Brownie Bites
Okay, getting this process mapped out is key, but don’t worry, we aren’t doing anything too fancy here. We’re mixing in the right order to guarantee that fudgy texture we talked about. Remember, we are aiming for a marriage of dense brownie and tender red velvet, so precision in mixing order matters more than speed!
Preparing the Batter and Cream Cheese Swirl
First things first: get that oven warming up to 350°F (175°C) and prep your 8×8 pan with parchment paper that hangs over the sides. That overhang is your built-in handle later! In your big bowl, start by whisking together the melted butter and granulated sugar. Then, toss in your eggs one by one until everything looks smooth. Now for the color! Whisk in the vanilla, vinegar, and all that gorgeous red food coloring until the whole mix looks like bright red velvet batter. For the dry parts, just whisk the cocoa, flour, and salt together in a separate little bowl. Slowly add those dry bits to the wet mixture—and this is critical—mix only until everything just comes together. If you see dry specks, stop, or you’ll lose your fudge factor!
While that batter chills for a second, whip up the swirl. Just beat the softened cream cheese with the powdered sugar and that tiny bit of vanilla until it’s totally smooth, like a mini batch of creamy frosting.
Baking and Cutting Your Red Velvet Brownie Bites
Time to layer! Spread exactly half of your red velvet batter into the prepared pan. Then, drop small spoonfuls of that cream cheese mixture right over the top. Cover it all up with the rest of the red batter. Take a knife or a skewer and gently drag it through the layers—just a few swirls—don’t over-swirl or you’ll lose the contrast. Pop it in the oven for about 20 to 25 minutes. You want the toothpick to come out with moist crumbs attached, not wet goop. If the toothpick is bone dry, you’ve gone too far! Let them cool *completely* on a rack—resist the temptation! Once they are totally cool, use those parchment paper handles to lift the whole slab out and cut them into those perfect, decadent little **red velvet brownie bites**.
Serving Suggestions for Decadent Small Desserts
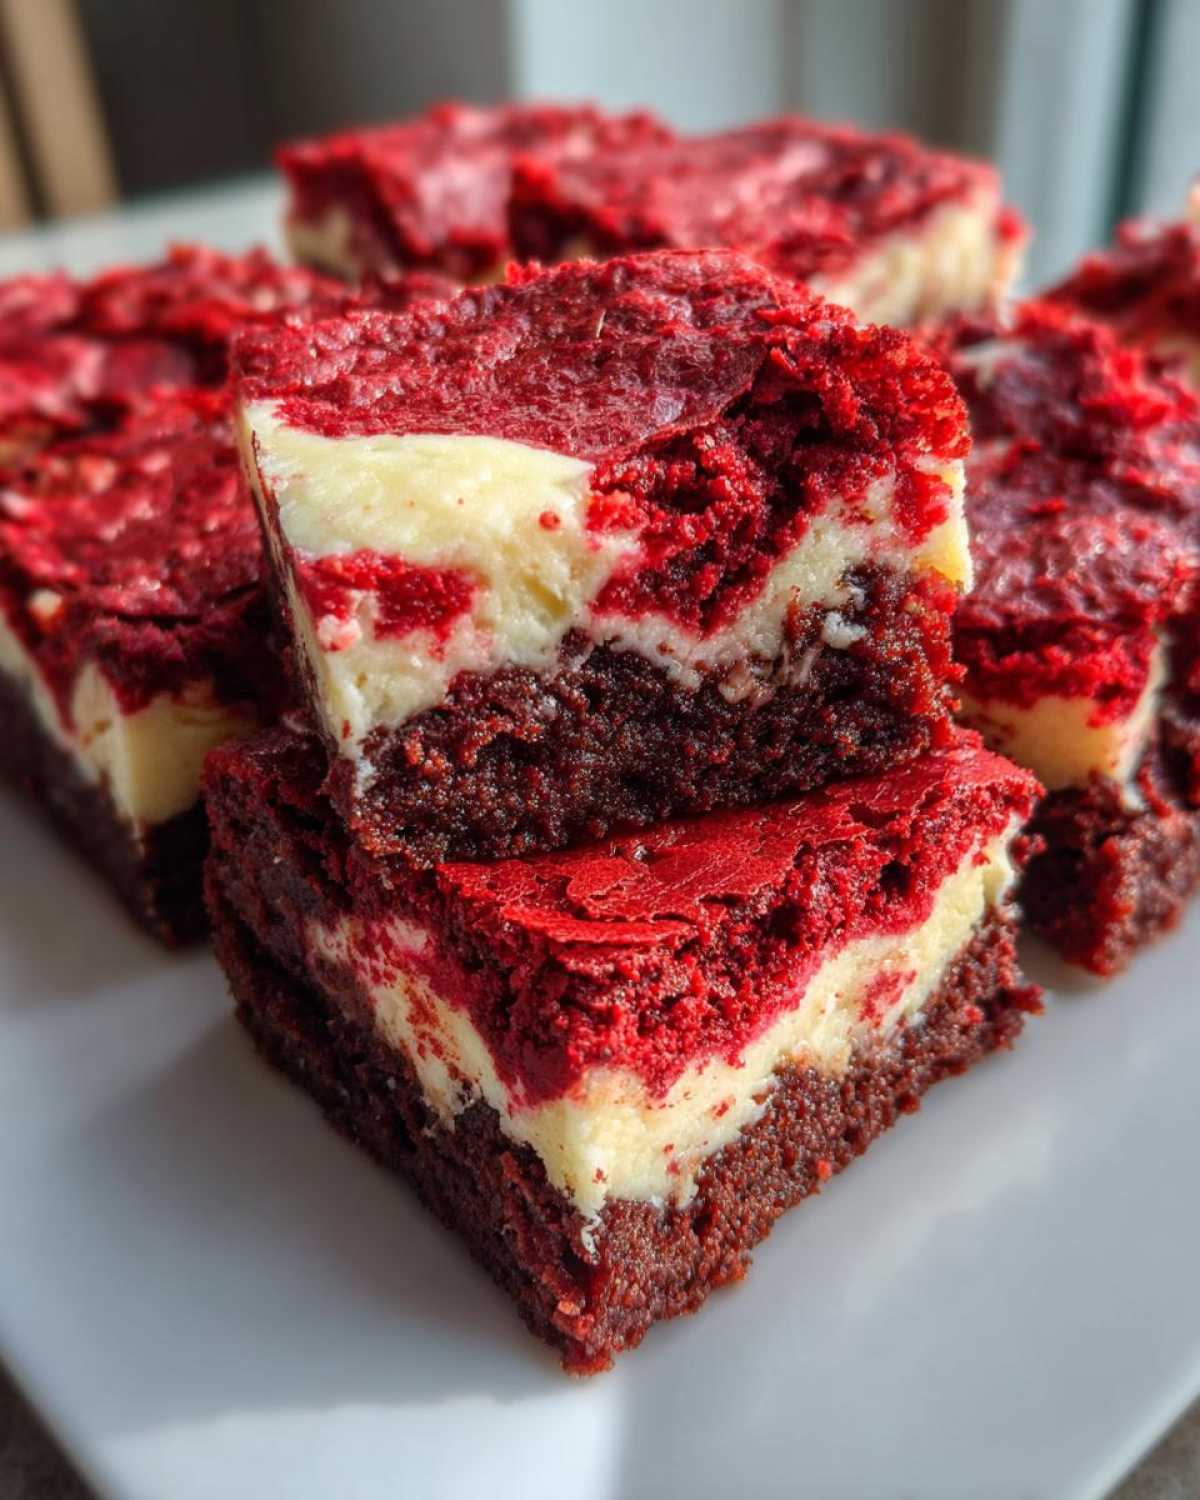
Since these **Bite Sized Baked Goods** are so rich, you don’t need much else to make them shine! They are just fantastic served slightly warm with a big glass of cold milk, or maybe even a scoop of good vanilla bean ice cream. They are also wonderful alongside something slightly tart to balance that sweetness.
I love setting them out on a platter next to fresh raspberries or strawberries—the red color combo is amazing for parties. They pair perfectly with a rich, dark drink, too, like a mug of my favorite hot chocolate if it’s cold outside. They really are the ultimate party contribution!
Storage and Reheating for Your Red Velvet Brownie Bites
One of the best things about making these **Mini Red Velvet Desserts** is that they actually taste even better the next day once the fudgy texture has settled in! Because we used good amounts of fat in the recipe, they hold up really well. For keeping them fresh for a few days, just pop the cooled, cut bites into an airtight container.
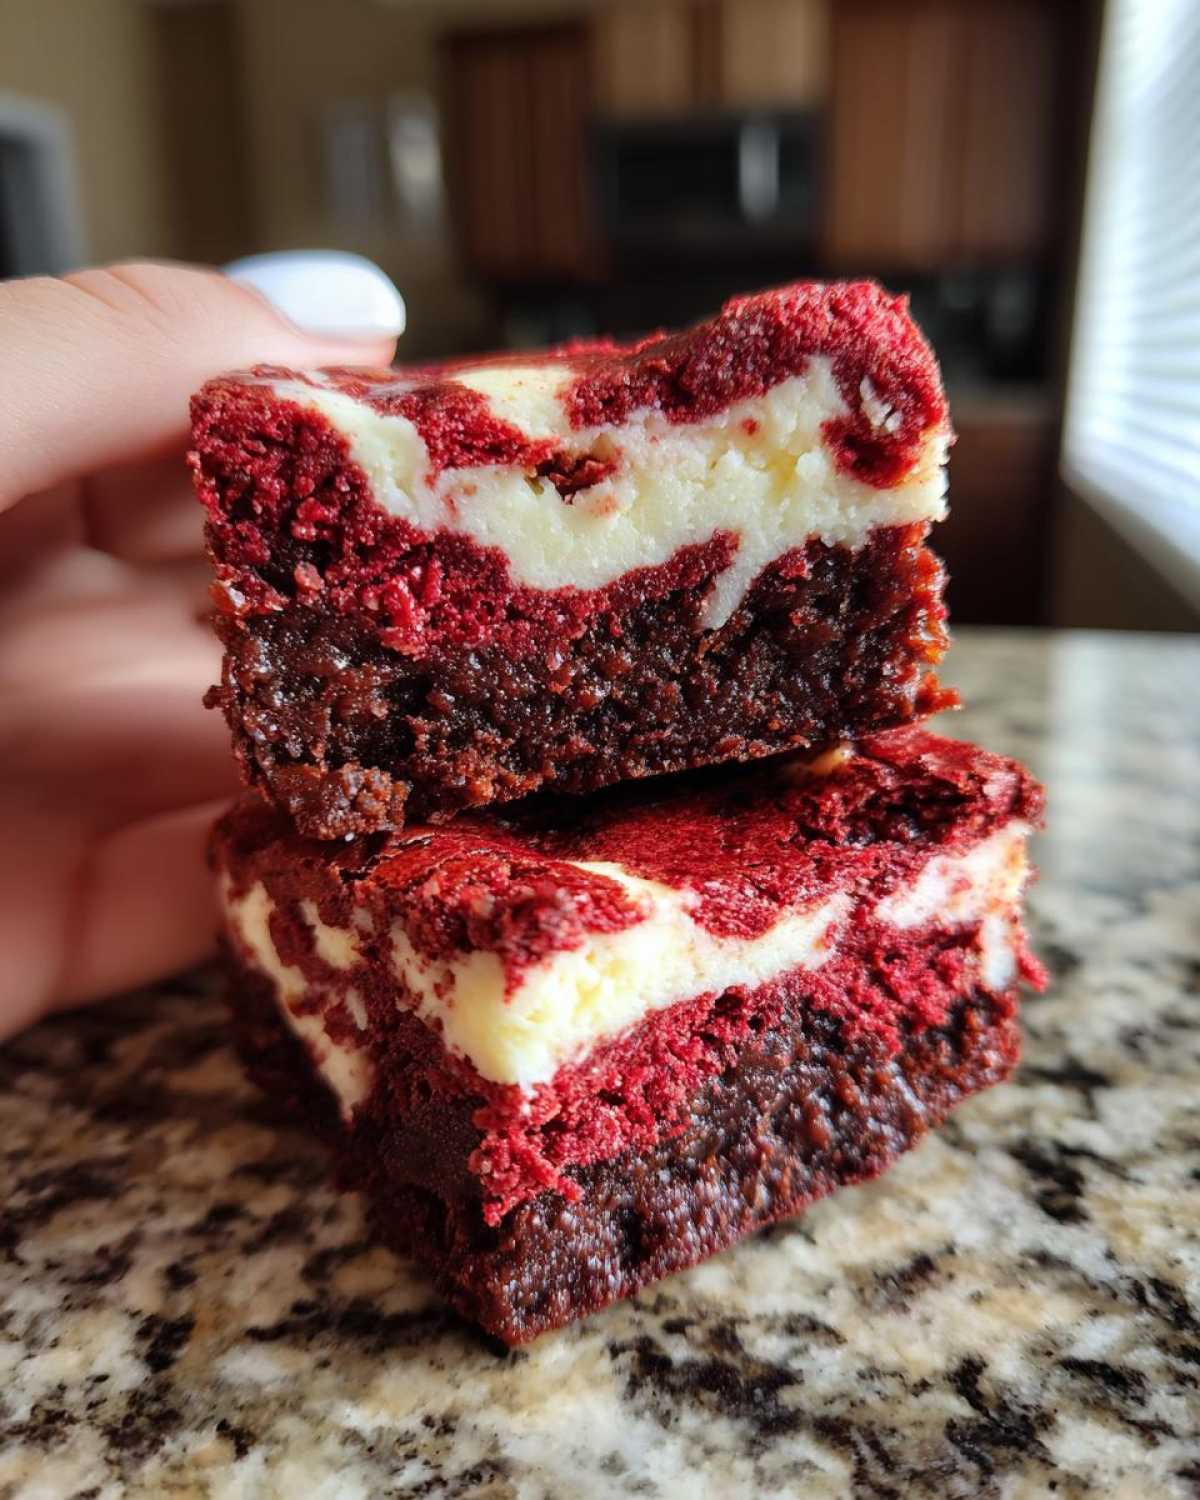
I like to put a sheet of parchment paper between the layers so the cream cheese swirl doesn’t stick. They are perfect stored right on the counter for up to three days. If you need them to last longer, you can absolutely freeze them! Wrap them tightly in plastic wrap first, then place them in a freezer-safe bag. They will keep beautifully for about two months. When you want one, just let it thaw on the counter for about 30 minutes, and it’s just as delicious as when it was first cut.
Frequently Asked Questions About Red Velvet Brownie Bites
I know you’re going to love baking these, but sometimes questions pop up when you’re working with tricky batters like red velvet. I’ve gathered a few of the things I get asked most often about texture, color, and timing when making these **Cream Cheese Brownie Bites**.
Can I skip the cream cheese swirl in this Red Velvet Brownie Recipe?
You certainly can, but I’d feel bad if I didn’t warn you! Skipping the swirl means you’ll miss out on that signature tangy punch that cuts through the richness of the chocolate. If you leave it out, the texture will still be wonderfully fudgy, but it will taste more like a straight-up rich chocolate brownie. You’ll just have very vibrant **Chewy Red Velvet Bars** instead of the swirl version!
How do I get the best red color in my **Cream Cheese Brownie Bites**?
This is my number one tip for vibrant red! Do not use standard liquid food coloring. Seriously, those little drops are mostly water, and dumping in enough to make the batter deep red will completely mess up your batter consistency, leading to cakey brownies. Instead, grab a small container of Red No-Taste **Gel Food Coloring**. It’s highly concentrated, so you use much less for a deep color, and it keeps your batter perfectly balanced for that amazing texture. If you want more inspiration on color, check out my guide on making amazing moist bakery-style red velvet cupcakes!
Why are my **Fudgy Brownie Bites** cakey instead of fudgy?
Oh, that’s usually one of two things! Nine times out of ten, it’s because you overbaked them. Seriously, pull them out when the toothpick still has moist crumbs. The second common culprit is overmixing the flour after it was added to the wet ingredients. Remember, we’re treating this like a brownie, which means minimal stirring once the dry stuff goes in!
Baking Inspiration and Sharing Your Red Velvet Brownie Bites
I truly hope you love making these as much as I love sneak-eating them! When you make a batch of these **Decadent Small Desserts**, please snap a photo and share it with me. Seeing your wonderful creations, especially when you try them out for holidays, really makes my day.
If you need even more ideas for show-stopping party treats, you should definitely check out some of my recent finds over on my Pinterest page! I’m always pinning the most delicious new ways to bake, like these incredible homemade chocolate chip cookies I tried last month. You can find more inspiration when you visit my page at Recipes Vault.
Estimated Nutritional Information for Red Velvet Brownie Bites
I always like to offer a rough guide on what you’re working with, even though homemade treats are best enjoyed without counting every crumb! Since everyone’s serving size can vary slightly when cutting up these **Bite Sized Baked Goods**, remember these numbers are just estimates based on the yield of 16 standard bites.
Here’s the general breakdown:
- Serving Size: 1 bite
- Calories: 180
- Sugar: 18g
- Fat: 10g (6g Saturated)
- Carbohydrates: 20g
- Protein: 2g
Keep in mind that these values are estimates based on standard ingredient measurements we used in the recipe, so yours might shift a little based on specific brands!
PrintFudgy Red Velvet Brownie Bites with Cream Cheese Swirl
Make these decadent, bite-sized red velvet brownies. They have a rich, fudgy texture and a tangy cream cheese swirl, perfect for parties or a small treat.
- Prep Time: 15 min
- Cook Time: 25 min
- Total Time: 40 min
- Yield: 16 bites 1x
- Category: Dessert
- Method: Baking
- Cuisine: American
- Diet: Vegetarian
Ingredients
- 1/2 cup unsalted butter, melted
- 1 cup granulated sugar
- 2 large eggs
- 1 teaspoon vanilla extract
- 1 teaspoon white vinegar
- 1 teaspoon red food coloring (gel preferred)
- 1/4 cup unsweetened cocoa powder
- 1/2 cup all-purpose flour
- 1/4 teaspoon salt
- 4 ounces cream cheese, softened
- 2 tablespoons powdered sugar
- 1/4 teaspoon vanilla extract
Instructions
- Preheat your oven to 350 degrees F (175 degrees C). Grease and line an 8×8 inch baking pan with parchment paper, leaving an overhang on two sides for easy removal.
- In a large bowl, whisk together the melted butter and granulated sugar until combined.
- Whisk in the eggs one at a time until fully incorporated.
- Stir in the vanilla extract, white vinegar, and red food coloring until the mixture is a uniform red color.
- In a separate small bowl, whisk together the cocoa powder, flour, and salt.
- Gradually add the dry ingredients to the wet ingredients, mixing only until just combined. Do not overmix.
- For the cream cheese swirl, beat the softened cream cheese, powdered sugar, and vanilla extract together until smooth.
- Spread half of the red velvet batter into the prepared pan. Drop small spoonfuls of the cream cheese mixture over the batter. Top with the remaining red velvet batter.
- Use a knife or skewer to gently swirl the cream cheese mixture into the batter.
- Bake for 20 to 25 minutes, or until a toothpick inserted near the center comes out with moist crumbs attached, not wet batter.
- Let the brownies cool completely in the pan on a wire rack.
- Once cool, lift the brownies out using the parchment overhang and cut them into small, bite-sized squares.
Notes
- For the best fudgy texture, avoid overbaking these brownie bites.
- If you want a stronger tang, add 1/2 teaspoon of buttermilk to the wet ingredients instead of the vinegar.
- These small desserts are great for Valentines Day brownies or holiday dessert bites.
- Find more baking inspiration on my Pinterest account.
Nutrition
- Serving Size: 1 bite
- Calories: 180
- Sugar: 18
- Sodium: 85
- Fat: 10
- Saturated Fat: 6
- Unsaturated Fat: 4
- Trans Fat: 0
- Carbohydrates: 20
- Fiber: 1
- Protein: 2
- Cholesterol: 45