
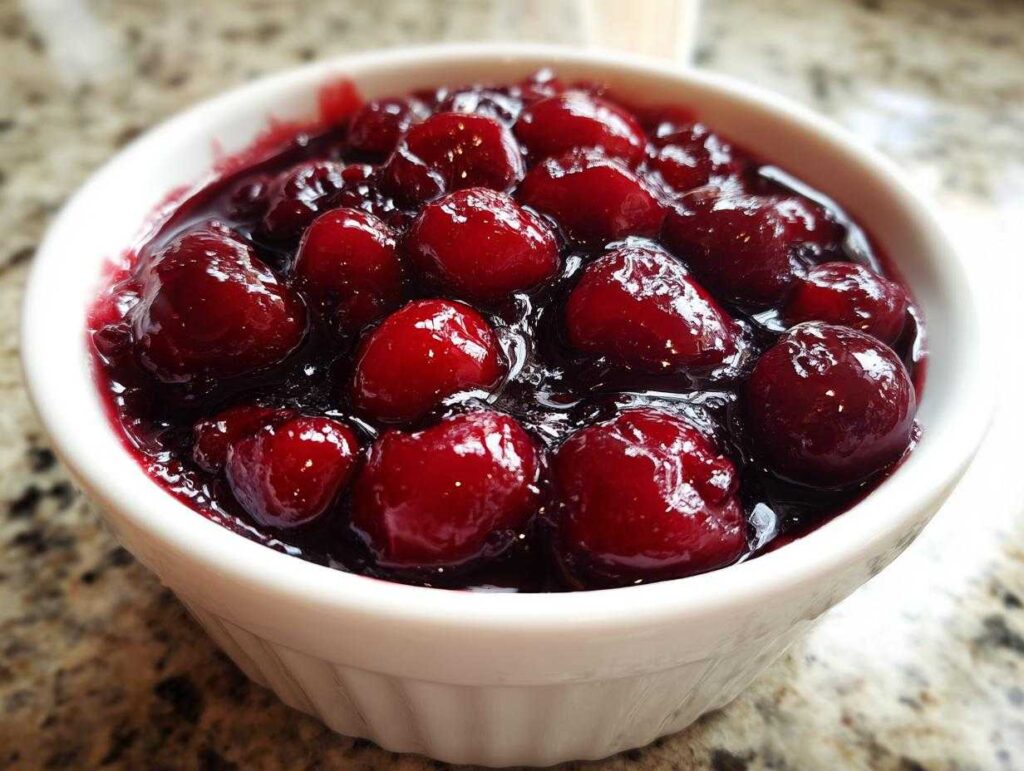
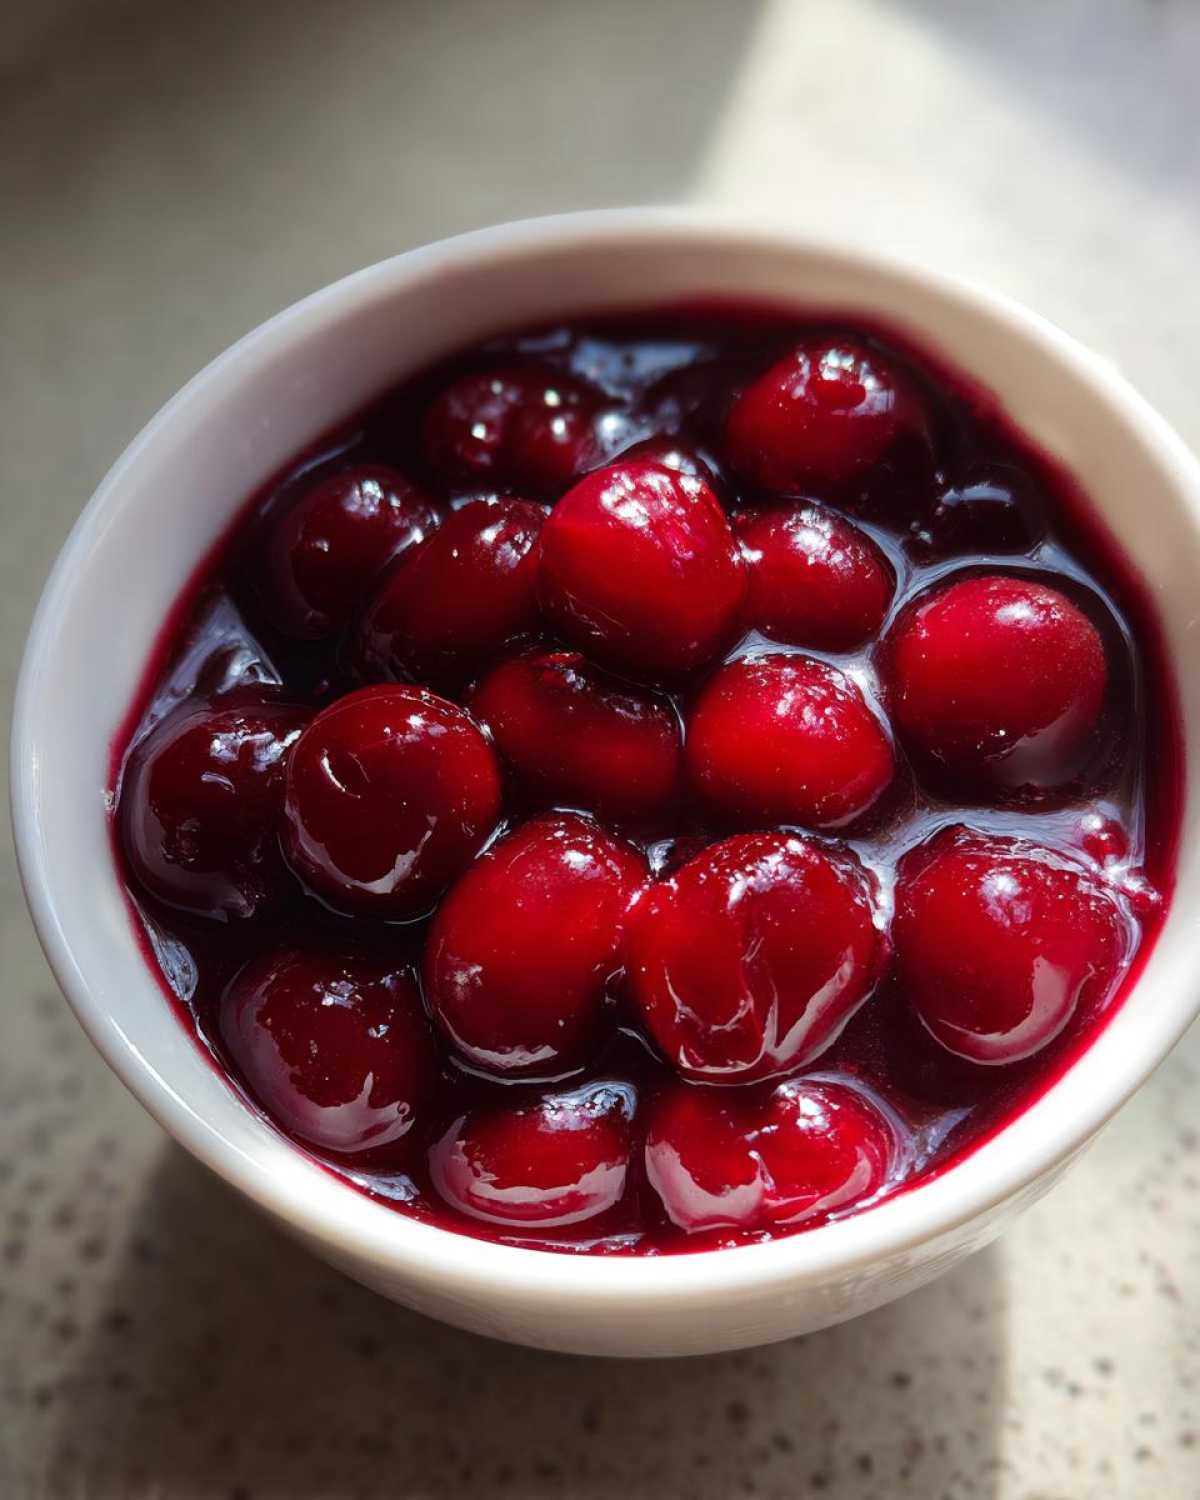
Oh, my friends, if your past baking adventures have been marred by a sad, watery pool of filling beneath a beautiful top crust, then stop right there! We are officially banning lackluster store-bought cans around here. I’m Sophia Collins, and trust me, after years wrestling with cherry pies that turned into soup, I finally cracked the code. My goal? To bring you that vibrant, bakery-style experience right on your stovetop. This recipe for **homemade cherry pie filling** is the absolute key to dessert dreams. It’s thick, it’s glossy, and it’s bursting with that perfect sweet-tart flavor that canned fillings just can’t touch. Get ready to make the best **cherry pie filling** you’ve ever tasted—from scratch!
- Why This Homemade Cherry Pie Filling Recipe is the Best
- Gathering Ingredients for Your From Scratch Cherry Filling
- Step-by-Step Instructions for Making Thick Cherry Pie Filling
- Tips for the Ultimate Homemade Cherry Pie Filling
- Versatile Uses for Your Cherry Pie Topping
- Can I Improve Canned Cherry Pie Filling?
- Frequently Asked Questions About Cherry Pie Filling
- What to Serve with Your Perfect Cherry Pie Filling Dessert
- Sharing Your Homemade Cherry Pie Filling Results
Why This Homemade Cherry Pie Filling Recipe is the Best
Forget everything you think you know about boring, runny fillings! This recipe for **homemade cherry pie filling** is different, and honestly, it’s my new favorite thing to whip up. The flavor payoff is huge, delivering that intense, bright cherry taste you only get when you make it **from scratch**. What truly separates this recipe is its incredible texture. It sets up beautifully—glossy, vibrant, and perfectly structured for slicing. We’re aiming for the **best cherry pie filling** here, not soup!
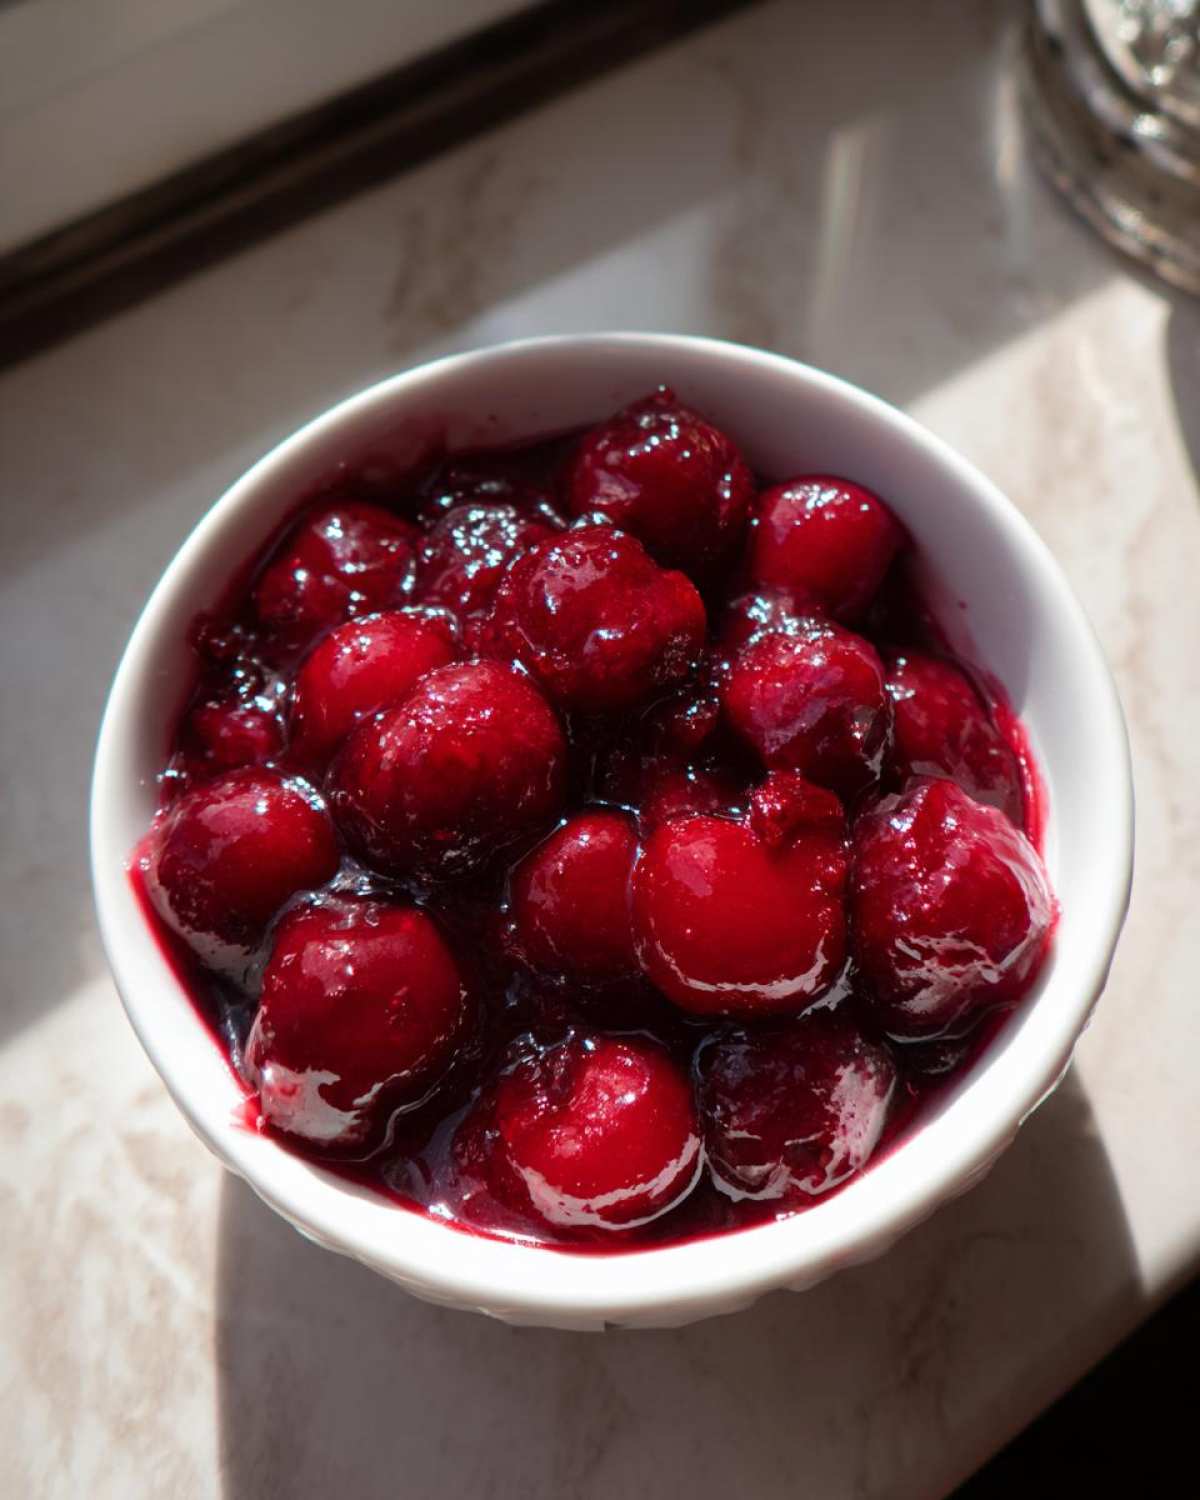
My biggest culinary tip, which tastes amazing in every bite, is balancing the sweetness with a little bit of tartness. That little bit of acidity keeps the flavor exciting and stops it from tasting flat or overly sugary. Plus, this isn’t just for pie; it makes the most wonderfully **juicy cherry pie filling** for all kinds of things!
Achieving That Perfect Thick Cherry Pie Filling Consistency
The secret weapon against watery desserts is simple: reliable science! We use a perfect ratio of sugar and cornstarch right from the beginning. Those two ingredients combine to create a slurry that gently thickens everything as it heats up on the stove. If you follow the steps exactly, you end up with a gorgeous **thick cherry pie filling** that clings perfectly to every cherry. No more weeping liquid soaking into your bottom crust—promise!
Using Fresh or Frozen Cherries for Your Cherry Pie Filling
One of the reasons I love this stovetop filling is how adaptable it is! You never have to wait for peak season to enjoy this treat. Whether you are **using fresh cherries for pie filling** (and they are glorious, aren’t they?) or you grabbed a bag of frozen ones, this formula works flawlessly. Seriously, toss those frozen cherries right into the pot without thawing! It makes this one of the most **easy cherry pie filling** recipes in my collection.
Gathering Ingredients for Your From Scratch Cherry Filling
Okay, let’s get down to brass tacks. Making the absolute **best cherry pie filling** means respecting your ingredients, even when they are simple. This recipe is wonderfully straightforward, but precision matters here, just like in any good baking endeavor. We need to make sure we have enough body to support the beautiful fruit flavor we are developing on the stovetop. Grab your measuring cups, because these exact quantities are what create that luscious texture we’re after for our incredible **cherry pie filling**.
Ingredient Notes and Substitutions for Cherry Pie Filling
You’ll see I included almond extract in the list, and please, don’t skip that if you can help it! It’s my little trick to get that undeniable, professional, **bakery style cherry filling** flavor. If you are worried about the tartness, especially if you are using very sweet cherries, you can always reduce the sugar slightly. Conversely, if you want a genuine **sour cherry pie filling**, just reduce the sugar by another tablespoon or two. Also, while cornstarch is non-negotiable for this texture, you could technically swap it for arrowroot powder if you had a sensitivity, though it might change the texture slightly—cornstarch is king here!
Step-by-Step Instructions for Making Thick Cherry Pie Filling
Alright, let’s get cooking! This is where the magic of your **homemade cherry pie filling** truly happens. We’re doing everything right here on the stovetop, which is why I call this my favorite **stovetop cherry filling** method. The most crucial thing to remember—and I mean it, please listen to Sophia on this one—is that you MUST mix your dry ingredients before they ever see the heat!
In a separate, small bowl, vigorously whisk together the sugar and cornstarch until you see absolutely no white streaks left. If you dump that sugar-starch mix straight into the pot by itself, you’ll get lumps, and lumps are the enemy of glossy filling! Once those are perfectly combined, add them to your cherries, water, and lemon juice in your medium saucepan. Stir it all together gently, and then you can turn the heat on to medium. The process is pretty quick, usually only taking about five to eight minutes total to get exactly what we want. This versatile filling is fantastic in a crisp, but if you’re making an actual pie, you’ve got to check out my triple-berry pie recipe for crust inspiration!
The Secret to No Runny Pie Filling Success
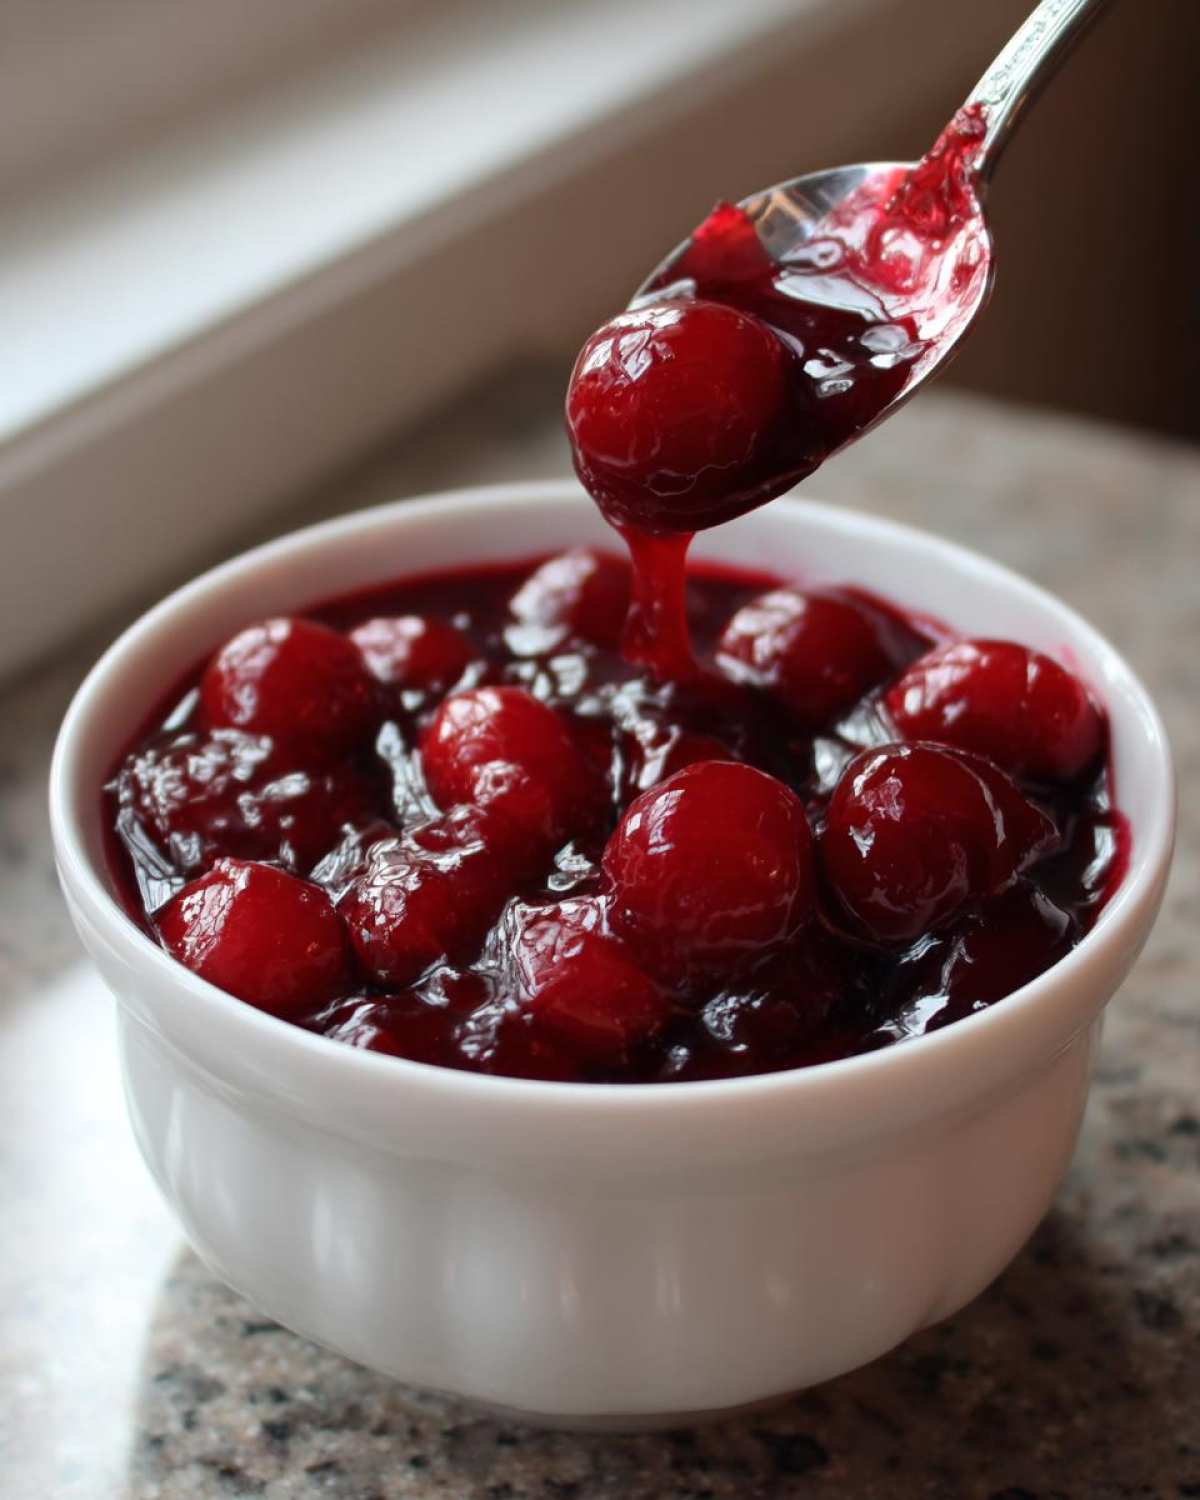
Don’t walk away from the stove while this thickens! You need to stir constantly, making sure nothing sticks to the bottom, especially as it starts to bubble. That foaming and bubbling stage is essential. That’s the cornstarch waking up and doing its job to give us that glorious structure. When it looks thick, glossy, and coats the back of a spoon really nicely, take it off the heat immediately. That visual cue—thick and glossy—is your **no runny pie filling secret**! Stir in your vanilla (and that little bit of almond!) right at the very end, off the heat, and you’re done!
Tips for the Ultimate Homemade Cherry Pie Filling
Now that you’ve mastered the stovetop cooking part, we move onto the final steps to ensure this is the **best cherry pie filling** ever! Cooling is critical, my friends. Seriously, do not rush it! If you try to put hot filling into a pie crust, you’re going to lose all that beautiful structure we just worked so hard to build. This filling needs to rest—think room temperature or even slightly chilled—before it goes into your crust or into a storage container. That resting time allows the starches to fully set up, guaranteeing that rich, **bakery style cherry filling** texture we crave. It makes this already **easy cherry pie filling** recipe foolproof!
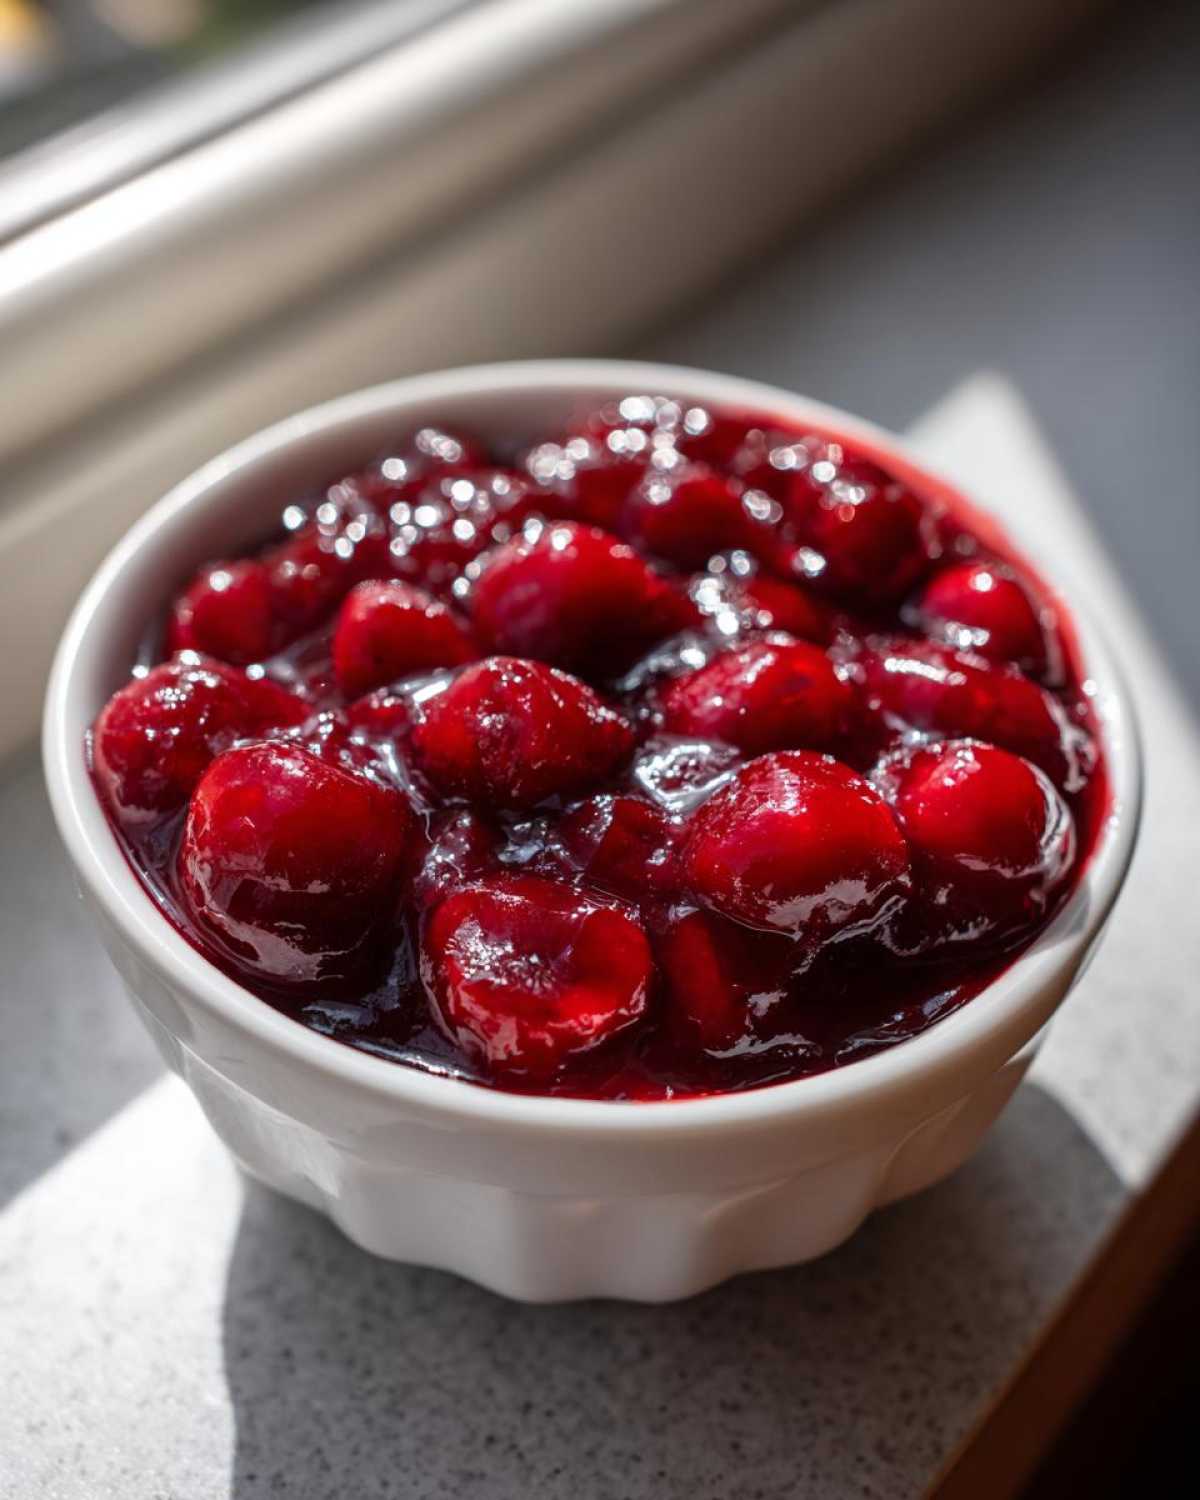
If you’re like me and you like to be prepared, this recipe halves, doubles, or triples beautifully, meaning you can make a massive batch for holiday baking later! It’s even amazing swirled into some of my creamy vanilla buttercream if you’re feeling adventurous!
Make Ahead Pie Filling Storage Instructions
Here’s the deal for storage: after the **homemade cherry pie filling** is totally cool, transfer it to an airtight container. It will keep beautifully in the refrigerator for about a week. If you want to keep it longer, this filling freezes shockingly well! Make sure it’s sealed tightly to prevent freezer burn, and it will be ready to go straight into your next pie crust when you defrost it. This whole process is why this makes such a fantastic **make ahead pie filling** option for you!
Versatile Uses for Your Cherry Pie Topping
Listen, making this fantastic **cherry pie filling** should be celebrated, and frankly, you shouldn’t save it just for a crust! Once this gorgeous, thick mixture cools down, it becomes the ultimate go-to for so many quick desserts. If you’re wondering about other **desserts using cherry pie filling**, I have tons of ideas! It’s absolutely divine spooned over a slice of classic baked cheesecake—the tartness cuts through the richness perfectly. If you are looking for the best base for that, you simply must check out my New York Cheesecake recipe! It’s also just the simplest, most wonderful **cherry pie topping** you could dream up for vanilla ice cream or even waffles the next morning. Seriously, don’t let it sit in the fridge waiting for a pie!
Quick Cherry Cobbler Filling Idea
Need dessert fast? Grab your **cherry cobbler filling** and scoop it into a baking dish. Top it immediately with some pre-made biscuit dough or even a simple box mix, and bake it off. That’s how you rescue a weeknight dessert slump! It goes from zero to cozy comfort food in about 25 minutes flat.
Can I Improve Canned Cherry Pie Filling?
I know, I know, sometimes life is crazy, and you just need a shortcut. While my heart sings when you use this **homemade cherry pie filling** recipe, I totally get the appeal of grabbing a can in a pinch. If you find yourself in that situation, don’t let that can just sit there tasting… well, canned. You can definitely give store-bought versions a serious upgrade with a little kitchen magic! It’s one of my favorite **canned cherry pie filling hacks** for those busy days.
Here is the trick I share in my recipe notes: If your canned **cherry pie filling** looks a little too loose or the flavor is a bit flat, you need to thicken it up and boost it. Take about a teaspoon of cornstarch and mix it really well with a tablespoon of cold water—that’s your slurry. Pour that slurry right into the can’s contents, transfer it to a small saucepan, and simmer it briefly over medium heat, stirring constantly until it thickens up and looks glossy. It wakes up the flavor instantly! Then you can use this improved filling for an amazing ice cream pie or any other quick dessert, like my no-bake Oreo ice cream pie.
Frequently Asked Questions About Cherry Pie Filling
What is the best way to thicken pie filling if it looks too thin?
Oh, that’s a common kitchen panic, isn’t it? If you find your **cherry pie filling** is a bit too thin after cooling, don’t stress! The easiest way to fix this is by making a quick slurry. Mix one teaspoon of cornstarch with one tablespoon of *cold* water until it’s totally smooth, then whisk that into your filling. Put it back on low heat and stir until it bubbles gently and you see that thickness return. If you prefer something different, arrowroot powder works similarly for **how to thicken pie filling** beautifully!
Can I make a sweet cherry pie filling recipe without cornstarch?
That is a great question for those avoiding cornstarch! Yes, you absolutely can explore **no cornstarch cherry filling alternatives**. My first suggestion would be using tapioca starch instead of cornstarch; it thickens things up nicely and gives a great glossy finish, just follow the same measurement ratio. You could also try using a bit of pectin if you have it on hand, though you must adjust the sugar levels depending on the type of pectin you use. If you want to keep this **sweet cherry filling** recipe super lean, you might need to slightly reduce the initial water amount and let the cherries release more of their own juice while simmering.
For more dessert inspiration, including recipes like my pecan pie muffins, you can always check out my social media channels! And if you want to see how others are doing with this recipe, come over and say hello on our Pinterest account!
What to Serve with Your Perfect Cherry Pie Filling Dessert
Now that you’ve made this incredibly **juicy cherry pie filling**, the hardest part is over! But honestly, serving suggestions are almost as fun as the cooking process. Obviously, a thick slice of **filling for cherry pie** tucked into a flaky crust is divine, especially with a scoop of vanilla bean ice cream melting over the top. Don’t forget a dollop of homemade whipped cream!
But don’t stop there! Use this **cherry pie topping** over pancakes or swirl it into yogurt for an elevated snack. If you’re looking for a spectacular rich dessert partner, try spooning this over a slice of my moist homemade chocolate cake. It’s a flavor combination that just sings!
Sharing Your Homemade Cherry Pie Filling Results
This is the moment of truth! You’ve successfully created the most amazing **cherry pie filling**—thick, bright, and absolutely bursting with real cherry flavor. Now, the fun part is sharing the love! When you bake this up in your next pie, crumble, or cheesecake, I absolutely want to see it. Nothing makes my day quite like seeing your beautiful bakes pop up in my feed!
Please take a picture of your finished dessert and tag me when you share it on social media so I can tell you how amazing it looks! If you followed this recipe and it came out exactly how you hoped—perfectly thick and **juicy cherry pie filling** delivered—leave a quick star rating right below. Your feedback helps other bakers feel confident about ditching the can and making this **homemade cherry pie filling** next time. We are building a community of joyful, from-scratch bakers here, and every single rating helps build that trust!
PrintThick and Juicy Homemade Cherry Pie Filling From Scratch
Make the best homemade cherry pie filling that is perfectly thick, glossy, and bursting with sweet-tart flavor. This easy stovetop recipe works great with fresh or frozen cherries and avoids runny results.
- Prep Time: 10 min
- Cook Time: 15 min
- Total Time: 25 min
- Yield: About 4 cups 1x
- Category: Dessert Component
- Method: Stovetop Cooking
- Cuisine: American
- Diet: Vegetarian
Ingredients
- 4 cups fresh or frozen sweet cherries, pitted
- 1 cup granulated sugar
- 1/4 cup cornstarch
- 1/2 cup water
- 1 tablespoon lemon juice
- 1 teaspoon vanilla extract
- 1/4 teaspoon almond extract (optional, for bakery style flavor)
Instructions
- If using frozen cherries, do not thaw them first. Place the cherries in a medium saucepan.
- In a separate small bowl, whisk together the granulated sugar and cornstarch until fully combined. This prevents lumps.
- Add the sugar and cornstarch mixture to the saucepan with the cherries. Stir gently to coat the fruit.
- Add the water and lemon juice to the saucepan. Stir everything together.
- Place the saucepan over medium heat. Cook, stirring constantly, until the mixture thickens significantly and begins to bubble. This usually takes about 5 to 8 minutes.
- Once the filling is thick and glossy, remove the pan from the heat. Stir in the vanilla extract and almond extract, if using.
- Allow the homemade cherry pie filling to cool completely before using it in your pie crust or other desserts. Cooling helps it set to the perfect thickness.
Notes
- This recipe creates a thick cherry pie filling that sets well, preventing watery pies.
- For sour cherry pie filling, adjust the sugar down slightly or use all sour cherries.
- This versatile filling works perfectly as a cherry cheesecake topping or a delicious cherry cobbler filling.
- If you are looking for canned cherry pie filling hacks, adding a teaspoon of cornstarch slurry (1 tsp cornstarch mixed with 1 tbsp cold water) to a can of filling and simmering briefly can help thicken it.
- You can find more great recipes like this on our Pinterest account.
Nutrition
- Serving Size: 1/2 cup
- Calories: 240
- Sugar: 35
- Sodium: 2
- Fat: 0
- Saturated Fat: 0
- Unsaturated Fat: 0
- Trans Fat: 0
- Carbohydrates: 60
- Fiber: 3
- Protein: 1
- Cholesterol: 0