
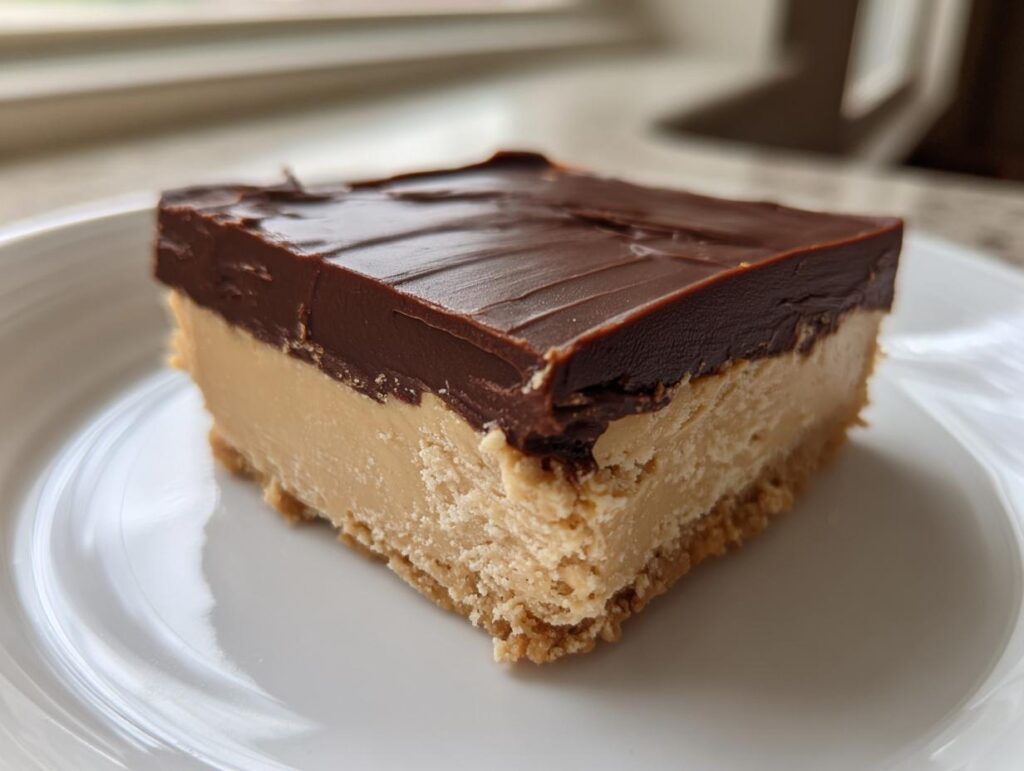
Oh my goodness, are you having one of those days where you just desperately need that perfect combination of salty, sweet, rich chocolate and creamy peanut butter? Me too, always! That’s why I absolutely insist you drop everything and make my Easy No-Bake Chocolate Peanut Butter Fudge right now. Seriously, you can have this decadent candy ready for chilling in about 25 minutes of pure prep time—no oven needed! This recipe is my secret weapon when I need a quick dessert, and it’s become a huge hit with my whole family. If you love easy chocolate fudge recipes, you are going to adore this one.
- Why This Easy No-Bake Chocolate Peanut Butter Fudge is Your New Favorite
- Gathering Ingredients for Perfect Chocolate Peanut Butter Fudge
- Step-by-Step Instructions for Layered Fudge
- Making the Peanut Butter Layer for Your Chocolate Peanut Butter Fudge
- Creating the Decadent Chocolate Topping for Your Chocolate Peanut Butter Fudge
- Storage and Serving Suggestions for Homemade Candy Recipes
- Frequently Asked Questions About Chocolate Peanut Butter Fudge
- Estimated Nutritional Snapshot for Simple Dessert Squares
- Share Your Decadent Chocolate Candy Creations
Why This Easy No-Bake Chocolate Peanut Butter Fudge is Your New Favorite
Let’s be honest, sometimes you need something rich and unbelievably satisfying, but you absolutely do not have the energy for turning on the oven. That’s where this legendary no bake dessert swoops in to save the day! This chocolate peanut butter fudge is pure indulgence without the fuss. In under half an hour of active work, you get dozens of squares that are truly a melt in your mouth dessert.
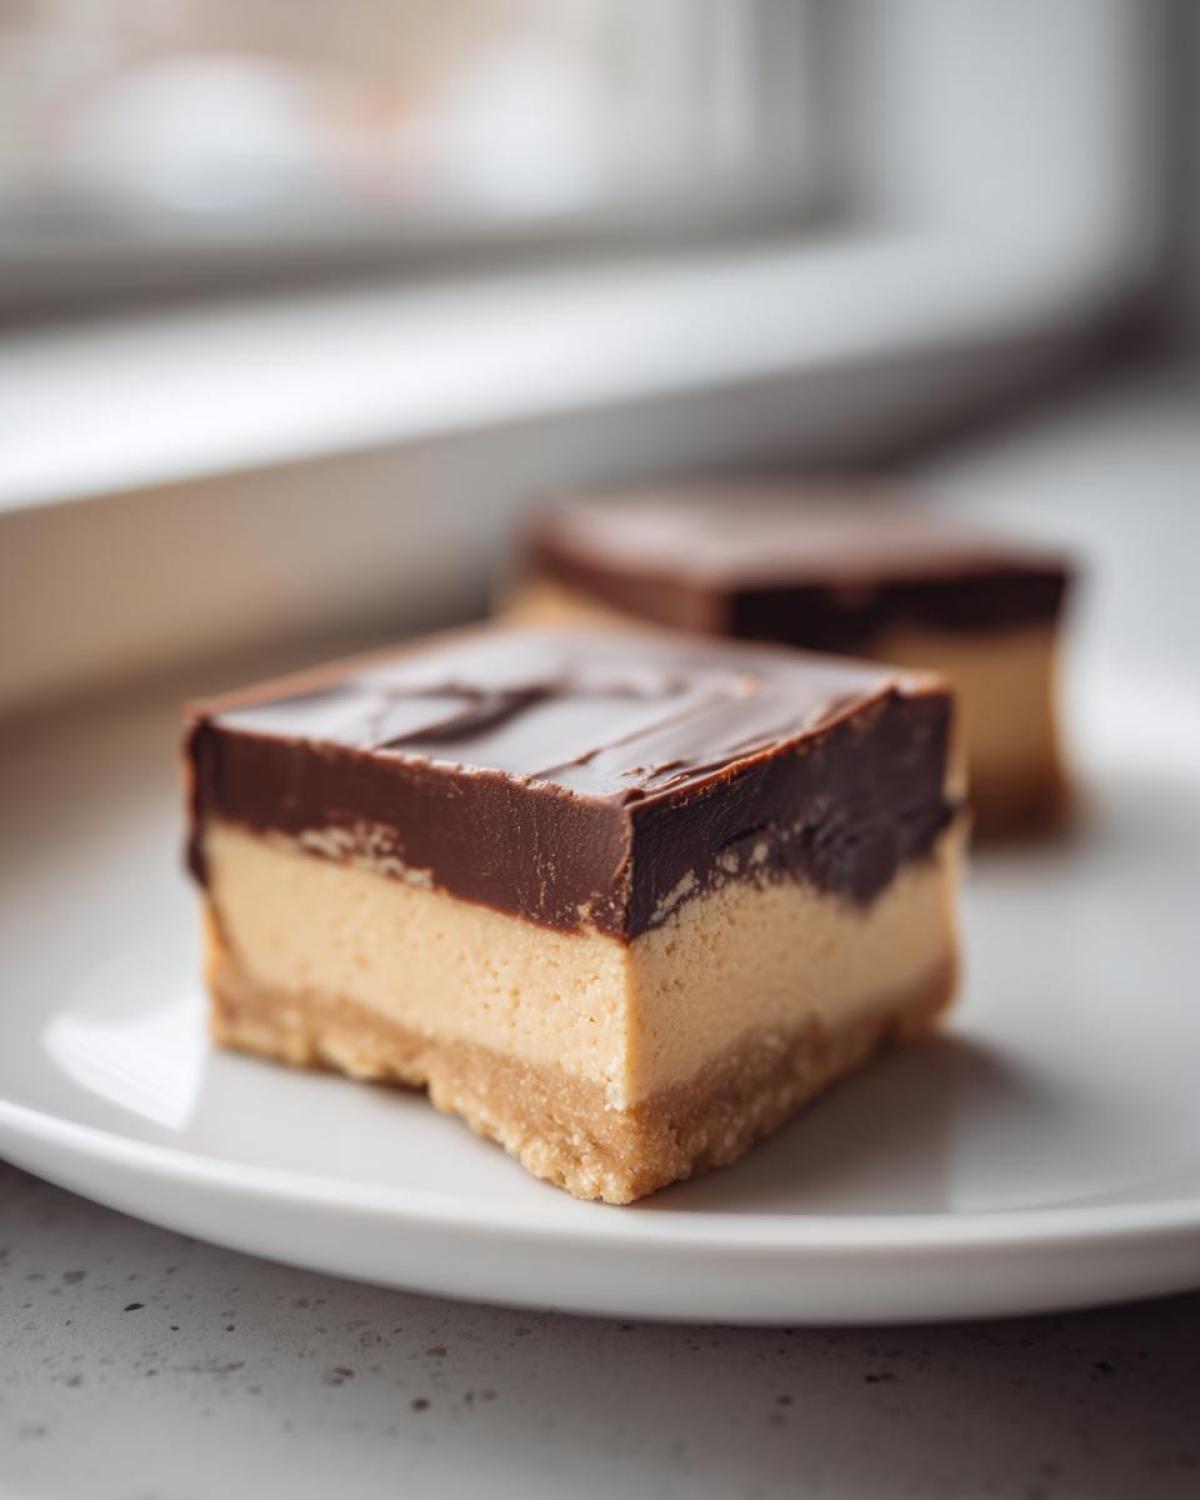
It hits all the right notes, combining that perfect salty kick from the peanut butter with deep, sweet chocolate. It’s definitely one of my go-to Quick Dessert Ideas because it sets up so beautifully in the fridge. Plus, these little gems are just as amazing for dropping off as a homemade gift as they are for keeping for yourself! If you love the speed of no-bake treats, this fudge is your match made in heaven.
Gathering Ingredients for Perfect Chocolate Peanut Butter Fudge
Okay, let’s talk about what you need to grab from the pantry because this chocolate peanut butter fudge is ridiculously simple! We are aiming for creamy, rich layers, and that means paying attention to the details even with just a few items.
For the base peanut butter layer, you’ll need one whole cup of creamy peanut butter, exactly one cup of unsalted butter that is nice and soft, and four cups of powdered sugar—and please, please sift that sugar! We don’t want clumps hiding in our beautiful candy.
Then, for the top chocolate layer, grab one cup of good semi-sweet chocolate chips, another half cup of creamy peanut butter, and just a tiny tablespoon of coconut oil if you want the very top layer to stay super smooth and shiny when it sets. This recipe makes about 36 simple dessert squares, so it’s perfect for sharing!
Ingredient Notes and Substitutions for Creamy Peanut Butter Fudge
Listen, ingredient quality really shouts loud in a simple recipe like this. For the creamiest texture possible, stick to regular creamy peanut butter. If you use natural peanut butter, you will have that oil separation happening, and you’ll likely need to stir it back in quite a bit, or your base won’t hold up right.
The most crucial part of the base? That butter must be *softened*. I mean soft enough to easily indent with your finger, but definitely not melted! If the butter is melted, you lose all the structure needed for handling this Easy Fudge Recipe later on.
The coconut oil I mentioned for the top is totally optional, but I love it because it keeps the chocolate layer from getting that dull, hard finish. It just ensures everything stays perfectly decadent and keeps those layers defined, just the way I like my homemade peanut butter candy!
Step-by-Step Instructions for Layered Fudge
Alright, let’s get to the fun part! This is where those few ingredients transform into the most incredible chocolate peanut butter fudge you’ve ever tasted. Remember, the total active preparation time here is only about 25 minutes—isn’t that amazing for such a decadent result?
First things first: set up your pan! Grab an 8×8 baking dish and line it completely with parchment paper. You want long overhangs on two sides. Trust me on this part; those parchment “handles” will be your best friends when it’s time to lift this delightful block out later!
Next, we work on that amazing peanut butter base. Take the butter and the first cup of peanut butter and beat them until they are super smooth—no lumps allowed! Then, gradually introduce that sifted powdered sugar. You have to add it slowly while mixing constantly, or you’ll end up looking like you wrestled a snow cloud! Keep mixing until it all comes together into a thick, gorgeous dough. Press this mixture firmly and evenly into the bottom of your prepared pan. Smooth the top with the back of a spoon or an offset spatula so you have a level foundation for our chocolate layer.
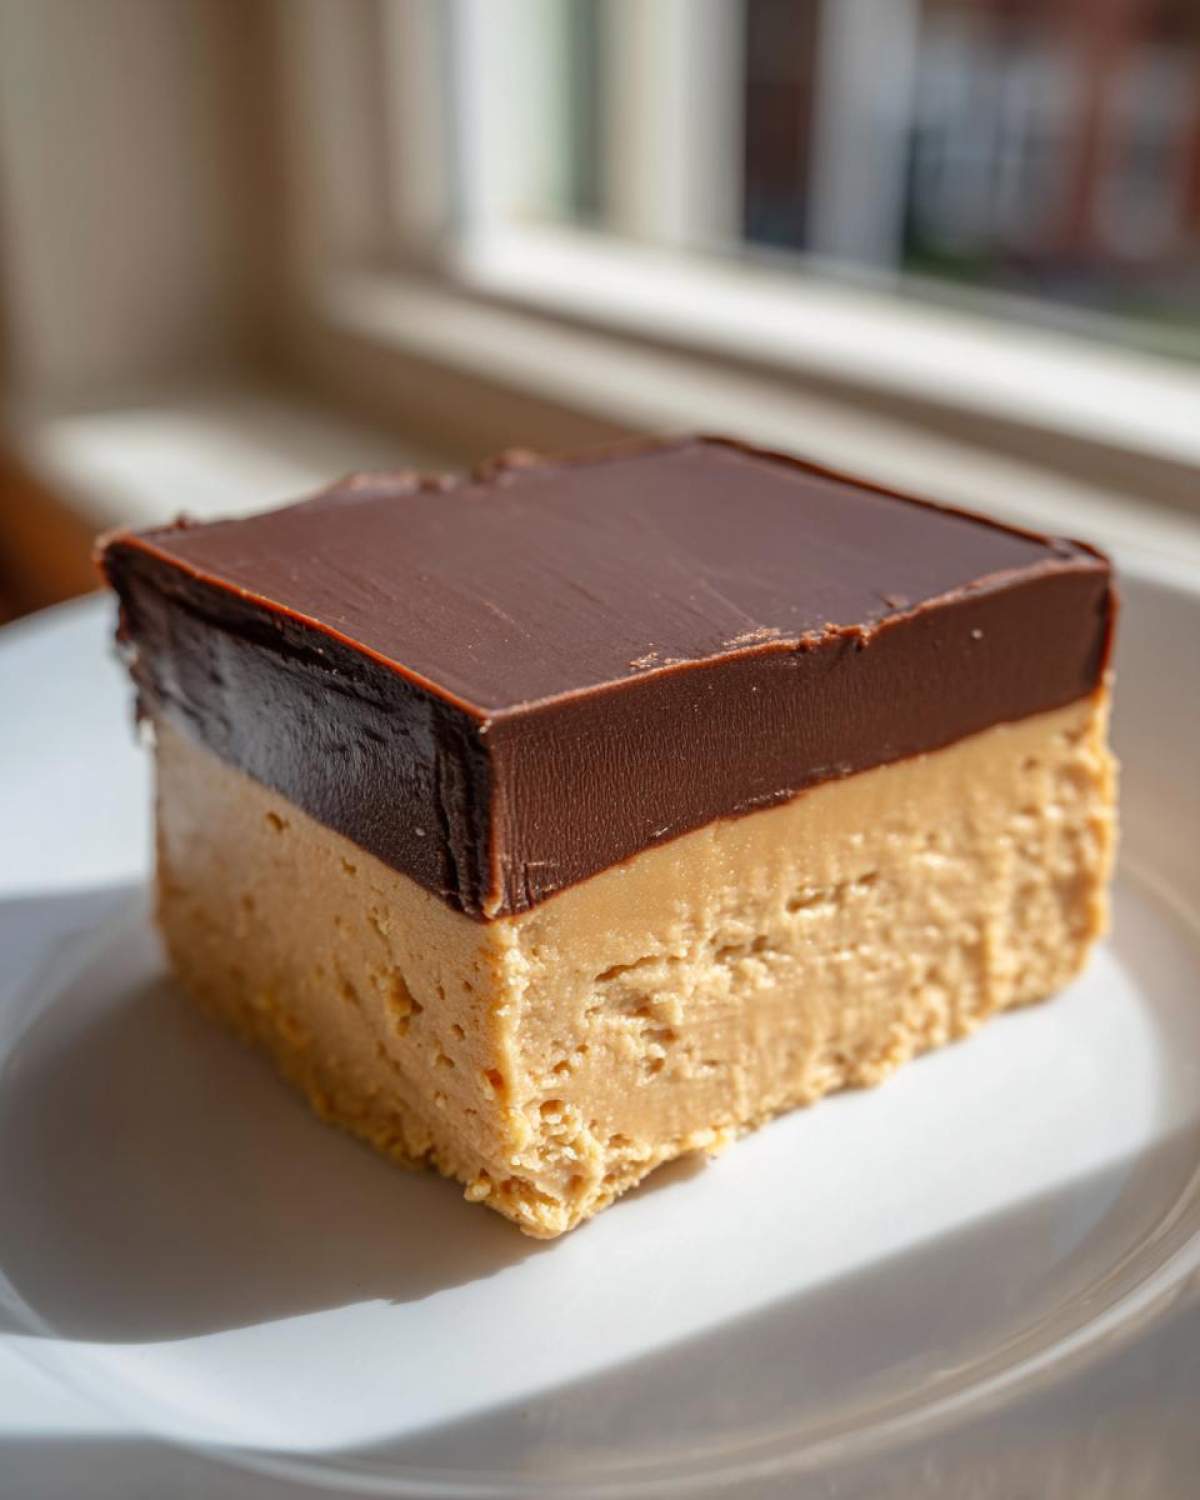
Now for the chocolate! Pop the chocolate chips (and that optional tiny bit of coconut oil for extra shine) into a microwave-safe bowl. Heat it in 30-second bursts, stirring really well between each session. You have to go slow here; scorching chocolate is the saddest thing. Once it’s silky smooth, you decide on your final look. If you want distinct layered fudge, just pour the melted chocolate right over the peanut butter base. If you want that gorgeous Peanut Butter Chocolate Swirl look that people absolutely love seeing on Pinterest, quickly stir the remaining 1/2 cup of peanut butter into the melted chocolate until it’s *just* combined, then pour and gently swirl with a knife.
That’s it for the making! Pop the pan into the refrigerator. You need at least two hours for this fudge to chill completely and firm up. Patience pays off, my friends!
Pro Tips for Perfect Chocolate Peanut Butter Fudge Texture
To ensure you get those perfect, clean cuts—because presentation matters, even for something this easy—let me share a little secret. Once the fudge is totally firm, lift it out using those parchment handles. For the cleanest slices, run a large knife under hot water, wipe it dry quickly, and then make your first cut. Reheat the blade as needed between cuts.
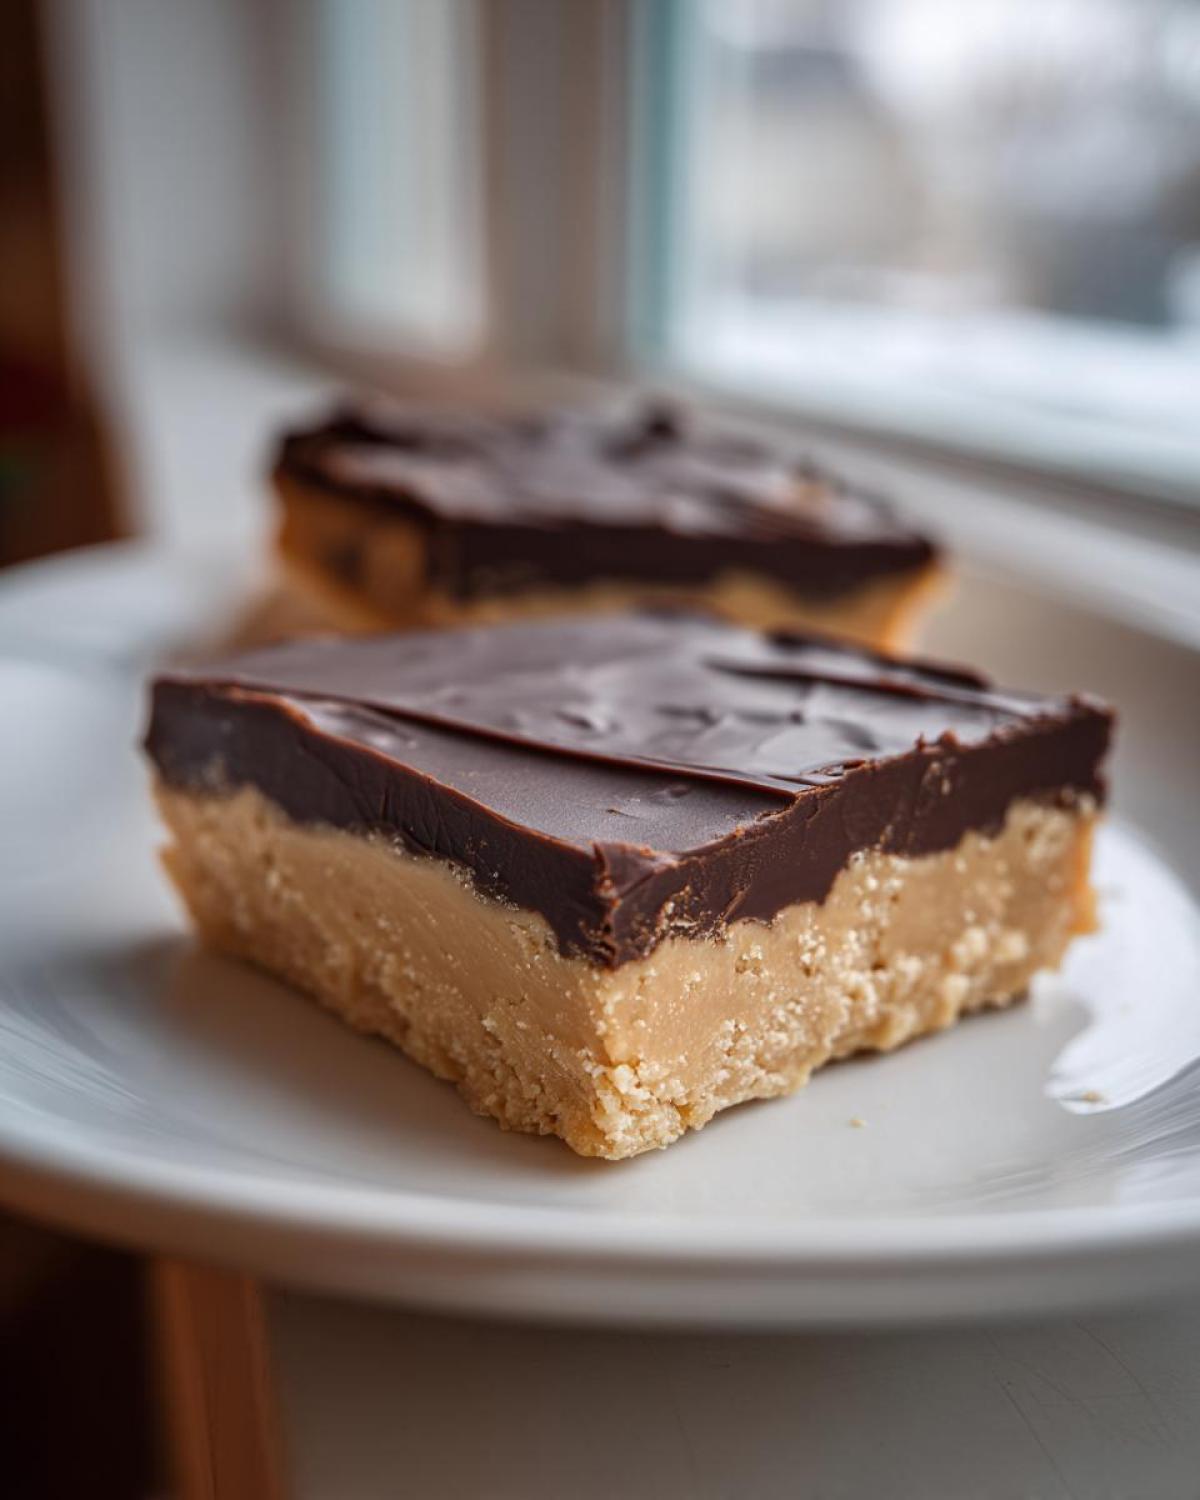
This technique keeps the chocolate edges sharp instead of dragging and smearing. If you decide to do that lovely marble swirl to get that beautiful look, make sure you don’t over-swirl! You want distinct rivers of chocolate and peanut butter, not a uniform brownish mess. This attention to tiny details is what turns good homemade candy into truly memorable treats!
Making the Peanut Butter Layer for Your Chocolate Peanut Butter Fudge
This first stage is all about building the foundation for that incredibly rich, Creamy Peanut Butter Fudge experience. We start by whipping that cup of creamy peanut butter with the softened butter until everything looks light and fluffy—we want air in there!
The critical moment comes when you introduce the powdered sugar. You absolutely must add it slowly! I mean, a cup at a time, mixing on low speed or by hand. If you dump all four cups in at once, I promise you’ll end up with a fine, sticky cloud coating your entire kitchen. We are aiming for smooth, not messy!
Keep mixing until it all comes together into a thick, dense mass. This mixture should feel substantial, and it’s this mixing process that guarantees you won’t have any grainy texture later on. Once it’s ready, press it down firmly into your prepared pan. If you want the best peanut butter base imaginable in your fudge, this gentle, gradual approach is the only way to go!
Creating the Decadent Chocolate Topping for Your Chocolate Peanut Butter Fudge
Now that your peanut butter layer is settled in the pan, it’s time for the showstopper: the rich chocolate topping! This process is so fast, which keeps our entire chocolate peanut butter fudge adventure under that quick 25-minute prep window we talked about.
Take your chocolate chips and that optional tiny little bit of coconut oil and whisk them into a microwave-safe bowl. Remember what I said about gentle heat? You want to pulse this in the microwave for 30 seconds at a time, stirring really well between each round. That way, you cook the chocolate slowly and avoid that awful burnt taste that can ruin everything.
Once it’s totally liquid and smooth—a perfect base for any moist homemade chocolate treat—you get to decide how you want to finish it. If you want simple, beautiful layered fudge, just pour that melted chocolate right over the peanut butter base and smooth the top. If you are feeling fancy and want that gorgeous swirl effect, wait just a beat! Stir in the remaining half cup of peanut butter until it’s *just* incorporated. Don’t mix too much! Just a few gentle folds so you still see streaks of light peanut butter throughout the dark topping. Then pour, swirl if you want, and send it straight to the fridge to chill!
Storage and Serving Suggestions for Homemade Candy Recipes
The best part about baking something this rich is knowing you have leftovers for later, right? Because our chocolate peanut butter fudge relies on butter instead of cooking sugar to set, its texture is absolutely best when chilled. Don’t leave these out on the counter for too long!
I always keep mine stored in an airtight container right in the refrigerator. It stays wonderfully firm and wonderfully creamy for about a week, maybe even longer if you hide them well! When you’re ready to serve, just pull them out a few minutes ahead of time. Remember, this recipe makes a surprisingly large batch, yielding right around 36 Simple Dessert Squares.
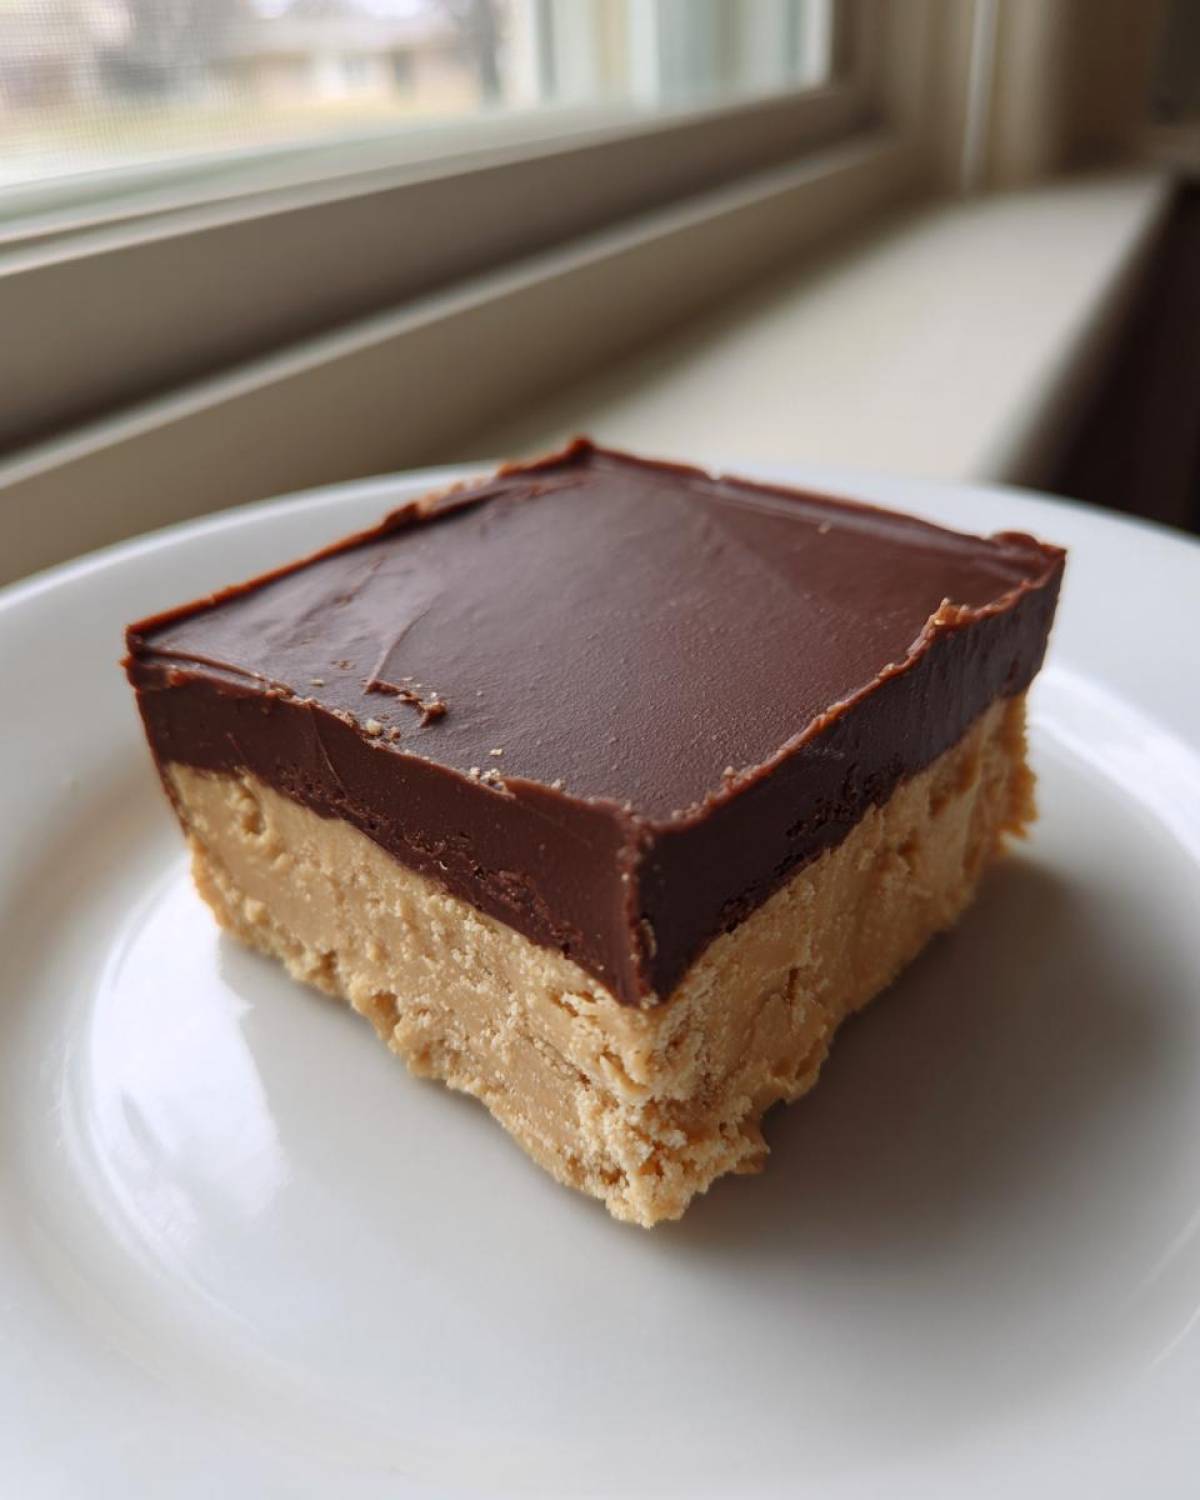
That makes this fudge fantastic for any gathering or when you need Quick Dessert Ideas on short notice. It’s a guaranteed crowd-pleaser for Fudge for Parties, holiday baking trays, or honestly, just a Tuesday when you need a sweet snack!
Need an extra tip for easy lifting? Make sure you’re using those parchment paper handles we talked about when you cut them. If you’d liketo learn more about keeping baked goods fresh, check out my tips on storing homemade items!
Frequently Asked Questions About Chocolate Peanut Butter Fudge
We all have those little questions that pop up when trying a new Homemade Candy Recipe, especially when no oven is involved! I’ve gathered the ones I hear the most often about this delightful chocolate peanut butter fudge. Don’t worry if something pops into your head—I’m here to help make sure you get that perfect, silky smooth result for your Simple Dessert Squares. If you’re trying to keep prep super fast, remember that this is one of my favorite quick sweet snacks!
Can I use natural peanut butter in this Easy Fudge Recipe?
Oh, that’s a great question that comes up a lot! While I love natural products, for this particular Easy Fudge Recipe, I really, really recommend sticking to conventional, creamy peanut butter—the kind that comes already stirred, like Jif or Skippy. Natural peanut butter has a lot of oil that just separates out constantly. If you use it here, the peanut butter layer won’t hold its shape nearly as well when it chills, and you might end up with a softer, much messier result. We want firm, perfect squares!
How long does this chocolate peanut butter fudge last?
Because this fudge relies on softened butter (remember, it’s a No Bake Dessert!), it likes to stay cool. For the absolute best, most delightful, melt-in-your-mouth texture, keep your finished fudge stored in an airtight container right in the refrigerator. It holds up beautifully for a solid week, maybe even ten days if you hide it well! If you make a huge batch for the holidays, freezing works great too—just let it thaw slowly in the fridge before you cut it.
Can I skip sifting the powdered sugar?
Absolutely not! Please, please, please do not skip sifting the powdered sugar. I know it seems like an extra step, but that powdered sugar gets seriously clumpy in the bag. If you toss those clumps into your butter mixture, you end up with little pockets of hard, unsweetened sugar instead of that luxurious, Creamy Peanut Butter Fudge texture we are aiming for. Sifting only takes a minute, and it ensures a smooth finish every single time. If you’re looking for inspiration for your next batch, you can always check out my latest pins over on my side of Pinterest!
Estimated Nutritional Snapshot for Simple Dessert Squares
Now, I’m not a nutritionist, goodness knows, but I always want you to have an idea of what you’re diving into when you make something this decadent! Since we are dealing with butter, peanut butter, and lots of sugar here, these Simple Dessert Squares are certainly a treat rather than an everyday snack. Keep in mind that these numbers are just an estimate based on the ingredients listed and can change wildly depending on the exact brand of peanut butter or chocolate chips you use. But for the sake of planning that party menu or gifting those amazing homemade sweet treats, here is the general idea per square:
- Calories: Around 220 per square. Yep, satisfying!
- Total Fat: Roughly 14 grams, which really helps with that melt-in-your-mouth feeling.
- Carbohydrates: About 22 grams.
- Protein: A nice boost of about 5 grams, thanks to that peanut butter base.
So enjoy them responsibly, maybe share a few more squares than you plan to eat yourself—that usually works for me when I bake this glorious chocolate peanut butter fudge!
Share Your Decadent Chocolate Candy Creations
Wow, okay, if you’ve made it this far, you definitely need to go whip up this chocolate peanut butter fudge immediately! Once you cut those squares and sneak a bite—or four—of this amazingly rich, creamy confection, I want to hear everything about it!
Seriously, helping people realize how easy homemade candy recipes can be is why I started this blog. Once you try this no-bake magic, please do me a huge favor: come right back here and leave a rating. Five stars is always wonderful, but honest feedback guides everyone else who needs a reliable, quick dessert idea!
Did you choose the distinct layered look, or did you go for that gorgeous swirl effect that shows up so well in pictures? I love seeing your creations on social media—snap a photo of those decadent squares and tag me! Whether you are planning these for gifts or just needed a quick sweet snack, these really are the best.
I’ve seen some incredible results over on Pinterest when people share their similar fudge projects, and I know you’ll do just as well. Don’t forget to check out my recipe for an amazing chocolate babka next if you’re looking for another chocolate challenge that *does* require an oven! Happy indulging, everyone!
PrintEasy No-Bake Chocolate Peanut Butter Fudge
Make this rich, creamy, and decadent chocolate peanut butter fudge with just a few simple ingredients. This no-bake dessert sets up fast and yields perfect squares ideal for parties or gifting.
- Prep Time: 25 min
- Cook Time: 0 min
- Total Time: 2 hours 25 min
- Yield: 36 servings 1x
- Category: Dessert
- Method: No Bake
- Cuisine: American
- Diet: Vegetarian
Ingredients
- 1 cup creamy peanut butter
- 1 cup unsalted butter, softened
- 4 cups powdered sugar, sifted
- 1 cup semi-sweet chocolate chips
- 1/2 cup creamy peanut butter (for topping)
- 1 tablespoon coconut oil (optional, for smooth topping)
Instructions
- Line an 8×8 inch baking pan with parchment paper, leaving an overhang for easy removal.
- In a large bowl, beat the 1 cup of peanut butter and the softened butter together until smooth.
- Gradually add the sifted powdered sugar to the peanut butter mixture, beating until fully combined and the mixture is thick. This forms your peanut butter layer.
- Press the peanut butter mixture evenly into the bottom of the prepared pan.
- In a microwave-safe bowl, combine the chocolate chips and the optional coconut oil. Microwave in 30-second intervals, stirring well after each, until the chocolate is completely melted and smooth.
- Stir the remaining 1/2 cup of peanut butter into the melted chocolate until just combined for a swirl effect, or pour it over the peanut butter layer for a distinct top layer.
- Pour the chocolate mixture over the peanut butter layer in the pan. If you want a swirl, use a knife to gently swirl the layers together.
- Refrigerate the fudge for at least 2 hours, or until firm.
- Lift the fudge out of the pan using the parchment overhang. Cut into 24 to 36 simple dessert squares.
Notes
- For a marble swirl effect, gently swirl the melted chocolate mixture into the peanut butter layer before chilling.
- This recipe is a fantastic option when you need quick dessert ideas or homemade candy recipes.
- Store your finished fudge in an airtight container in the refrigerator for the best texture.
Nutrition
- Serving Size: 1 square
- Calories: 220
- Sugar: 25
- Sodium: 85
- Fat: 14
- Saturated Fat: 6
- Unsaturated Fat: 8
- Trans Fat: 0
- Carbohydrates: 22
- Fiber: 1
- Protein: 5
- Cholesterol: 15