
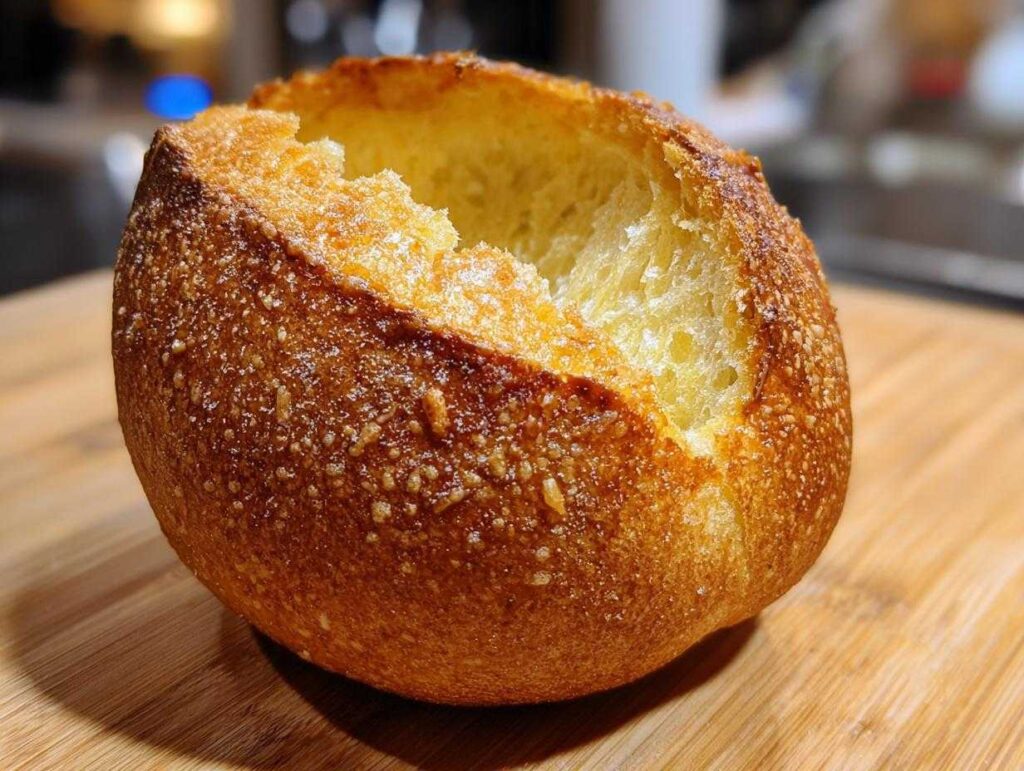
Oh my goodness, if there is one thing that screams total, cozy, soul-hugging comfort food, my friends, it is a magnificent, edible vessel filled to the brim with something hot and delicious! Forget those flimsy store-bought versions; when you bring homemade bread bowls to the table, you aren’t just serving dinner, you’re hosting an *event*. My absolute favorite joy in the kitchen is transforming simple flour and water into something that has that incredible, slightly shatter-y crust on the outside, but the inside stays soft enough to soak up every last drop of soup. Trust me when I say pulling these bakery-style beauties out of your own oven feels like winning the kitchen lottery! It’s rewarding work, and I promise, once you master the technique, you’ll never look back.
- Why This Homemade Bread Bowl Recipe is Your New Favorite Comfort Food
- Essential Ingredients for Bakery Style Bread Bowls at Home
- How to Make Bread Bowls From Scratch: Step-by-Step Instructions
- Mastering How to Hollow Out Bread Bowls
- Tips for Success When Making Bread Bowls
- Best Fillings for Bread Bowls
- Storage and Reheating Instructions
- Frequently Asked Questions About Bread Bowls
- Sharing Your Comfort Food Creations
Why This Homemade Bread Bowl Recipe is Your New Favorite Comfort Food
You know me; I’m obsessed with getting that restaurant quality right here in my own kitchen, and these homemade bread bowl recipes nail it! The real magic here is the contrast—you get this stunning, deep golden crust that rings like a bell when you tap it, which is perfect insurance for soup night. Seriously, these are the ultimate edible soup bowls tutorial results! If you’re ever craving that skillet cornbread magic but want something to cradle soup, this is your answer.
I also love that these are hearty enough for anything you throw at them. I’m pretty sure my husband is only eating soup these days because he gets to tear chunks off the remaining bread!
Achieving the Perfect Crusty Bread Bowls Baking Texture
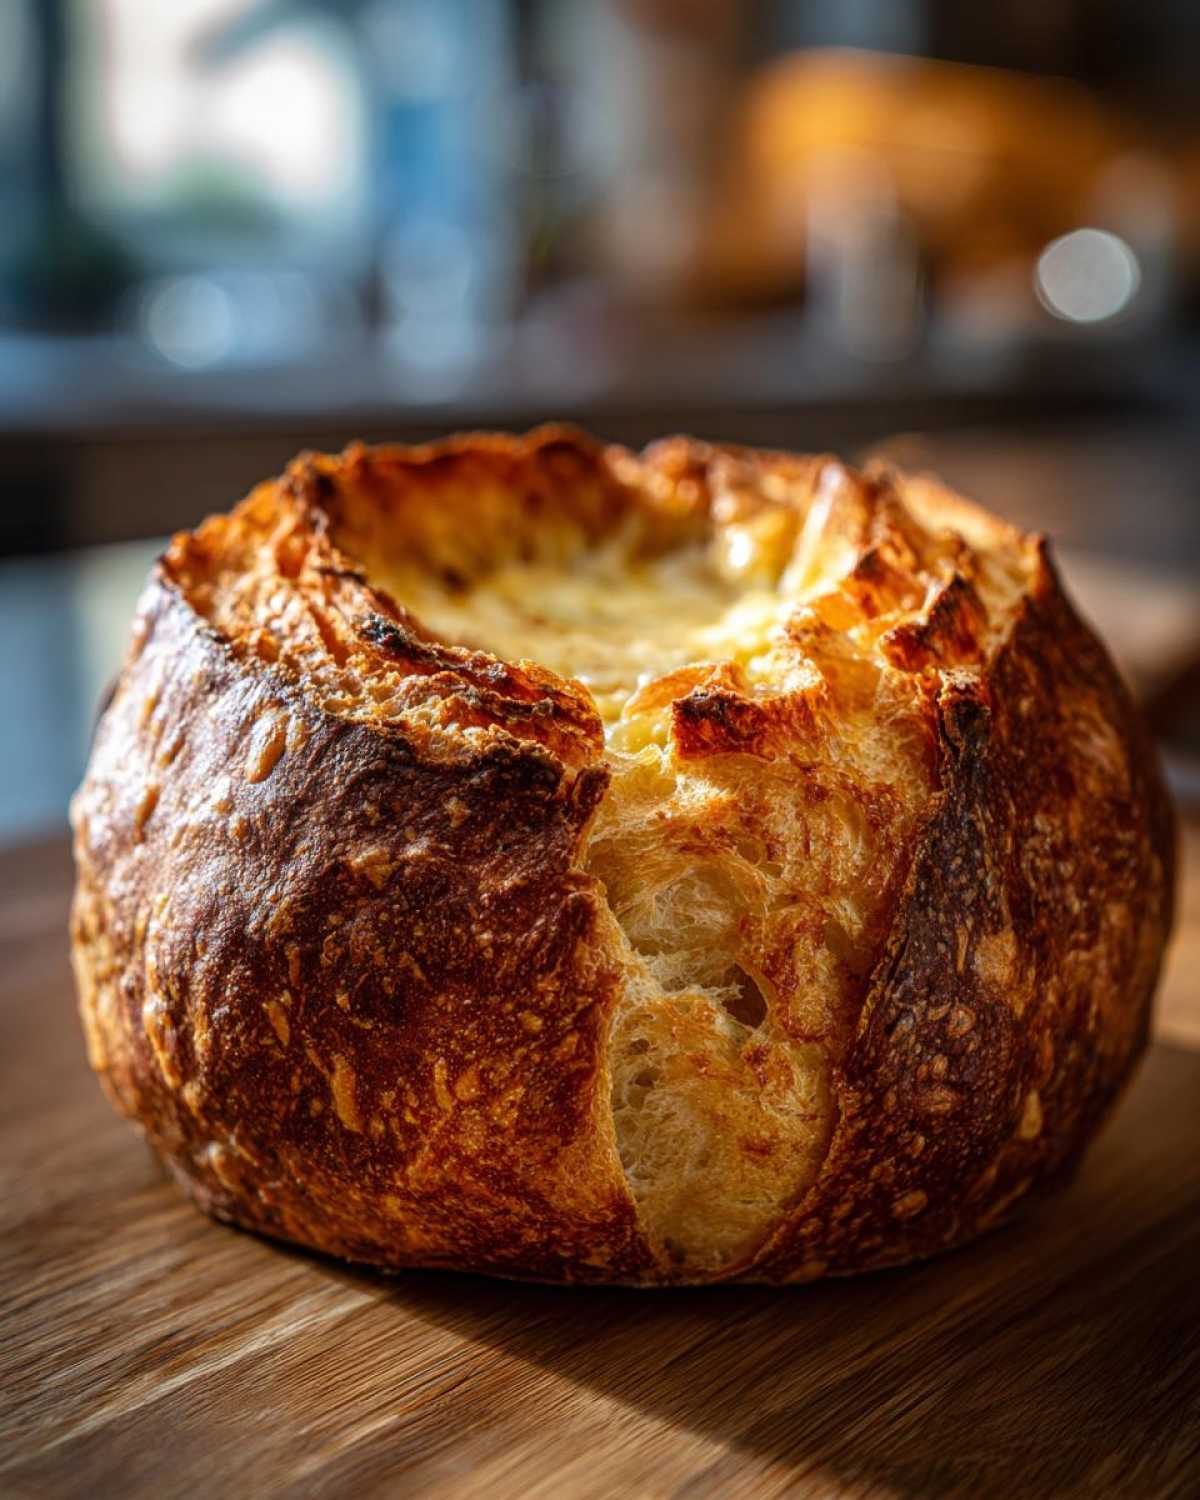
The secret to that enviable crunch isn’t hard work; it’s steam! When you pop these into the oven, make sure you have that shallow pan of water on the bottom rack. That steam keeps the outside flexible just long enough for the dough to expand fully, creating those beautiful air pockets. A quick brush of egg white wash before baking seals the deal for that gorgeous, glossy, crusty bread bowls baking finish. It’s pure science, but it tastes like happiness!
Soft Bread Bowls for Chili and Creamy Fillings
While we want a great crust, the inside has to be tender, right? That’s why this dough is slightly stickier than a regular loaf. This creates the perfect crumb structure—sturdy enough to stand up to thick chili or chowder, but soft enough to dip beautifully. You get soft bread bowls for chili that absorb flavor instead of just turning into mush. Honestly, they taste ten times better than anything you find pre-made.
Essential Ingredients for Bakery Style Bread Bowls at Home
When you’re aiming for that real bakery quality, you can’t just throw stuff in a bowl! We need quality starting materials for our homemade bread bowl recipe. This list looks short, but every component plays a vital role in getting the texture just right. You’ll need the basics: flour, salt, and yeast—but pay close attention to our water! It has to be warm, not hot, or you’ll scare the yeast away. Remember how my buttermilk biscuits need that specific temperature? Yeast is just as fussy!
I keep my list simple because I want you focusing on the kneading, not running to the store for obscure flours. Here’s the must-have list:
- 3 cups all-purpose flour
- 1 teaspoon instant yeast (no proofing needed here, yay!)
- 1 1/2 teaspoons salt (don’t skimp, it brings out the flavor!)
- 1 1/4 cups warm water—aim for between 105°F and 115°F if you have a thermometer.
- 1 tablespoon olive oil, plus extra for coating the bowl.
- 1 egg white, beaten with 1 teaspoon water (this is our secret weapon for shine!).
How to Make Bread Bowls From Scratch: Step-by-Step Instructions
Alright, this is where the real fun begins! Turning that shaggy mess into gorgeous, puffy edible works of art takes a little time, but it’s mostly hands-off. We want that beautiful rise and that incredible golden topping, so follow these instructions closely. It’s all about timing and knowing what the dough is trying to tell you. Don’t worry if you don’t have a fancy mixer; your hands and a sturdy bowl work just as well!
Mixing and Kneading the Dough
First things first, whisk those dry bits together. Then add the water and oil and mix until it looks rough—that’s called ‘shaggy,’ and it’s totally normal! Now, get it onto a floured surface. You need to knead this for a solid six to eight minutes until it gets smooth and elastic. My Grandma Sophia always used to say, “Don’t rush the yeast, honey, that little fellow needs time to wake up!” The dough should feel slightly sticky, definitely not dry like a rock. That slight stickiness is your first hint that you’ll get lovely bread bowls later!
Proofing and Shaping Your Bread Bowls
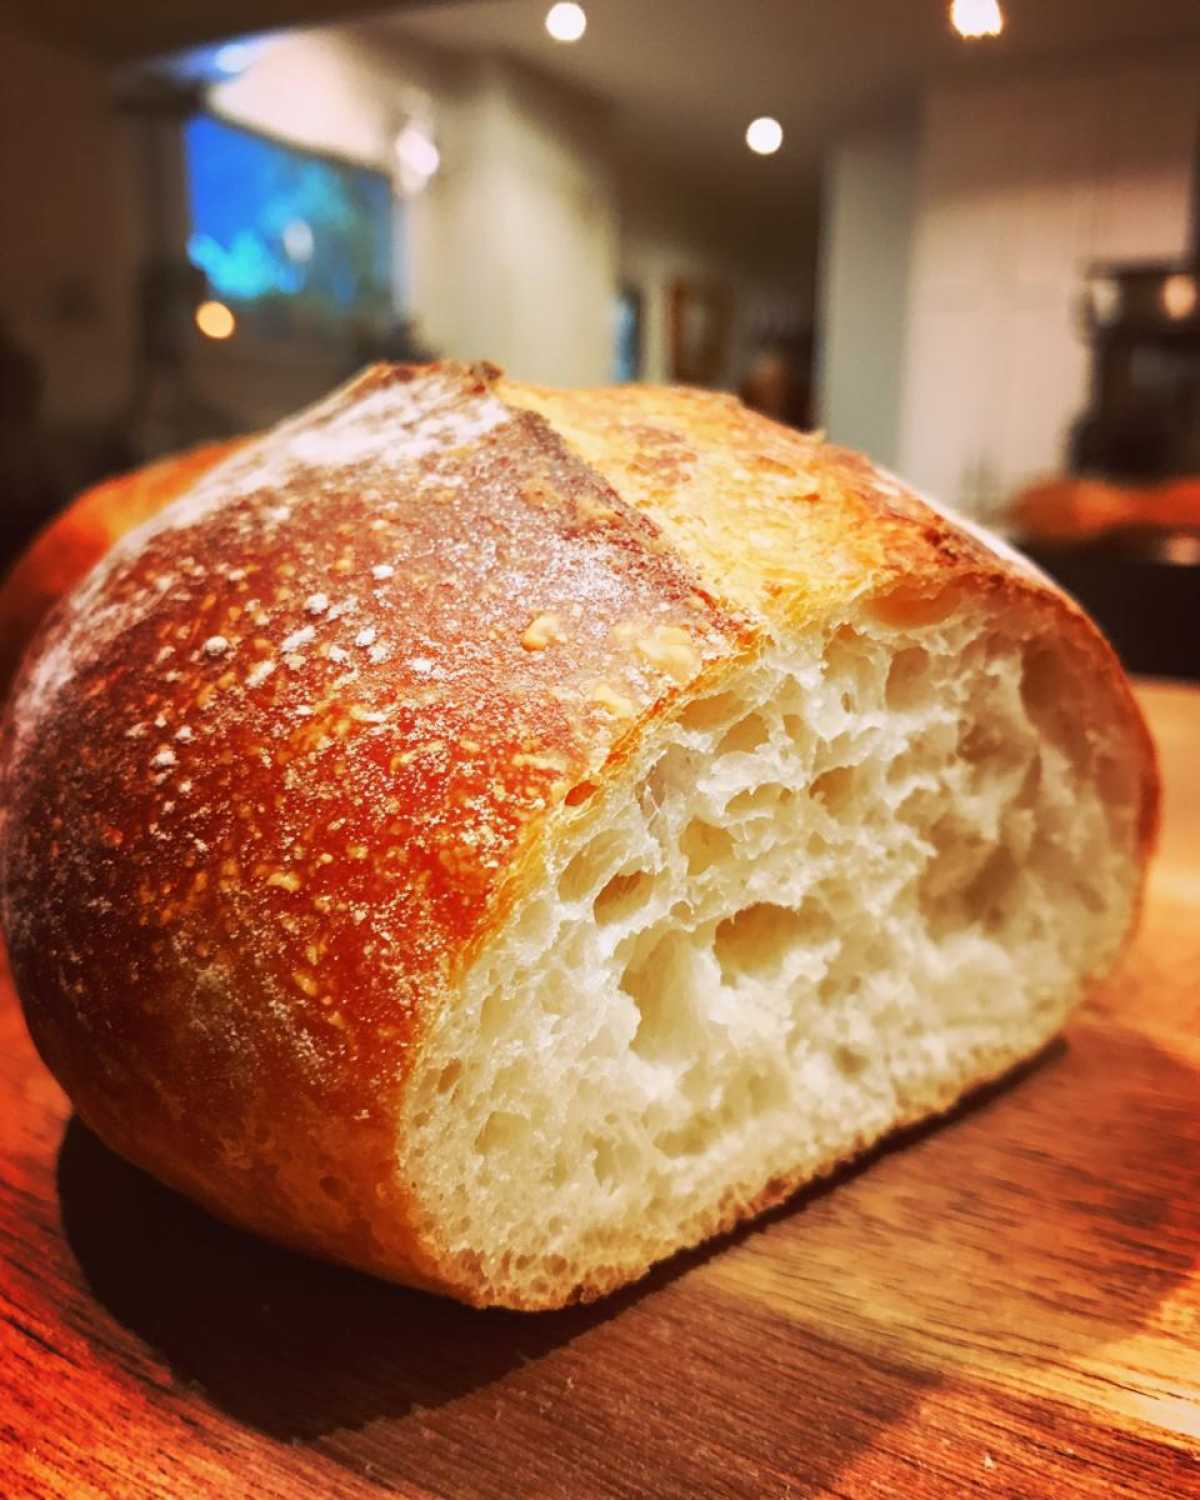
Once you’ve kneaded, toss that beautiful dough into an oiled bowl, cover it up, and let it sit somewhere warm for about an hour to an hour and a half until it doubles. Don’t poke it too soon! When it’s puffy, gently press the air out. Then, divide that dough into four equal, fat piles. This is important: shape each piece into a *tight* round ball. You want supreme tension on the outside so they hold their shape while baking. Let them rest again for 30 minutes, covered loosely.
Baking for Crusty Bread Bowls
Time to heat things up! We’re going for 400°F, and here’s a pro move to get those magnificent crusty bread bowls baking results: put a shallow pan on the bottom rack while it preheats. Right before the bread bowls go in, brush the tops lightly with that egg white wash for shine. Carefully place them on your baking sheet, and then, slide that sheet into the oven. If you can, toss a handful of ice cubes into the hot shallow pan on the bottom rack—that steam is magic! Bake them until they look deeply golden brown, usually around 20 to 25 minutes. They should sound hollow when tapped!
Mastering How to Hollow Out Bread Bowls
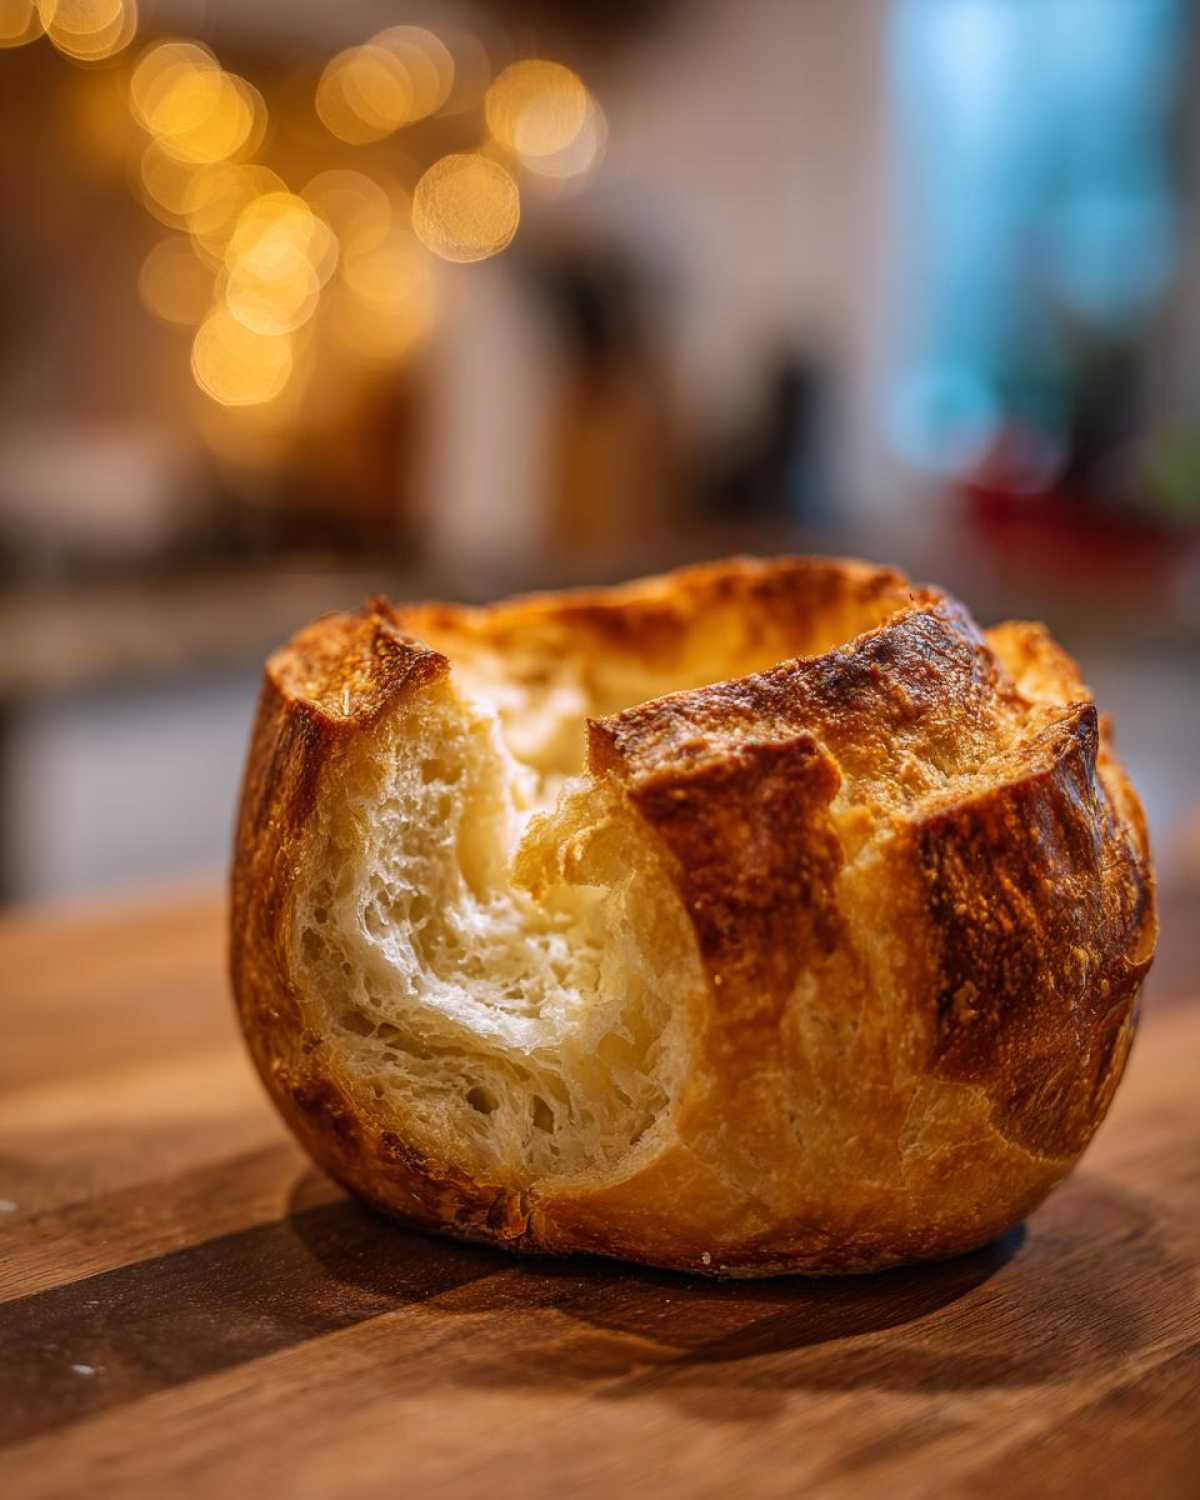
Okay, this is the big moment! You’ve baked these perfect, gorgeous bread bowls, and now you don’t want to accidentally turn them into bread soup by digging too deep! Don’t worry, it’s easy once you know the trick for how to hollow out bread bowls properly. Let them cool on the rack for about fifteen minutes first; you don’t want to burn your fingers.
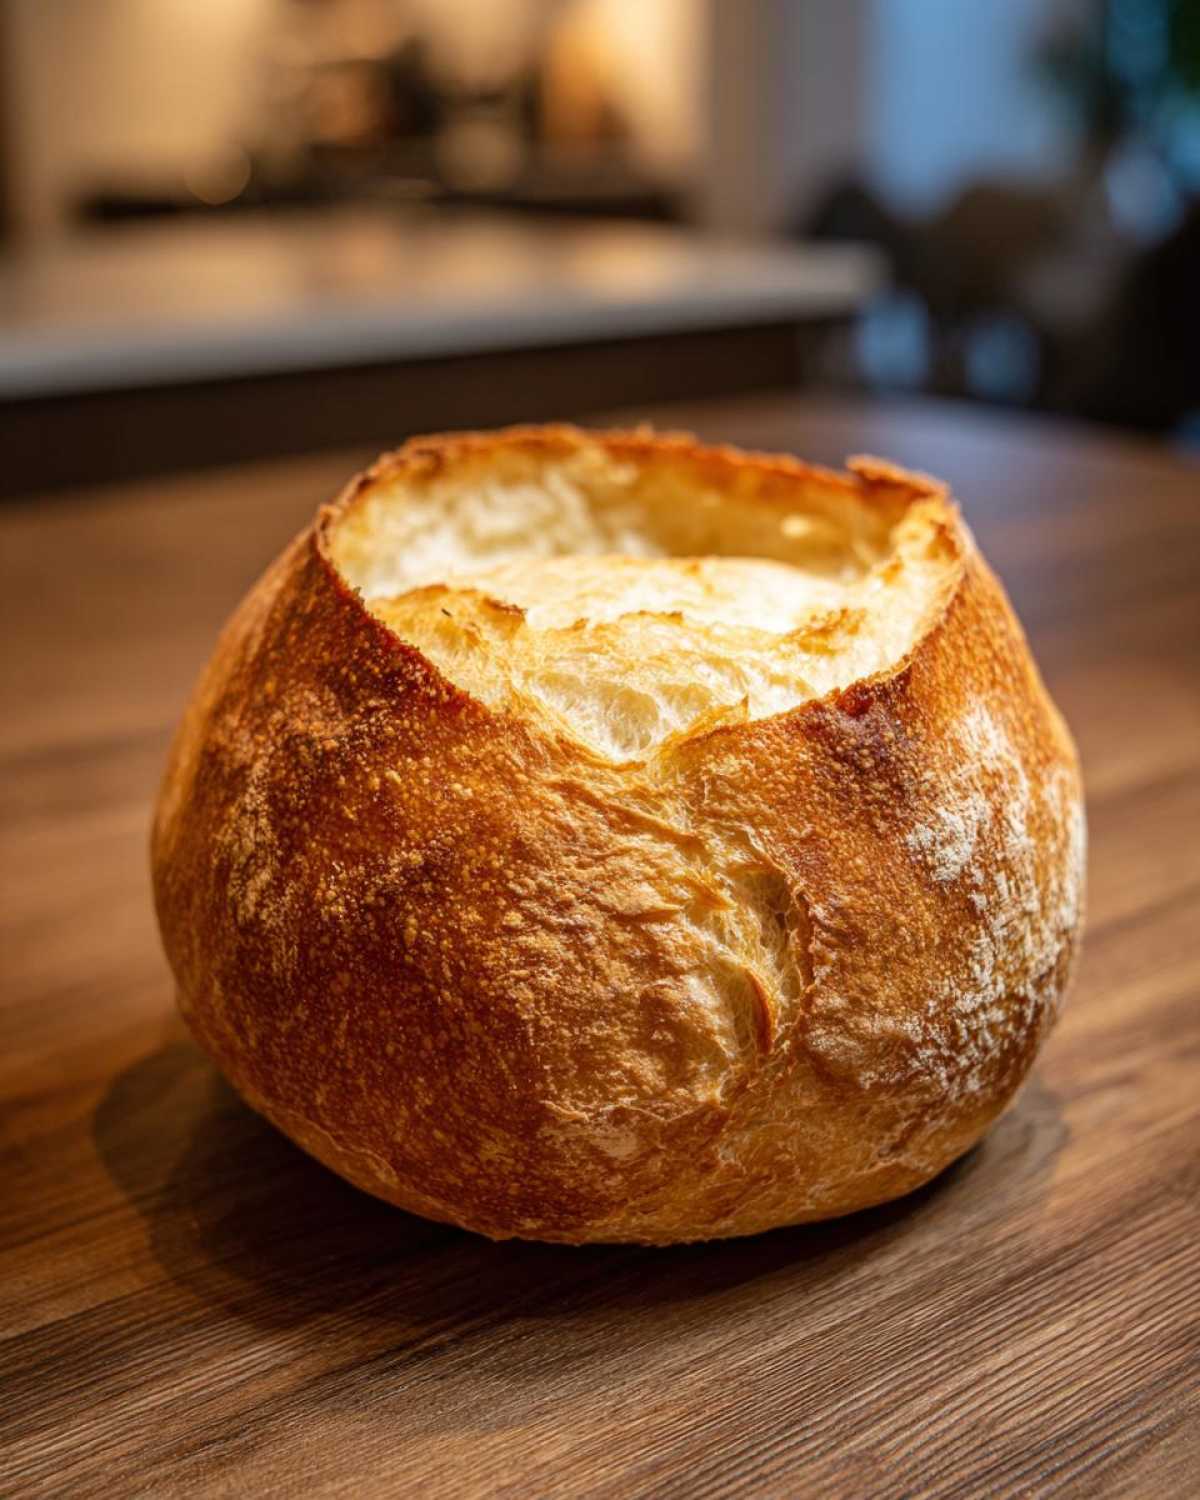
Take a sharp knife—not a serrated one, a steady chef’s knife works best—and cut a circle around the very top, about a half-inch in from the edge. Cut at a slight angle, pointing the knife down towards the center, almost like you’re carving a lid. Once you’ve cut the ring, gently pull that top piece off. Then, using your fingers or a spoon—I prefer my fingers for better control—gently scoop out the soft interior, leaving a strong wall, maybe half an inch thick all around. Save that scooped-out bread! It’s the absolute best thing to dip into whatever deliciousness you’re planning to serve. If you love incredible dipping bread, you know how amazing the bread from skillet cornbread is; this fresh interior is just as good! This sturdy vessel is now ready for any soup you throw in it!
Tips for Success When Making Bread Bowls
Baking bread bowls should be fun, not frustrating! I’ve totally had batches that looked flat or were soggy on the bottom, so I figured out a few tricks to make sure your results are always top-notch. First up: temperature control. Yeast is crucial here, so make sure your kitchen isn’t freezing cold when you let the dough rise, or it just won’t puff up like it should. If you’re worried about the bottoms getting limp and soggy, which happens when they sit on a hot, steamy pan too long, try this: after they’re baked dark golden, pull the bread bowls off the baking sheet and finish cooling them directly on a wire rack. This lets air circulate underneath.
Another thing I learned the hard way when trying out a new frosting; I remember when I was fussing with the perfect vanilla buttercream recipe and I tried to shortcut the creaming time—big mistake! Don’t try to rush the kneading here either! If you don’t develop that gluten properly, the dough won’t have the structure to hold soup, and you’ll end up with sad, collapsing walls. Trust the process, and your homemade bread bowl recipe will shine!
Best Fillings for Bread Bowls
Okay, we’ve created the perfect edible container—now for the main event! What are you going to fill your beautiful, crusty bread bowls with? Since you put in all that effort to get that bakery-style texture, you need something truly decadent inside. Honestly, practically anything thick works, but I have a few favorites that turn soup night into a celebration. I love making a big pot of loaded baked potato soup—the creaminess contrasts so perfectly with the crust. And of course, you absolutely cannot go wrong with classic New England clam chowder!
For something heartier, a big batch of my smoky buffalo chicken chili poured right into these sturdy cups makes for the ultimate weekend meal. I’ve even seen people use these incredible bread bowls for things that aren’t soup at all, which is just genius!
Dips and Cheesy Bread Bowl Dinner Ideas
Listen, just because we call them soup bowls doesn’t mean they can’t be appetizers! If you’re hosting a get-together, serving a piping hot spinach and artichoke dip right in the middle of the table inside one of these creations is the best of all bread bowl dinner ideas. Imagine scooping that cheesy goodness with the warm, soft interior of the bread you dug out. It’s pure decadence! If you’re looking for more inspiration on what to serve, absolutely check out the amazing ideas over at Recipes Vault later tonight!
Storage and Reheating Instructions
These loaves are fantastic for making ahead, which buys you time when company is coming over! Once they are totally cooled, store your finished bread bowls in an airtight container at room temperature for up to two days. The crust will soften a bit, but don’t worry about that. When you’re ready to serve, just pop them back into a 300°F oven for about five to seven minutes. That quick blast of heat re-crisps the exterior beautifully. If you want to learn more about prepping them super far ahead, check out my notes on make ahead bread bowls!
Frequently Asked Questions About Bread Bowls
I always get so many questions when people see how perfectly these turn out! Baking bread at home can feel intimidating, but once you know the fundamentals of this recipe, you’ll be making these homemade bread bowls for every gathering. Here are the top things I hear regarding these fantastic edible containers that rival the best restaurants. If you manage to master these, perhaps you should check out my guide on an easy one-hour bread next!
Can I use a bread machine for bread bowls?
Yes, absolutely! If you have a machine, feel free to skip the mixing and kneading steps above. Just use the ‘Dough’ cycle on your machine. Once the cycle finishes, the dough will be perfectly developed, and you can proceed right to dividing and shaping those four lovely rounds for your bread bowls. It saves your arms a bit of work, which I don’t mind when I’m really busy!
How do I make pretzel bread bowls?
Oh, I love a good salty pretzel! That signature chewy texture in pretzel bread bowls comes from a specific step we skip here: dipping the dough briefly into a boiling water bath containing baking soda right before baking. Our recipe above focuses on that classic, crusty, slightly tangy loaf perfect for soup, but if you want the pretzel flavor, do that dip! It’s a totally different, but equally delicious, technique.
My suggestion for the best bread bowl recipe for soup is to stick to the steam method we used here, but honestly, trying the pretzel variation is next on my list!
Sharing Your Comfort Food Creations
I’ve shared all my secrets for crafting the perfect bread bowls, and now I can’t wait to see what you fill them with! Did you go classic with clam chowder or get creative and try that cheesy dip idea? Please come back and leave a star rating if this recipe made your dinner night special! Don’t forget to tag me in your photos when you share your edible soup bowls—seeing your success brightens my whole week!
PrintThe Ultimate Homemade Bread Bowl Recipe: Soft Inside, Crusty Outside – Perfect for Any Soup or Dip
Learn how to make bakery style bread bowls at home that rival restaurant quality. This recipe gives you soft interiors and crusty exteriors, making them perfect edible soup bowls for your favorite chili, clam chowder, or dips.
- Prep Time: 20 min
- Cook Time: 25 min
- Total Time: 1 hour 55 min
- Yield: 4 servings 1x
- Category: Baking
- Method: Baking
- Cuisine: American
- Diet: Vegetarian
Ingredients
- 3 cups all-purpose flour
- 1 teaspoon instant yeast
- 1 1/2 teaspoons salt
- 1 1/4 cups warm water (about 105-115°F)
- 1 tablespoon olive oil, plus more for coating
- 1 egg white, beaten with 1 teaspoon water (for egg wash)
Instructions
- In a large bowl, whisk together the flour, instant yeast, and salt.
- Add the warm water and olive oil to the dry ingredients. Mix with a spoon until a shaggy dough forms.
- Turn the dough out onto a lightly floured surface and knead for 6 to 8 minutes until the dough is smooth and elastic. This dough should be slightly sticky.
- Lightly oil a clean bowl. Place the dough in the bowl, turning to coat. Cover the bowl with plastic wrap or a clean towel and let it rise in a warm place for 1 to 1.5 hours, or until doubled in size.
- Gently punch down the dough. Divide it into 4 equal pieces. Shape each piece into a tight round ball. These will be your bread bowls.
- Place the dough balls on a baking sheet lined with parchment paper, leaving space between them. Cover loosely and let them rest for 30 minutes.
- Preheat your oven to 400°F (200°C). Place a shallow pan on the bottom rack to create steam later.
- Brush the tops of the dough balls lightly with the egg white wash. This helps achieve a nice crust.
- Bake for 20 to 25 minutes, or until the bread bowls are deep golden brown and sound hollow when tapped on the bottom.
- Remove the bread bowls from the oven and let them cool on a wire rack for at least 15 minutes before hollowing.
- To serve, use a sharp knife to cut a circle around the top of each loaf, leaving a half-inch border. Gently pull out the soft bread from the center, leaving a sturdy wall. Save the removed bread for dipping.
Notes
- For a crispier crust, place a few ice cubes in the shallow pan on the bottom rack just as you put the bread in the oven to create steam.
- If you are making these ahead of time, you can bake them fully, cool them, and store them in an airtight container for up to two days. Reheat briefly before serving.
- These bread bowls are fantastic for serving loaded baked potato soup or creamy broccoli cheddar soup.
Nutrition
- Serving Size: 1 bread bowl
- Calories: 300
- Sugar: 3
- Sodium: 450
- Fat: 3
- Saturated Fat: 0.5
- Unsaturated Fat: 2.5
- Trans Fat: 0
- Carbohydrates: 60
- Fiber: 2
- Protein: 10
- Cholesterol: 0