
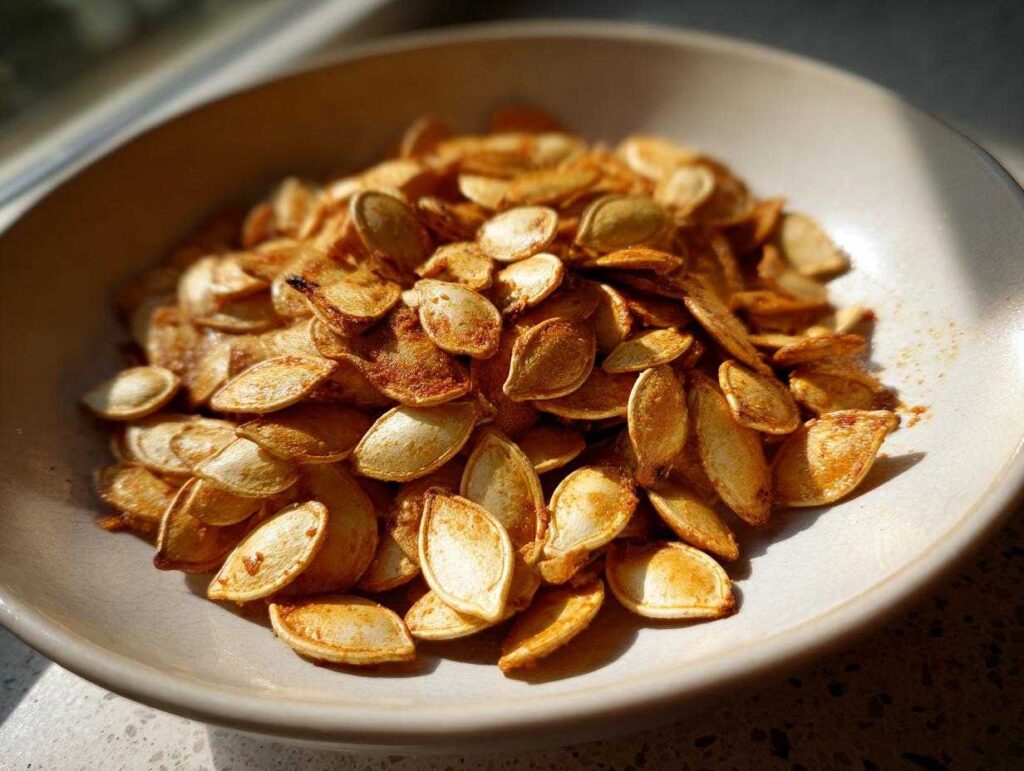
Every October, our kitchen turns into a pumpkin seed roasting station – and honestly, it’s my favorite part of carving jack-o’-lanterns. There’s something magical about transforming those slimy seeds you scoop out into addictive, crispy roasted pumpkin seeds. I still remember standing on a step stool next to Grandma, our fingers sticky with pumpkin guts, as she taught me the secret to perfect crunch. Sweet or salty, these little gems are nature’s perfect snack. Whether you’re looking for a healthy munch during meal planning or a Halloween party treat, homemade roasted pumpkin seeds beat store-bought any day. The best part? That satisfying “pop” when you bite into a perfectly roasted seed – just like when I was six!
- Why You'll Love These Roasted Pumpkin Seeds
- Ingredients for Perfect Roasted Pumpkin Seeds
- How to Roast Pumpkin Seeds Step by Step
- Tips for the Best Roasted Pumpkin Seeds
- Storage and Serving Ideas
- Roasted Pumpkin Seeds FAQ
- Nutritional Benefits of Roasted Pumpkin Seeds
- Share Your Roasted Pumpkin Seeds Creations
Why You’ll Love These Roasted Pumpkin Seeds
Trust me, once you make your first batch, you’ll be hooked. Here’s why these little roasted pumpkin seeds are about to become your new favorite snack:
- Ready in minutes – Just clean, season, and pop them in the oven while you finish carving your pumpkin
- Endless flavor options – Go sweet with cinnamon sugar for the kids or savory with garlic and paprika for movie night crunch
- Nutrition powerhouse – Packed with protein and fiber, they’re perfect for weight loss programs or when you need an energy boost
- Meal planning hero – Make a big batch Sunday and enjoy all week in lunchboxes, salads, or as a quick craving-killer
- Crispy satisfaction – That perfect “crunch” beats any store-bought snack – and it’s way more fun to make!
Ingredients for Perfect Roasted Pumpkin Seeds
The beauty of roasted pumpkin seeds is how simple the basics are – just a few ingredients that you probably already have in your pantry. Whether you’re meal planning for the week or whipping up a snack on Halloween night, here’s exactly what you’ll need for that perfect crunch:
- 1 cup pumpkin seeds – cleaned and patted dry (save those beauties when carving your pumpkin!)
- 1 tbsp olive oil – or melted coconut oil if you prefer
- 1/2 tsp salt – I use fine sea salt, but kosher works too
Sweet Cinnamon Sugar Option
For my kiddos (okay, and for me when I’m craving something sweet), I love this cozy combo:
- 1 tsp cinnamon – the good stuff, not that dusty old jar in the back of your spice cabinet
- 1 tbsp sugar – I use granulated, but brown sugar adds nice depth
- Pinch of nutmeg (optional) – trust me, it makes all the difference
Savory Spiced Option
When you want that salty, can’t-stop-eating-them snack, here’s my go-to mix:
- 1/2 tsp garlic powder – not garlic salt! We already added salt
- 1/2 tsp paprika – smoked paprika for extra oomph if you have it
- 1/4 tsp cumin – my secret weapon for depth of flavor
How to Roast Pumpkin Seeds Step by Step
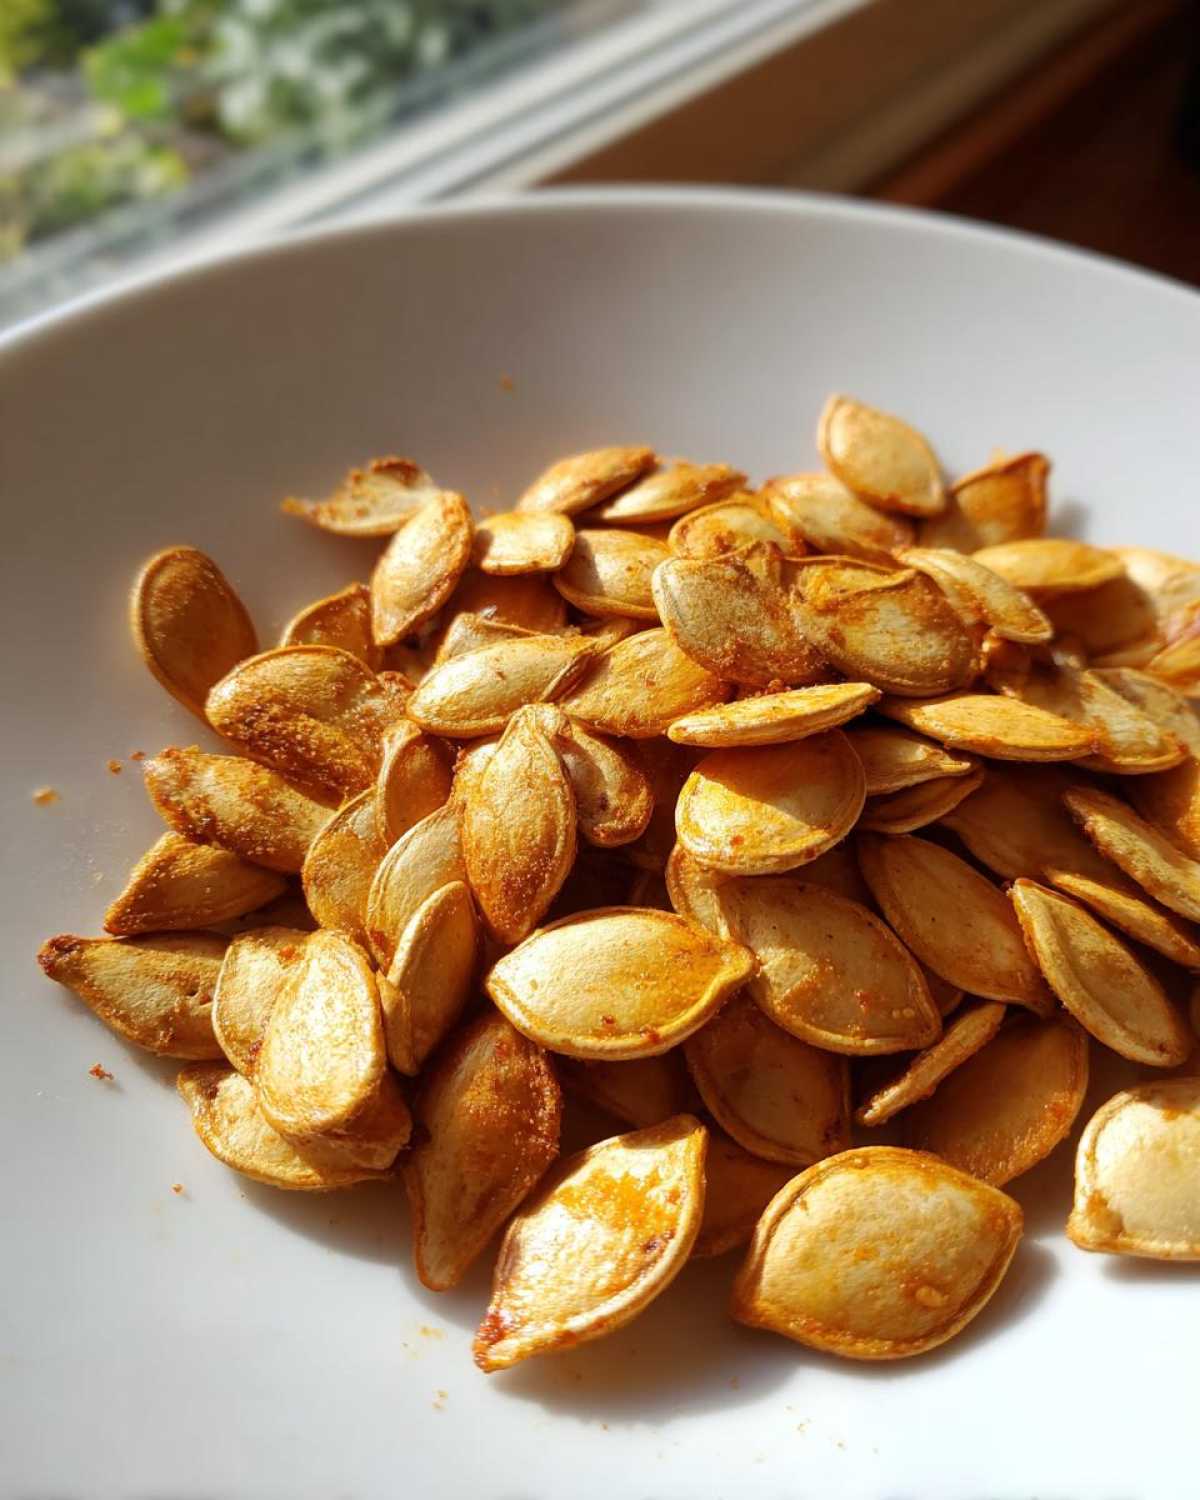
Okay, let’s get these pumpkin seeds from slippery to sensational! I’ve roasted enough batches over the years to know a few tricks for perfect crunch every time. Follow these steps, and you’ll be munching on golden, crispy seeds before you know it:
- Preheat and prep: Crank your oven to 300°F (150°C) – the low-and-slow method prevents burning those delicate seeds. While it heats, line a baking sheet with parchment paper or foil (hello, easy cleanup!).
- Coat those seeds: In a bowl, toss your dry pumpkin seeds with olive oil until they’re all shiny friends. Now add your chosen seasonings – I use my hands to really massage in the flavors. Pro tip: For extra crispiness, some folks swear by soaking seeds first (though I skip this step when I’m impatient).
- Spread them out: Pour seeds onto your prepared sheet in a single layer – no seed mountains! Crowding leads to steaming instead of crisping. If you’re feeling fancy, sprinkle a tiny bit more salt over the top.
- The wait begins: Pop them in the oven and set a timer for 15 minutes. When it dings, give them a good stir with a spatula – this ensures even browning. Back in they go for another 15-25 minutes. Watch closely near the end – they’re done when golden brown and making little popping sounds!
- Cool completely: This is the hardest part – resist snatching them straight from the oven! Let them cool on the sheet for at least 10 minutes. The crunch develops as they cool, I promise. (Psst…if you’re a gadget lover, you could try a sous-vide precision cooker at 300°F for super-even cooking, but my oven method works perfectly fine.)
The moment of truth? That first crunchy bite. If they’re not quite crisp enough after cooling, just pop them back in for 5-10 more minutes. Store any leftovers (ha!) in an airtight container for up to a week…if they last that long!
Tips for the Best Roasted Pumpkin Seeds
Over the years (and countless batches of burned seeds…oops!), I’ve learned a few tricks that make all the difference:
- Dry them well – Pat those seeds completely dry with paper towels before oiling. Wet seeds steam instead of crisp up. I sometimes let mine air-dry overnight for extra insurance.
- Space matters – Spread seeds in a single layer on the baking sheet – no overlapping! Crowding is the number one reason for soggy seeds.
- The shake test – They’re done when most seeds make a light “clinking” sound when you shake the pan. If in doubt, taste one after cooling 5 minutes – it should be crisp, not chewy.
- Parchment paper – My secret weapon! It prevents sticking and makes cleanup a breeze. No more scrubbing baked-on oil from your pans.
Storage and Serving Ideas
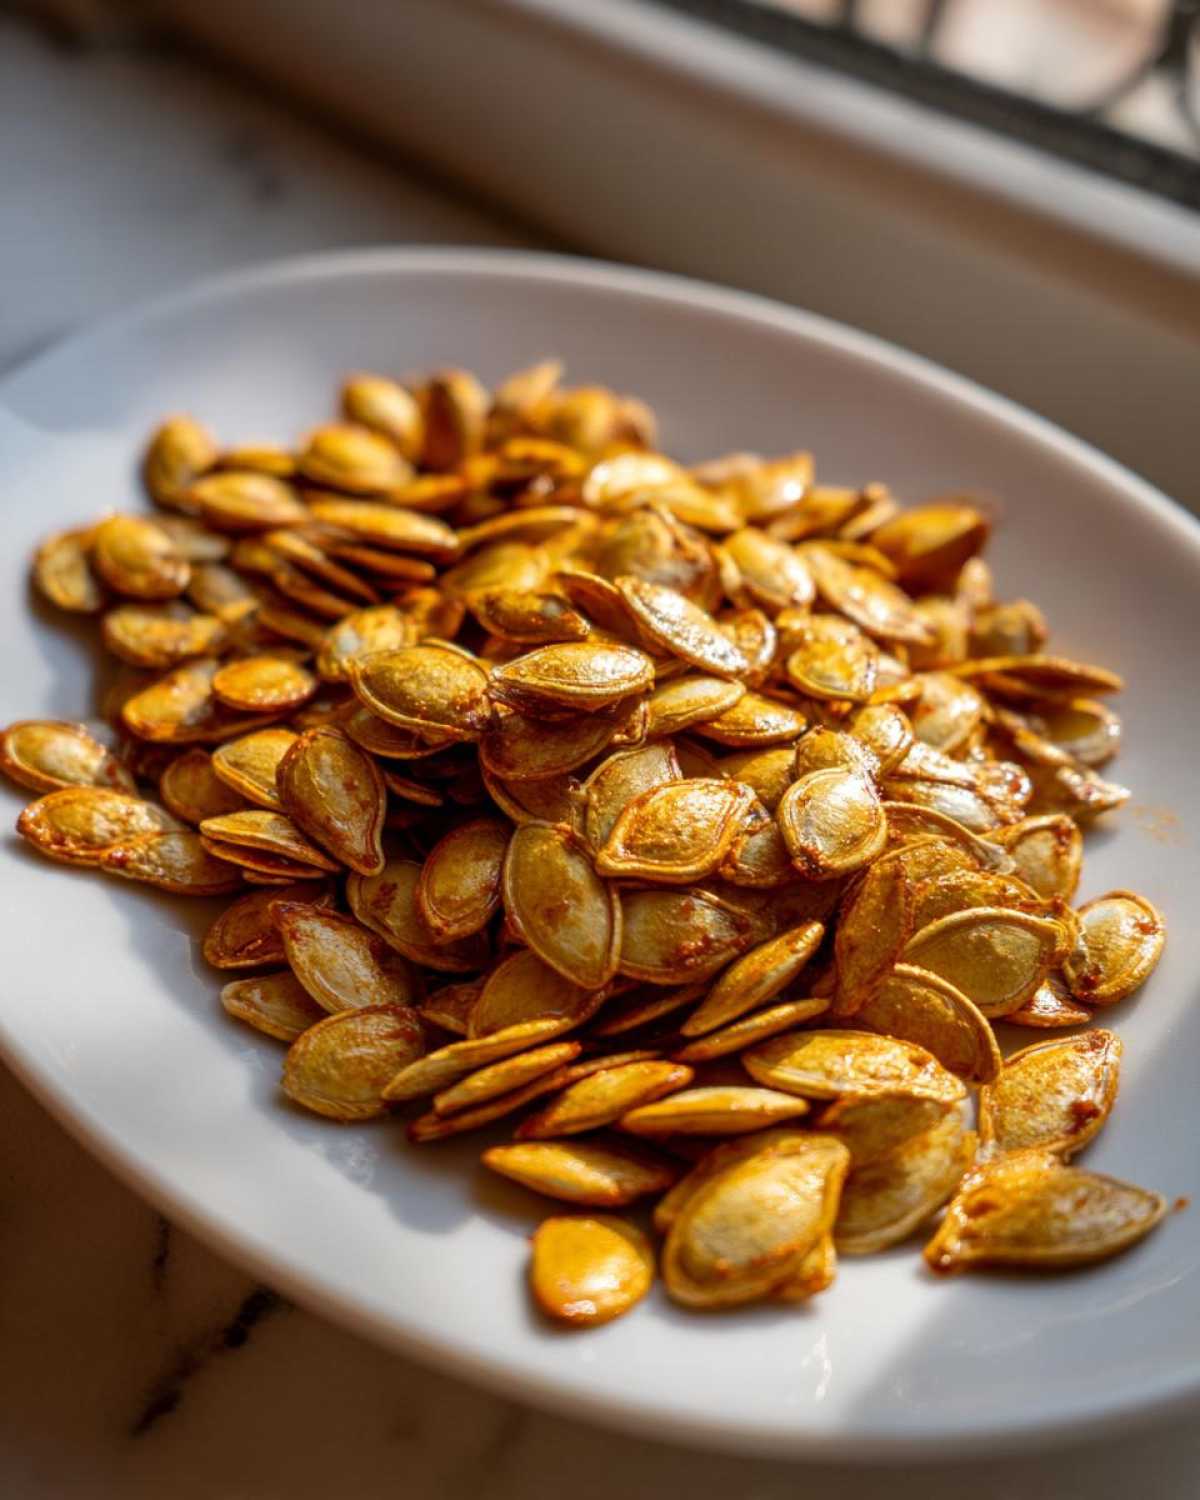
If by some miracle you have leftovers (it’s happened to me exactly twice!), these roasted pumpkin seeds keep beautifully in an airtight container for up to a week. I stash mine in mason jars – they stay crispy and make the pantry look cute! They’re fantastic sprinkled on Greek yogurt for a protein boost in the morning or tossed into salads for crunch. Pack them in lunchboxes as a healthier alternative to chips – perfect for weight loss programs when you need something satisfying but responsible. My favorite trick? Mix sweet and savory batches together for a “trail mix” effect that disappears way too fast!
Roasted Pumpkin Seeds FAQ
I get asked about roasted pumpkin seeds all the time – here are the answers to the questions that pop up most in my kitchen (and my DMs!):
Should I boil the seeds before roasting?
Some folks swear by boiling seeds for 10 minutes first – it can make the shells more tender. But honestly? I skip this step unless I’m making a big batch for meal planning. The important thing is getting them dry before roasting if you want those perfect crunchy pepitas!
How do I know when they’re crispy enough?
The telltale signs? Goldeny-brown color and that magical “pop” when you bite one. If they’re not crisp after cooling, just pop them back in the oven for 5-minute increments. Every oven’s different – mine runs hot, so I start checking at 25 minutes.
Can I use seeds from any pumpkin?
Absolutely! Big carving pumpkins, sugar pumpkins, even those cute decorative gourds – they all work. The smaller seeds from pie pumpkins tend to be extra tender. Pro tip: Save seeds from your Halloween carving session for a post-trick-or-treating snack!
Sweet or savory – which is better?
Trick question – both! I make some of each and mix them in a bowl for the ultimate snack. The cinnamon sugar version disappears fastest in my house (those crunchy pepitas coated in sweet spice? Yes please!), but the garlicky savory ones are my personal weakness.
Nutritional Benefits of Roasted Pumpkin Seeds
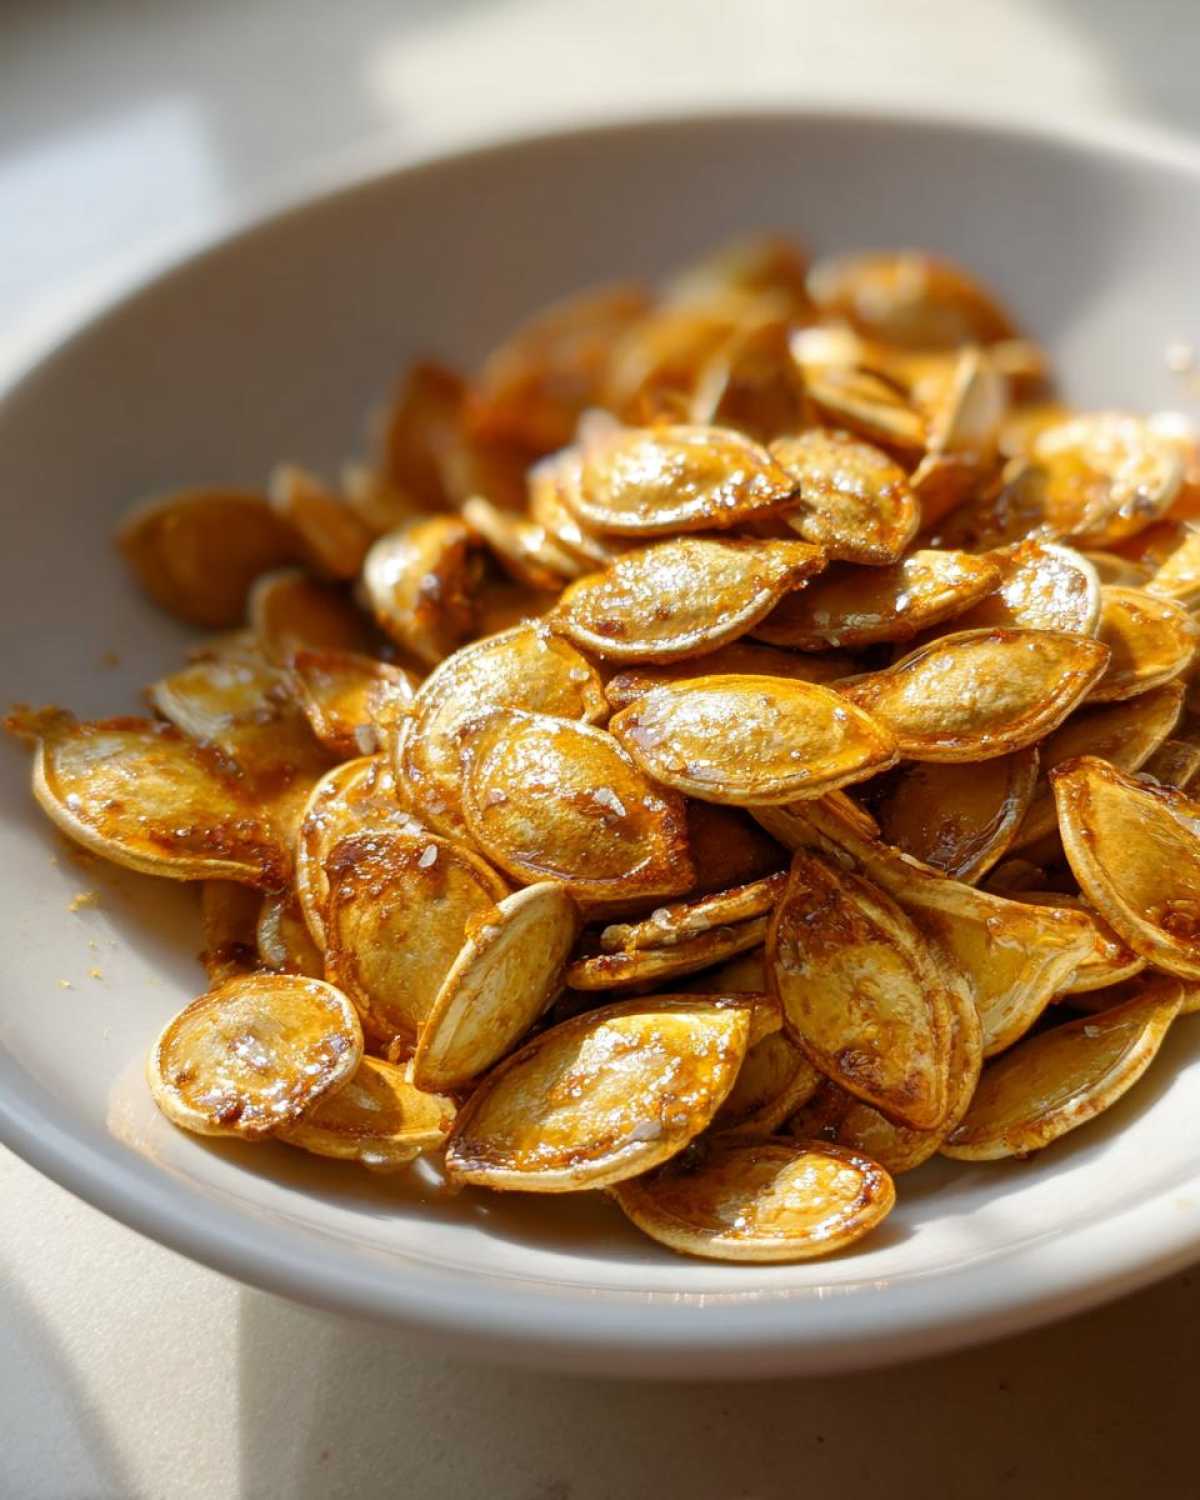
Don’t let their small size fool you – these crunchy roasted pumpkin seeds are nutritional powerhouses! Each bite packs a serious punch with about 8g of plant-based protein per quarter-cup, making them perfect for post-workout munching or when you need an afternoon pick-me-up. They’re also loaded with healthy fats and fiber to keep you feeling satisfied – which is why I often recommend them to friends asking about healthy alternatives while discussing weight loss programs or supplements like Ozempic for weight loss. Just remember: the exact nutrition varies slightly based on your chosen seasonings (that cinnamon sugar version is still healthier than candy!). Pro tip: The magnesium and zinc in these little guys even help with sleep and immunity – nature’s perfect snack!
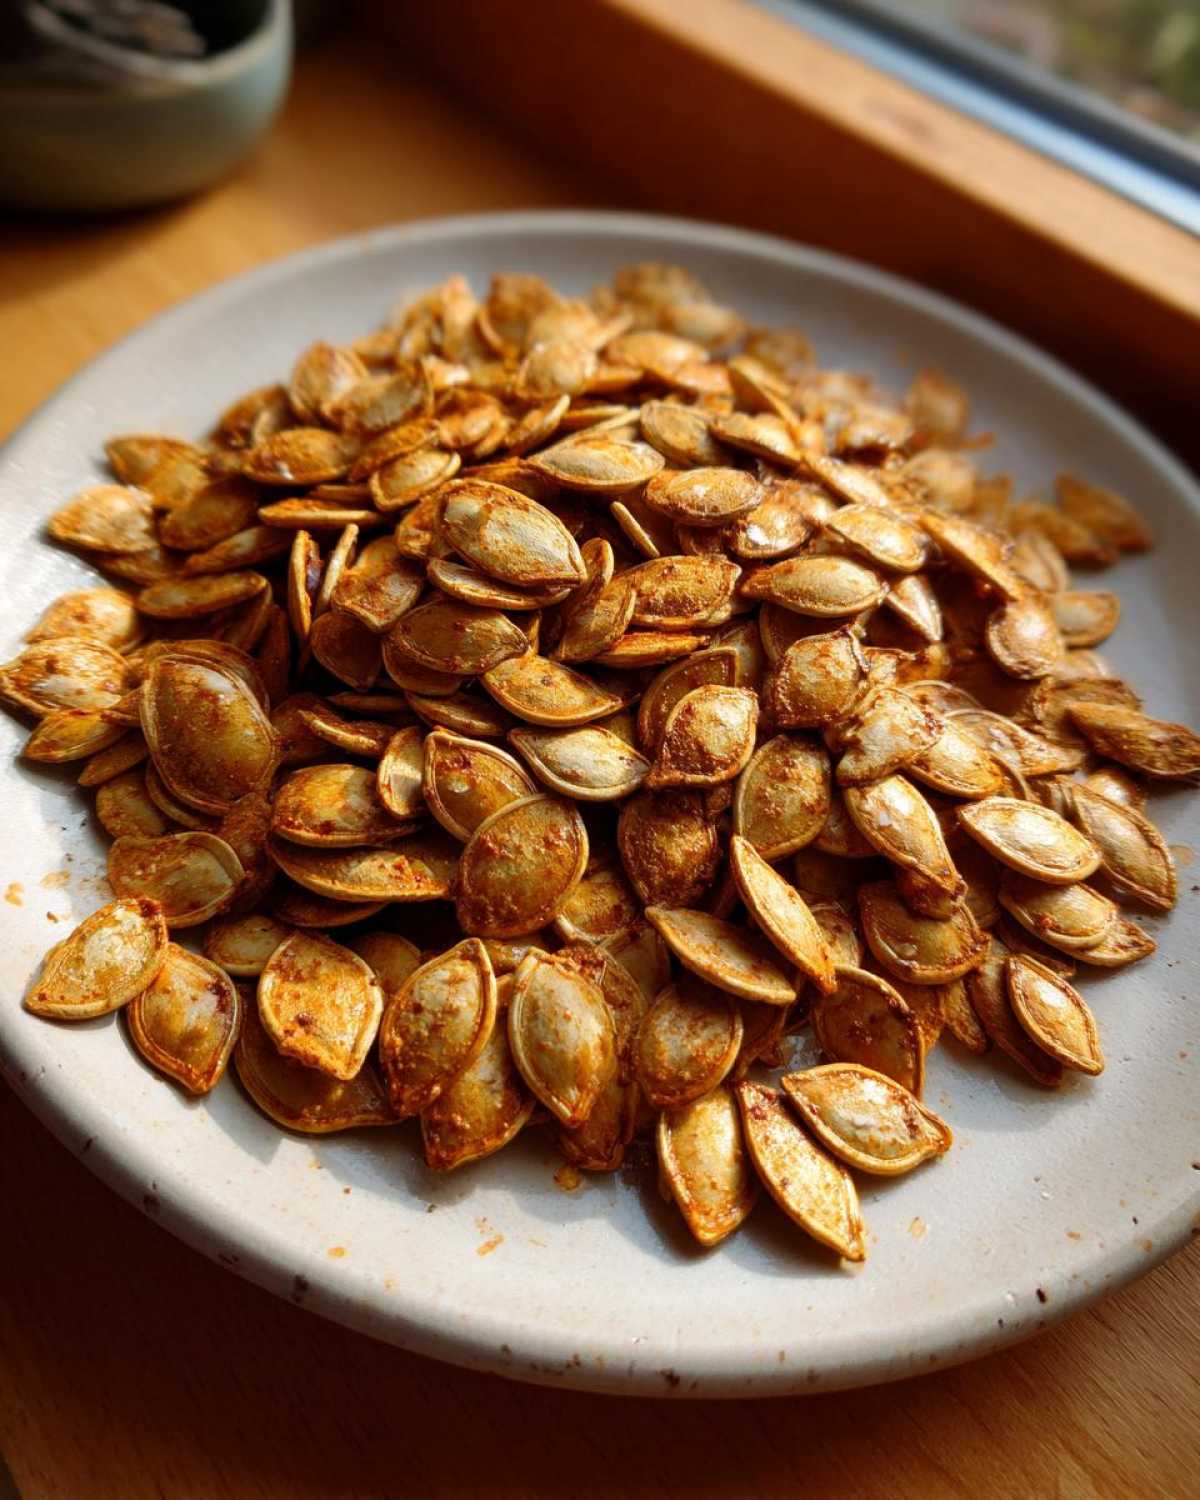
Share Your Roasted Pumpkin Seeds Creations
I’d love to see what delicious variations you create with your roasted pumpkin seeds! Snap a photo of your sweet cinnamon batch or your spicy savory creation and share it on Pinterest. For more snack inspiration like this, you can find me pinning all my favorite crunchy treats on my Pinterest boards. Leave a comment below telling me your favorite way to flavor them – I’m always looking for new ideas to try with my next pumpkin carving session!
PrintRoasted Pumpkin Seeds
A simple and crunchy snack made from pumpkin seeds, perfect for Halloween or any time of year.
- Prep Time: 10 min
- Cook Time: 40 min
- Total Time: 50 min
- Yield: 1 cup 1x
- Category: Snack
- Method: Roasting
- Cuisine: American
- Diet: Vegetarian
Ingredients
- 1 cup pumpkin seeds (cleaned and dried)
- 1 tbsp olive oil
- 1/2 tsp salt
- Optional: 1 tsp cinnamon and 1 tbsp sugar for sweet version
- Optional: 1/2 tsp garlic powder and 1/2 tsp paprika for savory version
Instructions
- Preheat oven to 300°F (150°C).
- Toss pumpkin seeds with olive oil and salt (or chosen seasonings).
- Spread seeds in a single layer on a baking sheet.
- Bake for 30-40 minutes, stirring occasionally, until golden and crispy.
- Let cool before serving or storing.
Notes
- Store in an airtight container for up to a week.
- Try mixing sweet and savory batches for variety.
Nutrition
- Serving Size: 1/4 cup
- Calories: 180
- Sugar: 1g
- Sodium: 290mg
- Fat: 14g
- Saturated Fat: 2g
- Unsaturated Fat: 11g
- Trans Fat: 0g
- Carbohydrates: 5g
- Fiber: 2g
- Protein: 8g
- Cholesterol: 0mg