

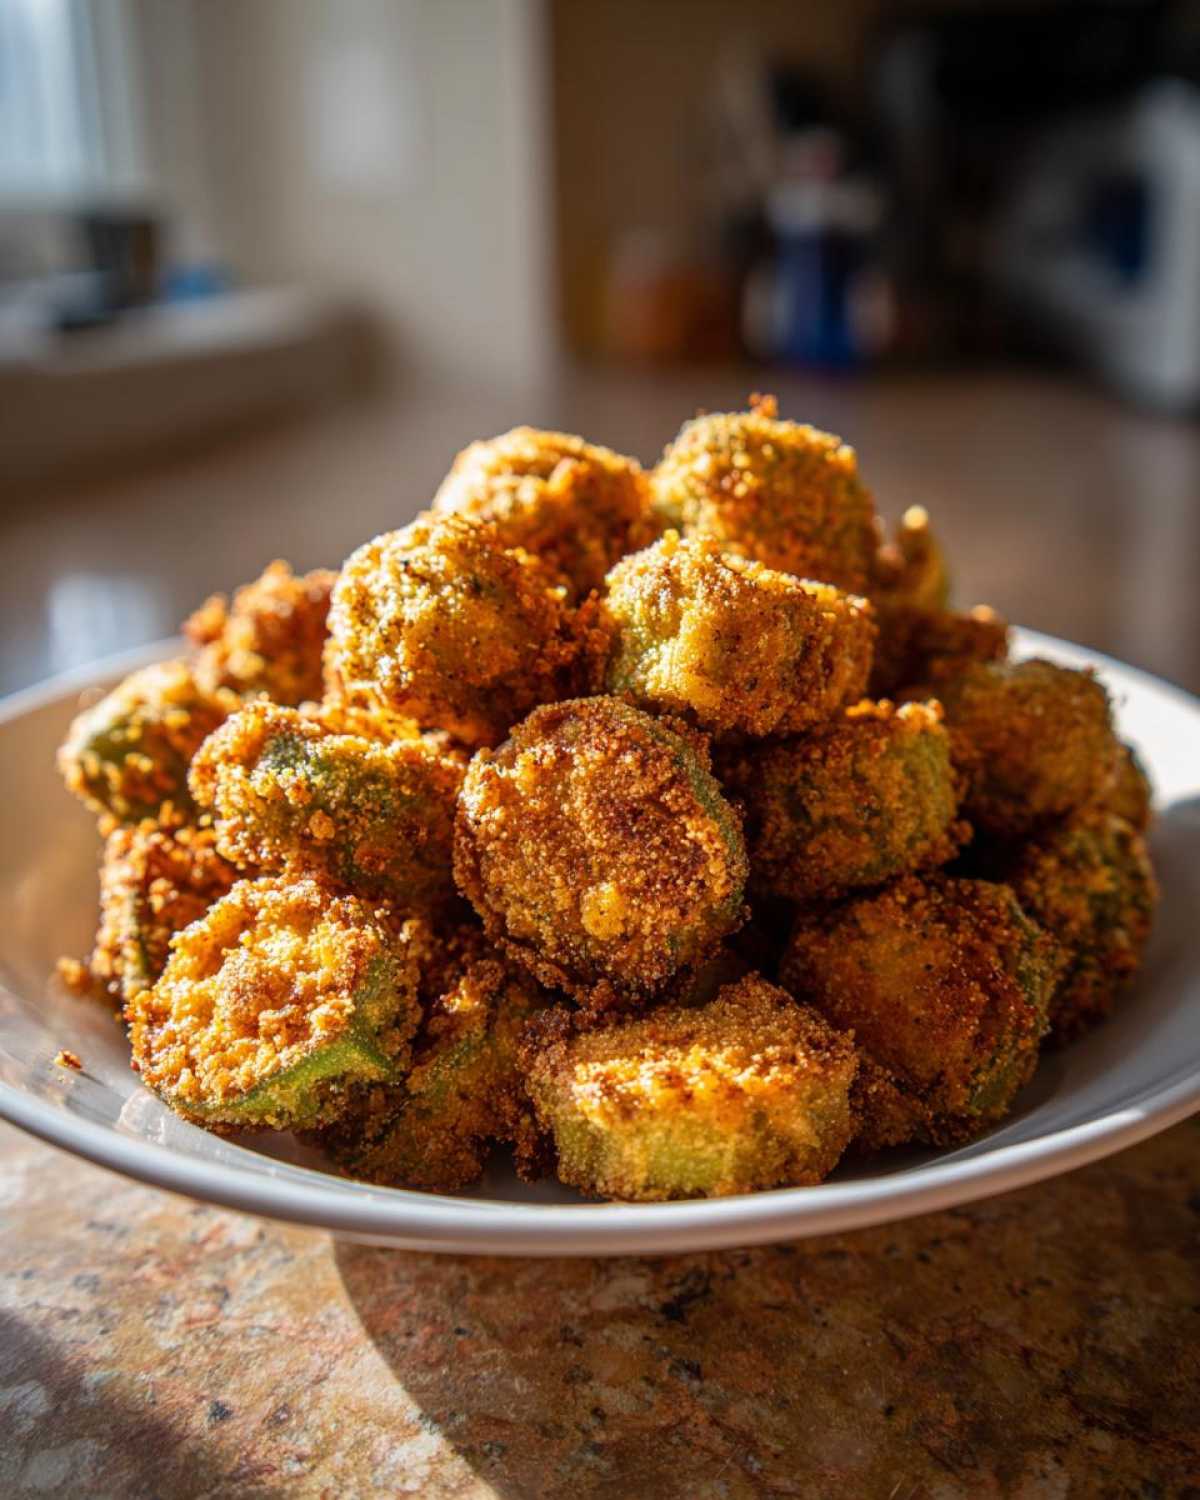
Oh my goodness, let’s talk about pure Southern joy right now! There is nothing quite like that unmistakable, deeply comforting scent of good food hitting hot oil—it just transports me straight back to my very first cooking lessons in Grandma’s kitchen. If you’ve ever been burned by a batch of mushy, slimy okra, you are my new best friend, because I’ve got the *only* fried okra recipe you will ever need. Seriously, this skillet method, perfected over years of testing, guarantees that golden, crunchy goodness we all crave. We are talking maximum crunch, zero slime, and it comes together in under 30 minutes. Get ready to make the best fried okra!
- Why This Crispy Fried Okra Recipe Works Every Time
- Gathering Ingredients for Your Fried Okra Recipe
- Step-by-Step Instructions for the Ultimate Skillet Fried Okra Recipe
- Tips for Success with Your Southern Fried Okra Recipe
- Alternative Cooking Methods for this fried okra recipe
- Serving Suggestions for this Easy Okra Side Dish
- Storage and Reheating Instructions for Homemade Fried Okra
- Frequently Asked Questions about the fried okra recipe
- Share Your Crispy Fried Okra Recipe Experience
Why This Crispy Fried Okra Recipe Works Every Time
You might think frying okra is tricky, but honestly, it just needs a little respect—and the right acid! I used to get that gummy texture all the time until I understood what the okra was doing. This Southern Fried Okra Recipe is designed around two non-negotiable steps that make it the best fried okra anyone has ever tasted.
The Secret to No Slime Okra Cooking Tips
First things first: dryness! You have to pat your fresh okra completely dry before it even sees the buttermilk. That initial moisture is part of the enemy because it prevents the coating from sticking properly. Then comes the magic of Buttermilk Fried Okra. The acid in the buttermilk doesn’t just tenderize the subtle crunch; it actually works to break down the okra’s notorious mucilage. Let it soak for that full 30 minutes, and the slime factor drops to zero. See? Simple science!
Achieving Perfect Cornmeal Crusted Okra
Now, for the texture we are truly after! A single coating of cornmeal just won’t cut it if you want that deep, satisfying crunch. We employ a double dredge here, and trust me, it is worth the extra 10 seconds per batch. You coat it, dip it back quickly into that seasoned brine, and then coat it heavily one last time. This process builds up a thick, robust crust. When that crust hits the oil, it seals everything up perfectly, giving you that ultra-Crispy Fried Okra shell we’re aiming for, ideal for snacking or as an Easy Okra Side Dish.
Gathering Ingredients for Your Fried Okra Recipe
Whenever I’m diving into a classic Southern dish like this, the ingredient list has to be simple, fresh, and totally reliable. You don’t need fancy equipment, but you absolutely need the right building blocks for this fried okra recipe. We keep the prep fast so you can get to the frying stage even quicker! Pay close attention to how you slice your okra—those 1/2-inch rounds are important for even cooking and preventing a soggy center. Everything listed here is what I use every time on my trip to make Homemade Fried Okra.
Here is everything we need to make this batch for about six servings:
- 2 lbs fresh okra, ends trimmed and sliced into 1/2-inch rounds
- 1 cup buttermilk
- 1 cup all-purpose flour
- 1 cup fine yellow cornmeal
- 1 teaspoon salt
- 1/2 teaspoon black pepper
- 1/2 teaspoon garlic powder
- 1/4 teaspoon cayenne pepper (optional, for a little heat)
- Vegetable oil or peanut oil, for frying (about 2 inches deep in skillet)
Ingredient Notes and Substitutions for this Fried Okra Recipe
Because this recipe moves fast once the soaking is done, getting your dry spice blend mixed up ahead of time is a real time-saver. For the oil, I strongly suggest using a neutral, high smoke-point oil like vegetable or peanut oil to get a truly clean, hot fry—that’s key for that crispy shell. If, and this happens to all of us, you run out of buttermilk, don’t panic! You can make a quick substitute right in your pantry. Just measure out 1 cup of regular milk and stir in 1 tablespoon of white vinegar or lemon juice. Let that sit on the counter for about five minutes until it looks just slightly curdled. That acidic boost works exactly the same way in protecting your pods!
Step-by-Step Instructions for the Ultimate Skillet Fried Okra Recipe
Okay, now that we have our ingredients ready, let’s get cooking! This fried okra recipe moves fast once we start frying, so have everything laid out and ready to go. You’ll be amazed at how quickly this turns into one of the Quick Vegetable Sides you rely on all summer long. When I serve this alongside my famous cast-iron skillet cornbread —which is an essential pairing, by the way!—I hardly have time to sit down before it’s all gobbled up!
Preparing and Soaking the Okra for No Slime Okra
This is where we wage war on the slime! First, take your sliced okra and pat it completely dry with paper towels. Seriously, pat like your life depends on it! Then, toss those dry rounds into a bowl and pour that buttermilk right over the top until they are swimming. Cover that bowl and let it chill out at room temperature for a solid 30 minutes. This soaking time is non-negotiable if you want true No Slime Okra. Don’t rush this part; it’s doing important work!
The Double Dredge Technique for Crispy Fried Okra
While that soaks, whisk together your flour, cornmeal, and all your seasonings in a wide, shallow dish. Once the time is up, we get messy! Take the okra out of the buttermilk—let the excess drip off, but don’t wipe it dry. Give each piece a thorough, firm toss in the cornmeal mixture until it’s covered. Shake off what you can, then—ready for the secret?—dip it *right back* into any remaining buttermilk for one second, and then straight back into the cornmeal mixture for a heavy second coat. Press it gently so that coating really sticks. This creates the beautiful, thick shell that guarantees a Crunchy Okra Appetizer.
Frying the Cornmeal Crusted Okra to Golden Perfection
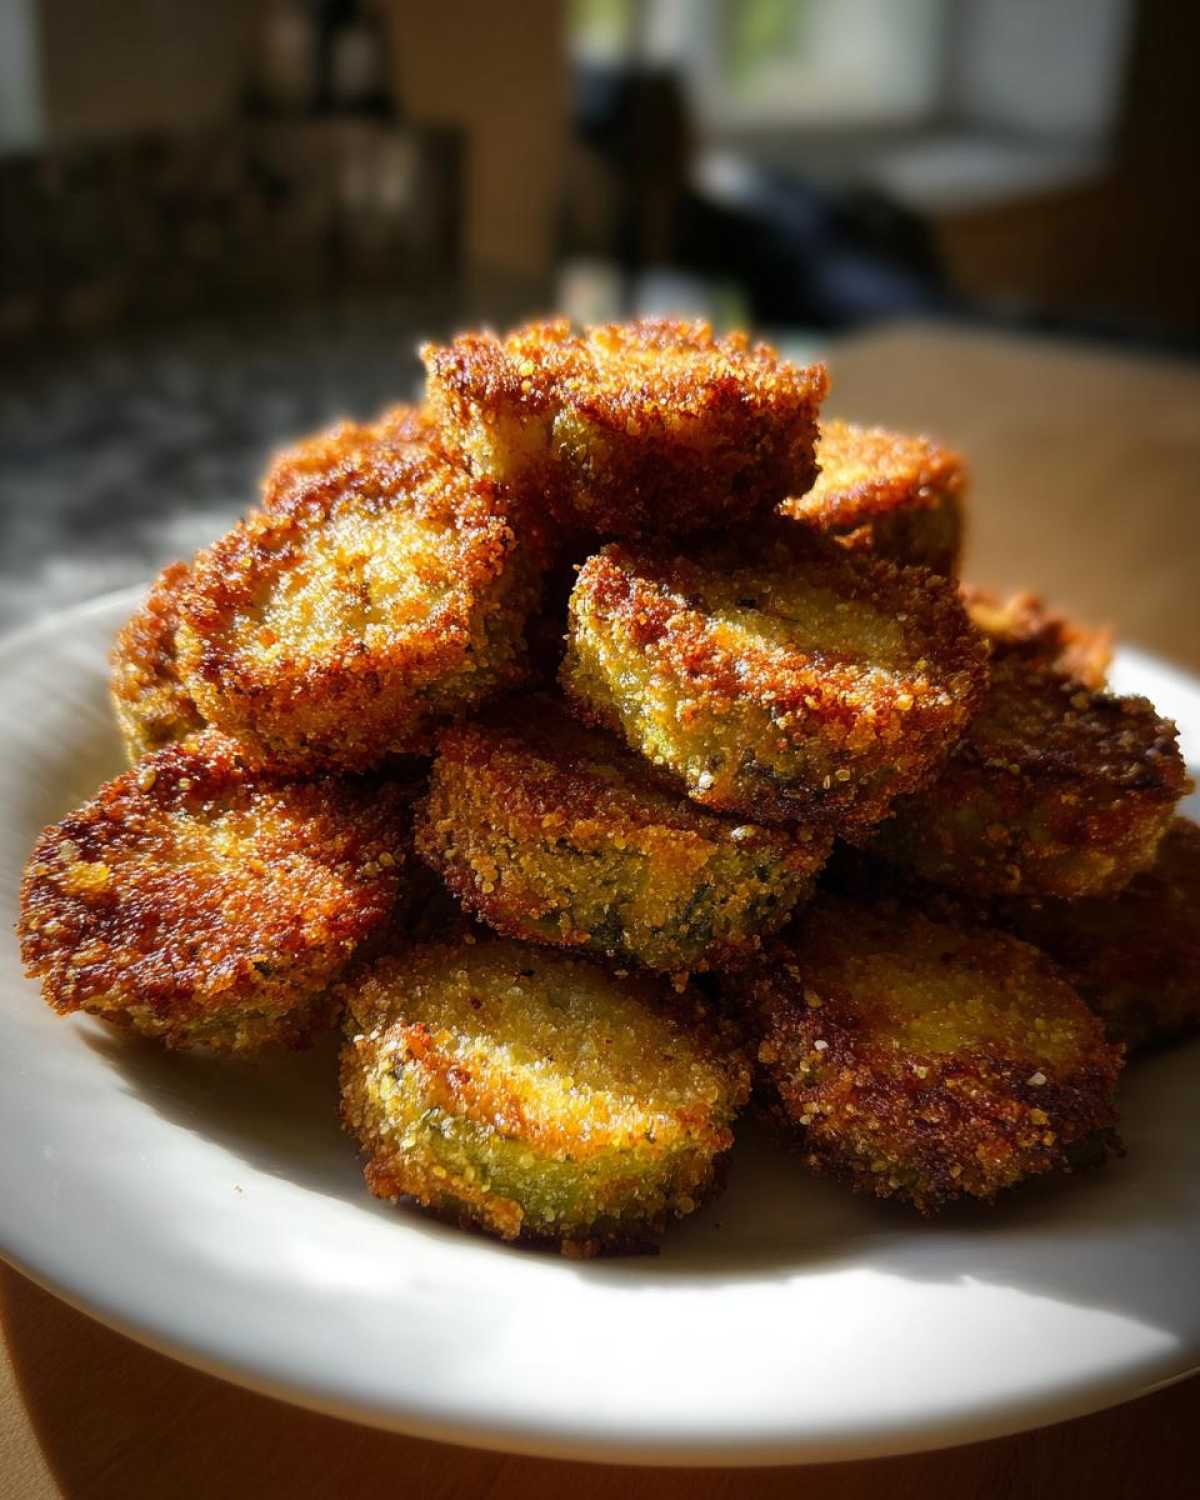
Time for the sizzle! You need about 1 to 1.5 inches of oil in your deepest skillet—cast iron is my personal preference because it holds that heat so beautifully, which is a real hallmark of Southern Cuisine Recipes. Heat the oil until it hits 375°F. If you don’t have a thermometer, just toss a tiny pinch of the coating in; if it sizzles wildly right away, you’re good to go! Add the okra in a single layer—do not, I repeat, do not overcrowd the pan, or your oil temperature will drop and everything gets soggy. Fry in small batches for only 3 to 5 minutes, turning them gently until they are that deep, gorgeous golden brown. Scoop them out, drain them fast onto paper towels or a rack, and toss with a little extra salt right away!
Tips for Success with Your Southern Fried Okra Recipe
Even with the best guide, sometimes hiccups happen in the kitchen, right? I’ve learned a few extra tricks over the years that turn my perfectly good batch into something truly legendary—the kind of dish that makes people ask for the recipe immediately. These quick tips elevate your fried okra recipe from good to the absolute best you’ve ever had, securing its place as a favorite among your Comfort Food Sides lineup!
Here are the three things I always double-check before I start frying:
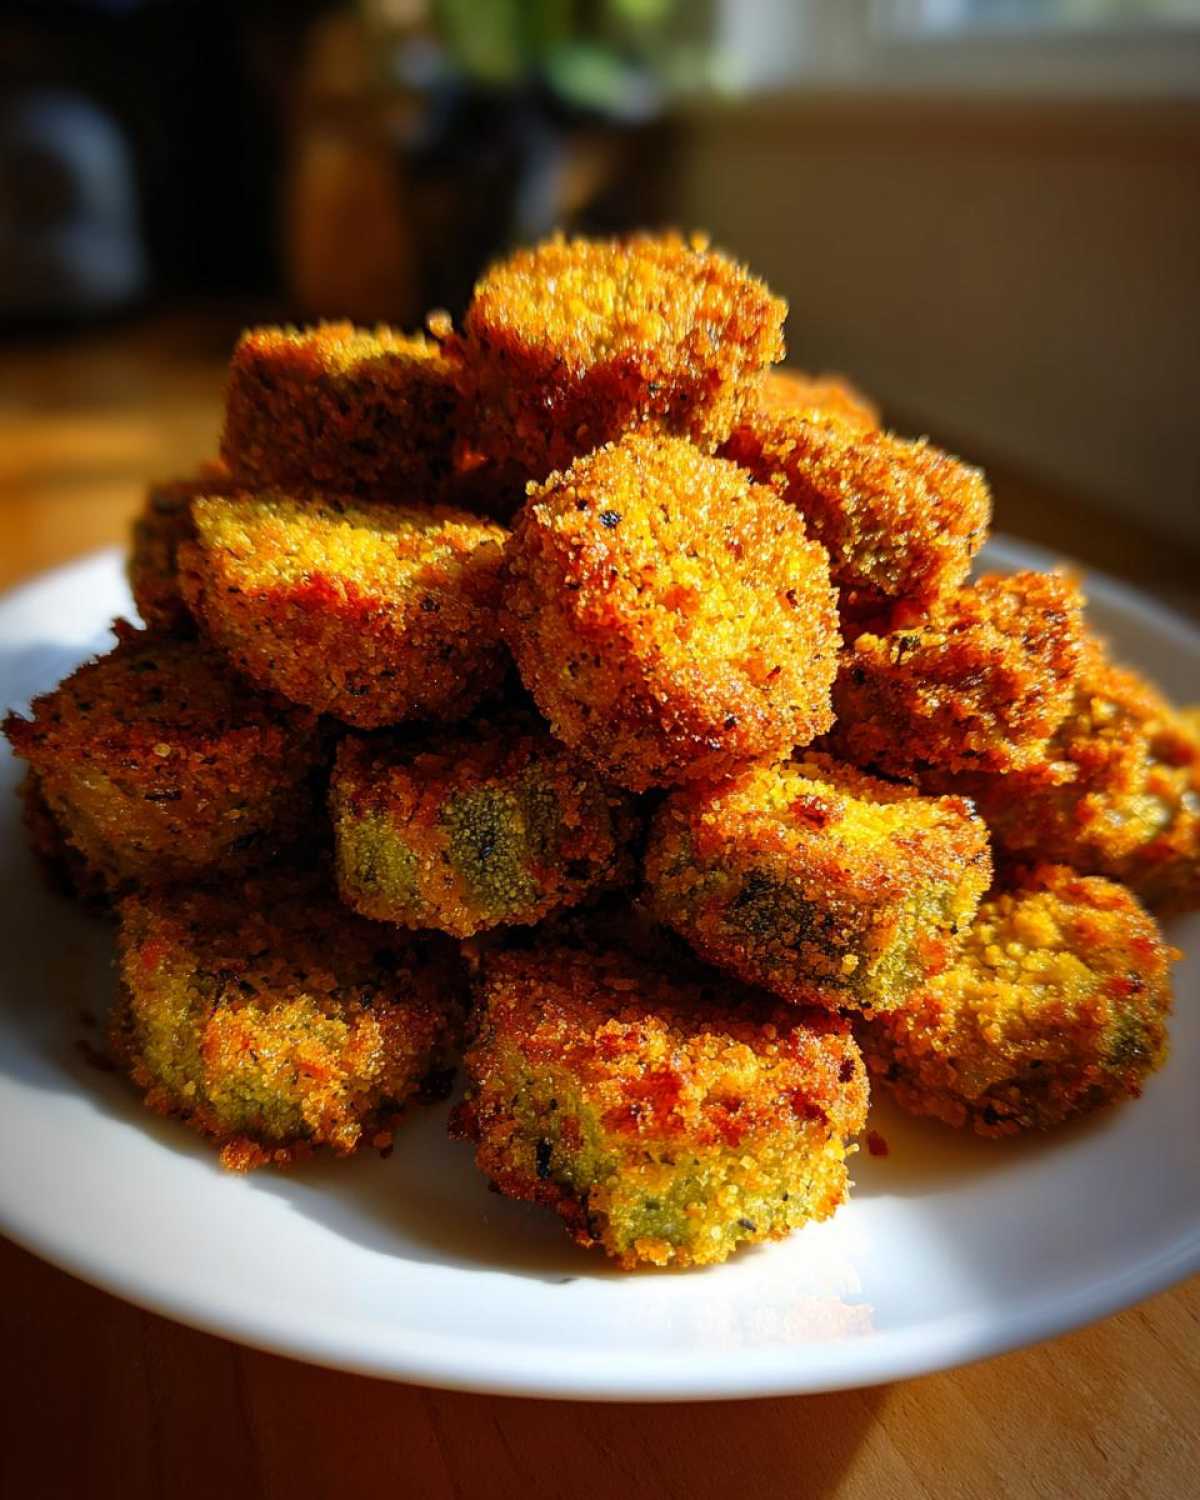
- Oil Temperature is Everything: This is probably the biggest non-negotiable for crispy results. If your oil isn’t consistently at 375°F, you’re just stewing your okra in oil, which leads to sogginess and the dreaded grease absorption. Use a thermometer if you can—it takes the guesswork out entirely!
- Drainage Station Prep: Have your wire rack ready *before* the okra is done frying. While paper towels are fine for draining initial excess oil, letting the okra sit on a wire rack set over a baking sheet allows air to circulate around the whole surface—sides and bottom. This stops condensation build-up which causes damp spots.
- Season Immediately: Salt loses its grip as food cools! You need to sprinkle that final hit of salt (and maybe an extra pinch of garlic powder if you’re feeling bold) the second those golden rings come out of the oil and onto the rack. They are grabbing onto that seasoning best when they are sizzling hot. It just makes such a big flavor difference!
If you’ve nailed the crispy okra, maybe you want another classic side ready for that amazing spread? My famous baked mac and cheese is the perfect cheesy companion to spicy fried veggies, which you can find right here: super creamy Southern Baked Macaroni and Cheese recipe.
Alternative Cooking Methods for this fried okra recipe
I know, I know! Deep frying or even skillet frying gives us that unmatched, nostalgic crunch we associate with true Southern Fried Okra Recipe. You just can’t beat it for comfort food! But sometimes, you want that flavor profile without quite as much oil, and that is perfectly okay! We are lucky that modern kitchens give us options to make this into a fantastic, slightly lighter option. We should always have a great Healthy Fried Okra Alternative in our back pocket, even if the skillet method stays my absolute number one favorite.
For those days, I have two go-to methods that still utilize that wonderful buttermilk soak and coating technique we perfected above—because that’s what truly seals the deal against slime!
Air Fryer Okra Recipe
If you have an air fryer, you are in luck! Once you have double-dredged your okra, skip the hot oil bath. Instead, you’ll give those coated pieces a really light, even spray of cooking oil—don’t skip the spray, that helps with browning! Pop them into the air fryer basket, making sure they aren’t stacked on top of one another, and cook them at about 400°F. They usually take around 10 to 12 minutes, and you’ll want to pause and shake that basket halfway through. The result is shockingly close to real fried okra, just much less greasy!
Oven Fried Okra
Baking is a great way to make a huge batch all at once! Preheat your oven hot—we’re talking 425°F. You absolutely must line a baking sheet with parchment paper or maybe even a silicone mat, then toss your breaded okra with just a tiny bit more oil so it doesn’t dry out in the heat. Spread it out in a single layer and bake for about 15 to 20 minutes. Again, pulling them out to toss halfway through helps ensure everything gets nice and golden brown. If you want a fantastic side dish that gives you that crispness using the oven but focuses on sweet vegetables, my roasted sweet potatoes are just wonderful: check out my honey-cinnamon roasted sweet potatoes for a different angle on crispy veggies!
Serving Suggestions for this Easy Okra Side Dish
Now that you’ve mastered the art of the perfect Crispy Fried Okra, the next fun part is figuring out what to serve it with! Since this instantly becomes a favorite appetizer or side dish, it plays really well with classic Southern flavors. When I make a big batch, I know it won’t last long!
For a full-on Southern spread, you absolutely need something saucy to dip those crunchy rings into. It pairs beautifully with tangy barbecue sauces, but my favorite traditional accompaniment is a quick comeback sauce—it’s creamy, slightly spicy, and just marvelous. If you are making a whole dinner spread, this okra is the perfect counterpart to rich, slow-cooked mains. Think about serving it next to something like a beautiful, savory Shrimp Étouffée; the textures balance each other out so well, you know? You can grab my favorite authentic Shrimp Étouffée recipe right here to build the perfect plate!
It also shines simply as a snack straight out of the bowl while you’re waiting for the main course. Seriously, don’t even bother plating it if you don’t want it to disappear before dinner!
Storage and Reheating Instructions for Homemade Fried Okra
Okay, listen up because this is important: almost every fried food tastes its absolute best the second it comes out of the oil. That heat keeps everything light before it has a chance to steam itself. My first piece of advice for this fried okra recipe is to make sure everyone grabs a ring (or ten!) immediately, especially if you want to serve it as a Crunchy Okra Appetizer.
But what if you have leftovers? Don’t toss them! We are not wasting these perfectly seasoned beauties. You definitely want to skip the microwave method entirely—it heats the moisture trapped in the coating and turns your delicious Cornmeal Crusted Okra instantly soggy. That’s the sad path, and we aren’t taking it!
The key to reviving that crunch is dry heat. If you are just reheating a small amount, the air fryer is honestly your best friend. Pop the cold okra in a single layer and run it for about 3 to 5 minutes at 375°F. It reheats quickly and re-crisps the surface beautifully.
If you have a larger batch, pull out your oven or toaster oven. Set it to 350°F. Spread the okra out on a rack set over a baking sheet, just like we did when draining it. Giving it 8 to 10 minutes in that dry heat should bring back most of that crispy coating you loved so much. It won’t be *exactly* the same as fresh out of the skillet, but it’s a million times better than reheating it another way! Store any true leftovers in an airtight container on the counter for just one day—best eaten the very next day, that’s my honest opinion.
Frequently Asked Questions about the fried okra recipe
What is the absolute sure-fire way to prevent slimy okra when frying?
That sliminess plague! Honestly, it all comes down to the buttermilk soak and being super diligent about the initial prep. Our recipe insists on patting the okra completely dry *before* it goes into the buttermilk. The acid in the buttermilk works hard to neutralize the natural mucilage, but if the okra is already soaking wet from rinsing, the coating won’t adhere as well, leading to that gummy texture you hate. Letting it soak for the full 30 minutes is the best insurance you can buy!
Can I use frozen okra instead of fresh for this recipe?
Oh, sweetie, I really wish I could tell you yes, but I strongly advise against it for this specific fried okra recipe. Frozen okra is usually par-blanched before freezing, which means it is already softer and has released a lot of its internal moisture. When you try to dredge and fry it, it often turns mushy underneath the coating, no matter how hard you try to dry it. This recipe is truly optimized for fresh, firm okra pods. If you absolutely must use a frozen vegetable, you might have some luck trying the air fryer alternative recipe, but for the ultimate skillet crunch, fresh is the way to go!
What is the best cooking oil to use for the crispiest results?
For that perfect golden brown color and maximum crispness, you need high, sustained heat. That means using an oil with a high smoke point. I rely on either plain vegetable oil or peanut oil for my deep frying duties. They both stay stable at the necessary 375°F without breaking down or smoking excessively. Avoid olive oil or butter for this kind of frying; they’ll burn before the okra is cooked through and negate all that hard work you put into the double dredge!
How long do I really need to soak the okra in the buttermilk?
I know we are all about quick meals, but please, give this step its due time! I call for 30 minutes at room temperature, and I mean it. This is the minimum time needed for the buttermilk’s acidity to work its magic and break down that slippery stuff inside. If you are using slightly older, larger okra (which can sometimes be tougher), letting it soak slightly longer—say, 45 minutes—won’t hurt a thing. Don’t confuse this with soaking in plain water, which does nothing but make things wet!
Where can I find more easy Southern side dish recipes like this?
If you loved how easy this turned out and want more inspiration for classic Southern cooking, you should definitely wander over to Pinterest! I pin new ideas and tips all the time over at the Recipes Vault page. It’s a fantastic place to scroll when you need quick ideas for everything from comfort food favorites to killer appetizers.
Share Your Crispy Fried Okra Recipe Experience
Well, that’s it, friends! You now have the absolute foolproof guide to making the crispiest, most flavorful, and completely non-slimy fried okra recipe known to man. I truly poured my heart into explaining every little trick I learned from generations of Southern cooks to make sure your skillet game is perfect.
I just can’t wait to hear how it turned out for you! Did that double dredge work its magic? Did your family rave about the crunch? Please, please let me know in the comments below!
Leaving a star rating right under the recipe is the fastest way to tell me how you liked it, and honestly, those ratings help other folks feel confident trying out this Southern Fried Okra Recipe too. If you snapped a picture of your golden, crunchy bounty—whether you served it as a side dish or devoured it as a snack—I would absolutely love to see it!
You can always tag me when you share pictures on social media—you can find me sharing all my kitchen adventures and favorite finds over on my Pinterest boards too. Happy frying, everyone! Come back soon for more kitchen inspiration!
PrintCrispy Southern Fried Okra Recipe: The Ultimate No-Slime Secret
You need this classic Southern fried okra recipe! We use a buttermilk soak and double dredge to guarantee crunchy, golden okra every time. This easy skillet-fried side dish is ready in under 30 minutes and is perfect comfort food.
- Prep Time: 15 min
- Cook Time: 15 min
- Total Time: 45 min
- Yield: 6 servings 1x
- Category: Side Dish
- Method: Skillet Frying
- Cuisine: Southern
- Diet: Vegetarian
Ingredients
- 2 lbs fresh okra, ends trimmed and sliced into 1/2-inch rounds
- 1 cup buttermilk
- 1 cup all-purpose flour
- 1 cup fine yellow cornmeal
- 1 teaspoon salt
- 1/2 teaspoon black pepper
- 1/2 teaspoon garlic powder
- 1/4 teaspoon cayenne pepper (optional, for a little heat)
- Vegetable oil or peanut oil, for frying (about 2 inches deep in skillet)
Instructions
- Prepare the okra: Rinse the okra well and pat it completely dry with paper towels. Slice the okra into 1/2-inch rounds. This step helps prevent sliminess.
- Soak the okra: Place the sliced okra in a medium bowl and cover it completely with buttermilk. Let it soak for at least 30 minutes at room temperature. This buttermilk soak is key to a crispy coating.
- Prepare the dredge: In a shallow dish, whisk together the flour, cornmeal, salt, pepper, garlic powder, and cayenne pepper. Mix these dry ingredients thoroughly.
- Double dredge for crunch: Working in batches, remove the okra from the buttermilk, letting excess drip off slightly. Dredge the okra thoroughly in the cornmeal mixture, pressing gently to adhere. Shake off excess. Dip the coated okra back into the buttermilk quickly, then immediately return it to the cornmeal mixture for a second, heavy coating. This double dredge creates the best crunch.
- Heat the oil: Pour enough oil into a heavy-bottomed skillet (cast iron works best) to reach about 1 to 1.5 inches deep. Heat the oil over medium-high heat until it reaches 375 degrees F. You know it is ready when a pinch of the cornmeal mixture sizzles immediately upon contact.
- Fry the okra: Carefully add the coated okra to the hot oil in a single layer, ensuring you do not overcrowd the pan. Fry for 3 to 5 minutes, turning occasionally, until the okra is deep golden brown and very crispy.
- Drain: Use a slotted spoon to remove the fried okra from the oil. Place it on a wire rack set over a baking sheet or on a plate lined with paper towels to drain excess oil.
- Season and serve: Immediately sprinkle the hot okra with a little extra salt, if desired. Serve your crunchy fried okra right away as a fantastic side dish or appetizer.
Notes
- To reduce sliminess before soaking, you can toss the raw okra with 1 tablespoon of white vinegar before rinsing.
- For an air fryer okra recipe alternative, toss the double-dredged okra with a light spray of cooking oil and air fry at 400 degrees F for 10-12 minutes, shaking halfway through.
- If you prefer a different flavor, substitute half of the cornmeal with fine breadcrumbs in your dredge mixture.
Nutrition
- Serving Size: 1 cup
- Calories: 280
- Sugar: 3
- Sodium: 450
- Fat: 18
- Saturated Fat: 3
- Unsaturated Fat: 15
- Trans Fat: 0
- Carbohydrates: 28
- Fiber: 5
- Protein: 5
- Cholesterol: 15