 Skip to content
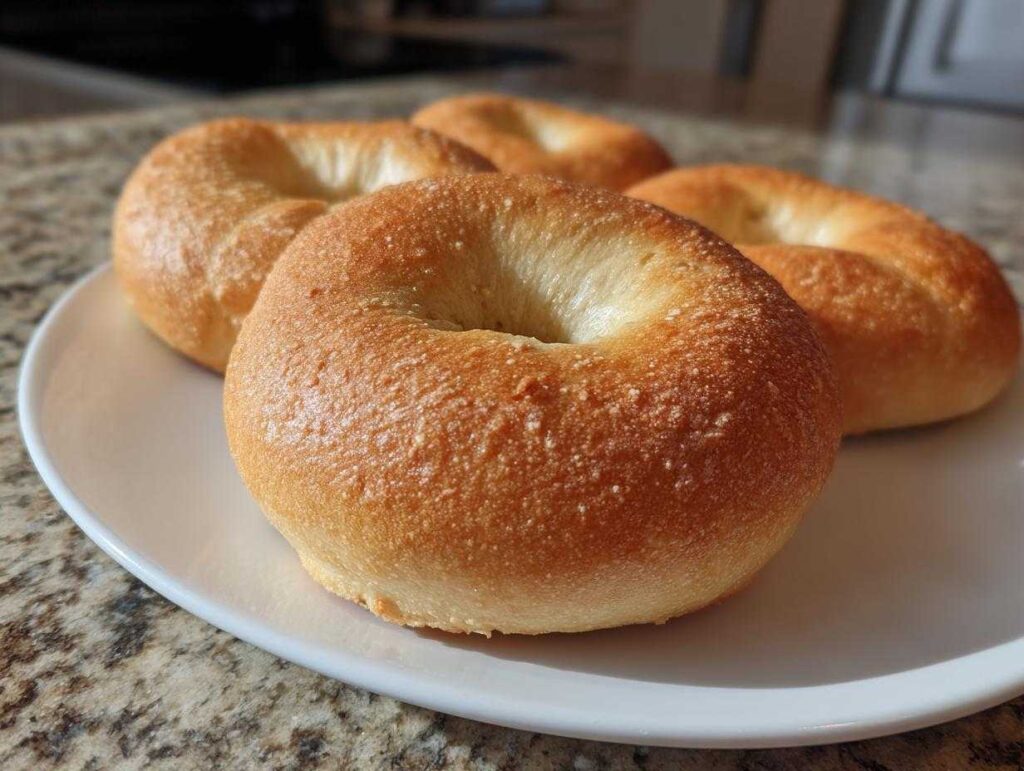
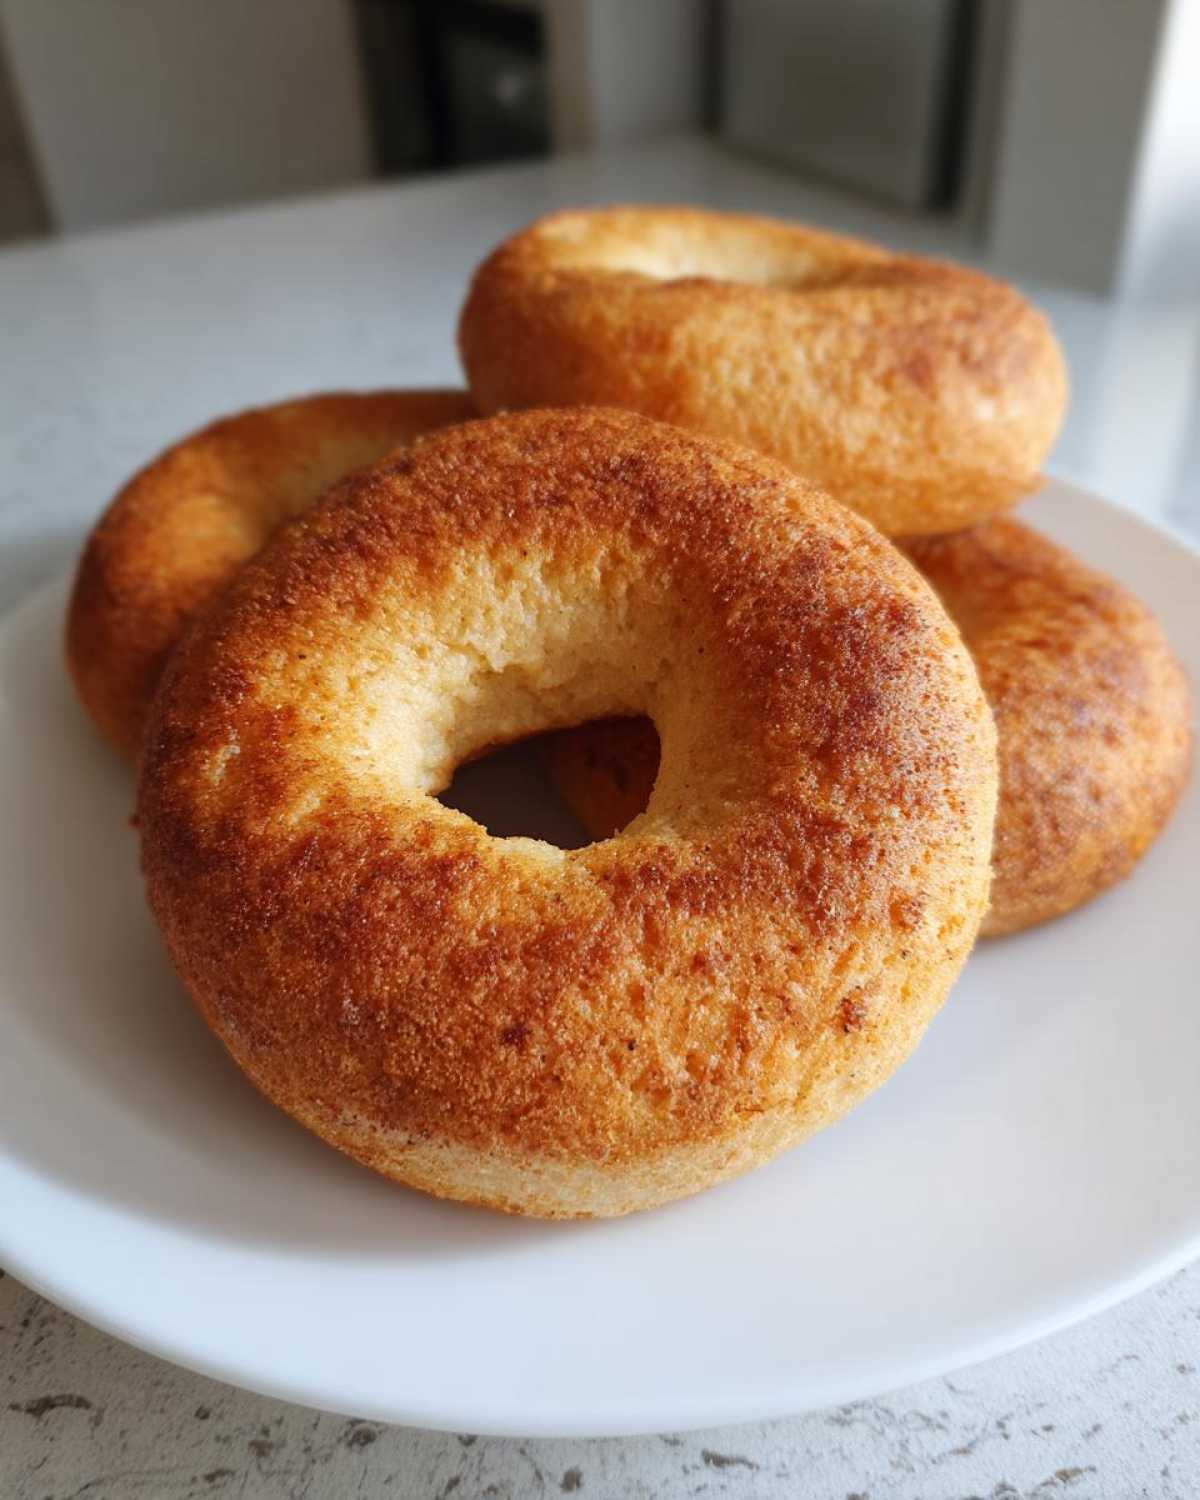
Look, I get it—mornings are chaos. Between juggling my protein shake and trying not to spill coffee on my workout clothes, breakfast used to be whatever I could grab. Then one rushed morning, flour and Greek yogurt collided in my kitchen, and boom—protein bagels became my superhero! These 2-ingredient wonders take 25 minutes start to finish, pack 10g of protein per serving (hello, post-gym fuel), and require zero fancy techniques. I was skeptical too until I bit into that first golden, slightly chewy bagel. Now my freezer’s stocked with them, my gym buddies beg for the recipe, and my mornings taste infinitely better.
Why You’ll Love These Protein Bagels
Listen, I’m not exaggerating when I say these might just change your breakfast game forever. Here’s why everyone I know is obsessed with these protein bagels:
- Lightning fast: From bowl to baking sheet in under 5 minutes, total bake time just 20-25 minutes. My record is morning prep in workout clothes while my coffee brews!
- Two-ingredient magic: Literally just self-rising flour and Greek yogurt mixing together like they were destined to be together.
- Protein powerhouse: 10g per bagel keeps you full straight through that mid-morning meeting (or that second gym session).
- Meal prep MVP: They freeze like a dream – I always triple batch and grab them straight from freezer to toaster.
- Versatile AF: Sweet? Add cinnamon. Savory? Everything bagel seasoning is *chef’s kiss*. I’ve even made mini versions for snack attacks.
Trust me, once you try that first slightly crisp, chewy bite, you’ll wonder how you ever survived mornings without them. Find more kitchen magic like this on my Pinterest boards!
Ingredients for 2-Ingredient Protein Bagels
Here’s the beautiful part – you probably already have everything you need! But let me share exactly what works best so your protein bagels turn out perfect every time:
- 1 cup self-rising flour (spooned lightly into the cup – no packing needed)
- 1 cup plain non-fat Greek yogurt (make sure it’s the thick kind with no added sugars or flavors)
Pro tip from my trial-and-error disasters: measure carefully! Eyeballing leads to dough that’s either too sticky (flour shakers, unite) or too dry (hello, bagel-shaped hockey pucks). I keep a set of nested measuring cups right by my flour jar now. The magic happens when these two simple ingredients meet in perfect balance.
How to Make Protein Bagels
Okay, let’s get cooking! These protein bagels come together so fast, you’ll barely have time to finish your pre-workout stretches. Here’s exactly how I make mine – foolproof steps that work every single time:
- Fire up your oven: Preheat to 375°F (190°C). If you’re going the air fryer route (my lazy Sunday favorite), set it to 350°F (175°C).
- Mix the magic: Dump your flour and yogurt into a bowl and stir like you mean it. At first it’ll look questionable, but keep going – suddenly it’ll transform into this gorgeous, slightly sticky dough ball.
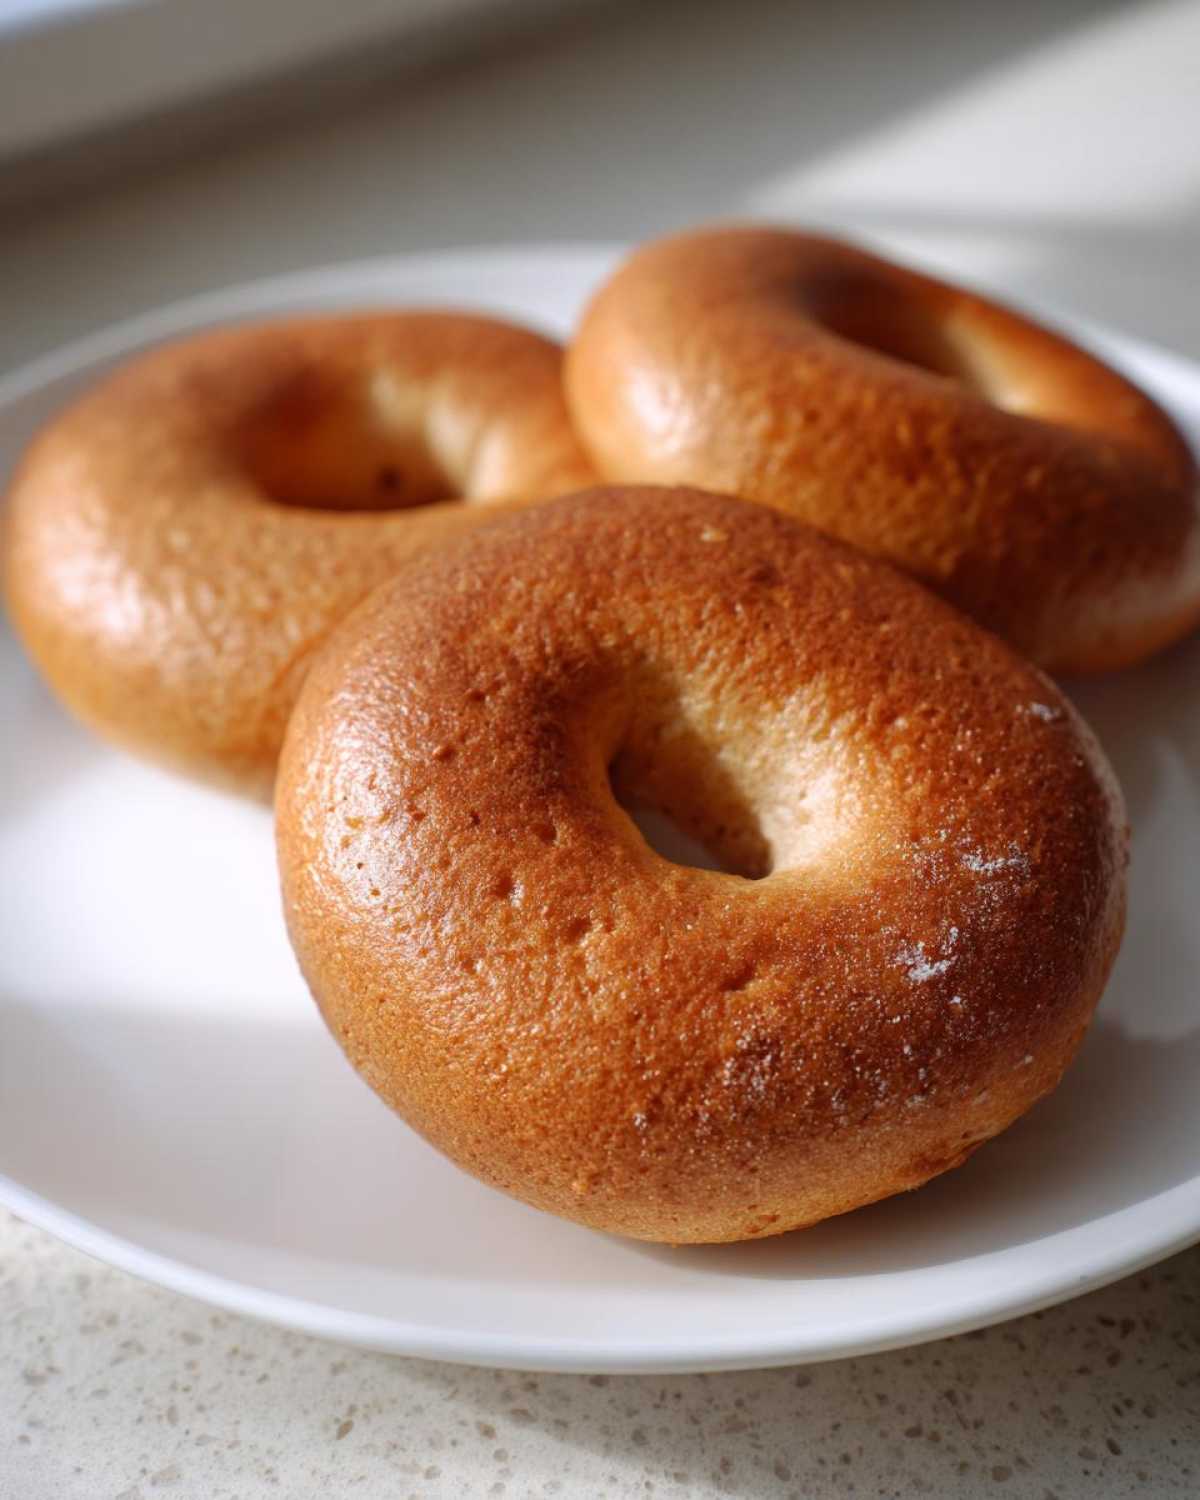
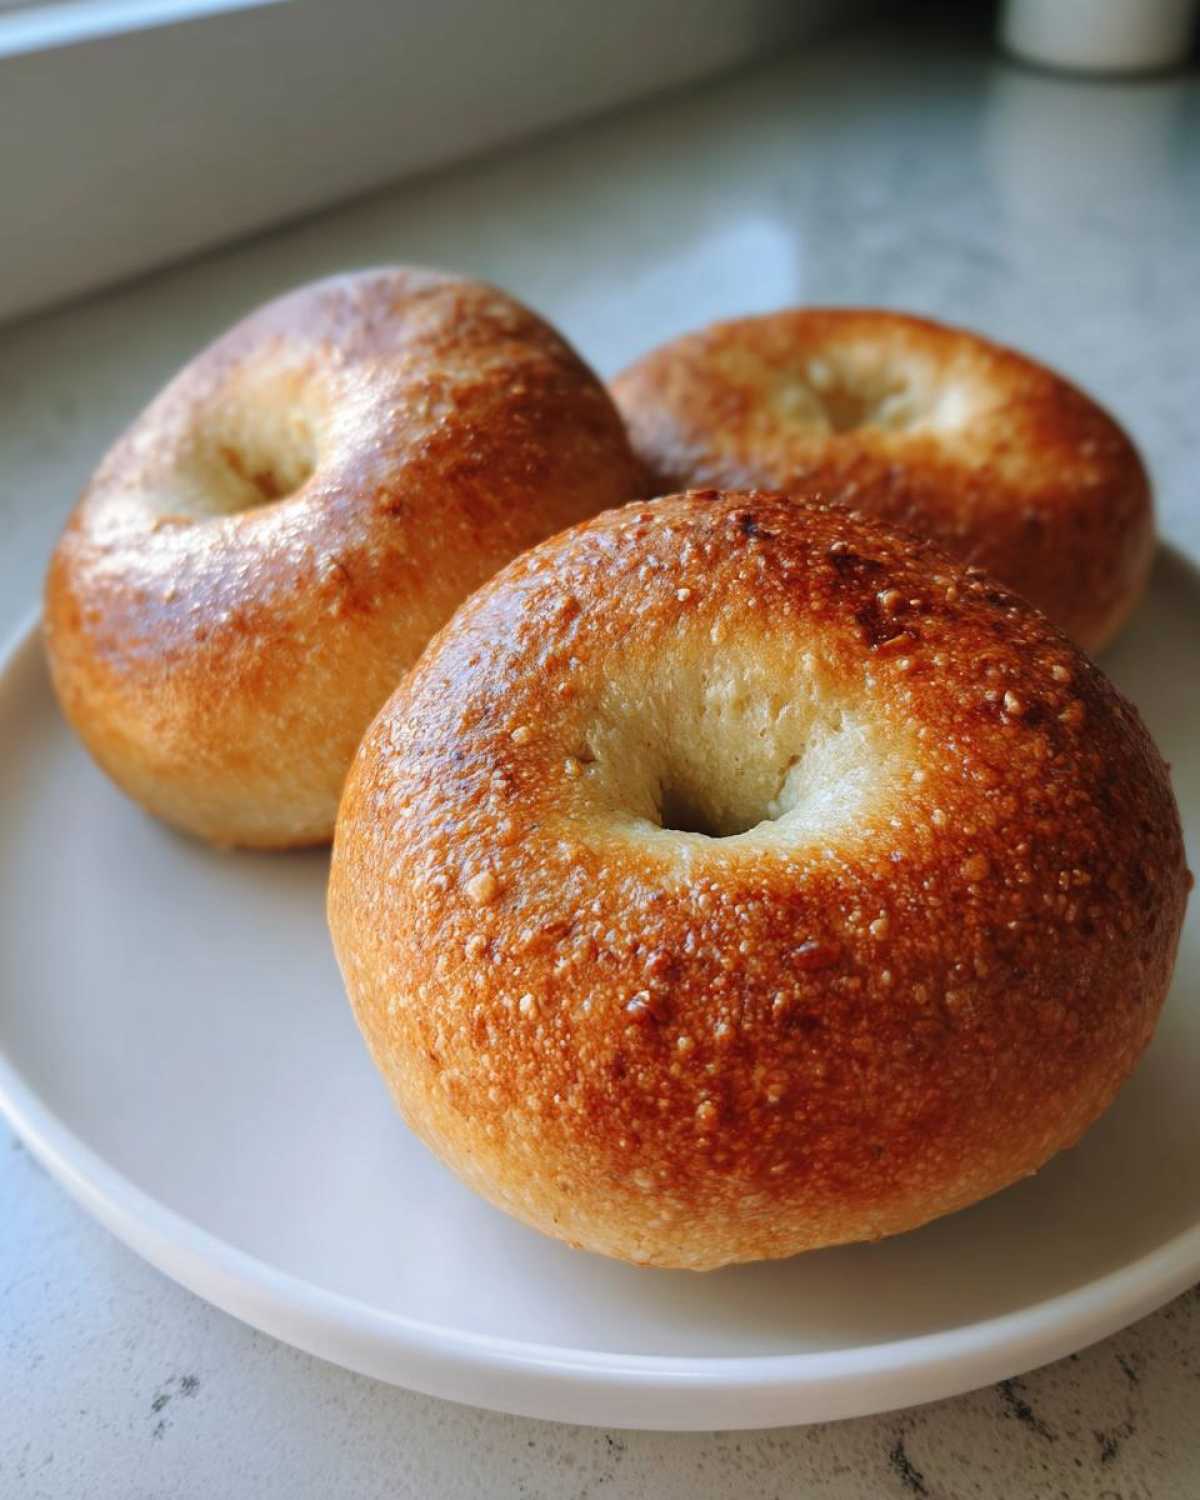
- Shape those beauties: Turn the dough onto a lightly floured surface and divide into 4 equal blobs. See my shaping tips below for perfect rings every time.
- Bake to golden perfection: Arrange your bagels on parchment-lined baking sheet (they won’t spread much). Bake 20-25 minutes until they’re lightly golden and sound hollow when tapped. For air fryer fans: 12-15 minutes does the trick.
- Cool it: Resist tearing into them immediately! Let them cool for 5 minutes – this prevents that tragic “hot bagel collapse”.
Extra pro move from my kitchen fails: I set a timer for 20 minutes, then start checking every 2 minutes. Ovens lie sometimes!
Shaping Perfect Protein Bagels
Here’s my no-fuss method for getting restaurant-worthy shapes: First, roll each dough portion into a smooth ball between your palms (lightly flour them if sticky). Poke your thumb through the center and gently stretch it while rotating – like making a playdough bracelet! If the dough fights you, wet your fingers slightly. I make my holes extra big because they shrink while baking. Pro tip: uneven bagels taste just as good, so don’t stress perfection!
Tips for the Best Protein Bagels
After burning my fair share of sad little dough rings (RIP, batch number three), I’ve gathered all my hard-earned wisdom to guarantee your protein bagels turn out perfect every time:
- Yogurt matters: Non-fat works, but swap in full-fat Greek yogurt for extra richness. I accidentally grabbed the wrong tub once and never looked back – that luscious texture made me weep happy tears!
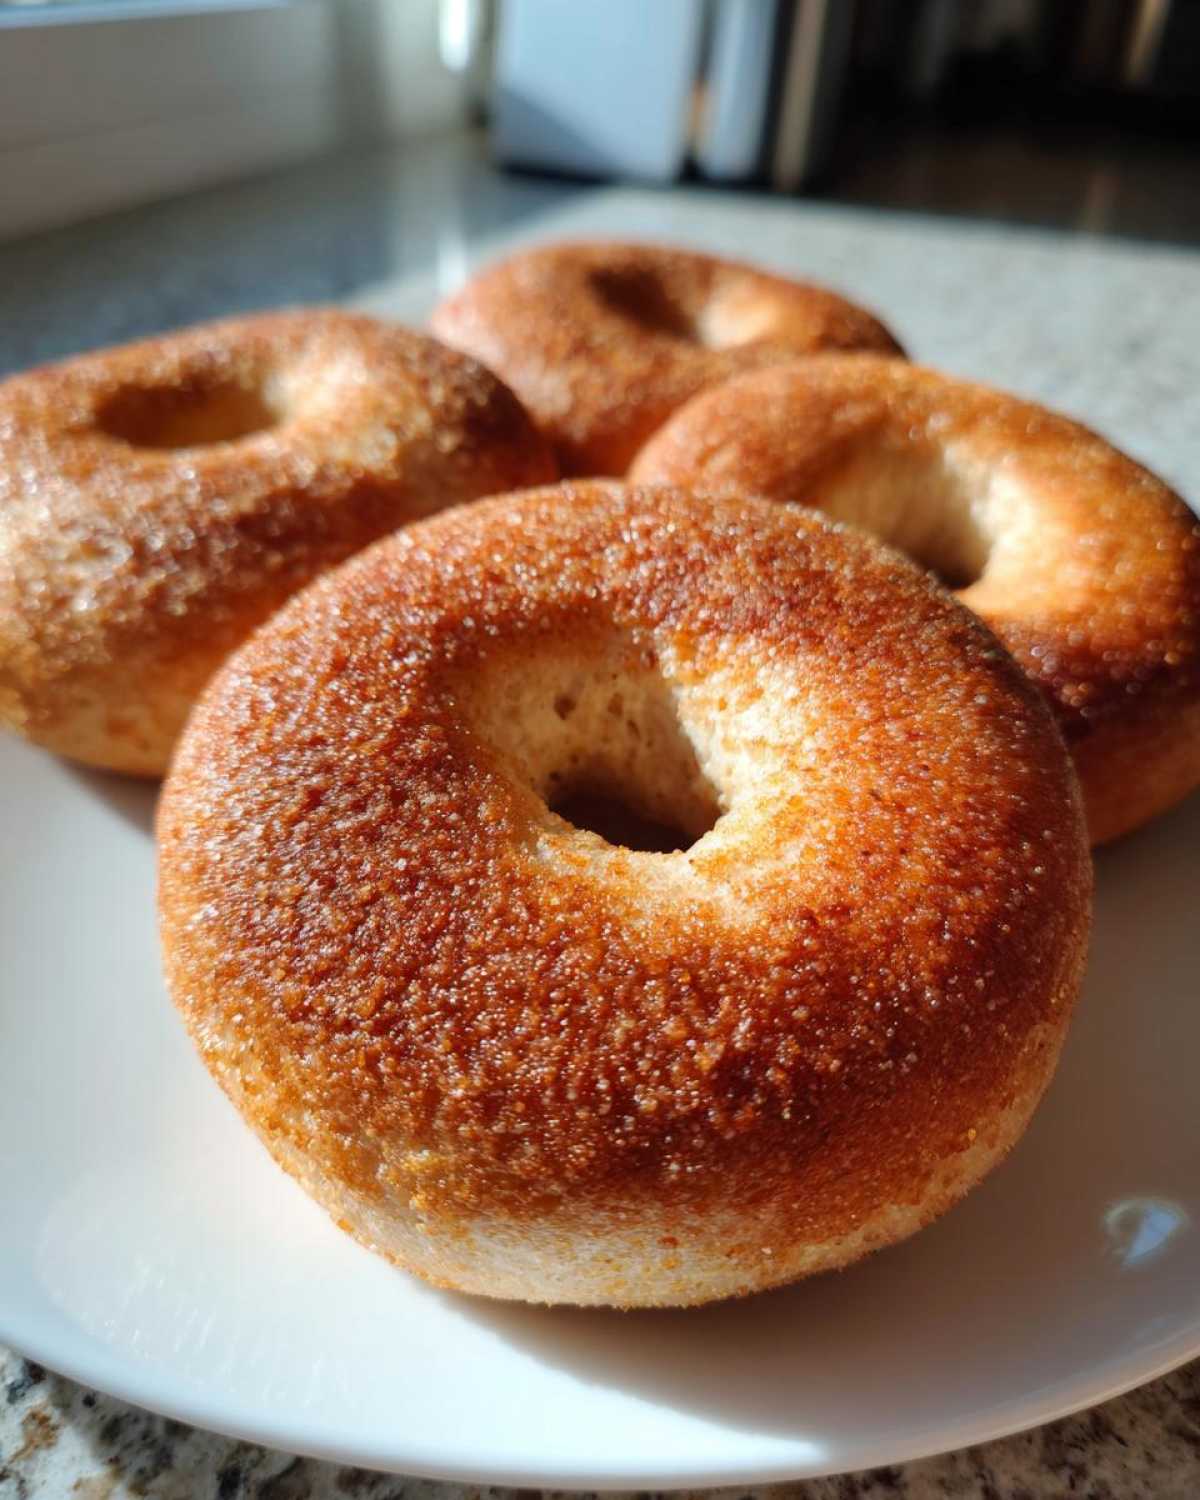
- Season liberally: For everything-bagel vibes, press the seasoning mix into the tops right before baking – it clings better than post-bake sprinkling (learned this the messy way). My lazy trick? Brush with egg wash first for next-level adhesion.
- The tap test: Don’t trust looks alone! Give baked bagels a gentle tap – they should sound hollow like a tiny drum. Too dense? Give ’em 2 more minutes. Burnt bottoms? Oven rack adjustment next time!
- Sticky solution: If your dough clings like a needy ex, wet your hands with cold water when shaping. Game changer!
Bonus from my notes: Let the dough rest 5 minutes after mixing – it magically becomes easier to handle. And if your first batch isn’t Instagram-pretty? Slather with cream cheese anyway. Still delicious!
Protein Bagel Variations
The beauty of these protein bagels? They’re like culinary Play-Doh – totally customizable! Here are my favorite riff-offs that woke-up-my-creativity one sleepy Sunday morning:
- Cinnamon-Raisin Happiness: Blend 1 tsp cinnamon into the flour first, then knead in 2 tbsp plump raisins. Pro tip: Soak raisins in warm water first so they don’t turn into little rocks during baking!
- Cheese Lover’s Dream: Fold in ¼ cup shredded sharp cheddar – the way it gets all melty and golden… oh baby. My gym buddy swears by pepper jack for a spicy kick.
- Herb Garden Special: Add 1 tsp dried garlic, ½ tsp onion powder and 1 tbsp fresh chopped rosemary. Makes the whole kitchen smell like an Italian bakery!
Really, any mix-in works – I’ve even tossed in chopped sun-dried tomatoes and fresh basil when feeling fancy. The dough handles it all like a champ. Play with flavors like you’re a mad breakfast scientist!
Storing and Reheating Protein Bagels
Okay, confession time—I never actually store these protein bagels, because my family inhales them fresh. But on those rare occasions when some miraculously survive, here’s how I keep them tasting like they just came out of the oven:
Room temp storage: Pop them in an airtight container (I use a snap-lock glass one) for up to 3 days. Pro tip: tuck a paper towel in there to absorb moisture—nobody likes a clammy bagel!
Freezer tricks: Slice them before freezing (game-changer for toaster mornings!) Lay them flat on a baking sheet first so they don’t stick together, then transfer to freezer bags. They’ll stay perfect for up to 2 months. Seriously, I’ve unearthed some from my freezer’s abyss that toasted up like new!
Reheating magic: For that just-baked crispness, toast straight from frozen—no thawing needed. My air fryer at 300°F for 5 minutes makes them taste fresh-baked, or use a conventional oven if you’re reheating a bunch. Microwave? Only in emergencies (we’ve all been there), but 15 seconds wrapped in a damp paper towel keeps them from turning rubbery.
Psst—if you’re meal prepping, double batches freeze amazingly! I stash them in single-serve bags for grab-and-go mornings. But fair warning: label them unless you enjoy “surprise mystery bread.” Ask me how I know…
Protein Bagel Nutrition Information
Let’s talk numbers—because after my third batch disappeared in one sitting (oops), I had to know what I was working with! Here’s the nutritional breakdown per protein bagel based on my kitchen scale and food-tracking app:
- Calories: 160 (perfect for my macro-counting mornings!)
- Protein: 10g (hello, post-workout recovery fuel!)
- Carbs: 28g (don’t panic—that’s from the yogurt’s natural sugars too!)
- Fat: Just 1g (unless you use full-fat yogurt like I sometimes secretly do)
Quick heads up: Your exact numbers might dance around a bit depending on your flour brand or how generous your yogurt scoop was—mine definitely varies between batches. But compared to traditional bagels (looking at you, 300+ calorie bakery beasts), these little guys are total nutrition rock stars!
Frequently Asked Questions
After sharing these protein bagels with every fitness buddy and neighbor within bagel-tossing distance, I’ve heard all the questions! Here are the answers straight from my yogurt-stained recipe notebook:
Can I use regular flour instead of self-rising?
Nope, and here’s why—self-rising flour already has the perfect ratio of baking powder and salt mixed in. If you try swapping regular flour, you’ll end up with sad, dense little dough pucks (trust me, I learned the hard way during my flour shortage panic of 2022!). In a pinch, you can make DIY self-rising flour by mixing 1 cup all-purpose flour with 1½ tsp baking powder + ¼ tsp salt.
Can I double this protein bagel recipe?
Absolutely! This is my meal prep secret—I always make at least double batches. Just divide your dough into 8 portions instead of 4. They might need 2-3 extra minutes in the oven since more bagels means more steam circulating. Pro tip from my kitchen: rotate your baking sheet halfway through baking for even browning if your oven heats unevenly like mine.
Are these gluten-free protein bagels?
Not as written—the self-rising flour contains gluten. BUT! I’ve had success swapping in gluten-free 1:1 baking flour + 1½ tsp baking powder + ¼ tsp salt per cup. The texture changes slightly—they’re more tender than chewy—but still delicious when you’re craving that bagel fix without the gluten.
Why is my dough so sticky?
Ah, the ol’ yogurt variability strikes again! Different brands have different thicknesses. If your dough sticks like bubblegum to a sidewalk, just wet your hands with cold water when handling it—instant fix! You can also sprinkle in a tablespoon more flour, but go slow—too much makes them tough. Remember: slightly sticky dough makes extra moist bagels!
2-Ingredient Protein Bagels

Make these easy Greek yogurt bagels in under 25 minutes for a high-protein, low-carb breakfast or snack. Perfect for meal prep and freezer-friendly!
- Prep Time: 5 minutes
- Cook Time: 20 minutes
- Total Time: 25 minutes
- Yield: 4 bagels 1x
- Category: Breakfast
- Method: Baking
- Cuisine: American
- Diet: Low Calorie
Ingredients
- 1 cup self-rising flour
- 1 cup non-fat Greek yogurt
Instructions
- Preheat oven to 375°F (190°C).
- Mix flour and yogurt in a bowl until a dough forms.
- Divide dough into 4 equal parts and shape into bagels.
- Place on a baking sheet lined with parchment paper.
- Bake for 20-25 minutes or until golden brown.
- Let cool before serving.
Notes
- For air fryer method: Cook at 350°F (175°C) for 12-15 minutes.
- Store in an airtight container for up to 3 days or freeze for longer storage.
- Top with everything bagel seasoning before baking for extra flavor.
Nutrition
- Serving Size: 1 bagel
- Calories: 160
- Sugar: 2g
- Sodium: 320mg
- Fat: 1g
- Saturated Fat: 0g
- Unsaturated Fat: 0g
- Trans Fat: 0g
- Carbohydrates: 28g
- Fiber: 1g
- Protein: 10g
- Cholesterol: 5mg