
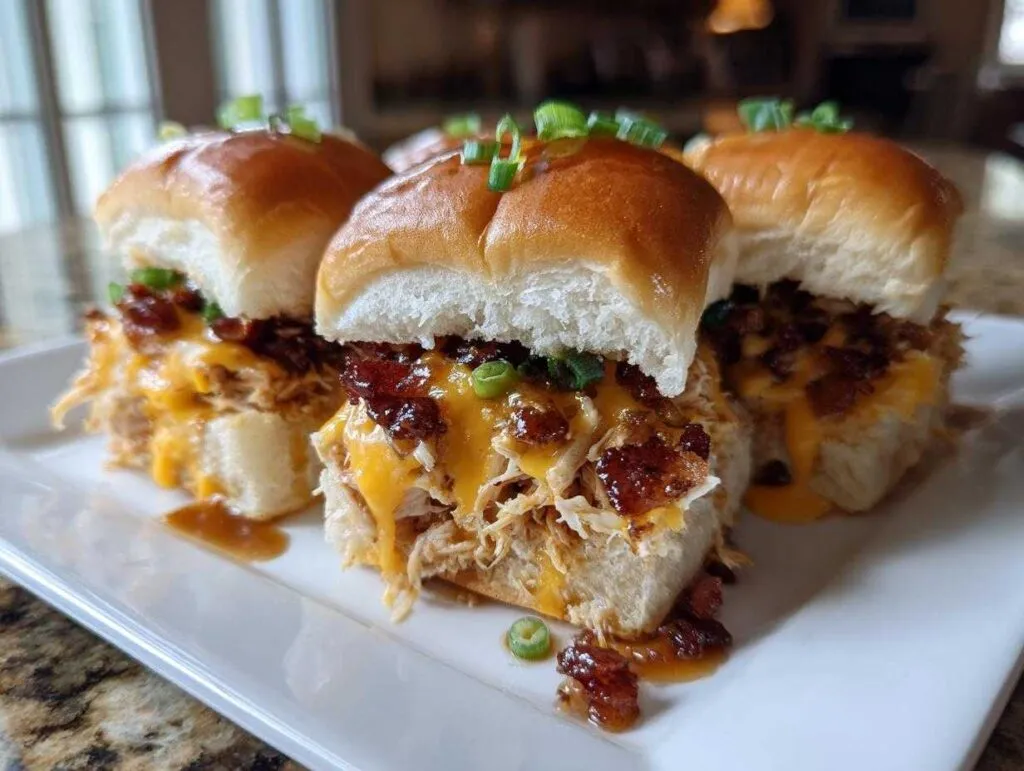
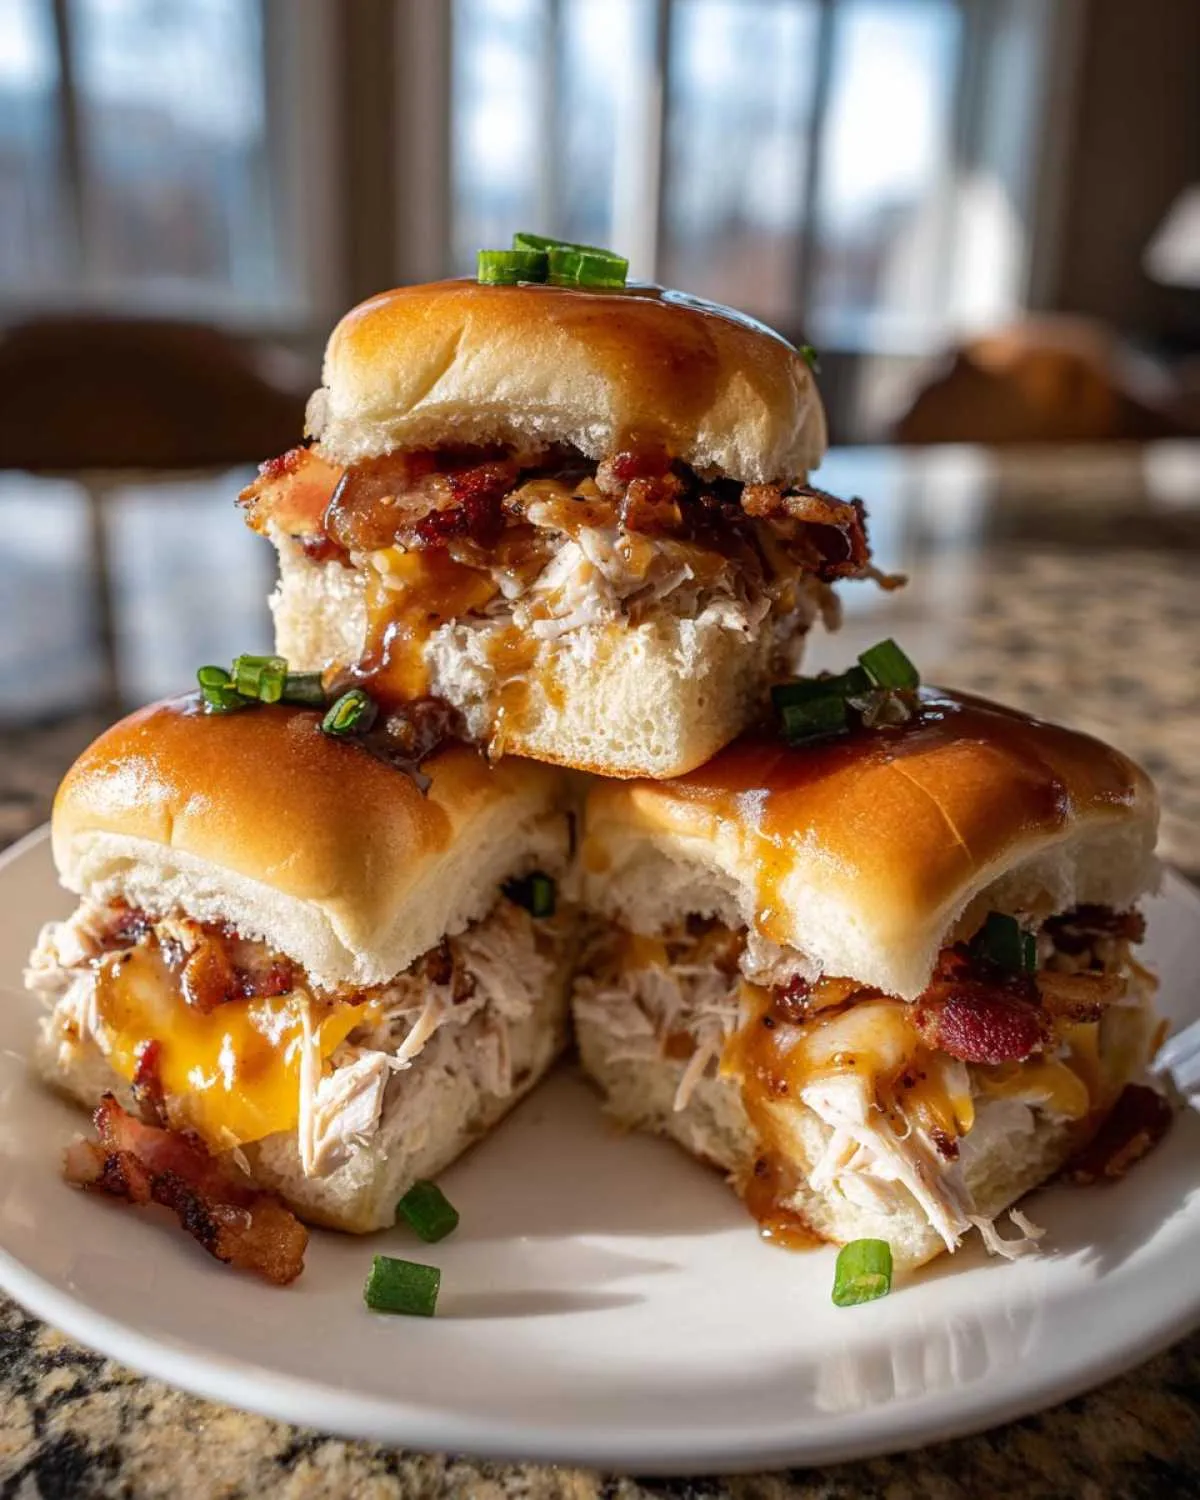
If you’re looking for an appetizer that disappears before the guests even find the sofa cushions, stop right now! Seriously, stop scrolling. I just made these absolute knockout maple chicken bacon sliders for a neighbor gathering last weekend, and my husband actually hid the leftovers from the kids—that’s how good they are! There’s just something magical about the combination of salty, smoky bacon, tender chicken, and that gorgeous, glossy sweet and savory maple glaze hitting soft Hawaiian rolls. Trust me, these baked sliders are my new secret weapon for everything from big game days to getting a quick, fun dinner on the table when everyone’s demanding something special. They come together in no time, and nobody can resist that sugary, savory kick!
- Why You Will Love These Maple Chicken Bacon Sliders
- Essential Ingredients for Perfect Maple Chicken Bacon Sliders
- Step-by-Step Instructions for Baked Maple Chicken Bacon Sliders
- Tips for Success Making Maple Chicken Bacon Sliders
- Make Ahead Party Slider Options for Maple Chicken Bacon Sliders
- Serving Suggestions for Your Sweet and Savory Sliders
- Storage and Reheating Maple Chicken Bacon Sliders
- Frequently Asked Questions About Maple Chicken Bacon Sliders
- Share Your Sweet and Savory Slider Creations
Why You Will Love These Maple Chicken Bacon Sliders
I love hosting, but I hate spending hours trapped in the kitchen when I should be visiting! These sliders solve that problem beautifully. They manage to feel totally gourmet while being ridiculously easy. You absolutely need these in your rotation for your next gathering. Check out why they are my favorite lately:
- Pure Sweet and Savory Magic: That maple glaze isn’t just sweet; the Dijon and Worcestershire in the sauce balance everything out perfectly. It’s an addictive flavor combination that keeps people coming back for more.
- Super Fast Prep Time: Since we use cooked, shredded chicken, you are mostly just assembling! You can have these beauties ready for the oven in under 15 minutes. It’s the ultimate easy appetizer when company drops by unexpectedly.
- Game Day Gold: These are firm enough to handle being picked up, and they bake together so you aren’t making 12 individual sandwiches. Just slice and serve! They are truly perfect game day slider recipes.
- Crowd Comfort Approved: Whether you’re feeding picky eaters or sophisticated adults, nobody turns down melted cheddar, bacon, and maple syrup. They are family-friendly to the max!
Essential Ingredients for Perfect Maple Chicken Bacon Sliders
Okay, the magic of these maple chicken bacon sliders really lies in keeping the ingredients simple but using quality items where it counts. Because this is an assembly job, you want whatever you put in there to sing! I always recommend using slider buns like the classic Hawaiian rolls—they are just required for that perfect soft chewiness you get when baking them like a casserole. Don’t substitute those unless you absolutely have to; they’re key to the final texture!
Here’s what you’ll need to gather up. Notice how the cheese melts right into that filling? That’s why we mix it with the chicken before we even think about the oven. If you want to make this ahead, you can get all your chopping and cooking done beforehand, which is why I love this approach for quick meals.
The main players are:
- 1 pound cooked, shredded chicken breast (Grab a rotisserie chicken if you’re short on time!)
- 12 slider buns (Yep, Hawaiian rolls are my go-to!)
- 6 slices bacon, cooked and crumbled (Not too crispy, we still want some give!)
- 1/2 cup shredded cheddar cheese (Sharp or mild, your call!)
- 1/4 cup chopped green onion for garnish (Adds a fresh little bite at the end.)
For the Maple Glaze: Maple Chicken Bacon Sliders Sauce
This is where the big flavor comes from! We’re making a fantastic, glossy coating here that turns these simple sandwiches into truly decadent sweet and savory sliders. Please, please, please use real maple syrup—none of that pancake syrup flavor stuff—because that pure maple flavor is what makes this sweet bacon slider sauce sing. You’re going to whisk these together until they are completely smooth before drizzling it all over the top buns.
- 1/2 cup pure maple syrup
- 1/4 cup melted butter
- 2 tablespoons Dijon mustard (Just a hint for complexity!)
- 1 tablespoon Worcestershire sauce
- 1 teaspoon garlic powder
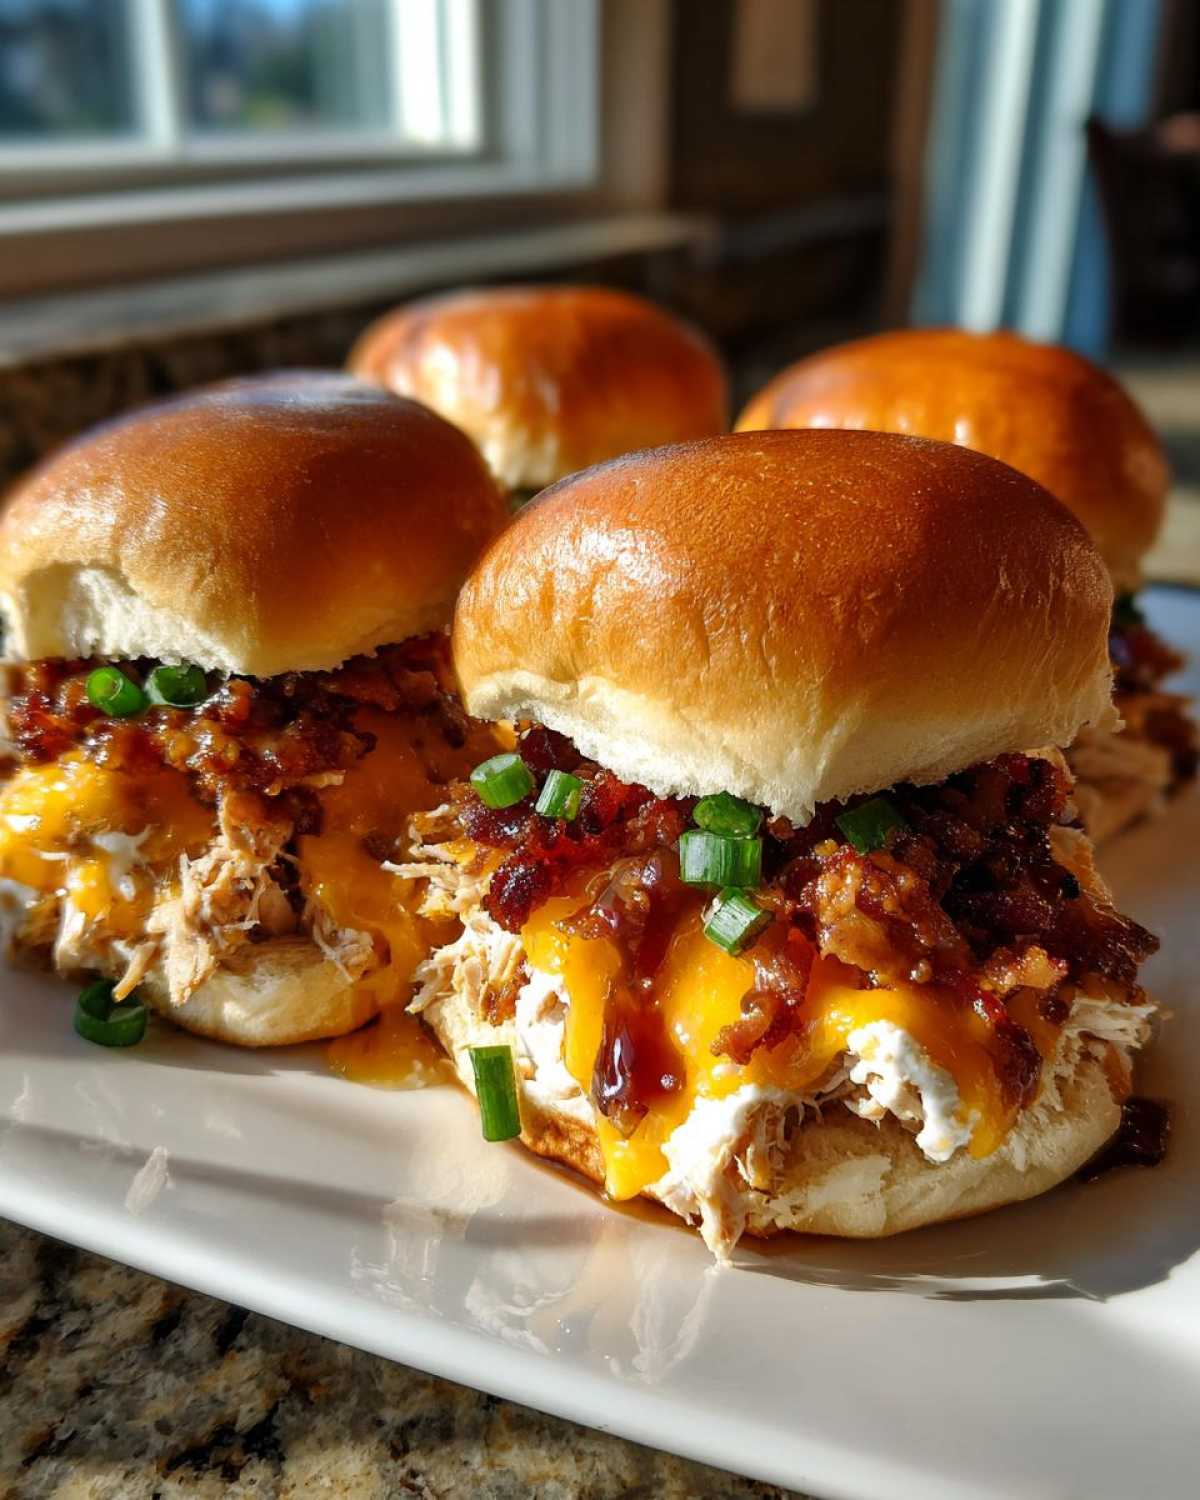
Step-by-Step Instructions for Baked Maple Chicken Bacon Sliders
Even though these maple chicken bacon sliders recipe is pretty straightforward, following these steps exactly is what takes them from good to absolutely unforgettable. I’ve tried tossing it all together, and trust me, you want the structure that building these layer-by-layer provides! This method ensures every single slider gets that perfect amount of the sweet maple coating. If you’re planning ahead, this is where you’d want to pause before the baking step, which I’ll talk about later.
Preparing the Filling and Glaze for Your Maple Chicken Bacon Sliders
First things first—get that oven hot! Preheat everything to 350 degrees Fahrenheit right away. While that’s heating up, grab a 9×13 inch baking dish and give it a light grease. We don’t want any sticking, not on my watch!
In a medium mixing bowl, combine your filling. That means tossing in the shredded chicken, those lovely crumbled bacon pieces, and the cheddar cheese. Mix it well until everything looks happy and evenly distributed.
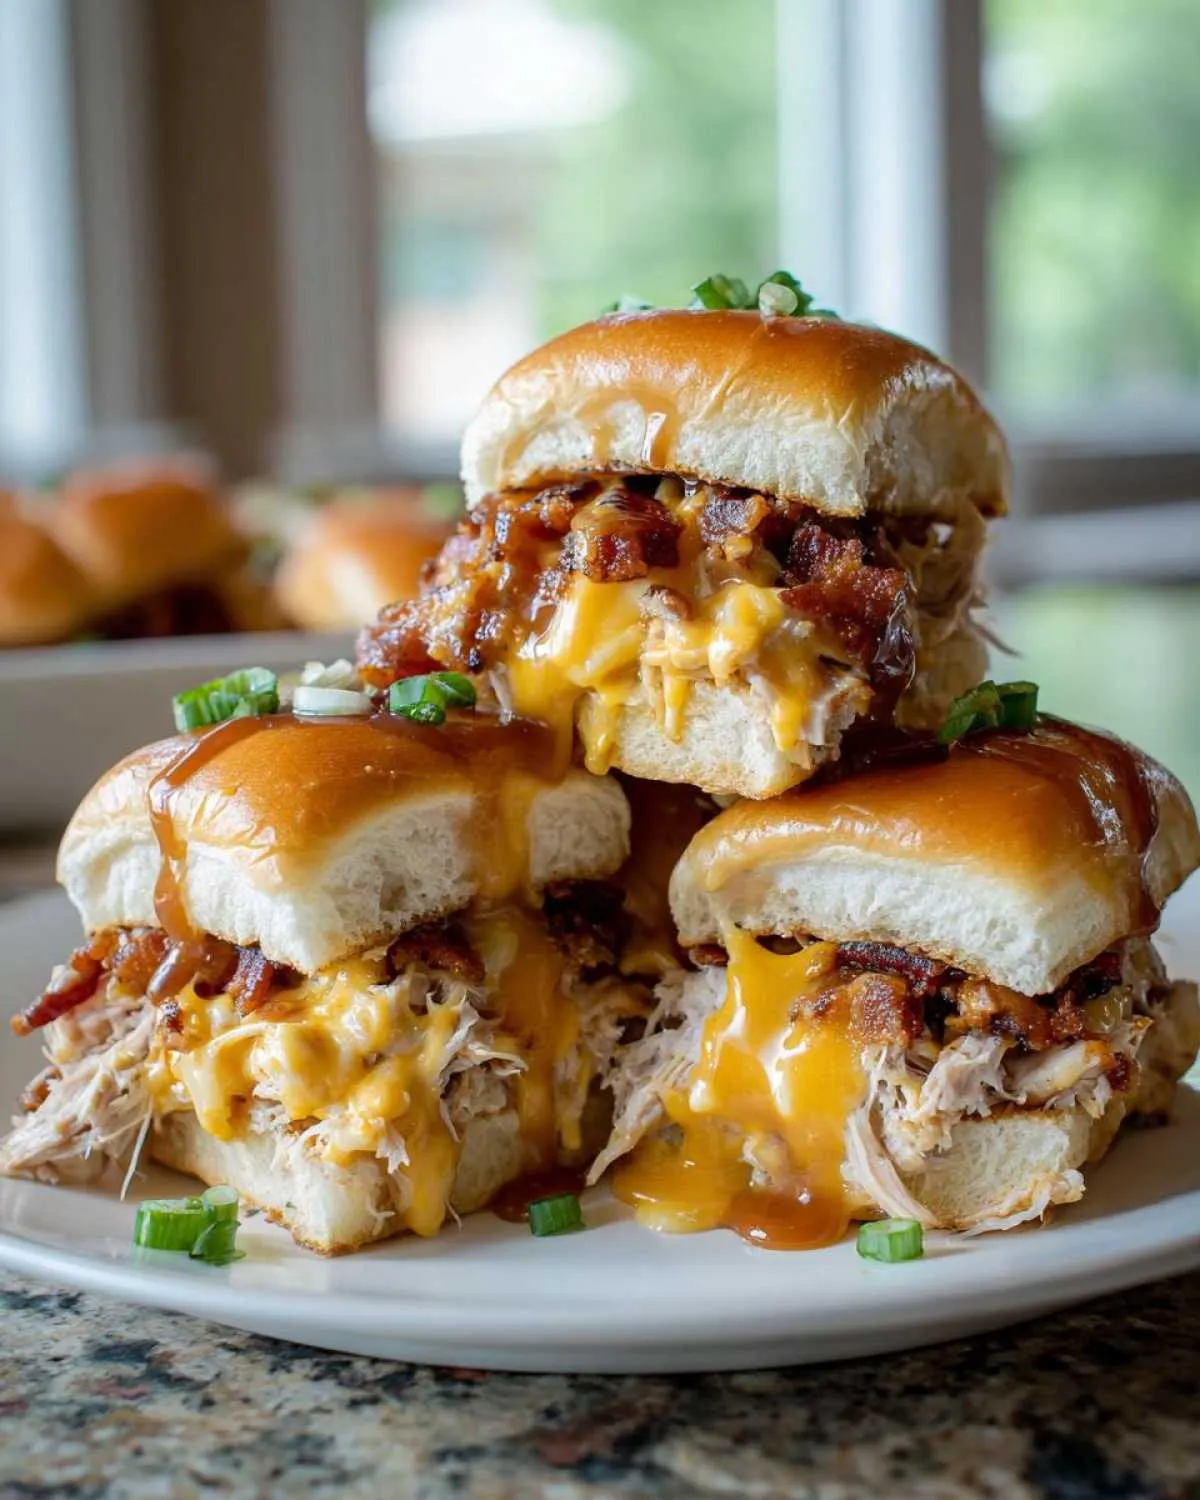
Now for the magic potion! In a separate, smaller bowl, grab your whisk. I like to whisk the glaze ingredients together really vigorously. You want that Dijon mustard fully incorporated into the butter and maple syrup. Keep whisking until the whole sweet and savory sauce looks unified. That’s your gorgeous drizzle!
Assembling and Baking the Easy Chicken Bacon Sliders
This part needs a little care, especially if you are using Hawaiian rolls where the buns are linked together. Slice the entire block of rolls horizontally, keeping the tops and bottoms connected if you possibly can; this makes slicing after they bake so much cleaner!
Place the bottom halves of the buns snugly into your prepared baking dish. Scoop that chicken and bacon mixture evenly over the bottom buns. It should mound up a little bit—don’t be shy!
Gently place the top halves back on. Now, take that glorious maple glaze we made and start drizzling. I usually start in the middle and work my way out, trying to get an even coating over every single top bun. Don’t miss any spots!
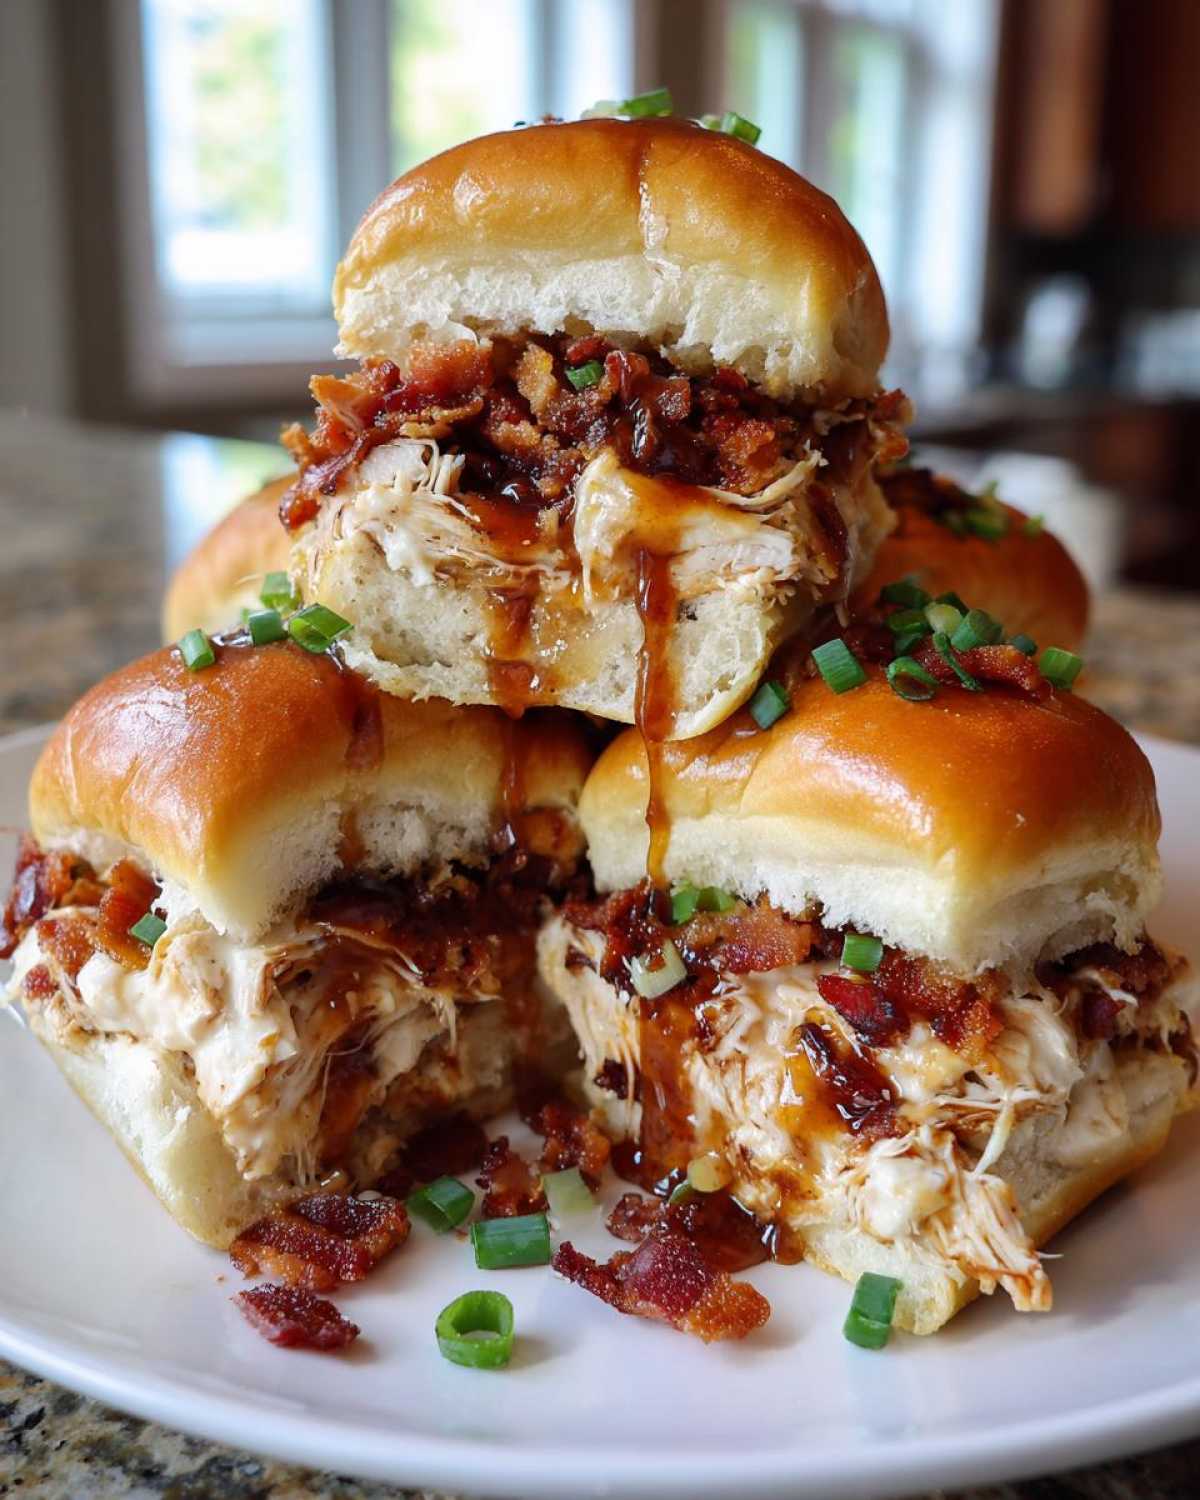
Cover the entire dish tightly with aluminum foil. This is crucial! Bake for exactly 15 minutes so the insides steam up and everything gets hot without burning that gorgeous glaze. After those 15 minutes, pull the foil off. Let them bake uncovered for another 5 to 7 minutes until the tops look deeply golden brown and the cheese inside is gooey. This two-stage bake is the secret to achieving the best maple chicken bacon sliders texture.
Carefully slice them apart right where the rolls naturally separate before you garnish with green onion. Oh, and if you happen to be watching my latest chicken adventure, these are even better because they use cooked chicken for speed, unlike recipes like this one which often starts raw!
Tips for Success Making Maple Chicken Bacon Sliders
Even though these easy chicken bacon sliders come together so fast, a few little tricks can make the difference between good and legendary! My number one piece of advice—and I keep saying it because it’s so important—is to use those soft, sweet Hawaiian rolls. They hold up beautifully to that sticky glaze and melt into perfection in the oven. If you try a standard white roll, they might get too crunchy or dry out faster.
When you’re drizzling on that delicious sauce, try your best to get an even coating over the entire surface of the top buns. If one slider gets all the glaze, it will burn before the others are golden. You can always go back for a second, lighter drizzle if you run low! We want every bite to have that signature sweet/savory element. If you love quick sauces, check out my favorite teriyaki recipe for other dinner ideas!
Make Ahead Party Slider Options for Maple Chicken Bacon Sliders
This is seriously one of the best features of these maple chicken bacon sliders: they are fantastic for making ahead! I always have people asking me how I keep things so calm when hosting parties, and the answer is simple—I prep as much as humanly possible the night before. These are perfect for anyone looking for make ahead party sliders because the layering process is actually better when it sits for a little while!
The instructions note that you can assemble these babies completely, cover them tightly, and put them right into the fridge for up to four hours before you need to bake them. Now, this is important: when the sliders are cold, the dense, cool butter and maple glaze won’t absorb as quickly. What does that mean for you?
It means you need to add a little extra baking time. If you use the refrigerator time note, just add about 5 to 10 minutes to that initial covered baking time. You still want that initial period covered so the rolls steam up nicely and absorb the flavor without getting scorched on top! If you can handle that one small change, these are guaranteed wins at any event. They coordinate perfectly with other simple make-ahead snacks, like these amazing cranberry brie bites!
Serving Suggestions for Your Sweet and Savory Sliders
Honestly, once you pull these maple chicken bacon sliders out of the oven, half the work is already done. They are practically a full meal tucked into a little bun! But if you’re serving them up as part of a bigger appetizer spread for game day or even as a fun weeknight dinner, you need something to balance out that rich, sweet bacon flavor.
You don’t want anything too heavy, or else everyone will be too full for the main course, right? Since we have the salty, the sweet, and the savory all locked down in that little handheld package, I usually aim for something light and acidic on the side. Think bright flavors to cut through the richness of the melted cheddar and that beautiful maple glaze.
Here are a few things I love pairing with these sweet and savory sliders that look great on a platter:
- A Sharp Pickle Platter: A simple dish of good dill pickles, bread-and-butter chips, and maybe some pickled jalapeños adds that much-needed sour tang. It’s an instant refresher between bites!
- Crisp Green Salad: Nothing beats a simple cucumber and tomato salad tossed with a light vinaigrette. If you want to lean into the maple theme, try my Fall Harvest Salad with Maple Vinaigrette. The citrus notes in that dressing are the perfect contrast to the bacon.
- Simple Crudités: Keep it simple with carrots, celery, and bell peppers served with a cool, herby dip like ranch. It gives people something crunchy and cool to reach for.
Basically, anything that offers a nice, cooling crunch or a tart counterpoint will work beautifully. You’ve already got the heavy lifters covered with those delicious, gooey baked chicken sliders!
Storage and Reheating Maple Chicken Bacon Sliders
Who are we kidding? There are never leftovers of these maple chicken bacon sliders because they disappear instantly! But just in case you manage to save a few—or if you’re smart and made a double batch for later—storage is super easy. You don’t want that beautiful maple glaze getting funky, so keep them sealed up tight.
The best way to keep any leftovers is to let them cool down completely first. Once they’re room temperature, move them into an airtight container. I generally layer them with a little parchment paper between the layers if I have more than two, just to keep them from sticking together messily. They’ll keep wonderfully in the fridge for up to three days.
Now for reheating—this is where you can ruin a perfectly good slider if you’re not careful! I know the temptation to zap them in the microwave for 30 seconds is strong, especially when you’re hungry. But please, resist! Microwaving melts the cheese into a greasy puddle and makes the soft rolls soggy and chewy, not in a good way.
For the best result—one that brings back that fresh-out-of-the-oven heaven—you absolutely must use the oven. Pop those sliders onto a small baking sheet. Cover them loosely with foil and bake them at 350 degrees Fahrenheit for about 10 minutes. After that, pull the foil off for another 3 or 4 minutes to let the tops get that lovely golden color back. This method re-crisps the bacon slightly and reheats the cheese without sacrificing the beautiful soft texture of the rolls. These easy chicken bacon sliders are worth the 15 minutes of reheat time, trust me on this one!
Frequently Asked Questions About Maple Chicken Bacon Sliders
I get so many questions whenever I post these irresistible maple chicken bacon sliders on social media. It seems everyone wants to know how to customize them for different events, especially when planning big parties or watching the big game! Here are the most common things folks ask me about making these incredible game day slider recipes.
Can I use fresh cooked chicken instead of pre-cooked for these maple chicken bacon sliders?
Oh, absolutely! That’s the easiest substitution you can make. The main reason I use pre-cooked—like rotisserie chicken—is purely for speed. We are aiming for easy chicken bacon sliders, after all! If you decide to cook raw chicken breast for this, you’ll need to season it well (maybe check out my favorite chicken marinade notes first!). The key change is in the baking. Since the chicken is raw when you assemble it, you’ll need to bake it covered for longer—probably around 25 to 30 minutes—to ensure the chicken is fully cooked through before you take the foil off to brown the tops. Just be sure the internal temperature hits 165 degrees Fahrenheit!
What kind of buns work best for this recipe?
If you take away only one thing from this whole post, let it be this: use the Hawaiian rolls! They have that slight sweetness and an amazing pillowy texture that holds up to the maple glaze without disintegrating. They are essential for getting the right texture when you bake them together. If you really can’t find them or just aren’t feeling that specific sweetness, potato rolls are the next best bet. They are also soft, slightly sweet, and bake up beautifully. Avoid standard, crusty Kaiser rolls or hard brioche buns, as the glaze just soaks into the exterior too fast, and you lose that lovely fluffy center we are aiming for!
Can I skip the bacon if I need a simpler appetizer?
You certainly can, but you’ll miss a huge part of the flavor profile! The bacon provides essential salt, fat, and texture to counterbalance that rich maple syrup. If you absolutely must skip it, I recommend adding an extra teaspoon of finely minced shallot or maybe a pinch of smoked paprika into the chicken mixture to mimic some of that savory depth. Remember, the bacon is a star player in making these truly sweet and savory sliders!
How spicy do these end up being with the Dijon?
Don’t worry about the heat! The standard Dijon mustard we use in the glaze is more for complexity and tang than for actual spice. It balances the sweetness of the maple and cuts through the fatty bacon beautifully. At 2 tablespoons for a whole tray of 12 sliders, you might taste a slight mustardy bright note, but it’s certainly not spicy or hot. If you want a little kick for your game day slider recipes, though, try swapping the Dijon for a teaspoon of spicy brown mustard instead!
Share Your Sweet and Savory Slider Creations
Well, that’s it! We’ve done the mixing, the drizzling, and the glorious two-stage baking process. Now you officially have the best maple chicken bacon sliders in the neighborhood! I truly hope you love these as much as my family does. They are so satisfying to make because they look like you spent hours on them, but we both know the secret is how quick they really are!
I always sneak a peek at what you all are cooking up, and I’d absolutely love to see your results! Did you garnish yours with extra bacon? Did the kids manage to save any leftovers? Snap a photo of your perfect batch of sweet and savory sliders and tag me on social media when you post them. Your feedback and creations really inspire me to keep sharing these favorite recipes from my kitchen to yours.
And hey, if you’re looking for even more seriously addictive appetizers and quick dinner ideas that are crowd-pleasers, make sure you’re following along with me over on Pinterest! I share little behind-the-scenes peeks and extra inspiration over there that doesn’t always make it onto the blog. You can find all my latest visual content here: Follow Sophia on Pinterest for More.
Don’t forget to hop back here when you get a chance and leave me a star rating below! Happy cooking, friends!
PrintMaple Chicken Bacon Sliders
You will make these easy chicken bacon sliders baked in a sweet and savory maple glaze. They are perfect for game day or a quick family dinner.
- Prep Time: 15 min
- Cook Time: 22 min
- Total Time: 37 min
- Yield: 12 sliders 1x
- Category: Appetizer
- Method: Baking
- Cuisine: American
- Diet: Vegetarian
Ingredients
- 1 pound cooked, shredded chicken breast
- 12 slider buns (Hawaiian rolls work well)
- 6 slices bacon, cooked and crumbled
- 1/2 cup shredded cheddar cheese
- 1/4 cup chopped green onion for garnish
- For the Maple Glaze:
- 1/2 cup maple syrup
- 1/4 cup melted butter
- 2 tablespoons Dijon mustard
- 1 tablespoon Worcestershire sauce
- 1 teaspoon garlic powder
Instructions
- Preheat your oven to 350 degrees Fahrenheit. Lightly grease a 9×13 inch baking dish.
- In a medium bowl, combine the shredded chicken, crumbled bacon, and cheddar cheese.
- In a separate small bowl, whisk together the maple syrup, melted butter, Dijon mustard, Worcestershire sauce, and garlic powder to create the maple glaze.
- Slice the slider buns horizontally, keeping the tops and bottoms connected if possible. Place the bottom halves of the buns in the prepared baking dish.
- Distribute the chicken mixture evenly over the bottom buns.
- Place the top halves of the buns over the filling.
- Slowly drizzle or brush the maple glaze evenly over the tops of the assembled sliders.
- Cover the baking dish tightly with aluminum foil.
- Bake for 15 minutes.
- Remove the foil and bake for another 5 to 7 minutes, or until the tops are golden brown and the cheese is melted.
- Slice the sliders apart carefully. Garnish with chopped green onion before serving.
Notes
- You can prepare the chicken ahead of time to make assembly faster.
- For extra flavor, lightly toast the inside of the buns before adding the filling.
- This recipe works well as a make ahead party slider option; assemble completely, cover, and refrigerate up to 4 hours before baking. Add 5-10 minutes to the covered baking time if baking cold.
Nutrition
- Serving Size: 1 slider
- Calories: 320
- Sugar: 15
- Sodium: 550
- Fat: 14
- Saturated Fat: 6
- Unsaturated Fat: 8
- Trans Fat: 0
- Carbohydrates: 30
- Fiber: 1
- Protein: 20
- Cholesterol: 65