
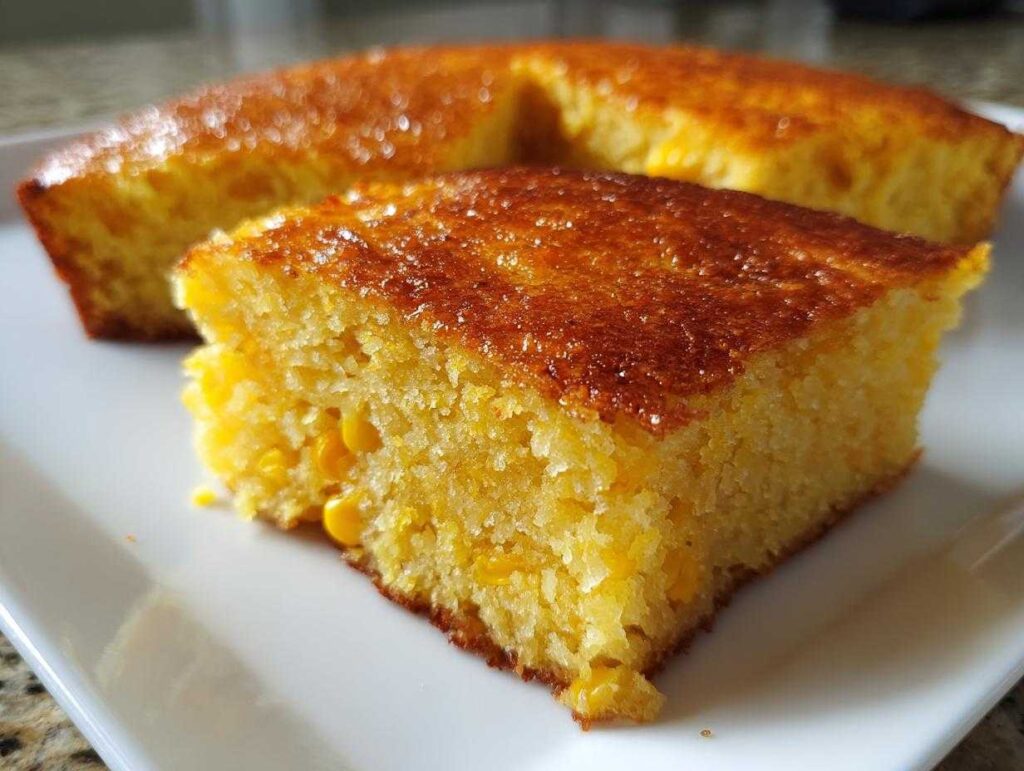
Oh, friends, if there’s one thing I cherish more than whipping up a complicated sauce, it’s realizing that the most comforting food often requires the least amount of fuss! When I need something truly satisfying—that golden, dreamy side dish that disappears first on the buffet line—I always turn straight to my absolute favorite: the **jiffy corn casserole**. Seriously, this dish is magic in a 9×13 pan. It’s incredibly budget-friendly, yet it delivers this unbelievably creamy, fluffy texture that tastes way more gourmet than it is. I swear, every batch I’ve ever made for a family gathering just vanishes. It’s my go-to because it brings that instant, cozy feeling, reminding me of those big holiday meals where everyone crowds around the table.
- Why This is the Ultimate Creamy Jiffy Corn Casserole (Dump and Bake)
- Gathering Ingredients for Your Jiffy Corn Casserole
- Step-by-Step Instructions for the Dump and Bake Jiffy Corn Casserole
- Tips for the Best Southern Style Jiffy Corn Casserole
- Make Ahead Casserole Side: Preparing Your Jiffy Corn Casserole in Advance
- Serving Suggestions for Your Classic Cornbread Casserole
- Storing and Reheating Leftover Jiffy Corn Casserole
- Frequently Asked Questions About Jiffy Corn Casserole
- Nutritional Snapshot of this Jiffy Corn Casserole
Why This is the Ultimate Creamy Jiffy Corn Casserole (Dump and Bake)
I’m telling you, this recipe earns its ‘ultimate’ title because it ticks every single box a busy cook needs. It’s fast, it’s cheap, and it tastes exactly like that nostalgic, rich side dish everyone craves. Forget complicated layering or stirring for hours; this is pure, glorious dump and bake corn casserole perfection.
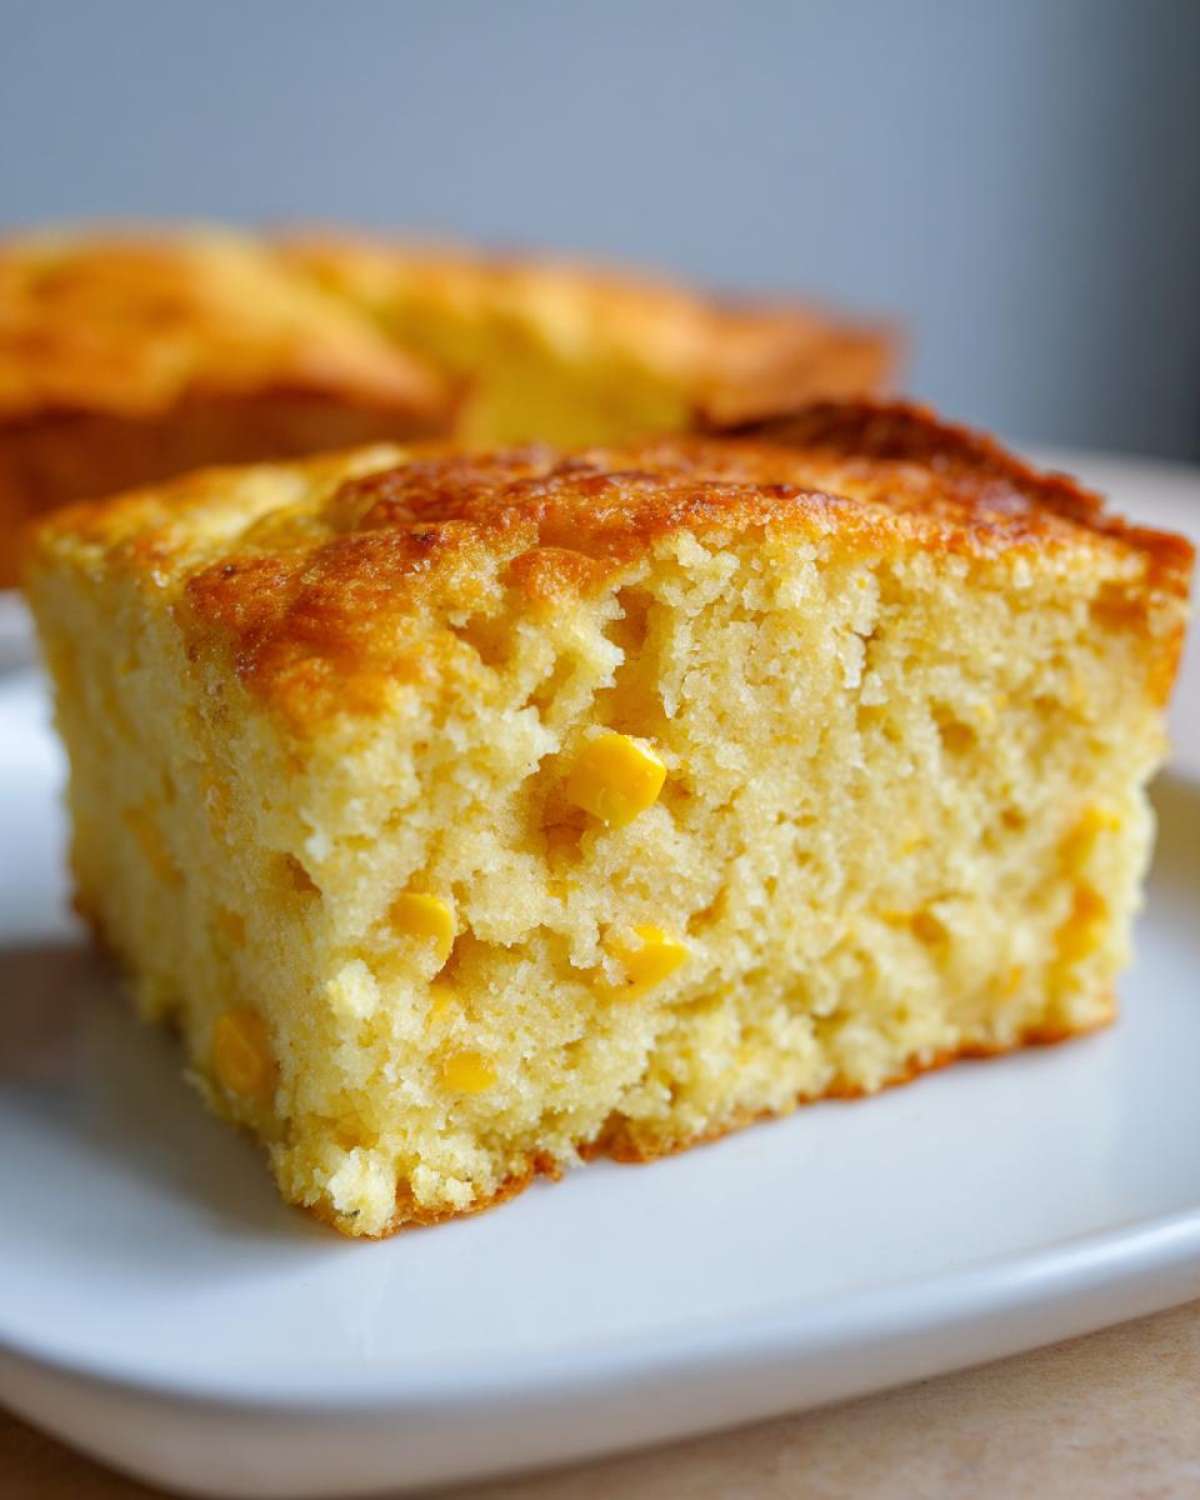
- It’s unbelievably fast to put together—think 10 minutes prep, tops!
- It’s wonderfully budget-friendly using pantry staples.
- It cooks up into something that truly resembles a luxurious, creamy corn pudding recipe.
The Secret to a Fluffy Corn Bake Texture
The real magic for that wonderful texture comes down to the perfect marriage of the Jiffy mix, the eggs, and our sour cream working together. They create a light custard base while baking. It rises just enough to be delightfully soft, giving you that incredible fluffy corn bake quality without collapsing into a sad puddle. Seriously, the combination is unbeatable!
Gathering Ingredients for Your Jiffy Corn Casserole
Okay, what I love most about this recipe is how few things you actually need! If you keep a few staples on hand, you are golden. The star, of course, is that trusty box of the Jiffy Corn Muffin Mix—don’t skip it; that’s our base! Then we load it up for creaminess.
For this version, grab your creamed corn, whole kernel corn (make sure you drain that one well!), sour cream, melted butter, and eggs. If you want to beef it up with that gooey factor, I always suggest adding some shredded cheddar for those delicious cheesy corn casserole ideas. It’s so simple, anyone can have these items ready in five minutes.
Step-by-Step Instructions for the Dump and Bake Jiffy Corn Casserole
This is why I call it a ‘dump and bake’ recipe—the process couldn’t be much simpler! First things first, heat up that oven because we need it hot and ready. Preheat to 350 degrees Fahrenheit and make sure you lightly grease that 9×13 inch baking dish first. Don’t skip the greasing, or you’ll be scraping casserole bits for days!
Now, grab your biggest bowl because everything goes in. Combine your Jiffy Corn Muffin Mix, that creamy goodness from the creamed corn can, your drained whole kernel corn, the sour cream, the melted butter, and your lightly beaten eggs. Mix it all together until it’s just combined. I have to warn you: if you start mixing it until it looks perfectly smooth, you’ve gone too far! Overmixing = less fluffy, more dense. We want just barely mixed!
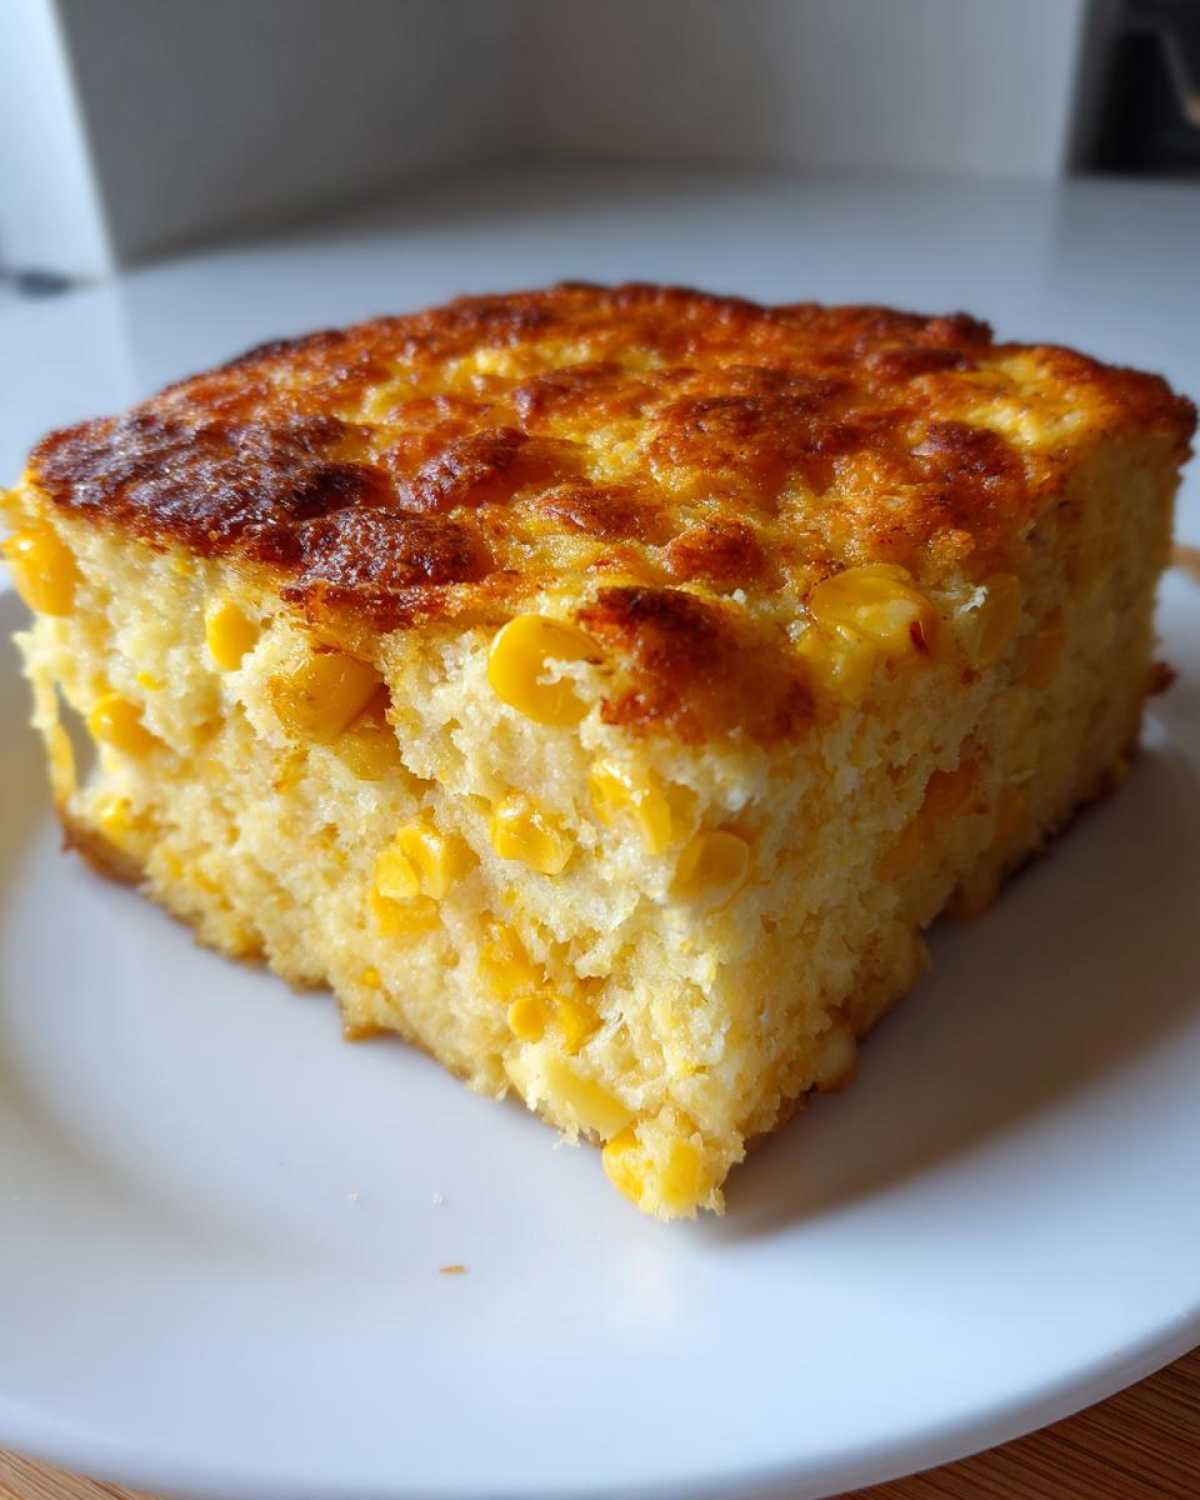
If you decided to make it cheesy, this is when you gently fold in about 3/4 cup of your shredded cheddar. Then pour that glorious batter right into your prepared dish. If you saved a little cheese for the top, sprinkle it on now. You are officially done with prep work. See? So easy—you could even check out my cracker barrel corn casserole recipe while this bakes!
Baking Time and Doneness Check for Jiffy Corn Casserole
Pop that dish into the preheated oven for about 45 to 55 minutes. You are looking for a rich, golden-brown top—that’s the visual cue that tells you it’s nearly done. The ultimate test for any baked dish, of course, is the toothpick test. Insert one right near the center of your Jiffy Corn Casserole. If it comes out clean, or with just a few moist crumbs clinging to it (that means it’s tender moist!), you’ve nailed it. If it’s wet batter, give it another five minutes!
Tips for the Best Southern Style Jiffy Corn Casserole
‘
You know I love making this dish adaptable, especially when we talk about making it absolutely perfect for a proper Southern style corn casserole. While the basic recipe is a winner, a few smart tweaks can send it over the top! If you want that extra richness, ditch the sour cream occasionally and swap in an equal amount of softened cream cheese. It melts right in and gives the bake a slightly denser, richer mouthfeel—it’s divine!
If your crowd likes a little kick, you have to try adding some heat! This really elevates it beyond the standard potluck fare. I often toss in one small can of diced green chilies, or sometimes I’ll even chop up some of my famous sweet-and-spicy candied jalapeños right into the batter. It gives you a fantastic sweet-heat contrast with the corn. Trust me, those little surprises make this simple casserole feel incredibly chef-driven. It’s all about personalization!
‘
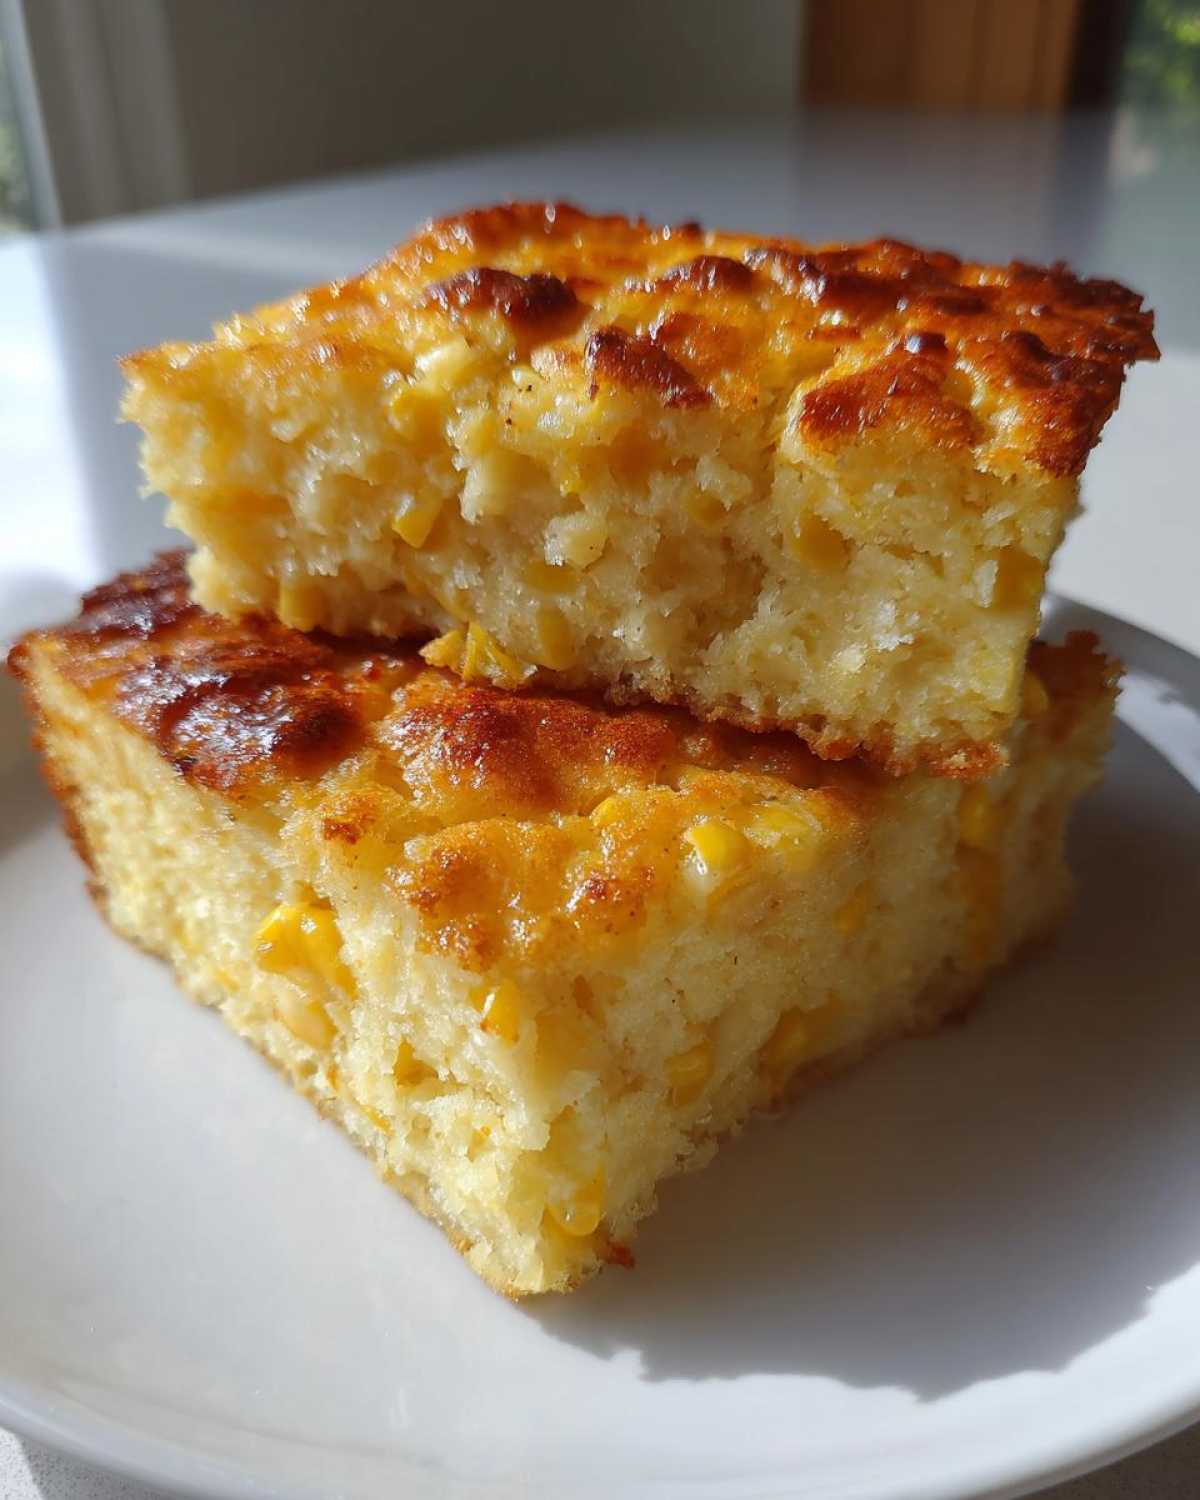
Make Ahead Casserole Side: Preparing Your Jiffy Corn Casserole in Advance
Let’s talk about holidays, okay? Nothing stresses me out more than knowing I have three different casseroles that all need to go into the oven at the exact same time! That’s why this recipe is an absolute lifesaver as a make ahead casserole side. You can totally prepare this Jiffy Corn Casserole the day before you need it, which frees up precious oven space when it counts.
Here’s what you do: just mix up all the ingredients exactly as written, but stop before you bake it. Pour that beautiful batter into your greased 9×13 dish, cover it up tightly with plastic wrap, and pop it right into the refrigerator. It holds perfectly well for up to 24 hours! I often prep these while I’m doing other cooking the night before Thanksgiving, and it saves my sanity the actual morning of!
Now, here’s the one adjustment you have to remember: since the mixture has chilled, it needs a little extra warmth to get going. When you pull it out to bake on serving day, you need to add about 10 minutes onto the cooking time listed in the main instructions. Seriously though, preparing things ahead like this is such a game-changer. It’s just as simple as getting that funeral potatoes recipe ready ahead of time—organization wins!
Serving Suggestions for Your Classic Cornbread Casserole
Honestly, this dish plays so well with almost anything. That slightly sweet, fluffy interior makes it the perfect counterpart to savory main dishes. You’ll find this classic cornbread casserole popping up everywhere, which just proves how versatile it is!
For big holiday spreads, like Easter dinner when you’ve got a magnificent ham cooling on the counter, this casserole adds that comforting, home-baked touch without demanding all your attention. It’s substantial enough to stand up to rich meats, but never heavy.
But here’s where I think it really shines: weeknights! When I don’t have time for much fuss, I serve a big square of this right alongside a steaming bowl of chili. It’s the best way to soak up every last drop of flavor. If you’re looking for an easy chili recipe to pair it with, definitely check out my recipe for buffalo chicken chili—the tangy spice with this sweet, creamy side is just heaven sent.
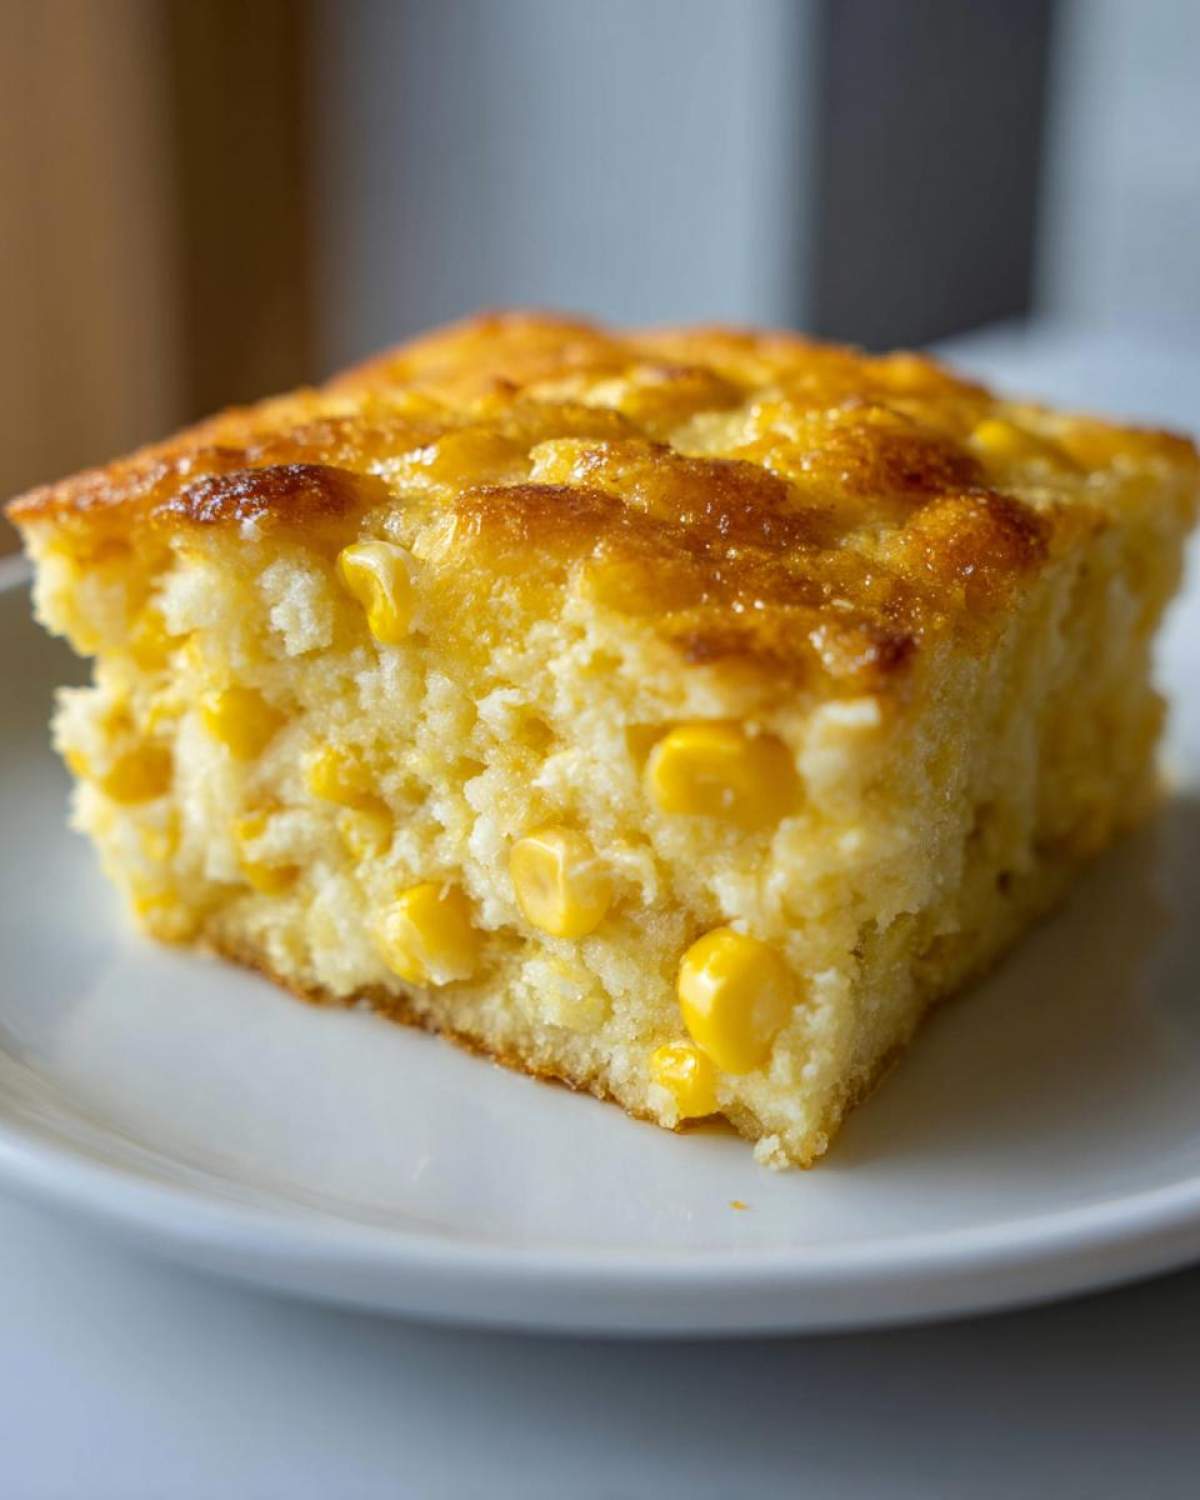
It’s simply the best potluck side dish because it travels well, tastes fantastic at any temperature, and everyone recognizes it as pure comfort food. People always ask me how I make it so perfectly balanced!
Storing and Reheating Leftover Jiffy Corn Casserole
Nobody ever expects leftovers of this dish, yet somehow, there are always a few glorious squares hiding in the fridge the next day! Luckily, this casserole holds up beautifully, which is exactly what you need for a true budget-friendly side dish.
To store it correctly, you want to keep that creamy texture locked in. Just let the casserole cool down to room temperature first—don’t put a huge hot dish straight into the fridge, we don’t want to shock anything! Once cooled, cover the baking dish tightly with plastic wrap or transfer the squares into an airtight container. You can keep it safely in the refrigerator for about three to four days. It stays delicious!
Now, when it comes time to reheat, you have two paths, depending on how much time you have and how you want the texture to turn out. If you’re serving a little portion on your plate tonight, the microwave is super quick. Zap it in 20-second bursts until it’s warm all the way through. It’s fast, but it can sometimes make the edges a tiny bit less fluffy.
For the absolute best results—to bring back that slightly crisp golden top—I always recommend popping your leftovers into a slightly cooler oven. Cover your portion loosely with foil so it doesn’t dry out, and bake at about 325 degrees Fahrenheit until it’s piping hot throughout. This usually takes about 15 to 20 minutes, and honestly, it tastes almost as good as it did fresh out of the oven! It’s well worth the extra few minutes for that perfect texture.
Frequently Asked Questions About Jiffy Corn Casserole
I always get so many questions once people try this recipe because it’s just that good! These are the queries I see most often. If you have more, send them over! You can always check out my Pinterest board for more inspiration too @ RecipesVault.
Can I make this Jiffy Corn Casserole without the Jiffy Mix?
Oh, honey, please don’t try it! The magic of this recipe, the reason it’s such a reliable, budget friendly side dish, is that tiny box of Jiffy Corn Muffin Mix. It’s not just flour and sugar; it has the leavening agents and the specific grainy texture built right in. If you swap it out for plain cornmeal, you’ll end up with something closer to a very heavy corn pudding that might not set up right. Stick to the box for that classic, fluffy result!
How can I make this a truly sweet corn casserole side dish?
I totally get this! Some people just want that extra burst of sweetness, making it a fantastic sweet corn casserole side dish for things like holiday hams. If the canned creamed corn isn’t sweet enough for your taste, here’s my trick: gently whisk in one or two extra tablespoons of granulated sugar right along with your wet ingredients. Another trick is to seek out a different brand of creamed corn that leans slightly sweeter, or if you’re feeling adventurous, use one can of cream style and one can of whole kernel, giving you more natural corn sweetness!
Is this considered one of the best potluck side dishes?
Absolutely, one thousand percent yes! If you are traveling to a potluck, this is the dish you want in your cooler. Why? Because it travels like a champion. Unlike dips that need constant temperature control or salads that wilt, this bakes up firm, slices beautifully, and still tastes incredible even if it sits out for an hour or so. It’s hearty, it’s familiar, and it feeds a crowd without emptying your wallet. It’s a guaranteed crowd-pleaser, hands down!
Nutritional Snapshot of this Jiffy Corn Casserole
Now, just because this is pure comfort food doesn’t mean we can’t take a quick peek at what’s inside! I always like to give you a rough idea of the numbers, especially since it’s so wonderful alongside healthier mains. Keep in mind these figures are just estimates, of course. The exact amounts will shift based on the brand of Jiffy mix you use or if you go heavy on the optional cheese!
This data is based on the ingredients listed above, cut into 8 servings, and we’re skipping the extra butter on top, naturally!
- Calories: About 350 per serving
- Total Fat: Roughly 18g (with about 10g being saturated fat)
- Carbohydrates: Comfort food means carbs! You’re looking at about 40g.
- Protein: A decent boost around 8g.
- Sugar: Right around 14g, which gives it that lovely slight sweetness.
- Sodium: Estimated at 450mg.
- Fiber: A small boost of about 2g.
See? It’s a satisfying side dish that brings a lot of flavor for the calorie count, especially when compared to other heavy holiday sides. Enjoy every bite—that’s my expert nutrition advice for this one!
PrintUltimate Creamy, Easy Jiffy Corn Casserole (Dump and Bake)
Make this classic Jiffy Corn Casserole, a budget friendly side dish that tastes like creamy corn pudding. This dump and bake recipe requires minimal prep and is perfect for Thanksgiving, potlucks, or quick weeknight dinners.
- Prep Time: 10 min
- Cook Time: 50 min
- Total Time: 60 min
- Yield: 8 servings 1x
- Category: Side Dish
- Method: Baking
- Cuisine: American
- Diet: Vegetarian
Ingredients
- 1 box (8.5 oz) Jiffy Corn Muffin Mix
- 1 can (15 oz) creamed corn
- 1 can (15 oz) whole kernel corn, drained
- 1 cup sour cream
- 1/2 cup (1 stick) unsalted butter, melted
- 2 large eggs, lightly beaten
- 1 cup shredded cheddar cheese (optional, for cheesy corn casserole ideas)
Instructions
- Preheat your oven to 350 degrees Fahrenheit. Lightly grease a 9×13 inch baking dish.
- In a large bowl, combine the Jiffy Corn Muffin Mix, creamed corn, drained whole kernel corn, sour cream, melted butter, and eggs. Mix until just combined. Do not overmix.
- If using cheese, gently fold in 3/4 cup of the shredded cheddar cheese now.
- Pour the batter into your prepared baking dish.
- If you reserved cheese, sprinkle the remaining 1/4 cup over the top.
- Bake for 45 to 55 minutes, or until the top is golden brown and a toothpick inserted near the center comes out clean.
- Let the casserole cool for 5 to 10 minutes before slicing and serving this fluffy corn bake.
Notes
- For a Southern style corn casserole with a little heat, add one small can of diced green chilies or jalapeños to the batter.
- This recipe is great for making ahead. Cover and refrigerate the unbaked mixture for up to 24 hours, then add 10 minutes to the baking time.
- This dish pairs wonderfully with ham for Easter dinner or chili for a quick weeknight meal.
Nutrition
- Serving Size: 1 serving
- Calories: 350
- Sugar: 14
- Sodium: 450
- Fat: 18
- Saturated Fat: 10
- Unsaturated Fat: 8
- Trans Fat: 0.5
- Carbohydrates: 40
- Fiber: 2
- Protein: 8
- Cholesterol: 65