
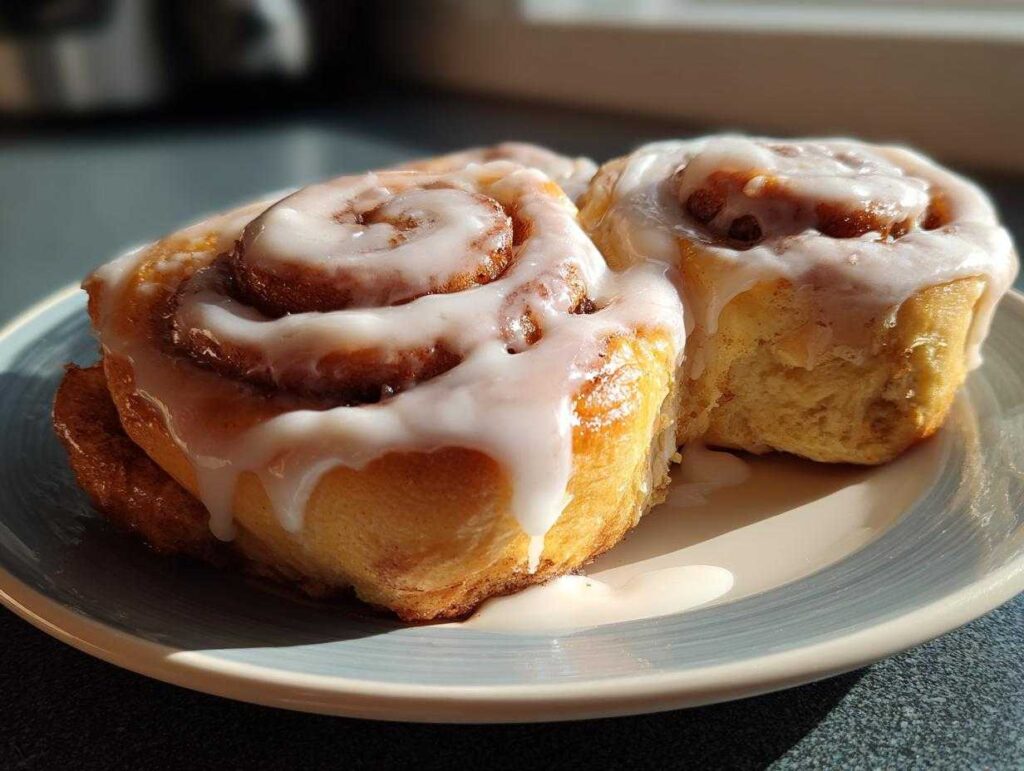
There’s nothing quite like waking up to the smell of homemade cinnamon rolls baking in the oven. That warm, sugary cinnamon aroma that fills your kitchen is pure magic—it’s like a cozy hug for your soul. I still remember my first time making these as a kid with my mom, flour everywhere, giggling while we tried to roll the dough just right. And you know what? It didn’t have to be perfect to be absolutely delicious!
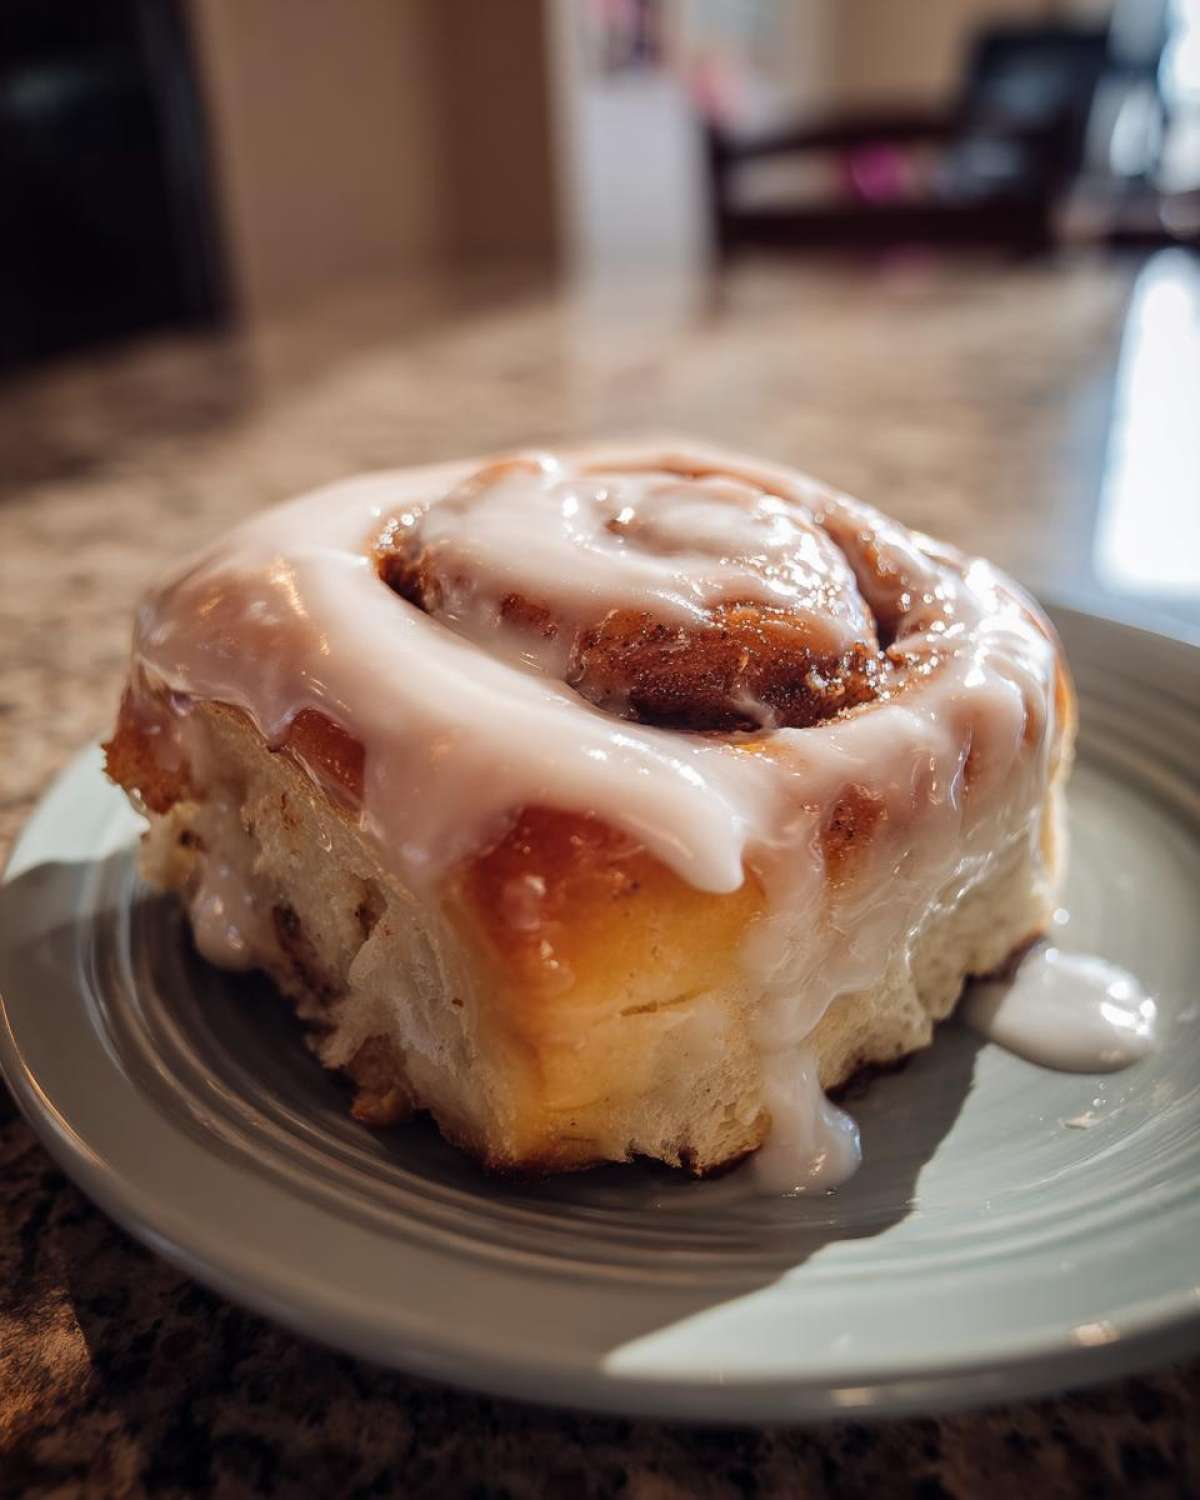
This cinnamon rolls recipe is my go-to for lazy weekend mornings, holiday gatherings, or anytime we want to make breakfast feel extra special. They’re surprisingly easy (I promise!), and the results are these soft, fluffy swirls of cinnamon goodness that’ll have everyone coming back for seconds. The best part? That sticky-sweet glaze dripping down the sides—trust me, you’ll want to lick your fingers clean! Check out my favorite baking inspiration on Pinterest for more cozy breakfast ideas like this one.
Why You’ll Love These Cinnamon Rolls
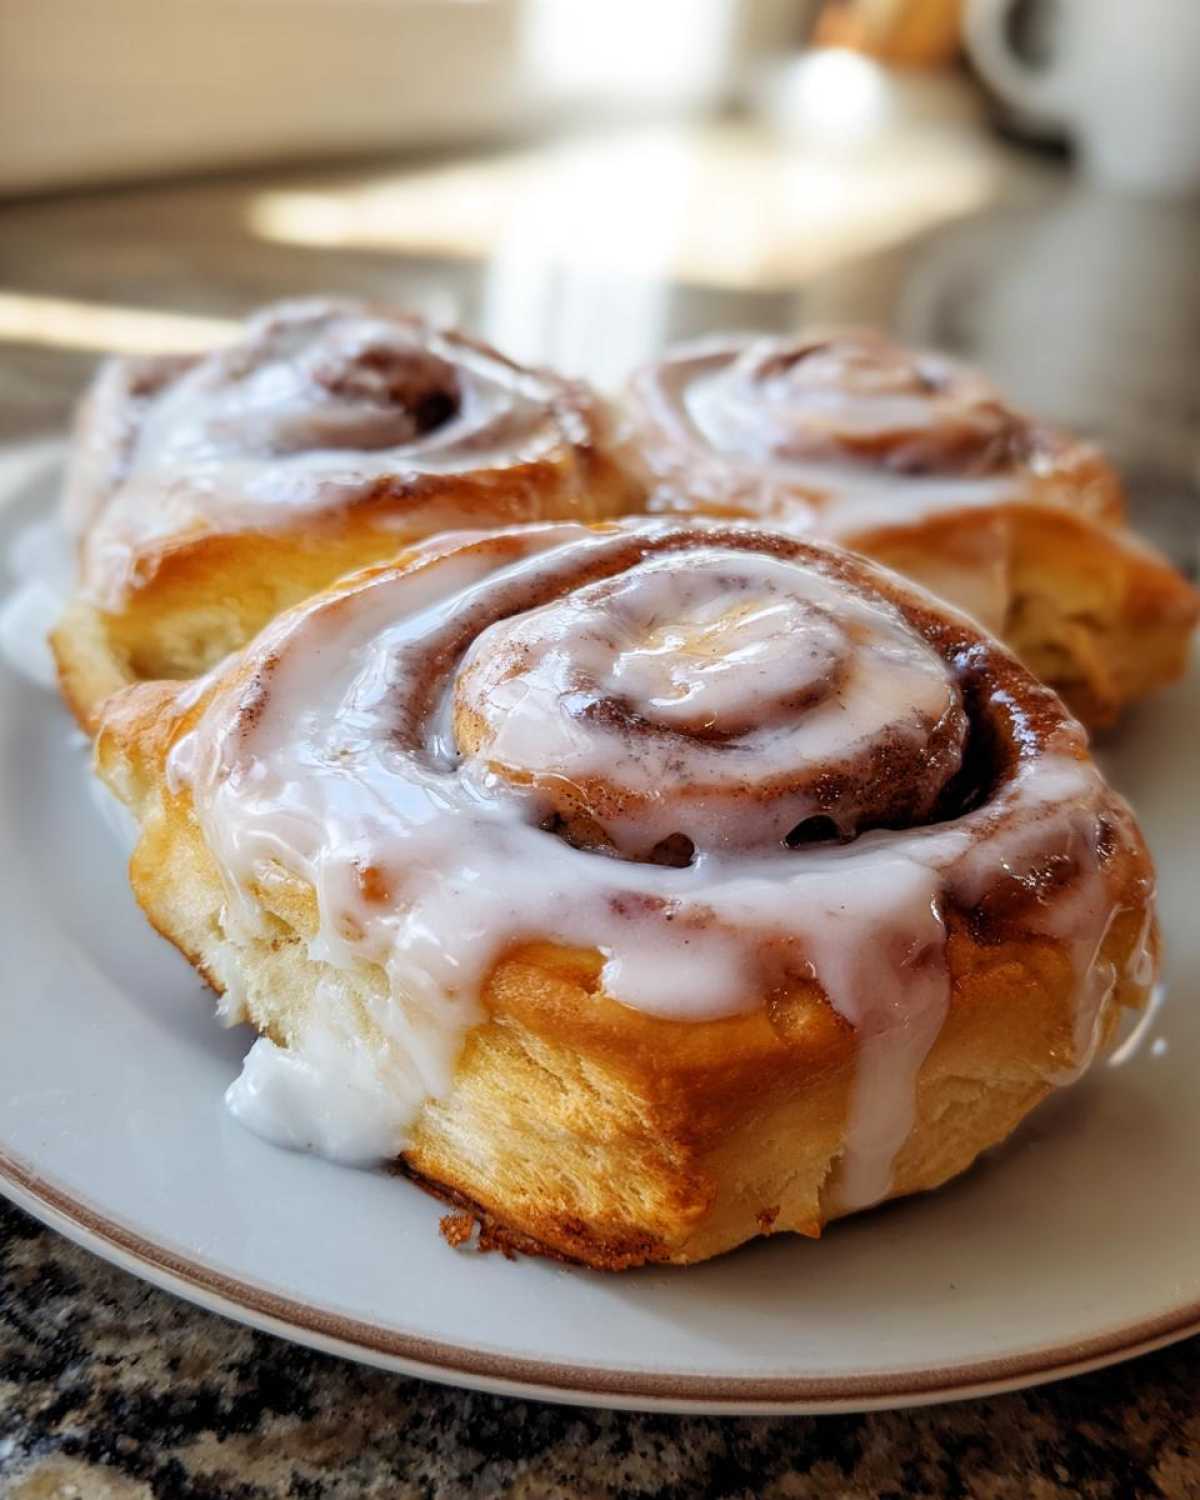
Oh my goodness, where do I even start? These homemade cinnamon rolls are like little clouds of happiness – that good! Let me tell you exactly why they’ll become your new weekend baking obsession:
- Fluffy pillow-soft texture that melts in your mouth (thanks to the perfect dough ratio I tested about two dozen times!)
- Simple enough for beginners – no fancy equipment needed, just your two hands and some love
- That unforgettable cinnamon aroma that makes your whole house smell like a cozy bakery
- A forgiving recipe – no need to stress about perfection, these beauties turn out great even if you’re still getting comfortable with yeast
- Customization heaven – add nuts, raisins, or change up the glaze however you like (though the classic version always wins in my book)
Seriously, whether it’s Sunday morning with the kids or a special holiday brunch, these cinnamon rolls create the best memories. Wait till you see how quickly they disappear!
Ingredients for Homemade Cinnamon Rolls
Gathering your ingredients is the first step to cinnamon roll heaven! Having everything measured and ready makes the process so much smoother. I’ve broken it down into three simple parts – the dough, that irresistible filling, and the dreamy glaze. Trust me, you’ll want to double-check your pantry before starting because once that dough starts rising, you won’t want to stop!
For the Dough
- 4 cups all-purpose flour (plus extra for dusting)
- 1/4 cup granulated sugar
- 1 teaspoon salt (I use fine sea salt)
- 1 packet (2 1/4 teaspoons) active dry yeast
- 1 cup warm milk (110°F – test it on your wrist like baby bottle temperature!)
- 1/4 cup melted butter (slightly cooled)
- 1 large egg (room temperature)
For the Filling
- 1/2 cup packed brown sugar (press it firmly into your measuring cup)
- 2 tablespoons ground cinnamon (yes, that much!)
- 1/4 cup softened butter (leave it out for 30 minutes beforehand)
For the Glaze
- 1 cup powdered sugar, sifted (no lumps, please!)
- 2 tablespoons milk (any kind works)
- 1/2 teaspoon vanilla extract (the real stuff makes all the difference)
How to Make Cinnamon Rolls
Alright, let’s dive into the fun part – turning these simple ingredients into glorious, gooey cinnamon rolls! I’ll walk you through each step so you end up with bakery-worthy results. Don’t worry if you’re new to working with yeast – this recipe is foolproof when you follow these steps. Just imagine how impressed everyone will be when they see (and smell!) what you’ve created!
Preparing the Dough
First, grab your biggest mixing bowl – I’m partial to my grandma’s old yellow ceramic one for nostalgia’s sake! Whisk together the flour, sugar, salt, and that magical packet of yeast. Now, pour in your warm milk (test it like baby formula – just warm, not hot!), melted butter that’s cooled slightly, and crack in that egg. Mix it all up with a wooden spoon until it comes together into a shaggy dough. Here comes the therapeutic part – turn it out onto a floured surface and knead for about 5 minutes. You’ll feel it transform from sticky to smooth and elastic under your hands. Pop it back in the bowl, cover with a clean towel, and let it rise in a warm spot for 1 hour – it should double in size like magic! (I sometimes place mine in the oven with just the light on for a cozy rising environment.)
Assembling the Cinnamon Rolls
Now the real artistry begins! Punch down that puffy dough (so satisfying) and roll it out on a floured surface into about a 16×12 inch rectangle. Grab your softened butter and spread it evenly over the dough – I like to use my fingers for this, but you do you. Mix together that brown sugar and cinnamon (the smell alone is heavenly!) and sprinkle it all over the buttered dough, right to the edges. Starting with the long side closest to you, roll it up tightly – like you’re rolling up a yoga mat – keeping it snug as you go. Here’s a pro tip: use dental floss to cut your rolls! Just slide it under the roll, cross the ends over the top, and pull – you’ll get perfect slices without squashing them. Arrange them in your baking dish with some space between each for rising.
Baking and Glazing
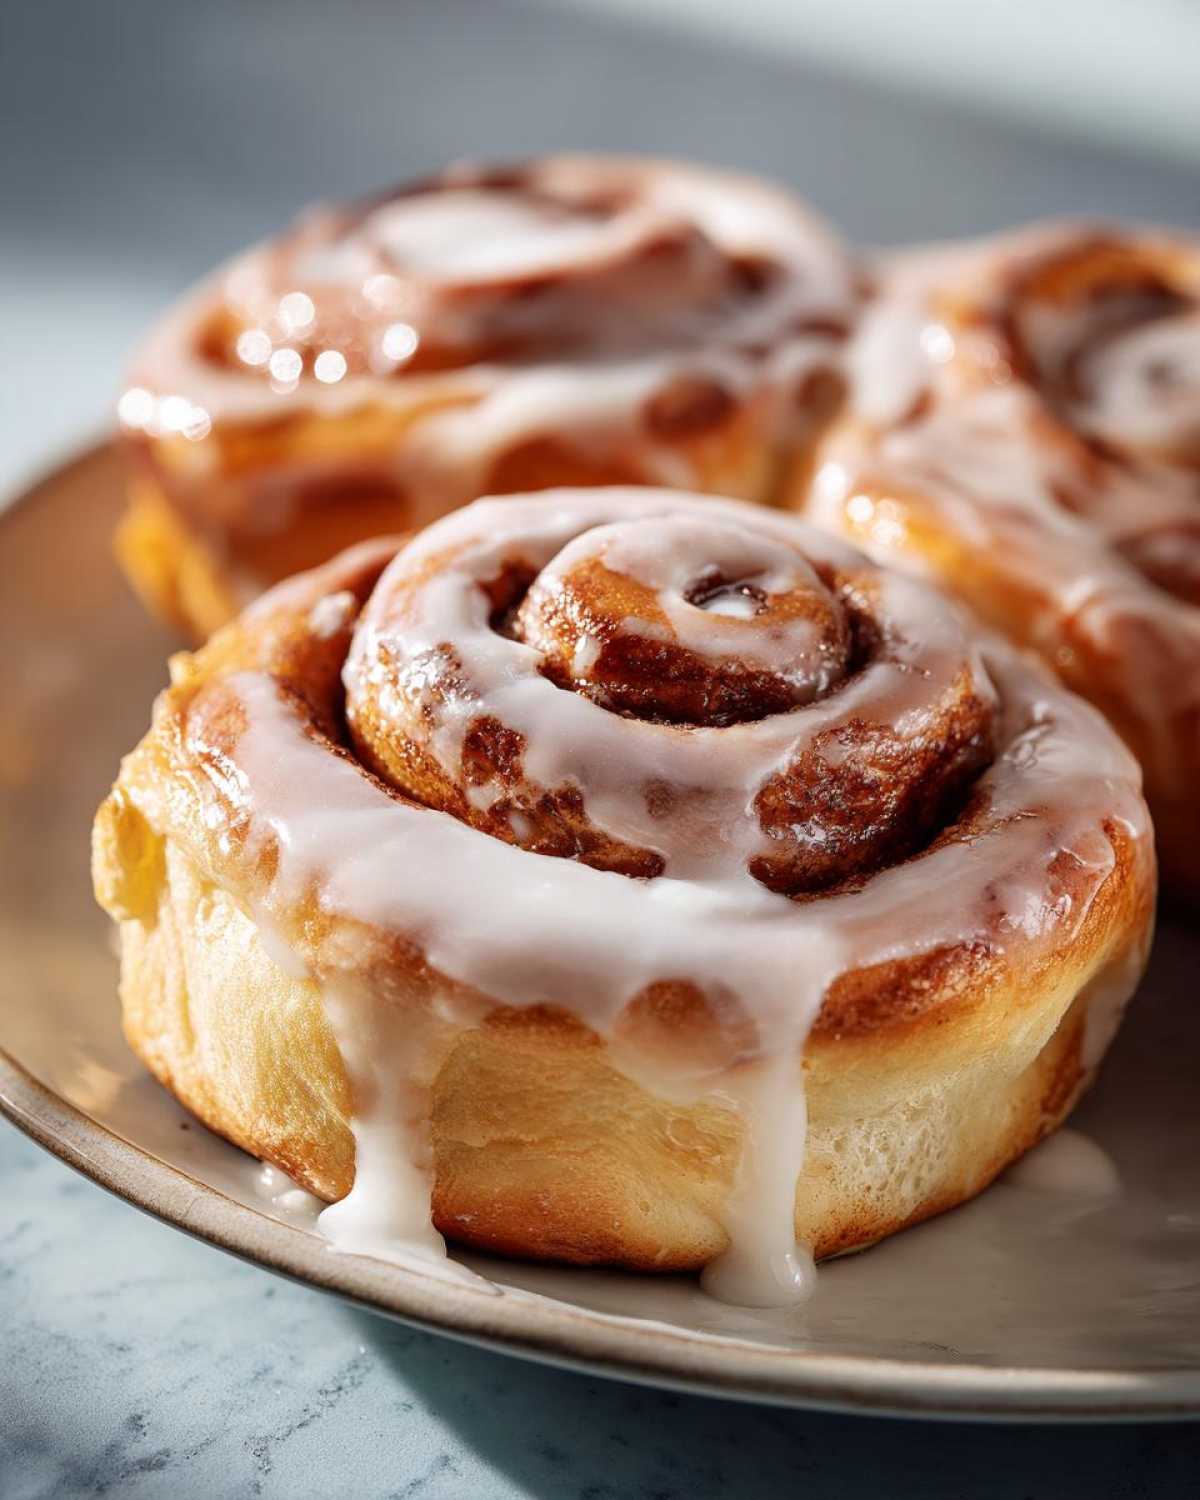
Cover your rolls with that trusty towel again and let them rise for another 30 minutes – they’ll get nice and puffy. While you wait, preheat your oven to 375°F. When they’re ready, bake for about 20 minutes until they’re golden like honey and smell irresistible. Don’t overbake them – you want them soft and pillowy! While they cool just slightly, whisk together your glaze: powdered sugar, milk, and vanilla until smooth. Drizzle it over the warm rolls – and try not to eat every last one immediately! Pro tip: if you’re planning a special brunch, you can make these ahead like I do with my pumpkin bread recipe for easy meal planning.
Tips for Perfect Cinnamon Rolls
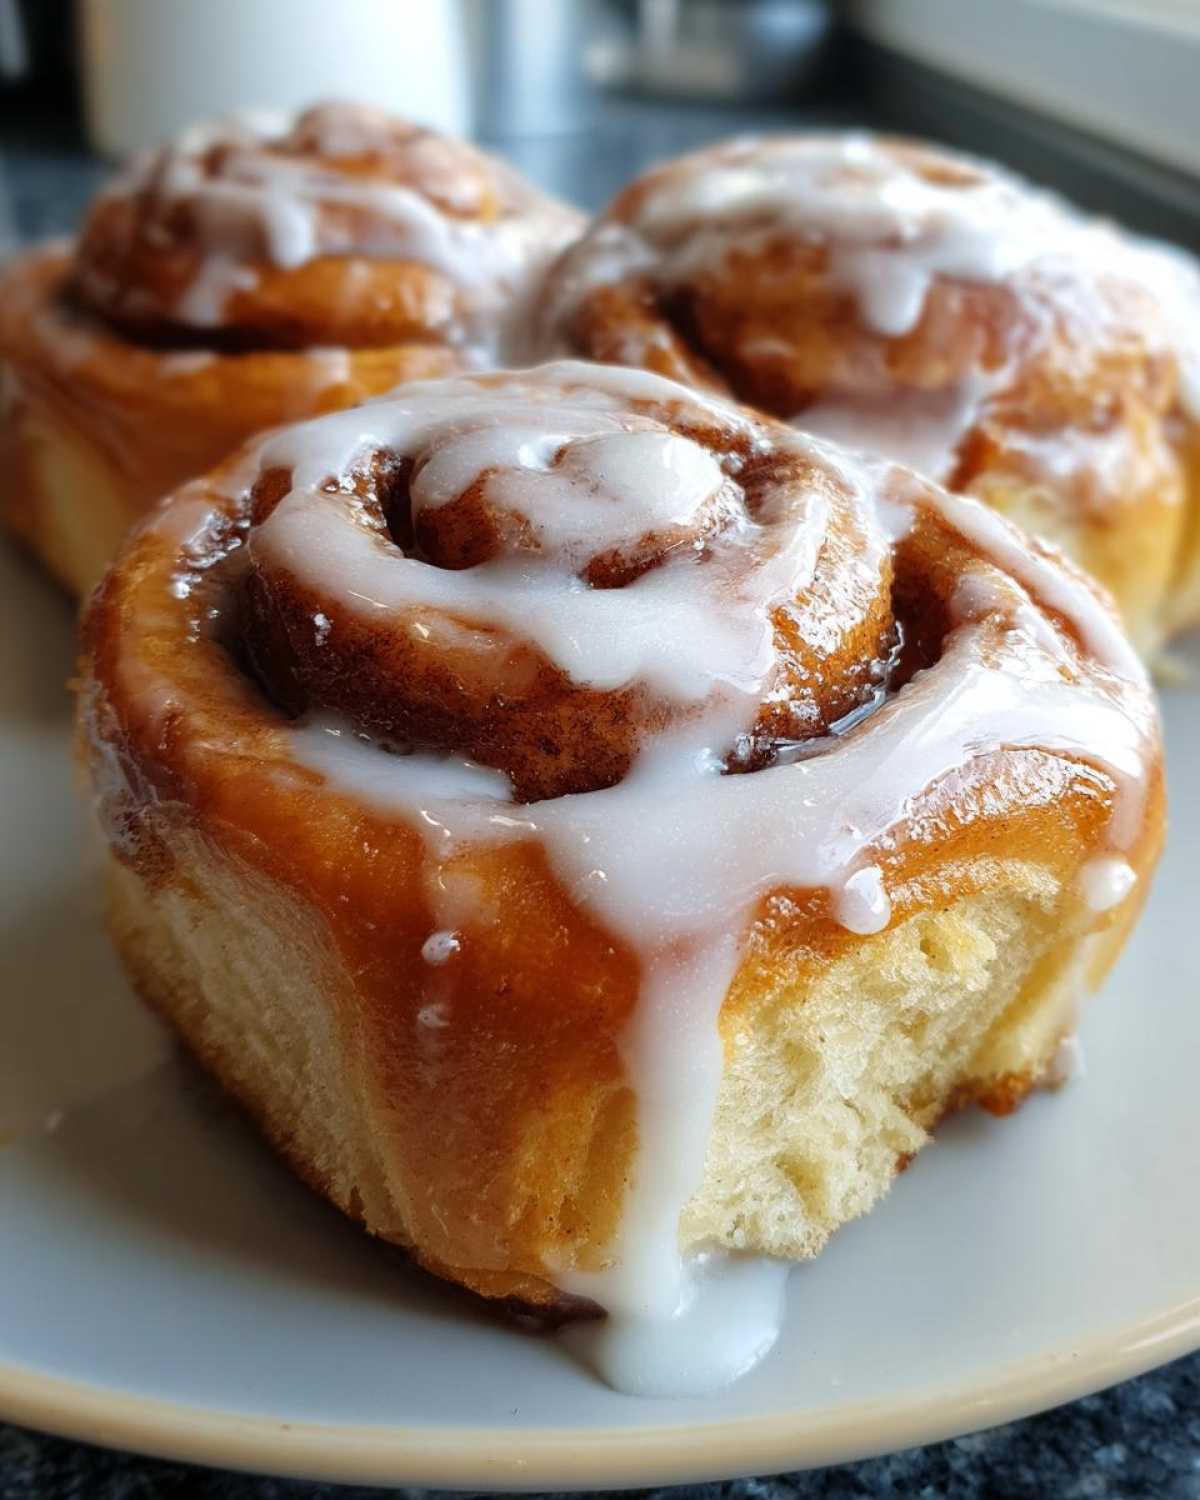
After making more batches of cinnamon rolls than I can count (some flops included – we’ve all been there!), I’ve learned exactly what makes them turn out bakery-perfect every time. These pro tips will have your friends and family convinced you trained at a fancy pastry school!
First, always check your yeast expiration date. I learned this the hard way when a batch barely rose. Fresh yeast means happy, puffy dough. And about that rising – create a warm, draft-free spot for your dough. My trick? Turn your oven light on and place the bowl inside (oven OFF, just using the light’s gentle warmth). For cutting, forget the knife – unflavored dental floss gives perfectly clean slices without squashing your beautiful swirls. Just loop it under the roll, cross the ends, and pull!
Oh, and one more golden rule – don’t skip the second rise after shaping your rolls. That extra 30 minutes makes all the difference for light, fluffy texture. And if you’re like me and can never wait, know that letting the glaze soak into warm (not piping hot) rolls creates the most divine sticky-sweet perfection!
Variations to Try
Once you’ve mastered these classic cinnamon rolls (and trust me, you will!), it’s time to play around with flavors! My kitchen becomes a mad scientist’s lab whenever I start experimenting with variations – here are my absolute favorite twists:
For a nutty crunch, sprinkle chopped pecans or walnuts over the cinnamon sugar filling before rolling. Or go full holiday mode by stirring raisins or dried cranberries into the mix – it’s like Christmas morning in every bite. Feeling extra indulgent? Swap half the brown sugar for maple syrup in the filling (just reduce the butter slightly). And oh! If you love pumpkin season as much as I do, you have to try my spiced-up version in this pumpkin cinnamon rolls recipe – it’s everything wonderful about fall breakfasts!
Storing and Reheating Cinnamon Rolls
So you’ve got leftover cinnamon rolls? First off – congratulations on your willpower! Here’s how to keep them tasting fresh-baked. For short-term storage (let’s be real, 2-3 days max in my house), pop them in an airtight container at room temperature. The glaze acts as a natural preservative, keeping them surprisingly soft.
Want to bring back that straight-from-the-oven magic? My favorite trick is reheating slices in the air fryer at 300°F for 3 minutes – they get slightly crispy edges while staying pillowy inside. Microwave works too (10-15 seconds), but sprinkle a few drops of water on them first to prevent drying out. For long-term storage, freeze unglazed rolls individually wrapped in foil, then thaw overnight and warm up with a fresh drizzle of glaze. Perfect for those mornings when you need a quick breakfast treat!
Nutritional Information
Okay, let’s be real for a sec – these are cinnamon rolls, not a kale salad! While we could calculate every last calorie, sometimes you just need to enjoy life’s sweet moments. Nutritional values can vary based on your specific ingredients and brands. Consider this your official permission slip to savor every delicious bite without overanalyzing. That said, if you’re watching portions, these do freeze beautifully for meal planning so you can enjoy them one at a time!
Frequently Asked Questions
I get so many questions about these cinnamon rolls – which makes me happy because it means you’re baking them! Here are the answers to what folks ask most often:
Can I make cinnamon rolls the night before?
Absolutely! My favorite make-ahead trick: prepare through the second rise, then cover and refrigerate overnight. In the morning, let them sit at room temp for 20 minutes while your oven preheats, then bake as usual. The slow rise actually develops even more flavor!
Can I freeze homemade cinnamon rolls?
You sure can – and I do all the time! Freeze them before baking for best results. After the second rise, wrap the whole pan tightly in plastic, then foil. When you’re ready, thaw overnight in the fridge, let them rise at room temp for 30 minutes, then bake. Fresh cinnamon rolls on demand – genius!
Why didn’t my dough rise properly?
Oh, honey, we’ve all been there! Usually it’s one of three things: yeast was expired, liquid was too hot (it kills the yeast!), or your rising spot wasn’t warm enough. Next time, test your milk temperature with a thermometer (110°F is perfect) and try my oven-with-just-the-light-on trick for a cozy proofing spot.
What’s the secret to soft cinnamon rolls?
Two words: don’t overbake! Pull them out when they’re golden but still slightly soft in the center. Also, that generous amount of butter in the dough and filling? Non-negotiable for that melt-in-your-mouth texture. And always let your glaze soak into warm (not hot) rolls – it keeps them wonderfully moist.
Can I use instant yeast instead of active dry?
Yep! Use the same amount but you can skip the first proofing step – just mix it right in with the dry ingredients. The texture might be slightly different (instant yeast works faster), but still delicious. My grandma always used active dry though – some traditions are worth keeping!
Share Your Cinnamon Rolls
I’d love to see your beautiful cinnamon roll creations! Snap a photo of those golden swirls and share your masterpiece – tag me or leave a comment below. There’s nothing more rewarding than seeing your kitchen adventures turn out delicious (even the “rustic” looking ones!). Who knows, your version might inspire someone else’s perfect weekend breakfast!
PrintHomemade Cinnamon Rolls

Easy, from-scratch cinnamon rolls perfect for weekend breakfasts or special occasions. These fluffy pastries fill your home with warmth and create memorable moments.
- Prep Time: 1 hour 30 min
- Cook Time: 20 min
- Total Time: 1 hour 50 min
- Yield: 12 rolls 1x
- Category: Breakfast
- Method: Baking
- Cuisine: American
- Diet: Vegetarian
Ingredients
- 4 cups all-purpose flour
- 1/4 cup granulated sugar
- 1 tsp salt
- 1 packet active dry yeast
- 1 cup warm milk
- 1/4 cup melted butter
- 1 large egg
- 1/2 cup brown sugar
- 2 tbsp ground cinnamon
- 1/4 cup softened butter
- 1 cup powdered sugar
- 2 tbsp milk
- 1/2 tsp vanilla extract
Instructions
- Mix flour, sugar, salt, and yeast in a bowl.
- Add warm milk, melted butter, and egg. Stir until dough forms.
- Knead dough for 5 minutes, then let rise for 1 hour.
- Roll dough into a rectangle. Spread softened butter, then sprinkle brown sugar and cinnamon.
- Roll tightly, cut into slices, and place in a baking dish.
- Let rise for 30 minutes, then bake at 375°F for 20 minutes.
- Mix powdered sugar, milk, and vanilla for glaze. Drizzle over warm rolls.
Notes
- Use a sharp knife to cut rolls for clean edges.
- Let dough rise in a warm place for best results.
- For extra flavor, add chopped nuts or raisins to the filling.
Nutrition
- Serving Size: 1 roll
- Calories: 280
- Sugar: 18g
- Sodium: 220mg
- Fat: 8g
- Saturated Fat: 5g
- Unsaturated Fat: 2g
- Trans Fat: 0g
- Carbohydrates: 48g
- Fiber: 2g
- Protein: 5g
- Cholesterol: 35mg