
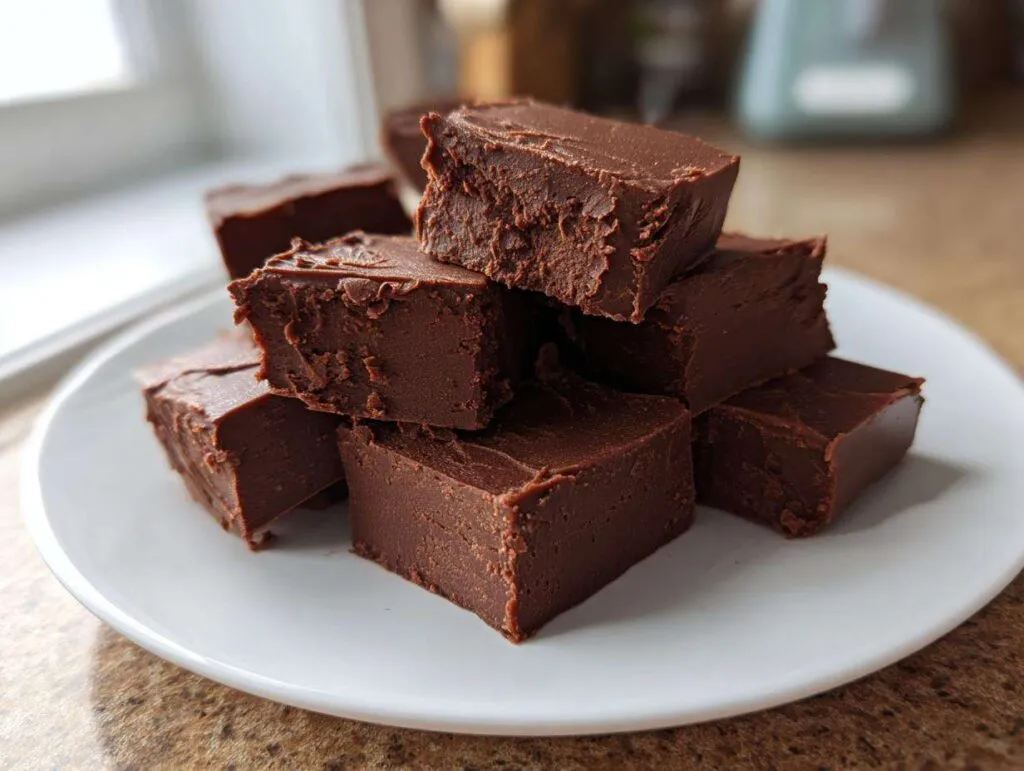
Oh my goodness, if you are anything like me, sometimes you just need a fantastic dessert but simply do not have the hours (or the patience!) to stand over a simmering pot stirring sugar and praying it doesn’t crystallize. I totally get it! That is why I am thrilled to share what I now call the ultimate easy 3-ingredient creamy chocolate fudge recipe. Seriously, this stuff is magic. I keep the ingredients on hand specifically for those moments when a craving hits hard or when I realize I forgot to bake something for an impromptu gathering. It sets up beautifully every single time, delivering that rich, melt-in-your-mouth texture we all dream about. It has truly saved me more times than I can count, turning a panicked five minutes into a show-stopping homemade candy success! If you also love that dense, pull-apart texture, you absolutely have to check out my recipe for ultimate fudgy brownies next!
- Why This Easy Fudge Recipe is Your New Favorite Quick Fudge Dessert
- Gathering Your Ingredients for the Best Chocolate Fudge
- Step-by-Step Instructions for Your Homemade Fudge
- Tips for Success When Making This Easy Fudge Recipe
- Variations on Classic Chocolate Fudge
- Serving Suggestions for Your Homemade Fudge
- Storage and Reheating Instructions for Fudge
- Frequently Asked Questions About Making Fudge
- Nutrition Information for This Quick Fudge Dessert
Why This Easy Fudge Recipe is Your New Favorite Quick Fudge Dessert
Listen, I know the word ‘fudge’ sometimes sounds intimidating. It brings up memories of sticky pots and worrying about that hard-ball stage! Not with this recipe! We are talking about an effortless dessert here, folks. Because we are relying on just three simple ingredients, the prep time is ridiculously short—way less than 10 minutes, honestly. Cleanup is practically non-existent, which is a massive win in my book. Forget the sugar thermometers and the constant stirring; this 3 ingredient fudge comes together in the microwave. It’s the ultimate quick fudge dessert for when you need something impressive fast. If you’re looking for more quick chocolate wins, you have to see my easy chocolate fudge recipe!
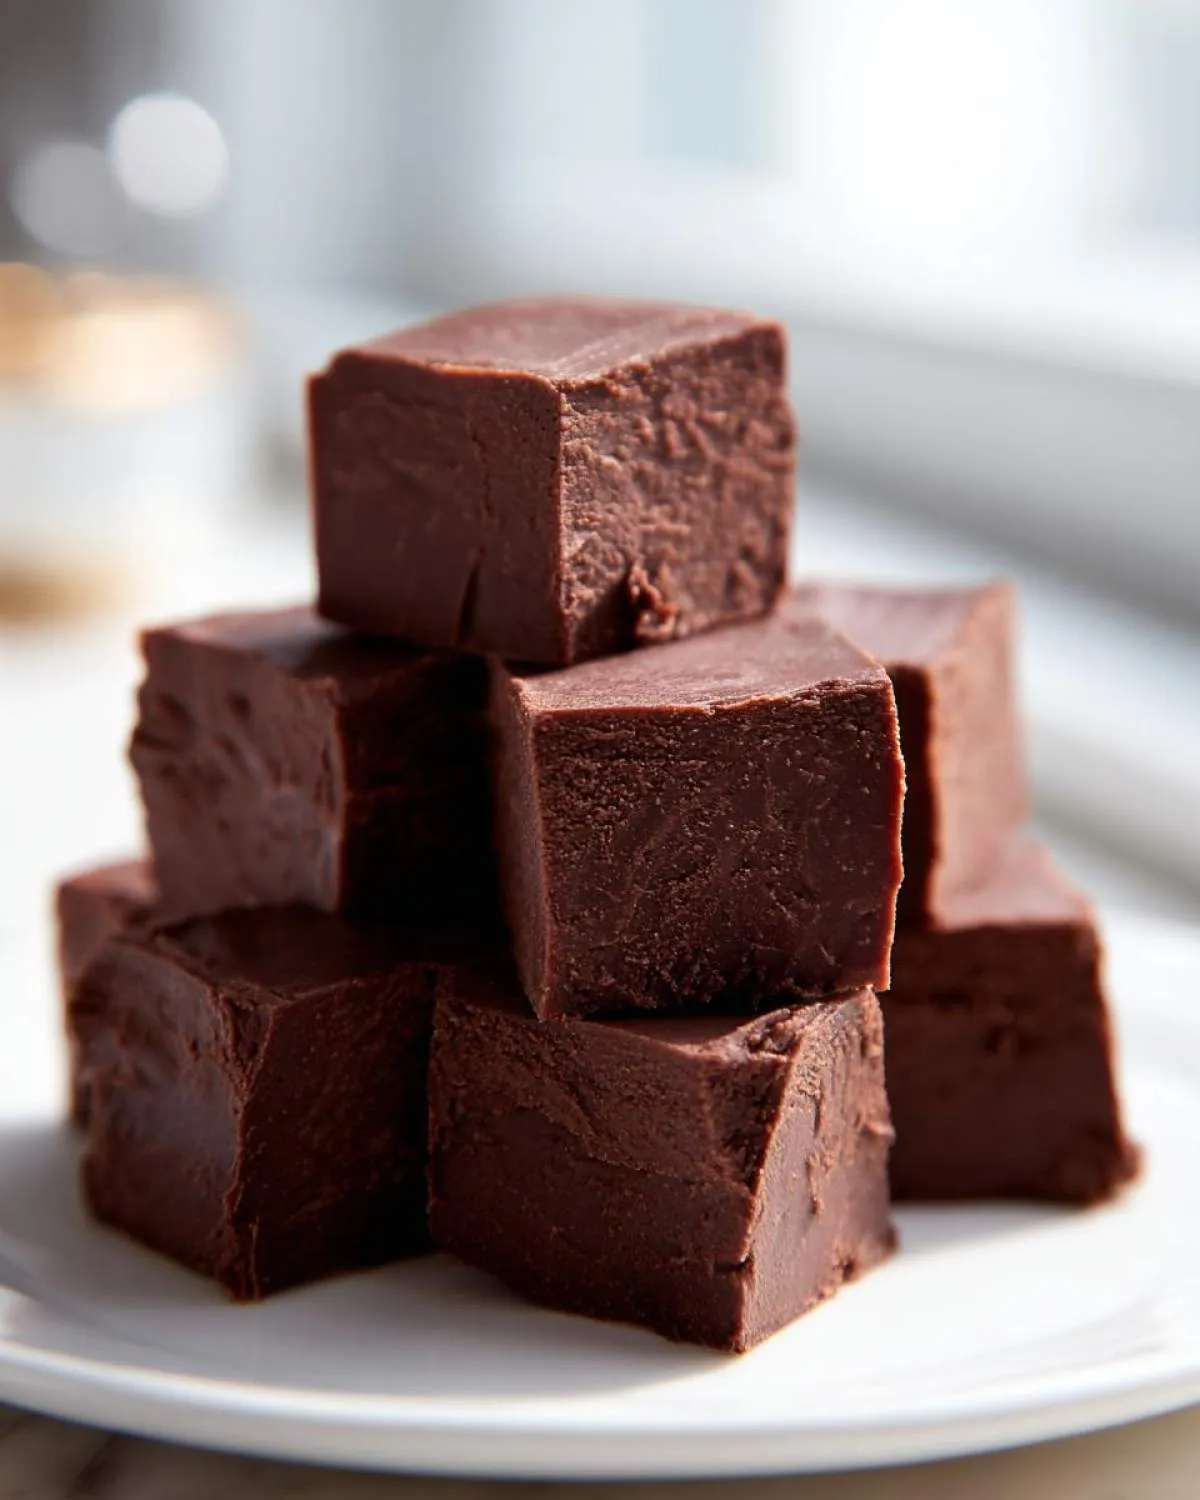
Achieving That Perfect Creamy Fudge Texture
The real secret weapon here, giving us that glorious creamy fudge texture we crave, is the sweetened condensed milk. It completely removes the need for tedious candy-making techniques like cooking sugar syrups to a specific temperature. That milk is packed with sugar, but it’s already suspended in a stable way. This means when you gently heat it with the chocolate, you practically guarantee zero sugar crystallization. That’s what keeps this from being grainy and ensures every single bite is that perfect, smooth, melt in your mouth fudge.
Gathering Your Ingredients for the Best Chocolate Fudge
Okay, the fun part! Because this is a 3-ingredient recipe, every single item counts. You want the best quality you can grab, trust me. Here is exactly what you need to have ready before you start melting anything. Don’t eyeball these measurements; they are key to the magic working right!
- One 14 ounce can of sweetened condensed milk. Make sure it’s sweetened condensed milk, not evaporated milk—they are totally different beasts for baking!
- Two cups of semi-sweet chocolate chips. You can use milk or dark, but semi-sweet gives us the best balance.
- One tiny teaspoon of vanilla extract.
That’s the whole list! See? So simple. You should be ready to go in literally a minute.
Ingredient Notes and Simple Substitutions for Your Fudge
Since we keep the list short, let’s talk quality. For the ultimate rich chocolate fudge, use good quality chocolate chips. They melt smoother and their flavor really shines through. Cheap chips can sometimes add a waxy mouthfeel, and we are aiming for melt in your mouth fudge here!
The best part about this base is how you can swap things up. If you want something peanut-buttery, swap those semi-sweet chips out for peanut butter chips—hello, Peanut Butter Fudge! Or, go white! Use white chocolate chips instead for a beautiful batch of White Chocolate Fudge. Just be sure that whatever chips you decide on—milk, dark, peanut butter, or white—you use the full two cups called for. That ratio is what helps keep that texture perfectly creamy.
Step-by-Step Instructions for Your Homemade Fudge
Alright, here we go! Don’t rush this part because moving quickly once the mixture is hot is key to that shiny, smooth finish. Remember, this is a no-bake recipe, so the magic happens in our mixing and then in the waiting game for it to set up. We are aiming for that Perfect Fudge Texture that breaks cleanly but melts the second it hits your tongue. We’ll be using an 8×8 inch baking pan for this batch, so get that ready first! If you’re looking for more easy treats to complement this quick candy, check out my recipe for homemade chocolate chip cookies!
Preparing the Pan for Effortless Fudge Removal
First things first, we have to trick the fudge into coming out nicely when it’s done! Take your 8×8 inch pan and line it completely with parchment paper. I swear by leaving long overhangs on two opposite sides—these will become your handles later. Once the paper is nestled in, give it a quick, light spray with cooking oil or a soft swipe of butter. You want the lining prepared ahead of time so you can just pour and walk away!
Melting and Mixing Your Creamy Fudge Base
Grab a microwave-safe bowl that’s large enough to hold everything with room to stir. Dump in your sweetened condensed milk and the measured chocolate chips. Now, for the microwave tip: do NOT walk away! Heat this on high power for just 30 seconds at a time. After the first 30 seconds, pull it out and stir it vigorously, scraping the bottom really well. Put it back in for another 30 seconds, and repeat until it looks almost completely smooth. Keep stirring! You want it perfectly smooth before you fold in that vanilla extract until it disappears. This gentle process is what keeps this Easy Fudge Recipe so foolproof!
Tips for Success When Making This Easy Fudge Recipe
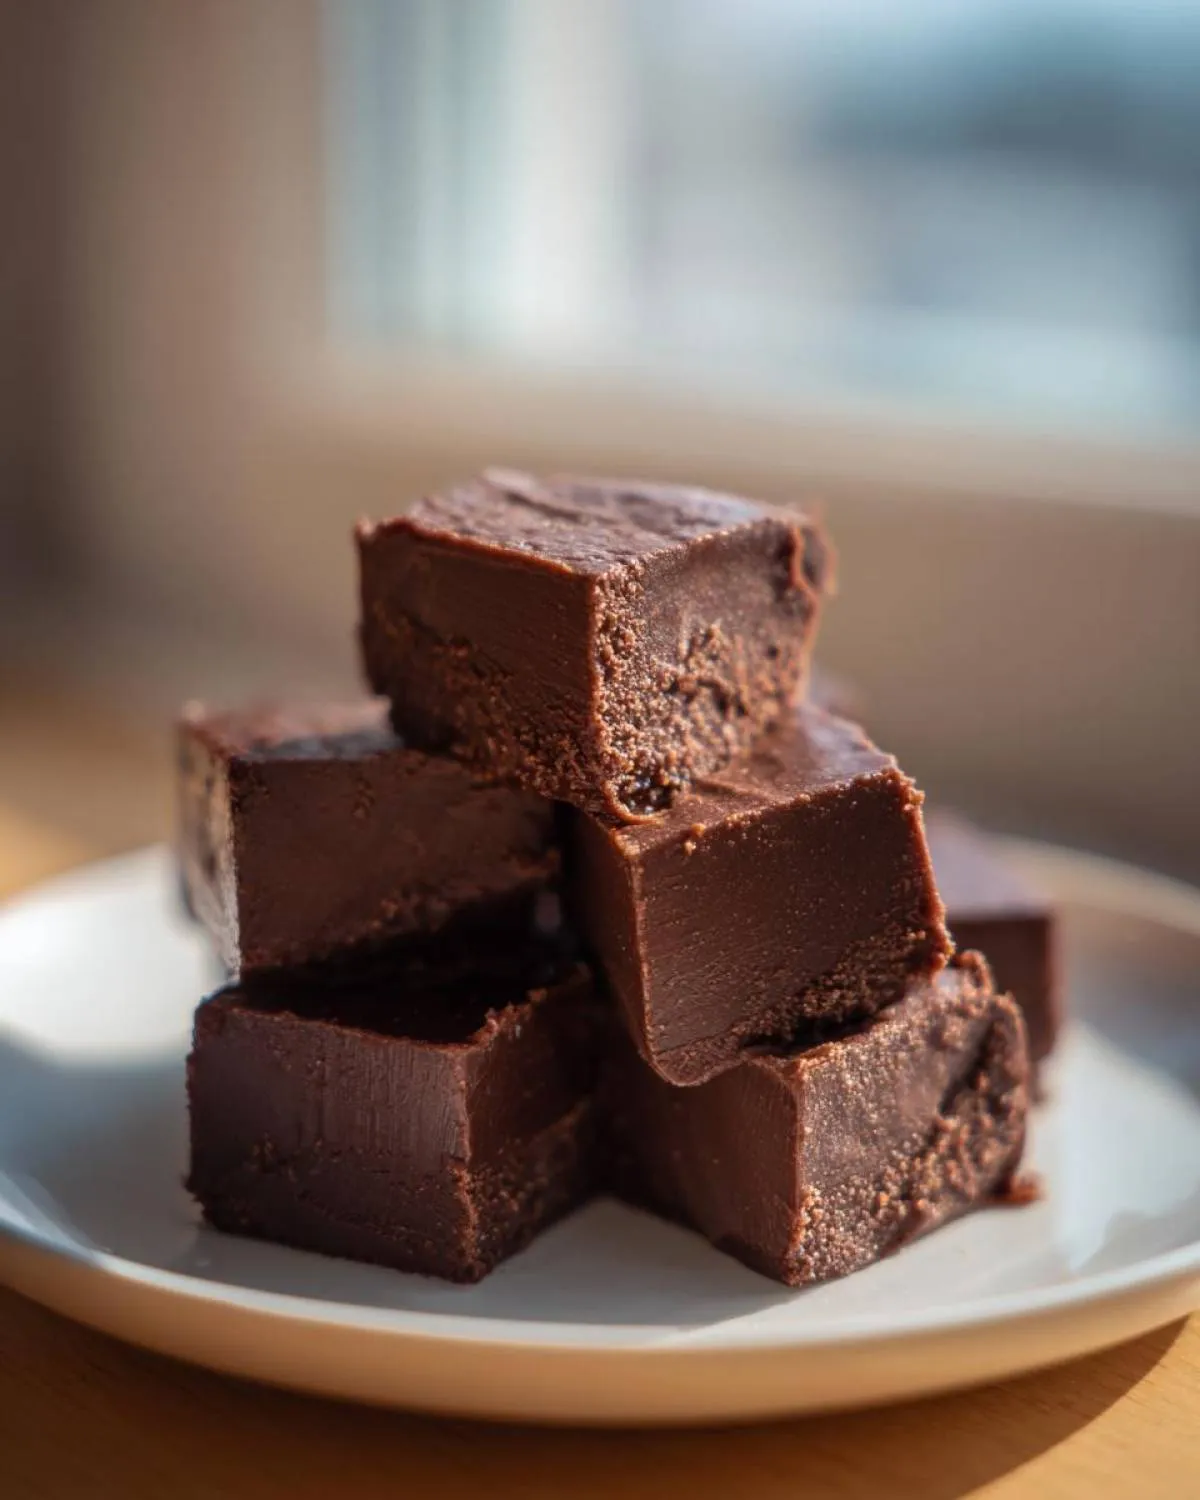
I’m telling you, this recipe is unbelievably simple, but even the easiest things can go slightly sideways if you aren’t prepared! Since we aren’t cooking, we skip the common graininess issue, which is fantastic for those new to homemade candy making. However, the setting time is critical for the creamy fudge texture we want. If you cut into it too soon, you’ll end up with soft, messy chocolate slop—not the neat squares you need for gifting!
If you need a quick treat, pop it in the fridge for two hours. That’s the fast route to slicing. But—and this is my favorite tip—if you can stand the wait, let it cool on the counter for about an hour before chilling the rest of the way, or even just letting it set completely on the counter if your kitchen isn’t too warm. That slight relaxation time at room temp results in the absolute best, most satisfying mouthfeel. It really elevates this from a simple microwave mess to true melt in your mouth fudge.
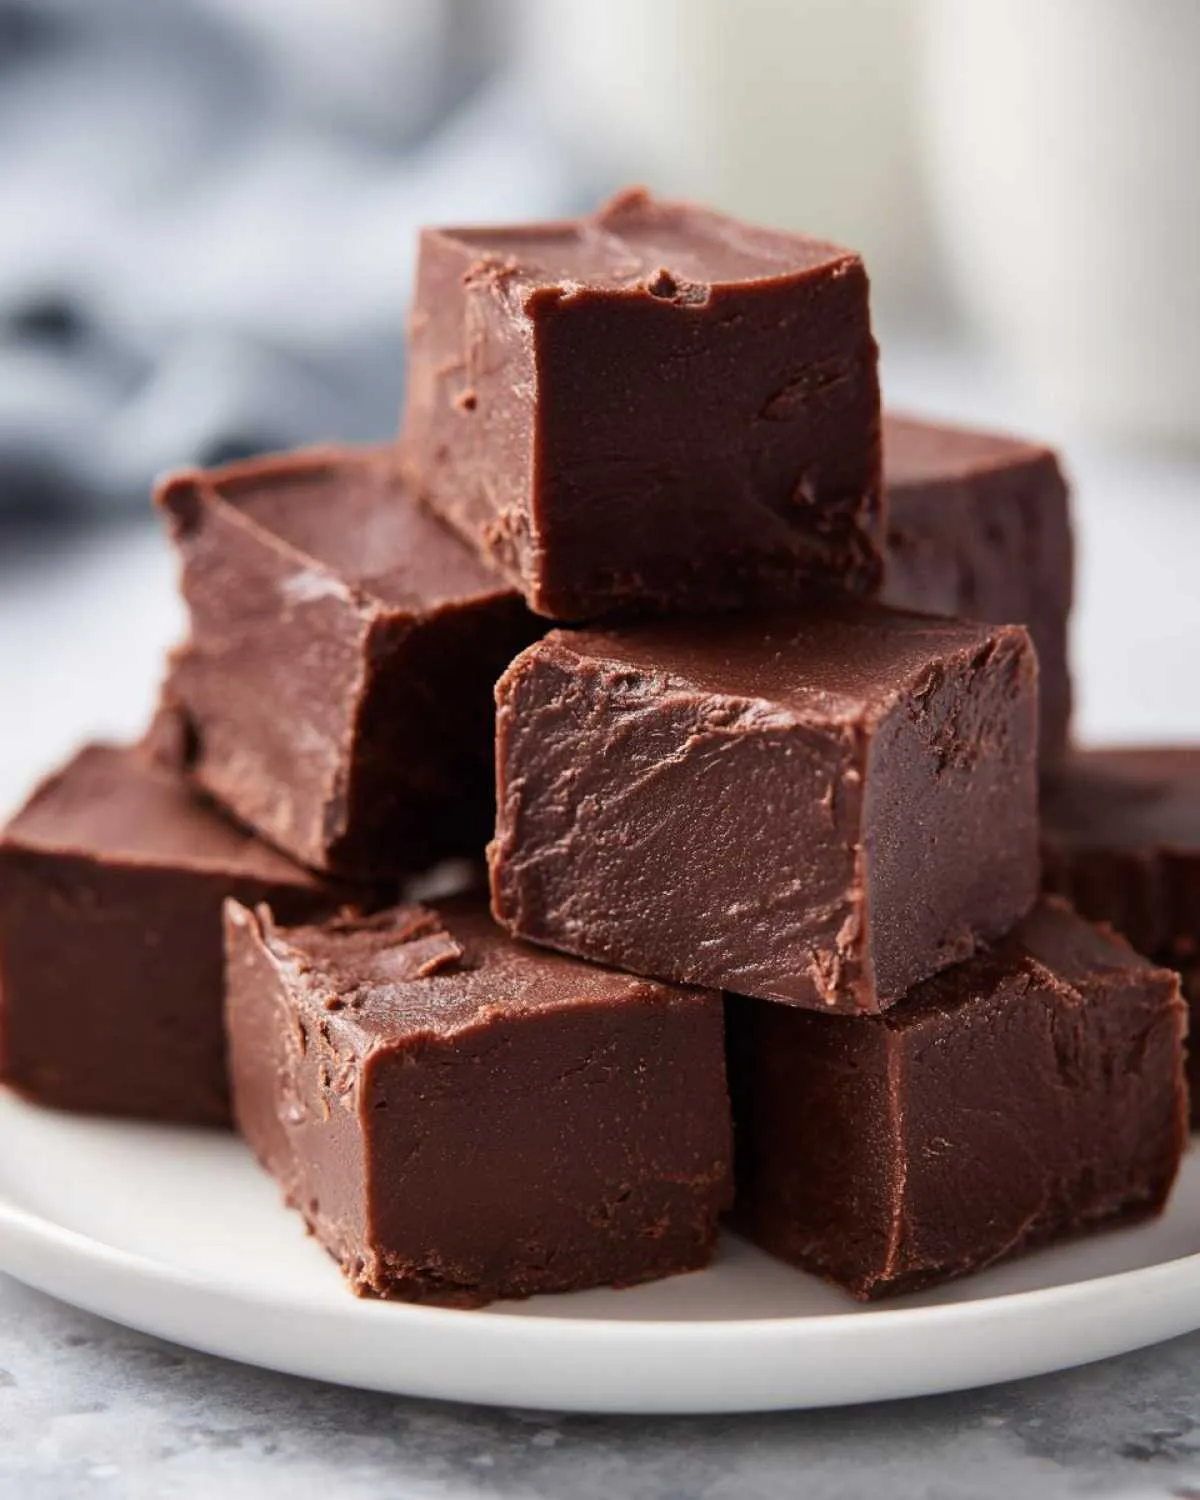
Also, if you happen to be making a large batch, maybe doubling it, you need to stir *more* in the microwave. More volume takes longer to heat evenly. Always check the center! Don’t forget to check out my recipe for ultimate cheesy Italian rice balls recipe if you want a savory break after all this sweet stuff!
Variations on Classic Chocolate Fudge
Now that you have the world’s easiest, creamiest base for chocolate fudge, you have to play with it! I love that this template lets you become a flavor inventor without any added complexity. This is where we take that simple chocolate foundation and dress it up for any occasion, whether it’s Christmas or just a Tuesday afternoon.
If you want to dip into other favorites, swapping the semi-sweet chips mentioned in the recipe is the easiest way to go. Think about making a batch of Peanut Butter Fudge just by swapping in peanut butter chips—it’s decadent! Or, go for a snowy look with White Chocolate Fudge by using white chips instead. That one pairs beautifully with a tiny hint of almond extract added right at the end with the vanilla.
For texture and seasonal fun, you can toss in mix-ins right after you stir in the vanilla. A handful of chopped pecans or even crushed peppermint candies around the holidays gives you an amazing crunch. Trust me, this simple base makes customizing your homemade fudge so much fun. You can even check out my recipe for red velvet cake mix cookies if you want another easy sweet treat!
Serving Suggestions for Your Homemade Fudge
Once you’ve managed the hard part (waiting for it to set!), you get to enjoy this glorious chocolate reward! Because this no bake fudge is so intensely rich, a little piece goes a long way. I love cutting mine into small, neat one-inch squares; that makes them perfect for setting out on a platter for holiday fudge treats without guests feeling guilty about taking more than one!
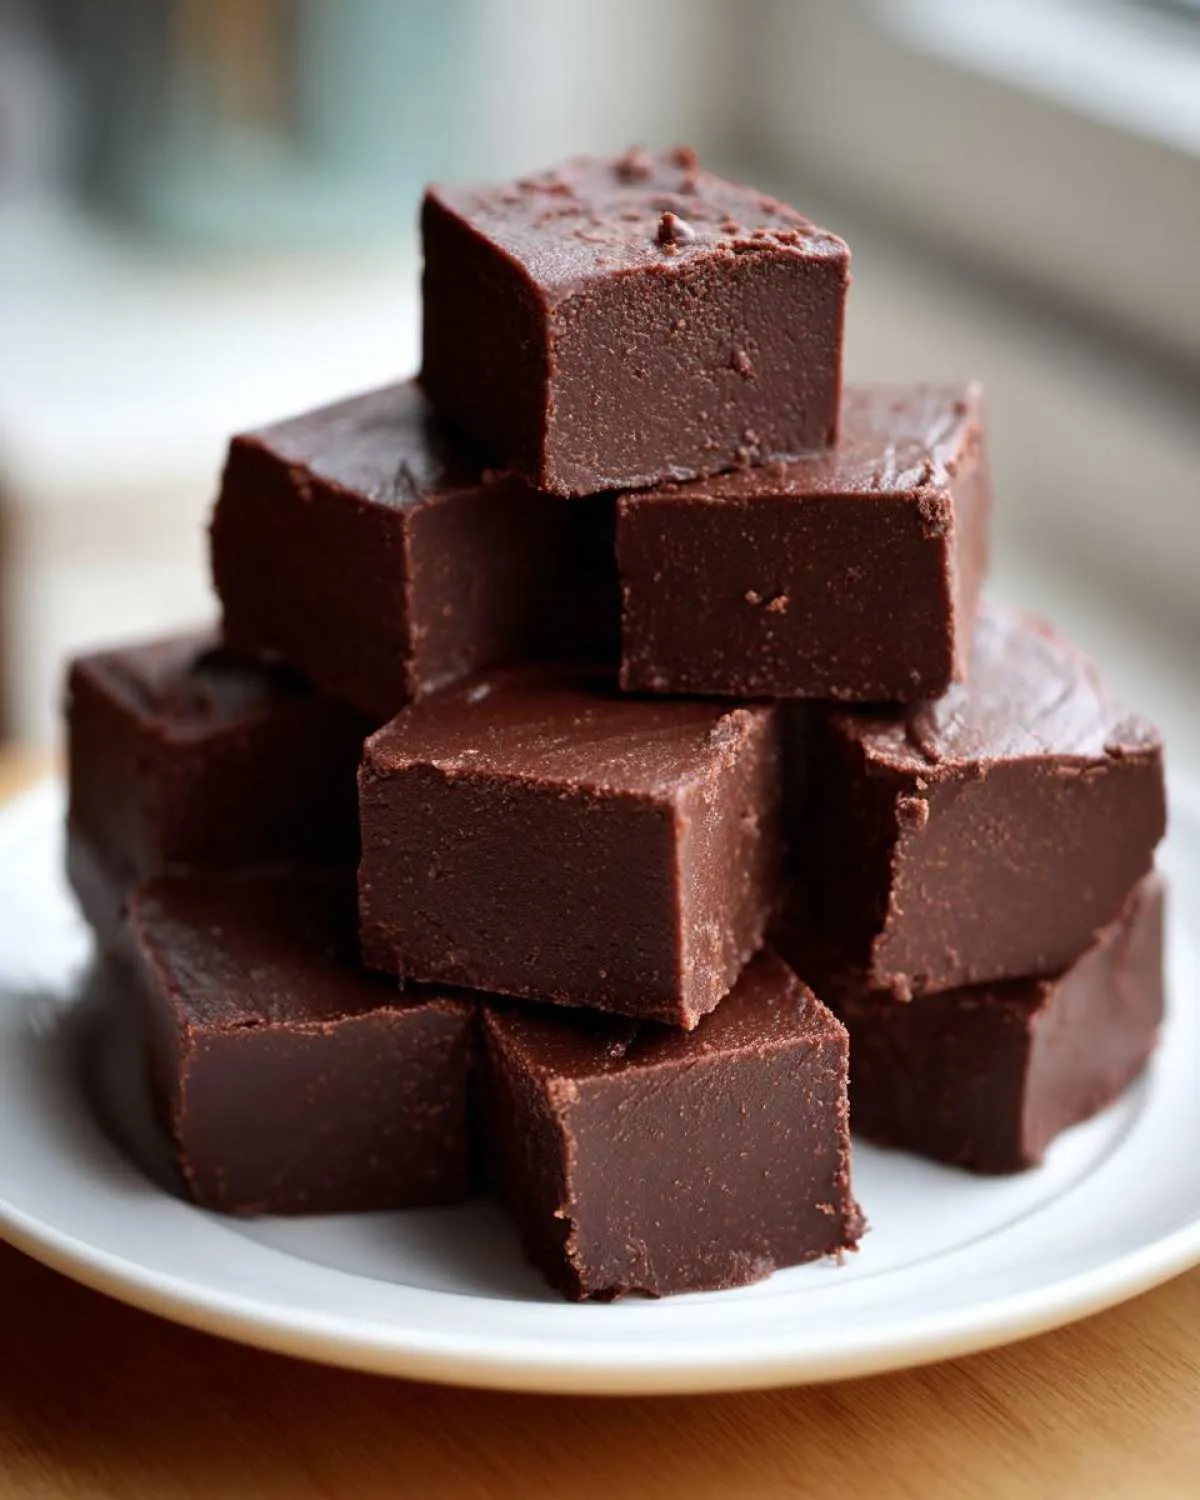
For presentation, try sprinkling a tiny bit of flaky sea salt over the top right before it sets completely—it just brings out that deep chocolate flavor so beautifully. I always serve slices alongside a strong cup of coffee or, even better, a mug of my homemade authentic Mexican hot chocolate, especially when the weather gets chilly. It’s truly the perfect pairing!
Storage and Reheating Instructions for Fudge
Okay, you have eaten half the pan already, I know you have! But if you are lucky enough to have leftovers, storing this fudge is delightfully simple. Keep it in a completely airtight container. You can technically leave it out at cool room temperature for up to a week, but I usually pop mine in the fridge because I love that slightly firmer texture it gets there. When you want to serve it, just let it sit on the counter for about 15 minutes so it loses that hard, cold edge. Trust me, you don’t want to try reheating this; it’s engineered for perfect structure, not melting!
Frequently Asked Questions About Making Fudge
I know when trying a new recipe, especially for something tricky like candy, you always have questions buzzing around in your head. That’s smart! I’ve gathered the ones I always get asked about this easy fudge recipe. We want you to feel totally confident diving into homemade candy making!
Can I make this fudge without a microwave?
Absolutely, you can! If your microwave is on the fritz or you just prefer the stovetop, no sweat. Just use a double boiler setup. Place the chocolate chips and condensed milk in the top bowl over simmering water—make sure the water isn’t touching the bottom of the bowl! Stir gently until everything is melted and smooth. It keeps that easy fudge recipe spirit alive!
How do I get my fudge to taste more like Old Fashioned Fudge?
That’s a great question about the flavor profile! This 3-ingredient method is super fast, but traditional Old Fashioned Fudge usually involves more sugar cooking, which builds a deeper, slightly more caramelized flavor. To nudge this recipe toward that classic taste without all the fuss, try swapping out a tablespoon or two of the semi-sweet chips for bittersweet chocolate, or adding just a tiny drop of molasses when you add the vanilla. It deepens the richness right up!
If you’ve made this and still want to explore more baking adventures, you should definitely take a look at my tried-and-true pecan pie muffins recipe!
Nutrition Information for This Quick Fudge Dessert
Because I love sharing everything about what goes into my recipes—even the details that aren’t the most fun—here is the estimated nutrition breakdown for our quick fudge dessert. Remember, since we are dealing with simple ingredients like chocolate and condensed milk, this is definitely a treat rather than an everyday snack! These numbers are estimates based on using standard semi-sweet chips and cutting the yield into 36 small squares.
If you’re looking for other simple, satisfying recipes, you should check out my sweet potato pound cake recipe for another indulgence! Also, if you want more inspiration for sweet treats, you can always browse my boards on Pinterest!
- Serving Size: 1 square
- Calories: 110
- Sugar: 15g
- Sodium: 25mg
- Fat: 5g
- Saturated Fat: 3g
- Carbohydrates: 16g
- Protein: 2g
Just a quick note because I like to be totally transparent: these values are based on the standard recipe card amounts. If you decide to add extra mix-ins or switch to a darker chocolate, your totals will look a little different. For more great ideas, come see what’s inspiring me over at this great spot!
PrintThe Ultimate Easy 3-Ingredient Creamy Chocolate Fudge
You can make incredibly rich, melt-in-your-mouth homemade fudge with just three simple ingredients. This quick fudge dessert delivers classic, creamy texture without complicated steps, making it perfect for last-minute cravings or holiday treats.
- Prep Time: 5 min
- Cook Time: 0 min
- Total Time: 2 hr 5 min
- Yield: 36 small squares 1x
- Category: Dessert
- Method: No Bake
- Cuisine: American
- Diet: Vegetarian
Ingredients
- 1 (14 ounce) can sweetened condensed milk
- 2 cups semi-sweet chocolate chips
- 1 teaspoon vanilla extract
Instructions
- Line an 8×8 inch baking pan with parchment paper, leaving an overhang on the sides for easy removal. Lightly grease the paper.
- In a microwave-safe bowl, combine the sweetened condensed milk and chocolate chips.
- Microwave on high in 30-second intervals, stirring well after each interval, until the mixture is completely smooth and melted. This usually takes about 1 to 1.5 minutes total.
- Stir in the vanilla extract until fully incorporated.
- Quickly pour the mixture into your prepared pan and spread it evenly.
- Refrigerate for at least 2 hours, or until the fudge is firm enough to cut.
- Lift the fudge out of the pan using the parchment paper overhang. Cut into small squares.
Notes
- For a richer flavor, use high-quality chocolate chips.
- If you prefer a different flavor, substitute peanut butter chips or white chocolate chips for the semi-sweet chips.
- For a classic, old-fashioned fudge texture, let the fudge cool at room temperature for about 30 minutes before cutting, though refrigeration speeds up the process.
- See our Pinterest account for more easy fudge recipes!
Nutrition
- Serving Size: 1 square
- Calories: 110
- Sugar: 15
- Sodium: 25
- Fat: 5
- Saturated Fat: 3
- Unsaturated Fat: 2
- Trans Fat: 0
- Carbohydrates: 16
- Fiber: 1
- Protein: 2
- Cholesterol: 5