
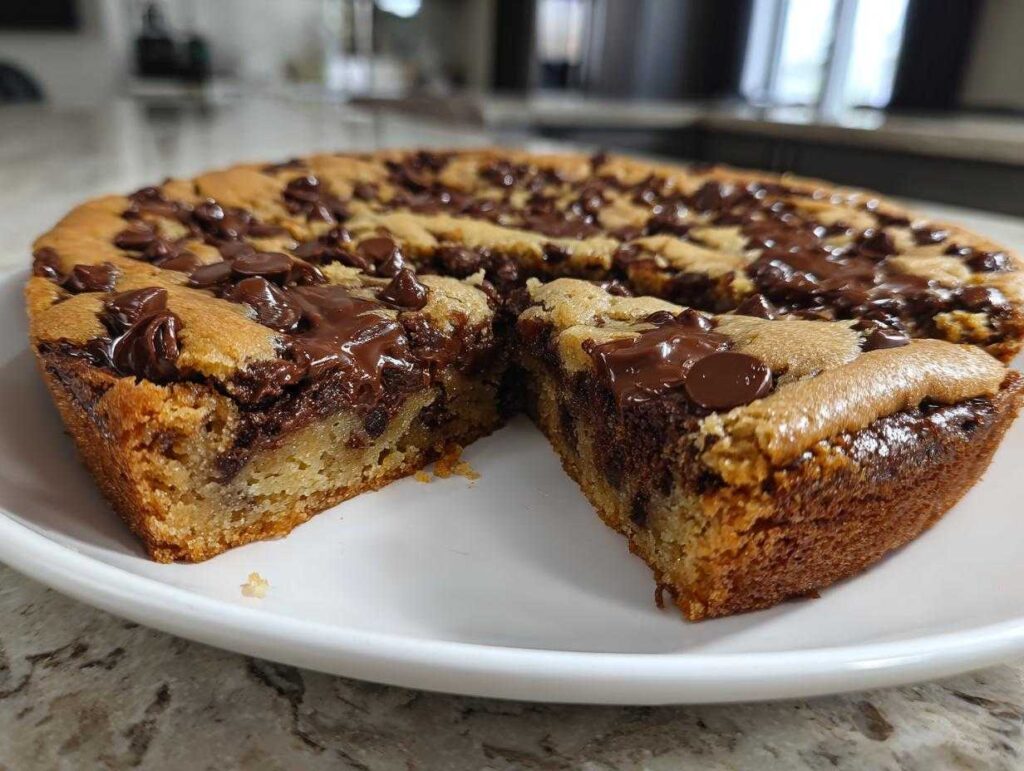
Oh, honey, let’s talk celebration baking! If you’re like me and sometimes skip the fussy tiers and complicated piping bags for a big milestone—like a graduation or a big birthday—then you absolutely need this recipe in your life. Forget those dry, crumbly sheet cakes; we are making the ultimate Chocolate chip cookie cake! My family always expected something huge and impressive for our parties, and nothing beats the giant, nostalgic hug of a perfectly soft and chewy cookie baked right in the pan. This recipe is my secret weapon for delivering that mall-style decadence with minimal stress.
- Why This Chocolate Chip Cookie Cake Recipe is Your New Celebration Staple
- Gathering Ingredients for the Ultimate Chocolate Chip Cookie Cake
- Baking the Perfect Soft and Chewy Giant Cookie Cake
- Decorating Your Homemade Cookie Cake for Any Occasion
- Tips for Success When Making a Chocolate Chip Cookie Cake
- Storage and Reheating Your Chewy Chocolate Chip Cookie Cake
- Frequently Asked Questions About the Giant Cookie Cake
- Estimated Nutritional Value for This Chocolate Chip Cookie Cake
- Share Your Celebratory Chocolate Chip Cookie Cake Creations
Why This Chocolate Chip Cookie Cake Recipe is Your New Celebration Staple
Listen, you want maximum ‘wow’ factor with minimum effort, right? That’s exactly what this recipe gives you! This isn’t some stiff, cracker-like base; we are aiming for intensely soft and chewy cookies in one giant, decadent round. It’s the perfect centerpiece for any huge event. Seriously, who needs a complicated tiered cake when you have this beauty?
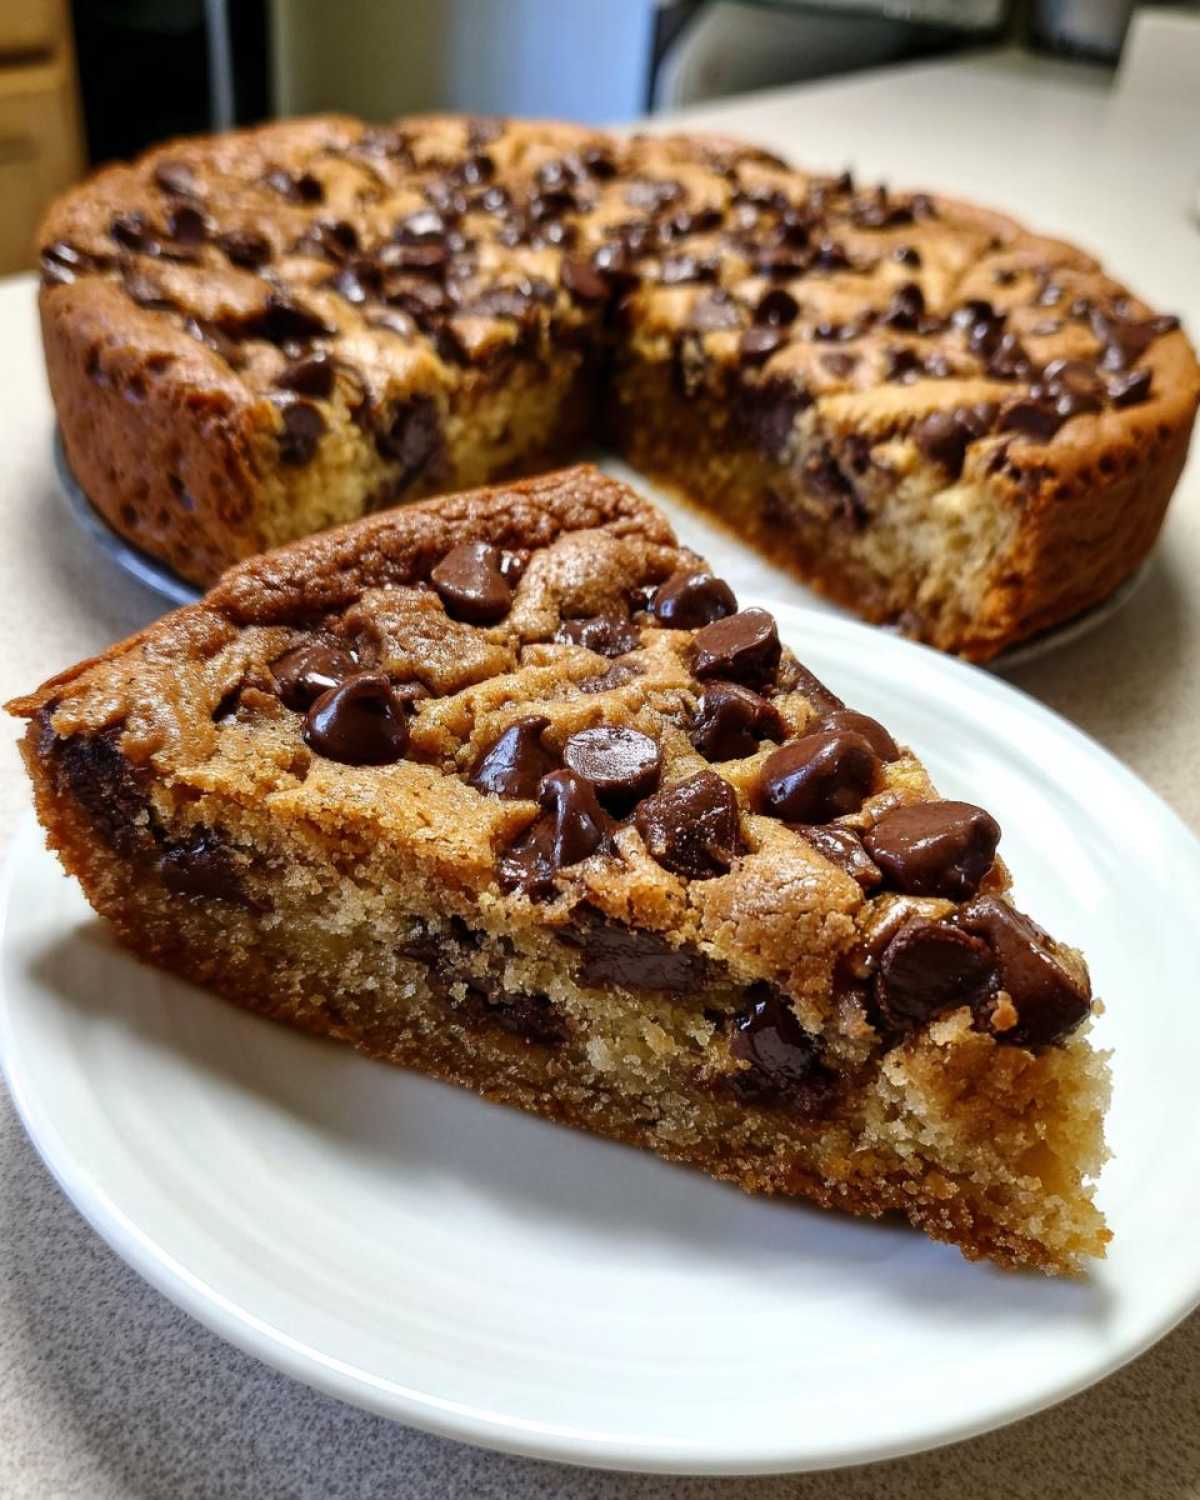
It’s fantastic because the edges bake up just sturdy enough to handle a generous swirl of buttercream—no frustrating collapses here! It’s one of my top birthday treat ideas for cutting down on stress. Plus, these large, fun desserts make fantastic graduation dessert ideas. Everyone gets a huge slice of nostalgia!
When you need something that tastes like you spent all day baking but only took minutes of active time, trust me, this is the one. Be sure to check out my tips for making perfect homemade chocolate chip cookies if you want even more inspiration!
Gathering Ingredients for the Ultimate Chocolate Chip Cookie Cake
Alright, let’s get down to business! The secret to getting that signature soft and chewy cookies texture we are chasing isn’t mystery magic—it’s just paying attention to the right things in the ingredient list. We need butter that’s softened, not melted. You know, the kind where your finger leaves a gentle dent, but it still holds its shape? That’s what you want!
Make sure your two large eggs are at room temperature! This is non-negotiable for my process. Room-temperature eggs whip up so much better with the sugars, creating tiny air pockets that keep the final cake tender. Don’t forget your vanilla extract; that’s where the depth comes from. We’re using standard everything else—flour, baking soda, salt—but the quality of your chocolate chips really shines through in something this big!
If you’re planning ahead for the decoration later, maybe swing by the link for my creamy buttercream while you’re grabbing eggs.
Ingredient Notes and Substitution Tips
Here’s the deal: we need both granulated and packed light brown sugar. The white sugar helps it spread and set just the right amount, while that molasses in the brown sugar keeps the moisture locked in for chewiness. I always sneak in a mix of semi-sweet chips and maybe some dark chocolate chunks for extra texture surprise. Don’t skimp on the mix-ins!
Baking the Perfect Soft and Chewy Giant Cookie Cake
Okay, the mixer time is crucial here, don’t rush it! We need to cream that softened butter with both sugars until it looks noticeably lighter and fluffy. This step builds the structure for our giant cookie cake, setting us up for that dreamy texture. Once the eggs and vanilla are mixed in, we move to the dry ingredients, and this is where you have to listen closely: add the flour mixture slowly and mix only until you *just* see the streaks disappear. Seriously, stop the mixer! Overmixing is the enemy of soft cookies; it develops gluten and makes things tough.
Now, gently fold in those chocolate chips. Before it hits the heat, we need to prep that edge! Remember, this is how we get a cake that’s easy to frost later. Use your fingers or the back of a spoon and press the dough up slightly higher—maybe half an inch—around the entire perimeter of your 12-inch pan. This creates a natural little dam or border.
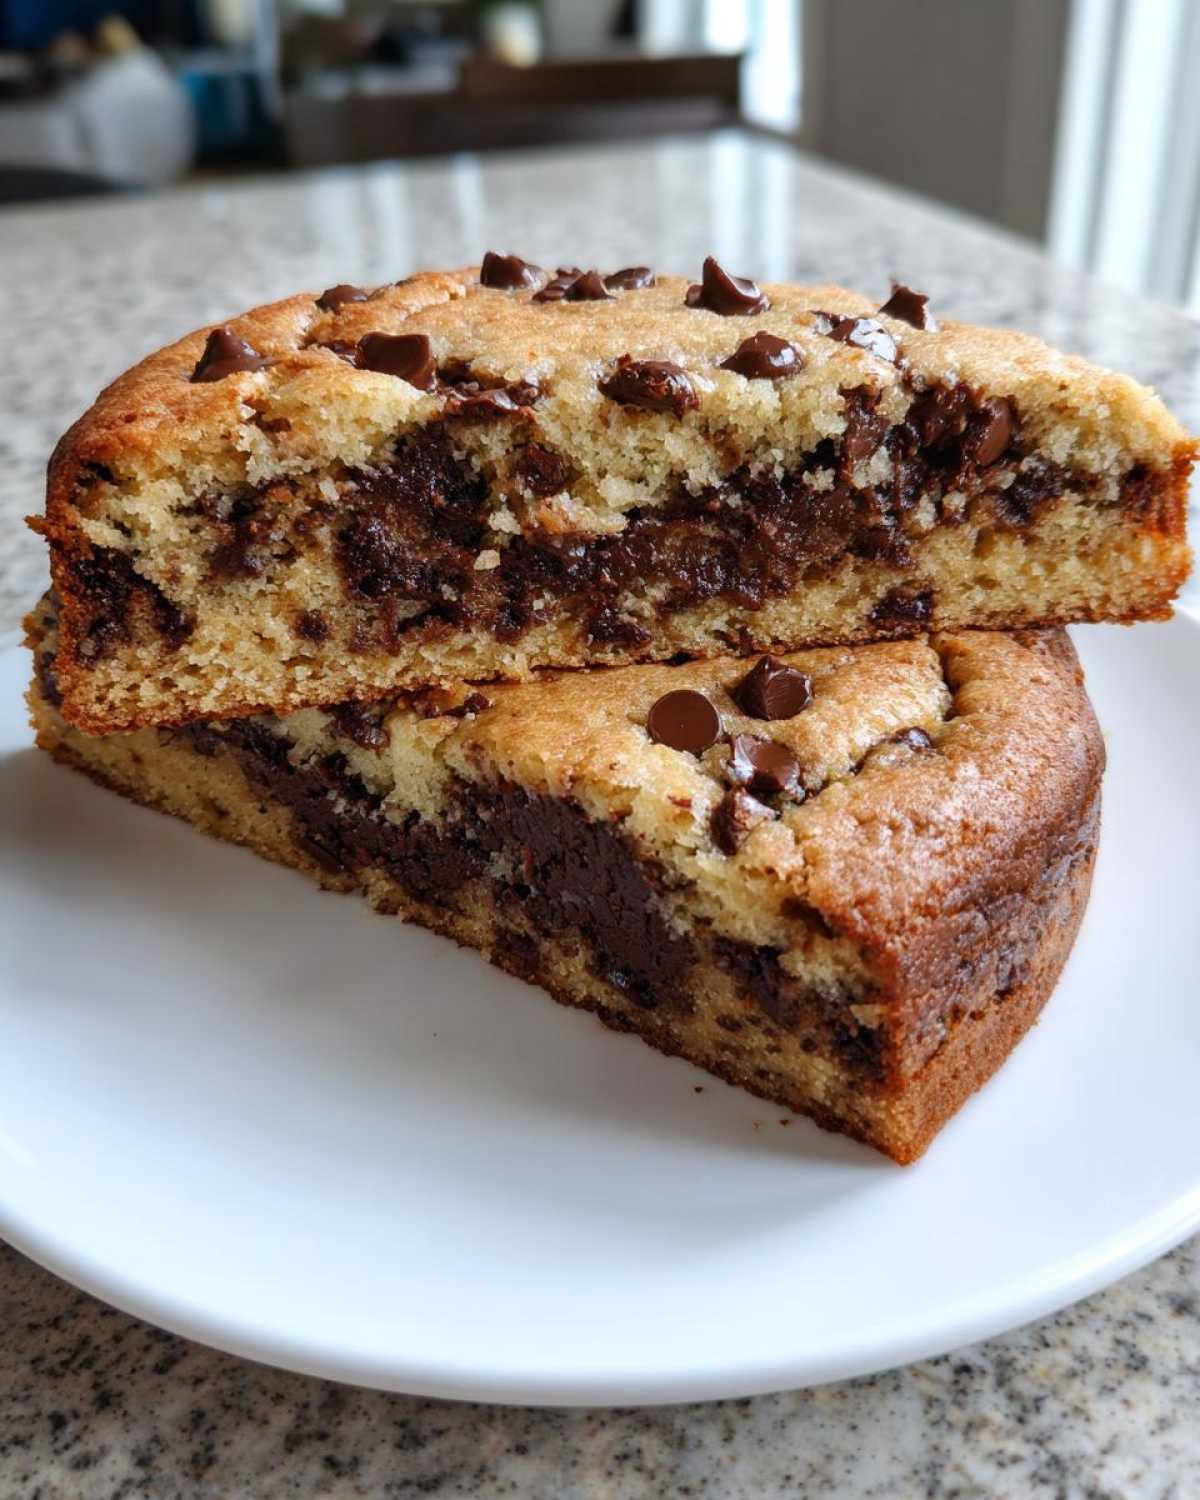
When you pour the rest of dough in the middle, it spreads beautifully within that rim. This technique gives you a perfect, sturdy edge for piping frosting while keeping the middle lush and gooey. You can find some of my favorite mixing tips over here for reference!
Achieving the Ideal Bake for Your Chocolate Chip Cookie Cake
The baking part is where most people go wrong with this kind of treat! We’re aiming for 20 to 25 minutes at 350°F. You’ll know it’s almost done when the edges are nicely golden brown and look fully set, but when you gently nudge the center, it might still jiggle just a tiny, tiny bit. That slight visual softness is the absolute magic trick!
If you bake it until a toothpick comes out perfectly clean, you’ll end up with a dry cookie circle. We want that residual heat to finish cooking the moist center as it cools down. You must let this homemade cookie cake cool completely on the pan before you even *think* about lifting it or frosting it. If you try to frost a warm cookie cake, you’ll just end up with a sweet, melty mess, and nobody wants that!
Decorating Your Homemade Cookie Cake for Any Occasion
This is where the fun really begins! Because we took the time to push that dough up just a bit around the edge earlier, we made life so much easier for ourselves. That little rim acts like your built-in frosting retainer wall for your homemade cookie cake. You absolutely need a stiff buttercream for this.
If it’s too soft, it’ll just slump over the edge instead of holding those gorgeous swirls. If you haven’t made my signature frosting yet, go check the recipe linked here for the best vanilla buttercream recipe—it pipes like a dream. Before you start decorating, if the surface of your cooled cookie cake isn’t perfectly flat, just grab a small offset spatula and give the top a very thin, quick layer of frosting—this is called a crumb coat! It seals in those crumbs before your final decorative layer.
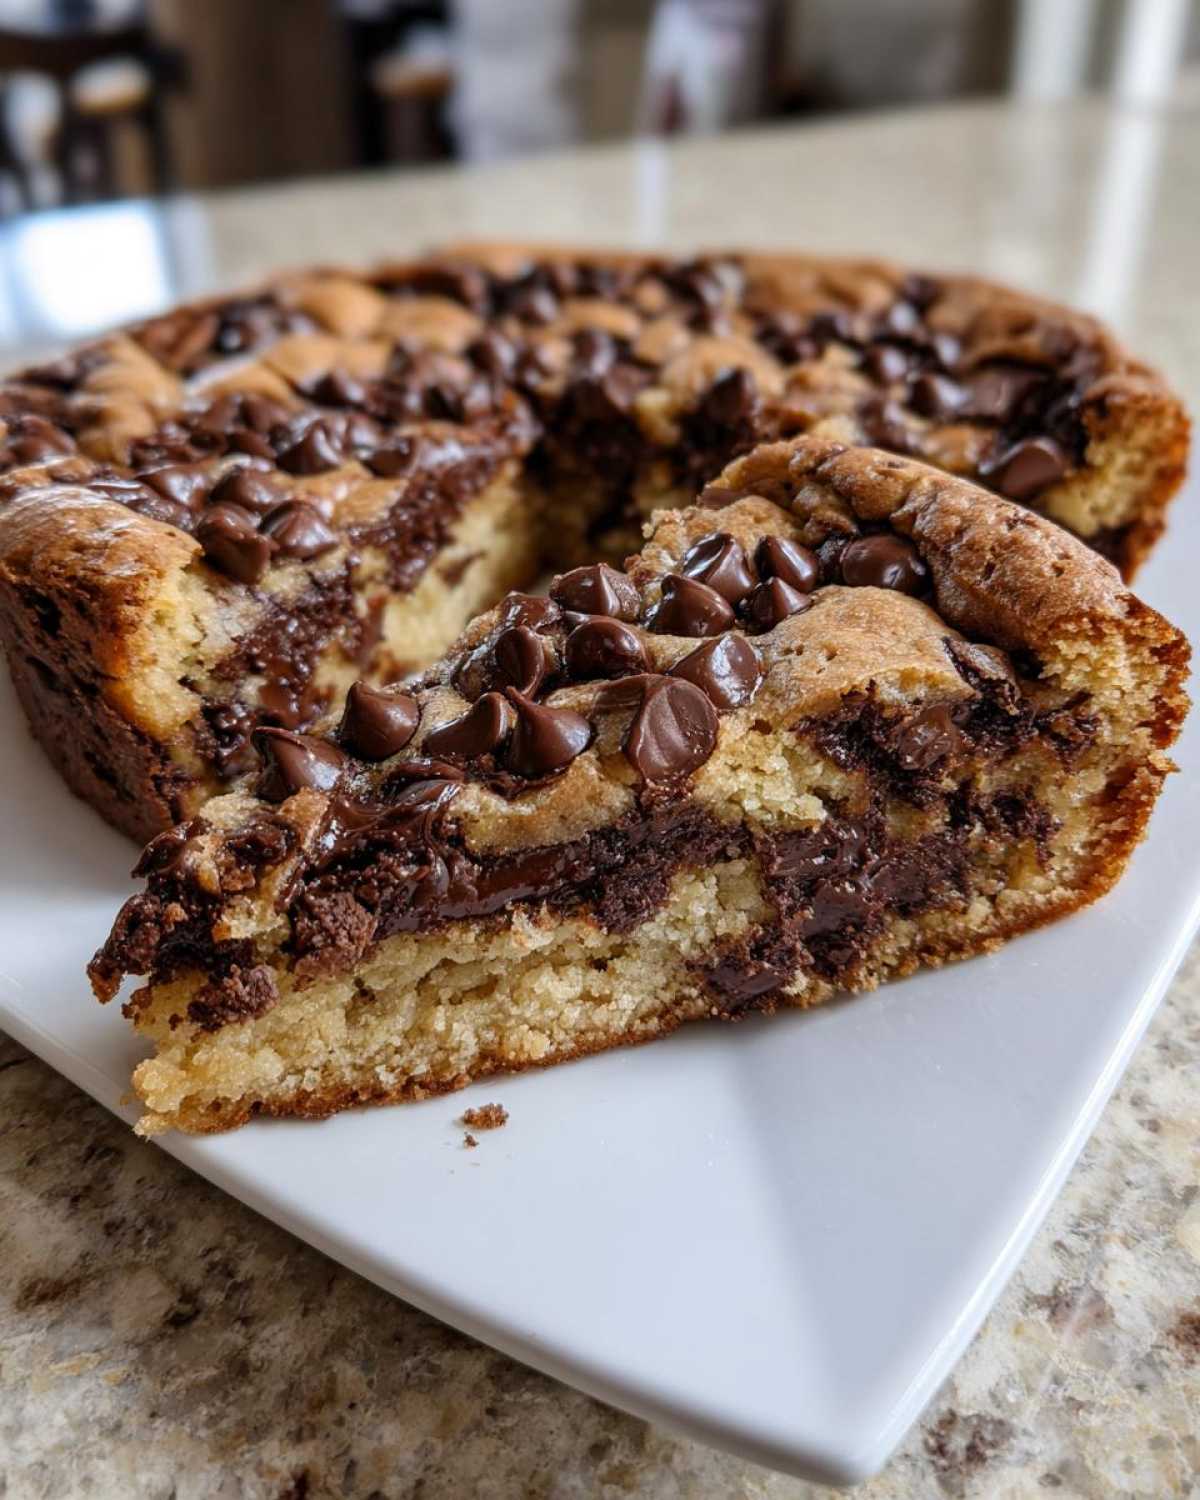
Once you have that smooth base, you can get creative! This is definitely my favorite birthday treat idea because you can write giant messages on it without worrying about the base breaking apart in the middle. Go wild with colors!
Tips for Success When Making a Chocolate Chip Cookie Cake
I’ve perfected this recipe over years of baking for big family events, and sometimes, even the best cooks need a little extra insurance policy! If you’re worried about the edges being too soft—maybe you’re transporting this beauty across town for a big party—you might want to try chilling the dough.
Seriously, if you press the dough into the pan and then pop the whole thing in the fridge for about 30 minutes before baking, that fat firms up just enough. It helps reduce spreading and guarantees you get the firmest border possible for your piping job. Trust me on this one, especially if your kitchen is hot!
Also, pan choice matters when baking something this large. I usually stick to a standard 12-inch pizza pan—the low sides make it easy to get the spatula underneath later. A springform pan is also a good contender, but make sure you grease the bottom *really* well, because if the seam leaks your melted butter and sugar, you’ll have a sticky situation!
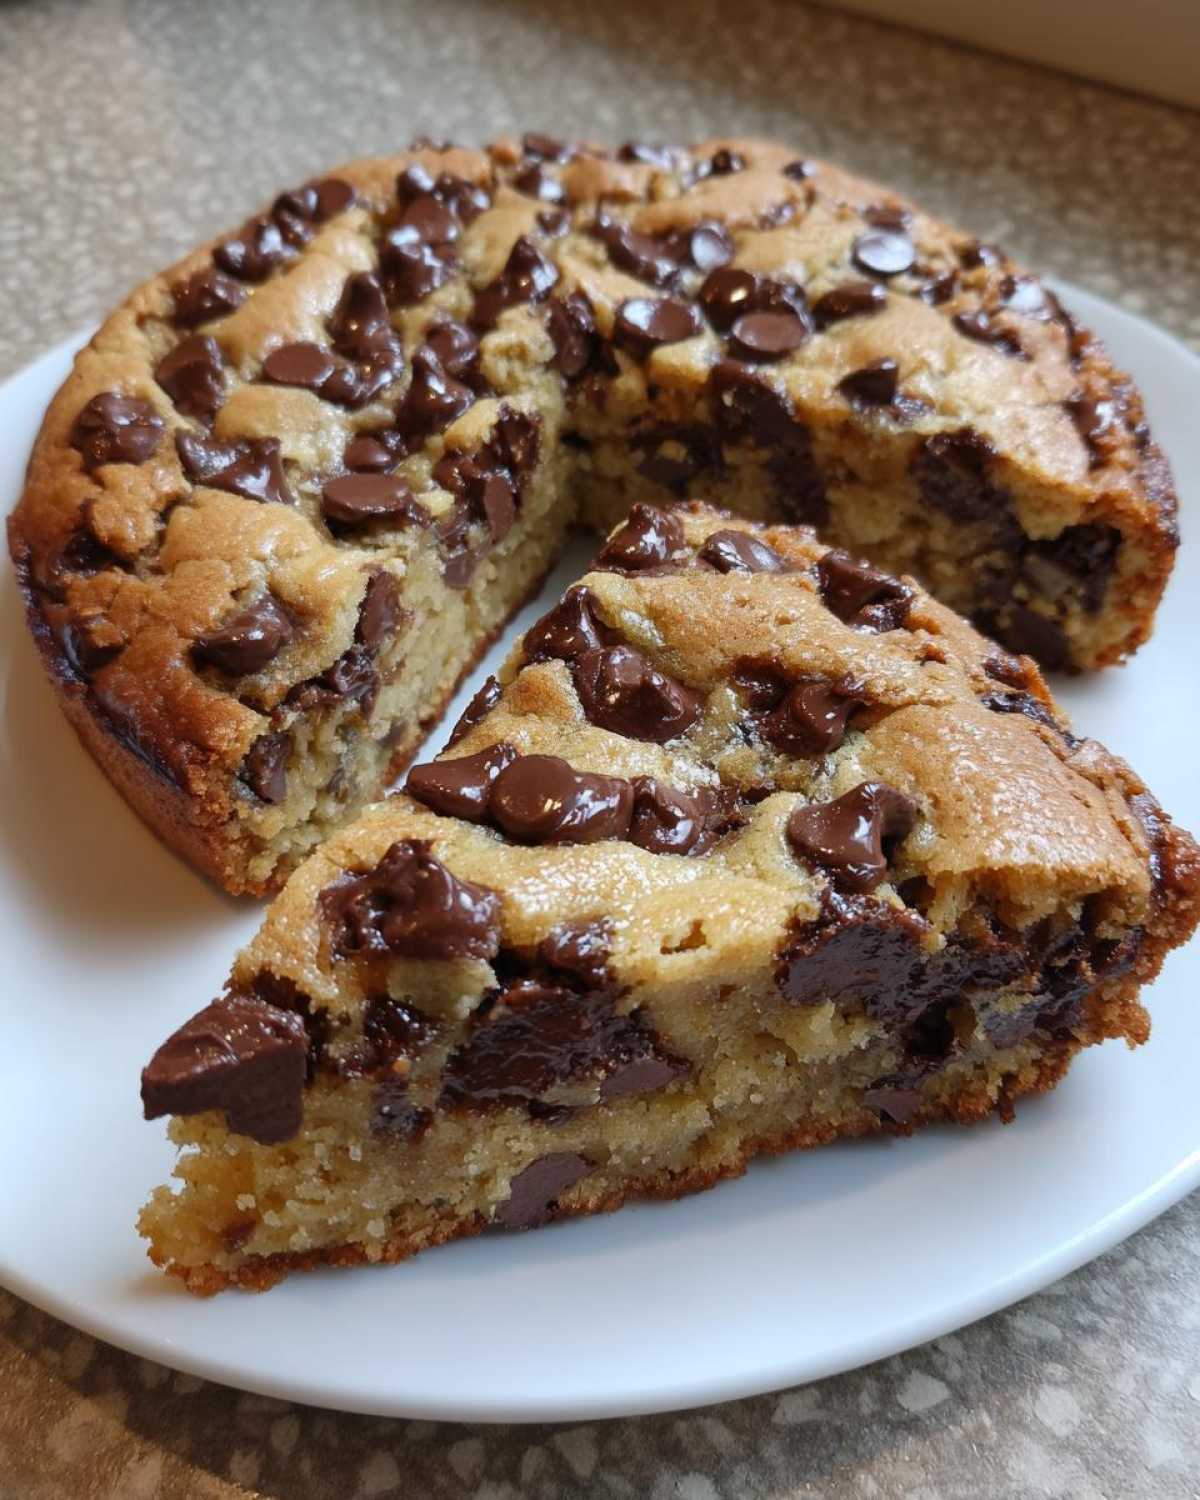
If you struggle with getting that perfect thick-but-chewy texture in general, I have a few extra secrets in my post about making thick, chewy chocolate chip cookies that apply perfectly here too. It all comes down to chemistry, right?
Storage and Reheating Your Chewy Chocolate Chip Cookie Cake
Once you’ve celebrated and inevitably have leftovers (which, knowing my family, is rare!), you need to know how to store this big guy properly so it stays that amazing, soft texture. Since this is a giant cookie cake, and not a traditional layer cake, it’s actually really durable! You can typically leave your chocolate chip cookie cake right on the counter at room temperature, covered tightly with foil or plastic wrap, for about three to four days.
I wouldn’t try to store it in the fridge unless your house is super hot, humidity-wise. Cold air tends to dry out baked goods, and we fought hard to keep this cake chewy! If you do refrigerate it, make sure it’s wrapped airtight.
Now, if you’ve got one of these beautiful slices that’s been sitting out for a day or two and you want to bring back that fresh-from-the-oven meltiness? Pop that slice onto a plate and zap it in the microwave for maybe 10 to 15 seconds, tops. Just enough time to get the chocolate chips gooey again but not long enough to steam the cookie. It’s the perfect way to revive your slice of celebratory goodness!
Frequently Asked Questions About the Giant Cookie Cake
I know when I’m planning a celebration, I have a million little worries that pop up! Baking a huge giant cookie cake can feel intimidating, but honestly, it’s just one big cookie, and we’ve covered all the secrets here. I’ve collected some of the questions I get most often when friends are trying this recipe for the first time. If you’re hoping to pin this recipe for later, you can find us over on our Pinterest page saved at Recipes Vault!
Can I use a different size pan for this Chocolate chip cookie cake?
You absolutely can! If you use a smaller pan, like a 10-inch, the dough will be much thicker, so you’re going to need to add significant time to your baking. I’d check it after 30 minutes and go from there! On the flip side, if you use a 14-inch pan, it’ll bake much faster, so watch those edges closely so you don’t end up with a dry ring.
How do I ensure my Chocolate chip cookie cake stays soft and chewy?
This is the million-dollar question! The key is pulling it out when the center still looks just a hair underdone—like it could use another minute or two. That residual heat once it’s out of the oven is what finishes the cooking process and guarantees that lovely soft center. Also, don’t forget that dark brown sugar ratio; it’s responsible for locking in that moisture beautifully!
What is the best way to transport this giant cookie cake?
Since this is such a great graduation dessert idea, you’ll likely be moving it! The absolute best way is to transport it while it is unfrosted, sitting securely on a flat, sturdy surface like a heavy cutting board or even a rimmed baking sheet. Once you get to the party location, then frost it. If you must frost it beforehand, use a very stiff buttercream and make sure the cake or board is completely level so your gorgeous decorations don’t slide off!
For more general baking inspiration, I always keep my archive of all my favorite dessert recipes open when I’m planning a party!
Estimated Nutritional Value for This Chocolate Chip Cookie Cake
I always try to keep things balanced, even when we’re talking about a massive, celebratory treat like this chocolate chip cookie cake! Now, keep in mind that since this is a giant, dense cookie, the numbers are a little richer, but that’s okay because we are celebrating!
These estimates are based on cutting the cake into 12 generous slices, using standard semi-sweet chips, and assuming a modest amount of standard buttercream frosting (though I always use more!). Treat these figures as a guideline, not gospel, because we all know how many extra chips sneak into the batter during mixing!
- Serving Size: 1 slice
- Calories: 350
- Fat: 20g (with 12g of that being Saturated Fat)
- Carbohydrates: 40g
- Sugar: 30g (Yep, it’s a celebration!)
- Protein: 4g
- Sodium: 180mg
It’s worth every single bite when you see the smiles this homemade cookie cake brings to the party, whether it’s for a big birthday or as a fun graduation dessert idea!
Share Your Celebratory Chocolate Chip Cookie Cake Creations
Now that you’ve got the secret to the most perfectly soft and chewy homemade cookie cake, I absolutely need to see what you’ve created! Honestly, seeing your photos is the best part of my week. Did you make it for a graduation? A milestone birthday? Tell me everything!
You know I love a good decoration challenge, so share those photos of your buttercream mastery—or even if you just decided to skip the frosting and dust it with powdered sugar! Head over to social media and tag me so I can double-tap those beautiful, giant cookies!
Don’t forget to come back here and leave a star rating for the recipe once you’ve tried it. Your feedback helps other bakers know they can trust this recipe for their big events. If you end up loving the texture so much you want to try something new, maybe check out my recipe for ultimate fudgy brownies next! Happy baking, everyone!
PrintSoft and Chewy Giant Chocolate Chip Cookie Cake

Make a huge, soft, and chewy chocolate chip cookie cake perfect for birthdays or graduations. This recipe gives you a sturdy edge for easy buttercream decoration.
- Prep Time: 15 min
- Cook Time: 25 min
- Total Time: 40 min
- Yield: 1 large cake (12 servings) 1x
- Category: Dessert
- Method: Baking
- Cuisine: American
- Diet: Vegetarian
Ingredients
- 1 cup (2 sticks) unsalted butter, softened
- 3/4 cup granulated sugar
- 3/4 cup packed light brown sugar
- 2 large eggs
- 1 tablespoon vanilla extract
- 2 1/4 cups all-purpose flour
- 1 teaspoon baking soda
- 1/2 teaspoon salt
- 1 1/2 cups semi-sweet chocolate chips
Instructions
- Preheat your oven to 350°F (175°C). Lightly grease a 12-inch round pizza pan or cake pan.
- In a large bowl, cream together the softened butter, granulated sugar, and brown sugar until light and fluffy. This step helps achieve that soft texture.
- Beat in the eggs one at a time, then mix in the vanilla extract.
- In a separate bowl, whisk together the flour, baking soda, and salt.
- Gradually add the dry ingredients to the wet ingredients, mixing on low speed until just combined. Do not overmix.
- Stir in the chocolate chips.
- Press the dough evenly onto the prepared pan. For a sturdy edge that holds frosting well, press the dough slightly higher around the perimeter of the pan.
- Bake for 20 to 25 minutes. The edges should look set and golden brown, but the center should still look slightly soft. This ensures a chewy interior.
- Let the giant cookie cake cool completely on the pan before frosting. Cooling fully is key for decorating.
- Frost with your favorite buttercream and add your celebratory message.
Notes
- For the best soft and chewy cookies texture, slightly underbake the center. It will continue to set as it cools.
- If you want a very sturdy edge for heavy frosting, chill the dough for 30 minutes before pressing it into the pan.
- This homemade cookie cake is a great graduation dessert idea because it is simple to transport and serve.
Nutrition
- Serving Size: 1 slice
- Calories: 350
- Sugar: 30
- Sodium: 180
- Fat: 20
- Saturated Fat: 12
- Unsaturated Fat: 8
- Trans Fat: 0
- Carbohydrates: 40
- Fiber: 2
- Protein: 4
- Cholesterol: 60