
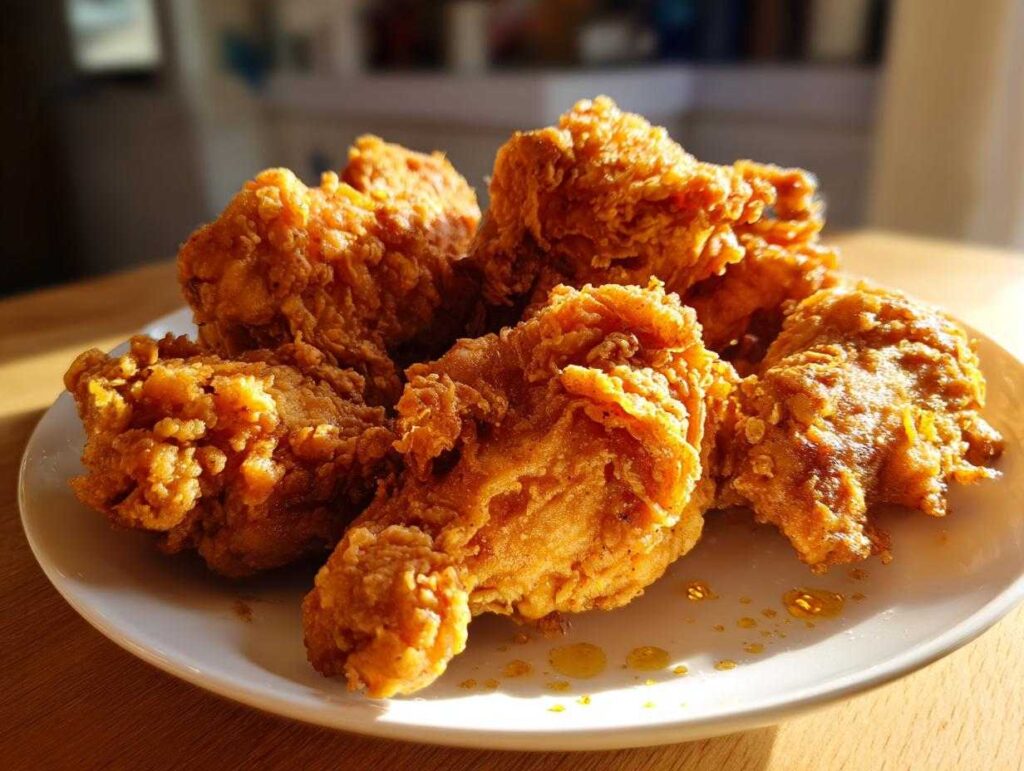
There’s nothing quite like the sound of that first bite into buttermilk fried chicken – that shatteringly crisp crust giving way to unbelievably juicy meat underneath. My heart skips a beat every time! This Southern classic has been my go-to for family dinners ever since my Aunt Mabel showed me her secret method back in ’98. She’d laugh watching me hover by the stove, waiting impatiently for that perfect golden-brown color. “Good chicken takes time, sugar,” she’d say while secretly sneaking me first dibs on the crunchiest pieces. Nowadays, when that spicy-sweet aroma fills my kitchen, my whole household comes running like Pavlov’s dogs. Whether it’s Sunday supper or just a random Tuesday craving, this buttermilk fried chicken recipe always hits the spot.
- Why You'll Love This Buttermilk Fried Chicken
- Ingredients for Buttermilk Fried Chicken
- How to Make Buttermilk Fried Chicken
- Tips for the Best Buttermilk Fried Chicken
- Serving Suggestions for Buttermilk Fried Chicken
- Storing and Reheating Buttermilk Fried Chicken
- Nutritional Information
- Frequently Asked Questions
- Share Your Buttermilk Fried Chicken Experience
Why You’ll Love This Buttermilk Fried Chicken
Let me tell you why this recipe is going to become your new favorite way to make fried chicken:
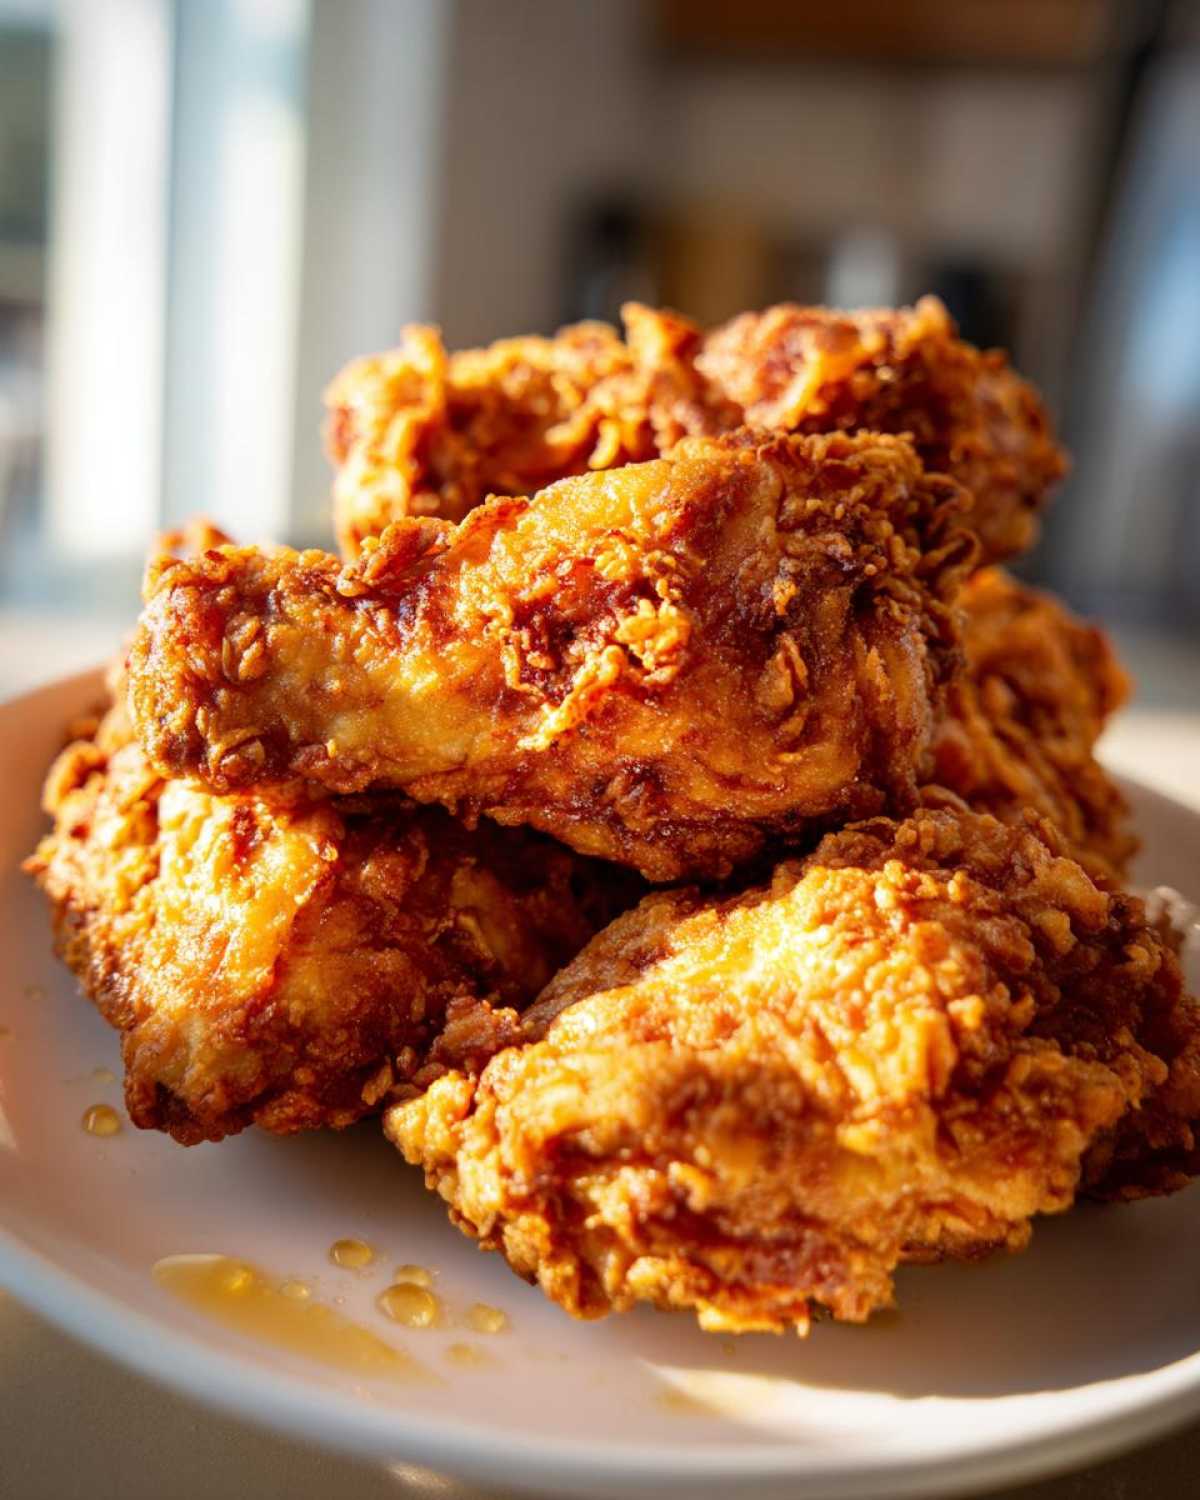
- That perfect crunch: The golden-brown crust shatters like glass when you bite into it – completely addictive!
- Juicy on the inside: The buttermilk marinade works miracles, keeping every bite moist and flavorful.
- Flavor bomb: My special blend of spices in the coating gives it that irresistible Southern charm.
- Surprisingly easy: Don’t be intimidated – the steps are simple, just a little patience for that overnight marinade.
- Makes meal planning a breeze: Whip up a big batch – it reheats beautifully for packed lunches or quick dinners.
Trust me, once you try this buttermilk fried chicken, you’ll understand why my family begs me to make it every weekend!
Ingredients for Buttermilk Fried Chicken
Let me walk you through everything you’ll need to make the crispiest, juiciest fried chicken this side of the Mississippi. These simple ingredients working together create absolute magic – I promise it’s worth measuring carefully!
- For the chicken:
- 4 lbs chicken pieces (I like a mix of legs, thighs, and breasts – trust me, dark meat stays extra juicy!)
- 2 cups buttermilk (whole is best, but low-fat works in a pinch)
- For the crispy coating:
- 2 cups all-purpose flour (don’t skimp here – this makes that perfect crust)
- 1 tbsp salt (kosher salt is my go-to)
- 1 tbsp freshly ground black pepper (grind it yourself if you can – huge difference!)
- 1 tbsp paprika (smoked paprika adds incredible depth)
- 1 tsp garlic powder (the secret flavor booster)
- 1 tsp onion powder (adds that savory note)
- 1/2 tsp cayenne pepper (just enough kick without being too spicy)
- For frying:
- Vegetable oil (enough to reach 2 inches up the sides of your pan – peanut oil works great too)
That’s it! Simple ingredients, but when combined with patience and love, they create pure comfort food magic. I always double-check my pantry before starting – there’s nothing worse than getting halfway through and realizing you’re out of paprika!
How to Make Buttermilk Fried Chicken
Alright, let’s get down to the delicious details! Making perfect buttermilk fried chicken isn’t hard, but there are a few key steps that make all the difference between “good enough” and “oh my gosh, give me the recipe!” I’ve broken it down so you’ll get that crave-worthy crunch every time. Don’t skip the marinating time—that’s where the magic starts!
Marinating the Chicken
First things first—that buttermilk bath is your secret weapon. The acidity tenderizes the chicken like nobody’s business while infusing every bite with flavor. I dump my chicken pieces into a big bowl and pour buttermilk over them until they’re completely submerged. Really get in there with your hands to make sure every nook and cranny is coated! Then it’s straight into the fridge for at least 4 hours, though overnight is even better (I sometimes prep it before bed for next-day fry fest). The buttermilk will work its tenderizing magic while you sleep!
Preparing the Coating
When you’re ready to fry, the coating comes together in a flash. I whisk together the flour and spices in a large shallow dish—the wider the better for easy dredging. Don’t just sprinkle the spices in; really mix them into the flour so every bite is evenly seasoned. Want a pro tip? Taste a pinch of the flour mixture—it should make your taste buds sing with that perfect balance of savory and spice. Too bland? Add a bit more salt or paprika. When coating the chicken, press the flour mixture firmly onto each piece after dredging—this is what creates those gorgeous craggy bits that get extra crispy!
Frying to Perfection
Now for the grand finale! Heat about 2 inches of oil in a heavy pot (I love my trusty cast iron) to 350°F—a candy thermometer is your best friend here. Too cool and your chicken will be greasy; too hot and it’ll burn before cooking through. Fry in batches (crowding the pan is the enemy of crispiness!) for 12-15 minutes, turning occasionally, until that crust is deeply golden brown. I always check with a meat thermometer—165°F at the thickest part means it’s done. Drain on a wire rack, not paper towels (they make the bottom soggy!), and resist eating immediately—letting it rest 5 minutes makes it even juicier.
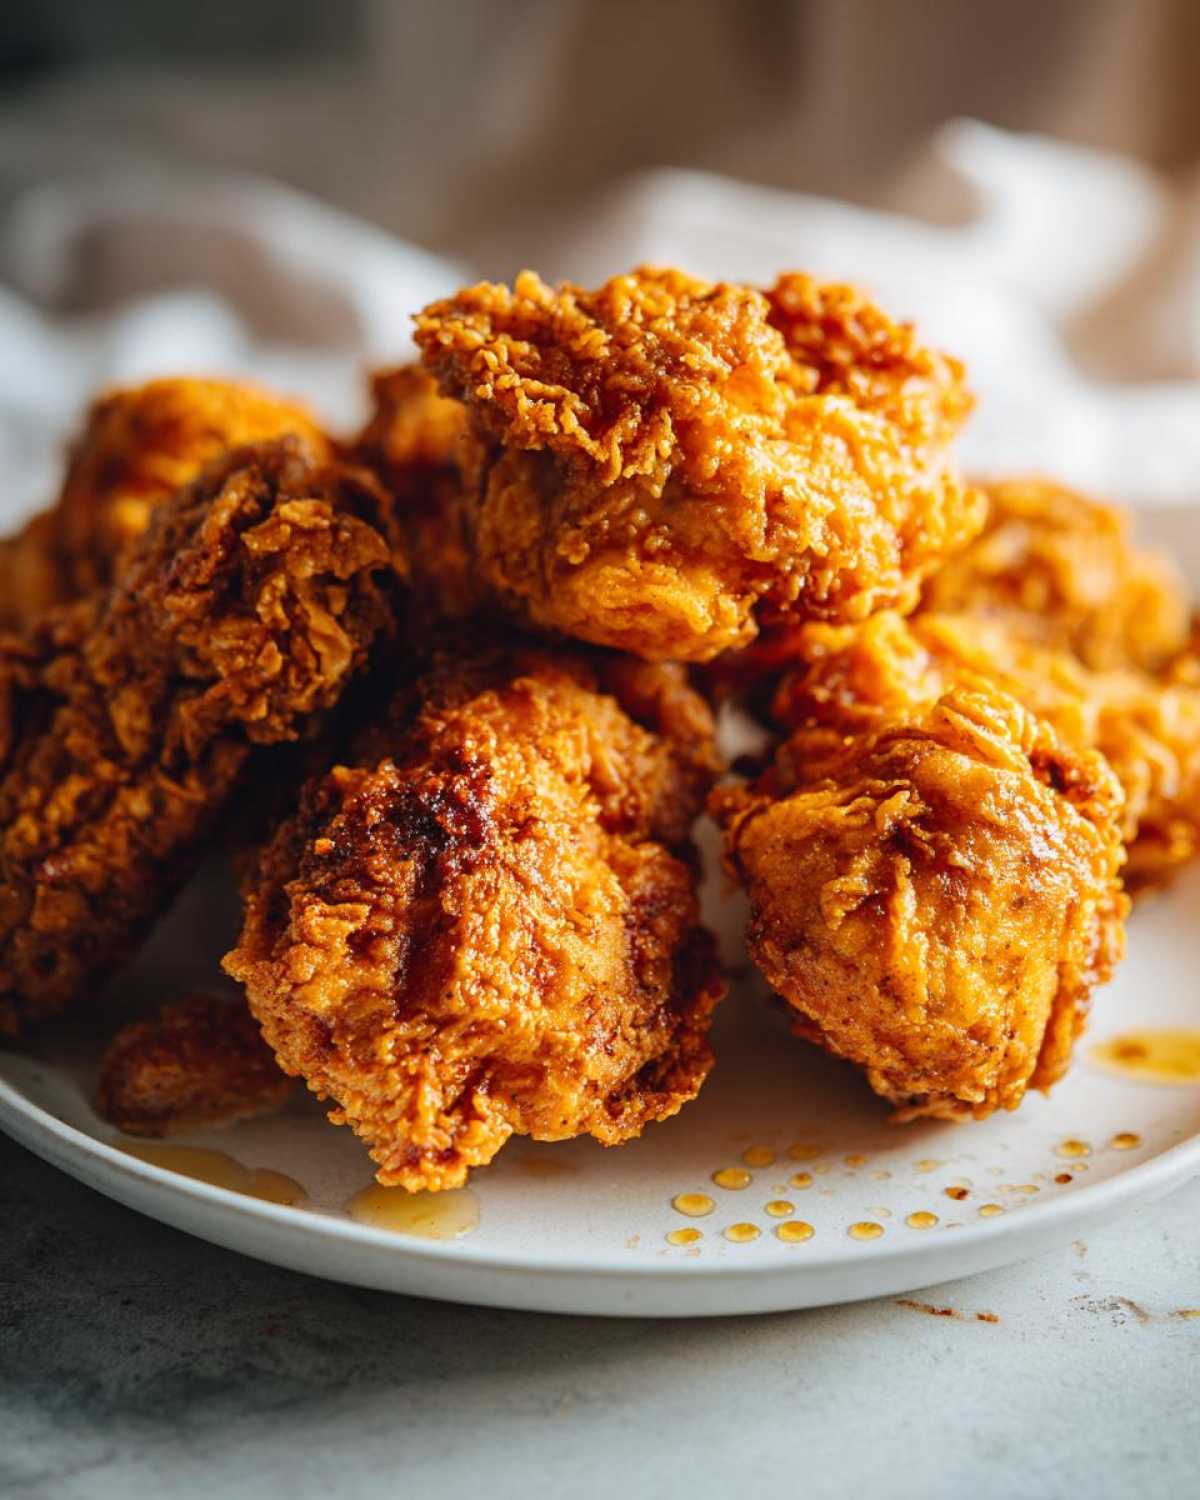
For those really wanting restaurant-quality results, I sometimes double-dip the chicken—back into the buttermilk and flour for an extra-thick, shattery crust that’ll have everyone begging for your secret. Just sayin’!
Tips for the Best Buttermilk Fried Chicken
After years of perfecting my buttermilk fried chicken (and plenty of “learning experiences”), I’ve picked up some game-changing tricks. First off—double-dipping is the secret to that insane crunch! After the first dredge in flour, dunk the chicken back in buttermilk and coat it again. The extra layer creates those gorgeous, craggy bits that fry up extra crispy. And don’t even think about using paper towels to drain—a wire rack over a baking sheet keeps steam from making the bottom soggy. Oh, and resist slicing into it immediately! Letting it rest for 5 minutes lets juices redistribute so every bite stays moist. Most important tip? Don’t crowd the pan—fry in batches so the oil stays at that magic 350°F temperature. Your patience will be rewarded with that perfect golden crust we all crave!
Serving Suggestions for Buttermilk Fried Chicken
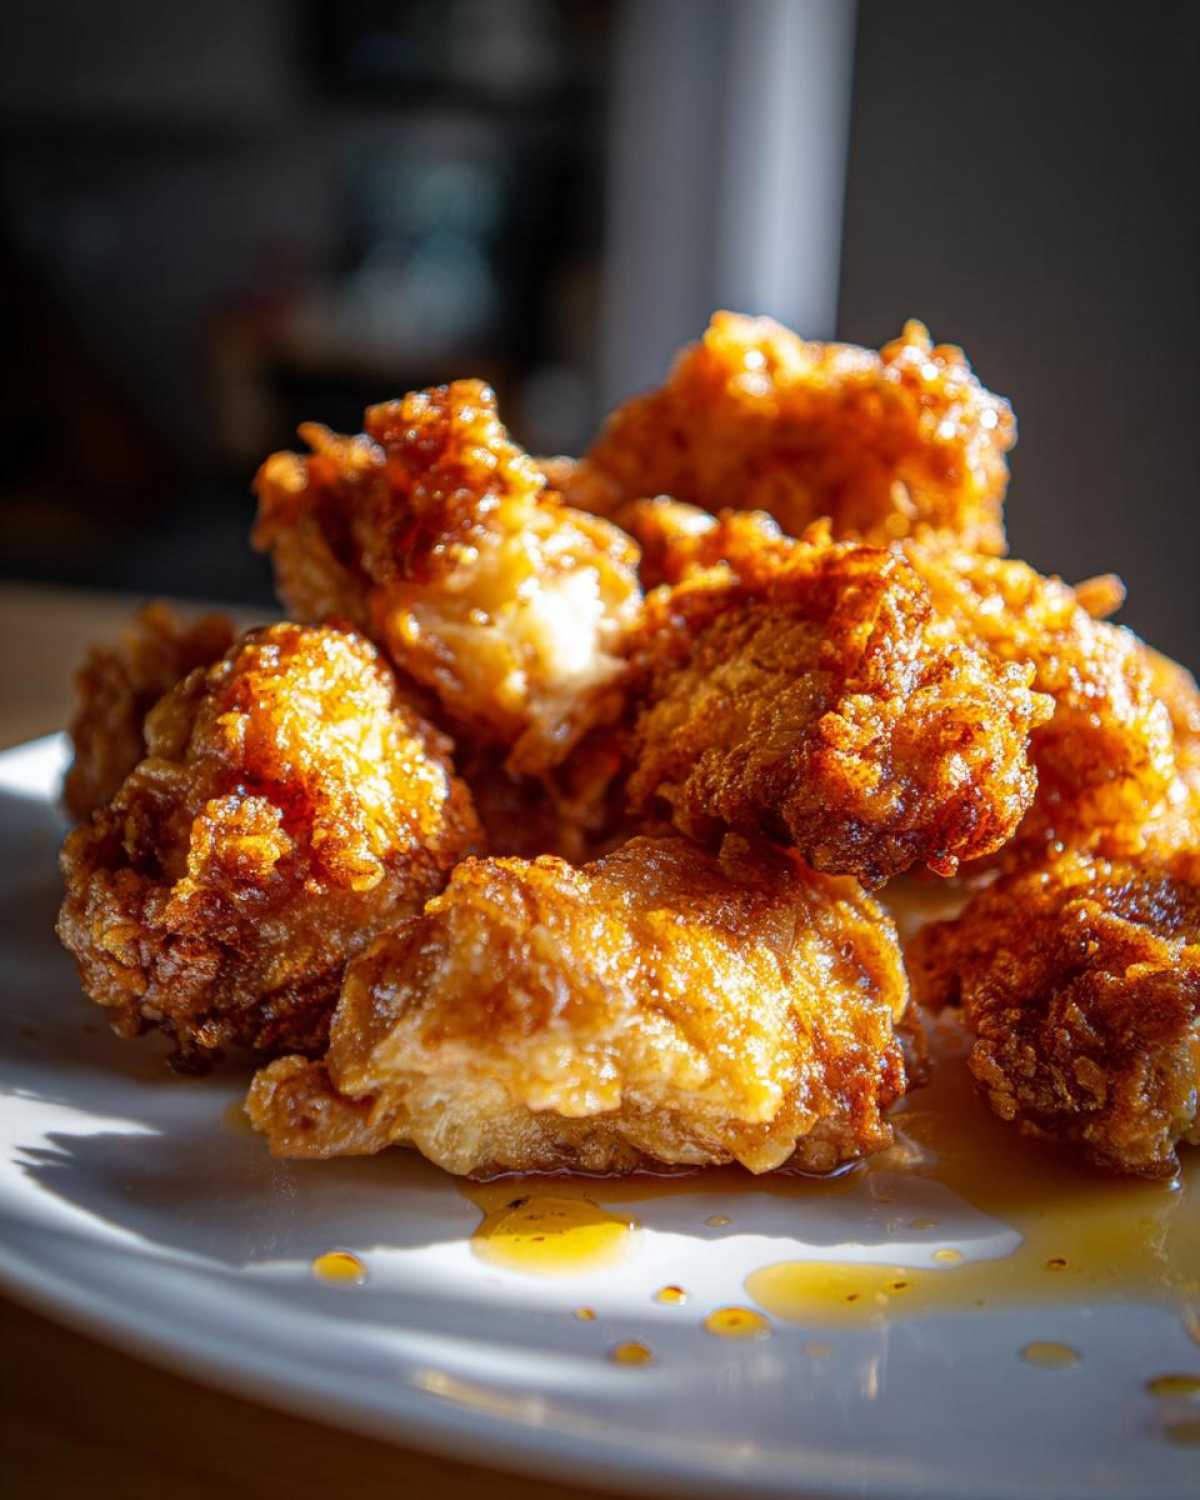
Oh honey, the sides are what take this buttermilk fried chicken from amazing to legendary! My family goes wild when I pair it with creamy Southern potato salad – those cool, tangy potatoes balance the crispy chicken perfectly. Hot buttered cornbread or fluffy tea biscuits are must-haves for soaking up every last bit of flavor. For meal planning pros, I’ll often make extra sides like mac and cheese or collard greens – they reheat beautifully alongside leftover chicken. And don’t forget mason jar slaws or pickled veggies for that bright crunch cutting through the richness. Sunday dinner never tasted so good!
Storing and Reheating Buttermilk Fried Chicken
Let me tell you, nothing hurts my soul more than wasting perfectly good fried chicken! Here’s how to keep those crispy leftovers tasting fantastic. First, let the chicken cool completely (no steam trapped in containers!), then store in the fridge for up to 3 days in an airtight container with parchment between layers. Freezing works too—just wrap each piece in foil before bagging; it’ll keep for 2 months.
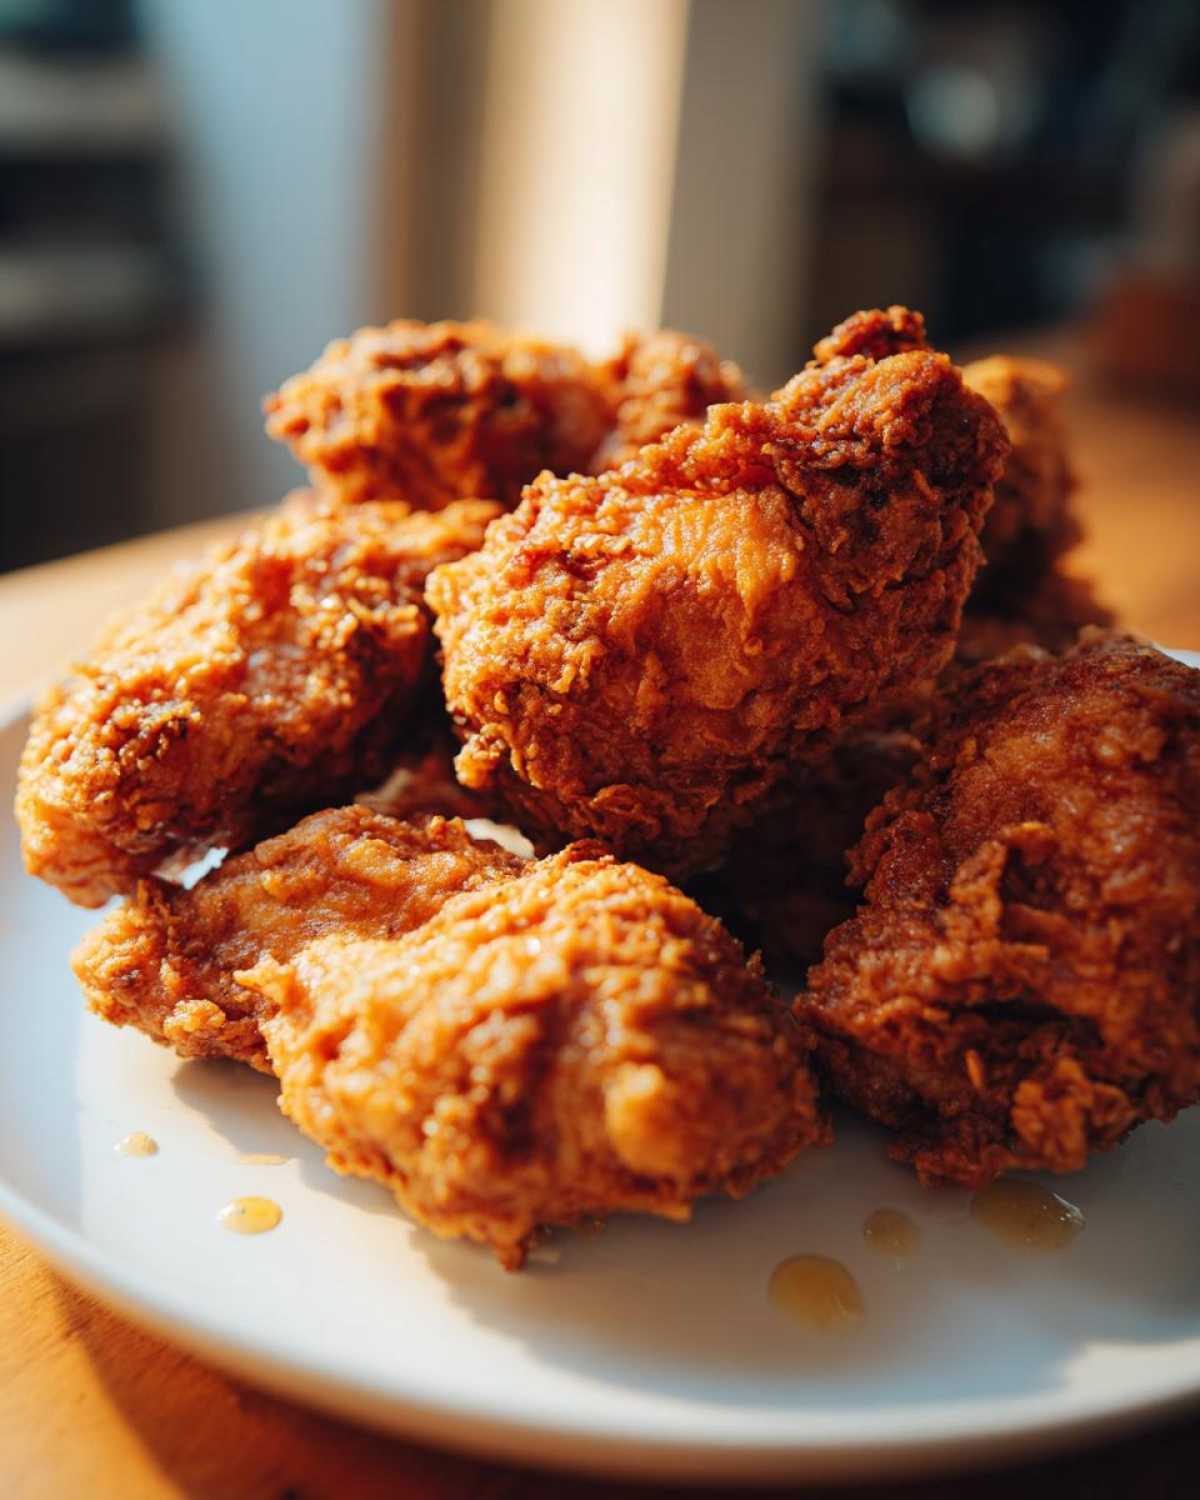
Now for the magic trick: reheating that crunch. My air fryer at 375°F for 5-8 minutes works miracles, but a 400°F oven on a wire rack gives near-perfect results too. A little disclaimer—while the flavor stays amazing, the crust won’t ever be quite as shattering as fresh. But trust me, when those aromas hit, you won’t hear any complaints from hungry folks!
Nutritional Information
Let’s be real—this buttermilk fried chicken isn’t health food, but everything’s fine in moderation, right? Here’s the scoop per juicy piece (approximately one thigh or breast): about 450 calories, 25g fat (6g saturated), 35g protein, and 25g carbs. Keep in mind, these numbers change based on your exact ingredients and how much oil gets absorbed—I’ve had batches come out lighter or richer depending on the day. The buttermilk does its magic keeping protein content high while tenderizing, and that crispy coating? Worth every carb! Remember, nutrition varies by brand and portion size, so consider this your delicious ballpark.
Frequently Asked Questions
Can I use boneless chicken for this buttermilk fried chicken recipe?
Absolutely! Boneless thighs or breasts work great – they’ll cook faster, so keep an eye on them (usually 8-10 minutes frying time). The buttermilk marinade keeps them incredibly juicy, though I personally prefer bone-in pieces for that classic Southern fried chicken experience. Bone-in adds extra flavor, but hey, busy weeknights call for shortcuts sometimes! Just adjust cooking time accordingly with a meat thermometer – 165°F is still the magic number.
How long should I marinate the chicken in buttermilk?
Here’s the deal – minimum 4 hours, but overnight is where the real magic happens! That long soak gives the buttermilk time to work its tenderizing spells. Once left mine in for two days (got busy!) and it was the most melt-in-your-mouth chicken ever. If you’re truly in a pinch, even 2 hours helps, but trust me – patience rewards you with that perfect juicy interior we all crave in homemade fried chicken.
Can I bake this instead of frying for a healthier option?
I’ll be honest – baked won’t give you that same shattery crunch, but it’s still delicious! Brush chicken with oil and bake at 400°F on a wire rack (crucial for airflow) for about 45 minutes, flipping halfway. For best results, try a hybrid method: quick pan-fry to crisp the coating, then finish in the oven. Psst… my friend swears by using her sous-vide precision cooker first, then a quick fry for crispiness – talk about juicy!
What’s the secret to extra crispy buttermilk fried chicken?
Three words: double-dip, baby! After the first flour coating, dunk back in buttermilk and flour again – those extra layers create those gorgeous, craggy bits that fry up extra crispy. Also, make sure your oil stays at a steady 350°F (a thermometer is your best friend). And whatever you do, drain on a wire rack, not paper towels – steam is the enemy of crunch!
Can I make this ahead for meal planning?
You bet! After frying, let chicken cool completely, then store in the fridge (3 days) or freezer (2 months). Reheat in a 400°F oven or air fryer to bring back the crispiness. It’s perfect for packing in lunchboxes or quick weeknight dinners when you’re craving that comfort food magic without the fuss. Pro tip: Make extra – it disappears fast!
Share Your Buttermilk Fried Chicken Experience
I’d love to hear about your buttermilk fried chicken adventures! Did you get that perfect golden crunch? Leave a comment below with your results or tag me on Pinterest – I’m always looking for new inspiration and love seeing your cooking successes. Your feedback helps make these recipes even better, so don’t be shy. And hey, if anyone asks for the recipe at your next gathering, you know where to send them!
PrintButtermilk Fried Chicken

Crispy, juicy fried chicken with a flavorful buttermilk marinade and crunchy coating.
- Prep Time: 4 hours 15 min
- Cook Time: 30 min
- Total Time: 4 hours 45 min
- Yield: 6 servings 1x
- Category: Dinner
- Method: Frying
- Cuisine: Southern
- Diet: Low Lactose
Ingredients
- 4 lbs chicken pieces (legs, thighs, breasts)
- 2 cups buttermilk
- 2 cups all-purpose flour
- 1 tbsp salt
- 1 tbsp black pepper
- 1 tbsp paprika
- 1 tsp garlic powder
- 1 tsp onion powder
- 1/2 tsp cayenne pepper
- Vegetable oil for frying
Instructions
- Place chicken in a bowl and cover with buttermilk. Refrigerate for at least 4 hours or overnight.
- In a large bowl, mix flour, salt, black pepper, paprika, garlic powder, onion powder, and cayenne pepper.
- Heat oil in a deep skillet or Dutch oven to 350°F (175°C).
- Remove chicken from buttermilk, letting excess drip off. Dredge in flour mixture, pressing to coat well.
- Fry chicken in batches for 12-15 minutes, turning occasionally, until golden brown and cooked through.
- Drain on a wire rack or paper towels. Serve hot.
Notes
- For extra crispiness, double-dip the chicken in buttermilk and flour.
- Use a meat thermometer to ensure chicken reaches 165°F (74°C) internally.
- Let chicken rest for 5 minutes before serving for juicier results.
Nutrition
- Serving Size: 1 piece
- Calories: 450
- Sugar: 2g
- Sodium: 800mg
- Fat: 25g
- Saturated Fat: 6g
- Unsaturated Fat: 15g
- Trans Fat: 0g
- Carbohydrates: 25g
- Fiber: 1g
- Protein: 35g
- Cholesterol: 120mg