
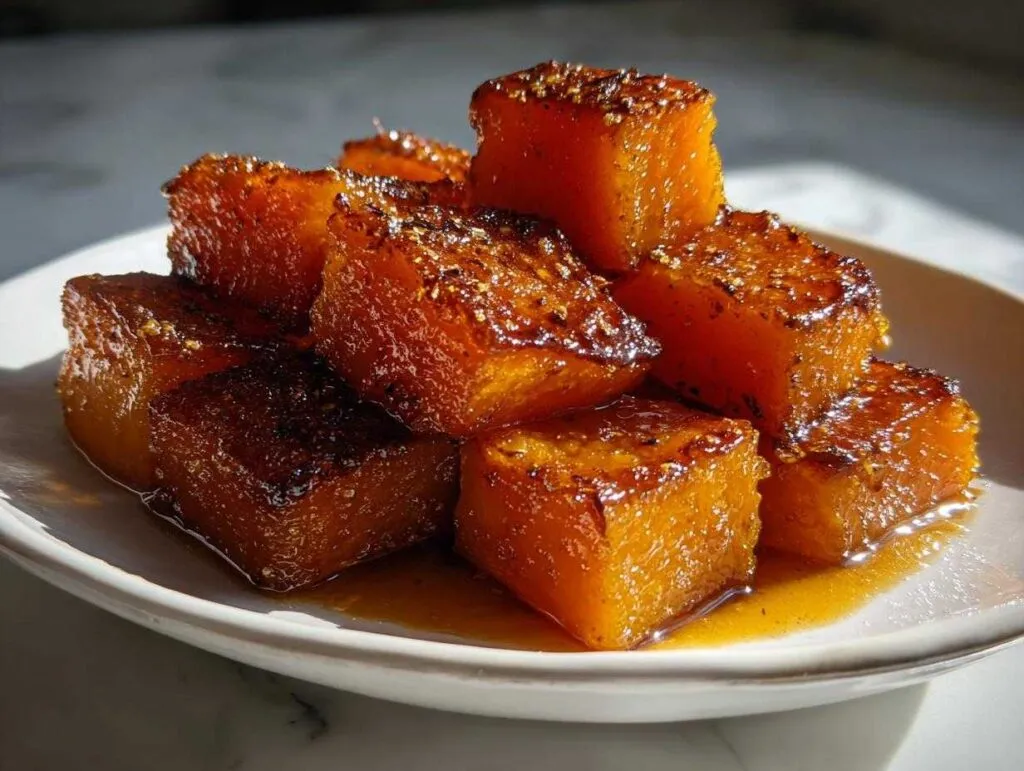
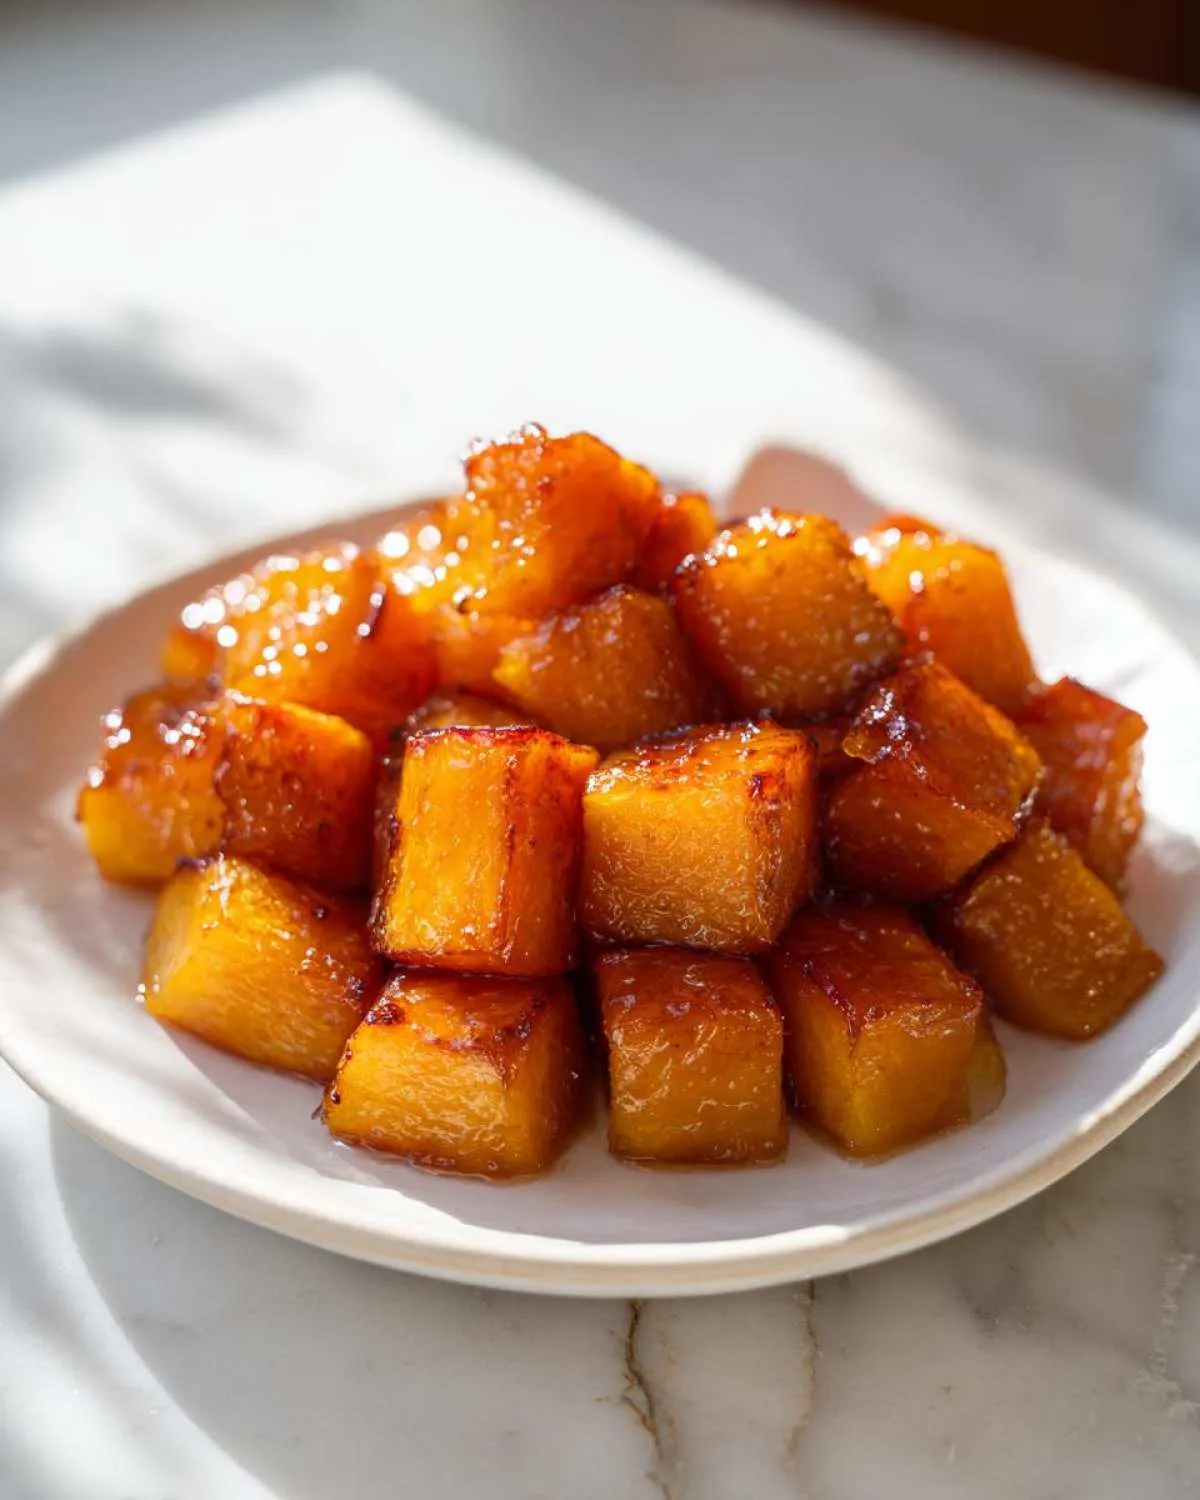
The first time I made brown sugar roasted butternut squash, the smell alone had everyone crowding into my kitchen – that magical moment when the brown sugar caramelizes into a glossy, sweet crust while the squash turns tender underneath. It’s become my go-to autumnal side dish, perfect for everything from weeknight dinners to Thanksgiving feasts.
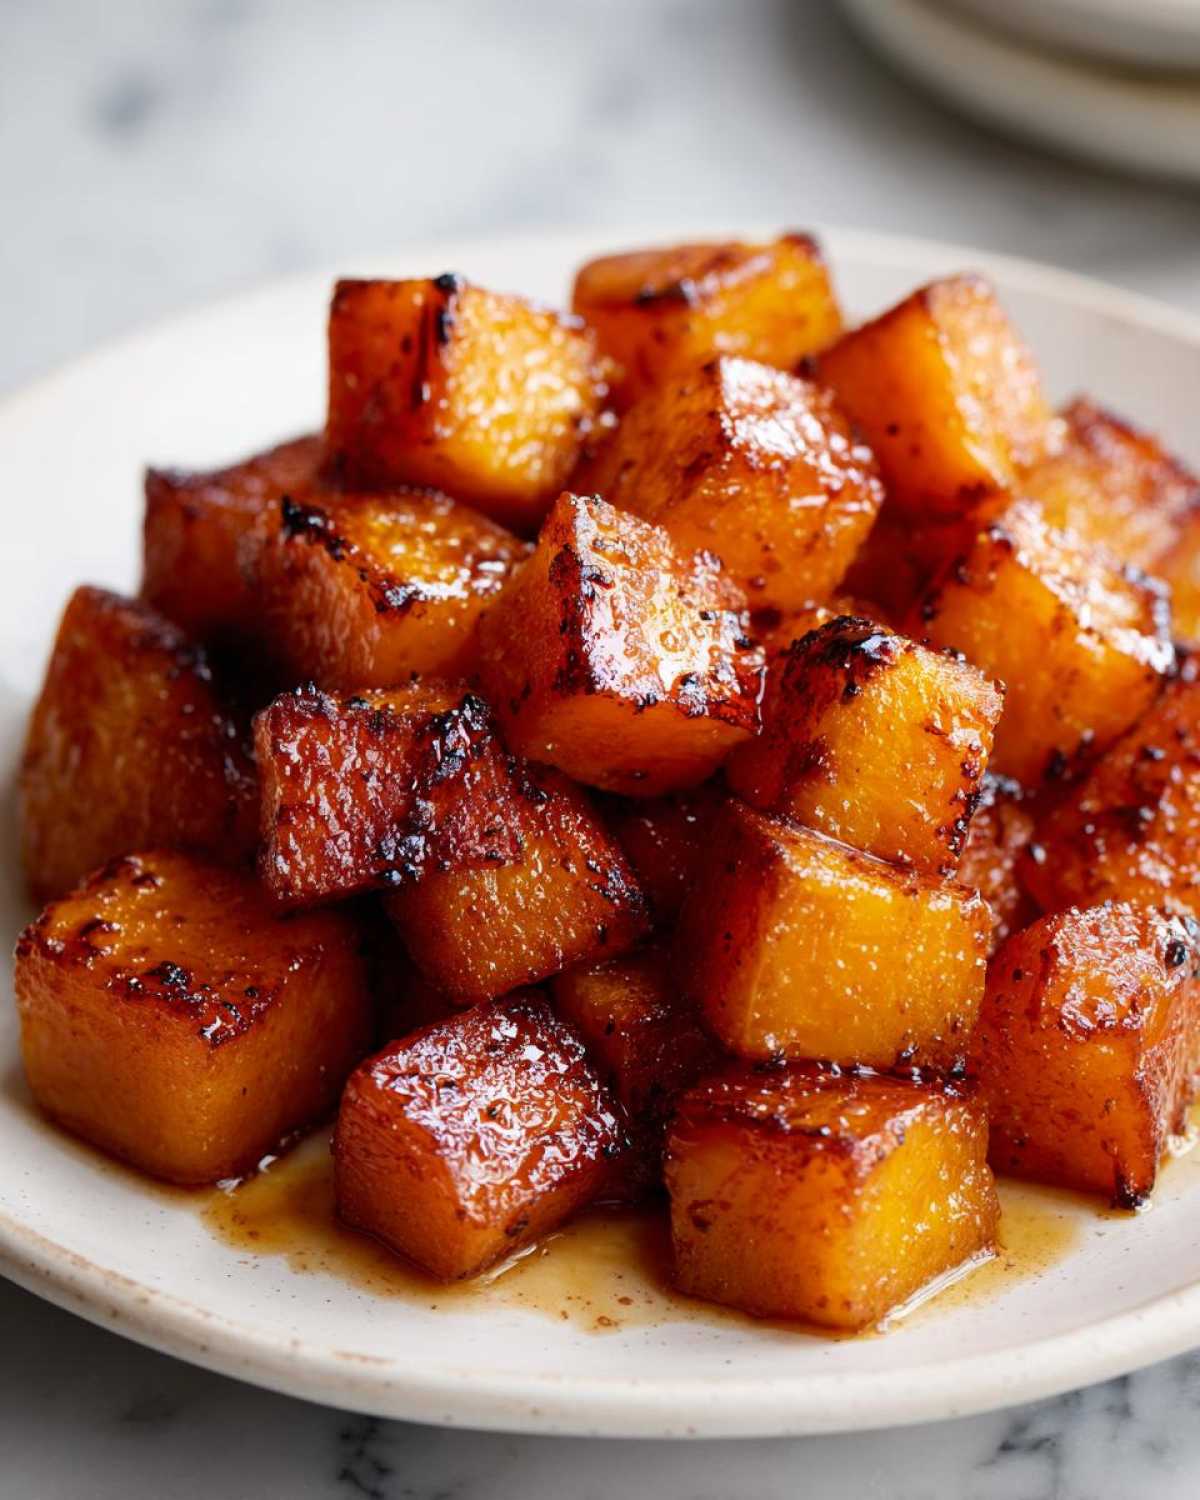
I discovered this recipe in my grandmother’s weathered recipe box, tucked between her famous apple pie and pecan stuffing cards. She’d make huge sheet pans of this golden goodness every October, the maple and brown sugar glaze bubbling at the edges of the squash. “The secret,” she’d whisper conspiratorially while stirring the mixture, “is letting those sugars work their magic slowly in the oven.” Thirty years later, that same technique still transforms simple squash cubes into something extraordinary – sweet enough to satisfy cravings but savory enough to pair beautifully with roasted meats or hearty salads. There’s something about that crispy, caramelized exterior giving way to velvety squash that makes people ask for seconds every single time.
- Why You'll Love This Brown Sugar Roasted Butternut Squash
- Ingredients for Brown Sugar Roasted Butternut Squash
- How to Make Brown Sugar Roasted Butternut Squash
- Tips for the Best Brown Sugar Roasted Butternut Squash
- Serving Suggestions for Brown Sugar Roasted Butternut Squash
- Storage and Reheating Instructions
- Nutritional Information
- Frequently Asked Questions
- Share Your Experience
Why You’ll Love This Brown Sugar Roasted Butternut Squash
Oh my goodness, this recipe will become your new best friend – trust me! Here’s why you’re gonna fall head over heels for it:
- Crazy easy – Just toss and roast! Minimal prep means you can whip it up even on busy weeknights.
- Those caramelized edges will make your taste buds dance – the sugar gets all golden and crackly while the squash stays silky inside.
- Perfect sweet-savory balance (the maple and cinnamon give it that “can’t-stop-eating” quality).
- Amazing for meal planning – makes fantastic leftovers that reheat beautifully.
- Your new star holiday side dish – it plays so nicely with turkey, ham, or roasted chicken.
And the best part? Kids and adults both go nuts for it. I’ve served this at everything from casual suppers to fancy Thanksgivings – it never disappoints!
Ingredients for Brown Sugar Roasted Butternut Squash
You’ll be shocked how such simple ingredients can create something so insanely delicious! Here’s what you’ll need:
- 1 medium butternut squash (about 2 lbs), peeled, seeded, and cut into 1-inch cubes – trust me, fresh is best here rather than pre-cubed
- 2 tablespoons olive oil – this gives us those perfectly roasted edges
- 2 tablespoons packed brown sugar (yep, packed – measure it like you mean it!)
- 1 tablespoon pure maple syrup – none of that pancake syrup stuff, okay?
- ½ teaspoon salt – brings out all the flavors
- ¼ teaspoon black pepper – just enough to create that irresistible sweet-savory combo
- ¼ teaspoon cinnamon – my grandmother’s secret weapon for warmth
That’s it! Sometimes I’ll throw in a pinch of nutmeg if I’m feeling fancy – it adds this cozy depth that’s perfect for holiday meals.
How to Make Brown Sugar Roasted Butternut Squash
Alright, let’s get to the good stuff! Making this caramelized butternut squash is so simple, but I’ll walk you through each step to ensure absolute perfection. The first time I made this, I learned a few tricks (after a minor “almost set off the smoke alarm” incident) that I’ll share with you. You’ll be amazed at how easy it is to transform these few ingredients into something so spectacular.
Prepping the Squash
First things first – don’t let that butternut squash intimidate you! Here’s my foolproof method: Use a sharp vegetable peeler to remove the skin (it’s easier than trying to knife it off). Cut the squash in half lengthwise, scoop out the seeds with a spoon, then slice it into 1-inch cubes. Pro tip: Make your pieces roughly the same size so they roast evenly – nobody wants some mushy bits while others are still crunchy!
Mixing the Ingredients
This is where the magic starts! In a large bowl, drizzle the squash cubes with olive oil – just enough to lightly coat them all over. Sprinkle on the packed brown sugar (press it into your measuring spoon so you get every delicious granule!), then drizzle the maple syrup like you’re painting a masterpiece. Finally, sprinkle the salt, black pepper, and cinnamon over everything. Now roll up your sleeves and gently toss it all together until each golden cube is perfectly coated. I like to use my hands for this – it’s messy but SO effective!
Roasting to Perfection
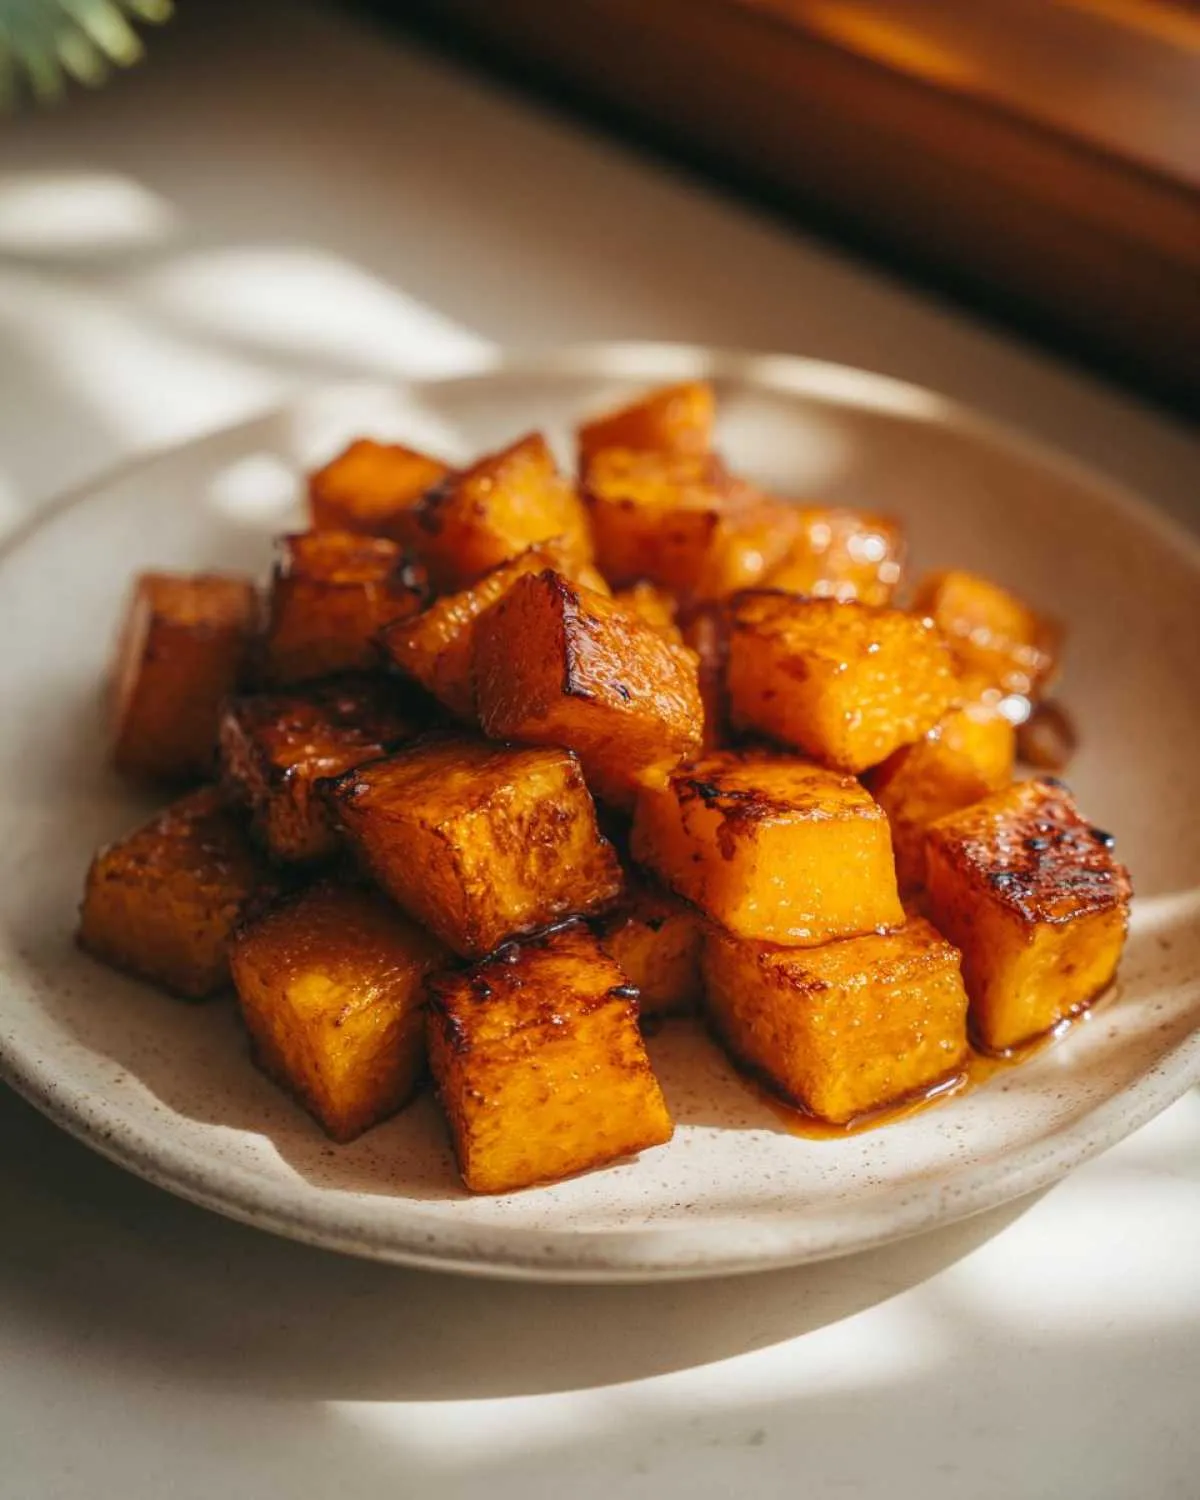
Spread your glazed squash on a rimmed baking sheet – don’t overcrowd or it’ll steam instead of roast (trust me, I learned this the hard way). Pop it into a preheated 400°F oven for 15 minutes, then give it a good stir. You’ll already see the sugar starting to caramelize at this point – those golden edges make me so happy! Roast for another 10-15 minutes until fork-tender and beautifully bronzed. For extra crispiness, broil for 2-3 minutes at the end (but watch closely – those sugars can go from golden to gone in seconds)!
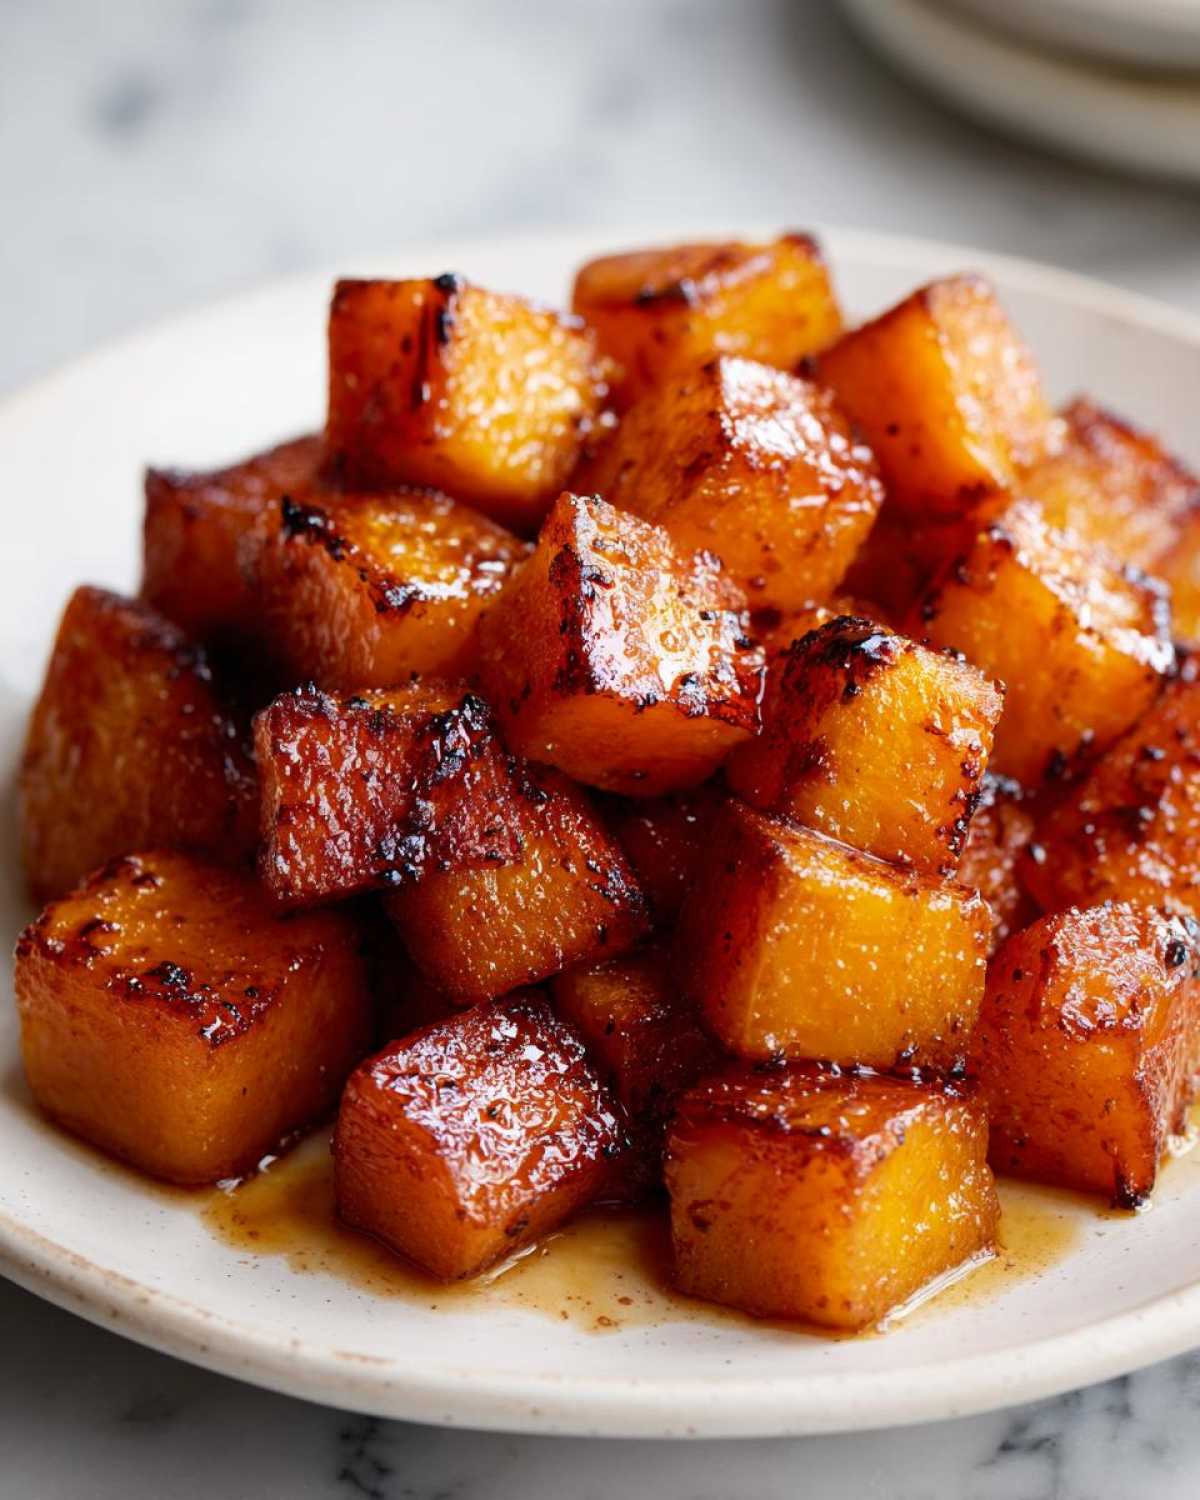
And voilà! You’ve just made the easiest, most crowd-pleasing side dish ever. The whole process takes less time than waiting for some meal delivery services to arrive, with way better results!
Tips for the Best Brown Sugar Roasted Butternut Squash
After making this recipe more times than I can count (and learning from my mistakes!), here are my absolute must-know tips for squash perfection:
- Fresh is best – Pre-cut squash saves time but often dries out. That extra 5 minutes peeling pays off in velvety texture.
- Sweetness control – Start with 2 tbsp brown sugar, then taste a roasted piece. Sprinkle more at the 15-minute mark if you want extra caramelization (my husband’s trick!).
- Pan real estate matters – Use two sheet pans if needed. Crowding = steaming = soggy squash (learned this at Thanksgiving Disaster 2018!).
- Temperature magic – Roast at 400°F for that perfect balance of tender interior and crispy edges. My oven runs hot, so I check at 20 minutes.
- Broiler endgame – For insane caramelization, broil 2 minutes at the end (but don’t answer the doorbell – they burn fast!).
The best part? This recipe is practically foolproof once you know these little tricks. My neighbor’s attempt with frozen squash still tasted good, but oh boy, fresh makes all the difference!
Serving Suggestions for Brown Sugar Roasted Butternut Squash
Oh how I love dressing up this simple roasted squash into a showstopper! It’s my secret weapon for holiday meals – perfectly complements roast turkey (the maple and brown sugar echo those glorious pan juices) and makes butternut squash risotto taste even more special. When I’m meal planning for busy weeks, I’ll roast a double batch – half gets devoured warm with roasted chicken, the rest gets tossed into quinoa bowls the next day.
For Thanksgiving sides that’ll wow your guests, arrange these golden cubes next to garlicky mashed potatoes and roasted brussels sprouts – that sweet-savory-crispy combo never fails! My favorite tip? Pin your favorite pairings on Pinterest boards while they’re fresh in your mind. (I’ve got a whole collection of sheet pan sides that make holiday cooking so much easier!) Leftovers disappear fast at my house – we’ll stir them into morning omelets or layer them on toasted sourdough with ricotta for quick lunches.
Storage and Reheating Instructions
Now, I know you’ll probably devour this straight from the sheet pan (who could resist?), but if you’ve got leftovers – lucky you! Let them cool completely, then tuck those golden cubes into an airtight container – they’ll keep beautifully in the fridge for 3-4 days. When you’re ready to reheat, spread them on a baking sheet and pop them in a 350°F oven for 10 minutes to revive that gorgeous caramelization. In a pinch? 60 seconds in the microwave works too, though you’ll lose some crispiness. Pro tip: Leftovers are magical tossed into meal planning salads or grain bowls – the flavors deepen overnight!
Nutritional Information
Just like my grandma always said, “Good food should taste amazing first – the benefits are a happy bonus!” These nutrition facts are estimates (using 1 cup of roasted squash per serving) since brands and squash sizes vary. One batch gives you about 150 calories per serving with 3g fiber – not bad for something this sweet! Remember, using more maple syrup or oil will tweak the numbers. If you’re tracking for weight loss programs or specific diets, always calculate with your exact ingredients. But honestly? The smiles around your dinner table are the best nutrition of all!
Frequently Asked Questions
Can I use other squash varieties instead of butternut?
Absolutely! Acorn squash or delicata work beautifully – just adjust roasting times since they’re often thinner. I love delicata squash because you can eat the skin (less prep work!). Sweet potatoes make a tasty swap too, though they’ll caramelize faster – check them at 20 minutes to prevent burning on those holiday side dishes.
How do I prevent the brown sugar from burning?
Oh honey, I’ve learned this the hard way! Two tricks: First, stir at the 15-minute mark to redistribute the sugars. Second, position your oven rack in the middle (not top) to avoid hot spots. If edges darken too fast, tent loosely with foil. My grandma taught me roasted butternut squash is done when you smell caramel, not smoke!
Can I make this ahead for Thanksgiving dinners?
You bet! Roast as directed, let cool, then refrigerate up to 2 days. Before serving, reheat at 375°F for 10 minutes to revive those sweet-savory flavors. Sometimes I’ll drizzle fresh maple syrup right before serving – it makes people think you slaved for hours over these easy vegetable sides!
What if my squash tastes bitter?
This usually means it wasn’t ripe enough. Next time, choose squash that feels heavy for its size with a matte (not shiny) skin. If it’s already roasting, add an extra teaspoon of brown sugar and 1/8 tsp cinnamon – my neighbor swears this saves her sheet pan sides every time!
Is there a vegan version?
So easy! Just substitute maple syrup for honey (if using), and you’re golden. For richness, I’ll sometimes toss in a tablespoon of melted coconut oil with the olive oil. Works perfectly with my meal planning for vegan friends – they always ask for the recipe!
Share Your Experience
Did you make this brown sugar roasted butternut squash? I’d love to hear how it turned out for you! Leave a comment below with your favorite way to serve it or any clever twists you added (pepitas? browned butter?). Snap a photo of your caramelized masterpiece and share it on Pinterest – you’ll find me there saving all the best fall recipes. Happy roasting, friends!
PrintBrown Sugar Roasted Butternut Squash
A sweet and savory roasted squash side dish with caramelized edges, perfect for fall or holiday meals.
- Prep Time: 10 min
- Cook Time: 30 min
- Total Time: 40 min
- Yield: 4 servings 1x
- Category: Side Dish
- Method: Roasting
- Cuisine: American
- Diet: Vegetarian
Ingredients
- 1 medium butternut squash, peeled and cubed
- 2 tbsp olive oil
- 2 tbsp brown sugar
- 1 tbsp maple syrup
- 1/2 tsp salt
- 1/4 tsp black pepper
- 1/4 tsp cinnamon
Instructions
- Preheat oven to 400°F (200°C).
- Toss cubed squash with olive oil, brown sugar, maple syrup, salt, pepper, and cinnamon.
- Spread evenly on a sheet pan.
- Roast for 25-30 minutes, stirring halfway, until caramelized and tender.
- Serve warm.
Notes
- For extra crispiness, broil for 2-3 minutes at the end.
- Pair with other holiday side dishes for a complete meal.
Nutrition
- Serving Size: 1/4 of recipe
- Calories: 150
- Sugar: 10
- Sodium: 300
- Fat: 7
- Saturated Fat: 1
- Unsaturated Fat: 5
- Trans Fat: 0
- Carbohydrates: 22
- Fiber: 3
- Protein: 1
- Cholesterol: 0