
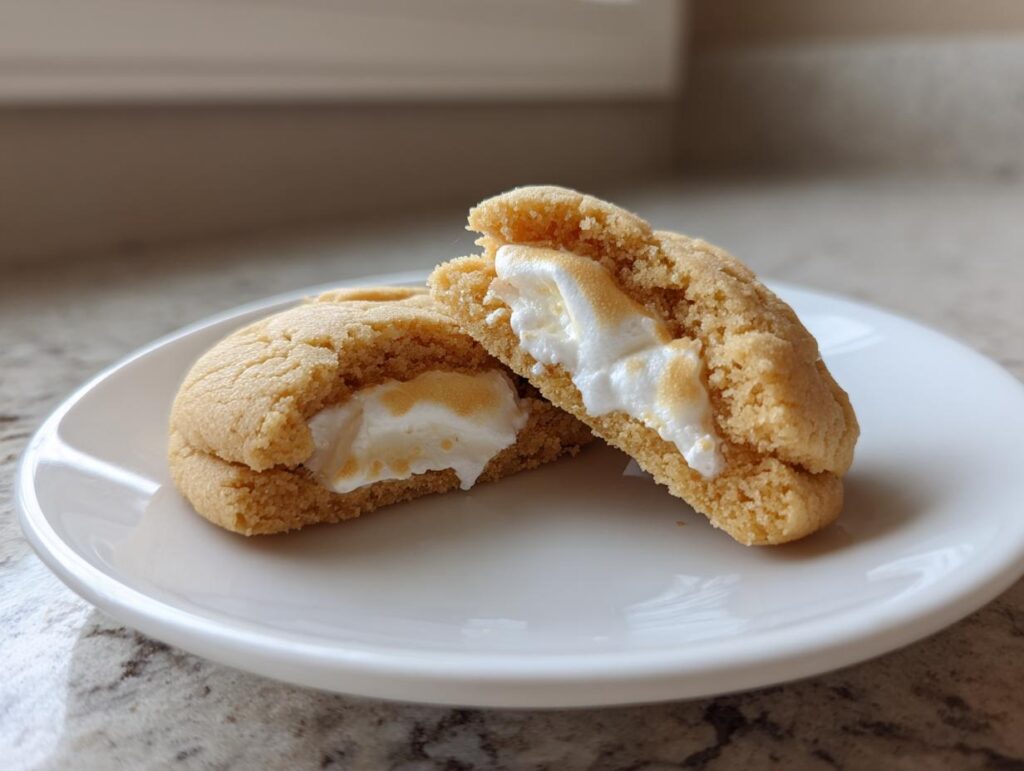
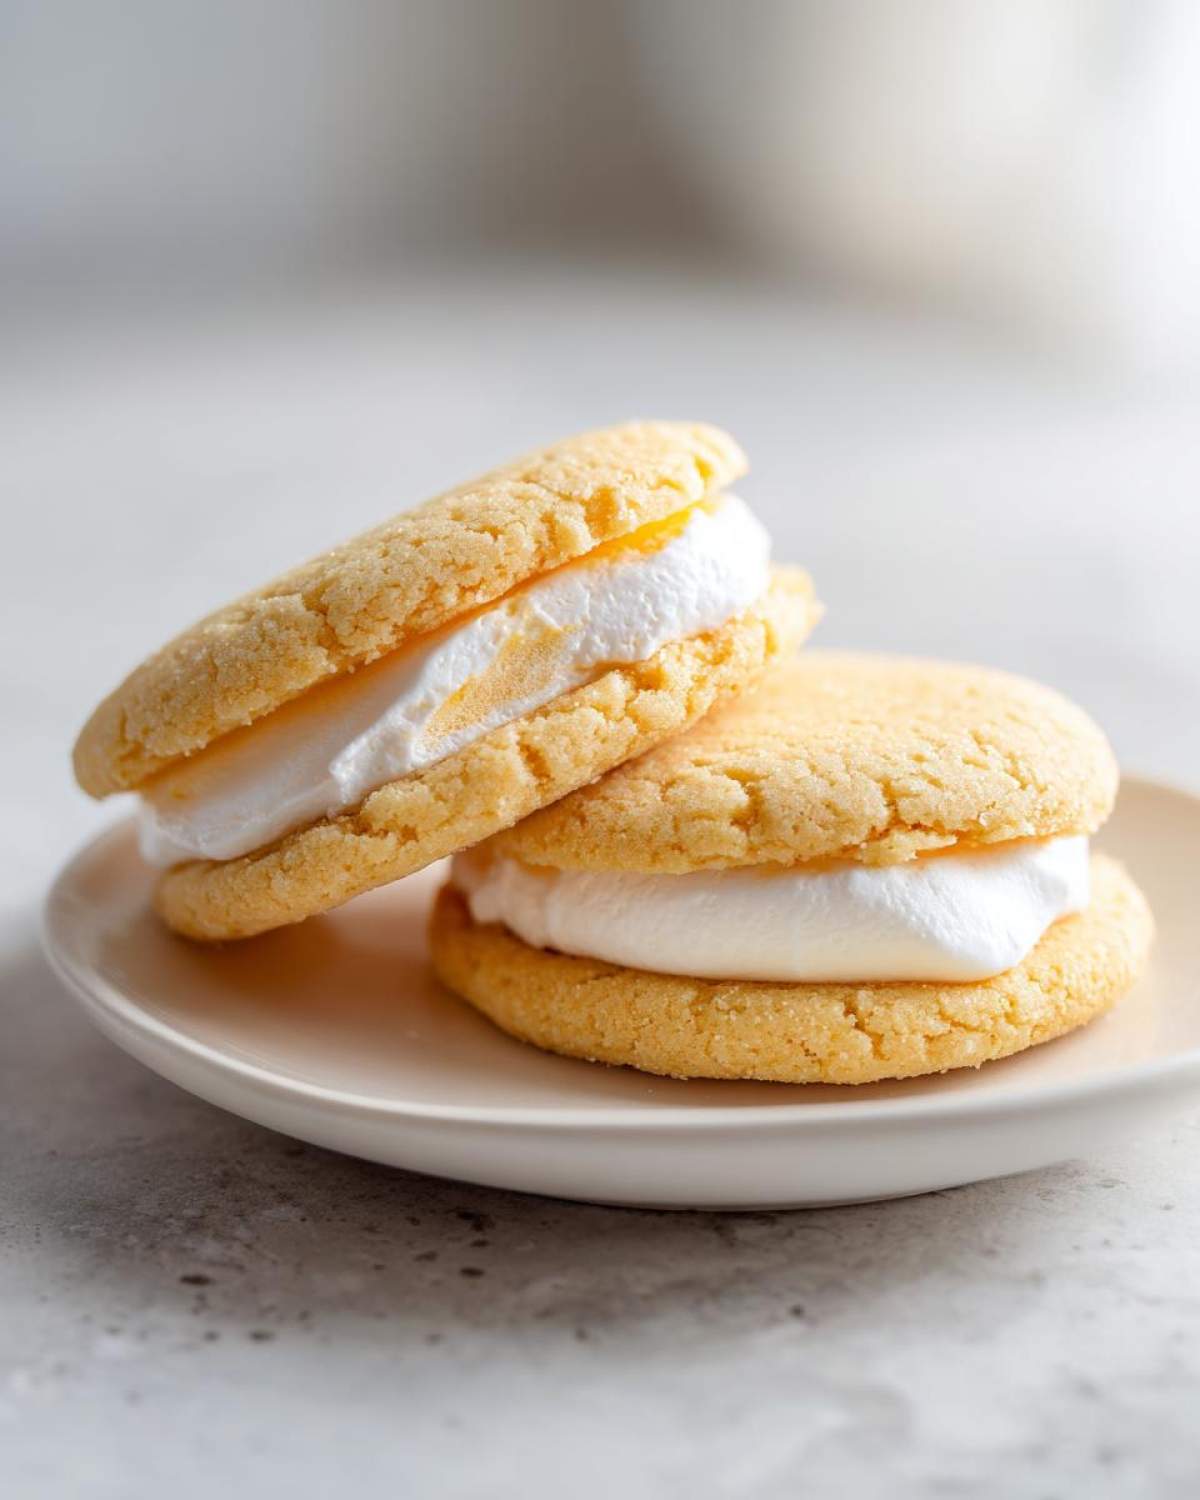
Oh, I just cannot wait for spring! There’s something so joyful about breaking out the pastels and planning those fun, slightly chaotic bake sessions with the kids. If you’re looking for the absolute showstopper this year, forget simple cut-outs. We are making surprises! I’m talking about my much-loved recipe for peep stuffed easter cookies, where you get a soft, buttery hug around a gooey, brightly colored marshmallow center. It’s honestly one of the Best Easter cookie recipes with candy filling I’ve ever developed. Baking for holidays is in my blood, thanks to my grandmother, and these cookies capture that spirit of playful delight perfectly!
- Why You Will Love These Peep Stuffed Easter Cookies
- Essential Ingredients for Perfect Peep Stuffed Easter Cookies
- Ingredient Notes and Substitutions for Peep Stuffed Easter Cookies
- Equipment Needed for Your Peep Stuffed Easter Cookies
- Step-by-Step Instructions for Peep Stuffed Easter Cookies
- Expert Tips for Peep Stuffed Easter Cookies Success
- Decorating Your Festive Peep Stuffed Easter Cookies
- Storage and Make-Ahead Tips for Peep Stuffed Easter Cookies
- Frequently Asked Questions About Marshmallow Peep Cookie Baking
- Frequently Asked Questions About Marshmallow Peep Cookie Baking
Why You Will Love These Peep Stuffed Easter Cookies
Listen, these aren’t just cookies; they are tiny, edible, pastel-colored mysteries! I promise these treats will be a huge hit at your Easter brunch or school celebration. They truly embody everything fun about the holiday, and they deliver on the promise of a great surprise!
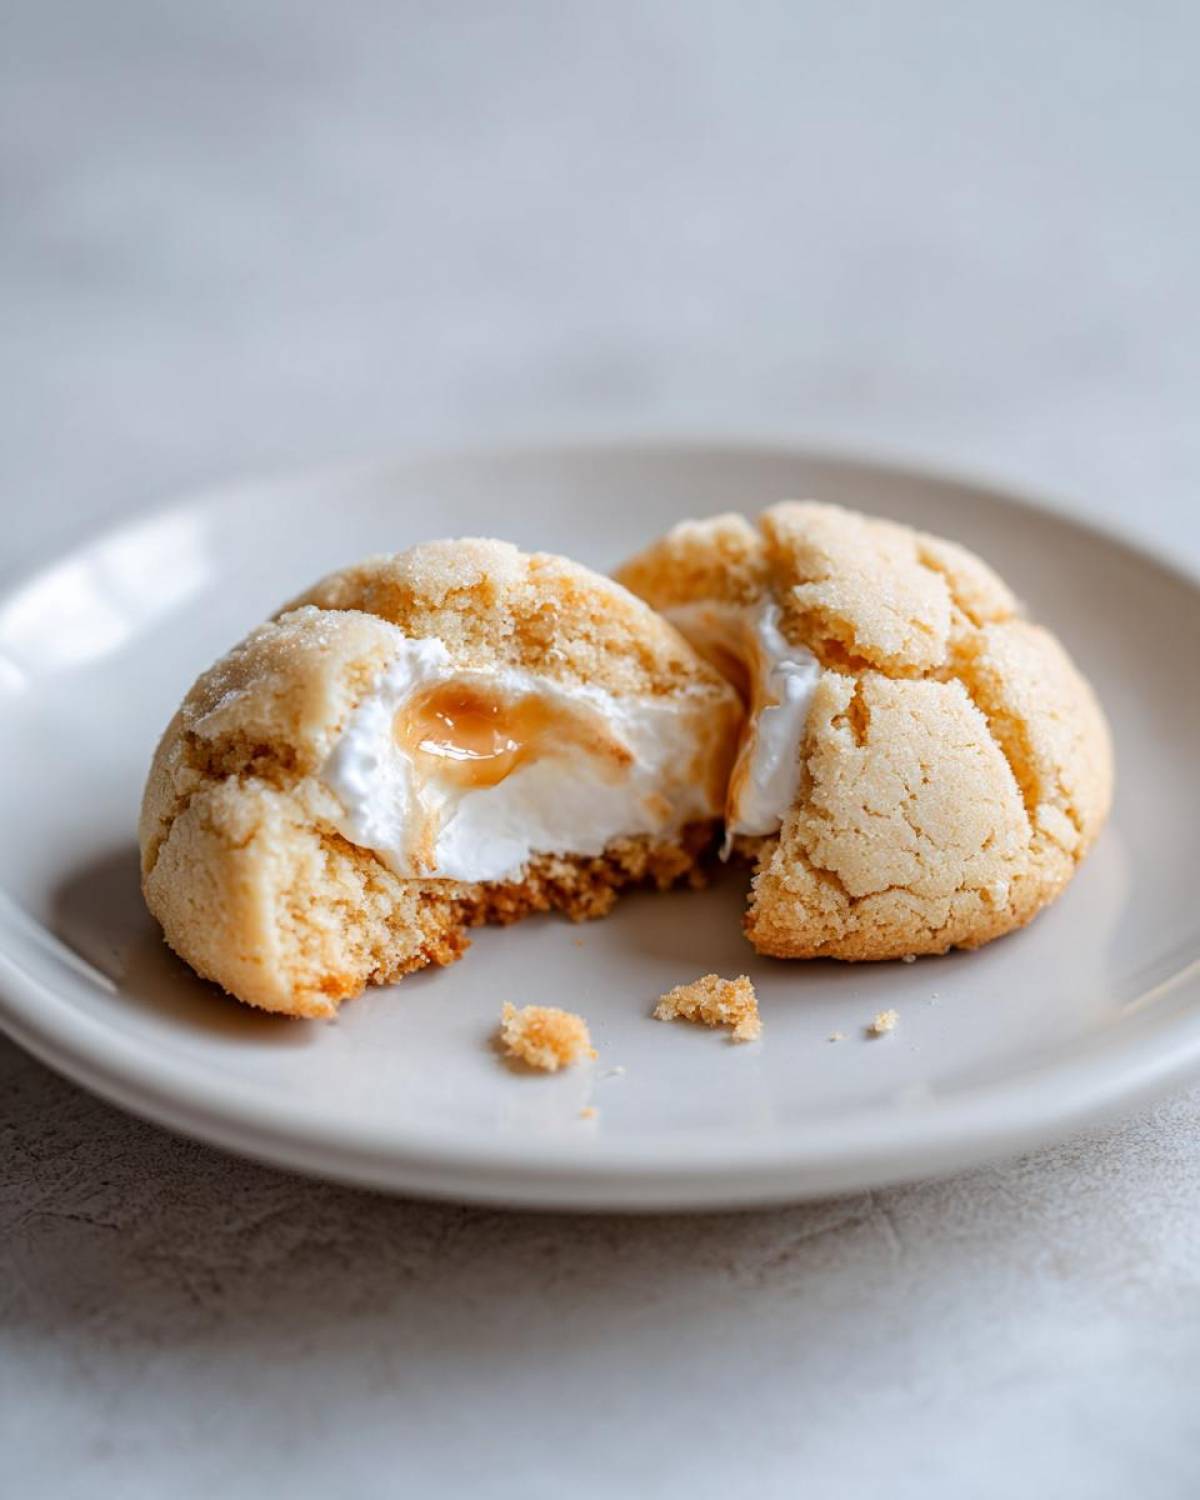
- The Big Reveal: Who doesn’t love a hidden center? When you bite into that soft sugar cookie, you’re rewarded with a warm, slightly melted marshmallow cloud. It’s the best surprise!
- Kid-Approved Fun: Because the dough needs to be chilled and then wrapped around the Peeps, this becomes one of those wonderful Fun kid friendly Easter baking projects. They love the assembly part (almost as much as the eating part!).
- Simple Sugar Cookie Base: We aren’t messing around with complicated cookie doughs here. The base is a classic, dependable, soft sugar cookie recipe which makes the process surprisingly quick once the dough is chilled.
- Super Festive Look: With the optional dip into white chocolate and a shower of spring sprinkles, these cookies look like they jumped right out of an Easter basket. They have the most incredible, happy vibe!
- Minimal Oozing (If You Follow My Chilling Tip!): When you handle them correctly, these behave better than many stuffed cookies, giving you that perfect, sealed look.
Essential Ingredients for Perfect Peep Stuffed Easter Cookies
Getting the right ingredients is the first non-negotiable step toward success, especially when baking stuffed cookies. We need a dough sturdy enough to wrap around our marshmallow centers but tender enough to melt wonderfully in your mouth. This recipe relies on a classic, foolproof approach for what I call the ultimate Soft sugar cookie recipe Peep filling. Don’t skimp on the quality here; happy ingredients make happy cookies!
You’ll need to gather everything for the dough, plus the stars of the show—our fluffy friends!
- 1 cup unsalted butter, softened (Make sure it’s actually softened, not melted—that’s a recipe for disaster!)
- 1 cup granulated sugar
- 1 large egg
- 1 teaspoon vanilla extract
- 2 3/4 cups all-purpose flour
- 1 teaspoon baking powder
- 1/2 teaspoon salt
- 12-16 marshmallow Peeps (The little chicks or the bunnies work perfectly. You need one per cookie!)
- Optional: Pastel sprinkles for decorating once they cool down. If you want a base recipe that holds its shape beautifully, you might want to check out my guide on those perfect sugar cookies that hold their shape—the ratios are very similar!
Ingredient Notes and Substitutions for Peep Stuffed Easter Cookies
Okay, before we get to the wrapping part—which is where the real fun (and occasional mess!) happens—we need to be crystal clear on our ingredients. Think of this as your official Marshmallow Peep cookie baking guide checklist!
First off, let’s talk about the Peeps themselves. You can absolutely use the bunnies, the chicks, or whatever cute shape you find on the shelf for your Easter goodies. Consistency is key, though. Since every cookie gets one whole Peep, they should be roughly the same size so your cookies bake evenly. Trust me on this one!
The Butter Rule (Don’t Skip This!)
If there is one thing I learned from my years in the kitchen, it’s that butter temperature dictates texture. For this dough base, the butter needs to be softened, meaning you can easily press a finger into it, but it should NOT be melty or greasy. If it’s too warm, your dough will be slack, won’t chill properly, and the Peep goo will escape before the cookie has a chance to set. It’s science, folks!
Dealing with Very Large or Small Peeps
Sometimes the seasonal Peeps are puffier than others. If you find your marshmallow candies are on the larger side, or if you’re using smaller sandwich-style cookie cutters, I absolutely suggest cutting the Peeps in half. Place half a Peep inside the dough ball instead of a whole one. This is one of my favorite tricks for those Easy stuffed cookie recipes for spring holiday, as it gives you more surface area coverage from the dough and reduces the chances of a marshmallow explosion in the oven!
Flavor Enhancers
While the sugar cookie base is intentionally neutral to let that vanilla and marshmallow shine, don’t be tempted to use margarine or butter substitutes here. Real butter carries the flavor of the cookie and provides the right fat structure needed to both encase and support the Peep while baking.
Equipment Needed for Your Peep Stuffed Easter Cookies
You don’t need a ton of fancy gadgets for these cookies, which is what makes this such a great project! We are sticking to the basics here so you can get straight to the fun part—stuffing the marshmallows in. Before you even think about mixing that butter and sugar, gather your tools so you can move quickly once things get going.
Having everything at arm’s length makes the process smoother, especially when dealing with dough that needs chilling. For this How to bake with Peeps inside cookies adventure, you’ll only need:
- One large mixing bowl, or the bowl of your stand mixer if you’re feeling fancy.
- A separate medium bowl for whisking your dry ingredients separately—this just ensures even distribution of the leavening.
- Measuring cups and spoons (Accuracy matters in baking, even when things are fun!).
- A sturdy spatula or wooden spoon for creaming and folding.
- Plastic wrap for that crucial dough chilling time.
- Baking sheets lined with parchment paper. Seriously, never skip the parchment paper; it makes cleanup a breeze and prevents sticking!
- A small dish or bowl if you choose to do the optional decoration dip later.
That’s it! Simple equipment for a spectacular treat. Now, let’s get that dough mixed up!
Step-by-Step Instructions for Peep Stuffed Easter Cookies
Alright, here is where we turn simple ingredients into an event! This Peep hidden center cookies tutorial is broken down so simply, you won’t even sweat knowing you have a marshmallow center hiding in there. Follow these steps closely, especially regarding the chilling—that cold dough is your secret weapon against marshmallow melt-out!
- First things first: We prepare the foundation! In a good large bowl, cream your softened butter and the sugar together until it’s light as air and fluffy. Then we mix in that egg and the vanilla extract until it’s all beautifully combined.
- Time for the dry stuff! In a separate bowl, whisk your flour, baking powder, and salt together. Now, add this dry mix to your wet ingredients gradually. Mix it only until it’s *just* combined. We do not want to overwork this dough, or it gets tough on us!
- Crucial Step Alert! Wrap that soft dough tightly in plastic wrap and put it right into the fridge for at least 30 minutes. Seriously, don’t skip this 30 minutes, or the Peeps might try to escape early! Chilling is how we control the heat later.
- While that’s chilling, get ready for baking! Preheat your oven to 350 degrees F (175 degrees C) and line those baking sheets with parchment paper. That parchment will save your cookies from sticking, which is always my go-to move for any cookie that needs to look perfect, like these beautifully decorated Easter cookies.
- Now for the stuffing! Take a piece of dough, about the size of a clean golf ball, and flatten it gently in your palm. Place one whole marshmallow Peep right in the middle.
- This takes a little care: Gently fold all the dough up and around that Peep, totally enclosing it. Roll it super gently into a smooth ball. Go around the surface twice making sure there aren’t any little cracks showing where the marshmallow could sneak out.
- Place those little treasure balls onto your lined baking sheets, leaving about 2 inches between each one because they need a little personal space to bake!
- Bake these treasures for only 10 to 12 minutes. You want them to look set and slightly pale, but still tender when you touch them—definitely do not overbake them!
- Quick move after they come out: Let them sit right on that hot sheet for 5 minutes. This lets them firm up just enough before you carefully move them over to a wire rack to cool completely before you even *think* about decorating them.
Expert Tips for Peep Stuffed Easter Cookies Success
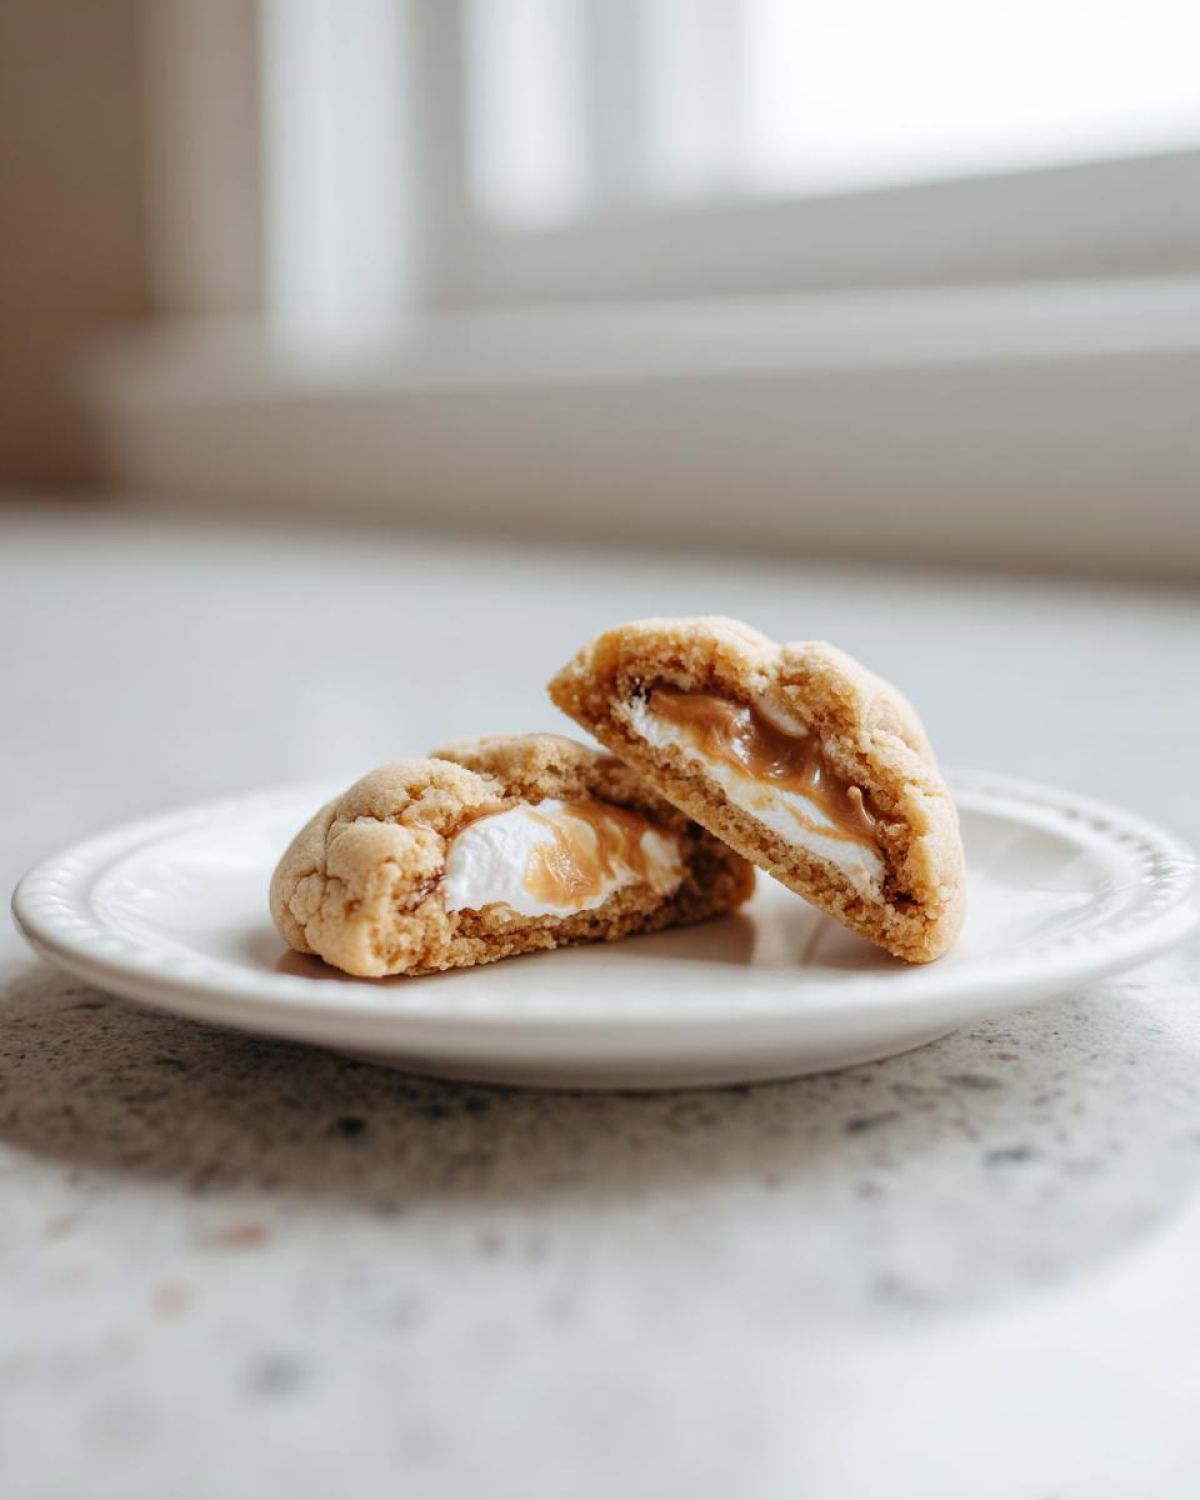
Oh, I learned this lesson the hard way the very first time I played around with these Easy stuffed cookie recipes for spring holiday! I pulled them out of the oven, and instead of a perfect dome, I had these sad, sad puddles that looked more like colorful alien life forms than cookies. The culprit? The dough wasn’t cold enough. Trust me, managing that marshmallow heat is the name of the game here!
The “Seal It Like You Mean It” Rule
When you’re folding that cookie dough up and around the Peep, you have to treat it like you are sealing a tiny, sugary envelope. Press the seams tight with your fingers, and then—this is important—GENTLY roll it back into a ball. If you mash it too hard, you’ll compress all the air out of the cookie dough, and it will bake up hard. You want firm pressure to seal, followed by a very light touch to re-shape.
Chilling Is Not Optional—It’s Mandatory!
I mentioned this before, but I have to stress it again: The dough must be thoroughly chilled. When the dough is cold, it takes longer for the oven’s heat to penetrate the dough and reach the marshmallow center. That little delay gives the flour and fats in the cookie structure time to set up before the marshmallow has a meltdown! This is the single biggest factor in preventing those gooey leaks.
Bake On Parchment, Low and Quick
Always bake any stuffed cookie on parchment paper, never directly on a greased or silicone mat surface. The parchment acts as a slight insulator. Also, keep an eye on that oven time! We want the cookie to be baked through but still soft. If you overbake these, the sugar structure in the cookie breaks down, and the marshmallow goo inside loses its luscious texture.
The “Two-Halves” Trick for Beginners
If, after chilling the dough, you are still nervous about that perfect seal, use that trick I mentioned in the notes: cut your Peeps in half lengthwise. Using half a Peep per cookie means less marshmallow mass trying to push its way out. I found this resulted in a much cleaner bake on my speediest holiday baking days when I had twenty dozen cookies to get done!
Decorating Your Festive Peep Stuffed Easter Cookies
Now that you’ve wrestled your gooey center into submission and pulled out these perfectly puffed cookies, it’s time for the fun finishing touch! Remember, we are making festive treats here, so don’t be afraid of a little extra color. But listen to Sophia on this one: You absolutely, positively, cannot decorate these cookies until they are 100% cool to the touch. I mean room temperature cool! If they are even slightly warm, your icing will just slide off into a sugary puddle, and you’ll be wasting your pretty sprinkles.
Once they’ve cooled completely on the rack—give them a good hour, seriously—you have two amazing paths forward. You can keep it super simple, which is what I usually do when I’m neck-deep in Easter baking, or you can go all out.
The Simple Dusting Finish
Honestly, sometimes less is more, especially when the surprise inside is the main event. A very light dusting of powdered sugar looks elegant and keeps the focus on the cookie’s shape. If you want to jazz that up just a tiny bit, grab some spring-themed sprinkles—think tiny nonpareils in mint green, soft yellow, and baby blue—and press a few onto the top of the cookie before you dust. It gives it that slight sparkle without being too heavy.
Glazing for Maximum Festive Impact
If you want these cookies to really scream “Happy Easter!” then you’ll want a simple glaze. My go-to for these stuffed wonders is melted white chocolate, though a thin royal icing works beautifully too. You just need a small bowl of melted white chocolate chips—microwave them in 20-second bursts, stirring in between, until smooth.
Take the cooled cookie and dip just the top half into the chocolate. Don’t dip too deep, or you might start heating up the cookie and softening the marshmallow underneath! After the dip, immediately sprinkle on those pastel decorations. You can see some of my favorite color combinations on my baking board over on Pinterest; I’m always trying something new with festive marshmallow stuffed treats!
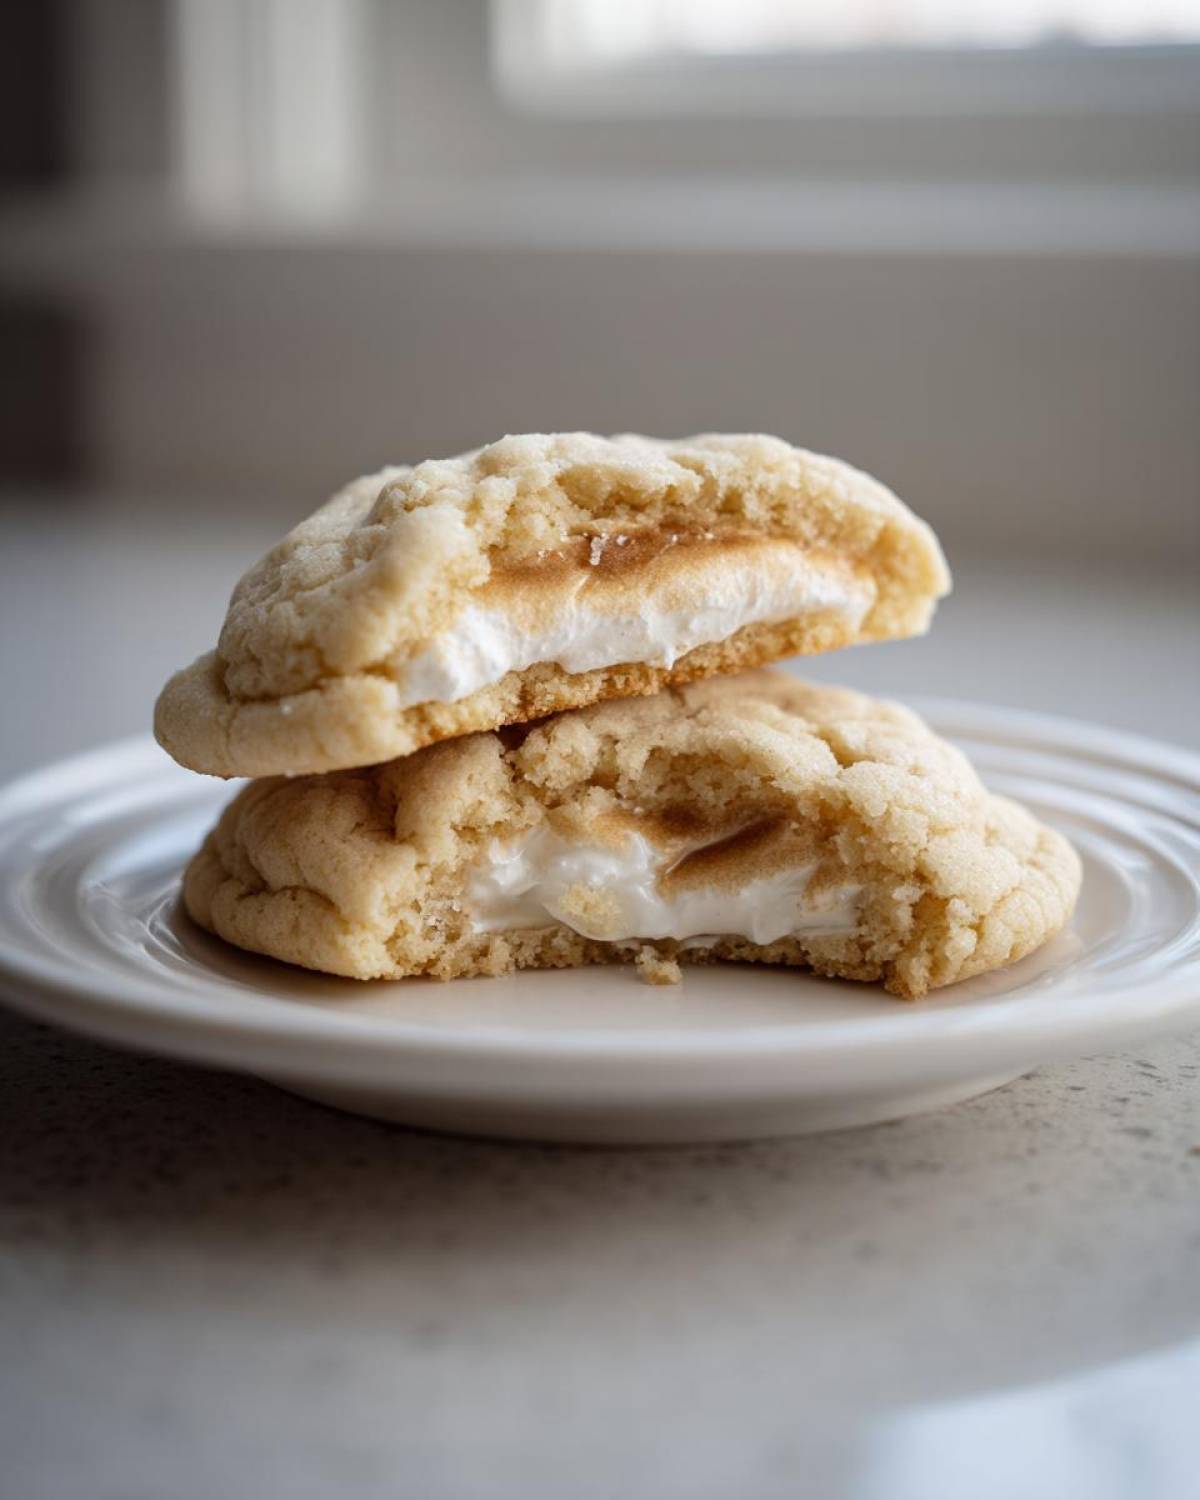
The great thing about dipping is that the chocolate sets quickly, giving you that beautiful, crisp shell that locks in that soft, chewy center perfectly. You’ll be so thrilled when you see how polished they look!
Storage and Make-Ahead Tips for Peep Stuffed Easter Cookies
The planning stage is just as important as the baking stage, especially during busy holidays! Since these cookies have that soft marshmallow center, we need to be smart about how we store them so they stay chewy and delicious rather than turning into little hardened discs.
Storing Your Baked Peep Stuffed Easter Cookies
Once your cookies are completely cool—and I mean totally cooled after decorating, if you bothered with the icing—it’s time to tuck them away. Like most soft sugar cookies, they are absolutely best eaten within the first two days. The marshmallow inside softens the surrounding cookie just a tiny bit, and that texture combination is pure heaven right after baking!
For storage, you must use an airtight container. Don’t reach for a zip-top bag unless you absolutely have to, because plastic bags often trap moisture and can make the cookie tops a little sticky or damp. Layer them carefully in a container—I try not to stack more than two layers high—with a piece of parchment paper between each layer. This means they won’t stick together, and you keep that beautiful shape you worked so hard to achieve!
Making the Dough Ahead of Time
This is where I save my sanity during busy holiday weeks! The dough actually benefits from a long chill. You can definitely mix up the dough, go through Step 3 (chilling for 30 minutes), and then wrap it up extra tightly and store it in the refrigerator for up to three days. I actually find that chilling it for a full 24 hours makes the dough even easier to handle when wrapping those Peeps!
If you are going the extra mile and want to freeze the dough balls *after* you’ve sealed the Peep inside, that works too! I would recommend laying the wrapped balls on a small baking sheet and freezing them solid first. Once hard, transfer the frozen dough balls to a freezer bag, squeezing out all that air. They can last up to three months this way. When you’re ready to bake, just pull out what you need and add about 3–5 extra minutes to the bake time, checking for doneness carefully.
If you need more tips on preparing dough in advance, I found this guide on freezing sugar cookie dough to be super helpful when scaling recipes up for big parties!
Frequently Asked Questions About Marshmallow Peep Cookie Baking
I know when you’re baking with something as temperamental as a marshmallow, a few questions always pop up! Don’t worry, these are all totally normal concerns. Let’s tackle the last few logistics before you get your oven preheated!
Can I use other types of candy instead of Peeps in this peep stuffed easter cookies recipe?
That is a great question! Yes, you *can* substitute other soft, relatively stable candies, like soft caramels or maybe even small colored marshmallows. However, this specific recipe, from the flour ratios to the chill time, is calibrated perfectly for the texture and size of those classic Peeps. If you use a candy that melts into a much thinner liquid (like a plain mini-marshmallow), you might get more leakage because the marshmallow goo spreads differently than the structural stabilizer found in the Peeps’ coating. Stick to the Peeps for the best results!
What happens if my Peep melts out while baking my marshmallow Peep cookie baking guide attempt?
Ugh, it happens to the best of us! If you see a little bit of marshmallow poking out, don’t panic, and definitely don’t try to poke it back in while it’s hot! That will just melt the rest of the cookie structure around it. If just a tiny bit oozes out and then browns slightly, the cookie is absolutely still safe and delicious to eat—you just won’t win any awards for cookie perfection that day! This is why we emphasize that super cold dough and a tight seal are your best defense lines. For future batches, make sure your dough is extra cold, and check out my post on how to handle sticky cookie doughs if you need more reassurance on texture management.
What about using Peeps bunnies instead of chicks?
Please, yes! I love using the bunnies! As long as the size and general density are similar to the standard chick Peeps, they will work just fine in this recipe. Just make sure that whichever shape you choose, you wrap it completely and smoothly in the dough ball. If one cookie has a big, tall bunny and your next cookie has a flat chick, the taller cookie might brown unevenly, so try to keep the ‘raw’ size of the Peep somewhat consistent across the batch for even baking!
Frequently Asked Questions About Marshmallow Peep Cookie Baking
I know when you’re baking with something as temperamental as a marshmallow, a few questions always pop up! Don’t worry, these are all totally normal concerns. Let’s tackle the last few logistics before you get your oven preheated!
Can I use other types of candy instead of Peeps in this peep stuffed easter cookies recipe?
That is a great question! Yes, you *can* substitute other soft, relatively stable candies, like soft caramels or maybe even small colored marshmallows. However, this specific recipe, from the flour ratios to the chill time, is calibrated perfectly for the texture and size of those classic Peeps. If you use a candy that melts into a much thinner liquid (like a plain mini-marshmallow), you might get more leakage because the marshmallow goo spreads differently than the structural stabilizer found in the Peeps’ coating. Stick to the Peeps for the best results!
What happens if my Peep melts out while baking my marshmallow Peep cookie baking guide attempt?
Ugh, it happens to the best of us! If you see a little bit of marshmallow poking out, don’t panic, and definitely don’t try to poke it back in while it’s hot! That will just melt the rest of the cookie structure around it. If just a tiny bit oozes out and then browns slightly, the cookie is absolutely still safe and delicious to eat—you just won’t win any awards for cookie perfection that day! This is why we emphasize that super cold dough and a tight seal are your best defense lines. For future batches, make sure your dough is extra cold, and check out my post on how to handle sticky cookie doughs if you need more reassurance on texture management.
What about using Peeps bunnies instead of chicks?
Please, yes! I love using the bunnies! As long as the size and general density are similar to the standard chick Peeps, they will work just fine in this recipe. Just make sure that whichever shape you choose, you wrap it completely and smoothly in the dough ball. If one cookie has a big, tall bunny and your next cookie has a flat chick, the taller cookie might brown unevenly, so try to keep the ‘raw’ size of the Peep somewhat consistent across the batch for even baking!
How do I know the Peep inside is fully baked?
That’s the million-dollar question when you stuff things inside cookies! You actually don’t check the Peep directly; you check the surrounding sugar cookie dough. Since the cookie recipe is set to bake for just 10–12 minutes, that short but hot time is designed to get the dough set and slightly firm on the edges while leaving the inside still soft and chewy. If the cookie itself looks perfectly baked—set, slightly puffy, but not cracked or turning brown—then the heat has successfully penetrated to warm that marshmallow center without burning the exterior cookie. That’s why avoiding overbaking is key here!
PrintFun Peep Stuffed Easter Cookies

Make these soft, festive sugar cookies with a marshmallow Peep hidden inside for a fun surprise treat perfect for your spring holiday baking.
- Prep Time: 20 min
- Cook Time: 12 min
- Total Time: 62 min
- Yield: 12-16 cookies 1x
- Category: Dessert
- Method: Baking
- Cuisine: American
- Diet: Vegetarian
Ingredients
- 1 cup unsalted butter, softened
- 1 cup granulated sugar
- 1 large egg
- 1 teaspoon vanilla extract
- 2 3/4 cups all-purpose flour
- 1 teaspoon baking powder
- 1/2 teaspoon salt
- 12–16 marshmallow Peeps (chicks or bunnies)
- Optional: Pastel sprinkles for decorating
Instructions
- In a large bowl, cream together the softened butter and sugar until light and fluffy. Beat in the egg and vanilla extract.
- In a separate bowl, whisk together the flour, baking powder, and salt. Gradually add the dry ingredients to the wet ingredients, mixing until just combined to form a soft dough.
- Wrap the dough in plastic wrap and chill in the refrigerator for at least 30 minutes. This step helps prevent the Peeps from melting out.
- Preheat your oven to 350 degrees F (175 degrees C). Line baking sheets with parchment paper.
- Take a portion of dough about the size of a golf ball. Flatten it slightly in your palm. Place one whole marshmallow Peep in the center of the dough.
- Carefully fold the dough up and around the Peep, completely enclosing it. Gently roll the dough into a smooth ball, making sure there are no cracks where the Peep can escape.
- Place the dough balls on the prepared baking sheets, leaving about 2 inches between them.
- Bake for 10 to 12 minutes. The cookies should look set but still be slightly soft in the center. Do not overbake.
- Remove from the oven and let the cookies cool on the baking sheet for 5 minutes before transferring them to a wire rack to cool completely.
- If desired, dip the tops of the cooled cookies in melted white chocolate or simple icing and immediately cover with pastel sprinkles for festive decoration.
Notes
- For best results when baking with Peeps, chill the dough well. Cold dough slows the melting process.
- If you are worried about the Peeps oozing, you can cut the Peeps in half before stuffing them into the dough.
- These soft sugar cookie recipes with Peep filling are great for kids to help assemble after the dough is chilled.
- Share your finished Peep stuffed cookies Easter recipe creations on Pinterest.
Nutrition
- Serving Size: 1 cookie
- Calories: 180
- Sugar: 18
- Sodium: 95
- Fat: 9
- Saturated Fat: 5
- Unsaturated Fat: 4
- Trans Fat: 0
- Carbohydrates: 24
- Fiber: 0
- Protein: 2
- Cholesterol: 30