
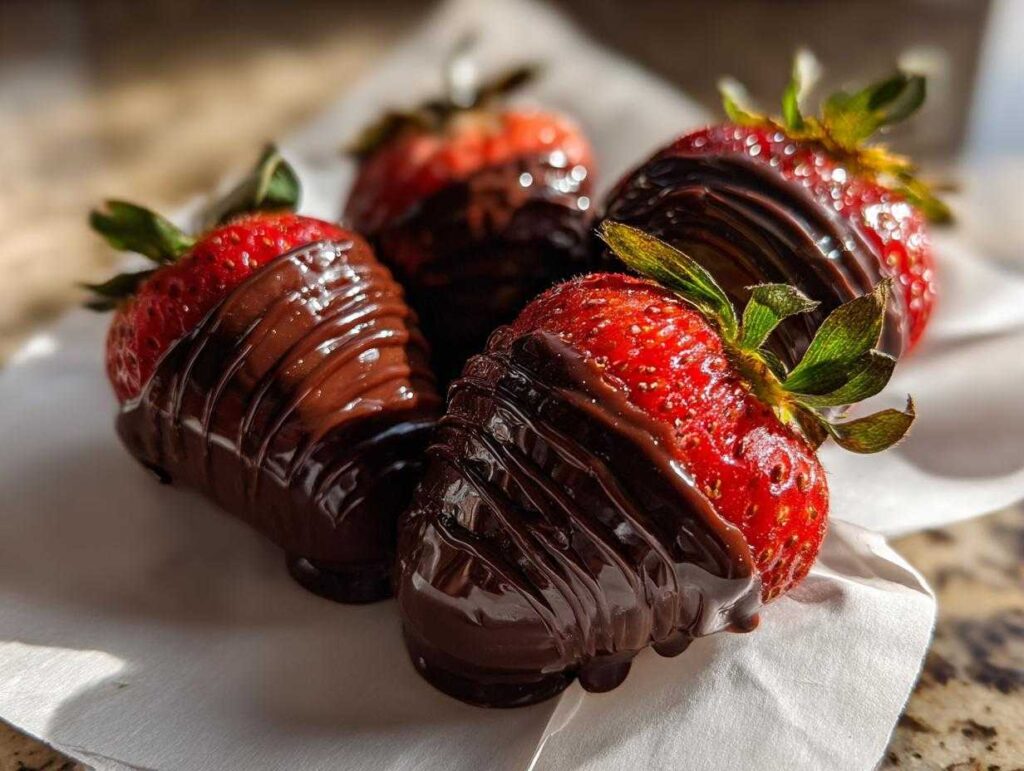
If you think making bakery-worthy sweets at home is too tricky, let me change your mind right now! Nothing says ‘I made this special effort’ like a beautiful batch of chocolate covered strawberries. They look incredibly fancy, right? But honestly, they are one of the quickest, most fun little things you can whip up. I just adore seeing the bright red peek out from underneath that perfect, dark chocolate shell. What sets this guide apart is that we are tackling the disasters you usually see—no dull, streaky chocolate here! I promise, by the time you read this, you’ll know my tricks for getting that stunning, glossy, non-sweaty finish every single time. This recipe? It’s my go-to when I need a showstopper that takes practically no time!
- Why This is the Ultimate Guide to Perfect chocolate covered strawberries
- Gathering Your Ingredients for Stunning chocolate covered strawberries
- The Step-by-Step homemade chocolate strawberries tutorial
- Pro Tips for No-Fail chocolate covered strawberries
- Creative chocolate covered strawberry decorating ideas
- Storage and Make Ahead chocolate covered strawberries
- Variations: Dark chocolate dipped strawberries and white chocolate covered strawberries
- Serving Suggestions for Your chocolate covered strawberries
- Frequently Asked Questions about chocolate covered strawberries
- Share Your Glossy chocolate covered strawberries Creations
- Estimated Nutritional Information for chocolate covered strawberries
Why This is the Ultimate Guide to Perfect chocolate covered strawberries
Look, I’ve been there. You dip the berry, you wait, and suddenly, the perfect chocolate coating starts looking cloudy, or worse, it just slides right off! Ugh! This easy chocolate covered strawberries recipe is different because we focus only on beating those common frustrations. You won’t just get a good chocolate coating; you’ll get the perfect chocolate coating tips to ensure that beautiful shell stays glossy, hard, and stuck tight. It’s all about the prep, trust me. If you want flawless results, keep reading! For more tips on getting shiny tops, check out my guide on ultimate fudgy brownies with shiny tops.
Gathering Your Ingredients for Stunning chocolate covered strawberries
Okay, gathering your supplies is half the battle, and it’s where we build the foundation for that picture-perfect look. Seriously, if you skimp here, you risk everything! When we talk about getting the best chocolate for dipping strawberries, we aren’t messing around with standard chips that seize up or melt weirdly. Quality matters so much for that smooth shell.
Essential Components for chocolate covered strawberries
Here’s what you need to pull together for this magic to happen. Remember, preparation on the fruit side is non-negotiable! You’re going to need about one pound of super fresh strawberries. Make sure they are washed, and I mean *completely* dried—we’ll dive into why later! For the chocolate, grab about 12 ounces of high-quality melting chocolate. This could be dark, milk, or white, depending on what you’re dreaming of. I always suggest grabbing a teaspoon of coconut oil or vegetable shortening if you have it on hand. That little bit of fat is my secret weapon for getting that extra gorgeous shine!
Optional Toppings and chocolate strawberry drizzle ideas
Now for the fun, artistic part! You might want some sprinkles, or maybe some crushed nuts if you’re feeling textural complexity. If you decide you want to do chocolate strawberry drizzle ideas later on, you’ll need to have a contrasting color of chocolate melted down separately. That stark contrast against the main coating makes them look instantly gourmet, like something from an actual bakery!
The Step-by-Step homemade chocolate strawberries tutorial
Alright, let’s get messy—but controlled messy! This is where we actually create those stunning chocolate covered strawberries. I want you to follow these steps precisely, especially the prep, because that’s the secret sauce for that wonderful, glossy chocolate strawberries technique everyone asks about. I promise, by the time you read this, you’ll know my tricks for getting that stunning, glossy, non-sweaty finish every single time. This recipe? It’s my go-to when I need a showstopper that takes practically no time! You can already find ideas over on our Pinterest board; we love seeing what you make for inspiration!
Crucial Preparation: Drying Strawberries for perfect chocolate coating tips
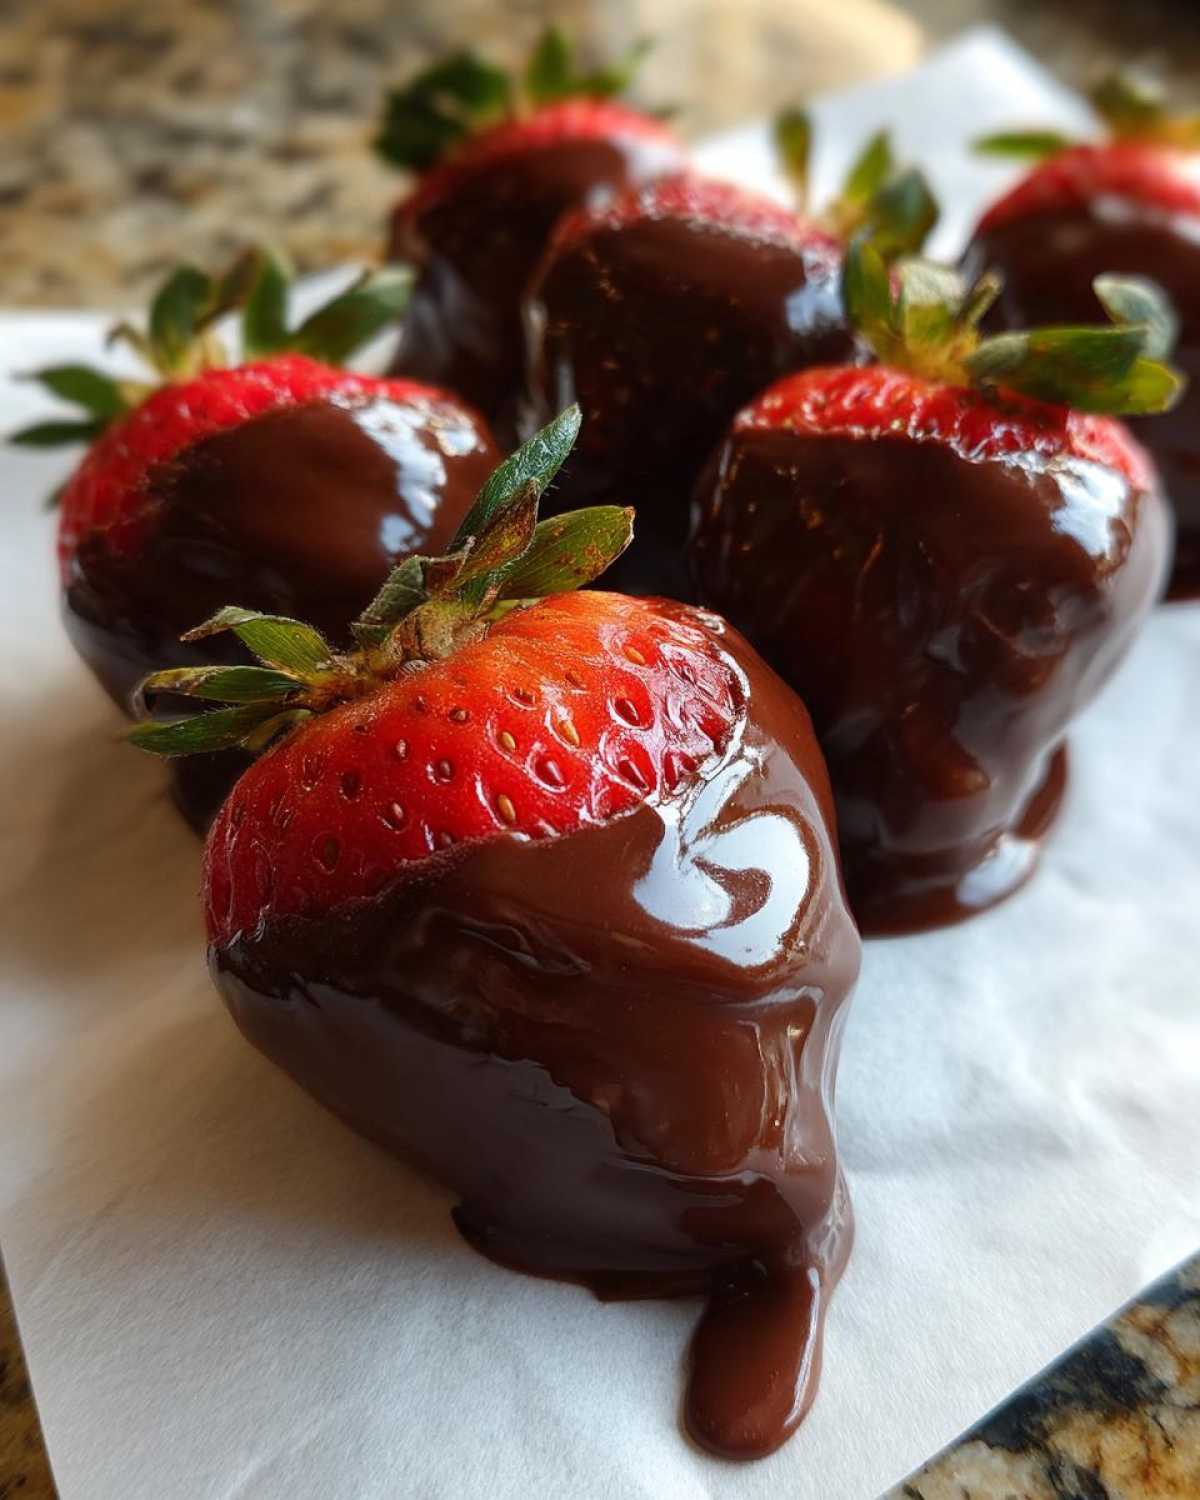
Step one is the most important deal-sealer for success. You MUST have dry strawberries. I mean bone dry! Seriously, go grab paper towels and pat every single berry. If you skip this, I guarantee you’ll have weeping, sweating chocolate later, or worse, the chocolate will seize up when it hits the water. Leave those pretty green tops on, though; they act as your perfect little handles!
Melting Chocolate Correctly: The glossy chocolate strawberries technique
Time to melt the chocolate with your optional teaspoon of coconut oil. If you use the microwave, go slow! Thirty seconds at a time, stirring really well between buzzes, until it’s *almost* smooth. You don’t want to scorch it; burnt chocolate tastes sad. If you prefer the classic double boiler method, go for it, but keep that heat low! Once it’s melted, step three is key for that thick, perfect coating for your easy chocolate covered strawberries recipe: let it cool down just a little bit—maybe five minutes. This slight cooling helps thicken the chocolate just enough before you start dipping so it doesn’t run right off the fruit. For more chocolate dipping tips, check out this external guide! learn some simple tips here.
Dipping and Setting Your chocolate covered strawberries
Now for the actual chocolate strawberry dipping guide! Grab a berry by its stem and gently dip it in, tilting the bowl slightly. Rotate the berry to coat about three-quarters of the way up, leaving some red visible. Lift it out, and here’s a crucial part of learning how to make chocolate dipped strawberries smoothly: gently tap your wrist against the edge of the bowl to shake off any thick globs. Place them immediately onto a parchment-lined sheet. If you’re using sprinkles or nuts, shower them on *now* before the chocolate sets! If you want a stunning drizzle, melt that contrasting chocolate, let it cool slightly, and use a fork or piping bag to flick lines across. We want these to set firmly, so pop them in the fridge for just 10-15 minutes, or let them sit at room temperature for about 30 minutes to complete the process!
Pro Tips for No-Fail chocolate covered strawberries
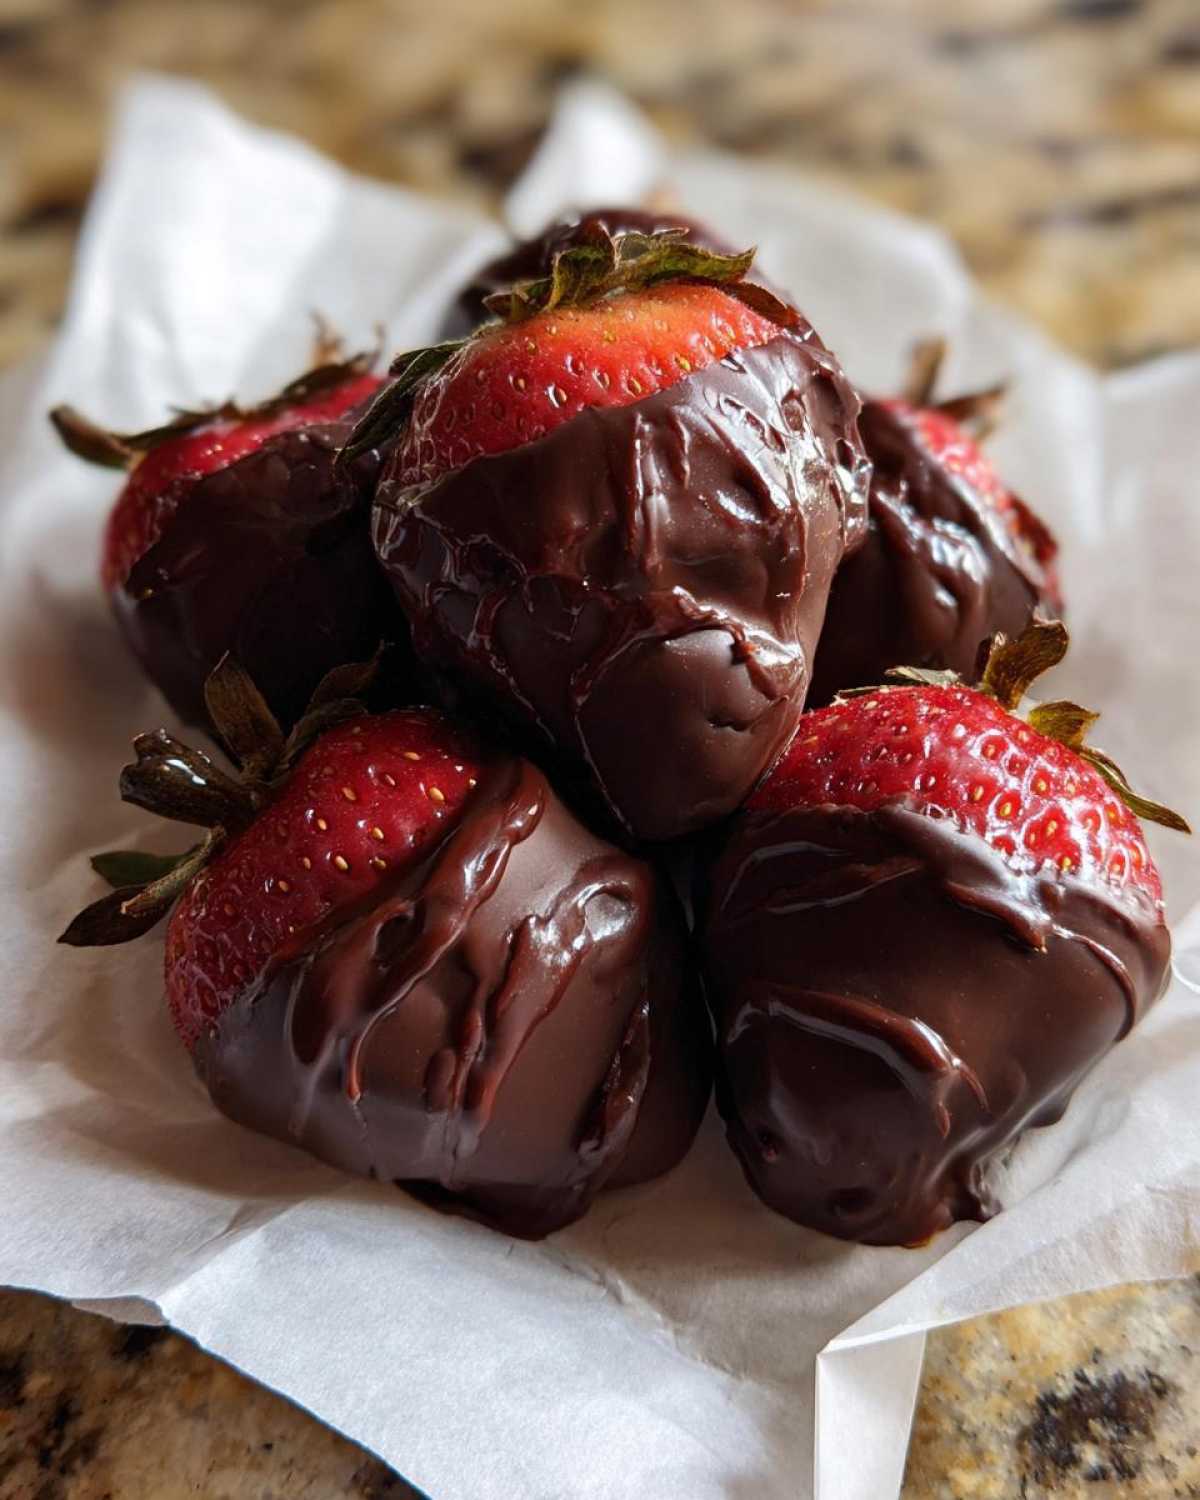
Okay, you’ve dipped them, and they look good, but we want them to look *amazing* and last more than five minutes without turning into a sticky mess! Achieving that no-fail chocolate strawberries status requires knowing what chocolate to grab and what temperature secrets to keep in your back pocket. Listen to Sophia: this is the difference between good and gourmet! I love seeing beautiful results like those featured over at Downshiftology’s guide—it really shows what’s possible when you use the right technique! Check out their strawberries for inspiration.
Choosing the Best Chocolate for Dipping
Seriously, ditch those standard chocolate chips unless they have cocoa butter listed clearly! If you want that snappy shell, you need something designed to set hard. I always recommend using high melting wafers—they are engineered for this, so they give you that lovely, smooth finish without a fuss. If you use a nice bar of dark chocolate, you’re getting great flavor, but remember, a higher cocoa butter content usually means a better coating consistency. We want that richness!
Troubleshooting: How to prevent chocolate covered strawberries from sweating
I mentioned it before, but it bears repeating: any water—even humidity—is the enemy. That’s what causes the dreaded ‘sweating’ or weeping chocolate later on. But here’s another thing I learned the hard way: if your chocolate gets too stiff while you’re working, don’t panic! Just zap it for 10 more seconds in the microwave. Keeping that warm, fluid consistency while dipping is critical for a smooth coat. Want more troubleshooting secrets? I love checking in on external guides like this one for extra tips on what makes chocolate weep! See why leaking happens.
For more ideas on shiny coatings, you can always peek at my thoughts on getting perfectly shiny brown tops too! It’s all about tempering your fats correctly, whether it’s in brownies or in these beautiful berries.
Creative chocolate covered strawberry decorating ideas
This is where we make these beauties look like they came from a fancy chocolatier! If you’re aiming for that truly gourmet chocolate dipped fruit look, the decorations make all the difference. We only used a few ingredients total, but a little decoration goes a long way to impress guests or your sweetheart. You can get so creative here, and trust me, it’s still super fast. I put a lot of fun ideas for inspiration over on my red velvet cake mix cookies post, and the same creativity applies here!
Simple Drizzles and Contrasting Chocolate
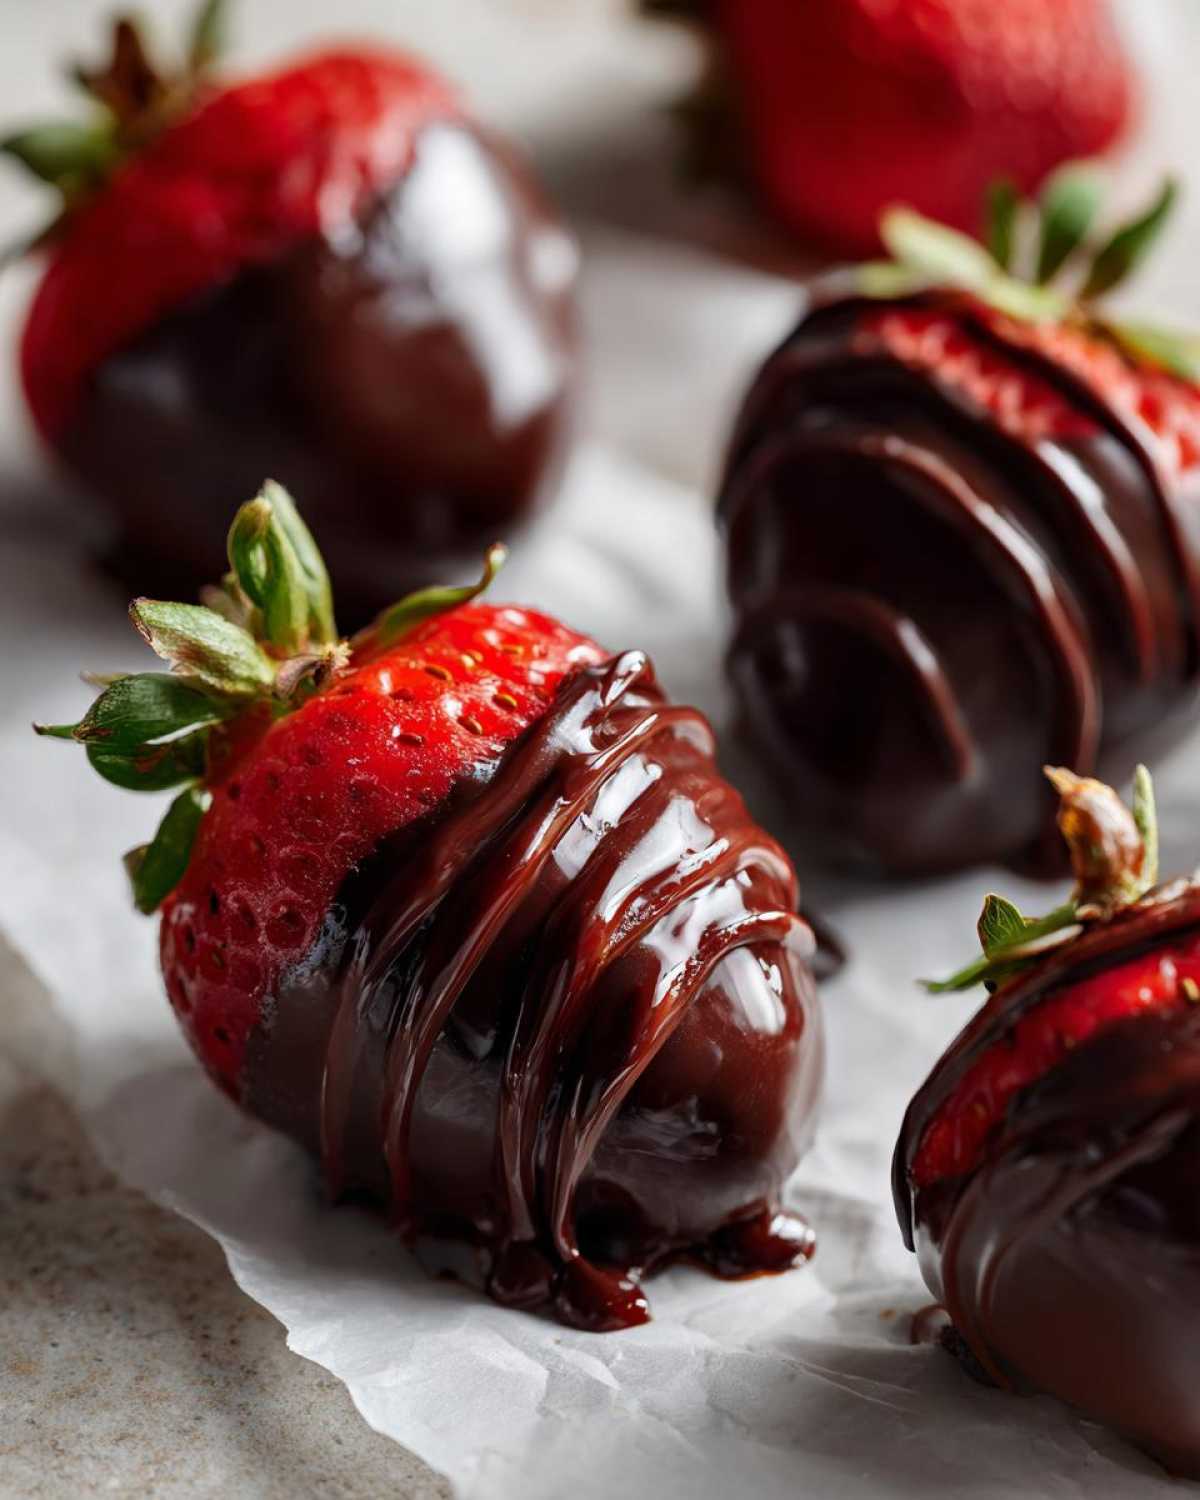
Drizzling is my absolute favorite way to elevate these! If you decided to melt white chocolate for decoration, or maybe even milk chocolate if you dipped in dark, you have to let that contrasting chocolate cool down a bit before you use it. If it’s too hot, it just melts right through your base coat, and you lose that crisp line. I like using a small fork—just dip the tines in, lift them up, and flick your wrist slightly over the tray. It creates these delicate, messy-but-perfect lines. You can even do a little zigzag pattern for that zebra look!
Adding Texture with Nuts and Sprinkles
If you want texture on your chocolate covered strawberries, timing is everything here. You absolutely must get your sprinkles, crushed nuts, or even some toasted coconut on the berries right away, like in Step 7 of the main instructions! As soon as that berry comes out of the chocolate bath and the excess drips off, that’s your window. If you wait even two minutes, that chocolate hardens, and nothing will stick. Don’t hesitate when sprinkling; you want a good, fun coating!
If you need more ideas for decorating and adding flair, definitely take a look over at Sarah’s brilliant collection of chocolate dipped strawberry ideas—so much eye candy!
Storage and Make Ahead chocolate covered strawberries
Okay, this is a big one, especially if you’re planning these for a party or maybe even gifting them for Valentine’s Day! Can you make these ahead of time? Yes, you absolutely can, but you have to treat them gently. I know some people have secrets for making make ahead chocolate covered strawberries last forever, but I stick to the simple rule: keep them away from fridge condensation. If you must chill them, stack them in a single layer only in an airtight container. Stacking them means smashing your beautiful chocolate work! For the best results and to learn how to keep them shiny for days, check out this great guide on making them ahead.
If you need a really sturdy makeup dessert, you might want to check out my recipe for an ice cream pie instead, because fresh berries just are happiest when they aren’t jostled around too much!
Variations: Dark chocolate dipped strawberries and white chocolate covered strawberries
One of the best things about making your own chocolate covered strawberries is that you aren’t limited to just one flavor profile! You can customize these for any party theme or just to match your personal craving. I usually have two bowls going when I make a big batch—one dark and one white. It just looks so much more impressive on a platter, like a little piece of the rainbow!
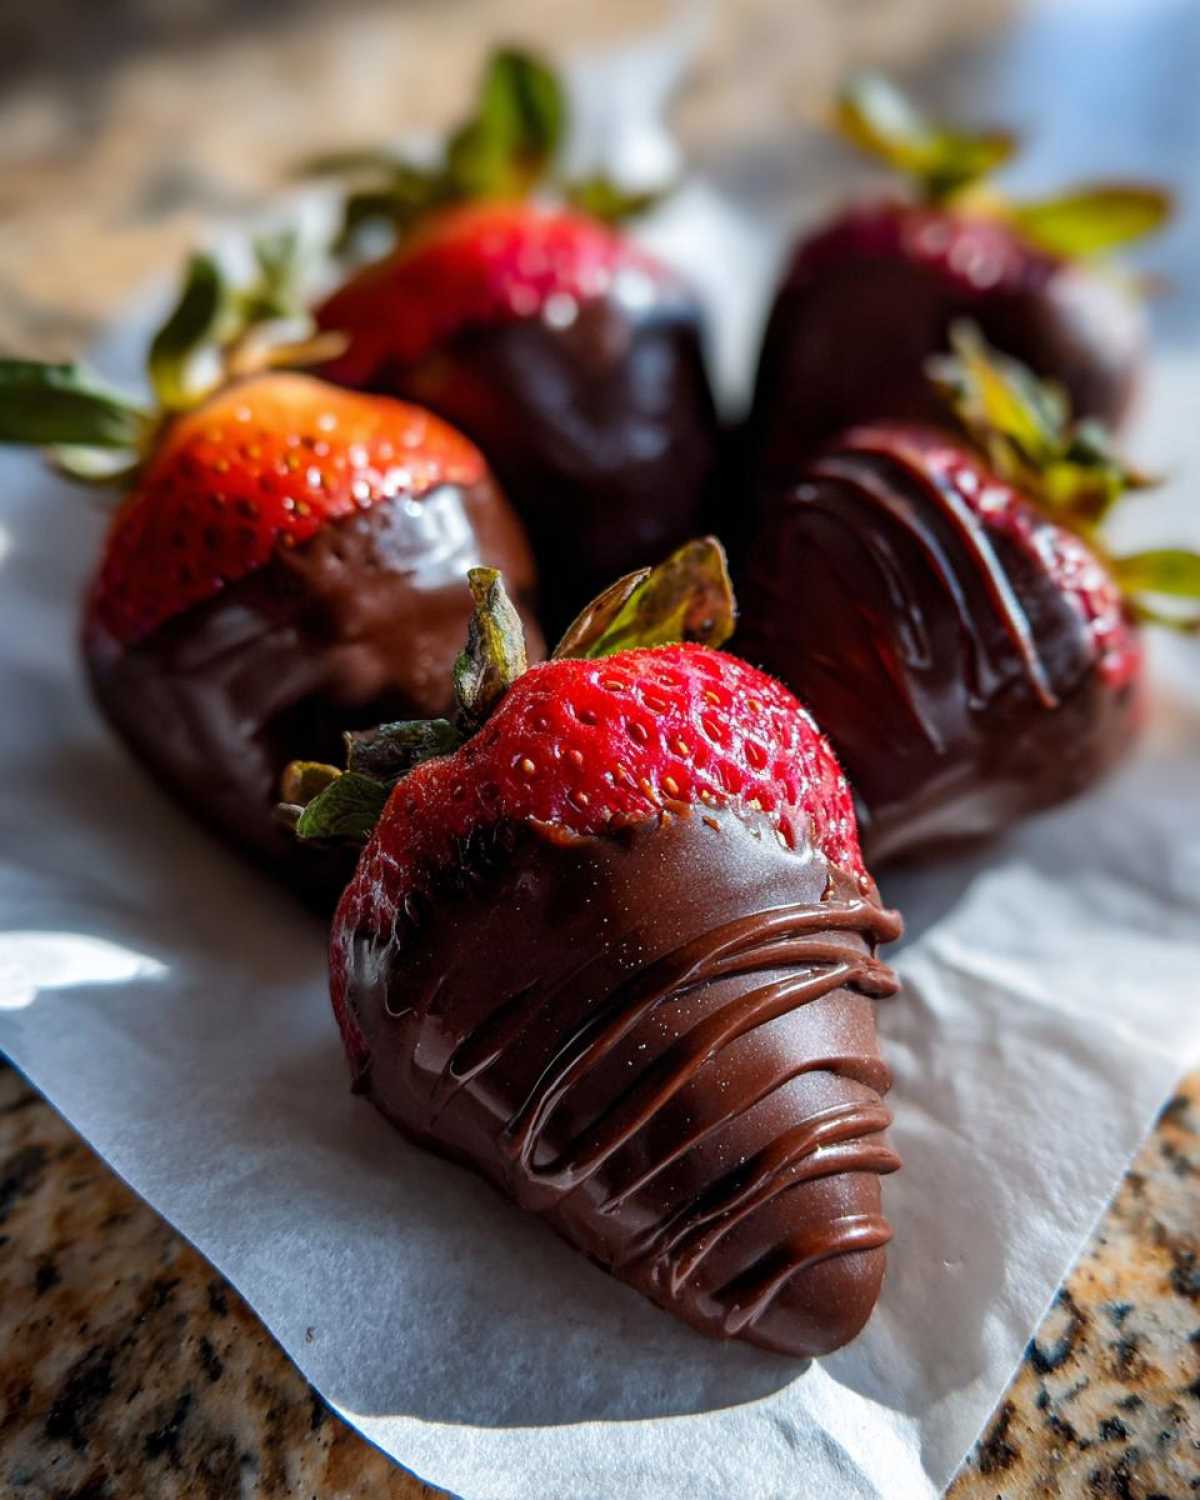
Working with Dark chocolate dipped strawberries
Dark chocolate is usually the most straightforward to handle. If you opt for a nice bittersweet bar, you get that perfect contrast against the bright, sweet berry. It sets up beautifully and usually has a great snap once it cools down. Like I mentioned earlier, adding that tiny bit of coconut oil or a little shortening helps keep the dark chocolate glossy instead of dull. If you love a deep, rich flavor, this is your way to go! For a fun warm flavor twist, you might also want to try dipping with my Mexican hot chocolate flavor profile—imagine the spice with the cool berry!
Techniques for beautiful white chocolate covered strawberries
Now, listen up, because white chocolate covered strawberries can be a little fussy, but don’t let that scare you! White chocolate doesn’t technically contain cocoa solids, so it can seize up or become grainy more easily than dark or milk chocolate. You really need to be careful not to overheat it. Microwave it even slower than you would the dark chocolate, and make sure you stir really gently. I find that adding a little extra fat, like that teaspoon of shortening, makes a huge difference in keeping the white chocolate smooth and workable. If you get those beautiful white coats, use a contrasting dark chocolate to do a thin drizzle over the top for maximum impact!
Serving Suggestions for Your chocolate covered strawberries
You’ve done the work, you’ve perfected that glossy finish, and now you have dozens of these incredible little jewels staring back at you! What now? Well, presenting your chocolate covered strawberries is almost as fun as dipping them. They look so stunning on their own, but a little staging goes a long way, whether you’re gifting them or serving them up for dessert.
For parties, I always arrange them on a simple white platter. The colors just pop! Make sure you leave enough space between them so they don’t accidentally melt onto each other while sitting out. If you have a mix of dark and white dipped berries, alternating them creates a beautiful pattern. They are divine served slightly chilled, perhaps next to some strong coffee or espresso after dinner. Honestly though, they don’t need much fanfare because they are already so impressive!
If you’re looking for another amazing strawberry idea that feels just as celebratory, you have to check out my recipe for strawberry shortcake cupcakes. But for right now, let those chocolate beauties shine! Serve them up and watch people grab the first one!
Frequently Asked Questions about chocolate covered strawberries
It’s totally normal to have a few lingering questions when you’re trying to master a classic like this! That’s why I put together this little Q&A section. Getting those chocolate covered strawberries perfect usually just comes down to clearing up a few common sticky spots. Don’t worry if you’re unsure about storage or that annoying shine issue; I’ve got the answers right here! If you want to see more of my helpful tips on quick fixes, check out my guide on the best 5-minute homemade teriyaki sauce, because quick improvements are my jam!
Can I dip strawberries that are slightly chilled?
Oh, I really wouldn’t recommend it. While chilling them *after* dipping is great for setting the chocolate fast, dipping them cold is a recipe for disaster! When you dip a cold berry into warm chocolate, the temperature difference creates instant condensation—that means sweat! The chocolate recoils, gets streaky, and likely won’t adhere well. You want your strawberries at room temperature before they ever meet the melted magic. This keeps everything happy and smooth for the best outcome.
What is the secret to a shiny chocolate coating?
The absolute secret to that gorgeous, bakery-style shine boils down to two things we talked about: quality chocolate and that little bit of added fat. If you skip the simple addition of coconut oil or vegetable shortening, your chocolate risks looking dull once set. Using high-quality chocolate that contains cocoa butter (like those melting wafers!) is essential for those great perfect chocolate coating tips. Quality chocolate melts smoother and sets shinier. Basically, don’t use cheap stuff; your strawberries deserve the very best shine!
How long do homemade chocolate strawberries last?
The unfortunate truth is that fresh fruit doesn’t love hanging around, even when it’s dipped in chocolate armor! If you followed my advice and made sure they were completely dry, you can store them in an airtight container in the fridge for up to two days. But honestly? They are best eaten the day you make them. If you need guidance on making them ahead or maximizing their freshness, I always tell people to look at guides like this excellent one about how to store chocolate covered strawberries. Just remember: never stack them!
Share Your Glossy chocolate covered strawberries Creations
Now that you know all my secrets for getting that perfect, non-sweaty, super glossy finish on your chocolate covered strawberries, it’s your turn to shine! I truly hope this tutorial gives you the confidence to make these for date nights, parties, or just because you deserve a decadent treat. When you master this, you unlock instant gourmet dessert status, right in your own kitchen!
When you try this recipe out, please, please come back and let me know how it went! Drop a rating below—did you stick with dark chocolate? Did you go wild with the sprinkles? I am genuinely so excited to see the beautiful chocolate creations you all come up with. It really means the world to me to see my recipes bringing joy (and deliciousness!) to your tables.
If you need another guaranteed win that’s just as fun to make, you absolutely have to try my homemade chocolate chip cookies recipe—they never fail! And hey, don’t forget to show off your dipped masterpieces on social media! We love seeing happy bakes shared out there; you can find us hanging out and getting inspired on Pinterest too, where we share tons of fun ideas.
Estimated Nutritional Information for chocolate covered strawberries
Okay, so here’s the nutrition rundown! I always try to be upfront that when you’re coating fresh fruit in melted sweet stuff, you’re definitely heading into dessert territory. These values are estimates—they change depending on how thick you dip or if you use dark versus milk chocolate—but this will give you a good ballpark idea for what you’re looking at per berry.
I used the general data available for the core recipe (about 2 dozen yield) to figure this out. If you’re watching your sugar intake, maybe stick to the dark chocolate for a slightly better profile!
- Serving Size: 1 strawberry
- Calories: 85
- Sugar: 8g
- Fat: 5g
- Protein: 1g
- Carbohydrates: 10g
- Saturated Fat: 3g
Just remember, this is an estimate, darling! If you go heavy on the crushed nuts or add a thicker white chocolate layer for drizzling, those numbers are going to tick up a bit. But hey, it’s fresh fruit, so we’re counting that as a win, right?
PrintThe Ultimate Guide to Perfect Chocolate Covered Strawberries: Easy Recipe + Pro Tips for a Glossy, Non-Sweaty Finish

Learn how to make stunning, glossy chocolate covered strawberries at home. This easy tutorial covers the best chocolate for dipping and pro tips to prevent that frustrating sweaty or sliding coating. Create impressive homemade chocolate strawberries for any occasion.
- Prep Time: 15 min
- Cook Time: 5 min
- Total Time: 20 min
- Yield: About 2 dozen 1x
- Category: Dessert
- Method: Dipping
- Cuisine: American
- Diet: Vegetarian
Ingredients
- 1 pound fresh strawberries, washed and completely dried
- 12 ounces high-quality melting chocolate (dark, milk, or white)
- 1 teaspoon coconut oil or vegetable shortening (optional, for shine)
- Optional toppings: Sprinkles, crushed nuts, white chocolate for drizzling
Instructions
- Prepare the strawberries: Gently wash the strawberries and dry them thoroughly. Moisture is the enemy of smooth chocolate coating, so let them air dry completely or gently pat them with paper towels. Leave the green stems intact for easy dipping.
- Melt the chocolate: Place your chosen chocolate (and coconut oil, if using) in a microwave-safe bowl. Microwave in 30-second intervals, stirring well after each interval, until the chocolate is almost completely melted and smooth. Alternatively, melt the chocolate using a double boiler. Do not overheat the chocolate.
- Cool slightly: Allow the melted chocolate to cool for about 5 minutes. This slightly thicker consistency helps prevent the chocolate from sliding off the berries.
- Dip the strawberries: Hold a strawberry by the stem. Dip it into the melted chocolate, tilting the bowl slightly. Rotate the berry to coat about three-quarters of the way up, leaving some red visible.
- Remove excess chocolate: Lift the berry out, gently tapping the side of the bowl with your wrist to let any excess chocolate drip off.
- Set the coating: Place the dipped strawberries onto a baking sheet lined with parchment paper or a silicone mat.
- Decorate (optional): If adding toppings like sprinkles or nuts, apply them immediately while the chocolate is still wet. For a drizzle effect, melt a contrasting chocolate, let it cool slightly, and use a fork or piping bag to drizzle lines across the set chocolate.
- Set completely: Allow the chocolate covered strawberries to set at room temperature for about 30 minutes, or place them in the refrigerator for 10-15 minutes until the chocolate is firm.
Notes
- For a glossy, non-sweaty finish, ensure your strawberries are completely dry before dipping. Any residual water causes the chocolate to seize or weep later.
- If you want to make these ahead, store them in a single layer in an airtight container in the refrigerator for up to 2 days. Do not stack them.
- Use high-quality melting wafers or chocolate bars that contain cocoa butter for the best texture and shine.
- If the chocolate becomes too thick while working, microwave it for 10 seconds at a time to restore fluidity.
Nutrition
- Serving Size: 1 strawberry
- Calories: 85
- Sugar: 8
- Sodium: 5
- Fat: 5
- Saturated Fat: 3
- Unsaturated Fat: 2
- Trans Fat: 0
- Carbohydrates: 10
- Fiber: 1
- Protein: 1
- Cholesterol: 5