
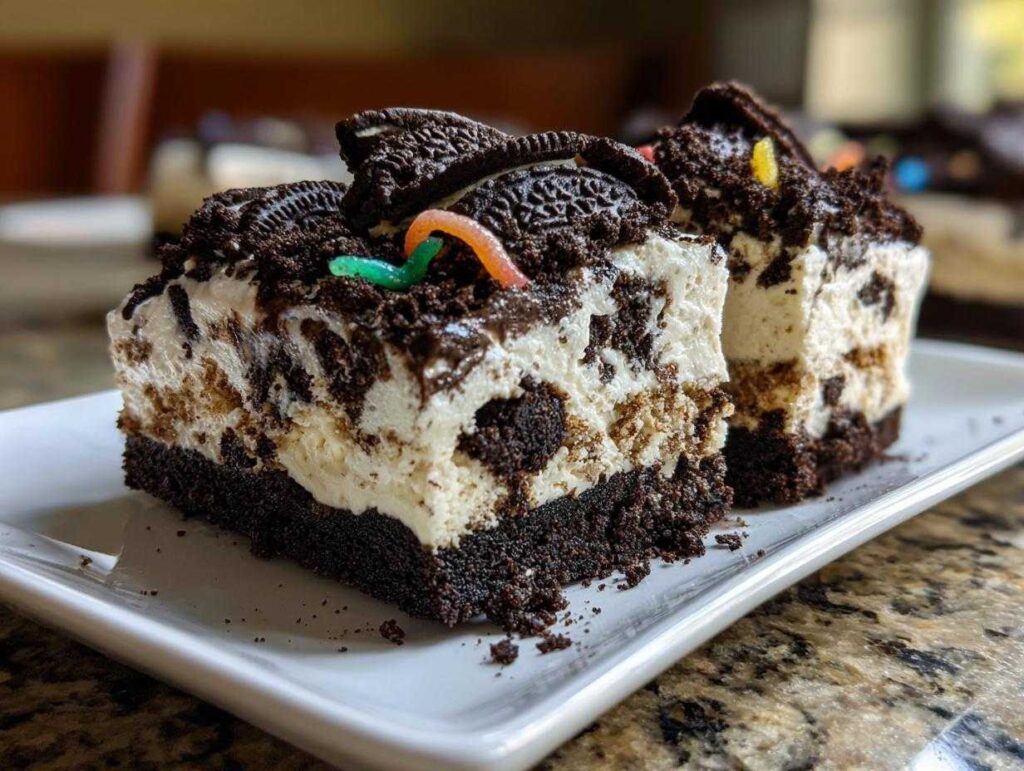
Oh my goodness, are you ready for the most ridiculously fun, easy dessert you will ever put together? When I think back to the best treats made in my grandmother’s kitchen, they were always the ones that didn’t require heating up the oven—especially desserts meant for a big, laughing crowd. That’s why I’m so thrilled to share my ultimate recipe for **dirt cake**!
This isn’t just some old pudding recipe; this is the classic, nostalgic treat that brings everyone back to their childhood, no matter what age they are. I’ve refined this recipe over many birthday parties and holiday potlucks, focusing on keeping it incredibly simple while making it the creamiest dessert on the table. Trust me when I say this **dirt cake** recipe is the easiest, creamiest version you will ever make. We’re going all-in on that glorious chocolate crunch and silky filling!
If you’ve ever made my famous No-Bake Oreo Ice Cream Pie, you know I love keeping things chilled and simple. This one follows that same easy path!
- Why This Classic No-Bake Oreo Dirt Cake is Your New Favorite Party Dessert Idea
- Gathering Ingredients for Your Dirt Cake
- Step-by-Step Instructions for the No Bake Dirt Cake
- Tips for the Perfect Gummy Worm Dessert Presentation
- Making Your Dirt Cake Ahead of Time: A Make Ahead Dessert Strategy
- Variations on the Easy Layered Dessert Dirt Cake
- Serving Suggestions for Your Chocolate Dessert Cups
- Storage and Reheating for Your Creamy Oreo Dessert
- Frequently Asked Questions About Making Dirt Cake
Why This Classic No-Bake Oreo Dirt Cake is Your New Favorite Party Dessert Idea
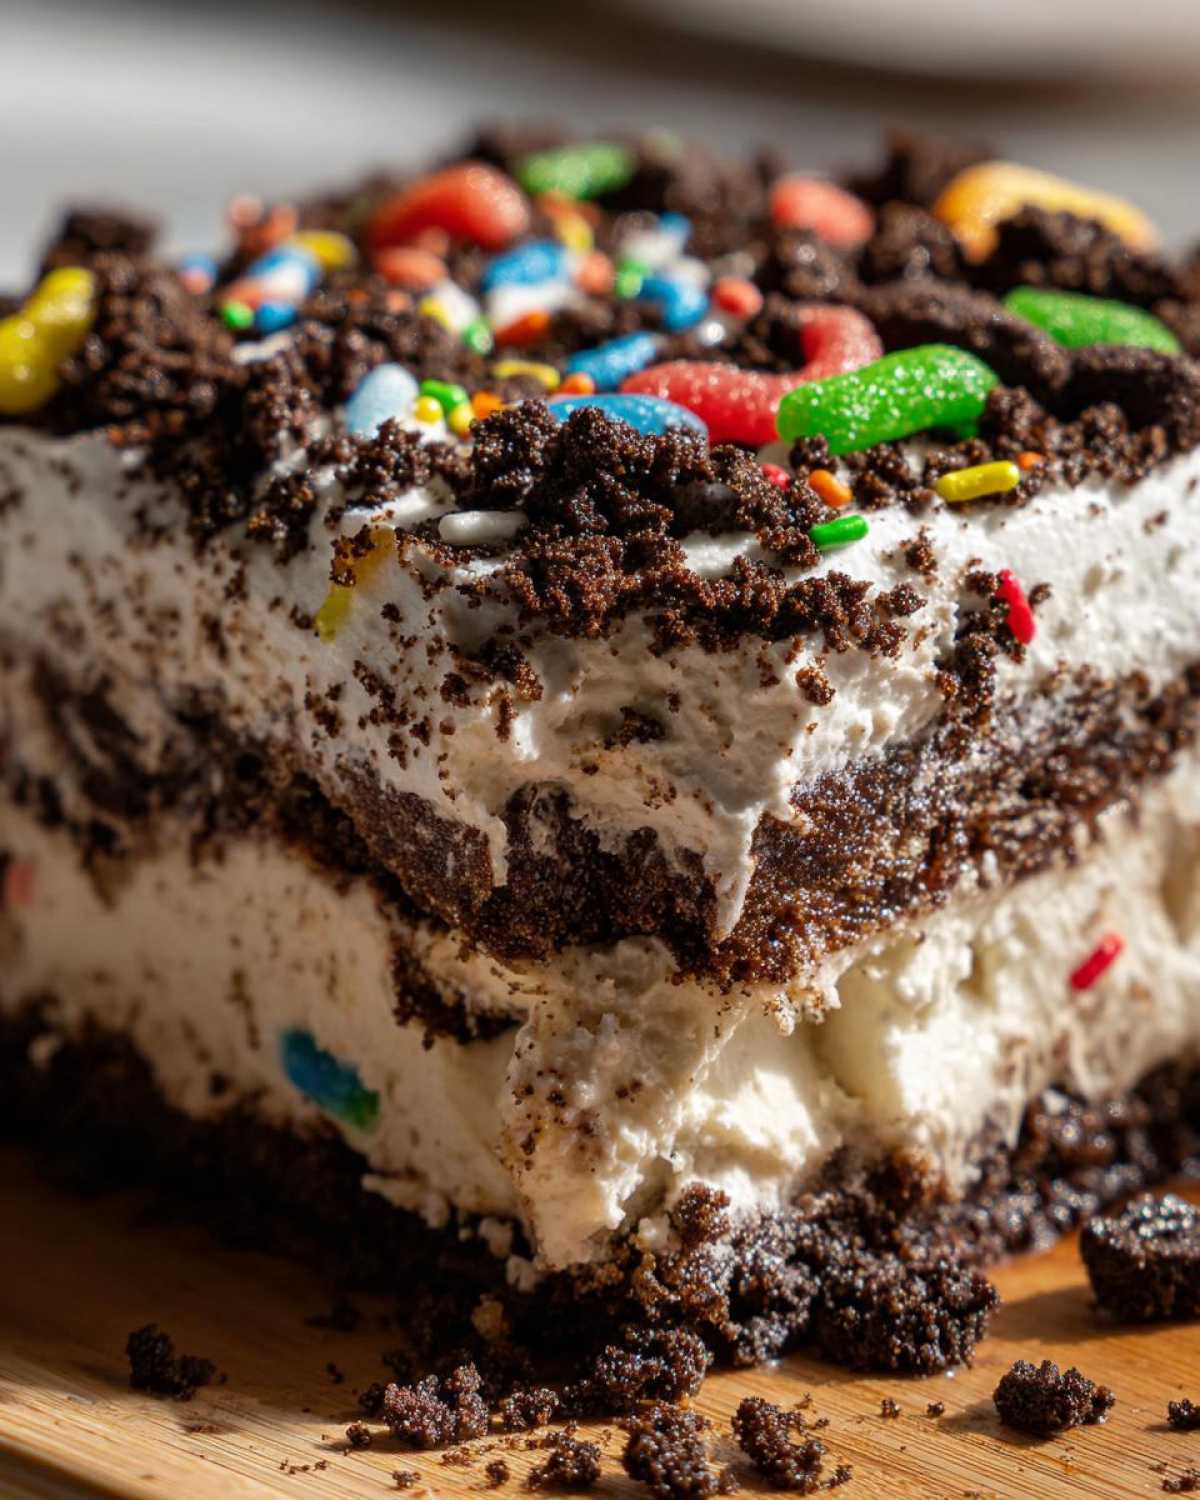
Seriously, stop looking for complicated baked goods! This **dirt cake** is the answer for anyone who needs a showstopper that takes minimal effort. It absolutely shines when you need a **party dessert idea**, mostly because kids lose their minds when they see the gummy worms sticking out of the top. It’s just instant fun in a dish!
We aren’t relying on flour or eggs here; it’s completely **no bake dessert** territory, which is perfect for busy weeks or when you just don’t want to heat up the kitchen. If you love my no-bake Oreo balls, this is going to be right up your alley.
The Ultimate Creamy Oreo Dessert Experience
What sets our **dirt cake** apart is the texture. You get that wonderful, satisfying crunch from the crushed cookies—that’s the ‘dirt’ part! But then you hit that middle layer, and wowza, it’s so fluffy and rich. It genuinely delivers the most incredible **creamy oreo dessert** sensation paired with that chocolate crunch. It’s addictive!
Perfect for Any Gathering: The Easy Dirt Cake Recipe
This is the pinnacle of an **easy pudding dessert**. You don’t need any fancy techniques, and it comes together faster than you think. Because it’s so adaptable—whether you make it in a big casserole dish or individual cute little **dirt cups**—it always earns rave reviews. This easy **dirt cake recipe** is practically foolproof, making it perfect for handing off to helpers!
Gathering Ingredients for Your Dirt Cake
Okay, gathering what you need for a stunning no bake dessert is always the first fun step! Since this is a simple **dirt cake**, you don’t need an entire grocery cart, but ensuring everything is prepped makes assembly a breeze. For this recipe, remember you need your butter and cream cheese fully softened. Also, make sure your milk for the pudding is completely cold!
- One full package (about 14.3 ounces) of those delicious chocolate sandwich cookies, like Oreos.
- Eight ounces of cream cheese, make sure this is perfectly softened!
- One cup of unsalted butter, softened too—gotta cream this up nicely.
- One cup of powdered sugar for sweetening that creamy layer.
- One large container (12 ounces) of that fluffy whipped topping, thawed out.
- Two packages of instant chocolate pudding mix (that’s the 3.9 ounce size).
- Three cups of ice-cold milk for that pudding to set right.
- And the best part: one whole package of gummy worms!
Step-by-Step Instructions for the No Bake Dirt Cake
Okay, now for the fun part! This is where our **no bake dessert** officially comes together. Follow these steps closely, and you will have the most perfectly fluffy layers in your **dirt cake**. We’re going step-by-step to build this magic, starting with the dark, delicious crunch!
Since this is a completely chilled treat, chilling time is mandatory for structure. If you’ve ever made my No-Bake Oreo Ice Cream Pie, you know setting time makes all the difference.
Preparing the Cookie Crumbs and Creamy Base
First up, let’s make our cookies look like rich earth! Toss all those chocolate sandwich cookies right into a big zip-top bag. Grab a rolling pin—or if you want super fine dirt crumbs, use a food processor! Crush everything until you have a fine meal. Don’t forget to pull out about 1 cup of those crumbs right now and set them aside; those are for the topping later.
Next, grab your largest mixing bowl. Beat that softened cream cheese and the softened butter together until they look completely smooth. Slowly, drizzle in your powdered sugar and keep beating until it’s all pale yellow and fluffy. Then, gently fold in your thawed whipped topping—just enough to combine it. You want this base light and airy!
Creating the Pudding Layer for Your Dirt Pudding Recipe
Now we focus on the instant pudding, and this part is quick! In a totally separate bowl, whisk your two packages of chocolate pudding mix right into the 3 cups of cold milk. Whisk it hard for about two minutes until it starts to thicken up. Let it sit there for just five minutes so it really sets firm. This makes for the best **dirt pudding recipe** because it gives you that structure.
Here’s the critical part for texture: take that thickened pudding and gently, gently fold it into the fluffy cream cheese mixture until there aren’t any streaks left. Don’t go crazy with the mixer here; we want to keep all those lovely air bubbles we just worked so hard to create!
Assembling and Chilling the Classic Dirt Cake
Time to layer! You can scoop this gorgeous mixture into individual clear cups for little servings, or spread it evenly into your serving dish. Make sure you top whatever container you use completely with those reserved cookie crumbs—that’s your final dirt layer!
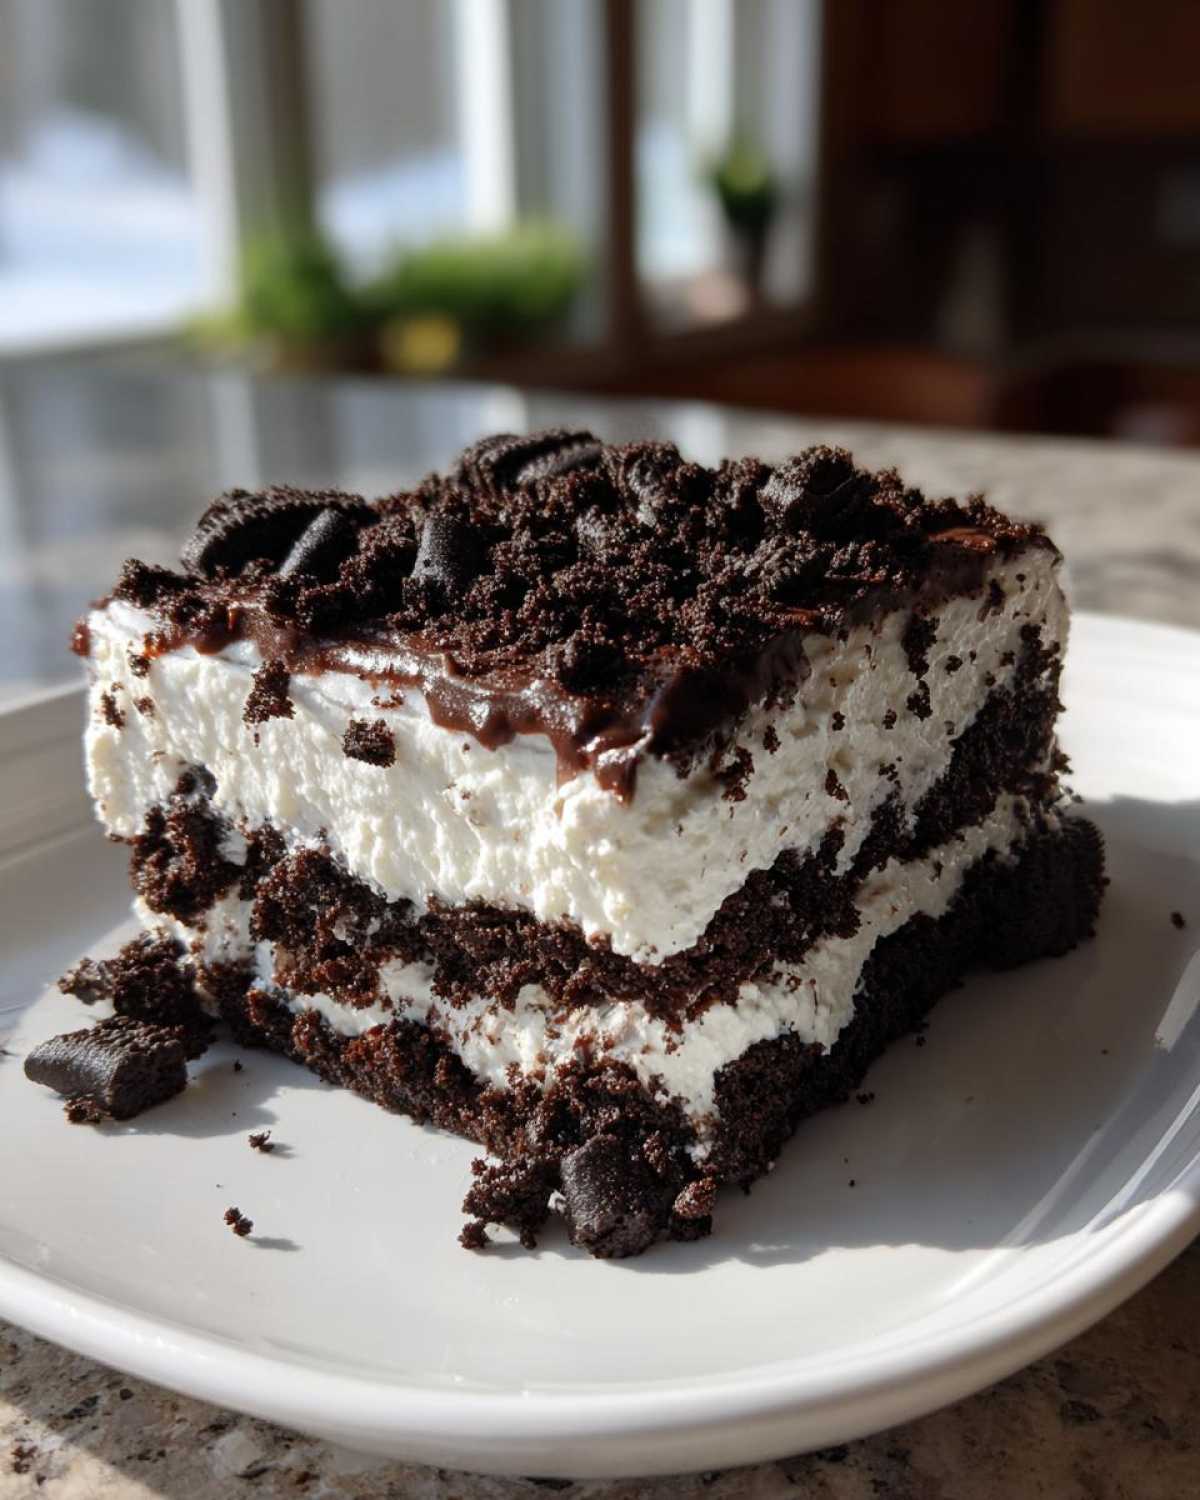
Now, you must be patient! This **classic dirt cake** needs a good chill to truly set up. Cover the whole thing and pop it into the refrigerator for a minimum of 2 hours. If you can let it sit overnight, even better!
Tips for the Perfect Gummy Worm Dessert Presentation
People always ask me, “Sophia, when do I put the worms in?” And honestly, this is my little trick that I learned after one too many times finding sad, dried-out worms stuck to the plastic wrap. Don’t even think about adding the gummy worms until the exact moment you are ready to serve this **gummy worm dessert**!
If you put them in too soon, the sugary coating on the worms can get sticky or they can start to look deflated after sitting in the fridge for hours. We want happy, rubbery, wriggly worms looking like they just crawled out of the chocolate soil!
For maximum fun factor—especially for the kids—don’t just lay them flat. Gently poke half of the worm down into the cookie crumbs so it looks like a whole worm is burrowing its way out. It sounds silly, but that quick presentation step turns this **dirt cake** from “yum” to “WOW!” If you need more fun ideas for spooky or seasonal treats, you can always check out my board on Pinterest at Pinterest.
Making Your Dirt Cake Ahead of Time: A Make Ahead Dessert Strategy
I get it—sometimes you need a fantastic spread ready before the guests even arrive. That’s why this **dirt cake** works so well as a **make ahead dessert**! You can totally prep the creamy base and the crushed cookies a day ahead. Just make absolutely sure to keep the crumbs sealed tightly so they don’t absorb any fridge smells.
Here’s the golden rule for making it ahead, though: Do NOT assemble the final layers or add your gummy worms until about an hour before serving. Keeping the cookie crumbs layered on top right before they hit the table ensures they stay perfectly crunchy. If you layer them too early, they soak up moisture and turn a little soggy. We want that contrast!
Variations on the Easy Layered Dessert Dirt Cake
The beauty of having such a simple, classic **dirt cake** foundation is that you can totally play with it when you want something slightly different! It always remains an **easy layered dessert**, but you can swap things out to surprise your guests. I love doing this for my annual summer BBQ when everyone expects something familiar but appreciates a little twist.
If you’ve ever made my Cookies & Cream Puppy Chow, you know I like mixing up those crunch elements. Feel free to experiment here!
Switching Up the ‘Dirt’ in Your Dirt Cake Recipe
While I adore the traditional chocolate sandwich cookie, why not try a ‘peanut butter dirt cake’ using Nutter Butters? The slightly salty, nutty flavor is incredible with the sweet pudding base. Or, if you want a lighter look for spring, swap half of the chocolate Oreos for Golden Oreos—it makes for a beautiful contrast against the chocolate pudding and looks amazing in those clear cups!
Serving Suggestions for Your Chocolate Dessert Cups
Deciding how to serve this fantastic creation is almost as fun as making it! We already touched on the two main ways, but let’s talk presentation because that’s half the battle with this **dirt cake**. If you’re serving a large crowd, the 9×13 inch dish—the casserole style—is unbeatable. It’s easy to scoop out, and everyone gets a nice, thick layer of that creamy filling and dirt topping.
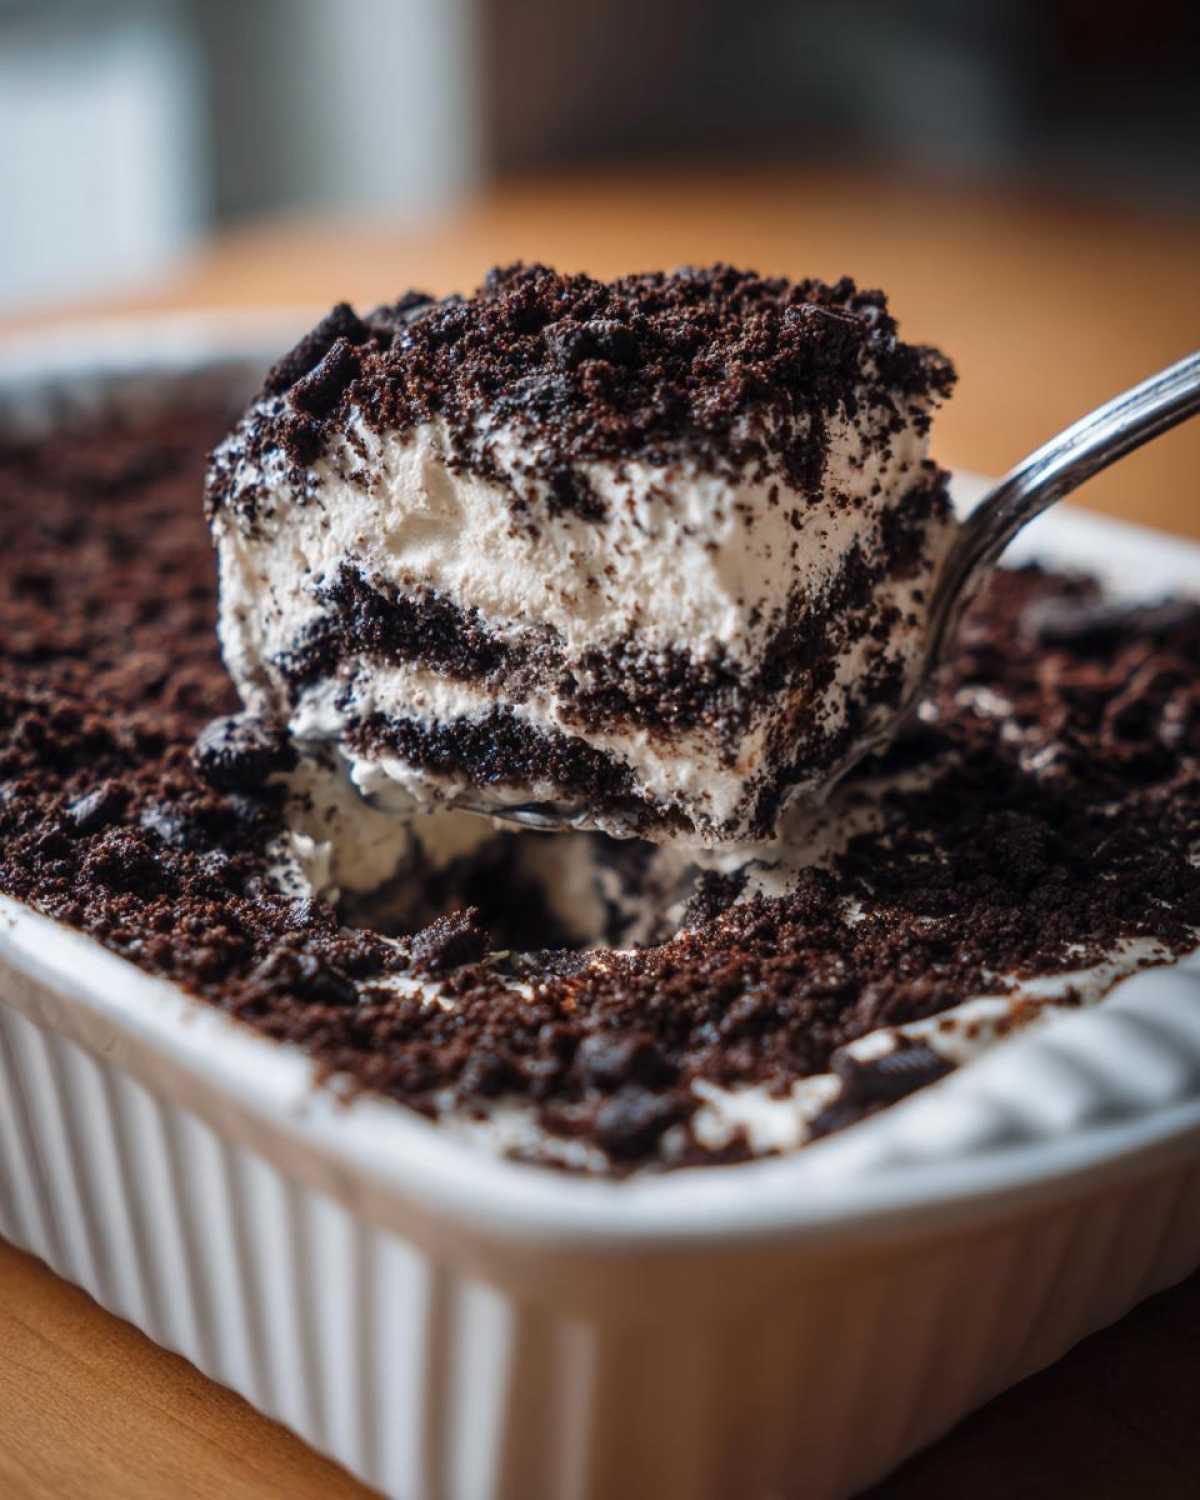
But if you want that extra visual pop, individual **chocolate dessert cups** are the way to go. Clear plastic cups or small mason jars are my favorites because you can actually see all those lovely layers you just built—the white cream layer sandwiched between the dark cookie crumbs. Kids especially love having their own little portion they don’t have to share!
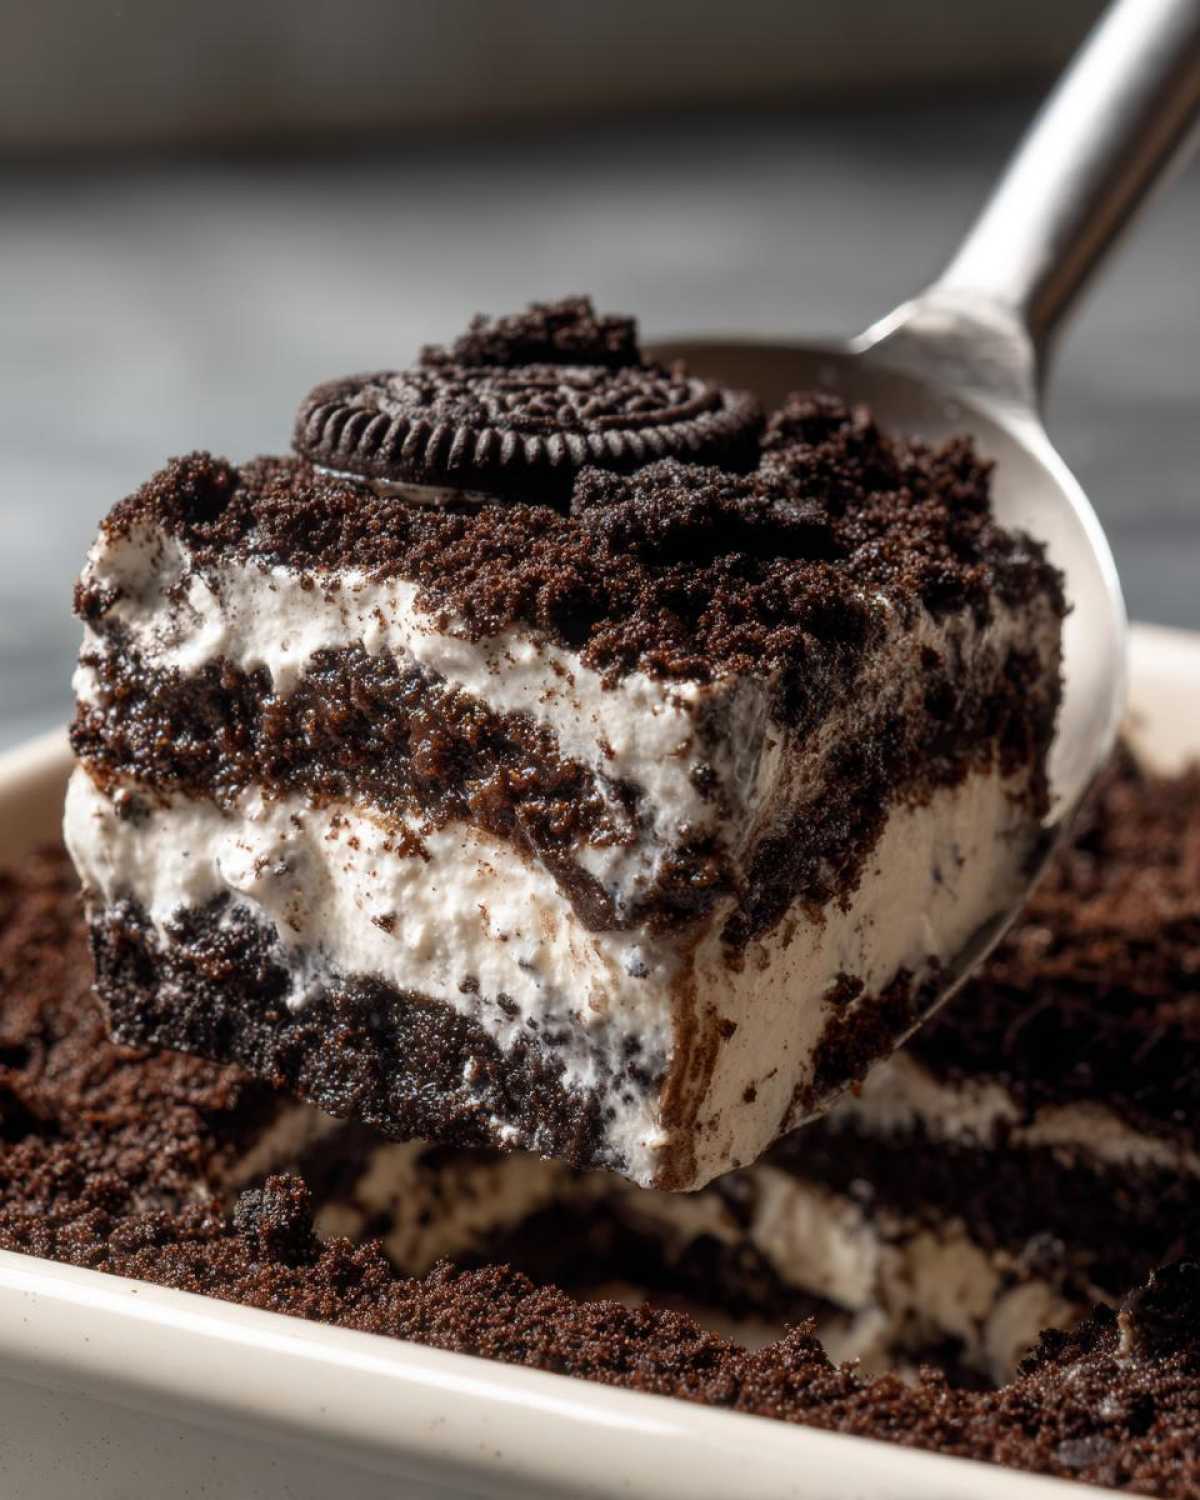
When it comes to what pairs best, honestly, this dessert is so rich and heavy that it stands on its own. It doesn’t really need anything else! However, if you’re serving it after a big meal, a side of fresh raspberries or maybe a scoop of vanilla bean ice cream beside the **dirt cups** adds a lovely pop of color and temperature contrast. But mostly, just make sure you have plenty of spoons ready!
Storage and Reheating for Your Creamy Oreo Dessert
Since this fantastic **dirt cake** is totally no-bake, we skip the oven entirely, which means no reheating needed! Success! To keep this **creamy oreo dessert** in prime condition, everything needs to stay tucked away in the fridge. Cover your casserole dish or your individual cups tightly with plastic wrap—make sure it’s sealed well so the crumbs don’t dry out.
It stays perfectly fresh, creamy, and delicious for about three to four days. If you notice the bottom pudding layer getting *too* soft after the third day, just add a fresh sprinkling of cookie crumbs right before serving to refresh that texture!
Frequently Asked Questions About Making Dirt Cake
When you’re whipping up something this fun, you always end up with a few questions! I’ve gathered the ones I get asked most often about making this classic **dirt cake** so you don’t have any worries while preparing this ultimate **no bake pudding cake**.
Can I use homemade whipped cream instead of Cool Whip in this dirt cake recipe?
You absolutely *can*, and for so many reasons, I encourage it if you have the time! Homemade whipped cream—especially if you whip heavy cream with just a tiny bit of sugar—will give you an even lighter, richer texture than the tubbed stuff. However, I do want to warn you: homemade whipped cream doesn’t contain the stabilizers that Cool Whip has. What this means is your **dirt cake** might deflate slightly faster, and the setting time might be a little softer.
If you opt for it, make sure you use a cold bowl and whisk attachment when whipping your cream. It’s a slightly different outcome than the recipe calls for, but delicious nonetheless! If you’re looking for other great fluffy toppings, check out my recipe for creamy vanilla buttercream, though that is much heavier for this particular dessert.
What is the best container for serving this fun dessert for kids?
Oh, this is where the personalization comes in! Honestly, whatever you have on hand works! If you’re making this for a huge crowd or a church potluck, the 9×13 pan works perfectly—it’s the classic **casserole dessert** style. It’s great because everyone just digs in together.
But if you’re looking for the absolute best presentation for a **kids dessert recipe**, go for individual clear cups or small jars. These are what everyone calls **dirt cups**, and they look fantastic because you can see the distinct layers nestled between the cookie crumbs! Plus, it’s easier for little hands and portion control is already done for you. For a birthday party, you can’t beat the ease of handing out individual **chocolate dessert cups**.
How long does this no bake pudding cake need to chill before it sets?
This is non-negotiable for the structural integrity of your **dirt cake**! While you *can* technically go ahead and add the gummy worms after just an hour, I really, really push for at least two hours of chilling in the refrigerator. That chilling time is what firms up the pudding and lets the cream cheese mixture really meld with the wet pudding. If you rush it, you end up with a soupy layer instead of a firm, scoopable **no bake pudding cake**. Patience really pays off here!
PrintClassic No-Bake Oreo Dirt Cake with Gummy Worms

Make this easy, creamy Oreo dirt cake, a fun no-bake dessert perfect for parties or a nostalgic treat. You layer crushed chocolate cookies, rich pudding, and cream cheese filling, topping it with gummy worms for a fun presentation.
- Prep Time: 20 min
- Cook Time: 0 min
- Total Time: 2 hours 20 min
- Yield: 12 servings 1x
- Category: Dessert
- Method: No Bake
- Cuisine: American
- Diet: Vegetarian
Ingredients
- 1 package (14.3 ounces) chocolate sandwich cookies (like Oreos)
- 1 package (8 ounces) cream cheese, softened
- 1 cup unsalted butter, softened
- 1 cup powdered sugar
- 1 container (12 ounces) frozen whipped topping, thawed (or 3 cups homemade whipped cream)
- 2 packages (3.9 ounces each) instant chocolate pudding mix
- 3 cups cold milk
- 1 package (5 ounces) gummy worms
Instructions
- Place all chocolate sandwich cookies into a large zip-top bag. Crush them finely using a rolling pin until they resemble dirt. Set aside about 1 cup of crumbs for the topping.
- In a large bowl, beat the softened cream cheese and softened butter together until smooth. Gradually beat in the powdered sugar until fully combined.
- Fold in the thawed whipped topping until the mixture is uniform and fluffy. This is your creamy layer.
- In a separate medium bowl, whisk together the instant chocolate pudding mix and cold milk for about 2 minutes until the mixture thickens. Let it sit for 5 minutes.
- Gently fold the thickened pudding into the cream cheese mixture until just combined. Do not overmix.
- If making individual dirt cups, spoon the mixture into small clear cups. If making a casserole style, spread the mixture into a 9×13 inch dish.
- Layer the remaining crushed cookie crumbs over the top of the pudding mixture to create the ‘dirt’ layer.
- Chill the dirt cake in the refrigerator for at least 2 hours to allow it to set.
- Before serving, press the gummy worms into the top layer of crumbs so they look like they are crawling out of the dirt.
Notes
- For the best texture, use instant pudding mixes; cook-and-serve pudding will not set correctly for this recipe.
- You can substitute vanilla pudding for a lighter flavor, but chocolate pudding is traditional for this easy pudding dessert.
- If you are preparing this as a make ahead dessert, add the gummy worms just before serving so they do not dry out.
- This recipe works well as a casserole dessert or as individual dirt cups.
Nutrition
- Serving Size: 1 serving
- Calories: 450
- Sugar: 45
- Sodium: 350
- Fat: 28
- Saturated Fat: 15
- Unsaturated Fat: 13
- Trans Fat: 0.5
- Carbohydrates: 48
- Fiber: 2
- Protein: 5
- Cholesterol: 55