
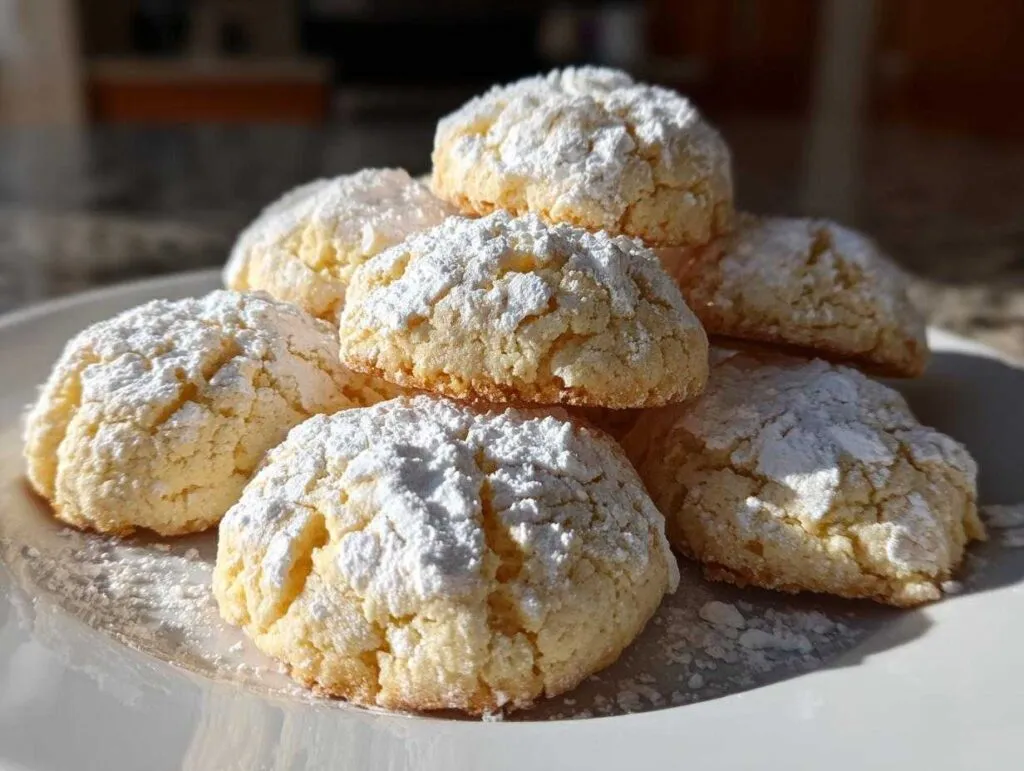
Stop everything you are doing right now, because I have found the absolutely easiest, softest, most pillowy cookies you will ever need in your life. Seriously, when weeknights are crazy or the kids suddenly demand dessert five minutes before bedtime, I grab these ingredients that I almost always have on hand.
We are talking about Cool Whip Cookies that need just three things to come together, and they bake up into the most amazing melt in your mouth cookies you can imagine. I’m talking about texture that is just beyond—light, fluffy, and perfect if you’re looking for simple homemade cookies. These little wonders have completely taken over my baking schedule because they are just that good and that quick!
- Why You Will Love These 3-Ingredient Cool Whip Cookies
- Essential Ingredients for Perfect Cool Whip Cookies
- Simple Homemade Cookies: How to Prepare Your Cool Whip Cookies
- Tips for Success with Easy Cookie Recipes
- Variations for Your Cake Mix Cookies
- Storage & Reheating Instructions for Soft Baked Desserts
- Serving Suggestions for Your Cool Whip Cookies
- Frequently Asked Questions About Cool Whip Cookies
- Share Your 3-Ingredient Baking Creations
Why You Will Love These 3-Ingredient Cool Whip Cookies
If you’re perpetually short on time, these cookies are your new best friend. They eliminate all the fuss of creaming butter or chilling dough! Trust me, your family is going to ask for these again and again because they hit that sweet spot between easy and delicious.
-
Incredibly Soft Baked Desserts
Forget those dry, crumbly things! These cookies are legitimately fluffy cookies. The whipped topping gives them this airy, pillowy quality that just dissolves in your mouth. They are truly some of the best soft baked desserts I’ve ever made with so little effort.
-
The Ultimate in 3 Ingredient Baking
We’re talking minimal cleanup and maximum payoff here. These are the definition of quick dessert ideas and prove you don’t need a lot of steps to get fantastic easy cookie recipes. You can whip up a batch for a bake sale or when that sweet craving hits totally out of the blue!
Essential Ingredients for Perfect Cool Whip Cookies
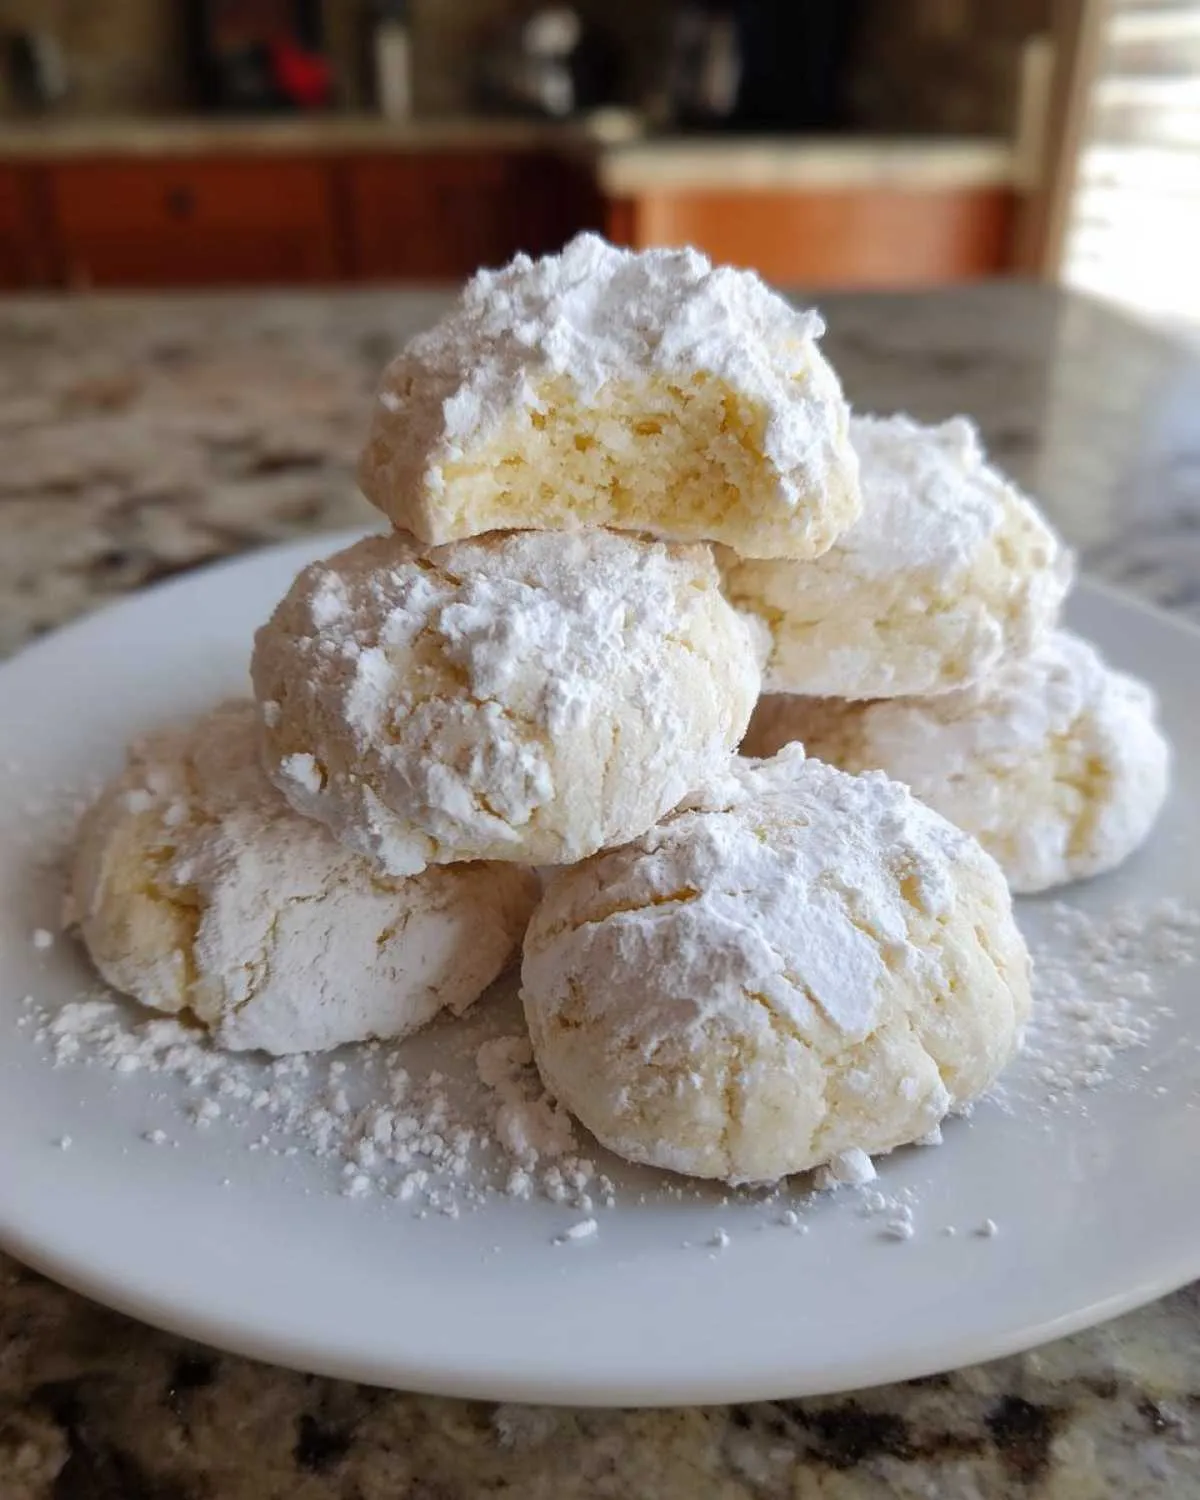
Okay, let’s talk ingredients, because with only three main players, every single one has to pull its weight, right? You need the whole package of dry cake mix—white or yellow works beautifully for that classic look. Then comes our star: the thawed tub of Cool Whip Cookies, which is what gives these their spectacular cloud-like texture.
Don’t forget the egg! That little guy is crucial for holding everything together so we get great no roll cookies instead of a puddle. If you want that pretty, crinkled top for your holiday trays, you’ll also need some powdered sugar for rolling.
Ingredient Notes and Substitutions for Cool Whip Cookies
When sourcing your items, make sure that whipped topping is fully thawed before you even think about mixing, but please, don’t let it melt into liquid soup! We need that fluffiness!
Also, using the complete 15.25 oz box of cake mix is important because the leavening agents are perfectly balanced for the amount of moisture the Cool Whip adds. Now, some folks try to skip the egg, but trust me, that single egg provides the necessary structure so these easy cookie recipes don’t collapse into flat discs. Skip that, and you’re just making sweet mush!
Simple Homemade Cookies: How to Prepare Your Cool Whip Cookies
Making these cookies is honestly faster than deciding what to watch on TV! First things first, get that oven warmed up to 350°F (175°C). You’ll want to line a couple of baking sheets with parchment paper—don’t skip this; it helps everything lift off perfectly later. If you love melt in your mouth cookies that are easy to handle, this prep step is non-negotiable!
Now for the mixing! Throw your whole box of dry cake mix, the fully thawed Cool Whip, and that one egg right into your bowl. I’m linking to my whipped shortbread cookies recipe because that gentle mixing technique applies here too!
Mixing the Fluffy Cookies Dough
The biggest mistake people make with cake mix cookies is overdoing it here. You want to mix this just until everything comes together. I mean it—stop stirring when you see the last few streaks of dry mix disappear. If you beat this too much, you’ll knock all the air out that the Cool Whip just put in there, and then boom, you kiss those light and airy cookies goodbye!
The dough will look sticky and soft, almost like a very thick batter. That’s exactly what you want for those wonderfully fluffy cookies! If you’re rolling them in sugar, this is when you split your dough into balls first.
Baking and Cooling Your Cool Whip Cookies
Pop those dough balls (plain or sugar-coated) onto your prepared sheets, keeping them about two inches apart because they will spread just a tiny bit. Bake them for about 9 to 12 minutes. You’re looking for the edges to look set, but if you gently touch the middle, it should still feel a little soft. They will firm up as they cool, so don’t bake them until they look totally hard!
Let them sit right there on the hot sheet for a good 5 minutes—this is crucial for holding their shape—before you carefully move them over to a wire rack to finish cooling down completely. If you try to move them too soon, you risk breakage!
Tips for Success with Easy Cookie Recipes
Even though these cookies are famously easy, there are a few little tricks I use to make sure they come out looking bakery-perfect every single time. After all, even though they’re pantry staple desserts, we want them to be impressive!
First tip: temperature control is key. Make sure your thawed whipped topping is cool, not warm. If it starts looking sad or watery, pop the bowl in the freezer for about 10 minutes before mixing in the cake mix. Cold dough handles better and won’t spread out into those sad, flat little pancakes we are trying to avoid.
Second, regarding shape: don’t fuss too much with rolling them into perfect spheres if you aren’t coating them in sugar. If you just drop the scoops, they bake up a little flatter and more like traditional, thin cookies. If you are aiming for those beautiful, thick, bakery-style light and airy cookies, make sure those balls are tightly packed and rolled well before placing them on the sheet.
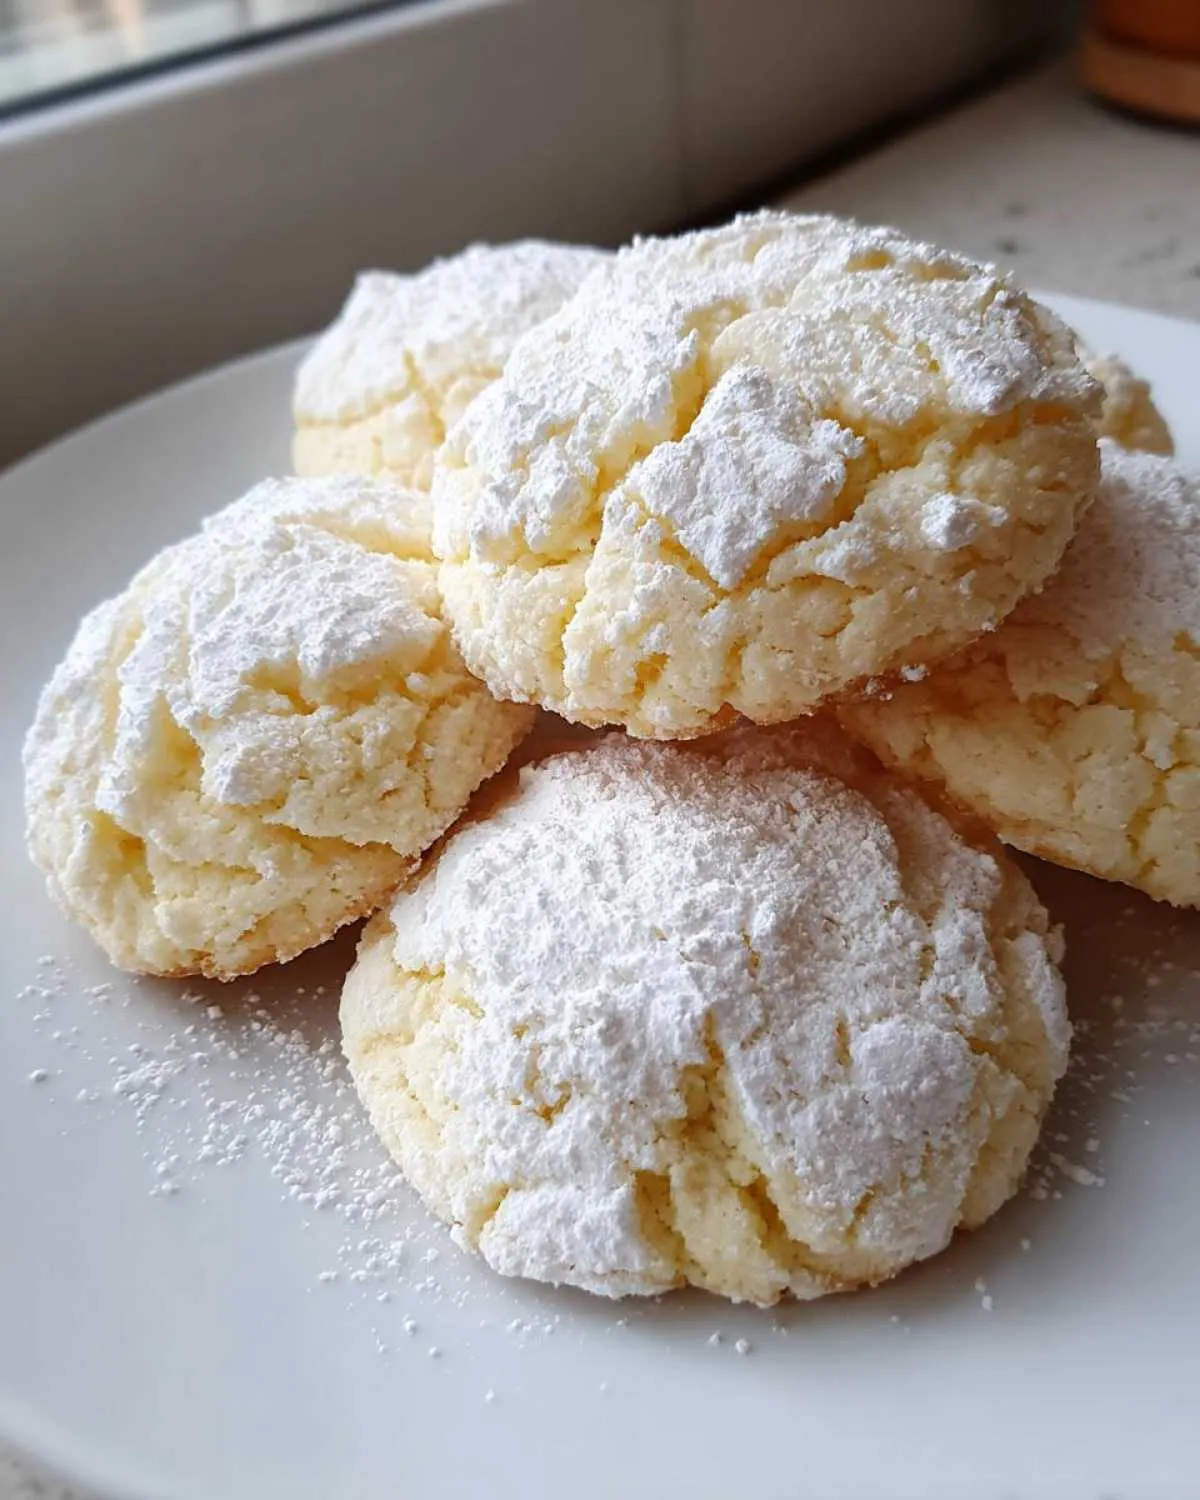
My absolute favorite trick, especially for holiday baking, is the powdered sugar coating! If you want those fantastic crinkle tops—think beautiful white coatings against the slightly golden cookie—roll them generously. Don’t worry about the sugar melting; it just adds another layer of sweetness. If you’re looking for ways to finish off other treats later, check out my guide on easy cookie icing that hardens glossy, but for these, simple sugar is magic!
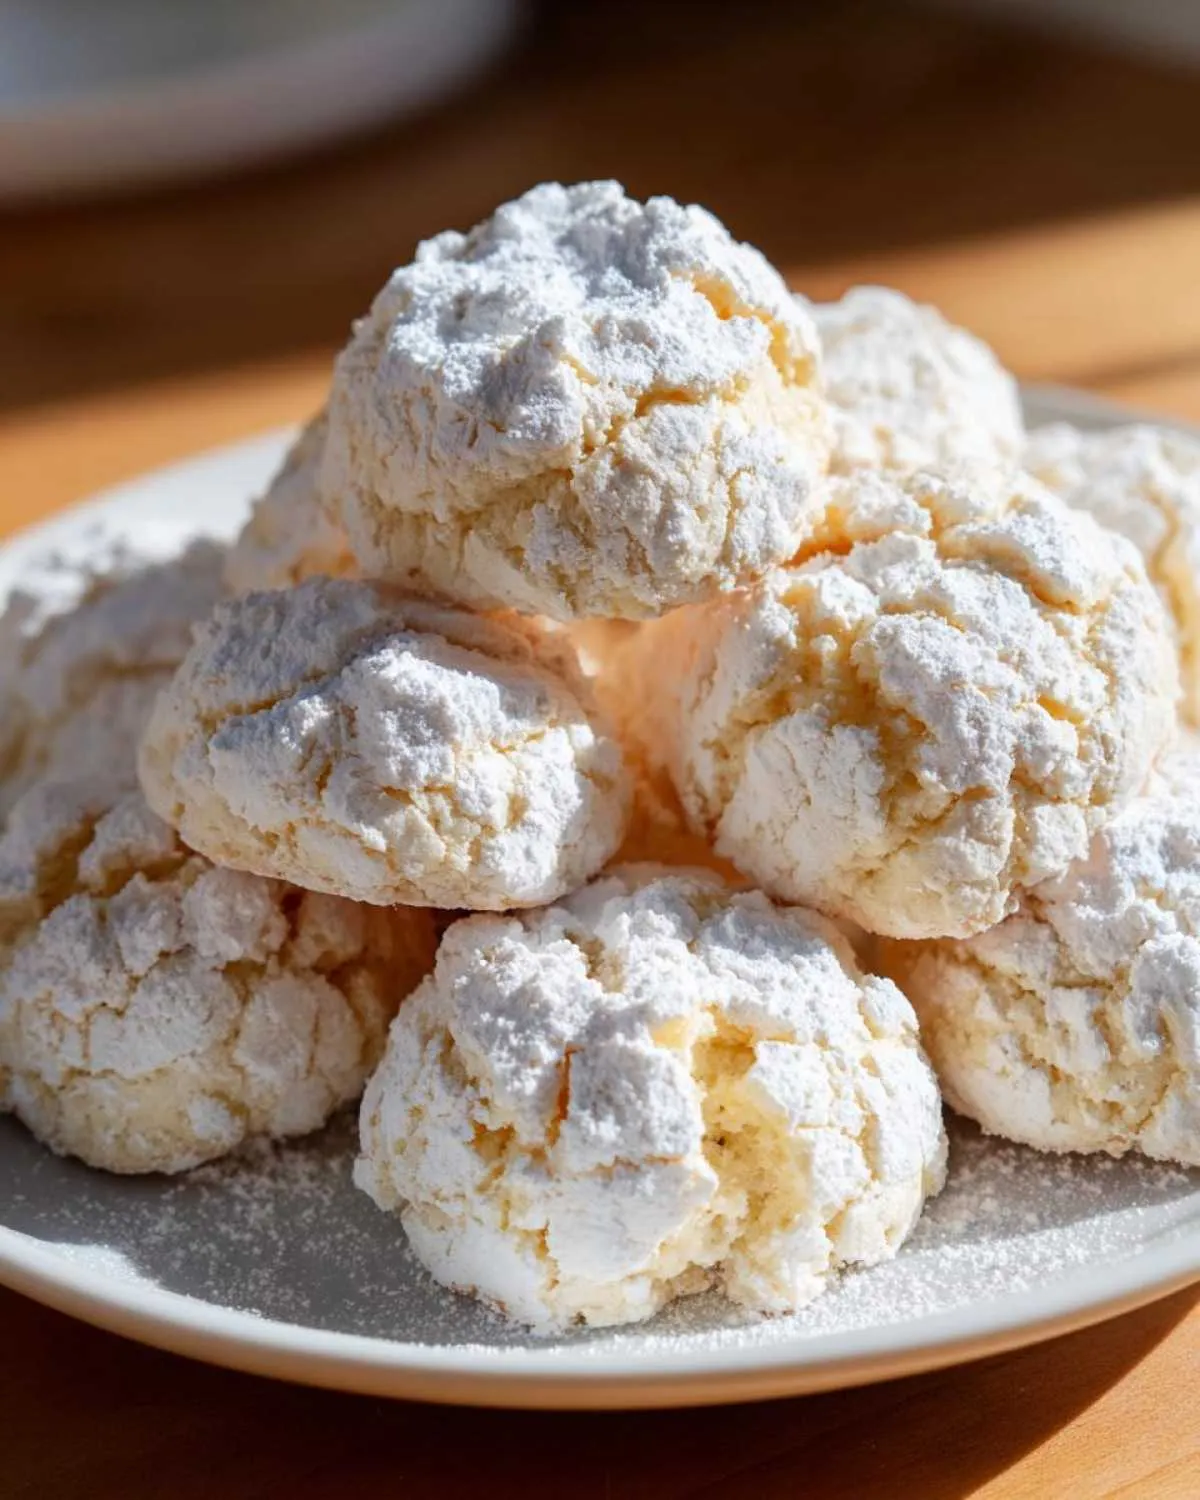
Finally, when you coat them in sugar, do it right before they go into the oven. If you roll them and let them sit for 20 minutes waiting for the oven to heat up, the moisture from the dough draws the sugar down, and you won’t get that distinct, beautiful crinkle effect. It’s literally a race against the clock to be fast!
Variations for Your Cake Mix Cookies
This is one of the best parts about using a box mix as your base; the possibilities are endless! Since this recipe is so simple, you can swap out the white or yellow cake mix for almost any flavor you find on the shelf. Think about using chocolate cake mix for rich, fudgy Cool Whip Cookies, or maybe even a spice cake mix if you want something cozy for the fall.
It keeps things fun and novel without adding extra steps to your kitchen routine! I’ve made some truly decadent versions just by switching the dry mix. If you haven’t tried adapting recipes based on boxed mixes, you absolutely must—check out my ideas for red velvet cake mix cookies for inspiration on flavor adventures!
Making Holiday Cookie Traditions with Cool Whip Cookies
If you love making adorable holiday platters, this is where the powdered sugar coating really shines. We talked about rolling them before baking, but for the holidays, I like to roll the balls in sugar, bake them, and *then*, once they cool just a bit, I gently roll them again. This gives you that thick, pure white coating that looks exactly like a classic crinkle cookie!
For Christmas, I always go with white cake mix, roll them heavily, and toss in some red and green sprinkles before they hit the oven. They look so festive, and they are always the first thing gone—because everyone loves quick dessert ideas that taste like they took hours!
Storage & Reheating Instructions for Soft Baked Desserts
Now, I know you want to eat all two dozen the minute they come out of the oven—trust me, I’ve been there—but if you have any survivors (which is doubtful!), you need to store them correctly to keep that heavenly, fluffy texture. Because these cookies rely on the whipped topping for softness, they don’t have the same staying power as a traditional butter cookie.
The rule here is airtight containers only! Seal them up tight. If you stack them, use parchment paper or wax paper between the layers so they don’t stick together. Honestly, for the absolute best experience, I find these Cool Whip Cookies are perfect within the first two days. By day three, they might stiffen up just a smidge, but don’t panic!
If you find they have firmed up even slightly, here is my little secret for reviving them. Just stack two or three cookies on a microwave-safe plate and zap them for about 8 to 10 seconds. That quick burst of heat warms the interior just enough to bring back that glorious, melt in your mouth cookies sensation. It works like magic! Remember, keeping them away from dry air is the key to enjoying these simple homemade cookies for as long as possible.
Serving Suggestions for Your Cool Whip Cookies
These fluffy cookies are so light, they practically beg for a cozy pairing! Since they are wonderfully sweet and soft, they go absolutely perfectly with something slightly rich or creamy to balance them out. If you’re having them after dinner, grab a scoop of vanilla bean ice cream—it just marries beautifully with the cake mix base.
But if you’re looking for a drink, skip the plain milk! Try dipping them into a big mug of my homemade whipped hot chocolate during the winter months. Wow, that combination is next-level.
For a simple afternoon treat, a nice cold glass of iced tea balances the sweetness nicely. They are great anytime, but giving them a good companion just makes them feel a little more special!
Frequently Asked Questions About Cool Whip Cookies
I know you probably have a few lingering questions about these miraculous little short-cut cookies! It’s okay if you’re skeptical when something sounds this easy, but trust me, they are tried and true. Here are the questions I get asked most often about mastering these Cool Whip Cookies on my social channels, including when you see us posting them on Pinterest over at the RecipesVault page!
Can I make these Cool Whip Cookies without cake mix?
For this specific, magical 3-ingredient version, the answer is an emphatic no, sweetie. The dry cake mix isn’t just providing flavor; it brings all the necessary leavening agents—the baking soda and/or powder—and the flour structure all in one go! If you skipped the mix, you’d just have a sweet, eggy puddle. These are designed to be beginner friendly baking because the mix does all the hard work for us!
Are these considered light and airy cookies?
Oh, absolutely! That’s what sets them apart from so many other easy cookie recipes. Because we are using the thawed, fluffy whipped topping, that air gets locked right into the dough when we mix it gently. They bake up super soft, giving you that beautiful light and airy cookies sensation. They are completely different from a standard drop cookie that relies on heavy butter and creaming; these are truly pillowy!
Do I have to roll these into balls first?
This is a great question, especially if you’re looking for no roll cookies! While for the classic crinkle effect you need to roll them in sugar and shape them, you *can* technically just drop spoonfuls onto the sheet if you prefer a flatter cookie. However, I highly recommend rolling them gently. It helps maintain a thicker center, which is what keeps them nice and soft rather than spreading too thin during baking. It’s worth the extra 30 seconds of work, trust me!
What’s the best cake mix flavor for a standard batch?
If you’re a purist, you can’t go wrong with the basic white or yellow cake mix—it provides a fantastic, sweet canvas that lets you dress them up with sprinkles or powdered sugar later. But honestly, once you master this foundation, feel free to try chocolate for a rich treat, or strawberry for a fun pink cookie! They all work perfectly as pantry staple desserts.
Share Your 3-Ingredient Baking Creations
Whew! We made it through the simplest, fluffiest batch of cookies known to humankind! Now it’s your turn to take this easy foundation and run with it. Whether you stuck to the plain vanilla or branched out and tried a chocolate version, I really want to know how they turned out for you.
Did you try the heavy powdered sugar coating for those awesome crinkle tops? Or maybe you used a specialty cake mix I haven’t even thought of yet? Please hop down into the comments below and leave me a rating—five stars if they melted in your mouth like mine did!
And if you snap a picture of these beauties (especially if they are destined for a bake sale or holiday platter—you can find more ideas for easy bake sale treats on my site!), please share it! We love seeing your creations pop up on social media. Come say hello to me over on our Pinterest page; I check it all the time for new inspiration!
Print3-Ingredient Cake Mix Cool Whip Cookies
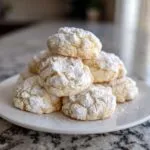
You can make these incredibly soft, fluffy Cool Whip Cookies using just three simple ingredients. They are perfect for quick baking, bake sales, or last-minute sweet cravings.
- Prep Time: 10 min
- Cook Time: 12 min
- Total Time: 22 min
- Yield: About 2 dozen cookies 1x
- Category: Dessert
- Method: Baking
- Cuisine: American
- Diet: Vegetarian
Ingredients
- 1 box (15.25 oz) white or yellow cake mix
- 1 tub (8 oz) frozen whipped topping (Cool Whip), thawed
- 1 large egg
- Powdered sugar, for rolling (optional)
Instructions
- Preheat your oven to 350°F (175°C). Line baking sheets with parchment paper.
- In a medium bowl, combine the entire box of dry cake mix, the thawed whipped topping, and the egg. Mix until just combined. Do not overmix.
- If using, place powdered sugar in a shallow dish.
- Scoop rounded tablespoons of dough and roll them into balls. Roll each ball in the powdered sugar until fully coated.
- Place the dough balls about 2 inches apart on the prepared baking sheets.
- Bake for 9 to 12 minutes, or until the edges are set but the centers remain soft.
- Let the cookies cool on the baking sheet for 5 minutes before transferring them to a wire rack to cool completely.
Notes
- You can use any flavor of cake mix you like for variety, such as chocolate or strawberry.
- For a crinkle cookie look, roll the dough balls generously in powdered sugar before baking.
- These cookies are best eaten within 3 days for the softest texture.
Nutrition
- Serving Size: 1 cookie
- Calories: 140
- Sugar: 18g
- Sodium: 180mg
- Fat: 6g
- Saturated Fat: 3g
- Unsaturated Fat: 3g
- Trans Fat: 0g
- Carbohydrates: 21g
- Fiber: 0g
- Protein: 2g
- Cholesterol: 15mg