
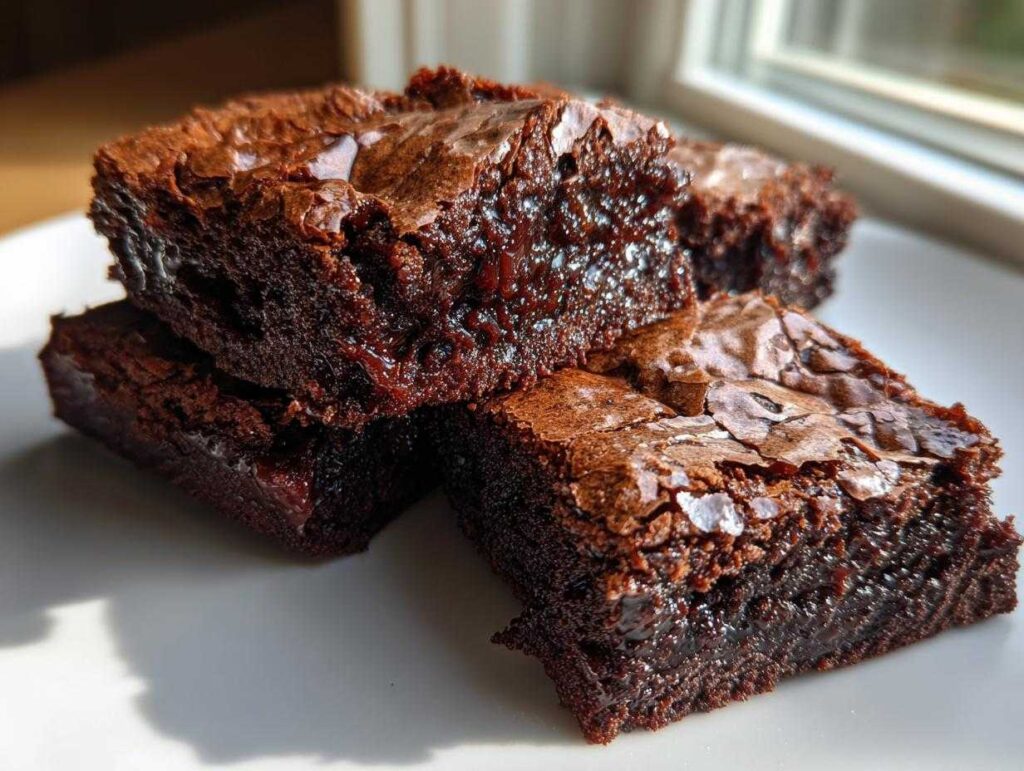
Oh my goodness, if you’ve ever stood in line at a fancy bakery, eyeing those deeply rich, impossibly gooey chocolate squares, stop right now! I am Sophia, and after what feels like a decade of testing, burning, and tasting, I finally nailed it. Forget dry cakey excuses for a treat—we are making the absolute ultimate fudgy brownies here, complete with that sought-after, paper-thin, shiny crackly top. Getting these brownies perfect used to feel impossible, but trust me, the secret involves melted butter and a lot of sugar whisking. If you want to see more of my culinary adventures, come follow along on my Pinterest account!
- Why These Are the Ultimate Fudgy Brownies (and How to Get That Shiny Top)
- Gathering Ingredients for Your Decadent Chocolate Squares
- Simple Steps for Easy Homemade Brownies
- Baking and Cooling Your Ultimate Brownie Recipe
- Tips for Gourmet Brownie Recipes and Variations
- Serving Suggestions for Bakery Style Brownies
- Storage and Reheating Your Fudgy Brownies
- Frequently Asked Questions About Making Perfect Brownies
- Share Your Best Ever Brownies Creations
Why These Are the Ultimate Fudgy Brownies (and How to Get That Shiny Top)
You know, I tried so many recipes promising fudgy results, but they always ended up too crumbly or too dense. The difference with this batch comes down to a few non-negotiables that give you that perfect texture every single time. We aren’t just making chocolate bars; we’re aiming for the best ever brownies experience—rich, dense, and packed with that deep chocolate flavor, which is why I call them my deep chocolate brownies.
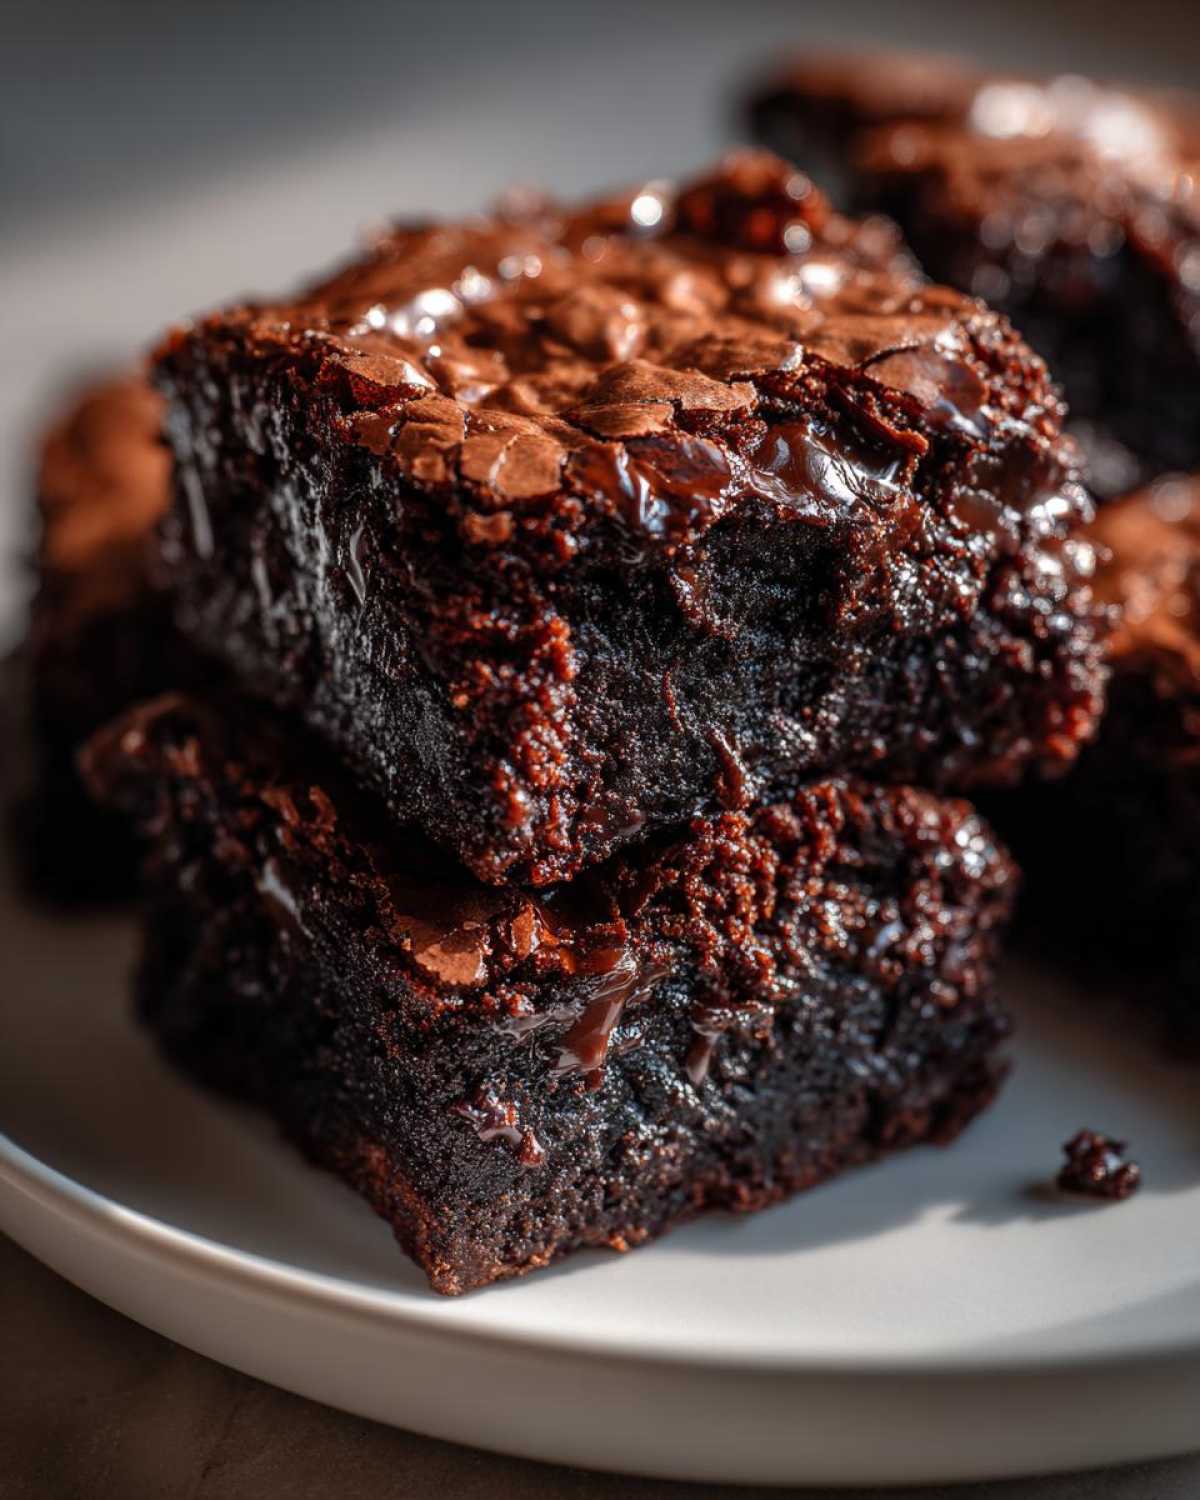
When people ask me what makes these so intensely good, I point straight to the goal: achieving that gorgeous, flaky, shiny top. It’s the holy grail of baking bars! If you want that bakery look, you have to respect the process of dissolving the sugar just right. It sounds technical, but honestly, it’s all about the whisking power!
The Secret to the Perfect Brownies with Shiny Top
Okay, listen up, because this step is everything. When you mix the melted butter with the granulated and brown sugars right after taking the butter off the heat, you are creating this beautiful, sugary liquid. Whisking this mixture vigorously for a solid minute or two helps the sugar dissolve completely. As the mixture cools slightly and you add those eggs, you’re actually creating this thin matrix layer on top of the batter!
When the brownie bakes, this sugary film tightens up under the dry heat and creates that thin, delicate, shiny crust. If the sugar isn’t dissolved, it just bakes into the crumb, leaving you with a dull top. Don’t skip that whisking! It’s the trick that makes people think you bought these; they look just like the ones you see on my favorite sites for ultimate fudgy recipes!
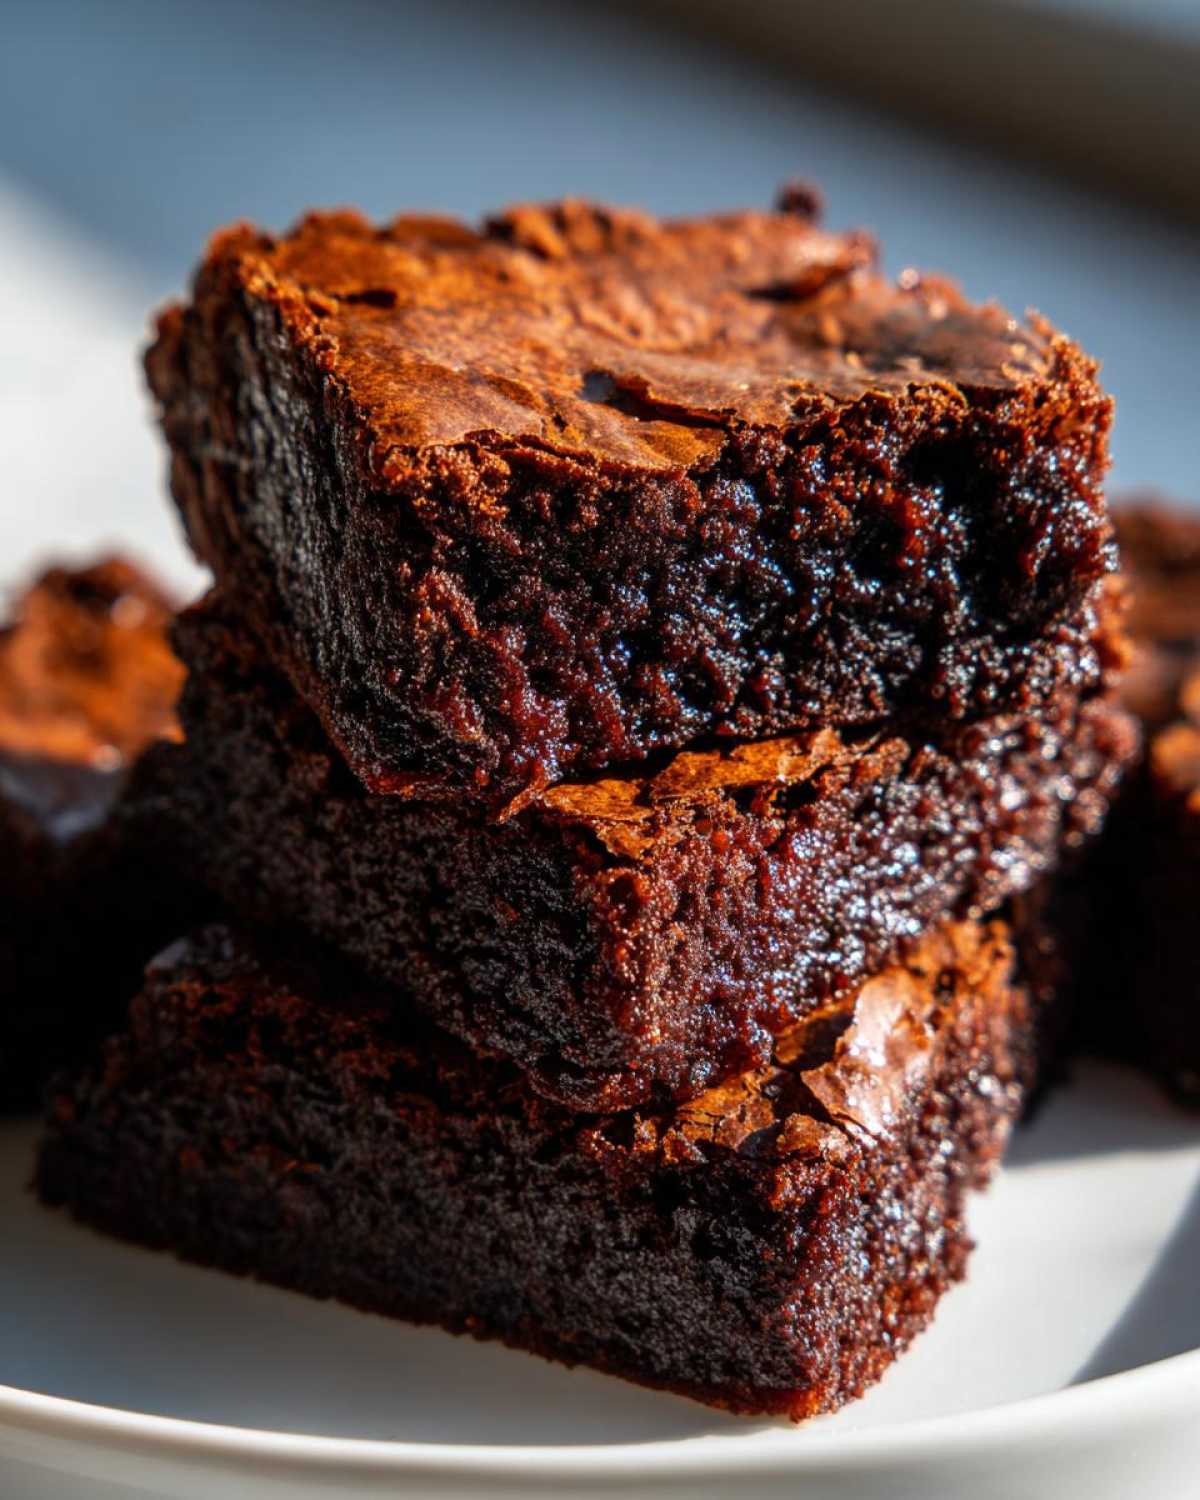
Gathering Ingredients for Your Decadent Chocolate Squares
Before we get into the magic mixing stage, we need to talk about what we’re using. Seriously, the quality of these chocolate dessert bars depends entirely on the ingredients. Because this recipe relies on melting and mixing everything, there aren’t many fancy steps to hide subpar components, so let’s make sure everything is ready to go! Grab your measuring cups and let’s lay it all out.
I always lay everything out on the counter first—it makes the process move so much smoother, especially since the mixing goes quickly once we start. Remember, we want these to be rich, so using the best cocoa powder you can find makes a huge difference!
- 1 cup (2 sticks) unsalted butter: This needs to be ready to melt down nicely on the stovetop.
- 1 1/4 cups granulated sugar: Make sure this is the dry, white kind.
- 1 cup packed light brown sugar: Packing it in is super important; this extra molasses adds chewiness.
- 4 large eggs: Please, please make sure these are at room temperature. They incorporate so much better when they aren’t icy cold!
- 1 tablespoon vanilla extract: Use the real stuff! It really shines through in simple chocolate recipes like this.
- 3/4 cup unsweetened cocoa powder (natural or Dutch-process): This is where the deep chocolate brownies flavor comes from, so pick a good one.
- 1/2 cup all-purpose flour: Just a little bit; we aren’t making cake here!
- 1/2 teaspoon salt: Crucial for balancing all that sweetness.
- 1 cup chocolate chips (semi-sweet or dark): I prefer dark chocolate chips myself for that sophisticated bite, but use what you love!
If you happen to have some pecans lying around, you can chop up some nuts and add those with your chocolate chips for an extra layer of texture, kind of like in my recipe for cracker toffee! Remember, preparation sets you up for success!
Simple Steps for Easy Homemade Brownies
Wow, are these brownies simple to put together! Even though we have to separate the wet and dry ingredients slightly, this is truly an easy homemade brownies project. Think of it like a fancier version of a one-bowl recipe—minimal fuss, maximum payoff in texture and flavor. We are setting ourselves up for the best chocolate indulgence!
Preparation and Melting the Butter for Fudgy Brownies
First thing’s first: get that oven up to temperature—350°F (175°C) is our sweet spot. Next, line your 9×9 inch pan with parchment paper, but be sure to leave an overhang on two opposite sides. Trust me on this! These gooey squares will stick if you don’t, and that overhang is your handle to lift the whole beautiful batch out later. Once prepped, gently melt your butter in a small saucepan over low heat. Keep an eye on it, especially if you’re experimenting with browning it slightly, because we want melted, not smoking, butter for these fudgy brownies.
Mixing Wet Ingredients: The Key to Chewy Brownies Recipe
Right after the butter comes off the heat, whisk in both the granulated and brown sugars until they look totally incorporated. Remember what I said about that shiny top? This is where it happens! Then, eggs go in one by one; don’t rush this! Wait until the first one is fully mixed in before adding the next. Add your vanilla. My little trick? When I add the eggs, I try to splash the mix up the sides of the bowl a bit and then scrape it back down; it ensures everything emulsifies perfectly for that dense, chewy brownies recipe structure.
Combining Dry Ingredients and Folding in Chocolate
Now for the dry stuff: cocoa powder, flour, and salt. Whisk those together in a separate bowl just so they aren’t lumpy, and then—and this is critical, so pay attention—add these dry bits to the wet mixture gradually. Mix only until you see no more streaks of white flour. Seriously, stop mixing! Overmixing develops gluten, and gluten makes cake, not gooey bars. Finally, gently fold in your chocolate chips. This gentle handling preserves the air bubbles we created earlier, ensuring your final chocolate dessert bars are perfect. I actually find a spatula works best for the folding part; it’s much gentler than the whisk!
If you want to see how I handle adding extra layers, check out my post on easy pizza pinwheels—sometimes simple techniques make the biggest difference!
Baking and Cooling Your Ultimate Brownie Recipe
This is the home stretch, and where most folks slip up! We’ve done the incredible work of creating the perfect batter for brownies, so don’t let impatience ruin it right at the finish line. Baking time is tricky because we aren’t aiming for cake territory; we want that beautiful, slightly molten center. You’re looking at 30 to 35 minutes for a 9×9 inch pan at 350°F, but always trust your eyes and your poke test more than the clock!
When you peek in, the edges should look nicely set—a little firm, maybe even slightly pulling away from the parchment paper sides. But the center? That center needs to look a bit underdone. We want these to be those dreamy, gooey chocolate dessert squares everyone fights over.
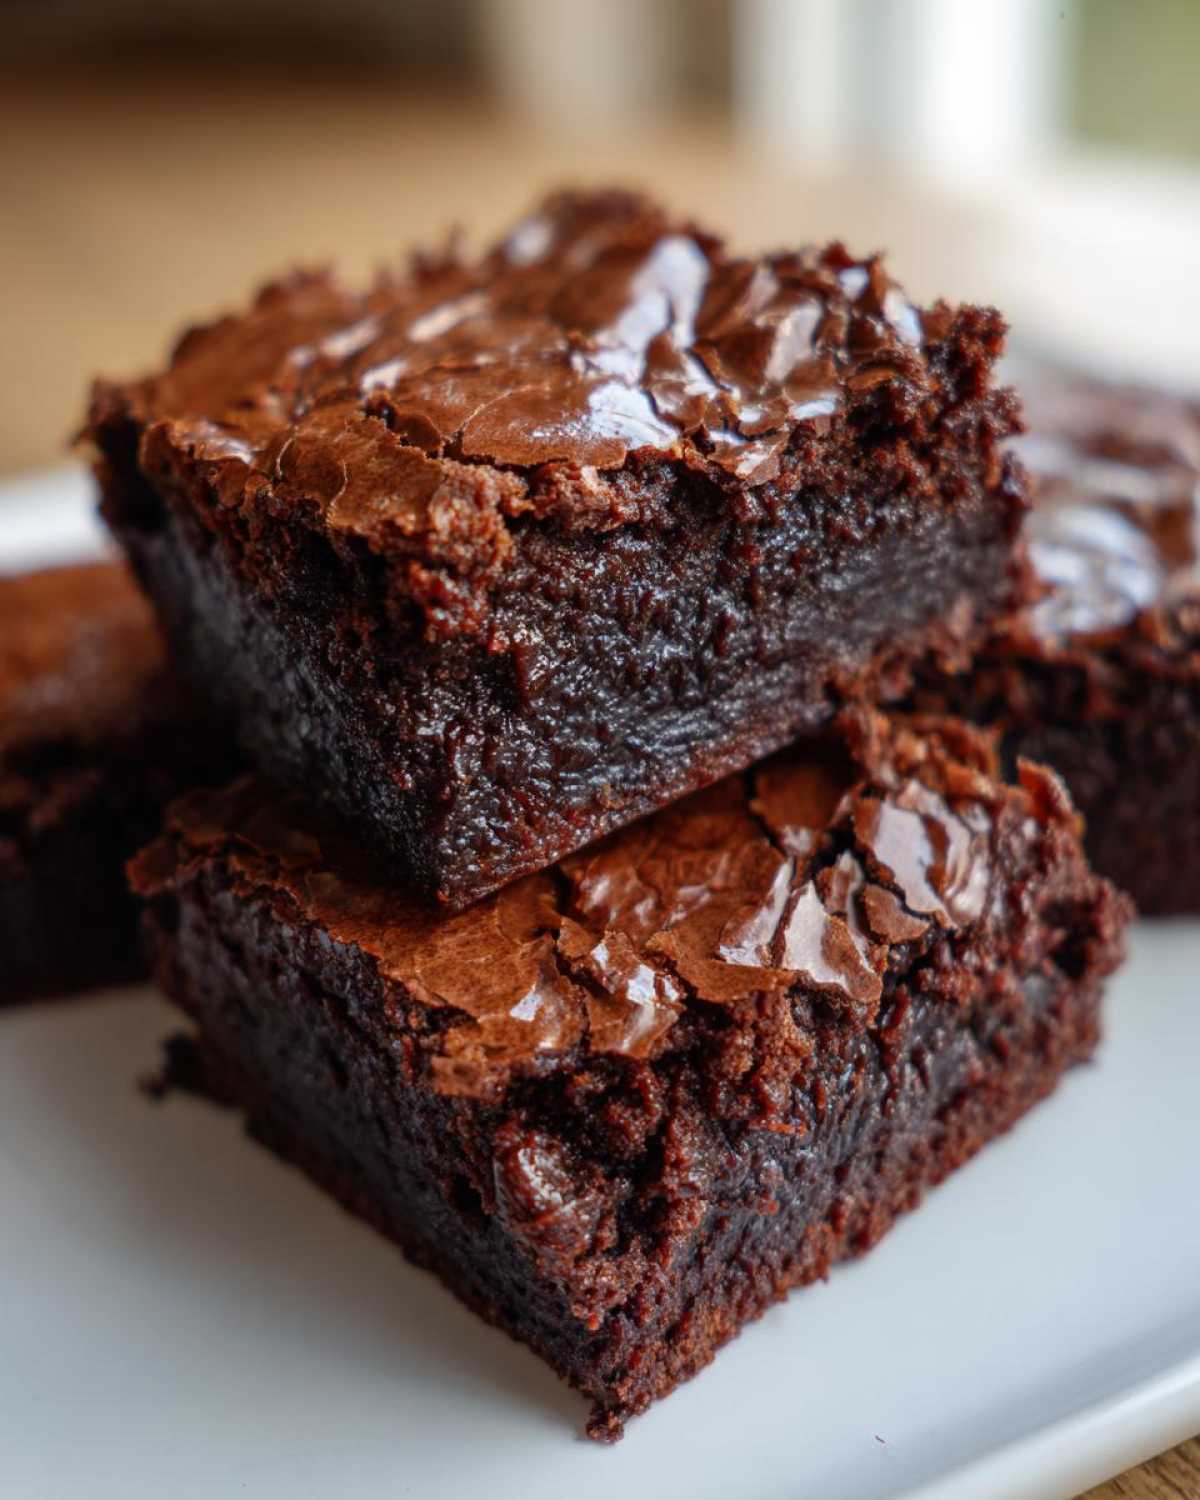
When it comes to testing doneness, the toothpick test is essential, but be careful how you interpret it. You want moist, fudgy crumbs clinging to the toothpick when you pull it out near the center. If that toothpick comes out totally clean, honey, you’ve baked them too long, and they’ll be firm instead of soft. If it comes out dripping wet with raw batter, give them another three minutes and check again.
Now, resist the urge to cut them immediately! I know, I know, they smell like heaven, but these ultimate brownie recipe bars need time to set up structurally. If you try to slice them warm, they will just tear apart into blobs. Lift the whole thing out using those parchment overhang ‘handles’ and let them cool completely on a wire rack—at least an hour, maybe even two! Once cooled down, they slice like a dream, yielding those perfect, dense, decadent chocolate squares. For more great tips on making delicious trays, check out my directions for easy sheet pan dinners—simple preparation always wins!
Tips for Gourmet Brownie Recipes and Variations
Now that you have mastered the base recipe for the best ever brownies—the fudgy, shiny ones—it’s time to get creative! Part of the fun of baking from scratch is playing around with different additions to make them feel extra special, turning them into true gourmet brownie recipes. You don’t need a completely new recipe to elevate these bars; we can just tweak the steps we already covered. I love making these variations for a weekend gathering, and people always ask for the secret behind the extra richness in these brownies.
Incorporating Brown Butter Brownies Flavor
If you want a depth of flavor that just screams “bakery quality,” you absolutely must try browning the butter! It adds these incredible nutty, toasty notes that pair unbelievably well with dark chocolate. The process is easy, but you need attention!
To do this, melt all your butter in the saucepan, but keep the heat on medium-low. Swirl it gently until you see little brown bits forming at the bottom and you smell something nutty—not burnt! Pull it off the heat immediately and let it sit for about five minutes until it’s just warm, not sizzling hot, before whisking in your sugars. If it’s too hot, you’ll accidentally scramble those eggs later! I use this same technique when making my maple cookies, and it makes all the difference!
Creating Marshmallow Swirl Brownies
For texture lovers, let’s talk about swirling! Making marshmallow swirl brownies takes your gooey dessert to a whole new level of decadence. This variation requires you to follow the directions exactly until you’ve poured the batter into the prepared pan.
Before you pop this beautiful tray into the oven, dollop about a cup of marshmallow fluff (or whatever flavor swirl you love!) randomly over the top of the batter. Then, take a butter knife or a skewer and gently run it through the batter a few times in a figure-eight motion. You want swirls, not one giant cloudy layer! Pop it in to bake. I usually wait until the last five minutes of baking time to swirl it in, just so the fluff doesn’t fully disappear into the dark chocolate underneath. It sets up beautifully right as the brownies finish baking!
Serving Suggestions for Bakery Style Brownies
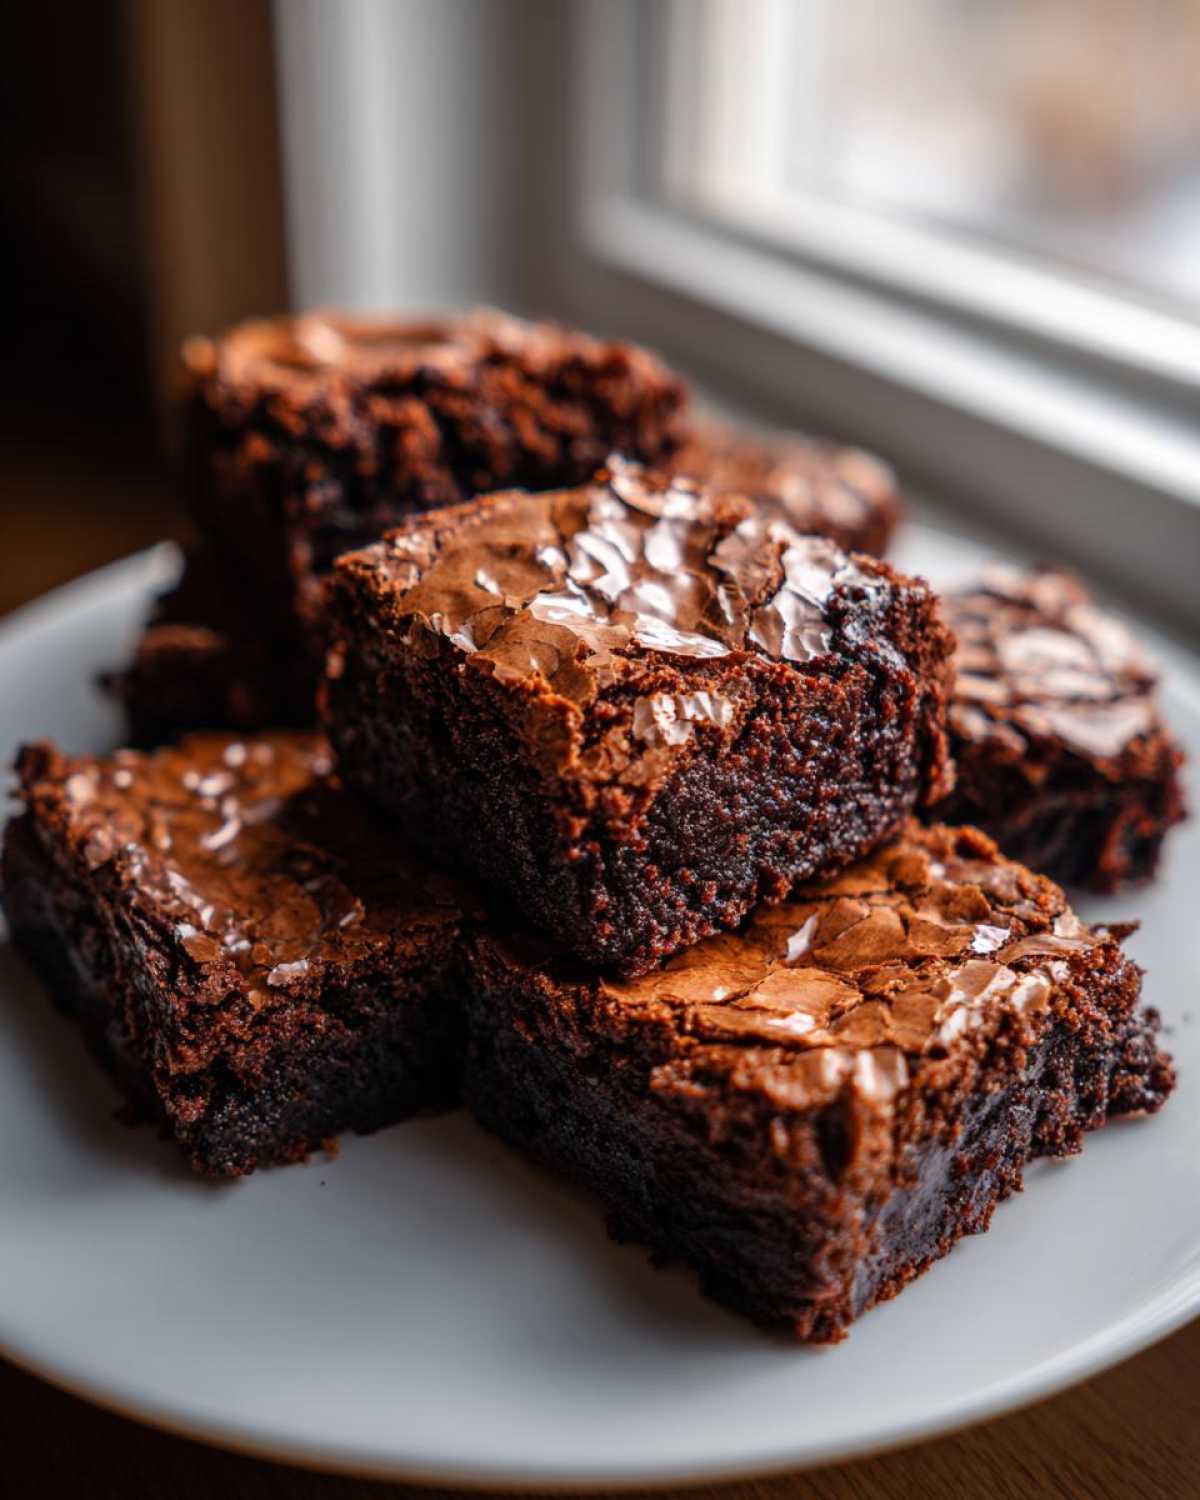
Once you finally manage to slice these amazing bars, the next big decision is how to serve them! Since these are so incredibly rich and gooey—truly bakery style brownies—they really don’t need much dressing up, but sometimes a little something extra pushes them over the edge into pure indulgence territory.
My favorite way to serve them when they are still slightly warm (but not actually falling apart, remember!) is just with a very light dusting of high-quality powdered sugar. It looks fancy without hiding that spectacular crackly top we worked so hard to achieve. It also catches the light beautifully in photos!
If you are having guests over or want something truly decadent, you absolutely have to double down on the chocolate factor. A warm brownie square pairs magnificently with a scoop of vanilla bean ice cream. The contrast between the warm, dense chocolate and the cold, creamy vanilla is just divine. Seriously, don’t knock it till you try it!
For those who aren’t big on ice cream, a strong cup of coffee or an espresso drink works wonders. The bitterness of the coffee cuts right through the richness of the chocolate, making you feel like you can eat two (or maybe three… oops!). And if you’re feeling extra ambitious and want to go all out? Try dipping the corner of your decadent chocolate squares into a small pot of warm, homemade chocolate fondue. You can find my recipe for easy, rich, creamy chocolate fondue in another post, and it’s ridiculously simple to make on the fly!
Storage and Reheating Your Fudgy Brownies
So, you’ve baked the perfect batch, they’ve cooled down (I know, that was the hardest part!), and now you have this amazing tray of fudgy goodness. The trick is making sure they stay tasting this incredible tomorrow, and the day after that! We want to maintain that gooey center, so we have to be smart about storage. The good news is that these brownies keep really well because they have a high-fat content, which naturally preserves them.
My number one rule is to keep them completely cooled before you put them anywhere near a lid. If you seal them up even slightly warm, they’ll steam, and that lovely shiny top? Gone. Poof! You’ll end up with condensation, and nobody wants a soggy top on their fudgy brownies.
Once they are totally room temperature, it’s time to seal the deal. I always use an airtight container. If you happen to have an extra-large Ziploc bag, that works almost as well, provided you squeeze all the air out. Layer them carefully, maybe with a small piece of parchment paper between the layers if you stacked them high, just to make sure they don’t actually stick back together when they firm up.
Keep the container on the counter. Seriously, resist the urge to put them in the fridge! Cold temperatures actually make the butter solidify too much and can dull the deep chocolate flavor, turning your gooey treat into something slightly stiff. Room temperature storage is perfect for about four days. They honestly rarely last that long in my house, though!
If you are reheating a single square because you deserve it (and you totally do!), I microwave mine for about 8 to 10 seconds max. Don’t overdo it, or you’ll melt the structure right out of them. A quick blast takes the chill off and brings back that fresh-from-the-oven texture instantly. Enjoy every single one of these amazing brownies!
Frequently Asked Questions About Making Perfect Brownies
I get so many lovely notes after people try these chocolate indulgence recipes! It’s totally normal to have questions when trying something for the very first time, especially when you’re chasing that perfect texture. Let’s dive into a few things that folks commonly ask about getting these fudgy brownies just right so you can nail the texture and flavor every time.
Can I use Dutch-process cocoa powder in this brownies recipe?
Yes, absolutely! Our recipe notes mention that you can use natural or Dutch-process. Dutch-process cocoa powder has been treated to reduce acidity, which often results in a slightly deeper, smoother chocolate color and flavor. Since this recipe doesn’t rely on a chemical reaction with baking soda (which needs that acidity from natural cocoa), you are totally good to go with either type! Just remember, as I mentioned before, sometimes using a high-quality Dutch-process powder can really boost how intense those deep chocolate brownies taste.
How do I make sure my brownies are chewy and not cakey?
This is the question everyone asks when they want that lovely, dense mouthfeel! Three things matter most here: 1) The fat ratio. We use lots of butter and sugar, which keeps things moist and dense, not light and airy like a cake. 2) The flour amount. See how low it is? That keeps them from rising too much! 3) The absolute most crucial thing is watching your mixing time. Once you add that flour mixture, mix ONLY until the streaks disappear. If you keep mixing past that point, you develop gluten, and that’s what turns your beautiful creation into a slightly tougher, cakey square. Stop mixing the moment you can barely see dry flour!
Can I substitute the chocolate chips?
You certainly can, and sometimes upgrading the chips is how you take an already great recipe to the next level! While chocolate chips are super easy because they resist melting completely, holding their shape a bit like little chocolate pockets, you can totally chop up a bar of high-quality baking chocolate instead. I’m talking about a good 60% or 72% cacao bar, chopped roughly. Using chopped chocolate gives you those beautifully uneven pools of melted chocolate spread throughout the batter, which adds even more gooeyness for your gooey chocolate dessert!
If you’re looking for more fun baking tips, especially when it comes to getting soft centers, you should check out my tips for making lemon crinkle cookies—they are all about that perfect texture too!
Share Your Best Ever Brownies Creations
Now that you have the secrets to achieving that bakery-quality, shiny top and unbelievably fudgy texture, the only thing left to do is bake them! Seriously, go preheat that oven—you deserve these ultimate brownies this week.
Once you pull these out, let them cool (I know, it’s torture!), slice them up, and tell me everything! Did the sugar dissolve perfectly? Did you manage to resist eating the whole tray in one sitting? Drop a comment down below and let me know your thoughts. Rate this recipe so other bakers know how amazing these chocolate dessert bars are!
And please, if you snap a picture of your gorgeous, crackly-topped squares, I would absolutely love to see them! Tag me on social media or swing by my Pinterest page to show off your success. It brings me so much joy seeing you all create these incredible desserts from scratch. If your results are anything like mine, you’ve just found your new favorite treat, perhaps even better than my classic homemade chocolate chip cookies!
PrintUltimate Fudgy Brownies with Shiny Crackly Top
Make the best ever brownies at home! This recipe delivers ultra-fudgy, chewy, and rich chocolate dessert bars with that sought-after shiny, crackly top. It is an easy homemade recipe perfect for any chocolate indulgence.
- Prep Time: 15 min
- Cook Time: 35 min
- Total Time: 50 min
- Yield: 16 servings 1x
- Category: Dessert Bars
- Method: Baking
- Cuisine: American
- Diet: Vegetarian
Ingredients
- 1 cup (2 sticks) unsalted butter
- 1 1/4 cups granulated sugar
- 1 cup packed light brown sugar
- 4 large eggs
- 1 tablespoon vanilla extract
- 3/4 cup unsweetened cocoa powder (natural or Dutch-process)
- 1/2 cup all-purpose flour
- 1/2 teaspoon salt
- 1 cup chocolate chips (semi-sweet or dark)
Instructions
- Preheat your oven to 350°F (175°C). Line a 9×9 inch baking pan with parchment paper, leaving an overhang on two sides for easy removal.
- In a medium saucepan over low heat, melt the butter. Remove from heat once melted.
- Whisk the granulated sugar and brown sugar into the melted butter until fully combined. This step is key for the shiny top.
- Whisk in the eggs one at a time, mixing well after each addition. Stir in the vanilla extract.
- In a separate bowl, whisk together the cocoa powder, flour, and salt.
- Gradually add the dry ingredients to the wet ingredients, mixing only until just combined. Do not overmix.
- Fold in the chocolate chips.
- Spread the batter evenly into the prepared baking pan.
- Bake for 30 to 35 minutes. The edges should look set, and a toothpick inserted near the center should come out with moist, fudgy crumbs attached, not wet batter.
- Let the brownies cool completely in the pan on a wire rack before lifting them out using the parchment overhang.
- Cut into squares. Enjoy your bakery style brownies!
Notes
- For extra flavor, substitute 1/4 cup of the butter with browned butter. Let the butter cool slightly before adding the sugars.
- For an even richer flavor, use high-quality cocoa powder.
- Do not overbake if you want gooey chocolate dessert squares.
- If you want marshmallow swirl brownies, swirl in 1 cup of marshmallow fluff during the last 5 minutes of baking.
Nutrition
- Serving Size: 1 square
- Calories: 280
- Sugar: 30
- Sodium: 120
- Fat: 16
- Saturated Fat: 10
- Unsaturated Fat: 6
- Trans Fat: 0
- Carbohydrates: 34
- Fiber: 2
- Protein: 4
- Cholesterol: 65