
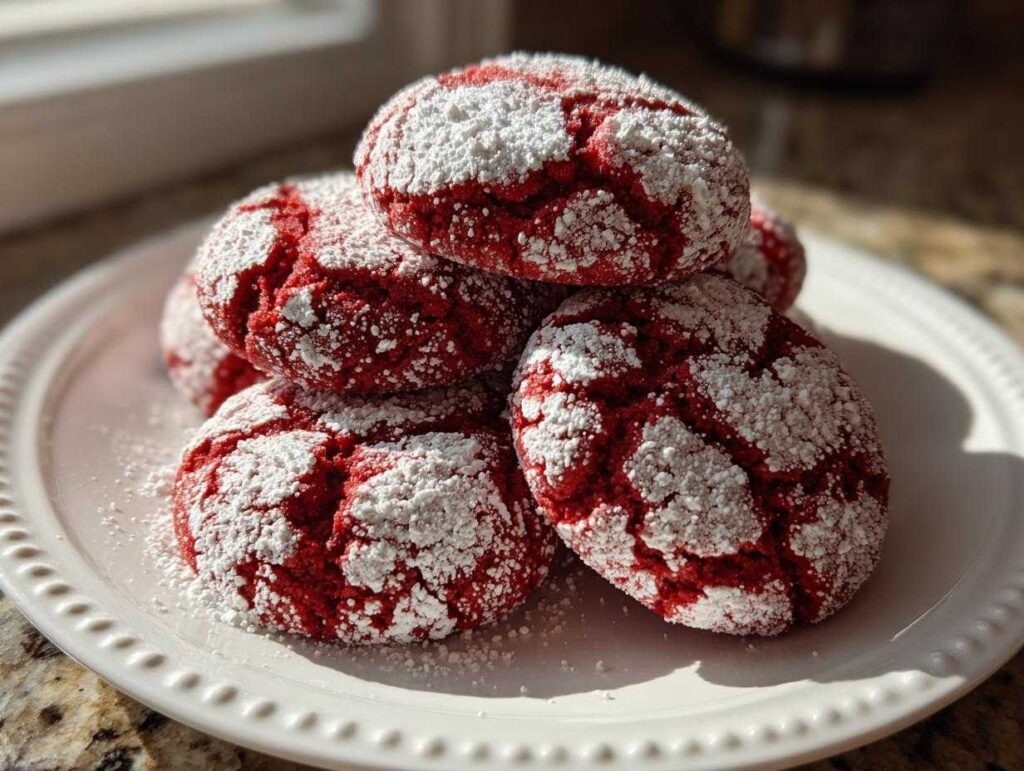
Oh, are you ever having one *of those days* where you need a seriously impressive dessert but your energy reserves are running on fumes? I know the feeling! That’s exactly when my secret weapon comes out of the cupboard: the boxed cake mix. Trust me when I say that transforming a standard box into something magical is my favorite kind of kitchen hack. Today, we are making what I call The Ultimate 4-Ingredient Soft & Chewy red velvet cake mix cookies. These cookies are pure genius! I’ve whipped up batches of these beauties in less than 20 minutes when unexpected guests pop over, and they always disappear first. The best part? We don’t even have to chill the dough. Just mix, roll, and bake your way to soft, festive treats! If you love this kind of super easy baking, you absolutely must check out my guide for the best soft chewy classic snickerdoodle recipe, but these red velvet ones are king when you need speed!
- Why These Red Velvet Cake Mix Cookies Are Your New Favorite Shortcut Desserts
- Gathering Ingredients for Your Red Velvet Crinkle Cookies
- Step-by-Step Instructions for Easy Red Velvet Cookies
- Making Red Velvet Cake Mix Cookies Festive for Holidays
- Tips for Perfect Minimal Ingredient Cookies
- Storage and Keeping Your Easy Red Velvet Cookies Fresh
- Frequently Asked Questions About Red Velvet Cake Mix Cookies
- Estimated Nutrition for These Simple Dessert Recipes
- Share Your Perfect Batch of Red Velvet Cake Mix Cookies
Why These Red Velvet Cake Mix Cookies Are Your New Favorite Shortcut Desserts
When you need a gorgeous, festive cookie *now*, these **red velvet cake mix cookies** are absolute lifesavers. Seriously, they hit all the right notes without any fuss! We are talking about next-level **shortcut desserts** here. Forget sifting flour and balancing baking soda; we are keeping it incredibly simple so you can get these amazing treats on the cooling rack super fast.
The primary reason I turn to this recipe constantly is the texture. Most people think boxed mixes result in cakey cookies, but not with this formula! You get truly soft cookies using cake mix because the ratio of fat and egg holds everything together beautifully. They come out perfectly chewy every single time.
Minimal Ingredient Cookies: Only 4 Ingredients Needed
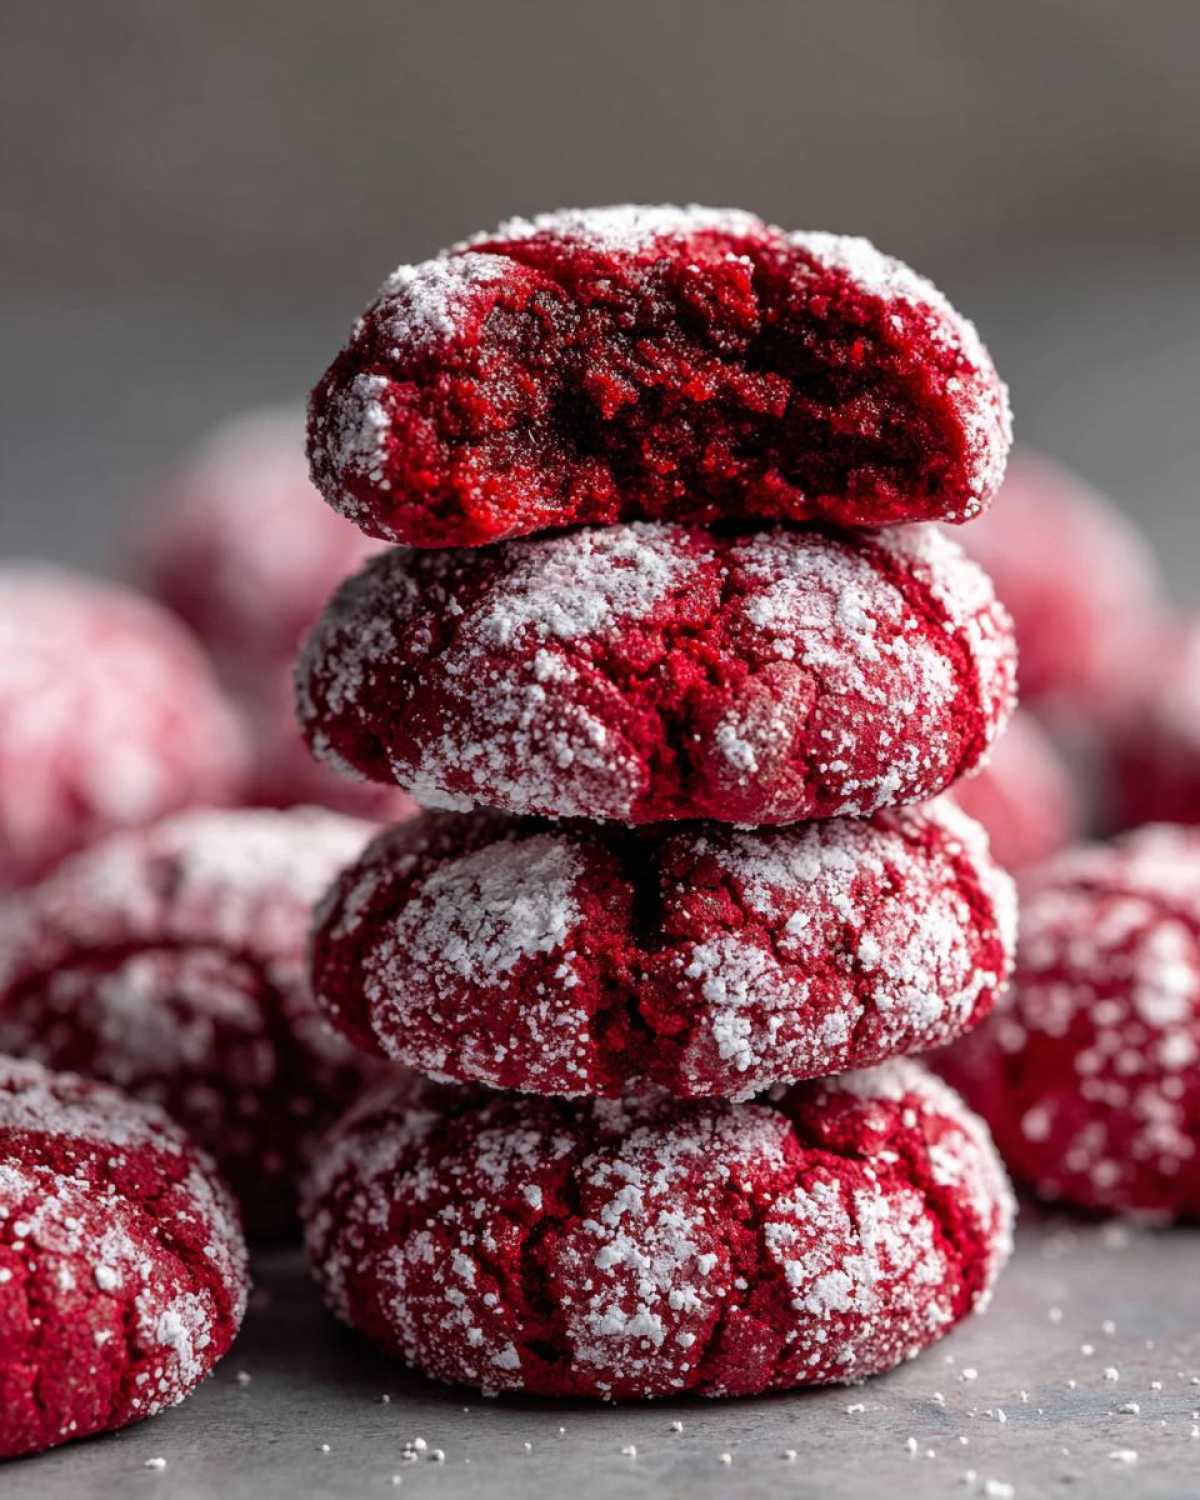
If you love uncomplicated baking, this recipe is your soulmate. We are cutting corners in the best possible way, resulting in true **minimal ingredient cookies**. You probably have three of the four things needed sitting in your pantry right now! It’s practically a magic trick disguised as a recipe. We’re relying almost entirely on the quality of that cake mix!
Perfect Texture: Soft Cookies Using Cake Mix Every Time
The goal here is never a crunchy cookie; we want that lovely, melt-in-your-mouth, almost underbaked sensation, right? The combination of oil and the pre-made cake mix ensures we lock in moisture. Because the mix already contains leaveners and stabilizers, our **soft cookies using cake mix** never require chilling. They stay **chewy red velvet treats** straight from the oven. If you want another easy recipe that delivers amazing texture without the wait, check out my guide for easy Saltine Cracker Toffee!
Gathering Ingredients for Your Red Velvet Crinkle Cookies
Okay, now for the fun part—gathering our super short list! This is where the **red velvet cake mix cookies** magic really starts to bubble up. Remember, we are leaning heavily on that boxed mix to do most of the heavy lifting for our festive **red velvet crinkle cookies**!
You will need:
- One full box of red velvet cake mix (15.25 ounces is what I use!)
- ½ cup of simple vegetable oil
- Two large eggs
- And the crucial crinkle maker: a full cup of powdered sugar for rolling!
If you check out my recipe for Ultimate Fudgy Andes Mint Cookies, you know I love adding mix-ins, and these are no exception!
Ingredient Notes and Substitution Tips
Listen up, because these little details are what make the difference between good and *great*. Make sure those two large eggs are sitting out on the counter for about 15 minutes before you start mixing. Room temperature eggs blend into the dough so much smoother, which helps our final cookie texture!
Also, while this recipe already relies on the mix, if you want to elevate these **simple dessert recipes** just a touch, toss in about ½ cup of white chocolate chips right when you mix the dough. They melt perfectly and the white chocolate against that deep red is just gorgeous.
Step-by-Step Instructions for Easy Red Velvet Cookies
Now we get into the action! Following the instructions carefully is key so these turn out as wonderfully soft **Easy Red Velvet Cookies**. Before you even touch the bowl, hop over and get your oven preheated to 350 degrees Fahrenheit. While that’s warming up, line a couple of your favorite baking sheets with parchment paper. This step is non-negotiable for me; it keeps cleanup a breeze and helps the cookies bake evenly!
Mixing the Cake Mix Cookies Recipe Dough
Grab a medium bowl—one bowl for these **red velvet cake mix cookies**, that’s the beauty of it! Dump in the whole box of cake mix, the ½ cup of oil, and those two room-temperature eggs I was telling you about earlier. Use a sturdy spoon or maybe switch on your hand mixer for just a moment. Mix only until *just* combined. I mean it! Stop mixing the second you don’t see any dry streaks. Overmixing the dough is the number one way to accidentally make them cakey instead of wonderfully soft!
Achieving the Perfect Red Velvet Crinkle Cookies Coating
This is the part that makes these **red velvet crinkle cookies** look so professionally fancy! Pour your full cup of powdered sugar into a shallow little dish—a pie plate works great. You want to scoop out dough balls using a tablespoon or a small cookie scoop. Roll each little ball around in that powdered sugar until it’s completely blanketed. I like to give them a second light roll just to make sure every single red spot is hidden under that white coat. That sugar is what creates those gorgeous cracks as they bake!
Baking and Cooling Your Chewy Red Velvet Treats
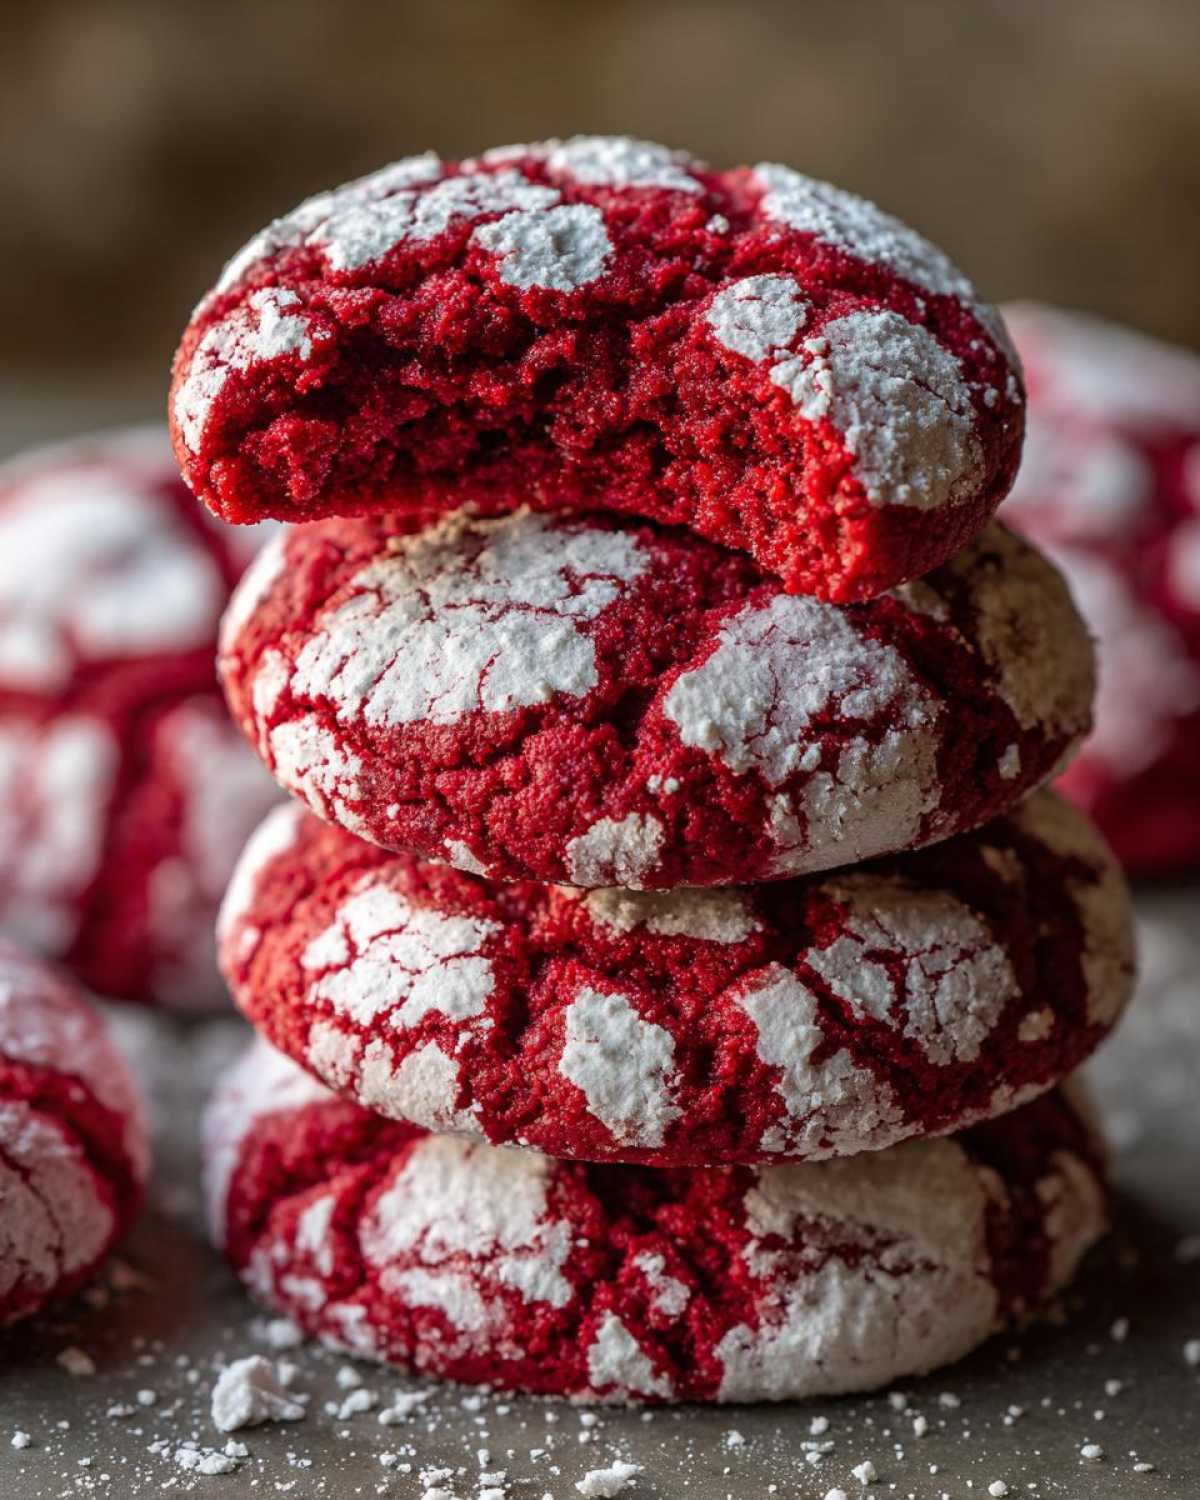
Place those fully coated balls onto your prepared sheets, giving them about two inches of space because they will spread a tiny bit. Pop them into your hot oven for just 8 to 10 minutes max. You’re looking for the edges to look set, but honestly, the centers should still look a little soft and perhaps even a tiny bit underdone when you pull them out. This is crucial for those **chewy red velvet treats**! Let them sit right there on that hot sheet for five full minutes; this lets the centers finish baking gently while locking in the moisture. Then, carefully move them over to a wire rack to cool completely. If you’re looking for other easy baked goods that impress, you should look at my guide for the zesty lemon crinkle cookies!
Making Red Velvet Cake Mix Cookies Festive for Holidays
These **red velvet cake mix cookies** aren’t just great for low-effort Tuesday baking; they are superstars when it comes to quick celebrations! If you’re tackling **quick holiday baking** for Christmas parties, or need the perfect vibrant red for a Valentine’s Day dessert spread, these are your new go-to. Because they come together so fast—seriously, less than 20 minutes total—they are perfect when you realize you need a dozen treats five minutes ago!
Presentation is everything when you use a shortcut, and the crinkle effect from the powdered sugar already looks so professional. Don’t forget to check out my guide for super easy Christmas cookies recipes when you are planning your platter!

Variations: White Chocolate Red Velvet Cookies
I briefly mentioned tucking in some white chocolate chips earlier, but let’s talk about giving these **white chocolate red velvet cookies** the full bakery treatment. If you want that gorgeous visual of creamy white melting into the dark red dough, just fold in about a half-cup of good-quality chips right when you mix the dough. It adds an extra layer of richness that really bumps up the flavor factor. They look amazing mixed into the dough before they get their powdered sugar bath. You can see piles of festive inspiration over on the Recipes Vault Pinterest page!
Tips for Perfect Minimal Ingredient Cookies
Even though these are truly designed as “set it and forget it” **minimal ingredient cookies**, sometimes the ingredients can be a little fussy, right? That’s why I always keep a couple of little tricks up my sleeve to rescue the dough if it decides to be stubborn! Remember how I said you don’t need to chill the dough for these **red velvet cake mix cookies**? That’s because we’re using oil, which keeps the mixture workable at room temperature. If it feels a little too soft or sticky when you try to scoop it—maybe your kitchen is just extra warm today—try scooping the dough onto the parchment sheet and then chilling the *sheet* for just 10 minutes. That tiny bit of cold firms up the oil just enough for easy rolling.
Now, what if the dough feels crumbly when you press it together? Oops! That usually means your cake mix brand was lighter on the moisture, or maybe your eggs were tiny. If you run into that, don’t panic and run to add more oil! Instead, just grab one teaspoon of oil at a time and gently mix it in until the dough just comes together in a cohesive ball when you squeeze a chunk. You want it soft enough to roll but firm enough to hold its shape before smothering it in sugar. It’s all about feel!
If you’re looking for more easy recipes that deliver big results on minimal effort, you absolutely have to try my guide for the easy cheese ball recipe next! It’s another showstopper that takes hardly any time.
Storage and Keeping Your Easy Red Velvet Cookies Fresh
So you’ve baked the perfect batch of **easy red velvet cookies**, and believe me, they are so good they might not last long! But if you do manage to save a few (or if you just want to bake ahead for the holidays!), shelf life is important. The main goal when storing these **red velvet cake mix cookies** is maintaining that incredibly soft and chewy interior we worked so hard to achieve. That powdered sugar coating is beautiful, but it can sometimes get sticky if stored improperly.
My biggest piece of advice here? Don’t rush to seal them up! If you put warm cookies into an airtight container, that steam gets trapped, and suddenly your lovely crisp edges turn soggy and your soft centers get gummy. Let them cool *completely*—and I mean fully room temperature—sitting out on a wire rack for at least an hour before you put them away. This lets all the residual heat escape.
For keeping them soft for up to four days, store the cooled cookies in a cookie jar or a container that isn’t completely hermetically sealed. If you use a standard plastic container, just leave the lid slightly ajar—just a tiny crack! This allows any lingering moisture to evaporate instead of being trapped with the cookies. You want them to breathe a little bit!
If you are storing them longer, say for a week, then a sealed container is fine, but try placing a small piece of white bread inside with them? It sounds weird, I know, but the bread absorbs excess moisture and releases just enough to keep the cookies perfectly soft. They won’t dry out! For more cookie storage wisdom, you can look at some of my long-term storage methods in my guide for the homemade chocolate chip cookies recipe—the principles are the same for these **chewy red velvet treats**!
Frequently Asked Questions About Red Velvet Cake Mix Cookies
I always get so many questions when people see how simple these **red velvet cake mix cookies** are! It’s amazing what you can do with just four things, but naturally, people want to tweak things. Don’t stress if you have questions; I’ve answered the most common ones I hear about making these **simple dessert recipes**.
Can I use melted butter instead of oil in this Cake Mix Cookies Recipe?
Oh, that’s a great question everyone asks when they see the oil listed! For this specific **cake mix cookies recipe**, I really, really recommend sticking to the oil. Oil is already liquid, so it blends seamlessly into the dry mix and keeps the dough super soft without needing any further creaming. If you melted butter, it would cool and solidify slightly when mixed with the cool cake mix, potentially leading to a slightly denser cookie or one that spreads too much before baking. If you absolutely must substitute, try using soft, room-temperature butter instead of melted, but you might find the texture changes slightly away from that super soft, **chewy red velvet treat** quality.
How do I get the best crinkle effect on my **Red Velvet Crinkle Cookies**?
Getting those stunning bakery-style cracks on your **red velvet crinkle cookies** is all about the sugar coating! Seriously, don’t skimp here. First, make sure your dough balls are rolled into nice, smooth, uniform spheres before rolling them in the powdered sugar. If your dough is lumpy, the coating won’t adhere evenly, and the crinkles won’t look nice and defined.
Second, make sure you roll them *thoroughly*. I mean, completely bury that little red ball in the sugar until not a speck of red shows through. A double coat sometimes helps! The key to the actual crinkle is baking them right away while the dough balls are still room temperature and the sugar coating is thick. As the cookie puffs up in the heat, that white coating cracks open to reveal that gorgeous red underneath. It happens fast!
Can I skip the powdered sugar coating entirely?
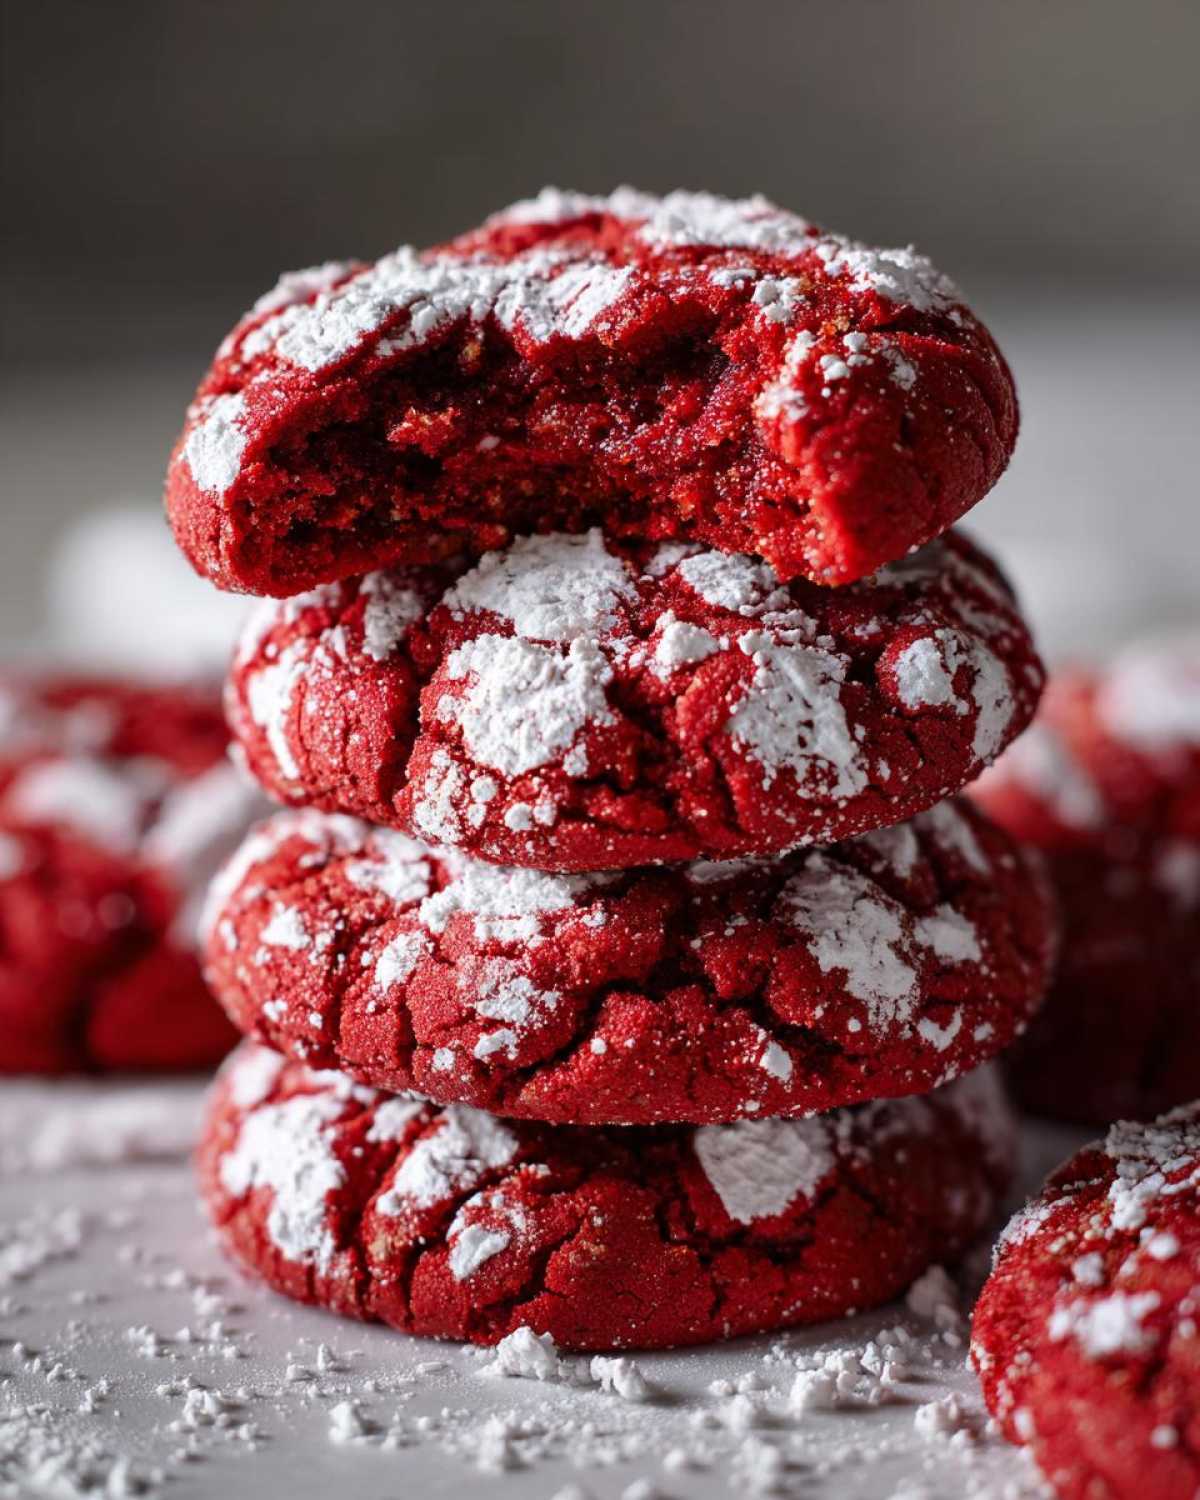
You certainly *can*, but oh my goodness, you’d be missing out on half the fun! Skipping the powdered sugar means you won’t get the classic **red velvet crinkle cookies** look, which is what makes these **easy red velvet cookies** so festive. Plus, that outer layer of sugar adds an extra little burst of sweetness right at the start. If you skip it, you might want to add a few extra white chocolate chips just to boost the flavor profile slightly, as that sugar layer really contributes to the overall taste experience. If you’re interested in more fun, easy finds, be sure to check out my guide on the easiest drop cookies!
Do these **Minimal Ingredient Cookies** really not need chilling?
Nope, they really don’t! This is one of the huge selling points for these **minimal ingredient cookies**. Because we are using oil instead of softened butter, the dough stays pliable and easy to scoop straight out of the bowl—no chilling required! If you’re short on time, you save at least 30 to 60 minutes right there. If you store the leftover dough and decide to bake it later, though, the oil might firm up a bit in the fridge, so let it sit out for about 15 minutes before rolling, just to bring it back to life!
Estimated Nutrition for These Simple Dessert Recipes
Now, I know we are focused on ease and flavor here, but since I love sharing everything about what goes into my baking, I wanted to give you a quick peek at the nutritional rundown for these **red velvet cake mix cookies**. Remember, because we are using a boxed mix and simple pantry staples, these numbers are always going to be *estimates*! Think of this as a friendly ballpark figure, not super detailed lab work. I always like to be transparent that these figures can shift slightly based on the exact brand of cake mix you grab off the supermarket shelf.
For one single cookie (based on a yield of about 24), here is what we are generally looking at in these **simple dessert recipes**:
- Serving Size: 1 cookie
- Calories: 180
- Total Fat: 10g
- Saturated Fat: 2g
- Carbohydrates: 22g
- Sugar: 18g
- Protein: 2g
- Cholesterol: 15mg
- Sodium: 150mg
See how high that sugar content is? That’s the powdered sugar coating doing its job, giving you that signature sweet crackle! If you ever want to dive deeper into the nutrition of different comfort foods, you can compare these numbers to something hearty like my recipe for the easy tamale pie. But honestly, for how little effort these **quick holiday baking** treats take, I think those numbers are pretty amazing!
Share Your Perfect Batch of Red Velvet Cake Mix Cookies
Alright, my friends! Now that you have the secret to making the softest, chewiest, and fastest **red velvet cake mix cookies** known to humankind, I absolutely need to hear how they turned out for you! Baking isn’t just about following steps; it’s about sharing the joy that comes out of the oven, right? This recipe is a total keeper, especially when you need a quick fix for a party or just want a sweet treat without much fuss.
When you pull those glorious, crinkled beauties out, please snap a picture! I love seeing your results, especially for festive treats like these. Tag me on social media or just drop a quick comment down below and let me know what you thought!
Tell me:
- Did you add the white chocolate chips, or did you stick to the pure 4-ingredient magic?
- How quickly did they disappear in your house? (Be honest!)
- Were they soft and chewy right out of the oven?
Your feedback helps everyone else who is nervous about trying a shortcut dessert—seeing that you succeeded gives them the confidence boost they need! I’m always trying out new spins on my favorite easy recipes, so keep those comments coming. If you enjoyed mastering this quick cookie, you are going to *love* my recipe for easy pizza pinwheels—another fantastic way to make something impressive with minimal effort!
Happy baking, and I can’t wait to see all those vibrant red cookies popping up!
PrintThe Ultimate 4-Ingredient Soft & Chewy Red Velvet Cake Mix Cookies (Crinkle Style)

Make soft and chewy red velvet cookies fast using boxed cake mix. This simple recipe requires only four ingredients and creates beautiful, festive crinkle cookies perfect for holidays or Valentine’s Day.
- Prep Time: 10 min
- Cook Time: 10 min
- Total Time: 20 min
- Yield: 24 cookies 1x
- Category: Dessert
- Method: Baking
- Cuisine: American
- Diet: Vegetarian
Ingredients
- 1 box (15.25 ounces) red velvet cake mix
- 1/2 cup vegetable oil
- 2 large eggs
- 1 cup powdered sugar (for rolling)
Instructions
- Preheat your oven to 350 degrees Fahrenheit. Line baking sheets with parchment paper.
- In a medium bowl, combine the entire box of red velvet cake mix, vegetable oil, and eggs. Mix with a spoon or electric mixer until a soft dough forms. Do not overmix.
- Place the powdered sugar in a shallow dish.
- Scoop rounded tablespoons of dough and roll each portion into a smooth ball.
- Roll each dough ball thoroughly in the powdered sugar until completely coated.
- Place the coated dough balls about 2 inches apart on the prepared baking sheets.
- Bake for 8 to 10 minutes. The edges should be set, but the centers will still look slightly soft.
- Let the cookies cool on the baking sheet for 5 minutes before transferring them to a wire rack to cool completely. The crinkle effect develops as they cool.
Notes
- For an extra bakery-style look, you can add 1/2 cup of white chocolate chips to the dough mixture.
- If you prefer a thicker cookie, you can chill the dough for 30 minutes before rolling, though chilling is not required for this quick recipe.
- These cookies look fantastic on any Christmas cookie platter or Valentine’s Day dessert spread.
Nutrition
- Serving Size: 1 cookie
- Calories: 180
- Sugar: 18
- Sodium: 150
- Fat: 10
- Saturated Fat: 2
- Unsaturated Fat: 8
- Trans Fat: 0
- Carbohydrates: 22
- Fiber: 0
- Protein: 2
- Cholesterol: 15