
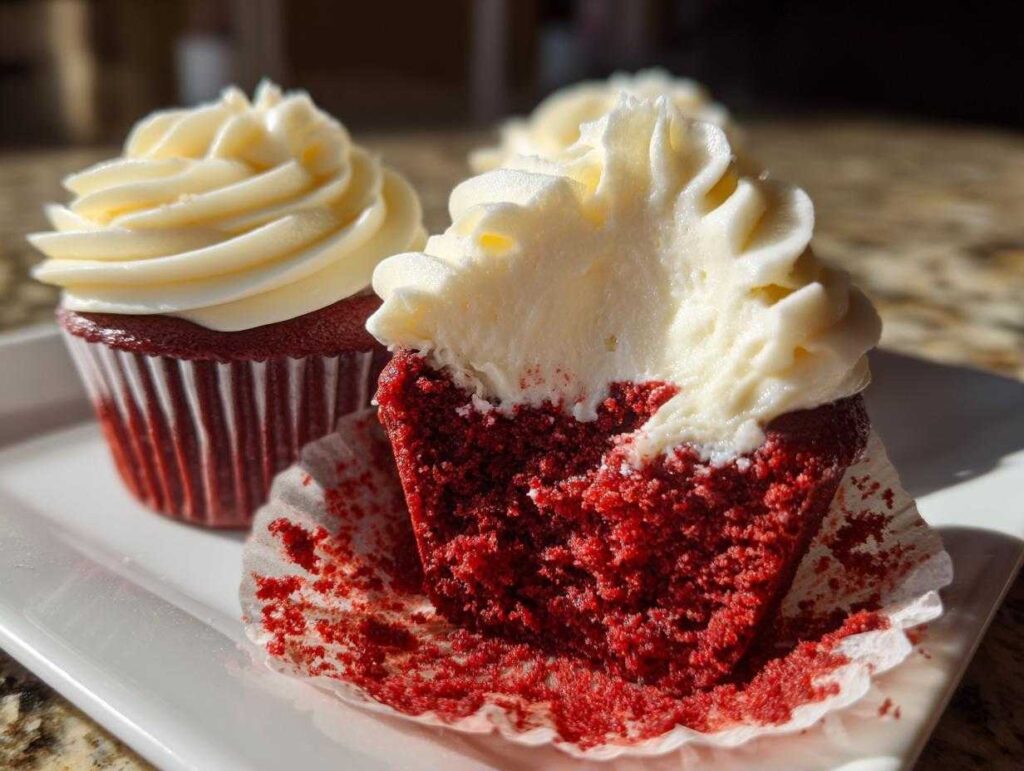
Oh my goodness, are you ready to achieve dessert perfection? I swear, every time I pull a tray of these out of the oven, I feel that magic rush! For years, I chased that incredibly soft, melt-in-your-mouth bite you only find at the best local bakeries, and guess what? I nailed it. This isn’t just any recipe; this is my blueprint for The Best Ultra-Moist Bakery-Style red velvet cupcakes with Tangy Cream Cheese Frosting. The subtle cocoa note married to that perfect tang is just heavenly. It reminds me of special weekend baking days, and I know once you try these red velvet cupcakes, they’re going straight into your ‘keepers’ folder!
- Why You Will Love These Ultra-Moist red velvet cupcakes
- Essential Ingredients for Perfect red velvet cupcakes
- Tips for Achieving Bakery Style red velvet cupcakes
- Step-by-Step Instructions for Homemade red velvet cupcakes
- Variations for Your red velvet Cupcakes
- Serving Suggestions for Decadent Cupcakes
- Storage and Make-Ahead Tips for red velvet Cupcakes
- Frequently Asked Questions About red velvet Cupcakes
- Nutritional Estimates for these red velvet cupcakes
Why You Will Love These Ultra-Moist red velvet cupcakes
These Moist Red Velvet Cupcakes are absolute winners. Honestly, they never last long in my house! Here’s what makes them the only recipe you’ll ever need:
- They are unbelievably moist and fluffy—no crumbly edges here!
- That classic, subtle cocoa flavor shines through perfectly.
- The light texture makes them feel truly decadent.
- We top them with the dreamiest, most tangy cream cheese frosting!
Essential Ingredients for Perfect red velvet cupcakes
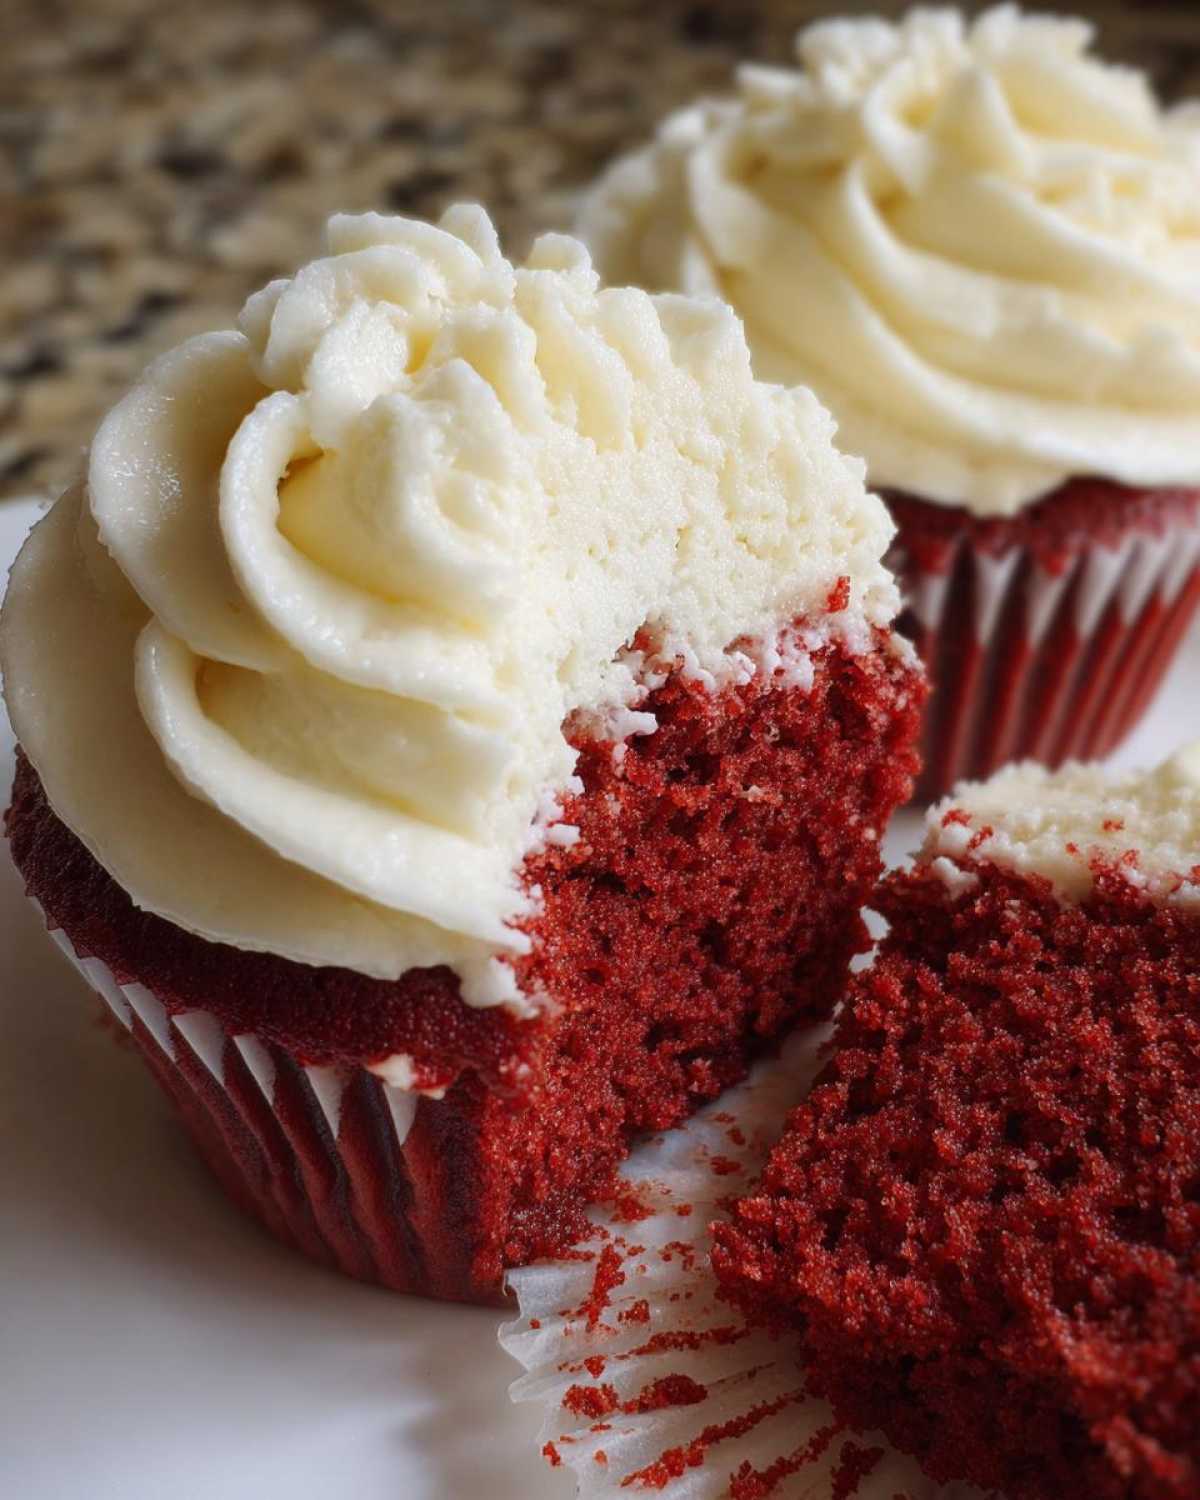
Okay, gathering your supplies is half the battle, right? These ingredients are what give us that deep, authentic flavor and that supremely soft texture we are aiming for. I’ve been preaching about the magic of Red Velvet Recipe Buttermilk for ages! It’s the secret weapon for keeping things from getting dry. We need room temperature ingredients for the frosting, too—don’t skip that step or your frosting will be lumpy, trust me!
If you want to learn more about the power of buttermilk in baking, check out my notes over on my favorite buttermilk biscuits recipe. It’s the same science at play here!
For the Velvety Cupcake Batter
These measurements give us exactly 12 dreamy cupcakes:
- 1 1/2 cups all-purpose flour (all-purpose is perfect here!)
- 1 cup granulated sugar
- 1 teaspoon baking soda
- 1 teaspoon unsweetened cocoa powder (just a hint!)
- 1/2 teaspoon salt
- 1 cup buttermilk (the superstar!)
- 1 teaspoon white vinegar
- 1 teaspoon vanilla extract
- 1/2 cup vegetable oil (oil is key for deep moisture)
- 2 large eggs
- 1 teaspoon red food coloring (gel coloring is vastly preferred for vibrant color without adding too much liquid!)
For the Best Cream Cheese Frosting for red velvet
This frosting has the perfect amount of tang to cut through the sweetness. Everything must be soft!
- 1 tablespoon unsweetened cocoa powder (yes, a little extra in the icing!)
- 8 ounces cream cheese, softened (softened is non-negotiable!)
- 1/2 cup unsalted butter, softened (same softness rule applies here)
- 3 cups powdered sugar, sifted (sifting prevents lumps, boo!)
Tips for Achieving Bakery Style red velvet cupcakes
Getting that beautiful, soft crumb and that deep, vibrant red isn’t just luck; it’s technique! When I started baking these, I made a couple of mistakes, but now I know the shortcuts to avoid them. Remember, we want fluffy red velvet desserts, not hockey pucks!
The biggest mistake people make is over-mixing the batter once the wet and dry stuff meets. Stop mixing as soon as you don’t see streaks of flour left. Seriously, trust your instincts here. Overmixing develops gluten, and gluten equals chewy, tough cupcakes, which is the opposite of velvety!
Don’t forget to check out my favorite tips over on our Pinterest page for gorgeous results when you’re decorating. You can see lots of inspiration if you follow our baking board!
Ingredient Temperature and Quality Notes
Let’s talk color and tang. First, that buttermilk! It’s non-negotiable for these Southern red velvet cupcakes. The acid in the buttermilk reacts with the baking soda, giving you that signature rise AND that wonderfully soft texture. Don’t even try to substitute it with milk unless you add a teaspoon of vinegar to regular milk and let it sit.
Next, the color! I absolutely urge you to use gel food coloring here. Liquid coloring adds extra moisture, which throws off our perfect ratio, and you end up needing too much to get that classic deep red. A tiny bit of gel goes a long way, keeping our batter thick and ready to bake up beautifully!
Step-by-Step Instructions for Homemade red velvet cupcakes
Putting these babies together is actually so straightforward! Seriously, these are some of the most Simple Cupcake Recipes out there, even though they look super fancy. Just follow the order, and before you know it, your kitchen will smell like a high-end bakery.
We’re using a pretty standard muffin tin here, 12 cups, lined and ready to go! If you’re just getting started on your baking journey and want another quick win, these instructions are similar to how I make my easy egg muffins—mixing in stages is the name of the game!
Mixing the Fluffy red velvet Cupcake Batter
First things first, preheat that oven to 350°F (175°C) and line your tin right away. Now, work in two bowls. In the larger one, give your dry stuff a good whisk: flour, sugar, baking soda, and that small bit of cocoa. We want everything distributed evenly before we add anything wet!
In the second bowl—a medium one—whisk together your buttermilk, vinegar, oil, vanilla, and eggs. Once they are happy together, pour the wet mixture slowly into the dry. Mix on low speed, but listen to me—stop mixing the second you don’t see any more dry streaks. Seriously, overmixing is the enemy of Moist Red Velvet Cupcakes!
Finally, stir in that gorgeous red food coloring by hand until you get that vibrant hue we love. Divide that velvety batter evenly into the liners, filling them about two-thirds full.
Preparing the Tangy Cream Cheese Frosting
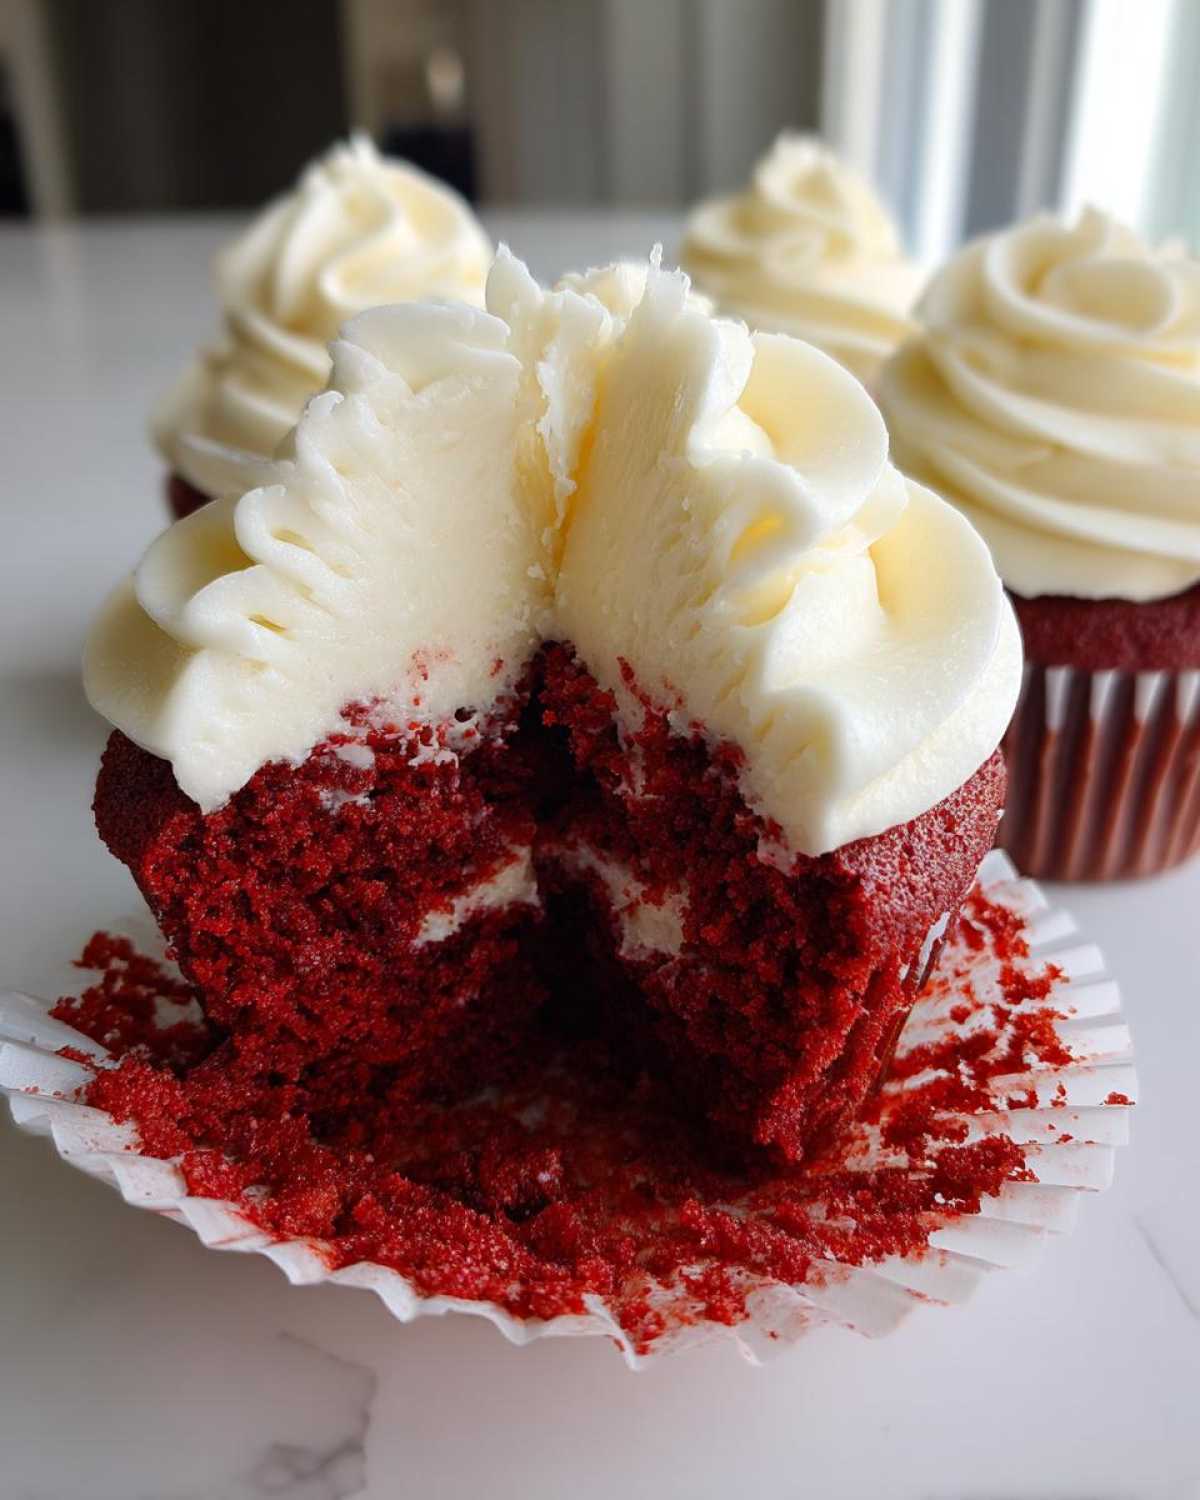
While those bake up, let’s make the star of the show! The key to amazing cream cheese frosting is temperature. Make sure your cream cheese and butter are properly softened—they should mash easily with a spoon!
In your stand mixer (or with a hand mixer), beat the softened cream cheese and butter together until they are wonderfully smooth and creamy. Now, gradually add that sifted powdered sugar, along with the remaining tablespoon of cocoa powder. We need to beat this mixture until it gets nice and fluffy! We are whipping air into it, which is what makes it so light and spreadable on those Decadent Cupcakes.
Baking and Cooling for the Best red velvet Cupcakes
Pop those treats into the 350°F (175°C) oven and set your timer for 18 to 20 minutes. You want a toothpick inserted near the center to come out clean—that means we are done!
Here’s a critical step for that bakery texture: Let the cupcakes rest in the hot tin for about 5 minutes. If you try to pull them out immediately, they might collapse! After five minutes, gently move them to a wire cooling rack. They absolutely MUST be completely cool before you even think about frosting them. Frosting a warm cupcake is just asking for a gooey, sloppy mess, and we want elegant results!
Variations for Your red velvet Cupcakes
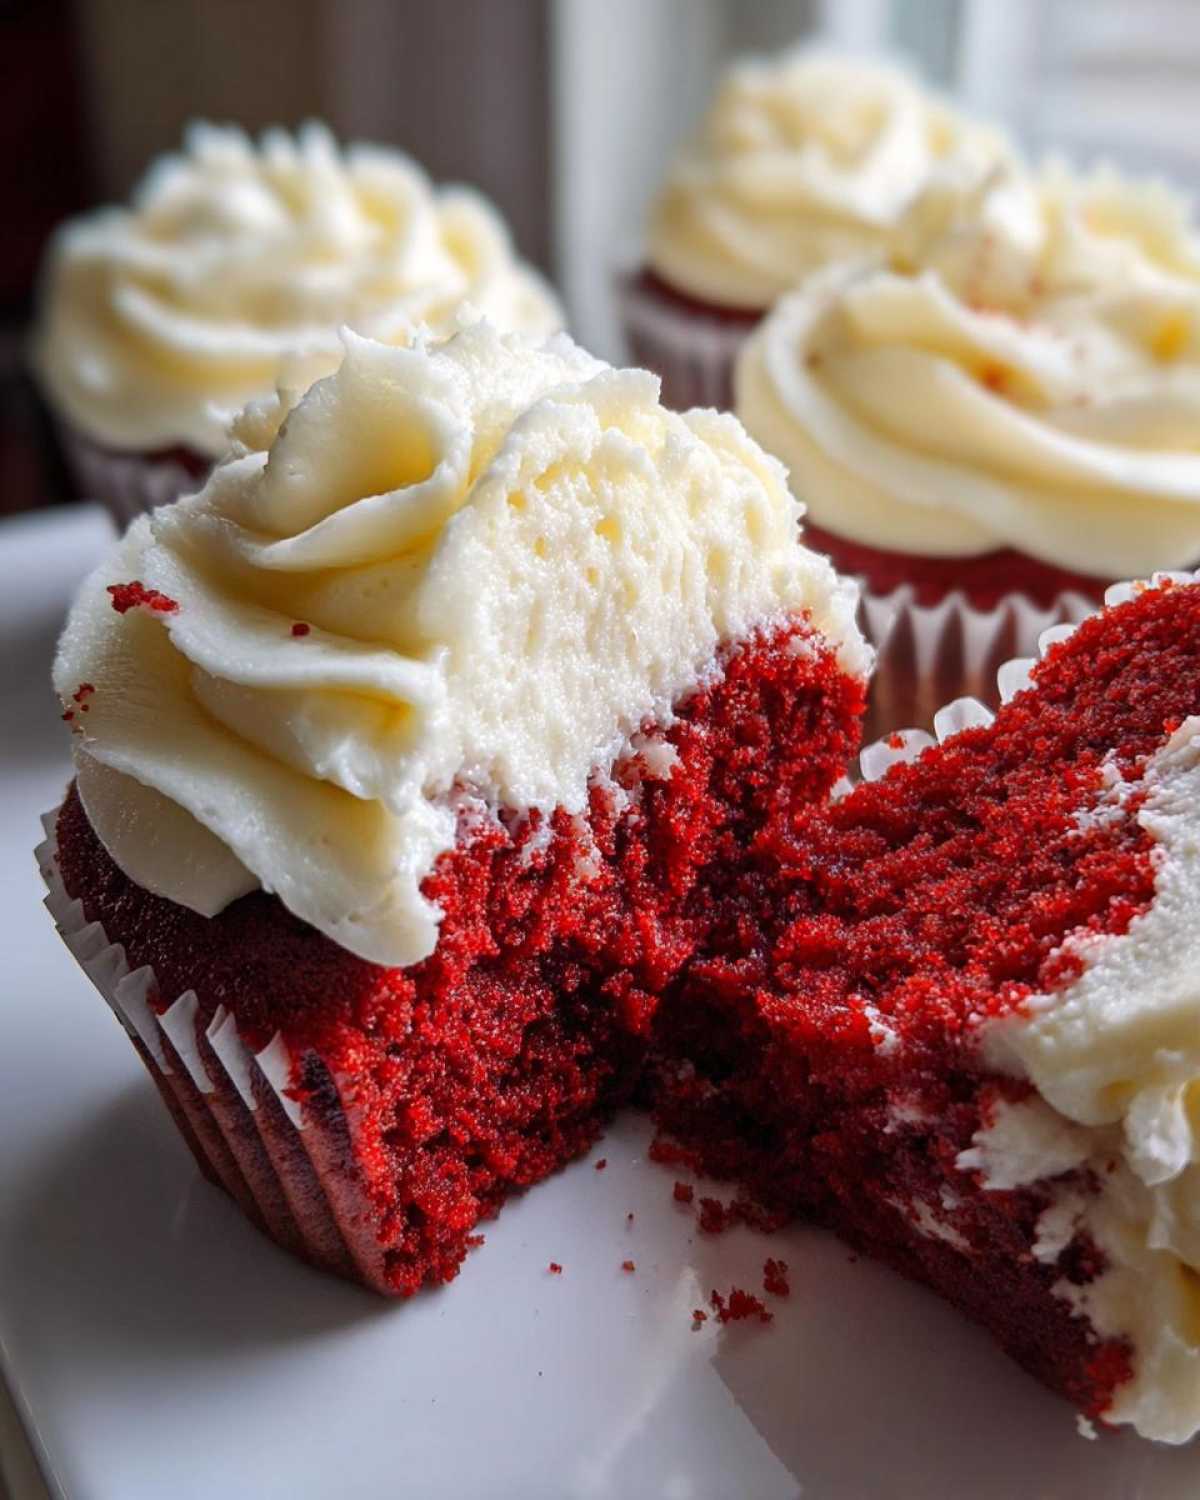
While this classic recipe is fantastic on its own, sometimes I like to add a little twist, especially for holidays! They make great Holiday Cupcakes, you know. For instance, if you’re looking for a little extra zip, try swapping out half the vanilla extract for almond extract—it gives them such a lovely, unexpected floral note.
You could also toss in some mini chocolate chips into the batter right before dividing it into the liners. Or, if you’re feeling adventurous, you can always add a finely chopped candy cane topping after you frost them for a perfect Christmas treat. I actually have a great recipe using mint that might spark some inspiration, check out my Andes Mint Cookies!
Serving Suggestions for Decadent Cupcakes
Now that you have these stunning, bakery-style red velvet cupcakes, how should you present them? Presentation is everything, especially when you want those elegant cupcakes that look like they came from a fancy pastry shop!
For birthdays or showers, piping a generous swirl of that tangy cream cheese frosting is essential. I use a star tip—it just looks so much fancier than just spreading it on with a knife. A light dusting of finely grated white chocolate on top of the frosting really completes the look and adds another layer of texture.
If you’re making a big spread for a holiday gathering, setting them out next to something lighter really makes their deep red color pop. They look amazing next to a bright, fruity dessert! For a show-stopping centerpiece, I sometimes layer them into a trifle dish instead of making individual cupcakes—it’s gorgeous! I use the exact same cake base when I make my Strawberry Shortcake Trifle, so you already know the base is perfect!
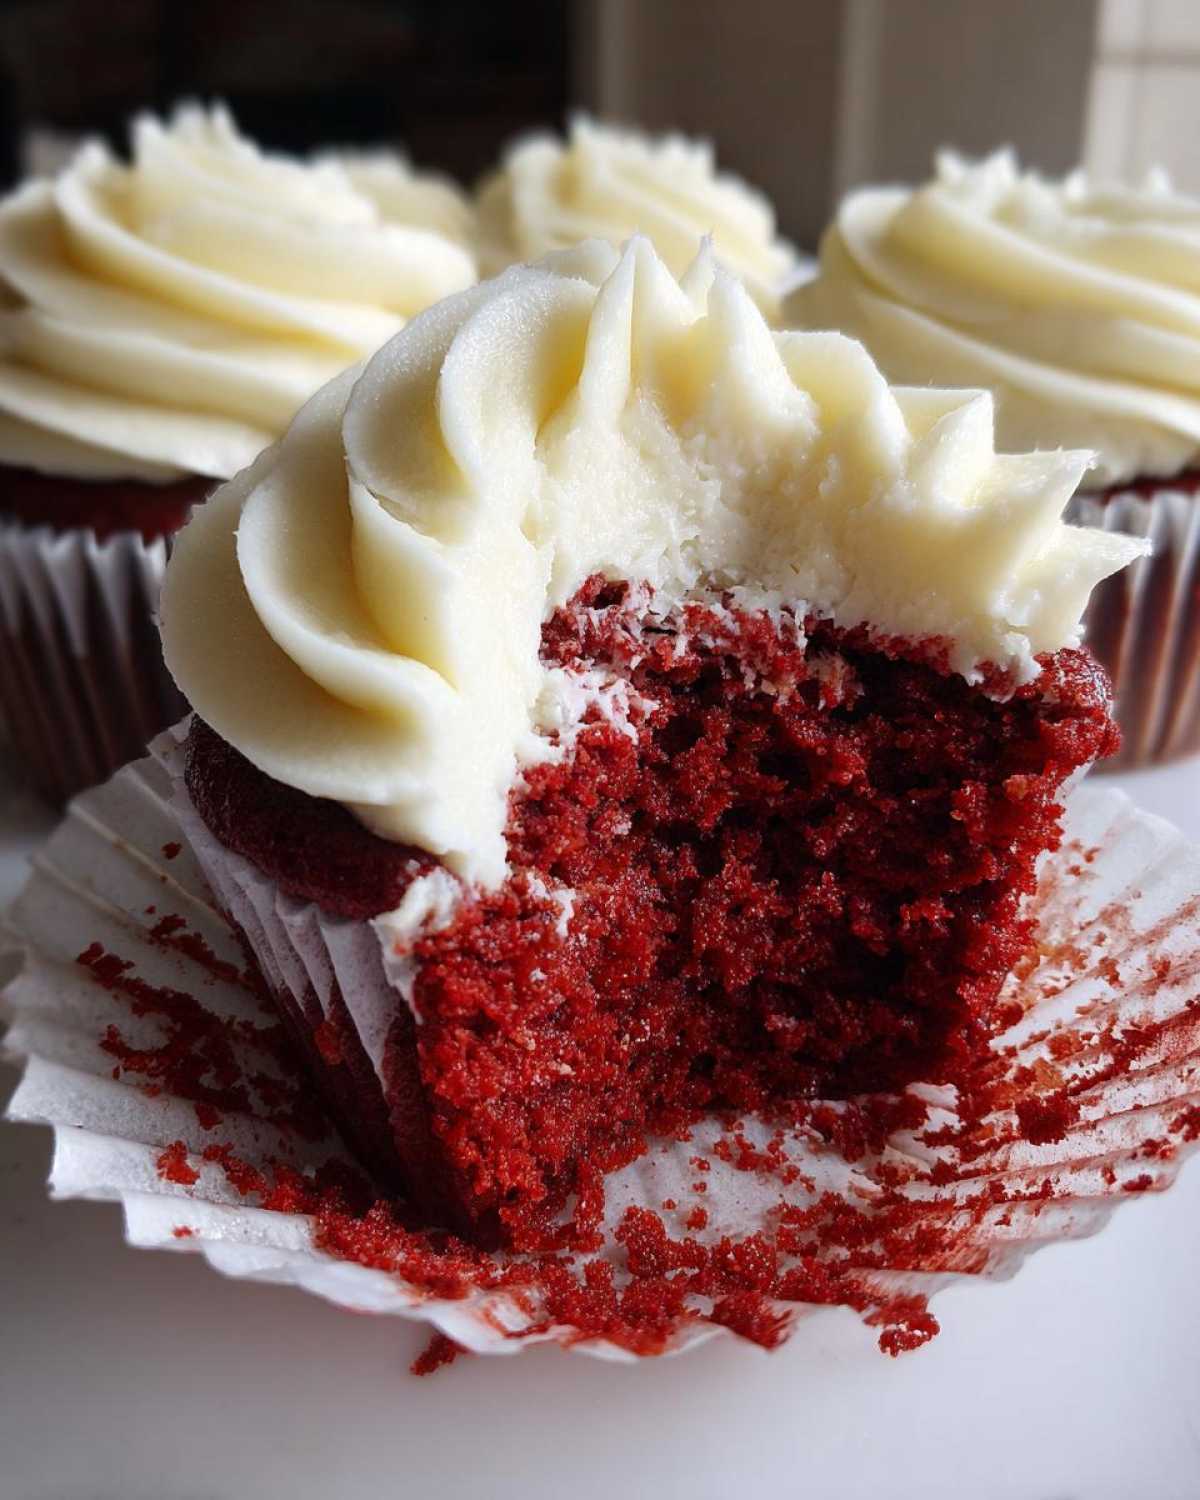
These also pair wonderfully with espresso or strong black coffee. The coffee deepens the subtle cocoa flavor, making the whole experience feel extra luxurious. Enjoy showing these beauties off!
Storage and Make-Ahead Tips for red velvet Cupcakes
One thing I always tell people is that these Moist Red Velvet Cupcakes are actually way better the next day, once the flavors have really settled in. But how you store them matters! Because we are dealing with that incredible cream cheese frosting, we have to be a little careful with temperature.
If you plan on frosting them the next day, that’s super easy! Just keep the completely cooled cupcakes locked up airtight at room temperature for about 24 hours. The frosting? Mix it up, cover it tightly, and pop it in the fridge. When you’re ready to frost, sometimes the cream cheese frosting firms up a bit too much when cold, so let it sit on the counter for about 30 minutes to reach a good spreading consistency.
If they are already frosted, you really need to keep them cold because of the fresh dairy in the cream cheese. Store the finished Classic Red Velvet Treats in an airtight container in the refrigerator. They should be fine for up to four days! I usually pull them out about an hour before serving them, just so the cake softens up a bit and isn’t cold straight from the fridge. They taste so much better when they aren’t ice-cold!
If you’re worried about them losing that fresh-from-the-oven softness, don’t stress! The oil and buttermilk in this recipe are fantastic at keeping the cake moist for days. They truly age well, which makes them perfect for holiday baking prep!
Frequently Asked Questions About red velvet Cupcakes
It’s totally normal to have questions when trying to nail that perfect bake! I get asked about moisture and frosting stability all the time. Don’t worry if something seems tricky; we’ll sort it out together. If you’ve mastered these and want to try your hand at something zesty next, you might adore my lemon crinkle cookies!
Why are my red velvet cupcakes dry?
Oh, that is the worst feeling! Usually, dry red velvet cupcakes come down to two major things, and I’ve made both mistakes myself. First, overmixing the batter once the wet and dry ingredients meet. Remember what I said about mixing until *just* combined? If you mix for too long, you activate the gluten in the flour, and it becomes tough and dry. Second, make sure you are using buttermilk! If you substitute regular milk, you lose that crucial acid that reacts with the baking soda to create that soft, tender crumb. Using milk instead of buttermilk guarantees a drier result for your Homemade Red Velvet Cupcakes.
How do I get the best cream cheese frosting?
The secret to that cloud-like, fluffy frosting is temperature and time! You absolutely cannot rush the starting point: your cream cheese and butter must be softened completely—I mean, easily mashed with a fork soft. If they are cold chunks, the mixer can’t create those lovely air pockets we need!
Once the fats are pale and smooth, add your powdered sugar slowly. Then, you have to let the mixer run! You need to beat that mixture for a good three to five minutes on medium-high speed after everything is incorporated. That extra beating time incorporates tons of air, which is what gives you that dreamy, light texture and tackles that stability issue. That makes for the Best Cream Cheese Frosting for Red Velvet!
Nutritional Estimates for these red velvet cupcakes
Now, I know we bake for joy and deliciousness here, not just for the numbers, but it’s always good to have a rough idea! These estimates are based on standard ingredient measurements because, let’s face it, how we decorate changes things!
- Serving Size: 1 cupcake
- Calories: Approximately 350
- Fat: About 18g
- Carbohydrates: Around 45g
- Protein: Around 4g
Remember, this is just a fun estimate for these truly Decadent Cupcakes. If you swap butter for oil or use heaps more frosting, those numbers change! Bake happy!
PrintThe Best Ultra-Moist Bakery-Style Red Velvet Cupcakes with Tangy Cream Cheese Frosting
Bake incredibly moist, fluffy red velvet cupcakes with a subtle cocoa flavor, topped with a dreamy, tangy cream cheese frosting. This recipe delivers that perfect bakery-style result at home for any celebration.
- Prep Time: 20 min
- Cook Time: 20 min
- Total Time: 40 min
- Yield: 12 servings 1x
- Category: Dessert
- Method: Baking
- Cuisine: American
- Diet: Vegetarian
Ingredients
- 1 1/2 cups all-purpose flour
- 1 cup granulated sugar
- 1 teaspoon baking soda
- 1 teaspoon unsweetened cocoa powder
- 1/2 teaspoon salt
- 1 cup buttermilk
- 1 teaspoon white vinegar
- 1 teaspoon vanilla extract
- 1/2 cup vegetable oil
- 2 large eggs
- 1 teaspoon red food coloring (gel preferred)
- 1 tablespoon unsweetened cocoa powder (for frosting)
- 8 ounces cream cheese, softened (for frosting)
- 1/2 cup unsalted butter, softened (for frosting)
- 3 cups powdered sugar, sifted (for frosting)
Instructions
- Preheat your oven to 350°F (175°C). Line a 12-cup muffin tin with paper liners.
- In a large bowl, whisk together the flour, granulated sugar, baking soda, and 1 teaspoon of cocoa powder.
- In a separate medium bowl, whisk together the buttermilk, vinegar, vanilla extract, vegetable oil, and eggs until combined.
- Add the wet ingredients to the dry ingredients and mix on low speed until just combined. Do not overmix.
- Stir in the red food coloring until you achieve a vibrant color.
- Divide the batter evenly among the 12 cupcake liners, filling each about two-thirds full.
- Bake for 18 to 20 minutes, or until a toothpick inserted into the center comes out clean. Let the cupcakes cool in the pan for 5 minutes before transferring them to a wire rack to cool completely.
- To make the cream cheese frosting, beat the softened cream cheese and butter together until smooth and creamy.
- Gradually add the sifted powdered sugar and the remaining 1 tablespoon of cocoa powder. Beat until light and fluffy.
- Once the cupcakes are completely cool, pipe or spread the tangy cream cheese frosting on top.
Notes
- For the best flavor and color, use high-quality gel food coloring instead of liquid.
- Buttermilk reacts with the baking soda to give these cupcakes their signature soft texture.
- This recipe makes for truly decadent cupcakes perfect for holidays or birthdays.
Nutrition
- Serving Size: 1 cupcake
- Calories: 350
- Sugar: 35
- Sodium: 250
- Fat: 18
- Saturated Fat: 8
- Unsaturated Fat: 10
- Trans Fat: 0
- Carbohydrates: 45
- Fiber: 1
- Protein: 4
- Cholesterol: 45