
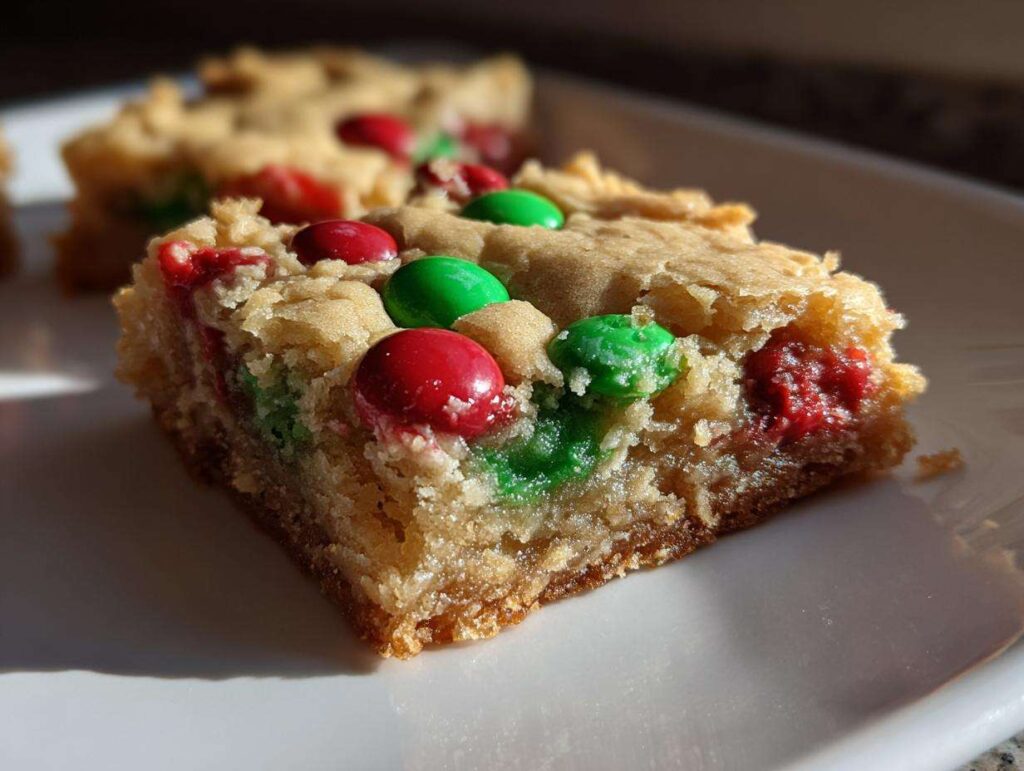
Nothing screams “holidays” like the smell of buttery cookie dough baking in the oven, does it? I still remember sneaking bites of raw dough with my cousins while my aunt rolled her eyes – the best memories always seem to involve flour-covered noses and stolen cookie scraps. These Christmas cookie bars are my answer to chaotic holiday baking sessions – all the festive cheer with half the fuss. Packed with colorful M&Ms and ready in about half an hour, they’re perfect for last-minute cookie exchanges (we’ve all been there!) or stacking high on dessert trays. Trust me, they disappear faster than you can say “Santa” – I once caught my neighbor’s kids stuffing whole bars in their pockets when they thought no one was looking!
- Why You'll Love These Christmas Cookie Bars
- Ingredients for Christmas Cookie Bars
- How to Make Christmas Cookie Bars
- Tips for Perfect Christmas Cookie Bars
- Make-Ahead and Storage Tips for Christmas Cookie Bars
- Variations for Christmas Cookie Bars
- Serving Suggestions for Christmas Cookie Bars
- Nutritional Information for Christmas Cookie Bars
- Frequently Asked Questions About Christmas Cookie Bars
Why You’ll Love These Christmas Cookie Bars
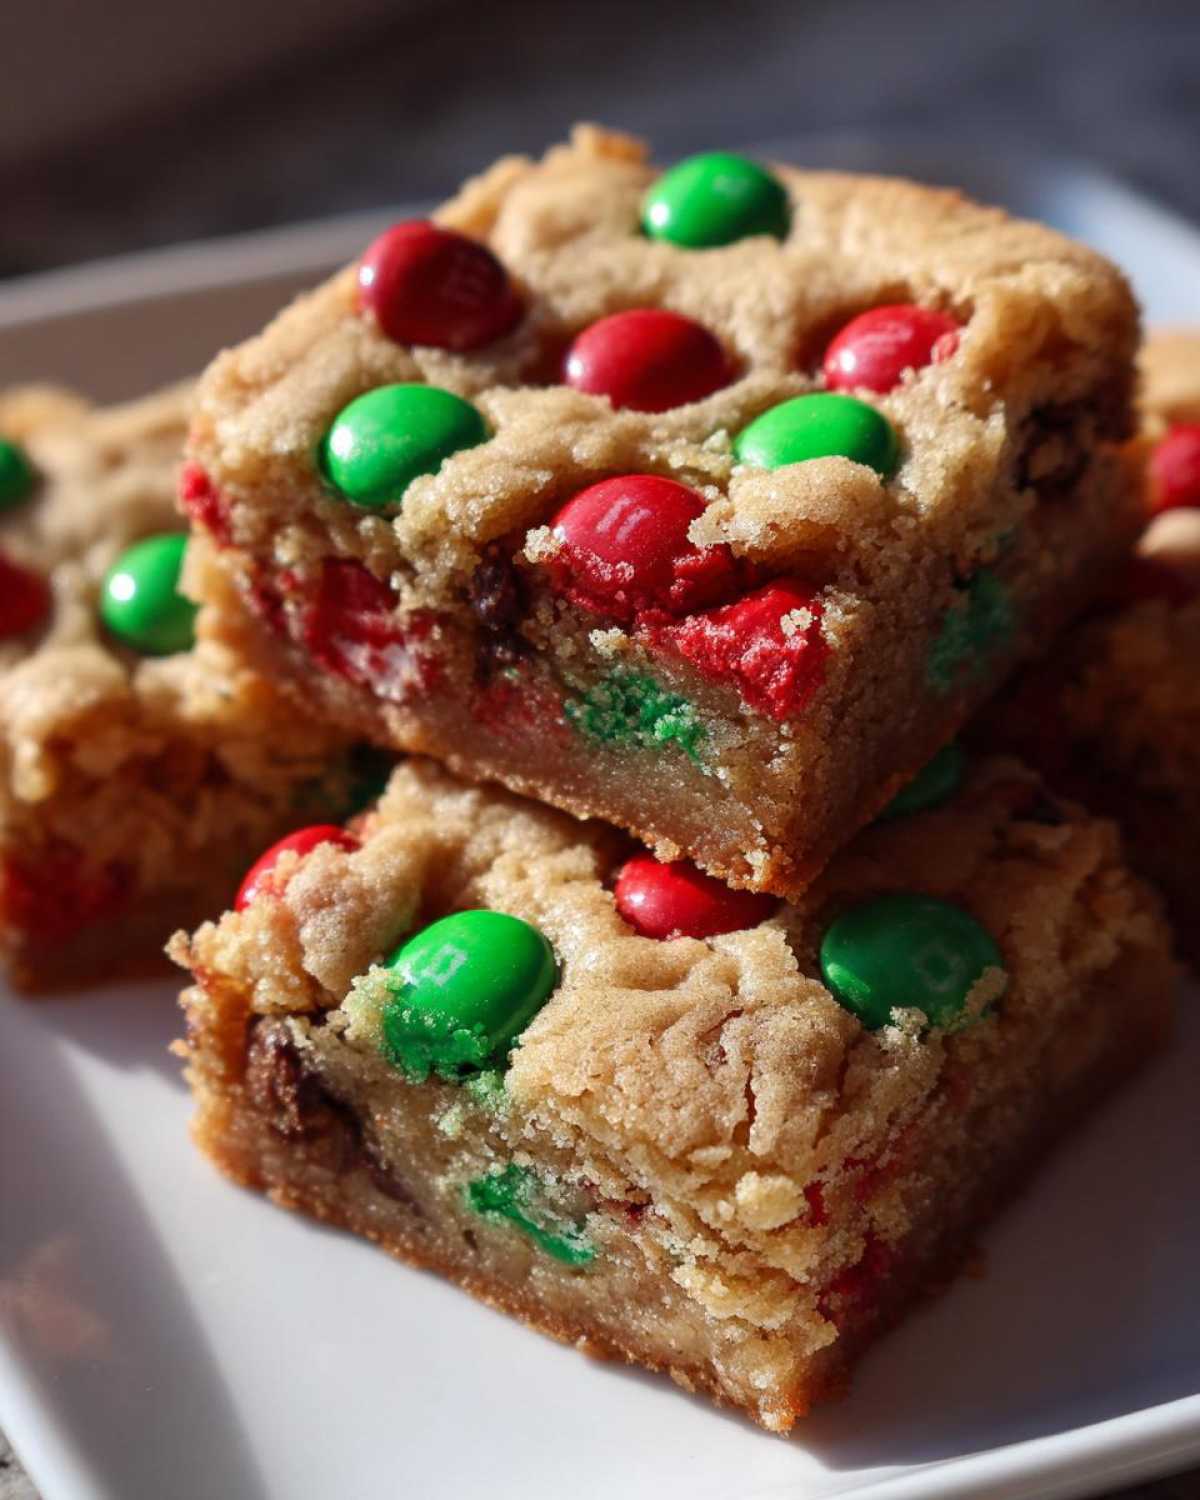
Listen, I’m not exaggerating when I say these Christmas cookie bars are basically holiday magic in a baking pan. Every December, they pull double duty as my go-to dessert for chaotic parties and last-minute gifts – never failing to make people secretly swipe seconds when they think no one’s watching. Here’s why they’ve earned a permanent spot on my holiday baking list:
- Foolproof fast: Forget fussy cutouts or decorating – this one-bowl recipe comes together faster than you can wrap gifts (about 15 minutes hands-on time!)
- Taste like nostalgia: That perfect mix of buttery cookie dough and colorful M&Ms takes me straight back to childhood cookie swaps
- Built for sharing: One batch makes 24 thick, hearty squares that hold up beautifully on cookie trays or stacked in gift tins
- Crowd-pleaser secret: The festive colors make them look fancy with zero effort – my neighbor’s kids call them “Santa’s confetti cookies”
Pro tip: Bake a double batch – half for your party, half sliced and frozen for surprise guests. These bars still taste amazing thawed!
Ingredients for Christmas Cookie Bars
Gathering these ingredients is like rounding up little helpers for Santa’s bakery – everything plays a special role in creating that perfect chewy-soft texture and festive pop of color. Here’s what you’ll need to raid your pantry for (and yes, I’ve learned the hard way that substitutions rarely work as well!):
- 1 cup unsalted butter, softened – Not melted! Leave it on the counter for about 30 minutes until your finger leaves a gentle dent
- 1 cup packed brown sugar – The molasses notes here make the bars extra rich
- 1/2 cup granulated sugar – For that classic cookie sweetness
- 2 large eggs – Straight from the fridge is fine, they’ll incorporate better than cold ones
- 1 tsp vanilla extract – The good stuff if you’ve got it
- 2 1/2 cups all-purpose flour – Spoon and level it, don’t scoop!
- 1 tsp baking soda – Not powder! They’re not interchangeable here
- 1/2 tsp salt – Balances all that sweetness beautifully
- 1 1/2 cups holiday M&Ms – I use the red and green mix, but any festive colors work
Pro tip from my many test batches: Measure your M&Ms last so you can sneak a handful while baking. It’s practically mandatory holiday kitchen therapy!
How to Make Christmas Cookie Bars
Okay, let’s get these babies in the oven! While these Christmas cookie bars couldn’t be simpler, a few key steps make all the difference between “good” and “Oh-my-gosh-can-I-get-your-recipe?” spectacular. I’ve made this so many times I could probably do it in my sleep – but I’ll walk you through each step like you’re right here in my flour-dusted kitchen with me!
Step 1: Prep and Preheat
First things first – preheat that oven to 350°F (175°C). While it’s warming up, grab your 9×13-inch pan and give it a good greasing. I use butter or baking spray, making sure to get into those corners! Trust me, there’s nothing sadder than gorgeous cookie bars that won’t come out of the pan. Pop that empty pan in the oven for 2 minutes to warm it slightly – this little trick helps the bars bake more evenly.
Step 2: Cream Butter and Sugars
Now for the magic! In a large bowl, beat the softened butter with both sugars until it’s light and fluffy – about 2-3 minutes with a mixer. You’ll know it’s ready when the mixture looks pale and dreamy, almost like caramel-colored whipped cream. Don’t rush this step – all those tiny air bubbles you’re creating will give your bars that perfect chewy texture. (Confession: I sometimes sneak a taste of this mixture – it’s dangerously delicious!)
Step 3: Add Eggs and Vanilla
Now crack in those eggs one at a time, mixing well after each addition so everything gets nice and cozy together. The eggs are what make these bars rich and tender rather than crumbly. Then pour in that vanilla – the good stuff if you’ve got it! The batter will look a bit glossy now, and oh my, the smell is already heavenly. If you’re craving peanut butter too, you could try my peanut butter cookie recipe for your next batch!
Step 4: Fold in Dry Ingredients and M&Ms
Time to bring it all together! Whisk your flour, baking soda and salt together just until combined – don’t overmix or you’ll get tough bars. Then gently fold in most of the M&Ms (save about 1/4 cup for topping), watching those festive colors peek through. The dough should be thick but spreadable, like very soft playdough. If it’s sticky, pop it in the fridge for 10 minutes – this helps prevent spreading too thin in the oven.
Step 5: Bake and Cool
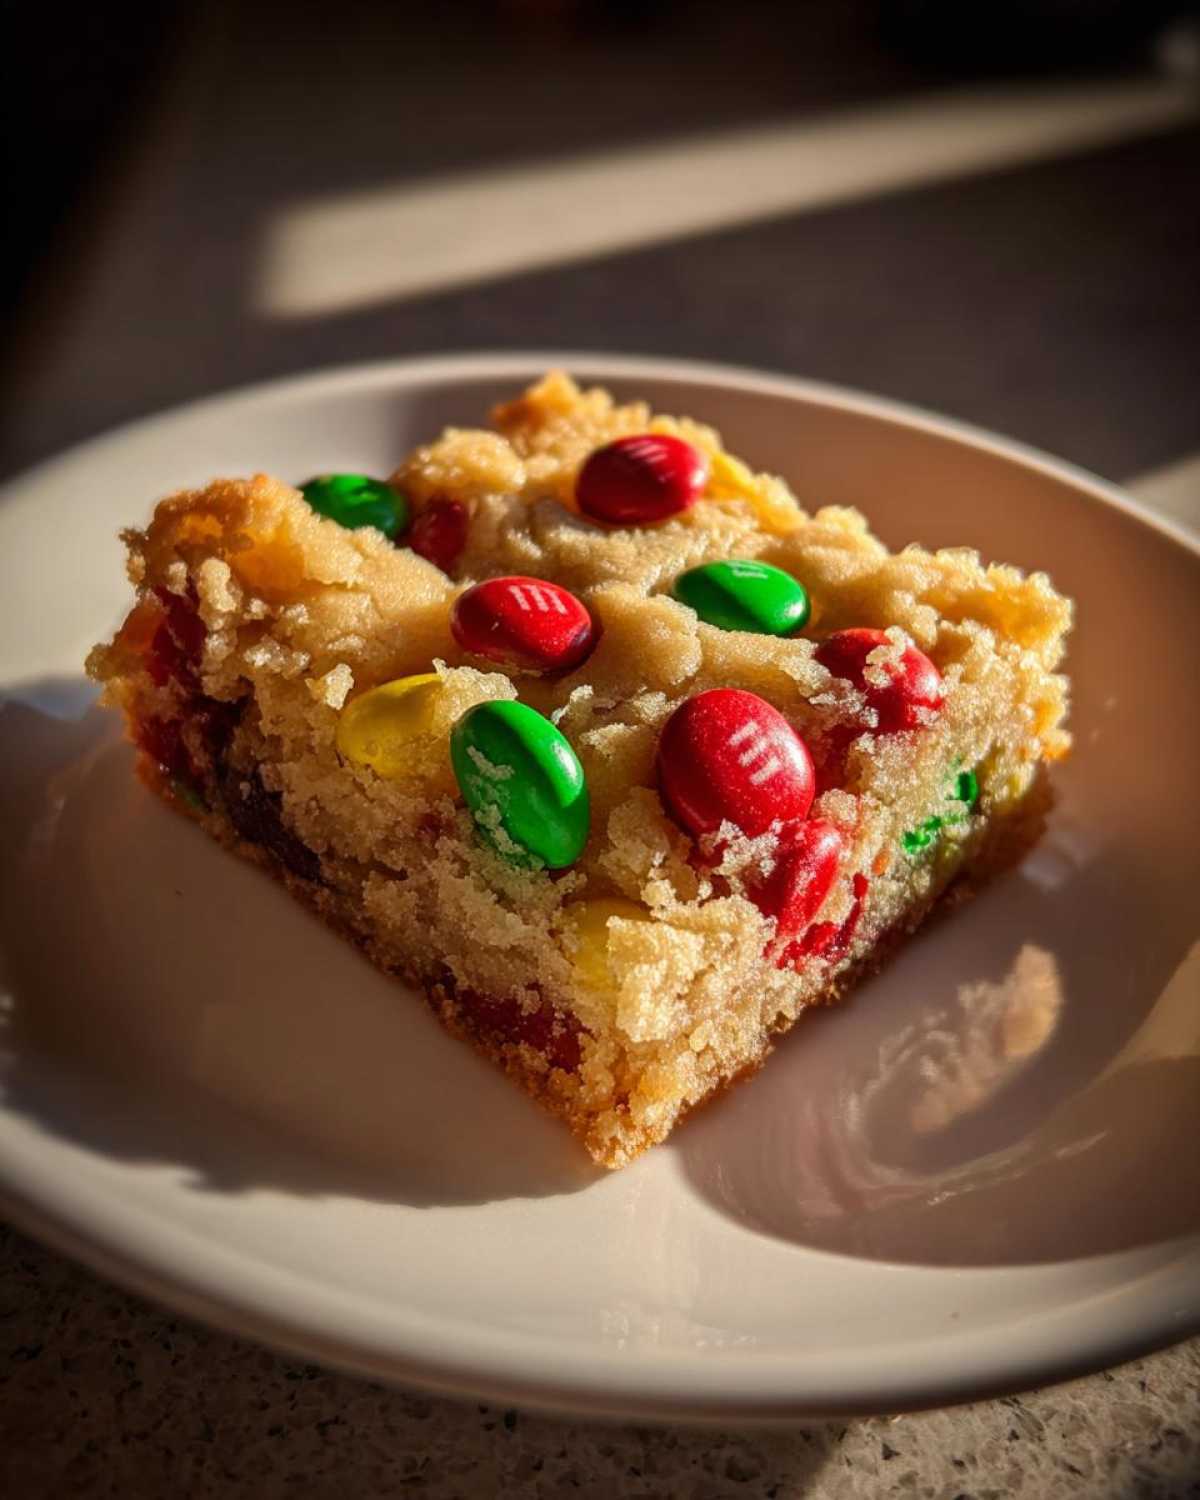
Spread the dough evenly in your prepped pan, then press those reserved M&Ms on top – that way every square will be Instagram-worthy! Bake for 20-25 minutes until the edges are golden but the center is still slightly soft (it’ll keep cooking as it cools). Here’s the hardest part – let them cool completely before cutting! I know it’s torture, but warm bars crumble. Once they’re cool, use a sharp knife to slice into squares. Pro tip: Clean the knife between cuts with hot water for perfect edges!
Tips for Perfect Christmas Cookie Bars
After making these Christmas cookie bars every December for years (and doing some “quality control testing” every single time), I’ve picked up some tricks that take them from good to “hide-the-batch-from-your-family” amazing. Here are my can’t-live-without tips:
- Butter temperature is everything – Too soft and your bars spread too thin; too cold and they won’t cream properly. The sweet spot? When your finger leaves a slight indent but the butter still holds its shape.
- Press, don’t pour – Use damp fingers or the back of a measuring cup to evenly press the dough into the pan. This prevents thick edges and thin centers.
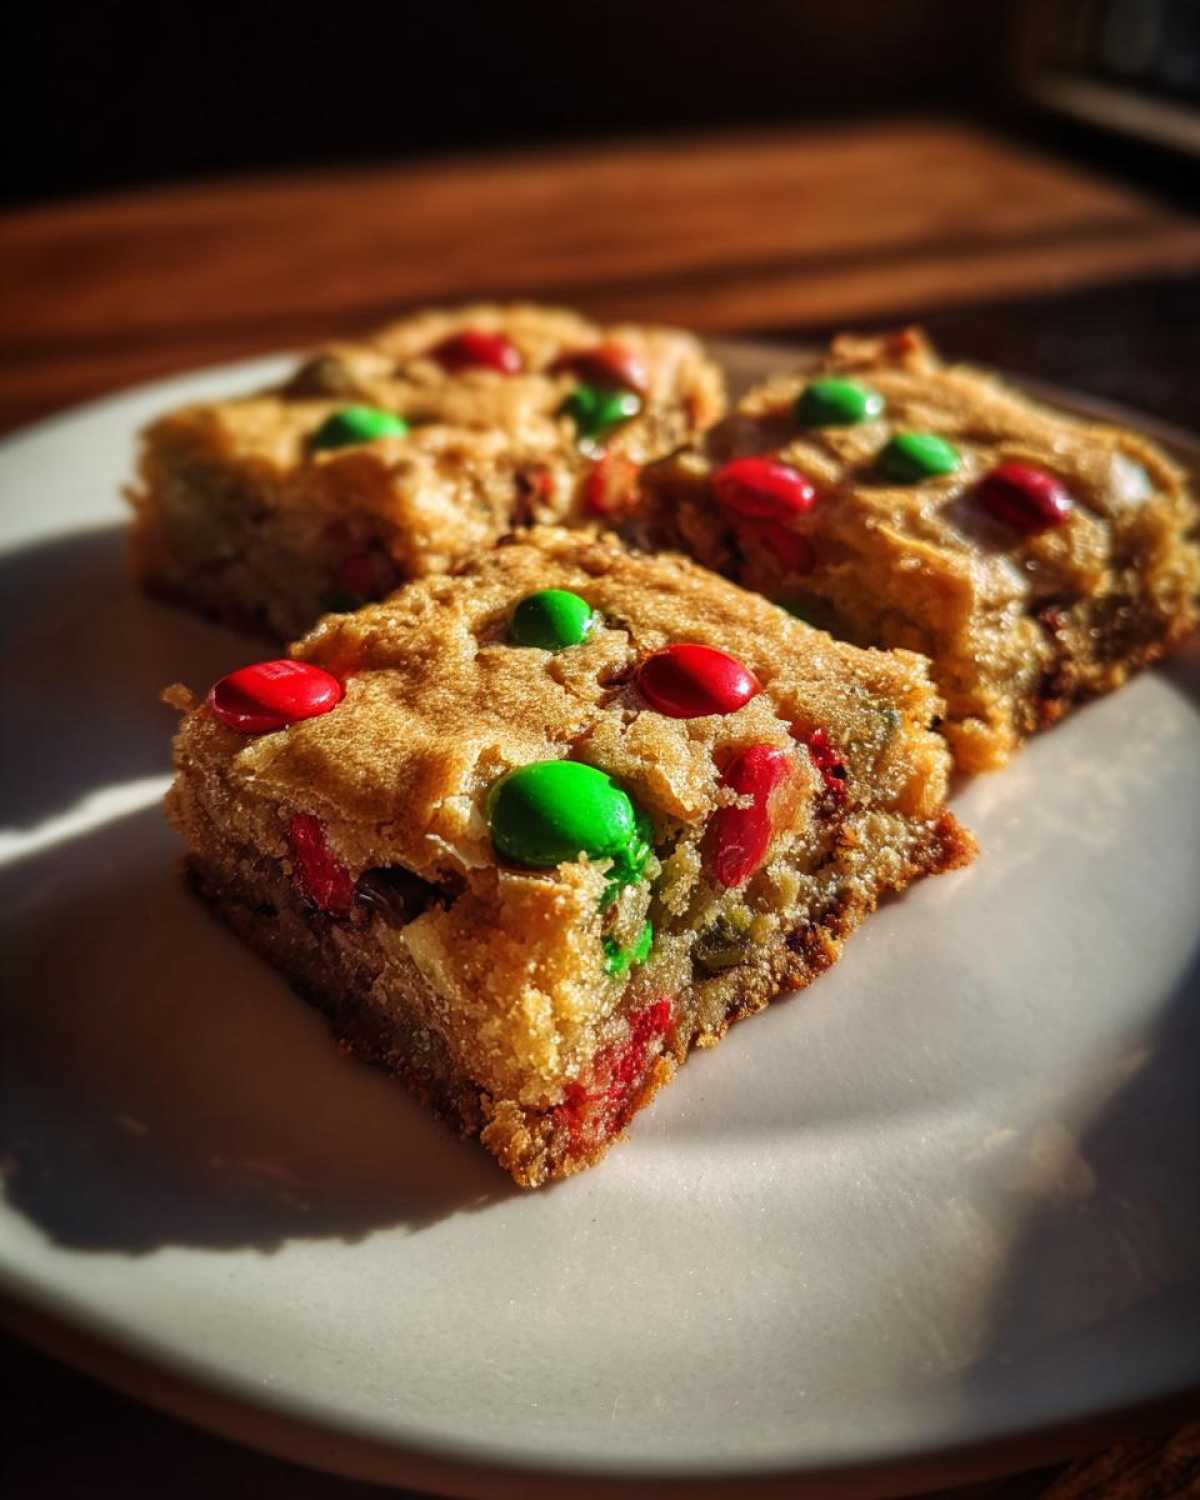
- The toothpick lie – Unlike cakes, you want these Christmas cookie bars to be slightly underbaked when you pull them out (they’ll keep cooking as they cool). The edges should be golden, but the center should still look a tiny bit soft.
- Cooling patience pays off – I know it’s torture waiting, but cutting warm bars is like performing surgery with a butter knife. Give them a full hour to set!
- Store like treasure – Layer them between parchment in an airtight container – they’ll stay fresh for up to 5 days (if they last that long!). Freeze extras in single layers for impromptu holiday visitors.
One last tip from my failed batches: Resist the urge to add extra M&Ms! Too many candies makes the bars crumbly – measure with your heart, but bake with your head.
Make-Ahead and Storage Tips for Christmas Cookie Bars
Listen, I never make just one batch of these Christmas cookie bars during the holidays – they disappear faster than tinsel at a puppy party! Here’s how I keep my freezer stocked and my cookie trays full all season long. (These tips come from hard-won experience, like the year I discovered my husband had been sneaking frozen bars straight from the freezer at midnight – now I portion them out!)
For storage: Airtight is your best friend. Layer cooled bars between sheets of parchment in an airtight container – they’ll stay fresh at room temperature for up to 5 days. The parchment prevents sticking, and the container keeps them from drying out. If you’re prepping for a cookie exchange or party, they actually taste better on day two when the flavors settle!
To freeze: Flash freeze first. Arrange cooled bars in a single layer on a baking sheet and freeze until firm (about 1 hour). Then transfer to freezer bags with parchment dividers – they’ll keep beautifully for up to 3 months this way. Thaw at room temperature when cookie emergencies strike! Pro tip: Label your bags unless you enjoy playing “Christmas Cookie Roulette” with your future self.
One last secret: These Christmas cookie bars love being frozen with a tiny square of wax paper between each one – just like professional bakeries do. When unexpected guests arrive, you can pull out exactly how many you need while they still look picture-perfect!
Variations for Christmas Cookie Bars
Honestly, the best part about these Christmas cookie bars is how easily you can dress them up for different occasions or mix things up when you’re feeling adventurous! Over the years, I’ve tried every variation imaginable after that one Christmas when I accidentally used Halloween M&Ms (red and green food dye to the rescue!). Here are my favorite ways to remix this classic:
- Gluten-free guests? Swap the all-purpose flour for a 1:1 gluten-free baking blend. My cousin’s celiac diagnosis taught me that Bob’s Red Mill works beautifully here.
- Nutty twist: Fold in 3/4 cup chopped pecans or walnuts for extra crunch – just toast them first to bring out their flavor!
- Candy mashup: Out of M&Ms? Try chopped peppermint bark, crushed candy canes, or even festive sprinkles for that holiday pop.
- Chocoholic’s dream: Add 1/2 cup chocolate chips along with the M&Ms for maximum chocolatey goodness (perfect for Santa’s inner child).
- Spice it up: Stir in 1 tsp cinnamon and 1/4 tsp nutmeg for a gingerbread-inspired version – smells like Christmas morning!
Just remember the golden rule: Keep your total mix-ins to about 1 1/2 cups total so the bars hold together. And always, always save some for topping – it’s what makes these Christmas cookie bars so photogenic!
Serving Suggestions for Christmas Cookie Bars
Presentation turns these Christmas cookie bars from simple sweets into showstoppers! I’ve lost count of how many trays I’ve assembled over the years (including that one year I tried arranging them into a tree shape—cute, but not worth the effort). Here’s how I make them shine at parties, on cookie trays, and as gifts:
- Cookie tray royalty: Pair them with classics like deviled eggs for savory balance, or let them anchor a dessert spread next to fudge and peppermint bark
- Hot cocoa’s BFF: Warm milk with cinnamon or mint hot chocolate makes these bars even more comforting
- Gifting gold: Stack in clear cellophane bags with curling ribbon, or arrange in holiday tins between layers of wax paper
- Dessert charcuterie: Cut them into different sizes and arrange with fruit and cheese for a sweet-savory board
- Santa’s snack: Package individual bars with milk cartons for adorable teacher/neighbor gifts
Pro tip: Drizzle melted white chocolate over cooled bars and sprinkle with holiday sprinkles for instant fancy points—takes 2 minutes but looks like you slaved for hours!
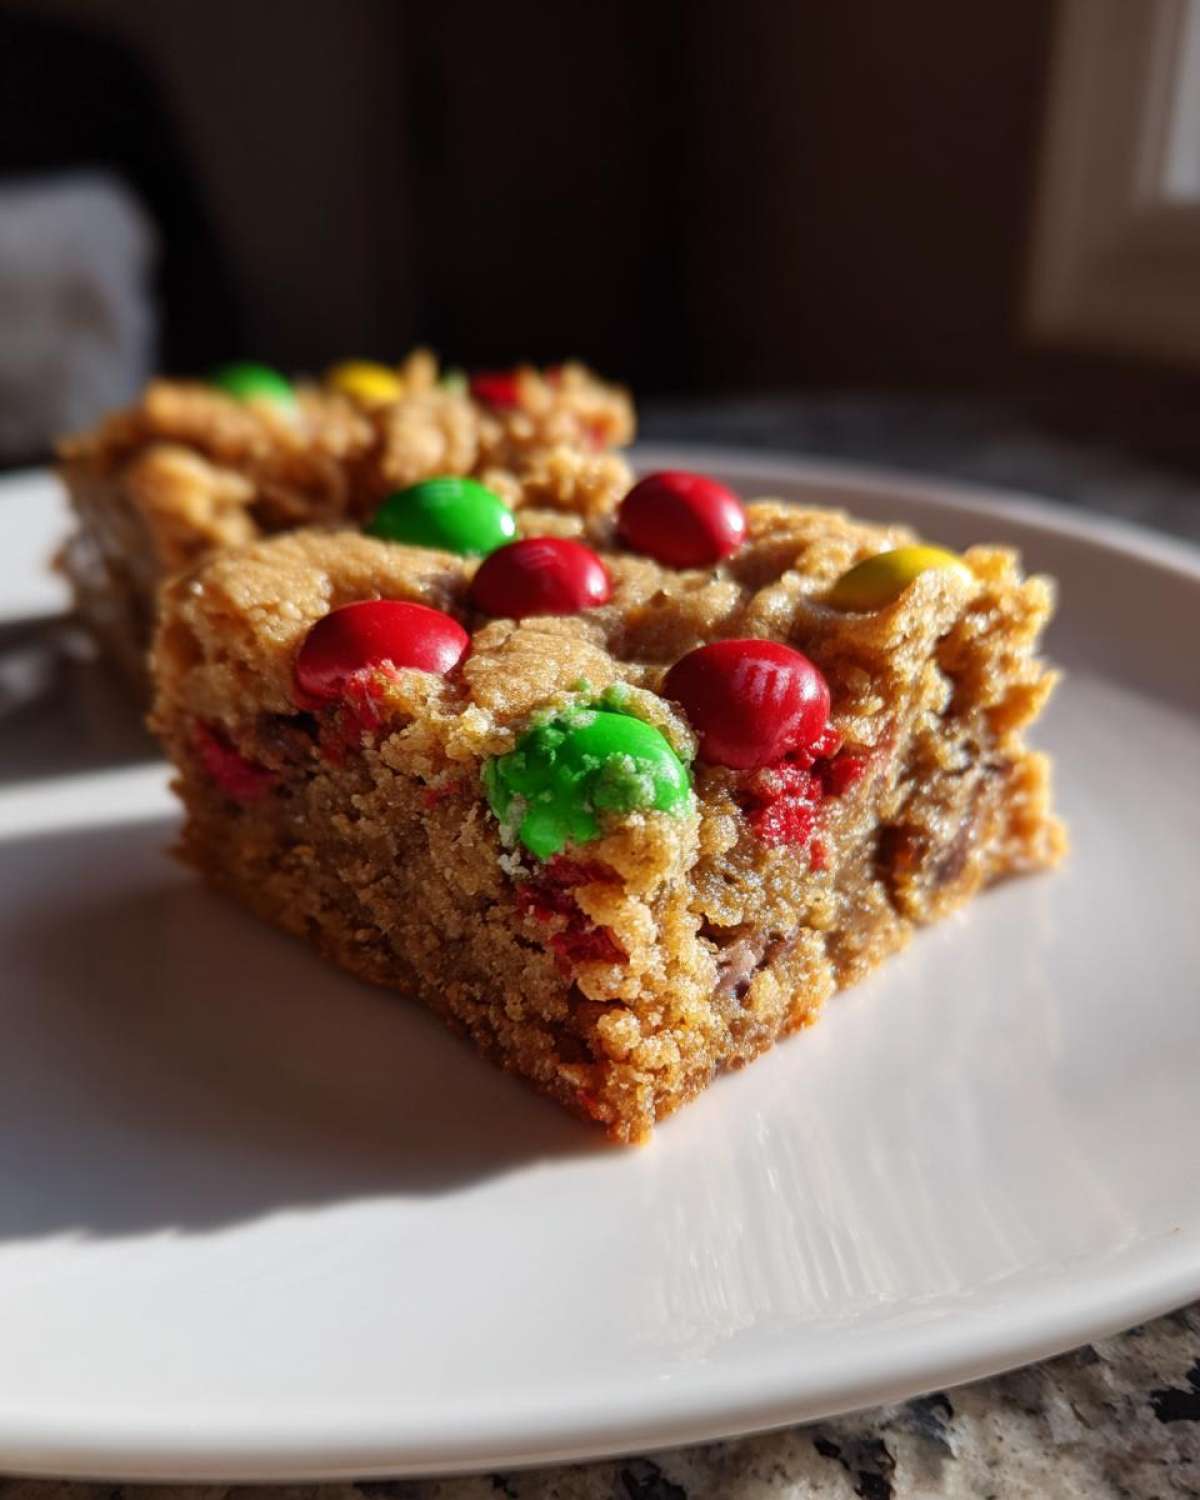
Nutritional Information for Christmas Cookie Bars
Let’s be real – we’re not eating Christmas cookie bars for their nutritional value! But since you asked (wink), each chewy square contains about 180 calories with that perfect balance of buttery goodness and melty chocolate. Remember – exact nutrition varies based on your specific brands of butter, flour, and candy. Picture this as your delicious little bite-sized celebration, not a meal replacement… unless it’s December 23rd and you’re surviving on holiday treats and pure joy!
Frequently Asked Questions About Christmas Cookie Bars
Even after years of making these Christmas cookie bars, I still get the same excited questions from friends and family. Here are the answers to everything you might wonder about these festive treats – consider it my holiday gift to you!
Can I freeze these Christmas cookie bars?
Absolutely! These bars freeze like champions. Stack them with parchment paper between layers in an airtight container, and they’ll stay perfect for up to 3 months. I always keep a secret stash in my freezer for last-minute guests – they thaw in about 30 minutes at room temperature. Pro tip: Freeze individual portions so you can grab just what you need!
What candies can I use besides M&Ms?
The possibilities are endless! I’ve used everything from crushed peppermint candies to holiday Reese’s Pieces – just keep the total mix-ins to about 1 1/2 cups so the bars hold together. For extra festive flair, try red and green sprinkles or even chopped up candy cane pieces. Check out Pinterest for endless color scheme inspiration!
Why did my bars turn out cakey instead of chewy?
This usually happens if the butter was too soft or you overmixed the batter. Next time, make sure your butter is just slightly softened (not melty) and mix until ingredients are just combined. Also, don’t overbake – pull them out when the edges are golden but the center still looks slightly underdone.
Can I make these gluten-free?
Definitely! Swap the all-purpose flour for a 1:1 gluten-free baking blend (I like King Arthur’s). The texture might be slightly more delicate, but they’ll still taste amazing. Just be sure to check that your candies are gluten-free too – some holiday sprinkles contain wheat starch.
How far in advance can I make these for a cookie exchange?
They’ll stay fresh for up to 5 days stored properly, but honestly taste best within 3 days. For exchanges, I bake them the night before so they’re at peak freshness. The flavors actually deepen a bit overnight, making them even more delicious!
PrintChristmas M&M Cookie Bars
Festive cookie bars packed with colorful M&Ms, perfect for holiday parties and cookie exchanges.
- Prep Time: 15 min
- Cook Time: 25 min
- Total Time: 40 min
- Yield: 24 bars 1x
- Category: Dessert
- Method: Baking
- Cuisine: American
- Diet: Vegetarian
Ingredients
- 1 cup unsalted butter, softened
- 1 cup brown sugar
- 1/2 cup granulated sugar
- 2 large eggs
- 1 tsp vanilla extract
- 2 1/2 cups all-purpose flour
- 1 tsp baking soda
- 1/2 tsp salt
- 1 1/2 cups M&Ms (holiday colors)
Instructions
- Preheat oven to 350°F (175°C). Grease a 9×13-inch baking pan.
- Cream butter and sugars until fluffy. Add eggs and vanilla, mixing well.
- Stir in flour, baking soda, and salt until combined.
- Fold in 1 cup of M&Ms. Spread dough evenly in the pan.
- Press remaining M&Ms on top. Bake for 20-25 minutes.
- Cool completely before cutting into squares.
Notes
- Store in an airtight container for up to 5 days.
- Freeze for longer storage.
- Use gluten-free flour for a gluten-free version.
Nutrition
- Serving Size: 1 bar
- Calories: 180
- Sugar: 15g
- Sodium: 120mg
- Fat: 8g
- Saturated Fat: 5g
- Unsaturated Fat: 2g
- Trans Fat: 0g
- Carbohydrates: 25g
- Fiber: 1g
- Protein: 2g
- Cholesterol: 30mg