Oh honey, let me tell you about my love affair with fried chicken. It all started in my grandma’s tiny kitchen down in Alabama, where the scent of sizzling chicken would drift through the screen door on summer evenings. She’d stand there in her flour-dusted apron, turning golden pieces with her trusty tongs, while us kids hovered nearby like little vultures waiting for the first crispy bite.
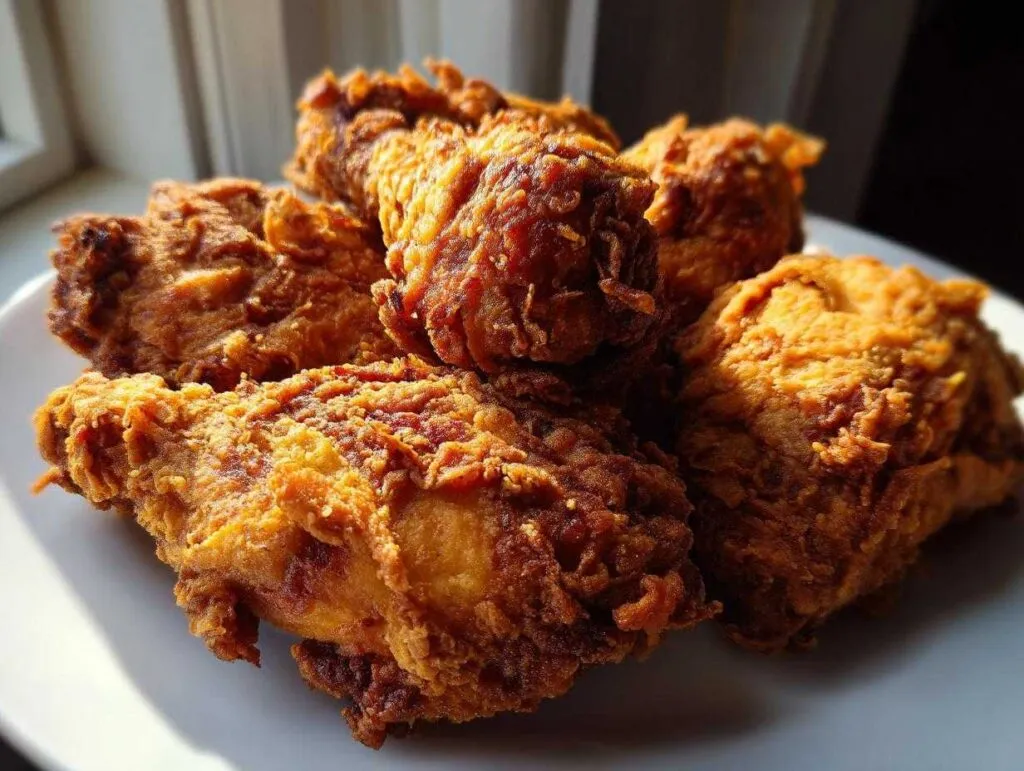
That perfect crunch giving way to juicy meat? That’s what Southern fried chicken dreams are made of. My version keeps all the soul of grandma’s recipe but adds a few tricks I’ve picked up over the years. The secret’s in the buttermilk soak – trust me, those eight hours transform tough chicken into something so tender it practically falls off the bone.
This isn’t just any fried chicken recipe – it’s the kind that makes neighbors peek over the fence when they catch that irresistible aroma floating through the air. Whether you’re planning a picnic or just craving some serious comfort food, this crispy golden goodness never disappoints. Just wait till you hear that first satisfying crunch!
Why You’ll Love This Fried Chicken
Listen, I know everyone claims their fried chicken is the best, but let me tell you why mine stands out:
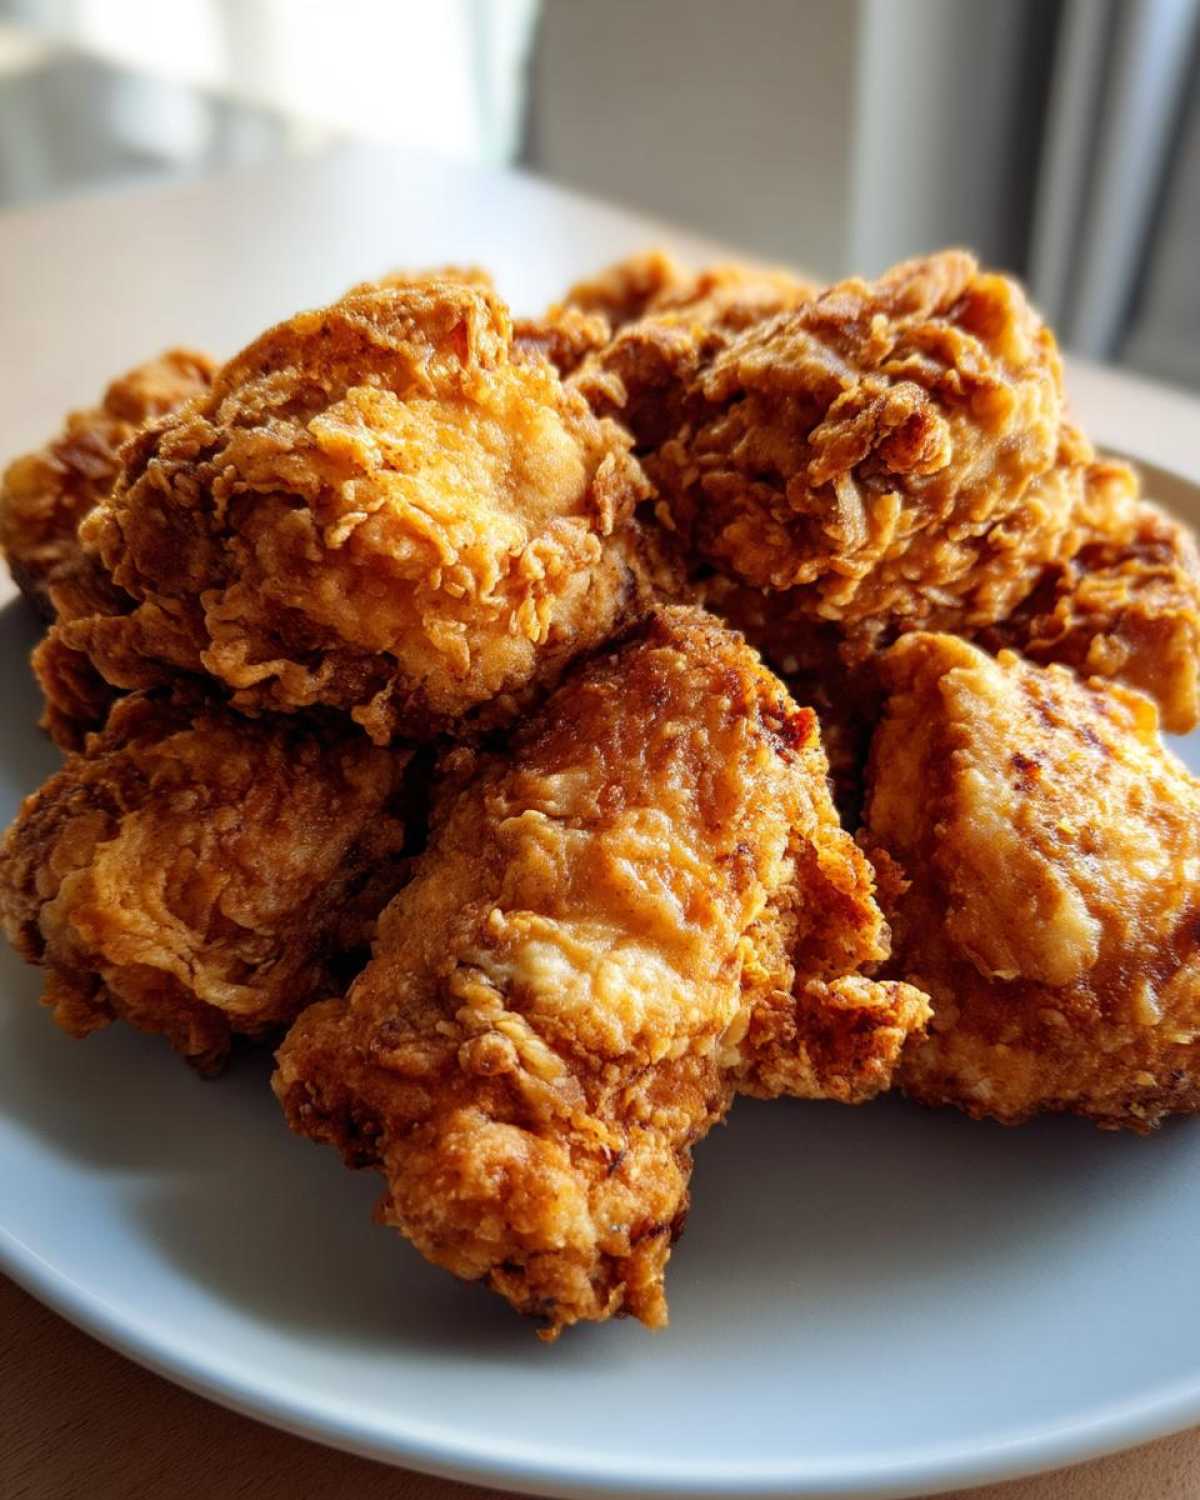
- That CRUNCH: The double-dipped flour coating creates a crust so crispy you can hear it crack from across the room
- Juicy magic: The buttermilk soak works overnight to tenderize every bite – no dry chicken here!
- Picnic superstar: Travels like a dream and tastes just as good cold as it does hot (if it lasts that long)
- Foolproof method: My grandma’s simple technique means even first-timers get perfect results
- Flavor bomb: That perfect blend of spices makes every bite more addictive than the last
Seriously, once you try this version, you’ll never go back to boring fried chicken again. It’s that good.
Ingredients for Perfect Fried Chicken
Now let’s talk ingredients – and I mean the real deal, none of that shortcut business. Every single item here plays a crucial role in creating that signature crunch and flavor. I’ve tested this a hundred times, and trust me, skipping any of these is like trying to clap with one hand!
- 4 lbs chicken pieces (I always use a mix of legs, thighs, and breasts – the dark meat stays juicier, but breasts are great for picky eaters)
- 2 cups buttermilk (chilled overnight – this isn’t just for flavor, it’s our secret tenderizer!)
- 2 cups all-purpose flour (the foundation of our crispy armor)
- 1 tbsp packed salt (I use kosher – it sticks to the chicken better)
- 1 tbsp freshly ground black pepper (none of that pre-ground dust!)
- 1 tbsp paprika (for that beautiful golden color and subtle sweetness)
- 1 tsp garlic powder (the flavor booster that makes people ask “what’s in this?”)
- 1 tsp onion powder (our secret umami weapon)
- Vegetable oil for frying (about 4 cups – peanut or canola work great)
See that buttermilk? That’s not optional – it’s what makes the chicken so tender it’ll make you weak in the knees. And don’t even think about skimping on the spices – they’re what take this from “good” to “grandma-worthy”!
Essential Equipment for Fried Chicken
Listen, you don’t need fancy gadgets to make killer fried chicken – just these trusty tools that I swear by:
- A heavy cast-iron skillet (my grandma’s old black one is still my favorite) or a deep fryer if you’re feelingli>
li> - Candy thermometer – because guessing oil temperature leads to sad, greasy chicken
- Paper towels (lots of ’em!) for draining that golden goodness
- Two big bowls – one for buttermilk bath, one for flour coating
- Tongs with a good grip – slippery chicken is no joke!
That’s it! With these basics, you’re ready to fry up some magic.
How to Make Crispy Fried Chicken
Alright, let’s get down to business! Making perfect fried chicken is like conducting an orchestra – every step matters, but when it all comes together? Pure magic. Follow these steps, and you’ll have the crispiest, juiciest chicken that’ll make your grandma proud.
Preparing the Chicken
First things first – that buttermilk soak is non-negotiable. I dump my chicken pieces into a big bowl and pour cold buttermilk over them until they’re completely submerged. Cover it and tuck it in the fridge overnight (minimum 4 hours, but 8 is better). This is when the magic happens – the buttermilk tenderizes the chicken so it stays juicy even after frying.
When you’re ready to fry, drain off the buttermilk (save a little in another bowl if you’re doing a double coat). Now for the fun part – the flour coating! I mix all my dry ingredients together in a big shallow dish. Take each piece of chicken and really press it into the flour mixture, making sure every nook and cranny gets coated. Shake off the excess, then for extra crispy chicken, dip it back in reserved buttermilk and coat again with flour. This double-dip method creates those incredible crunchy layers we all love.
Frying to Perfection
Here’s where most folks go wrong – oil temperature. Heat your oil (I use about 2 inches in my skillet) to 350°F – no guessing here, use that thermometer! Too hot and the outside burns before the inside cooks; too cool and you get greasy chicken.
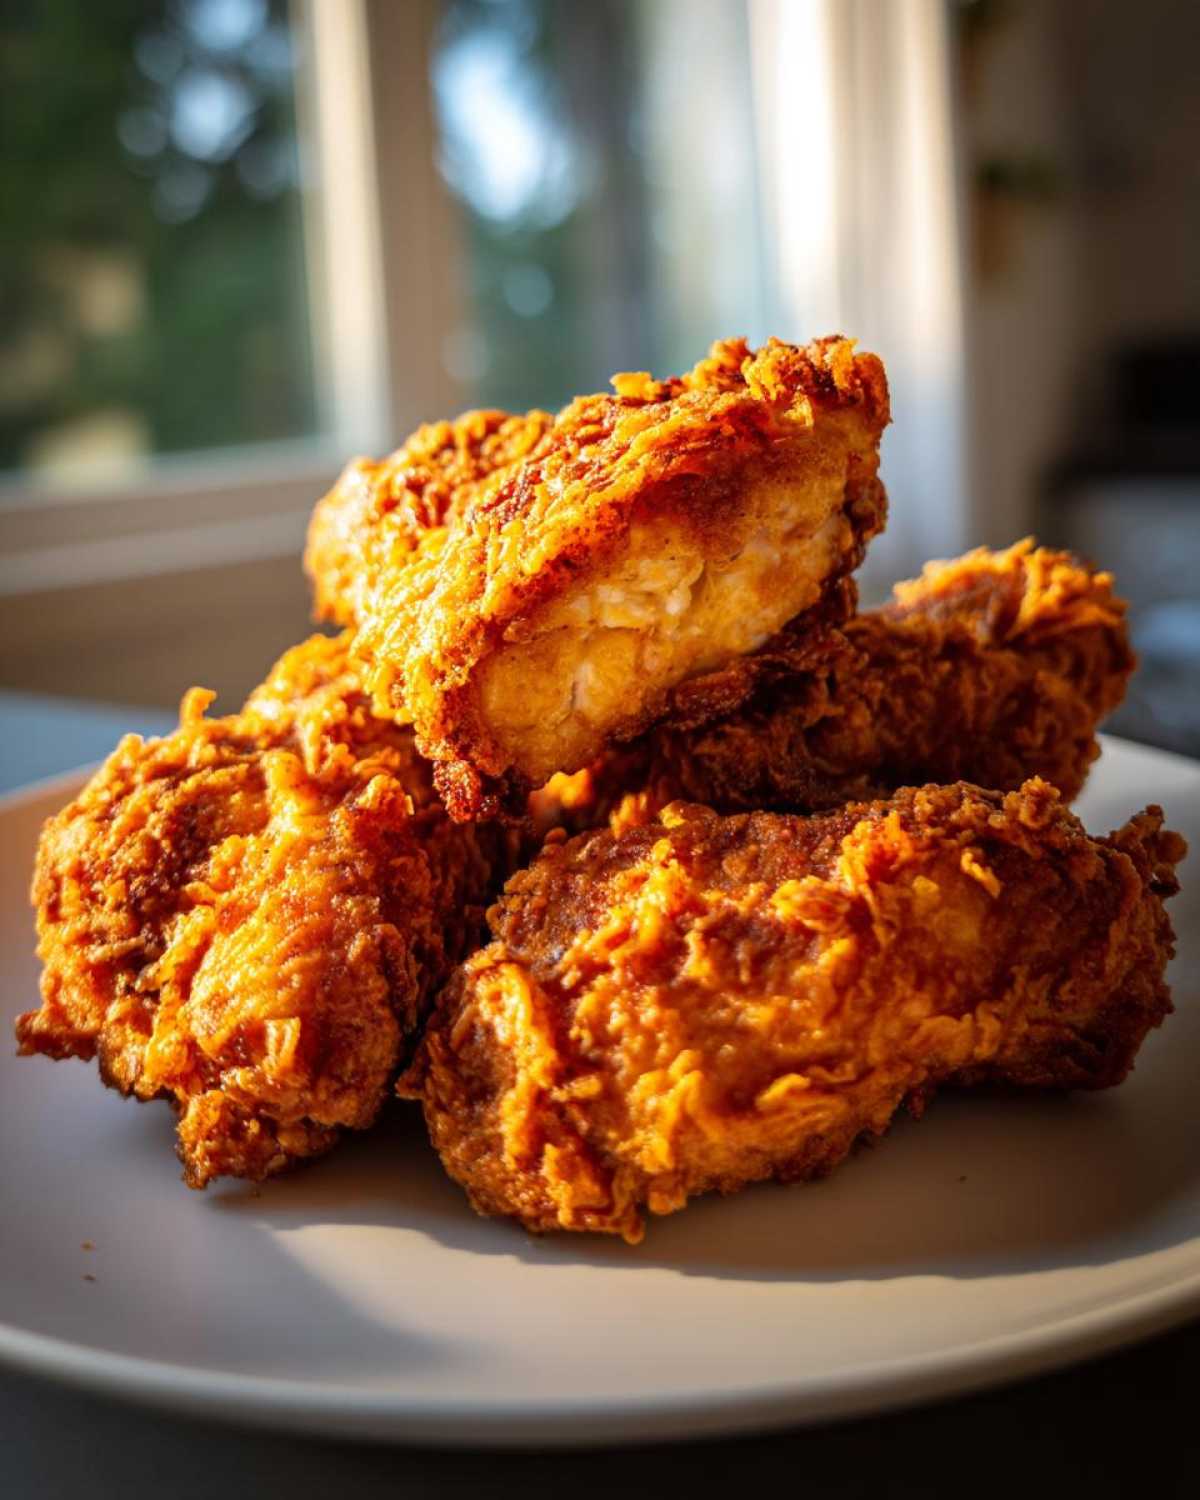
Carefully add your chicken pieces – don’t overcrowd the pan! I do batches, leaving space between each piece. Fry for 12-15 minutes, turning occasionally with tongs until they’re that perfect golden brown. Dark meat takes a bit longer than white, so I usually start with thighs and legs first.
How do you know it’s done? The crust should be deep golden brown, and juices should run clear when pierced near the bone. I always check with an instant-read thermometer – 165°F in the thickest part means it’s ready. Transfer to a paper towel-lined plate and let it rest for 5 minutes (this keeps it juicy!). Then? Dig in and listen to that glorious crunch!
Pro Tips for the Best Fried Chicken
After burning more than my fair share of chicken (and setting off the smoke alarm more times than I’d like to admit), I’ve learned a few tricks that’ll guarantee perfect fried chicken every time:
- Let it rest! That 5-minute wait after frying lets juices redistribute – bite too soon and they’ll all run out
- Peanut oil is king for high-heat frying, but canola works great too – just avoid olive oil (smoke point’s too low)
- No overcrowding! Frying in batches keeps oil temperature steady – I know it’s tempting to cram it all in, but resist!
- Season flour generously – taste it raw (yes, really!) – it should be slightly too salty on its own
- Keep cooked chicken warm in a 200°F oven while finishing batches – but don’t leave it more than 30 minutes
Trust me, these little details make all the difference between good chicken and “holy-cow-what’s-your-secret” chicken!
Serving Suggestions for Fried Chicken
Oh honey, fried chicken deserves the royal treatment when it comes to sides! My perfect plate always includes:
- Creamy mashed potatoes – that golden crust begs to be dragged through fluffy potatoes
- Tangy coleslaw – the cool crunch cuts through the richness perfectly
- Warm buttermilk biscuits – because you need something to sop up all those delicious juices
For picnics? Just wrap pieces in parchment paper and tuck them in a basket with potato salad and pickles. The chicken travels like a dream and tastes even better at room temperature – if it lasts that long!
Storing and Reheating Fried Chicken
Now listen, fried chicken’s one of those rare foods that’s almost as good leftover as it is fresh – if you handle it right! Let it cool completely, then store in an airtight container in the fridge for up to 3 days. Want that crunch back? Skip the microwave (it’ll turn soggy) and reheat in a 375°F oven for 10-15 minutes. Pro tip: place it on a rack so air circulates underneath – that keeps the bottom crispy too!
Fried Chicken FAQs
I get asked about fried chicken more than any other dish – and after years of perfecting this recipe, I’ve heard it all! Here are the answers to the questions that pop up most often:

Can I use boneless chicken for this recipe?
Absolutely! Boneless thighs or breasts work great – just reduce frying time by 2-3 minutes since they cook faster. The buttermilk soak is extra important here to keep the meat juicy without bones.
How do I keep my fried chicken crispy?
The double-coat method is key, but also make sure your oil stays at 350°F throughout frying. And whatever you do, don’t cover the chicken after cooking – that steam will ruin your perfect crunch!
Can I make this ahead for a picnic?
You bet! Fried chicken actually tastes amazing at room temp. Let it cool completely before packing, and keep it in a single layer so the crust stays crisp. It’s the ultimate picnic food!
What’s the best oil for Southern style fried chicken?
I swear by peanut oil for its high smoke point, but canola works well too. Grandma used lard back in the day, but vegetable oil gives you that classic golden crust without overpowering the chicken’s flavor.
Nutritional Information
Now, let’s be real – we’re not eating fried chicken for its health benefits! But for those keeping track, here’s the scoop (based on one average-sized piece):

- Calories: 320
- Protein: 25g (not bad for comfort food!)
- Carbs: 15g
- Fat: 18g
Remember, these are estimates – actual values can vary based on chicken size and how much coating sticks. My philosophy? Enjoy every crispy bite and balance it with veggies later! You can find more recipe ideas on Pinterest.
PrintSouthern Style Crispy Fried Chicken
A classic Southern fried chicken recipe with crispy, golden crust and juicy meat. Perfect for picnics or family dinners.
- Prep Time: 4 hours
- Cook Time: 15 minutes
- Total Time: 4 hours 15 minutes
- Yield: 8 servings 1x
- Category: Main Dish
- Method: Deep Frying
- Cuisine: Southern American
- Diet: Low Lactose
Ingredients
- 4 lbs chicken pieces (legs, thighs, breasts)
- 2 cups buttermilk
- 2 cups all-purpose flour
- 1 tbsp salt
- 1 tbsp black pepper
- 1 tbsp paprika
- 1 tsp garlic powder
- 1 tsp onion powder
- Vegetable oil for frying
Instructions
- Soak chicken in buttermilk for 4 hours or overnight
- Mix flour and spices in a large bowl
- Drain chicken and coat each piece in flour mixture
- Heat oil to 350°F in a deep fryer or heavy skillet
- Fry chicken for 12-15 minutes until golden brown
- Drain on paper towels and serve hot
Notes
- For extra crispy chicken, double coat by dipping back in buttermilk and flour
- Use a thermometer to maintain oil temperature
- Let chicken rest 5 minutes before serving
Nutrition
- Serving Size: 1 piece
- Calories: 320
- Sugar: 1g
- Sodium: 450mg
- Fat: 18g
- Saturated Fat: 4g
- Unsaturated Fat: 12g
- Trans Fat: 0g
- Carbohydrates: 15g
- Fiber: 1g
- Protein: 25g
- Cholesterol: 85mg