
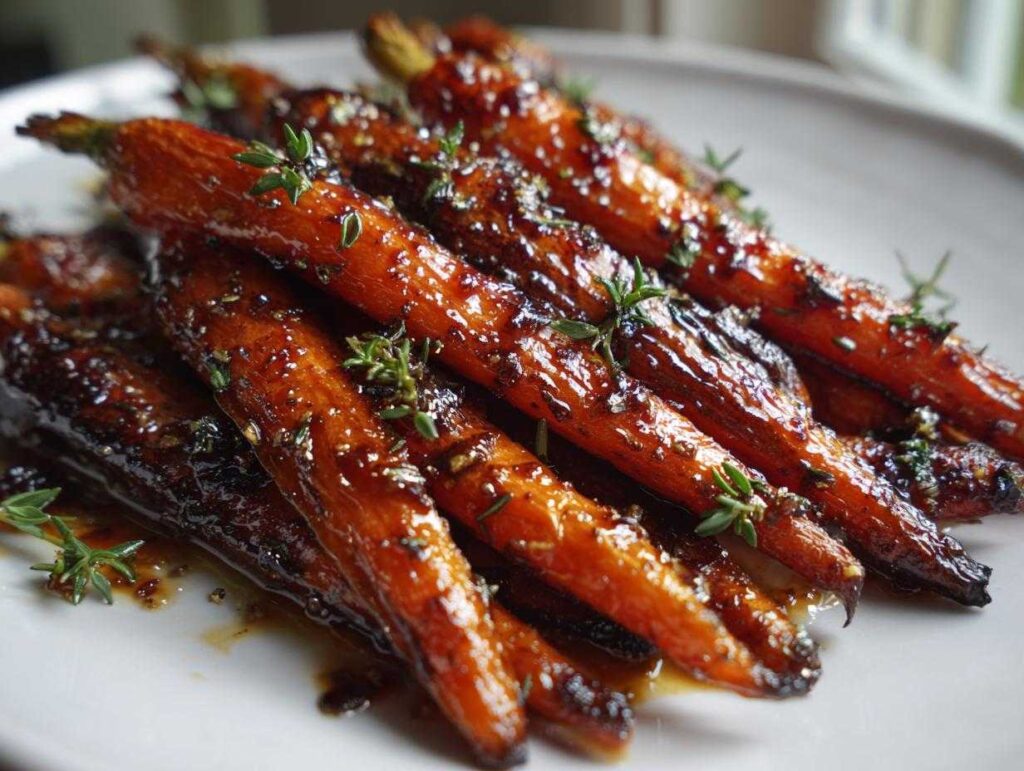
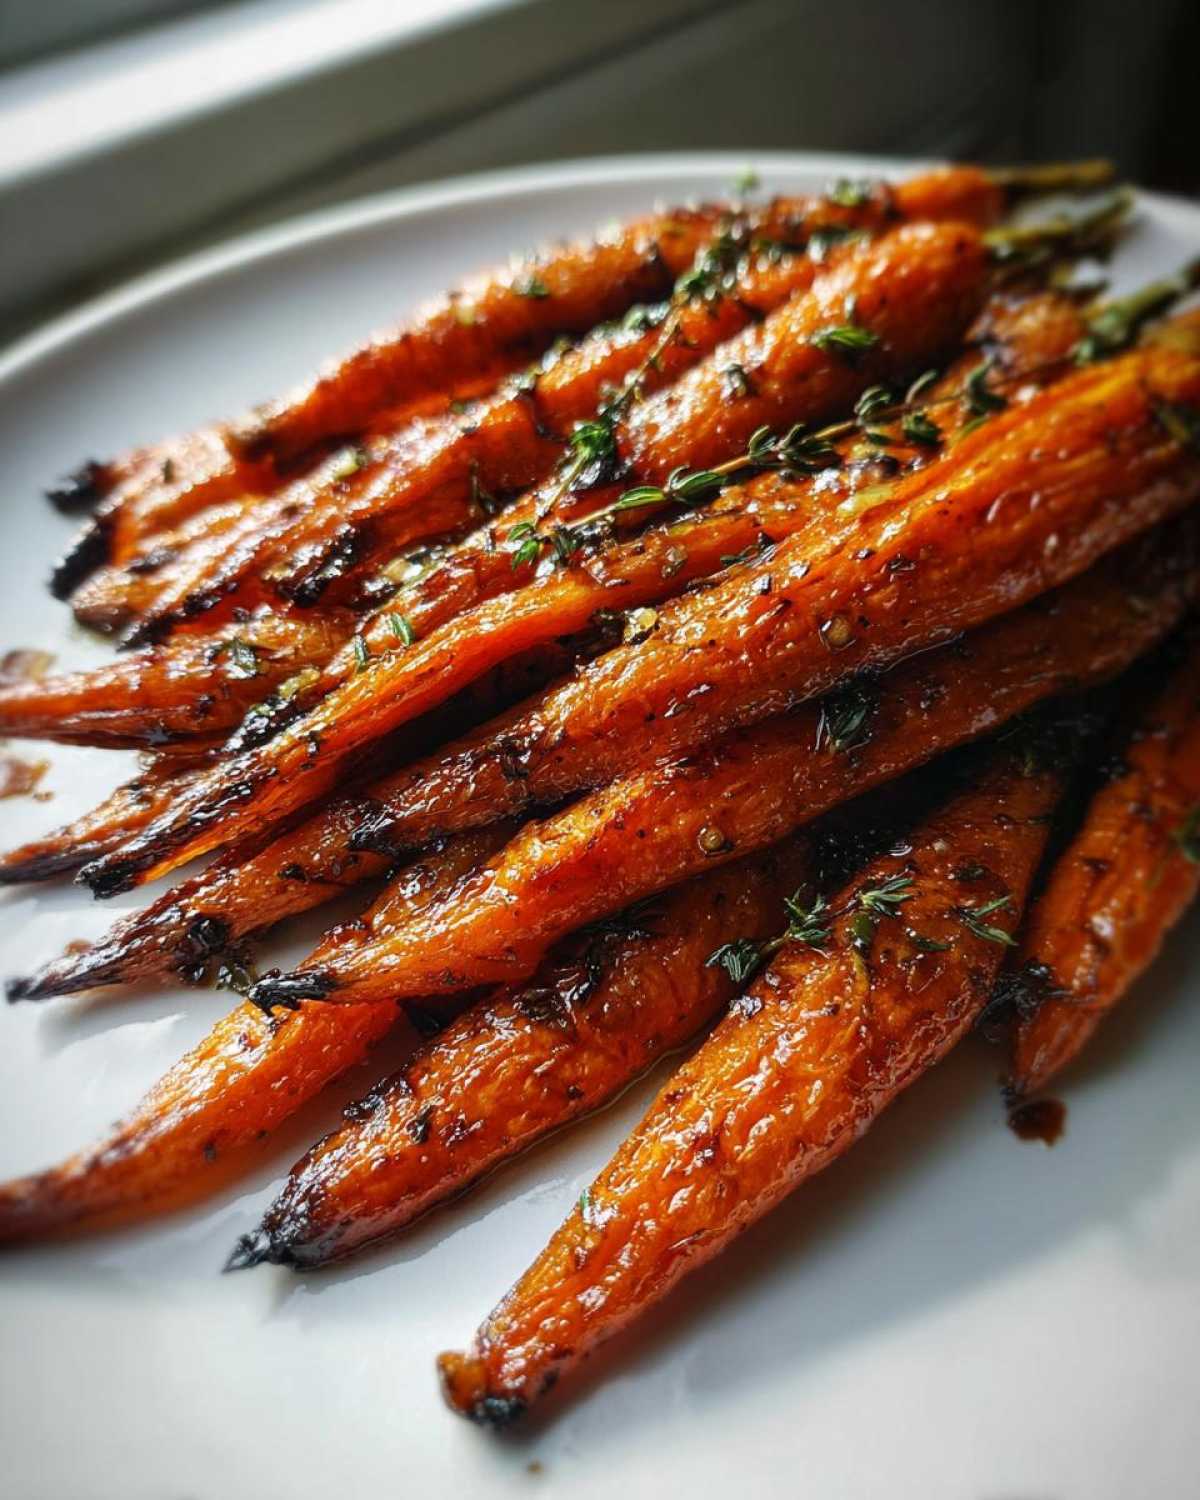
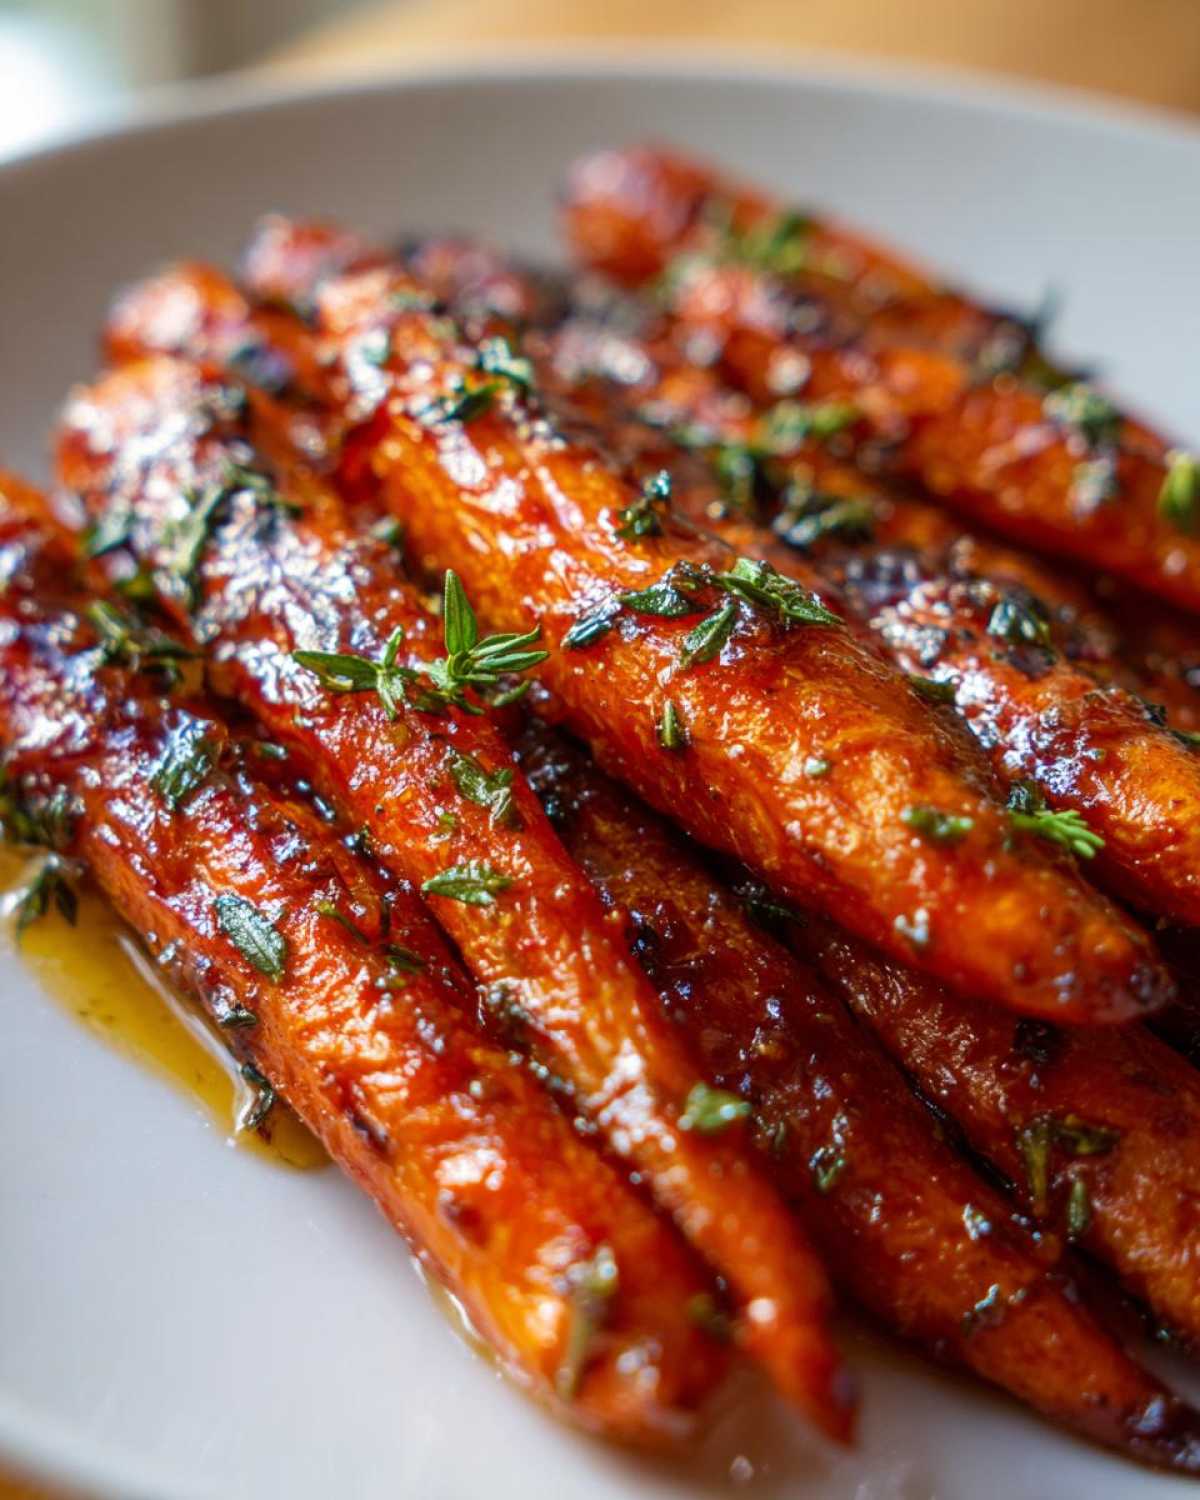
Oh my goodness, you have to trust me on this one. Sometimes, the most boring vegetable in the crisper drawer just needs a little bit of drama! I’m telling you, taking humble carrots and completely transforming them into something spectacular is my specialty. Today, we are diving headfirst into my absolute favorite way to serve them: Roasted Smashed Carrots with Maple-Balsamic Glaze. Forget just boiling or roasting them whole; the secret here is the actual smashing technique. It’s fun, therapeutic, and it creates the most incredible texture combination—tender sweet carrots inside with wonderfully crisp, caramelized edges. As Sophia, I am always searching for unique vegetable preparations, and these smashed carrots are truly a showstopper for any dinner table!
- Why You Will Love These Smashed Carrots
- Essential Ingredients for Perfect Smashed Carrots
- Simple Vegetable Cooking Techniques: How to Prepare Smashed Carrots
- Tips for Success Making Caramelized Carrot Side Dish
- Ingredient Notes and Substitutions for Smashed Carrots
- Serving Suggestions for Your Smashed Carrots Side Dish
- Storage and Reheating Instructions for Smashed Carrots
- Frequently Asked Questions About Smashed Carrots
- Share Your Kitchen Creations!
Why You Will Love These Smashed Carrots
Seriously, these carrots check every single box a home cook could want! When you try them, you’ll see exactly what I mean:
- The texture is unmatched: They are fork-tender soft roasted carrots on the inside, but the smashing creates those irresistible, crispy, caramelized edges.
- The flavor is addictive! That maple-balsamic glaze turns them into the perfect sweet and savory carrot recipe.
- It’s a brilliant, easy glazed carrots recipe that looks fancy enough for holiday meals.
- You only need one pan! Cleanup is a breeze, which is always a win in my kitchen.
Essential Ingredients for Perfect Smashed Carrots
You only need a handful of simple items to pull this off, but the quality really matters here. For the base, grab about 2 lbs of medium carrots; make sure they are scrubbed well! We’re using olive oil, salt, and pepper for the initial roast, which helps everything get that nice initial softening. The glaze is where the magic happens: 2 tablespoons of maple syrup, 1 tablespoon of balsamic vinegar, and 1 teaspoon of fresh thyme leaves. Trust me, fresh thyme makes such a difference!
Quick tip from my kitchen to yours: for the most even cooking, try to find carrots that are about the same thickness. This ensures they all become that perfect tender soft roasted carrots consistency before we move on to the smashing stage. It’s worth taking a quick look through the bunch!
Simple Vegetable Cooking Techniques: How to Prepare Smashed Carrots
Okay, now for the main event! Making these smashed carrots is really a three-part show: the first roast, the smash, and the final glaze roast. You absolutely have to get that first roast right so they are completely pliable before you press on them. The whole process is hands-on but takes very little actual effort. Forget about those plain roasted cauliflower and carrots; we are leveling up here! Remember, we are aiming for that gorgeous look you see on food blogs—that’s what roasting brings out!
Roasting the Carrots Until Tender Soft Roasted Carrots
First things first, get your oven humming at 400 degrees Fahrenheit and line a big baking sheet—I mean big! You don’t want them crowded, or they’ll steam instead of roast. Drizzle those scrubbed carrots with olive oil, salt, and pepper, tossing them around until they are shimmering. Pop them in for about 25 minutes. You’re done with this stage when you can easily slide a fork right through them. We are looking for truly tender soft roasted carrots at this point!
Mastering the Smashed Carrots Technique
This is the fun part! Carefully pull that sheet pan out. Now, you need a tool with some weight. I usually grab the bottom of a heavy drinking glass or even a potato masher. You are going to work quickly while they are still hot. Gently but firmly press down on the center of each carrot until it flattens out a bit. Don’t smash them into oblivion like they insulted your family! We just want a slight press so they lay flatter and the surface area opens up for the glaze. Look how they start to look like little rustic planks from roasted cauliflower and carrots!
Creating the Maple-Balsamic Glaze for Easy Glazed Carrots Recipe
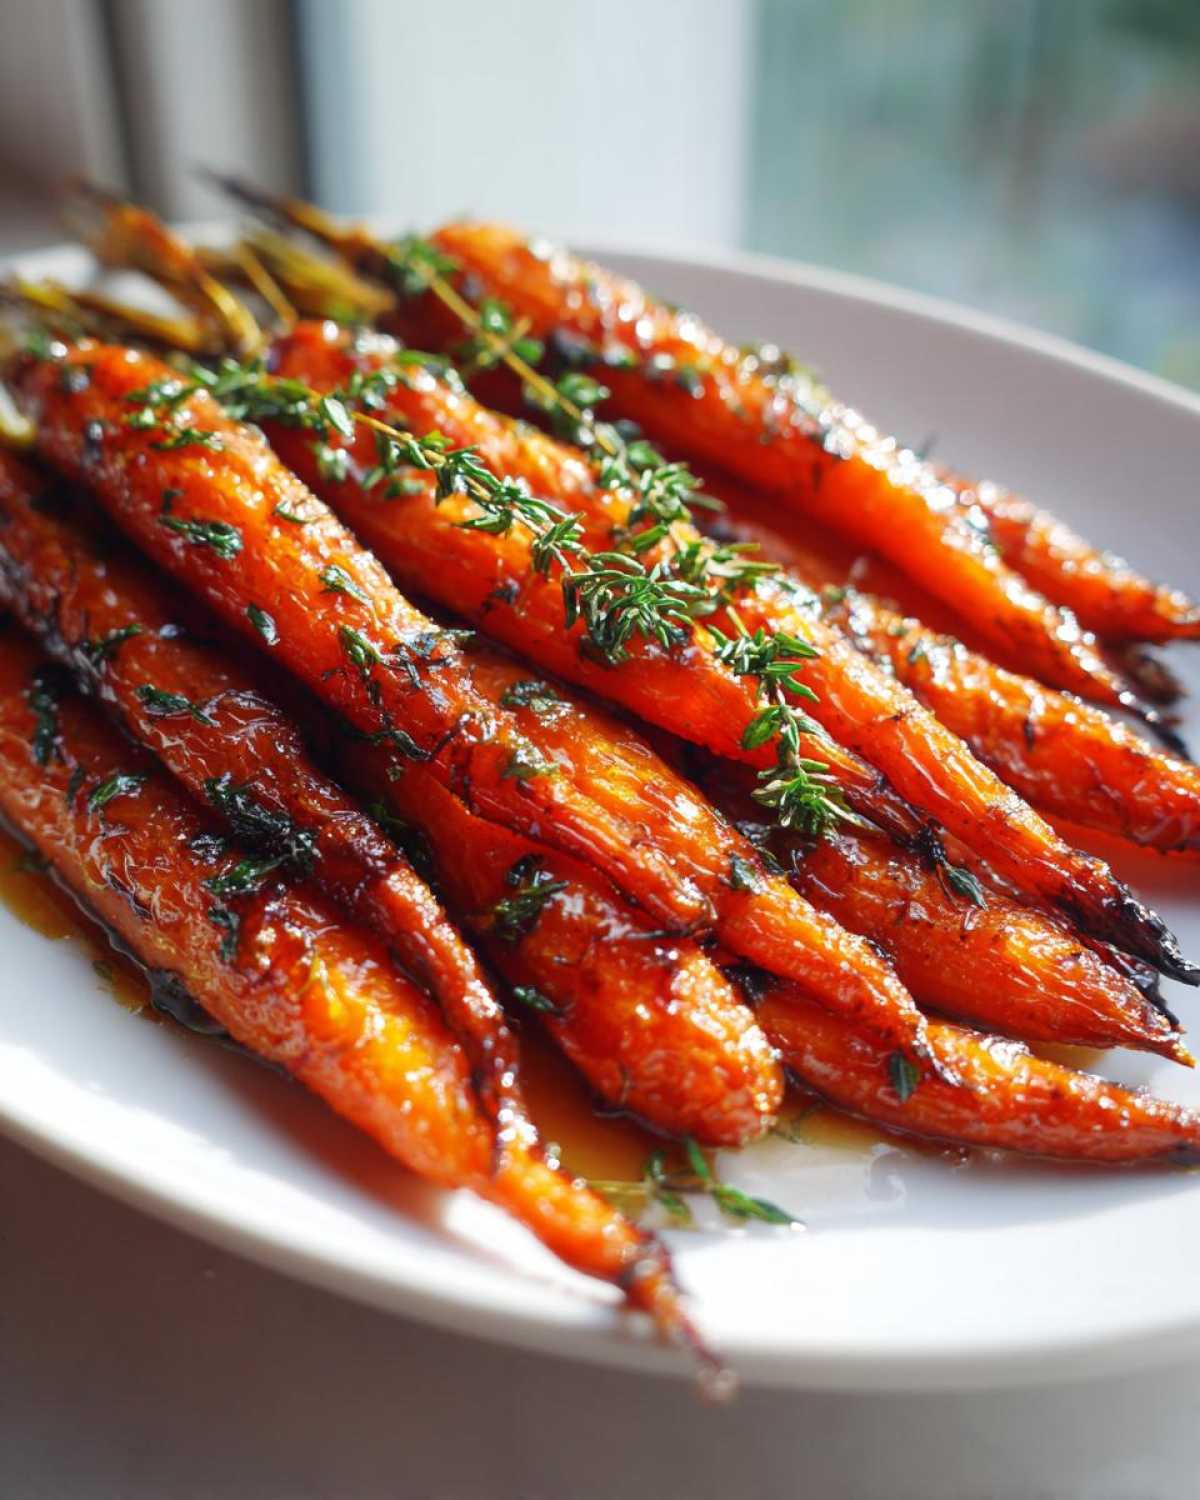
While the carrots are cooling just enough to handle, whisk up that incredible glaze in a small bowl. Just maple syrup, balsamic vinegar, and fresh thyme—that’s it! This creates the perfect balance for an easy glazed carrots recipe. Once everything is mixed, use a pastry brush to generously coat the flattened tops of your carrots with the sticky mixture. Make sure you get every little nook and cranny covered because that’s where the caramelization happens next!
Tips for Success Making Caramelized Carrot Side Dish
Even though this recipe is fairly straightforward, a few little secrets will take your smashed carrots from good to absolutely mind-blowing. My biggest rule is: do not overcrowd the pan! If your carrots are touching when they go in for that final roast, they will steam, and we want crisp edges, remember? Use two sheet pans if you have to; it’s worth the extra wash later.
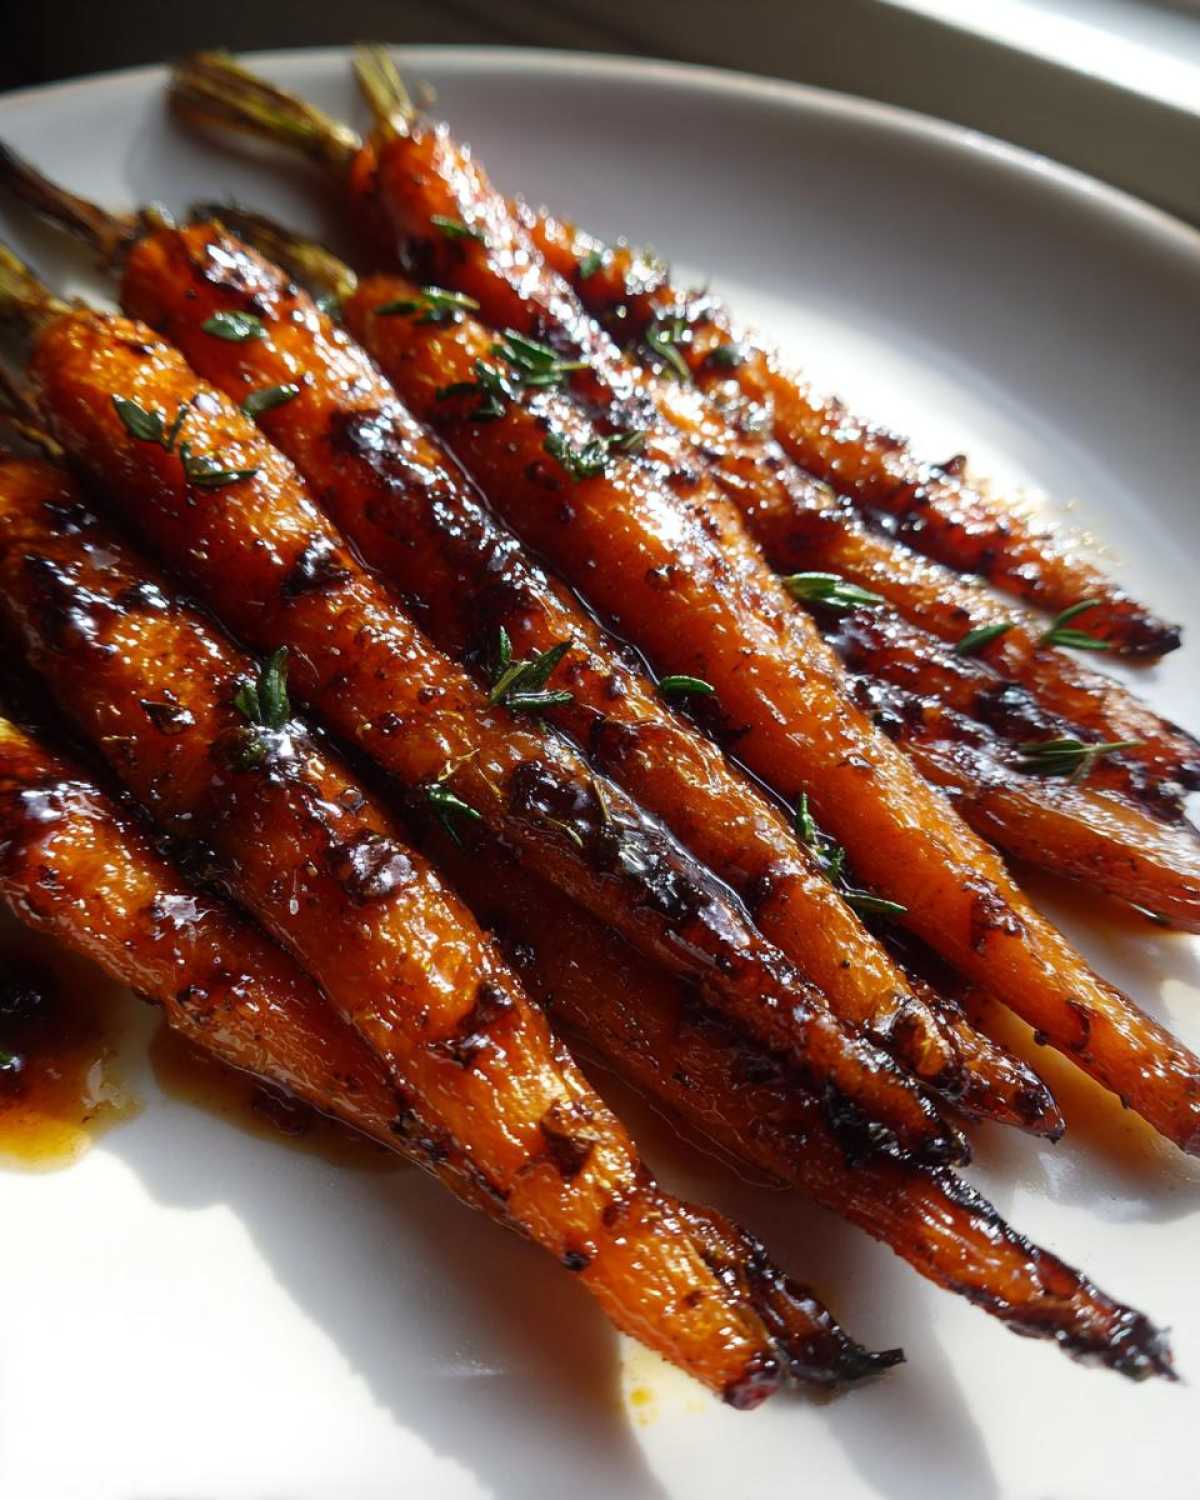
To boost that caramelized carrot side dish flavor, make sure your glaze is brushed on evenly right before the second roast. That maple syrup needs direct contact with the hot pan surface to bubble up and brown beautifully. Also, don’t skip that initial roast time; if they aren’t fully tender first, they’ll just break when you try to smash them. I often look back at my notes for sauces like this homemade teriyaki sauce—it’s all about that sticky, deeply flavored coating!
Ingredient Notes and Substitutions for Smashed Carrots
I get so many questions about swapping ingredients, and honestly, this recipe is pretty flexible once you nail the technique for the smashed carrots! If you’re out of maple syrup, honey works perfectly well as a 1:1 substitute, though it might taste slightly different. If you only have dried thyme instead of fresh, just use about a third of the amount, maybe a scant 1/2 teaspoon, because dried herbs are much more potent.
This method is fantastic for making sheet pan smashed vegetables, too. Try mixing in some parsnips or even small sweet potatoes alongside the carrots. Just cut the denser veggies a bit smaller so everything finishes cooking around the same time. You can find more great ideas for sweetening roasted veggies over here, like my honey cinnamon sweet potatoes roasted sweet potato honey cinnamon crispy!
Serving Suggestions for Your Smashed Carrots Side Dish
You’ve made these incredible smashed carrots, and now you’re wondering what to serve them with? Honestly, they are so good they could be the main attraction! Because they carry that wonderful sweet and savory flavor, they pair beautifully alongside simple roasted chicken or pork loin. Imagine that glaze dripping down next to a nice piece of savory meat—wow!
But they truly shine when they get to play the star role in your holiday spread. They make a gorgeous centerpiece for any table, especially when you need outstanding and colorful vegetarian holiday side dishes. They are even lighter than traditional glazed carrots! For more inspiration on herb-forward sides, check out my recipe for herb roasted carrots—it’s a little different but equally delicious!
Storage and Reheating Instructions for Smashed Carrots
I hope you made extra, because these keep well, but they are definitely best fresh! Once cooled, store any leftover smashed carrots in an airtight container in the fridge for up to three days. Don’t even think about using the microwave to reheat them, though—that will just make them sad and mushy, and we worked too hard for that!
To bring back that glorious crispness, spread them out on a baking sheet and reheat them in a 375°F oven for about 8 to 10 minutes. If you have an air fryer, even better! Just a quick blast at 350°F for 5 minutes will re-crisp those beautiful, glistening edges perfectly so they taste almost freshly made.
Frequently Asked Questions About Smashed Carrots
I always get questions when people see this recipe because it looks so impressive, but it’s actually super simple! Here are a few things I hear most often when folks are making their own smashed carrots for the first time.
What is the best way to cook carrots before smashing?
The most important thing is that they need to be completely fork-tender before you smash them. If they are hard, they will snap instead of flatten, and you’ll lose that contrast between the soft inside and crispy outside. Give them that full 25 minutes in the oven initially!
Can I use baby carrots for this recipe?
You absolutely can, but it changes the game slightly! Baby carrots are often already a bit harder than fresh, medium carrots. If you use them, you might need to steam them or boil them for about 5 minutes before you toss them in oil and roast them the first time. That way, you still achieve the necessary softness required before you press them.
Can I make these balsamic glazed root vegetables ahead of time?
You certainly can do some prep ahead! You can roast and smash the carrots completely—even glaze them—a few hours ahead of time. However, for the absolute best texture (that delicate crisp!), I truly recommend adding them back to the oven for that final 10 minutes right before serving, especially if you are showing them off as a stellar best way to cook carrots side dish!
What temperature should I use for the second roast?
We use 400°F for the first roast to soften them up. But for that final, glorious caramelization after you brush on the maple-balsamic glaze, you can keep it at 400°F or even bump it up to 425°F if your oven runs cool. That extra heat is what turns the glaze into beautiful, bubbly perfection on your balsamic glazed root vegetables!
Share Your Kitchen Creations!
Now that you have mastered the art of smashed carrots, you simply have to try them out! I am so excited for you to experience that incredible caramelized texture. When you make them, please snap a picture and tag me on social media—I absolutely love seeing your results. And if you thought these were amazing, you should totally stop by and follow our Pinterest account for even more unique vegetable preparations like this one. Don’t forget to leave a five-star rating if this recipe made your dinner table happy!
PrintRoasted Smashed Carrots with Maple-Balsamic Glaze
Learn how to make tender, caramelized smashed carrots coated in a sweet and tangy maple-balsamic glaze. This unique vegetable preparation makes a fantastic side dish.
- Prep Time: 10 min
- Cook Time: 40 min
- Total Time: 50 min
- Yield: 4 servings 1x
- Category: Side Dish
- Method: Roasting
- Cuisine: American
- Diet: Vegetarian
Ingredients
- 2 lbs medium carrots, scrubbed
- 3 tablespoons olive oil
- 1 teaspoon kosher salt
- 1/2 teaspoon black pepper
- 2 tablespoons maple syrup
- 1 tablespoon balsamic vinegar
- 1 teaspoon fresh thyme leaves
Instructions
- Preheat your oven to 400 degrees Fahrenheit. Line a large baking sheet with parchment paper.
- Place the carrots on the baking sheet. Drizzle with olive oil, sprinkle with salt and pepper. Toss to coat them evenly.
- Roast the carrots for 25 minutes until they are fork-tender.
- Remove the baking sheet from the oven. Use the bottom of a heavy glass or a potato masher to gently press down on each carrot until it is slightly flattened or ‘smashed.’ Do not mash them completely flat.
- In a small bowl, whisk together the maple syrup, balsamic vinegar, and fresh thyme.
- Brush the maple-balsamic glaze over the smashed carrots.
- Return the baking sheet to the oven and roast for another 10 to 15 minutes, or until the edges are caramelized and the glaze is bubbly.
- Serve your caramelized carrot side dish immediately.
Notes
- For best results, use carrots that are relatively uniform in size so they cook evenly.
- If you prefer a spicier flavor, add a pinch of red pepper flakes to the glaze mixture.
- This recipe works well for sheet pan smashed vegetables alongside other root vegetables.
Nutrition
- Serving Size: 1 serving
- Calories: 180
- Sugar: 15
- Sodium: 350
- Fat: 8
- Saturated Fat: 1
- Unsaturated Fat: 7
- Trans Fat: 0
- Carbohydrates: 25
- Fiber: 5
- Protein: 2
- Cholesterol: 0