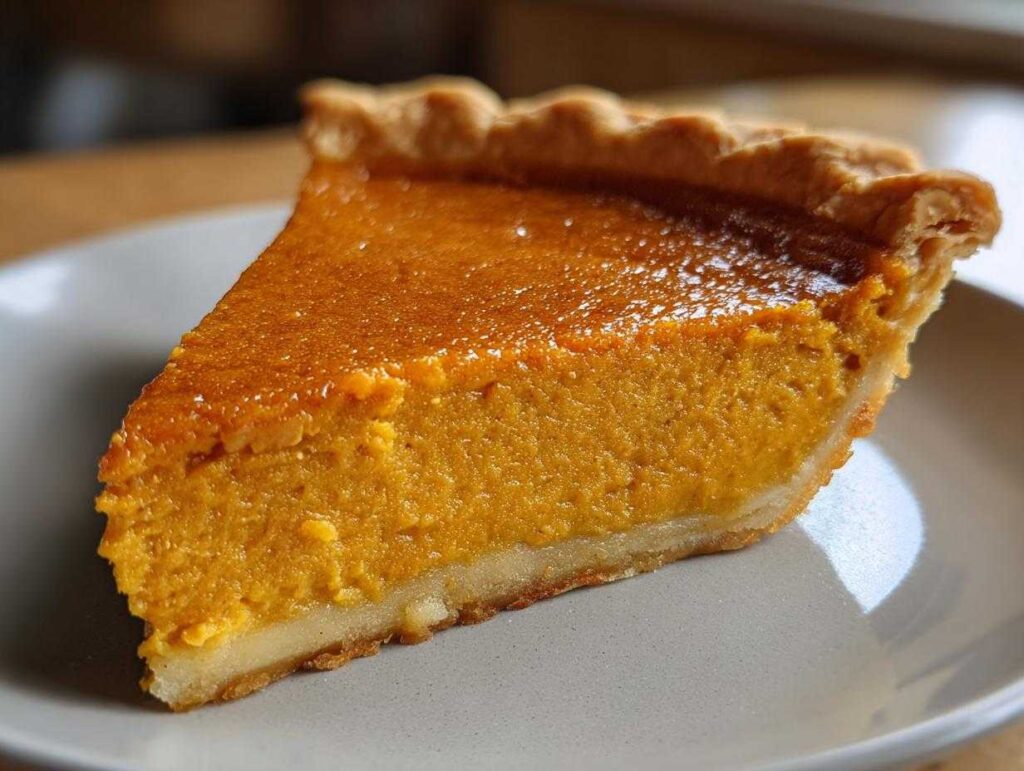
There’s something magical about the scent of pumpkin pie baking in the oven—cinnamon swirling with nutmeg, butter-rich crust turning golden—it instantly transports me back to my grandmother’s kitchen every Thanksgiving. That first anxious peek through the oven door, waiting to see if the custard had set just right without a crack (her pies never cracked—mine often did at first!). This classic pumpkin pie recipe is my love letter to those childhood memories, perfected over years of trial and error to give you that same velvety smooth filling and shatteringly flaky crust that makes everyone ask for seconds.
The secret? It’s all in the balance—just enough spice to warm you without overwhelming the pumpkin’s earthy sweetness, a custard that barely jiggles at the center when done, and a crust that holds its own against the creamy filling. Whether you’re continuing a family tradition or starting a new one, this is the pumpkin pie recipe that’ll have your relatives sneaking slivers before the turkey even hits the table.
Why You’ll Love This Pumpkin Pie Recipe
This isn’t just any pumpkin pie—it’s the one you’ll make year after year because it checks all the boxes. Here’s why it’s my go-to for Thanksgiving and beyond:
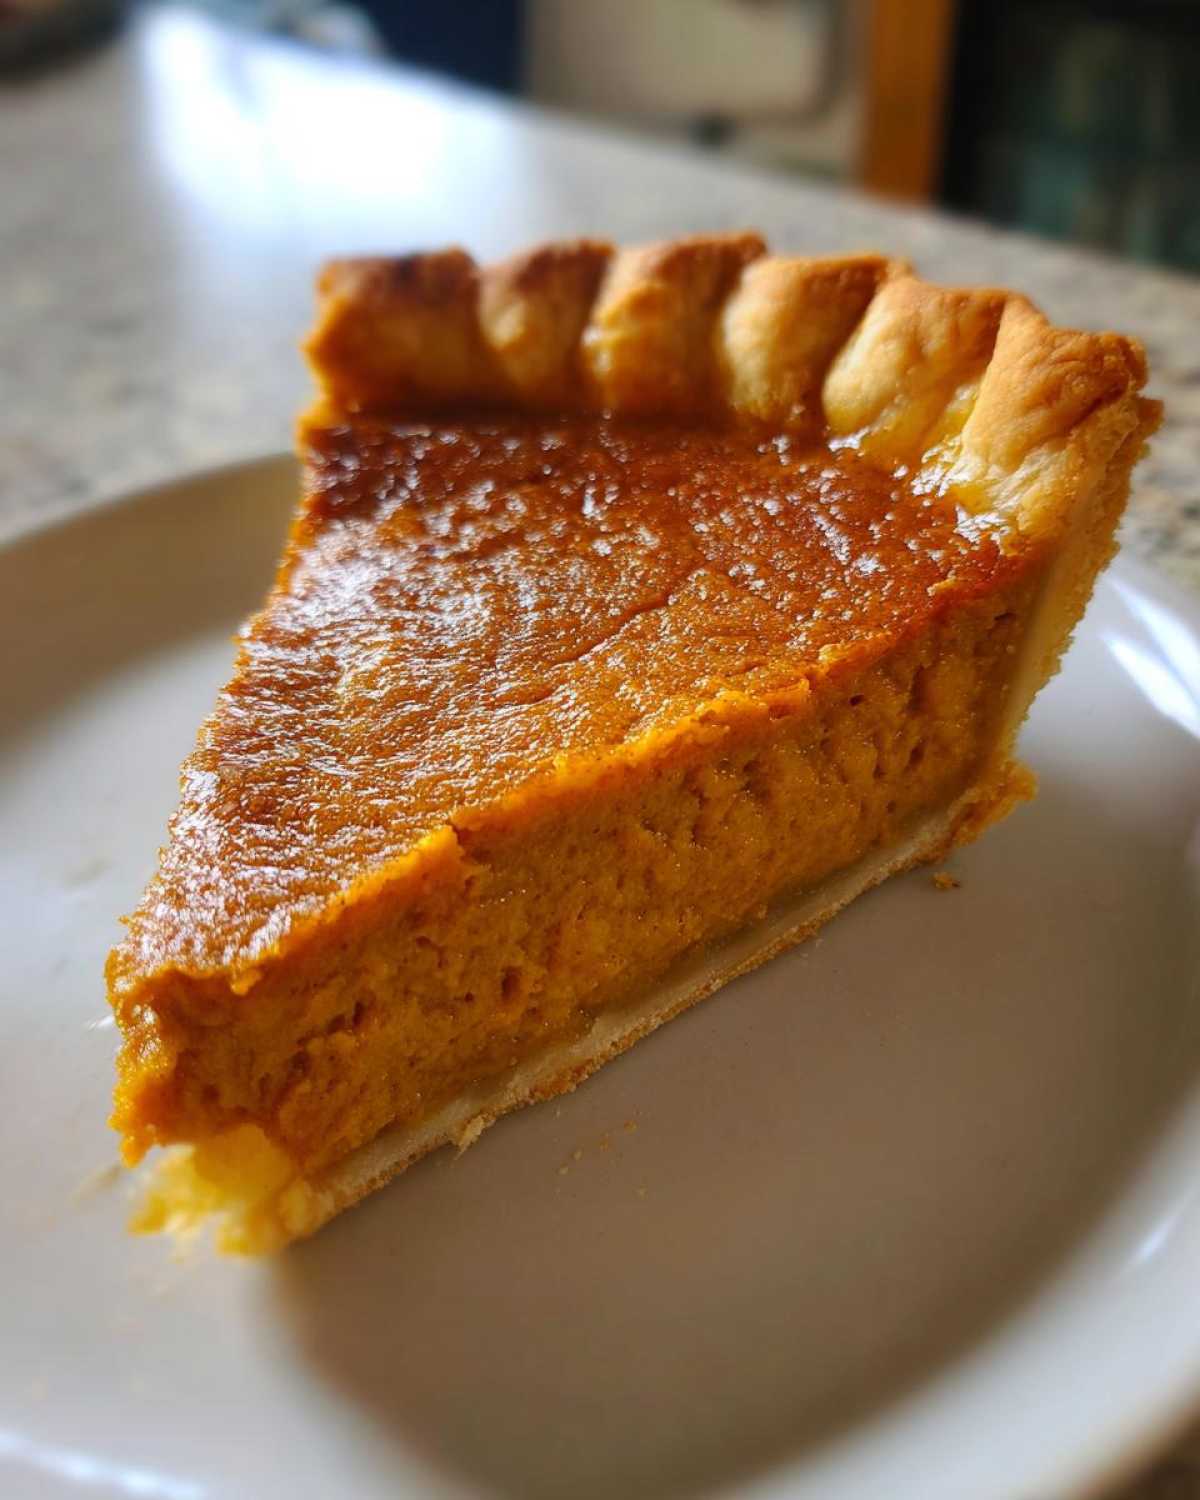
- Silky-smooth custard that melts in your mouth thanks to the perfect ratio of pumpkin to evaporated milk (I’ve had too many grainy pumpkin pies in my life—this one’s dreamy!)
- Flaky, buttery crust that holds up to slicing without crumbling—my trick? A quick blind-bake keeps it crisp even under that lush filling
- Warm spice balance that lets the pumpkin shine – cinnamon and ginger do their dance without overpowering like some clove-heavy recipes
- Stress-free prep – mix the filling while the crust bakes, pour, and bake. No fancy techniques, just pure comfort food magic
- Make-ahead friendly for easy meal planning—bake it Wednesday, and your Thanksgiving dessert is done with zero day-of fuss
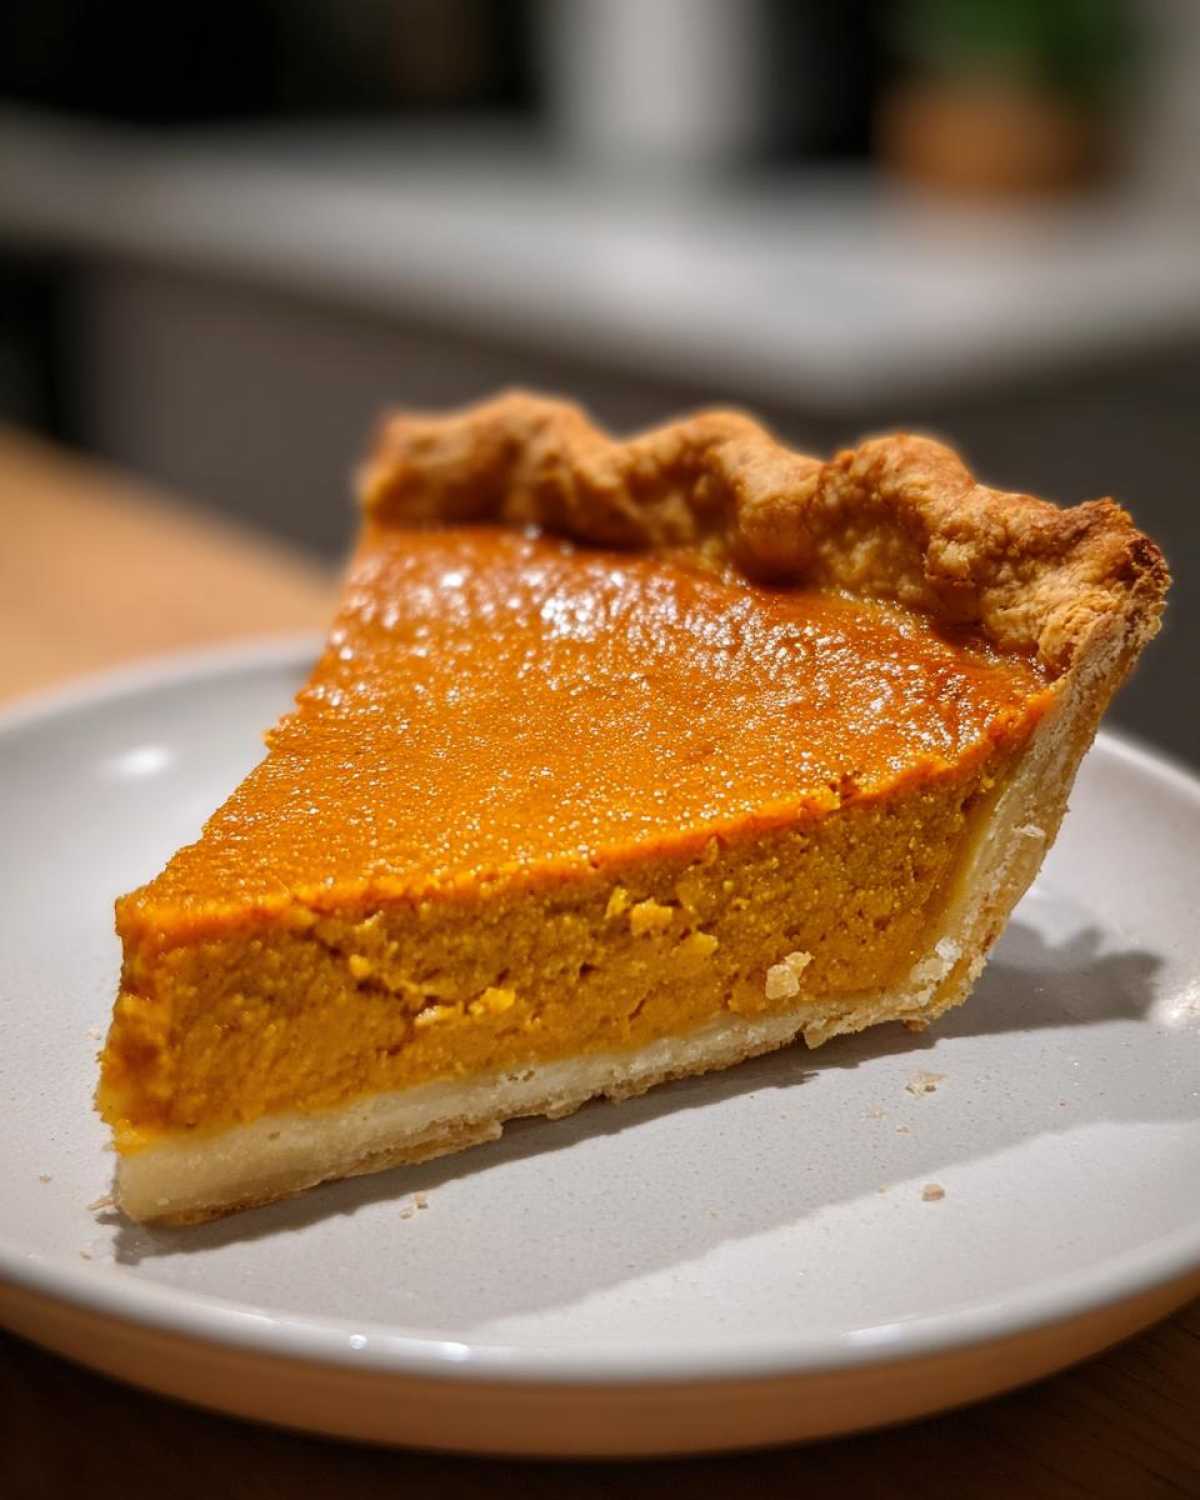
Trust me, after one bite of this pie with its crack-free top and creamy center, you’ll understand why it took me 20 Thanksgivings to stop experimenting with other recipes.
Ingredients for the Best Pumpkin Pie Recipe
Gathering the right ingredients makes all the difference between a good pie and the kind that disappears before dessert plates even hit the table. Here’s exactly what you’ll need (and yes, I’m picky about some of these—learned the hard way!):
- 1 9-inch pie crust – homemade or store-bought, but please make sure it’s chilled. Thaw frozen crusts completely if using those—the texture changes everything. Want extra credit? Try my pumpkin cream cheese as a surprise layer under the filling!
- 1 15-oz can pumpkin puree (not pie filling—that’s presweetened!) – Libby’s is my gold standard
- 3/4 cup granulated sugar – measure this first, then the spices, so your measuring spoons stay clean
- 1 tsp ground cinnamon
- 1/2 tsp ground ginger
- 1/4 tsp ground cloves (yes, just a quarter teaspoon—they’re potent!)
- 1/2 tsp salt – stops the pie from tasting flat
- 2 large eggs at room temperature – cold eggs can make the filling separate
- 1 12-oz can evaporated milk (not sweetened condensed—that disaster still haunts me from 2012)
Pro tip: Set everything on the counter 30 minutes before baking. Cold ingredients don’t blend smoothly, and nobody wants lumpy pumpkin pie!
How to Make This Classic Pumpkin Pie Recipe
Alright, friends – let’s turn these simple ingredients into that swoon-worthy pie! I promise it’s easier than it looks if you follow these steps carefully. I’ll walk you through every stage so yours turns out as perfect as Grandma’s always did (minus the thirty years of practice!).
- Preheat your oven to 425°F. This high initial heat helps set the crust – we’ll lower it later for gentle cooking.
- Blind-bake the crust. Roll out your chilled dough and crimp those edges pretty! More on this crucial step below.
- Whisk together the sugar, spices, and salt in a big bowl. Trust me, blending the dry ingredients first prevents clumps of cinnamon in your teeth later!
- Beat in the eggs one at a time until smooth – I use a fork for control, but a hand mixer works too. No scrambled eggs in your pie, please!
- Gradually stir in evaporated milk. Too fast and you’ll get bubbles; slow and steady makes the custard silky.
- Pour into your parbaked crust (it should still be warm). Fill right to the crimped edge – shrinkage happens as it bakes.
- Bake at 425°F for 15 minutes until the edges puff slightly. Then reduce to 350°F and bake 40-45 minutes more until the center barely jiggles when nudged.
- Cool slowly on a rack – rushing this step is why most pies crack! Resist cutting for at least 2 hours.
See? Nothing scary! While it bakes, why not whip up some roasted pumpkin seeds with your scraps? Waste not, want not!
Blind-Baking the Crust
This step is non-negotiable if you hate soggy bottoms (and who doesn’t?). Simply line your pie plate with dough, prick the base all over with a fork, then line it with parchment and fill with pie weights or dried beans. Bake 10 minutes at 425°F until the edges brown slightly. You’re creating a moisture barrier so the filling doesn’t turn your beautiful crust to mush!
Mixing the Filling
Canned pumpkin is your friend here – fresh puree varies too much in water content. Whisk the spices into the sugar first so they distribute evenly, then blend in the eggs gently (overmixing causes bubbles!). The evaporated milk should go in last – pouring it down the side of the bowl prevents splashing. Your goal? A smooth, velvety mixture without a single spice lump.
Tips for the Perfect Pumpkin Pie Recipe
After baking (and cracking!) more pumpkin pies than I can count, I’ve learned a thing or two about avoiding those pesky pitfalls. Here are my hard-won secrets for getting it right every time:
- Cool it slow – Move your pie to the counter immediately after baking, but don’t even think about the fridge for at least 2 hours. Rushing this step is the #1 cause of cracks (speaking from embarrassing experience!).
- Eggs at room temp – Take them out when you start prepping. Cold eggs can make the filling separate—nobody wants scrambled egg streaks in their custard!
- The knife test never lies – Insert it near (not in!) the center at 45 minutes. It should come out with moist crumbs, not wet batter. Overbaking makes rubbery pie, underbaking means soup—find that sweet spot.
- Spice to taste – My personal tweak? I add an extra pinch of ginger for warmth, then a scrape of fresh nutmeg right before baking. Taste your filling and adjust—you’re the boss of your pie!
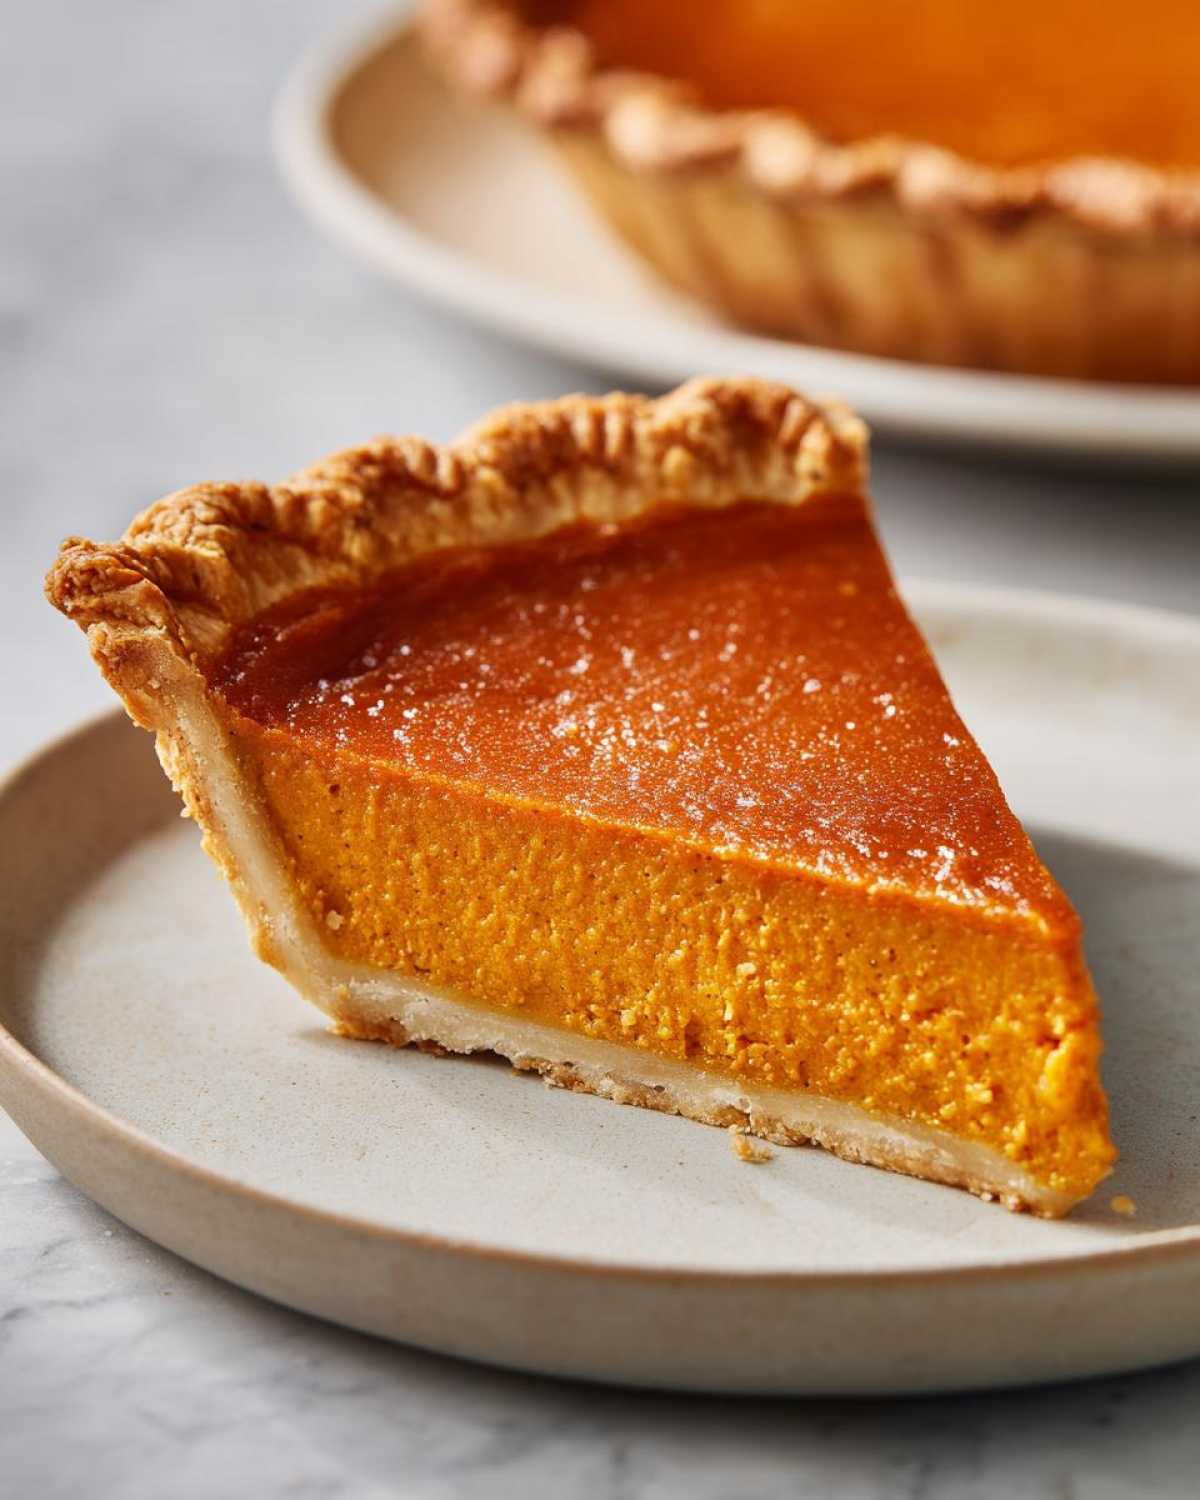
Follow these, and I promise your pie will emerge from the oven smooth, creamy, and crack-free—just like Grandma’s always did.
Make-Ahead and Storage Tips
Listen, I *live* for a Thanksgiving where dessert is done days before – and guess what? This pumpkin pie is your golden ticket to actually enjoying turkey day instead of stressing in the kitchen. Here’s how to nail the make-ahead game:
For best texture, bake the pie 1-2 days before serving (Wednesday is perfect!). Let it cool completely at room temperature, then cover loosely with foil and refrigerate. The flavors actually deepen – it tastes even better on Thursday! Need to save it longer? Freeze the whole pie for up to 1 month – just wrap it tightly in plastic wrap, then foil to prevent freezer burn. Thaw overnight in the fridge when ready. Don’t even think about microwaving slices – warm them gently in a 300°F oven for 10 minutes (cover with foil to prevent burning). That way, the crust stays crisp and the filling stays dreamy.
Pro tip: If you do refrigerate it, let slices sit at room temp for 20 minutes before serving – cold mutes all those beautiful spice flavors!
Pumpkin Pie Recipe FAQs
Got pumpkin pie problems? After years of Thanksgiving trial and error (and a few cracked pies I’d rather forget), here are the answers to everyone’s burning questions:
Can I use fresh pumpkin instead of canned?
Technically yes, but honestly? Canned pumpkin puree gives you perfect texture every time. Fresh pumpkin varies too much in moisture – I learned this the hard way when my “homemade” puree turned the filling into soup. If you insist, roast sugar pumpkins (not carving pumpkins!), drain well, and puree until silky smooth. But for guaranteed results on the big day, stick with Libby’s – it’s my holiday cheat!
How do I prevent cracks in my pie?
Three magic words: slow cool down. Move your pie to a wire rack immediately after baking, but resist the fridge for at least 2 hours! Sudden temperature changes make the custard contract and crack (my 2017 Thanksgiving still haunts me). If it does crack? No sweat – cover it with whipped cream or these adorable pie toppings from my Pinterest – I’ll never tell!
Can I freeze leftover pumpkin pie?
Absolutely! Wrap individual slices tightly in plastic wrap, then foil, and freeze for up to 1 month. Thaw overnight in the fridge when that post-Thanksgiving craving hits (we all have them). For best texture, warm slices gently at 300°F for 10 minutes – the crust will crisp right back up!
Nutritional Information
Just between us, I’m far more interested in flavor than nutrition when it comes to Thanksgiving pie—but for those who like to know, here’s the scoop! *Nutrition values are estimates and can vary based on specific ingredients and brands.* A typical slice of this pumpkin pie contains:
- Calories: 320
- Fat: 12g (5g saturated)
- Carbs: 45g (3g fiber, 25g sugar)
- Protein: 6g
Not too bad considering you’re eating a slice of holiday magic! Remember, Thanksgiving only comes once a year—save the meal planning spreadsheets for January.
More Thanksgiving Dessert Ideas
While this pumpkin pie might just steal the show, every great Thanksgiving feast deserves a dessert spread to remember! If you’re looking to round out your holiday table (or just need an excuse to keep baking), here are a few of my go-to crowd pleasers:
- For pumpkin overload (in the best way!), try my pumpkin banana muffins – they’re perfect for breakfast the day after when everyone’s still craving that cozy spice flavor
- My sourdough pumpkin muffins add a tangy twist – bonus points for using up that starter sitting in your fridge!
- Can’t go wrong with classic apple pie – serve it warm with extra sharp cheddar for that sweet-salt combo my Wisconsin grandma swore by
However you celebrate, I’d love to see your creations! Snap a pic of your perfect pie slice and share it with me – nothing makes me happier than seeing your holiday baking victories. Happy Thanksgiving, bakers!
PrintClassic Pumpkin Pie

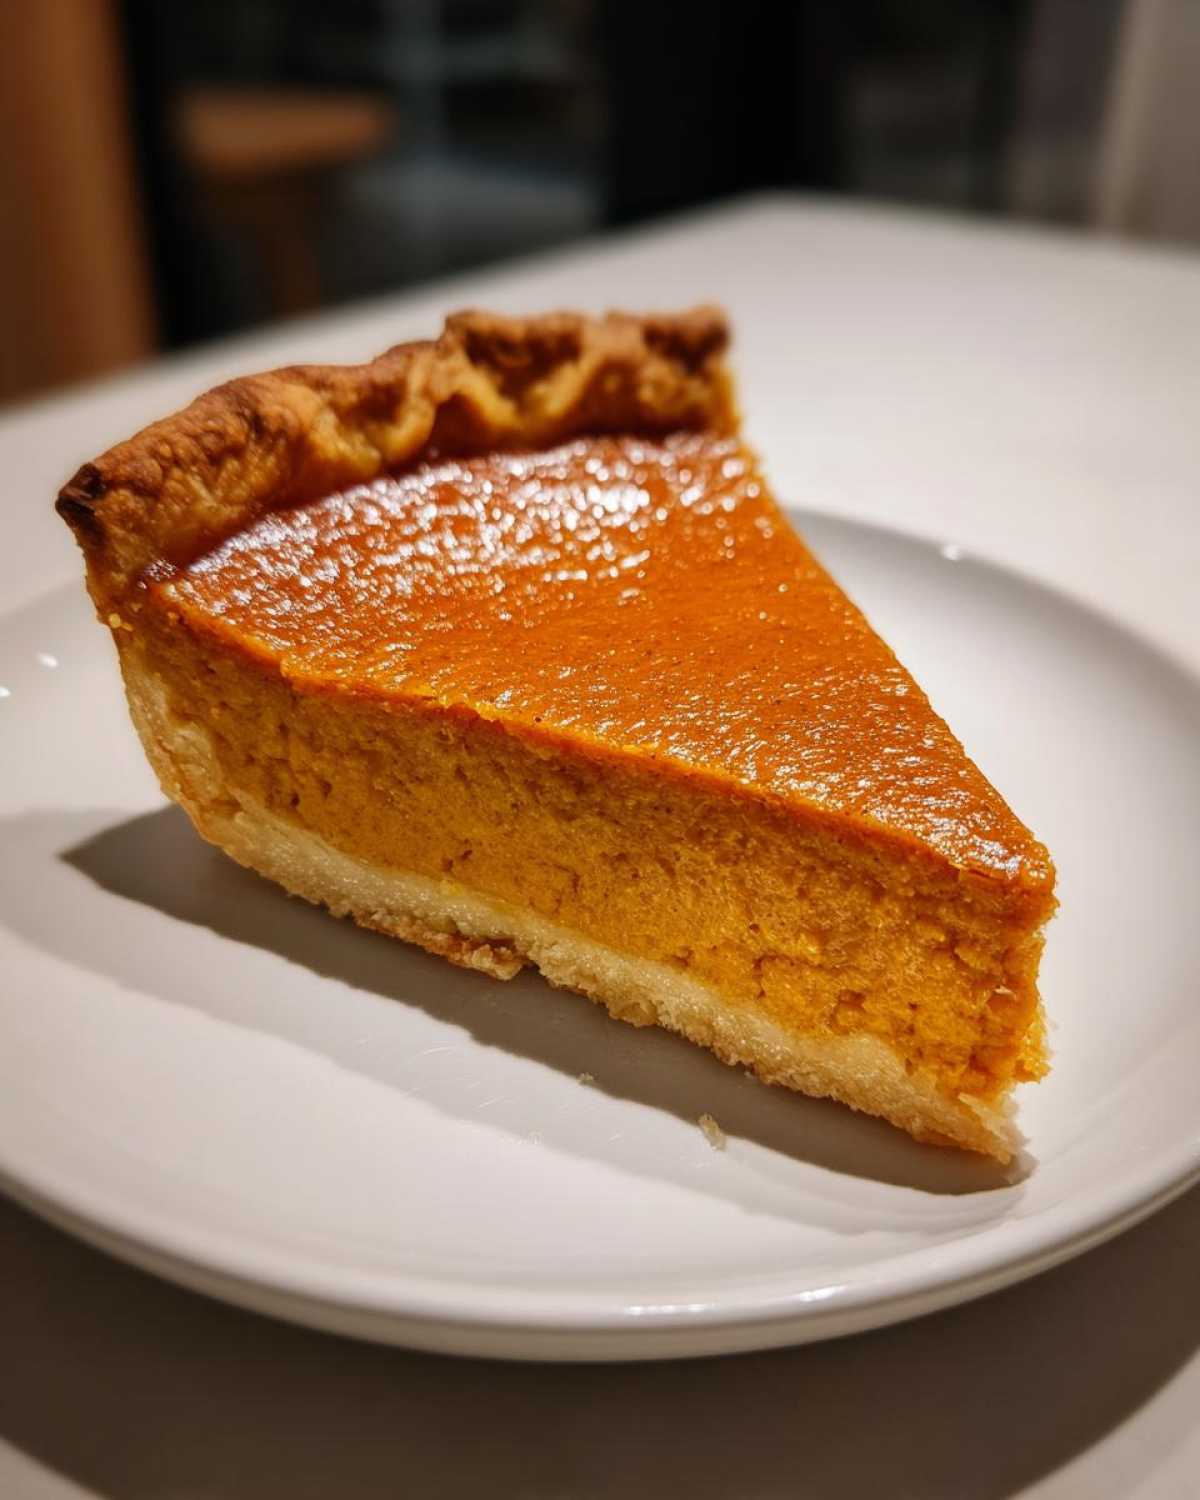
A smooth, spiced custard in a flaky crust—perfect for Thanksgiving.
- Prep Time: 20 min
- Cook Time: 55 min
- Total Time: 1 hr 15 min
- Yield: 8 servings 1x
- Category: Dessert
- Method: Baking
- Cuisine: American
- Diet: Vegetarian
Ingredients
- 1 9-inch pie crust
- 1 15-oz can pumpkin puree
- 3/4 cup granulated sugar
- 1 tsp ground cinnamon
- 1/2 tsp ground ginger
- 1/4 tsp ground cloves
- 1/2 tsp salt
- 2 large eggs
- 1 12-oz can evaporated milk
Instructions
- Preheat oven to 425°F.
- Blind-bake the pie crust for 10 minutes.
- Mix pumpkin, sugar, spices, and salt in a bowl.
- Beat in eggs, then stir in evaporated milk.
- Pour filling into crust and bake for 15 minutes.
- Reduce heat to 350°F and bake for 40-45 minutes.
- Cool on a wire rack before serving.
Notes
- Use canned pumpkin for consistent texture.
- Blind-baking prevents a soggy crust.
- Cool slowly to avoid cracks.
Nutrition
- Serving Size: 1 slice
- Calories: 320
- Sugar: 25g
- Sodium: 280mg
- Fat: 12g
- Saturated Fat: 5g
- Unsaturated Fat: 6g
- Trans Fat: 0g
- Carbohydrates: 45g
- Fiber: 3g
- Protein: 6g
- Cholesterol: 55mg