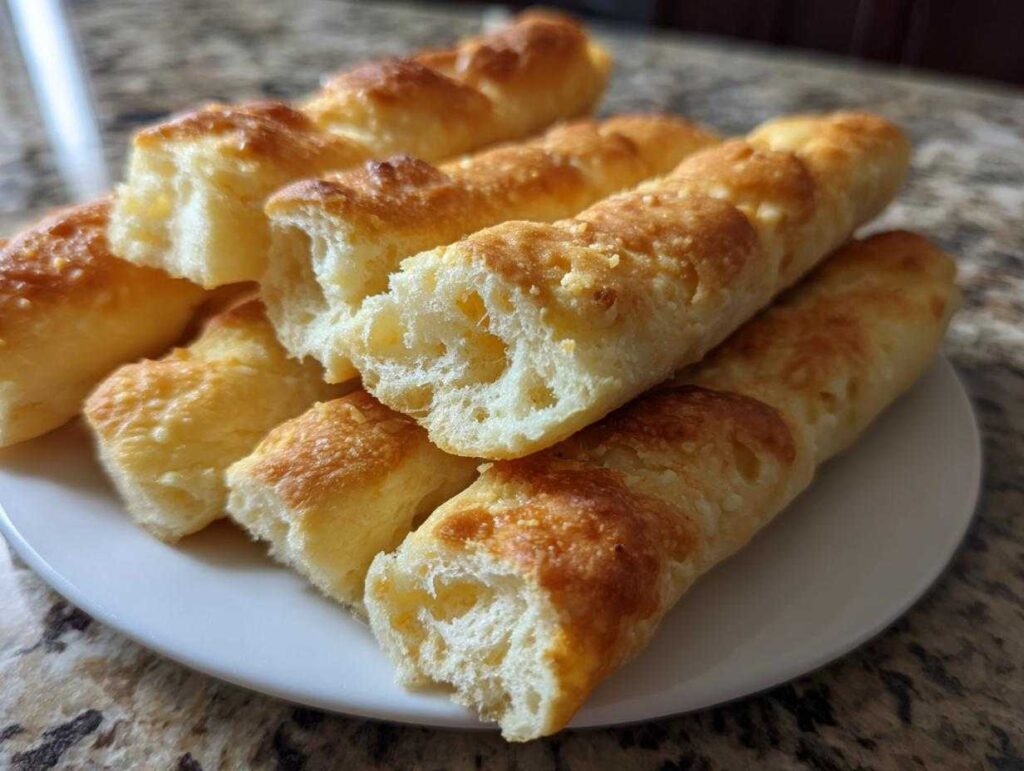
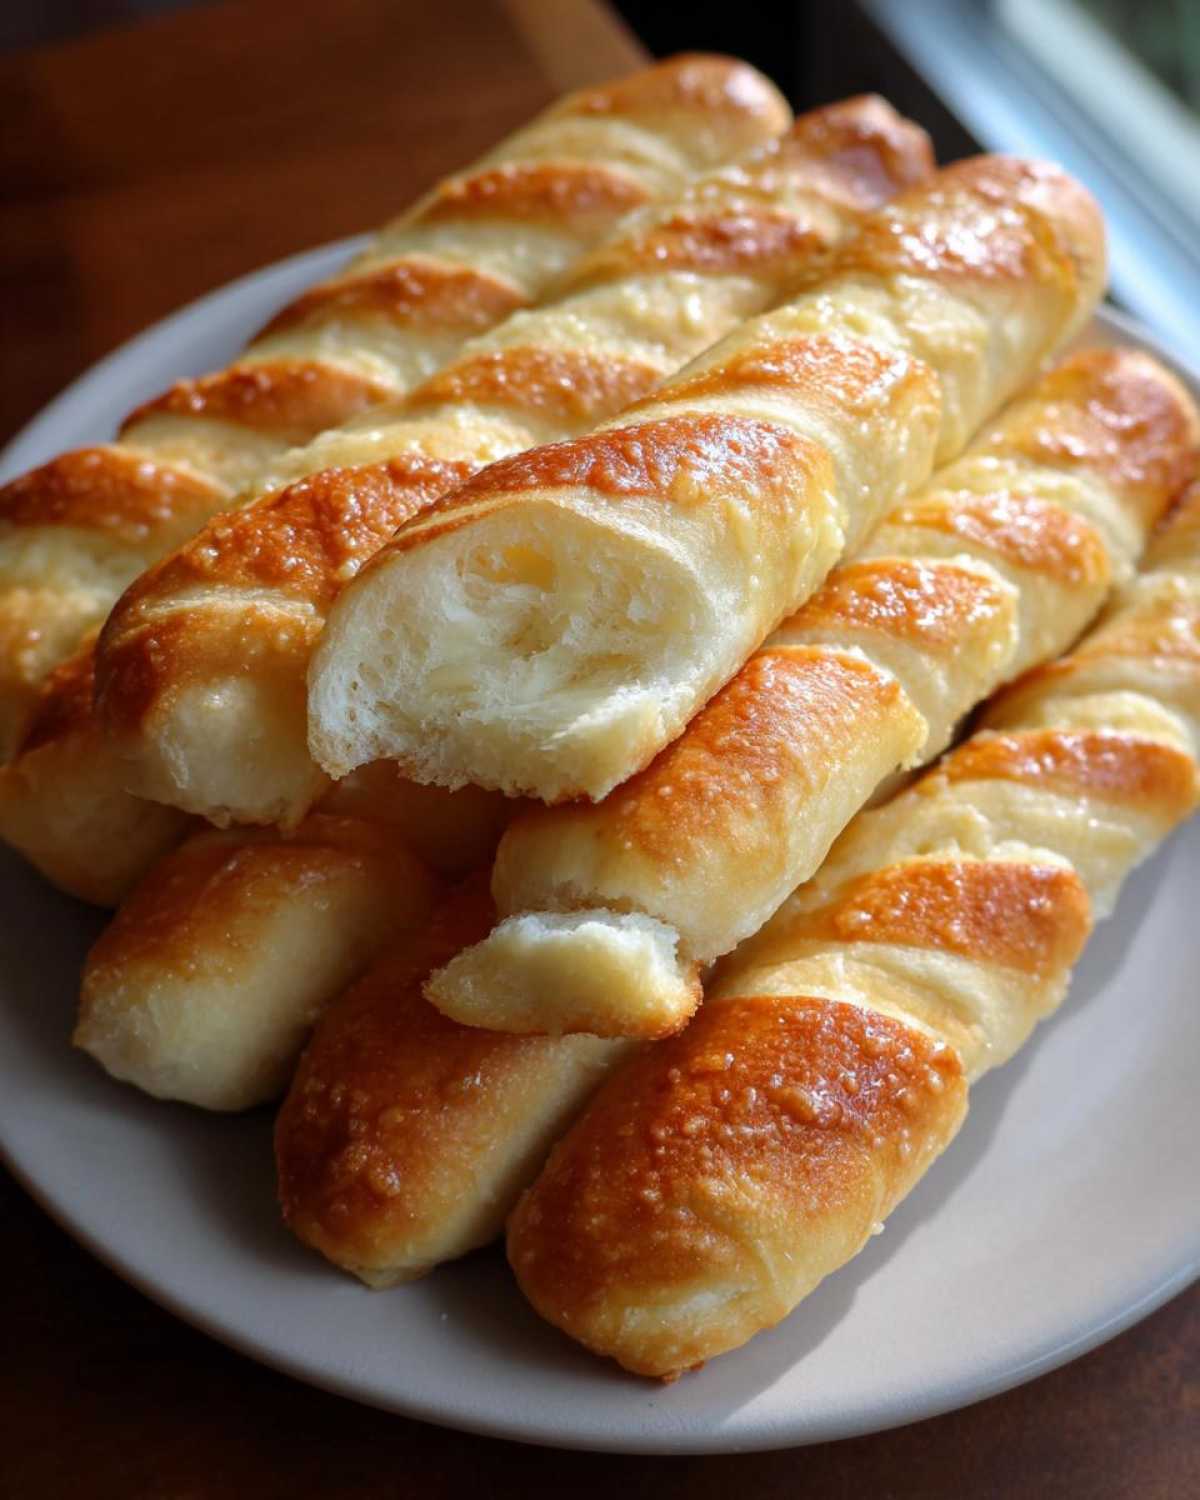
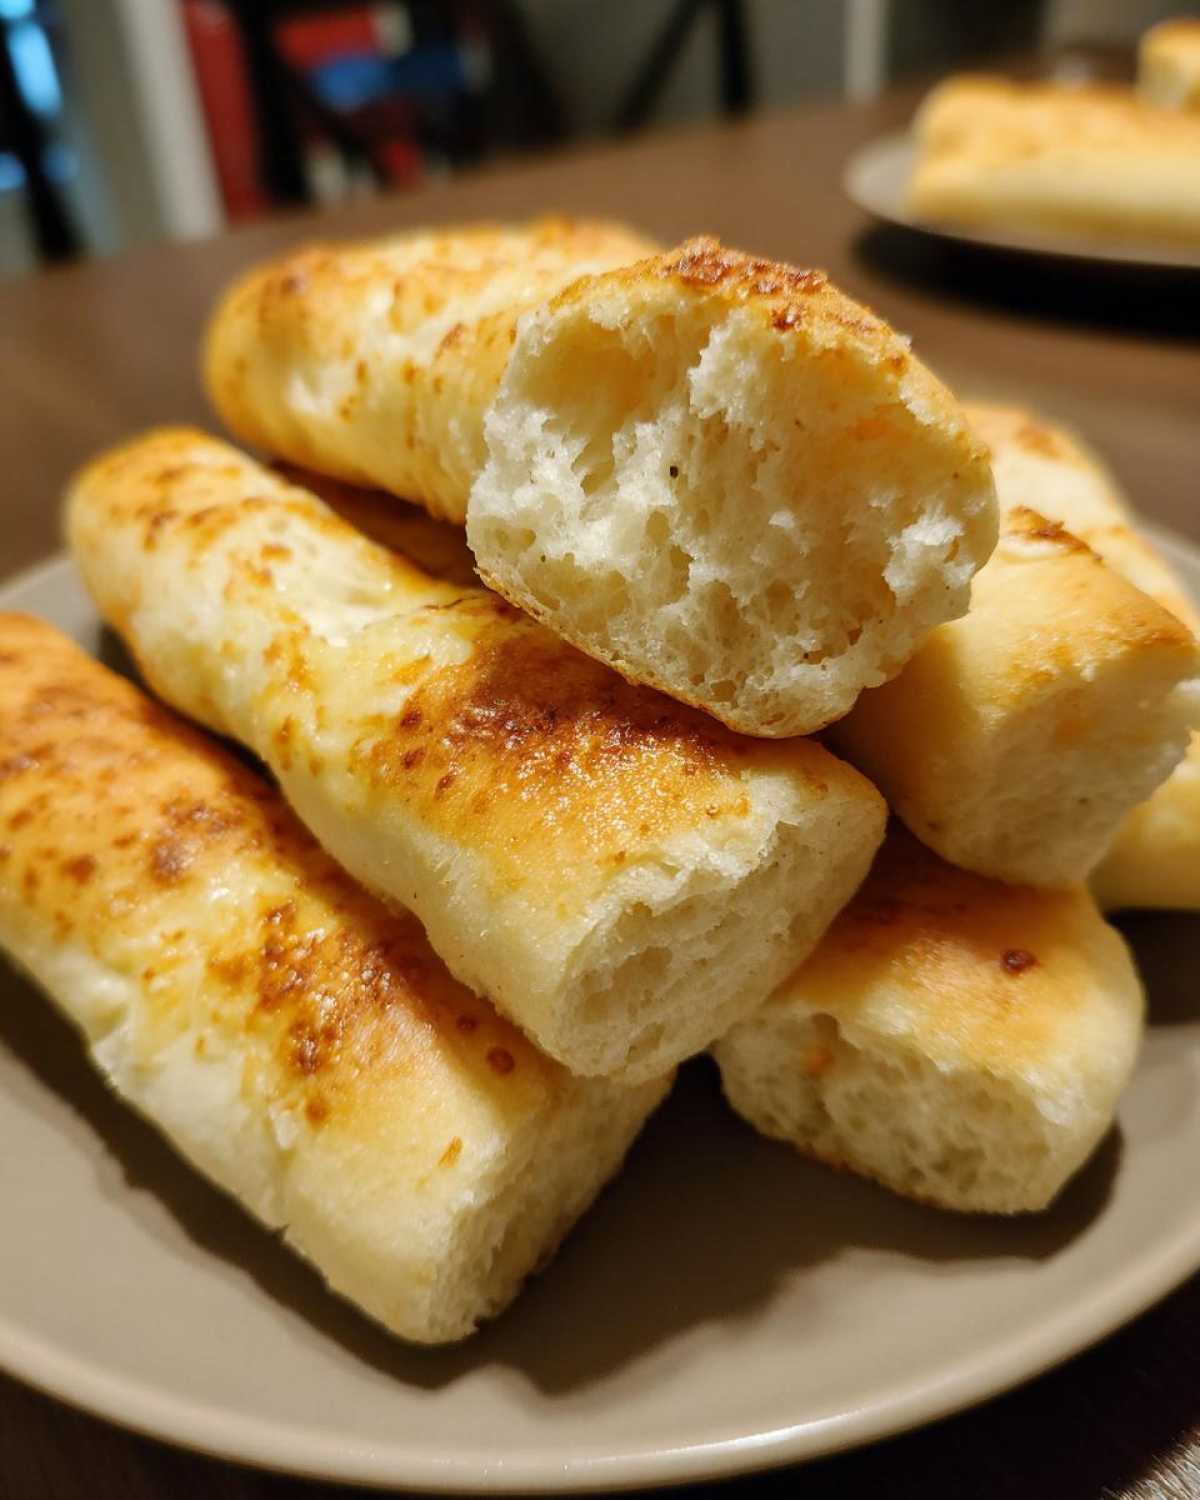
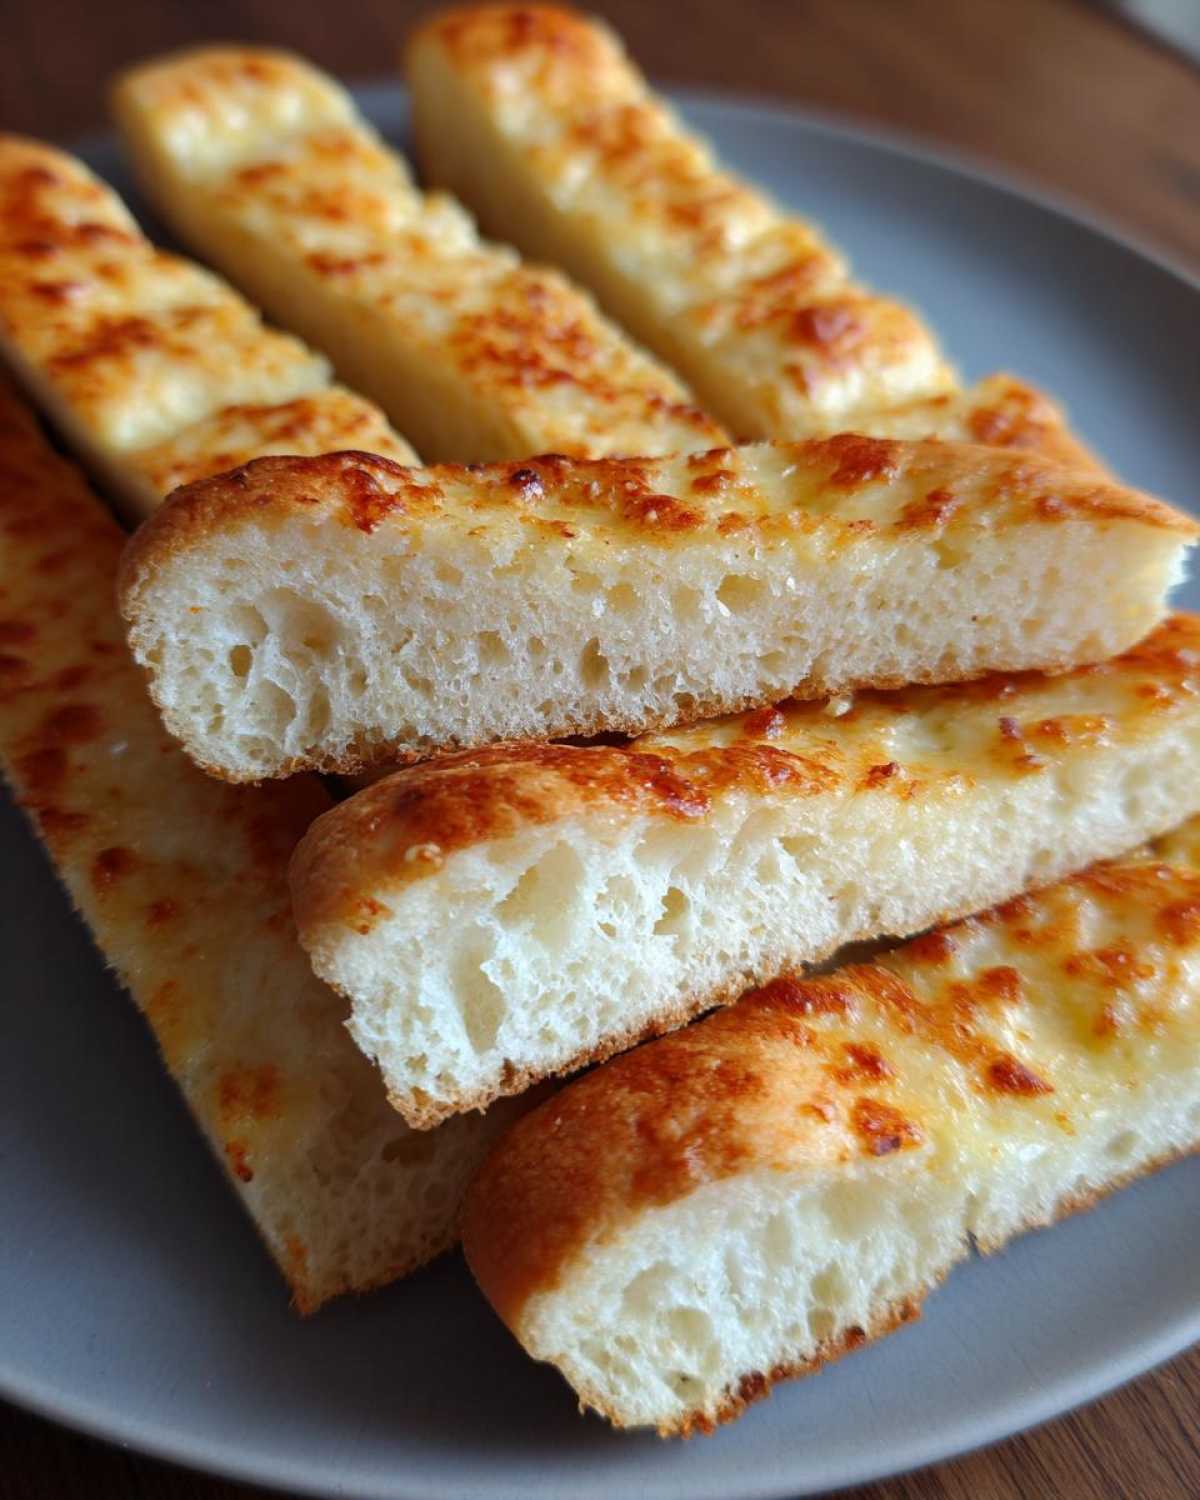
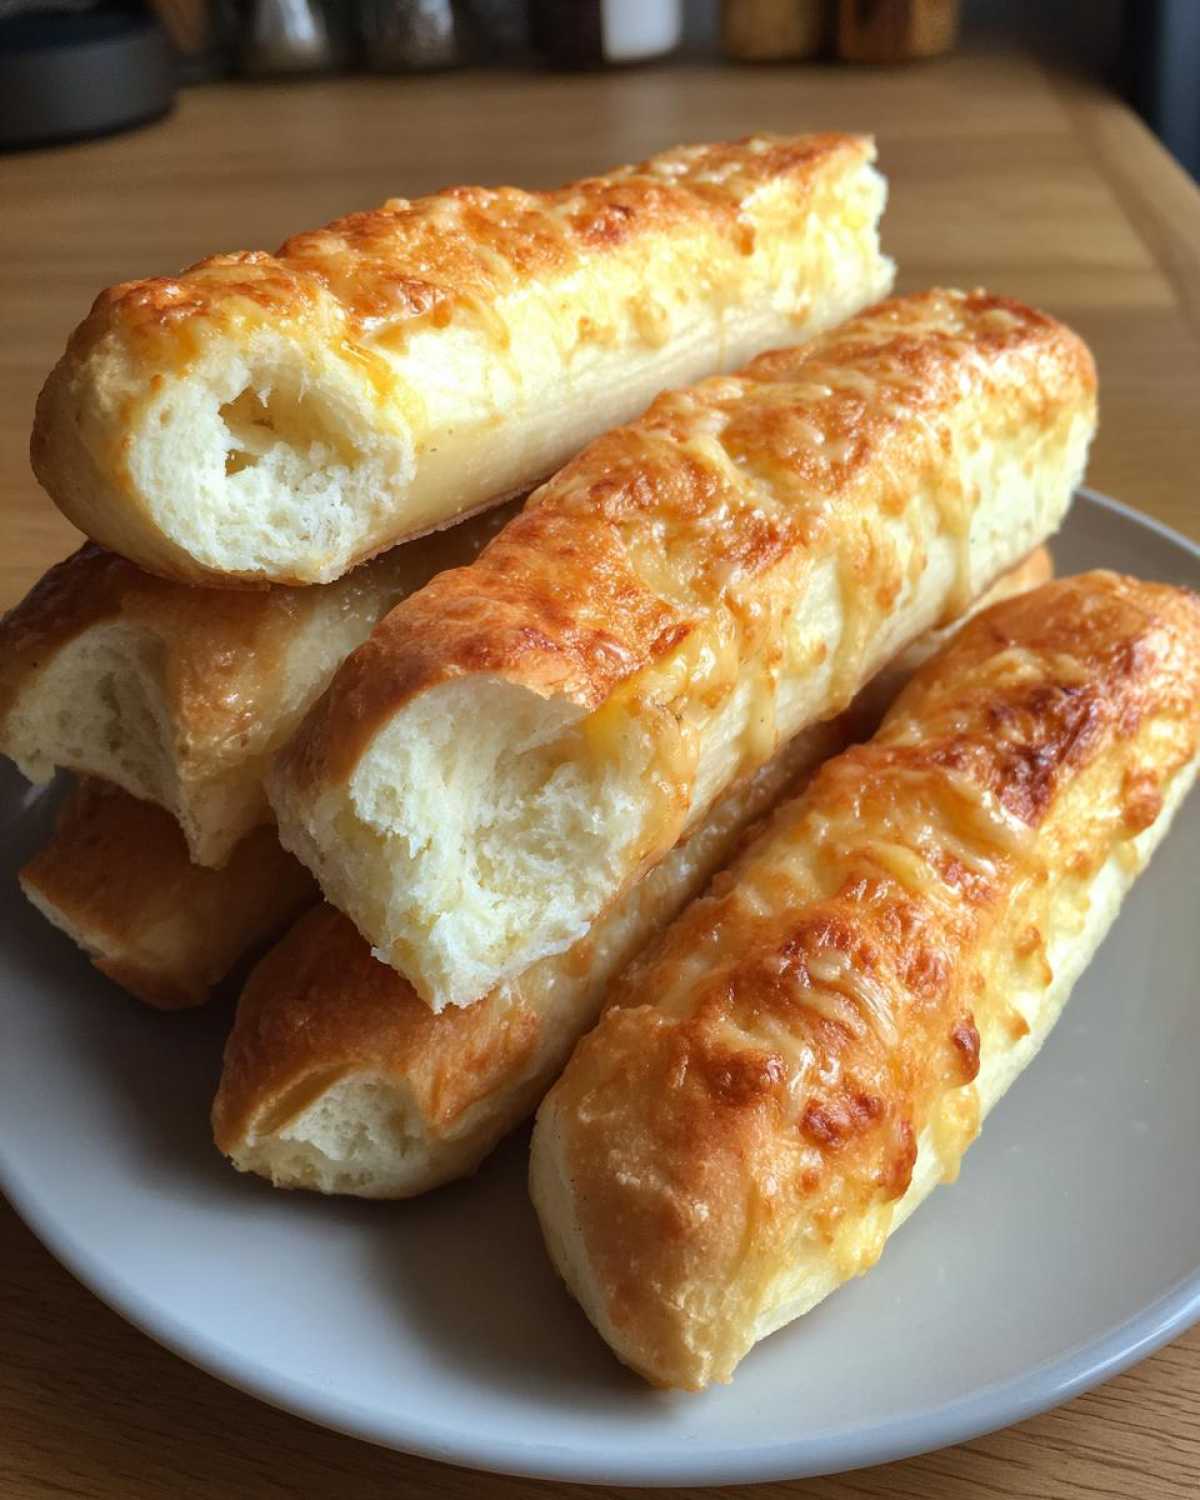
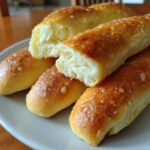
There’s nothing quite like biting into a warm, buttery Olive Garden breadstick – that perfect combination of fluffy inside with just the right amount of garlicky crispness on top. I’ll never forget the first time I tried making them at home for a family pasta night – my kitchen smelled like an Italian restaurant, and let me tell you, those breadsticks disappeared faster than I could say “more Parmesan!” Now whenever I make these copycat breadsticks, it instantly takes me back to those special dinners at my grandma’s house, where carbs were always the main attraction. What makes these so magical is their pillowy softness (no dry, crumbly sticks here!) paired with that golden garlic-butter topping that makes you want to lick your fingers clean. The best part? They’re surprisingly easy to whip up, and taste even better fresh from your own oven than anything you’d get delivered. Trust me, once you try homemade Olive Garden breadsticks, you’ll be making them for every pasta night, game day gathering, or just because Tuesday deserves something special!
- Why You'll Love These Olive Garden Breadsticks
- Ingredients for Olive Garden Breadsticks
- How to Make Olive Garden Breadsticks
- Tips for Perfect Olive Garden Breadsticks
- Make-Ahead and Freezer Tips for Olive Garden Breadsticks
- Serving Suggestions for Olive Garden Breadsticks
- Nutritional Information for Olive Garden Breadsticks
- Frequently Asked Questions About Olive Garden Breadsticks
Why You’ll Love These Olive Garden Breadsticks
You know that moment when you bite into a warm breadstick and it just melts in your mouth? That’s exactly what these homemade Olive Garden copycats deliver! Here’s why they’ll become your new go-to:
- Pillowy soft texture – These aren’t those dry, crumbly sticks that leave you choking (we’ve all been there). Each bite is fluffy cloud perfection.
- Effortless to make – No fancy chef skills needed! Just mix, knead, roll, and bake – my 12-year-old niece could do it (and did last week!).
- Party superstar – Triple the batch for gatherings and watch them vanish faster than chips at a Super Bowl party.
- Freezer magic – Make ahead and freeze them – they reheat like they’re fresh from the oven. Game-changer for meal planning!
- Endless customizing – Feeling fancy? Add parmesan, herbs, or even a sprinkle of everything bagel seasoning. Your breadstick, your rules!
Pro tip: Always make extra – they disappear faster than you’d think. Ask me how I know!
Ingredients for Olive Garden Breadsticks
Alright, let’s talk ingredients – because the magic of these breadsticks starts with simple, honest stuff from your pantry. I’ve made these enough times to know you’ll want to measure everything out before you start (trust me, trying to scoop flour with buttery fingers is no fun). Here’s the lineup:
- 1 1/2 cups warm water – Not too hot! You should be able to comfortably stick your finger in it (about 110°F if you’re using a thermometer).
- 2 1/4 tsp active dry yeast – That’s one standard packet if you’re using those. Check the expiration date – nothing worse than dead yeast!
- 4 cups all-purpose flour – Spoon it into the measuring cup and level it off – no packing it down like brown sugar.
- 1 tbsp sugar – Just plain white sugar is perfect here – it’s the yeast’s breakfast.
- 1 1/2 tsp salt – I prefer kosher salt for baking, but table salt works too (just use a tiny bit less).
- 2 tbsp butter, melted – Unsalted is best so you control the salt level, but I’ve used salted in a pinch.
- 2 tbsp olive oil – Extra virgin gives the best flavor, but any olive oil will do the job.
- For the topping: 2 tbsp butter – Melt this right before brushing so it’s nice and hot.
- 1/2 tsp garlic powder – The secret flavor booster! Fresh garlic burns too easily.
- 1/4 tsp salt – This gets mixed with the garlic powder for that signature Olive Garden sprinkle.
See? Nothing crazy or hard-to-find. Most of this is probably already in your kitchen – which means you could start making these amazing breadsticks right now! (Go on, I’ll wait…)
How to Make Olive Garden Breadsticks
Ready to make magic happen? These breadsticks come together in just a few simple steps, and I’ll walk you through each one. I’ve made this recipe so many times I could practically do it in my sleep – but don’t worry, I’ll stay awake to give you all my best tips! The key is taking your time with the rises – that’s what gives these breadsticks their incredible fluffy texture. If you’re pairing these with something like classic herb stuffing, you’ll want to time everything just right.
Step 1: Activate the Yeast
First things first – wake up that yeast! Pour your warm water (think baby bottle warm, not hot tub hot) into a big mixing bowl. Sprinkle the yeast on top and give it a gentle swirl – no stirring needed yet. Now walk away for 5 minutes (seriously, set a timer!). When you come back, it should look foamy like a tiny cappuccino. That means your yeast is alive and ready to work its magic!
Step 2: Prepare the Dough
Time to get your hands messy! Add the flour, sugar, salt, melted butter, and olive oil to the foamy yeast mixture. Start stirring with a wooden spoon until it gets too thick, then dive in with your hands. Knead right in the bowl for about 5 minutes – push it, fold it, turn it. When the dough feels smooth like a baby’s cheek and springs back when poked, you’re done! Cover it with a clean towel and let it rise in a warm spot for 1 hour – it should double in size.
Step 3: Shape and Bake
Punch down the dough (so satisfying!) and turn it onto a lightly floured surface. Divide into 12 equal pieces – no need to be perfect here. Roll each piece into a rope about 7 inches long. Arrange them on a baking sheet with some space between, cover, and let rest for 30 minutes while your oven preheats to 400°F. Bake for 12-15 minutes until golden – they’ll smell AMAZING. Right out of the oven, brush them with that garlic butter mixture. Try not to eat them all at once (but no judgment if you do)!
Tips for Perfect Olive Garden Breadsticks
After making these breadsticks more times than I can count, I’ve learned all the little tricks that take them from good to “can I have the recipe?” amazing. Here are my top tips that’ll make yours restaurant-worthy every time:
No-knead shortcut: Have a stand mixer? Use the dough hook on medium speed for 3-4 minutes instead of hand-kneading – it’s my go-to when I’m juggling creamy mac and cheese on the stove. Keep ’em cozy: For parties, line a basket with a clean kitchen towel and tuck the warm breadsticks inside – they’ll stay steamy soft for an hour. Butter timing is everything: Brush on that garlic butter the second they come out of the oven so it soaks in while they’re piping hot. Extra tip? Double the garlic butter mixture – I’ve never once regretted making extra!
Make-Ahead and Freezer Tips for Olive Garden Breadsticks
Confession time – I always make a double batch of these breadsticks because they freeze like a dream! Here’s how I keep that Olive Garden magic ready anytime: Let the breadsticks cool completely after baking (no garlic butter yet!), then pop them in a freezer bag with parchment between layers. They’ll stay perfect for up to 3 months. When pasta night calls (or those 3pm carb cravings hit), reheat them right from frozen at 350°F for 5-7 minutes – just enough to crisp up the outside while keeping that signature soft interior. Then brush with warm garlic butter – boom, instant fresh-baked taste! They’re the ultimate meal planning hero when paired with freezer-friendly dishes. Pro tip: Label your bags with the date – though let’s be real, they won’t last long enough to worry about it!
Serving Suggestions for Olive Garden Breadsticks
These garlicky breadsticks are basically Switzerland – they go with everything! Of course they’re perfection dunked in marinara sauce next to your favorite pasta dish, but don’t stop there. I love serving them with big Italian dinner salads (that’s my attempt at balance, folks) or tearing them into hearty soups. They steal the show at parties too – arrange them in a basket with fancy dipping oils for an instant crowd-pleaser. Honestly, they’ve saved many a last-minute meal planning crisis at my house – who needs a complicated side when you’ve got these golden beauties ready to go?
Nutritional Information for Olive Garden Breadsticks
Now, I’m no nutritionist (just a breadstick enthusiast!), but here’s the scoop on what’s in these golden beauties. Each fluffy stick has about 150 calories and gives you that perfect carb satisfaction. Remember, these numbers can vary based on your exact ingredients – my heavy hand with the garlic butter might bump it up a smidge! For specific dietary needs, you’ll want to calculate based on your brands. One thing’s for sure – the joy you get from pulling these warm, garlicky pillows from your own oven? That’s 100% calorie-free happiness!
Frequently Asked Questions About Olive Garden Breadsticks
I’ve gotten so many great questions about these breadsticks over the years – seems like I’m not the only one obsessed with that perfect garlicky fluffiness! Here are the answers to the questions I hear most often (and if you have others, drop them in the comments – I love helping fellow breadstick lovers!):
Can I make these breadsticks gluten-free?
Absolutely! I’ve had great results using a 1:1 gluten-free flour blend (the kind with xanthan gum already added). The texture will be slightly different – a bit more tender and crumbly – but still totally delicious. Just be gentle when kneading and shaping them.
How should I store leftover breadsticks?
First – do leftovers even exist? Just kidding! If by some miracle you have extras, store them in an airtight container at room temp for up to 2 days. To reheat, pop them in a 350°F oven for 5 minutes to revive that fresh-baked magic.
Can I use instant yeast instead of active dry?
Yep! Instant yeast works perfectly – you can mix it right in with the dry ingredients instead of proofing it separately. The rising times might be slightly shorter, so keep an eye on your dough.
Why didn’t my breadsticks rise properly?
Oh no! Usually this means your yeast was old or the water was too hot (which kills the yeast). Next time, check your yeast’s expiration date and make sure your water is just warm to the touch. Also, give your dough a cozy rising spot – near (not on!) a warm oven works great.
For more inspiration (and way too many photos of my breadstick experiments), check out my Pinterest boards where I save all my favorite baking ideas. Happy breadsticking!
PrintOlive Garden Copycat Breadsticks
Soft, fluffy breadsticks with garlic-butter topping, perfect for pasta night or parties.
- Prep Time: 20 min
- Cook Time: 15 min
- Total Time: 1 hr 35 min
- Yield: 12 breadsticks 1x
- Category: Side Dish
- Method: Baking
- Cuisine: Italian
- Diet: Vegetarian
Ingredients
- 1 1/2 cups warm water
- 2 1/4 tsp active dry yeast
- 4 cups all-purpose flour
- 1 tbsp sugar
- 1 1/2 tsp salt
- 2 tbsp butter, melted
- 2 tbsp olive oil
- 2 tbsp butter, for topping
- 1/2 tsp garlic powder
- 1/4 tsp salt, for topping
Instructions
- Mix warm water and yeast in a bowl. Let sit for 5 minutes until foamy.
- Add flour, sugar, salt, melted butter, and olive oil. Stir until dough forms.
- Knead dough for 5 minutes until smooth. Let rise for 1 hour.
- Divide dough into 12 pieces. Roll each into a breadstick shape.
- Place on a baking sheet. Let rise for 30 minutes.
- Bake at 400°F for 12-15 minutes until golden.
- Mix melted butter, garlic powder, and salt. Brush over warm breadsticks.
Notes
- For no-knead option, use a stand mixer with dough hook.
- Keep breadsticks warm in a towel-lined basket.
- Freeze extras and reheat in the oven at 350°F for 5 minutes.
Nutrition
- Serving Size: 1 breadstick
- Calories: 150
- Sugar: 1g
- Sodium: 200mg
- Fat: 5g
- Saturated Fat: 2g
- Unsaturated Fat: 2g
- Trans Fat: 0g
- Carbohydrates: 24g
- Fiber: 1g
- Protein: 3g
- Cholesterol: 5mg