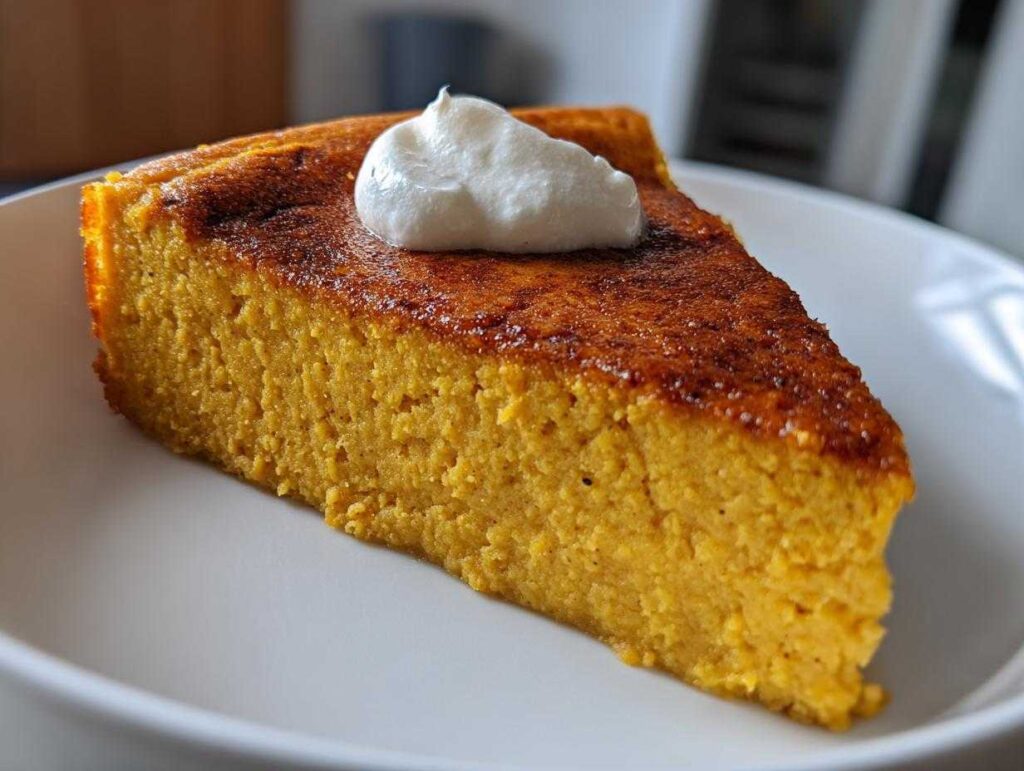
You know those Thanksgiving desserts that promise to be light but leave you needing a nap? Yeah, me too—until I discovered my grandma’s genius crustless pumpkin pie. It’s everything you love about traditional pumpkin pie—warm spices, velvety texture—minus the heavy crust that weighs you down. Perfect for meal planning, gluten-free friends, or anyone who wants a slice (or three) without guilt.
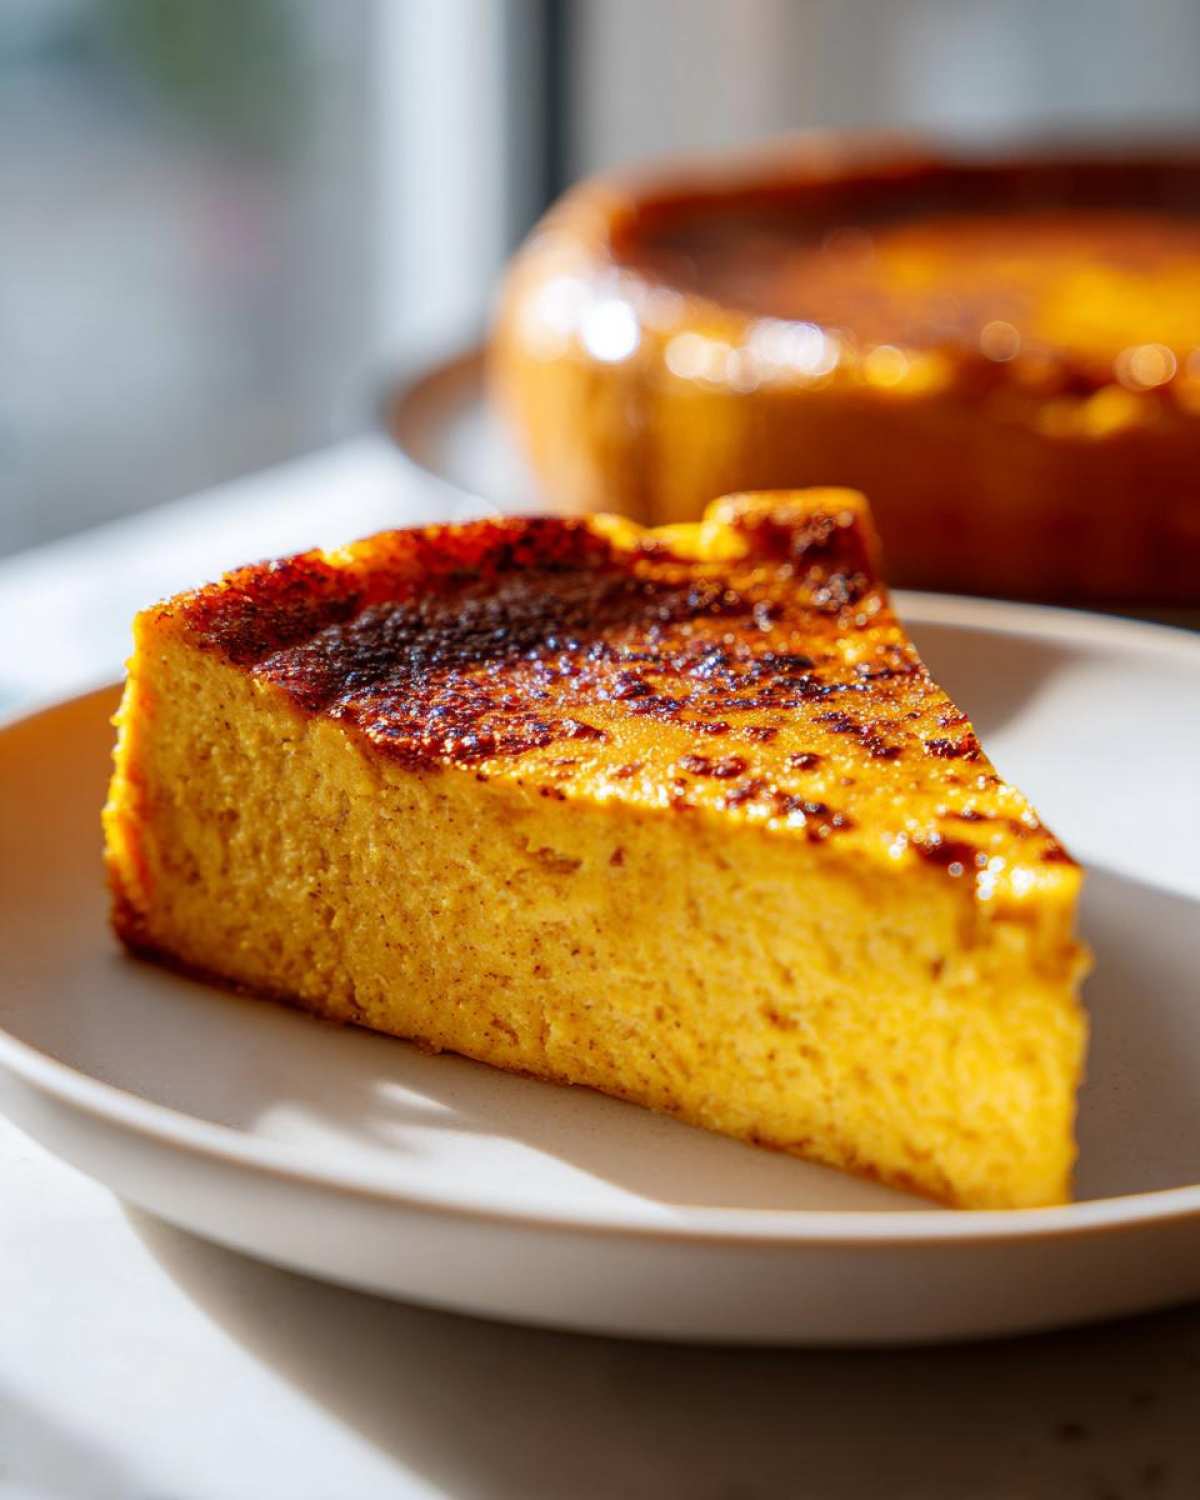
The first time I tried it, I was skeptical. “Pumpkin pie without the buttery crust? Blasphemy!” But one bite at Grandma’s holiday table changed everything. The custard was silkier, the spice notes brighter, and the whole thing felt… well, effortless. She’d whip it up while the turkey rested, using just a bowl and a whisk. Now it’s my go-to for Thanksgiving (and let’s be honest, random Tuesday nights). No rolling pins, no soggy bottoms—just pure pumpkin bliss that slices like a dream.
What makes it magical? Simple ingredients harmonizing in your oven while you focus on more important things, like arguing about football with cousins. Whether you’re gluten-free, dairy-free, or just crust-avoidant, this recipe adapts beautifully. That’s the beauty of it—like all great family recipes, it bends without breaking.
- Why You’ll Love This Crustless Pumpkin Pie
- Ingredients for Crustless Pumpkin Pie
- How to Make Crustless Pumpkin Pie
- Tips for the Perfect Crustless Pumpkin Pie
- Dairy-Free and Other Variations
- Serving and Storing Crustless Pumpkin Pie
- Nutritional Information
- Frequently Asked Questions
- Share Your Crustless Pumpkin Pie Experience
Why You’ll Love This Crustless Pumpkin Pie
If you’re like me and adore pumpkin pie but could do without the fuss of crust, this recipe is about to become your new best friend. Here’s why:
- Gluten-free by nature: No weird flour substitutes or gummy textures—just smooth, spiced pumpkin custard that happens to be naturally gluten-free. A win for those avoiding gluten or anyone who’s had one too many soggy pie crust disasters.
- Dairy-free? No problem: Swap in coconut milk for a lush, creamy texture that still hits all the right notes. Even my lactose-intolerant niece gives it two thumbs up!
- Effortless elegance: One bowl, no rolling pin, and minimal cleanup. Perfect for chaotic Thanksgiving mornings when you’d rather be sipping coffee than wrestling with dough.
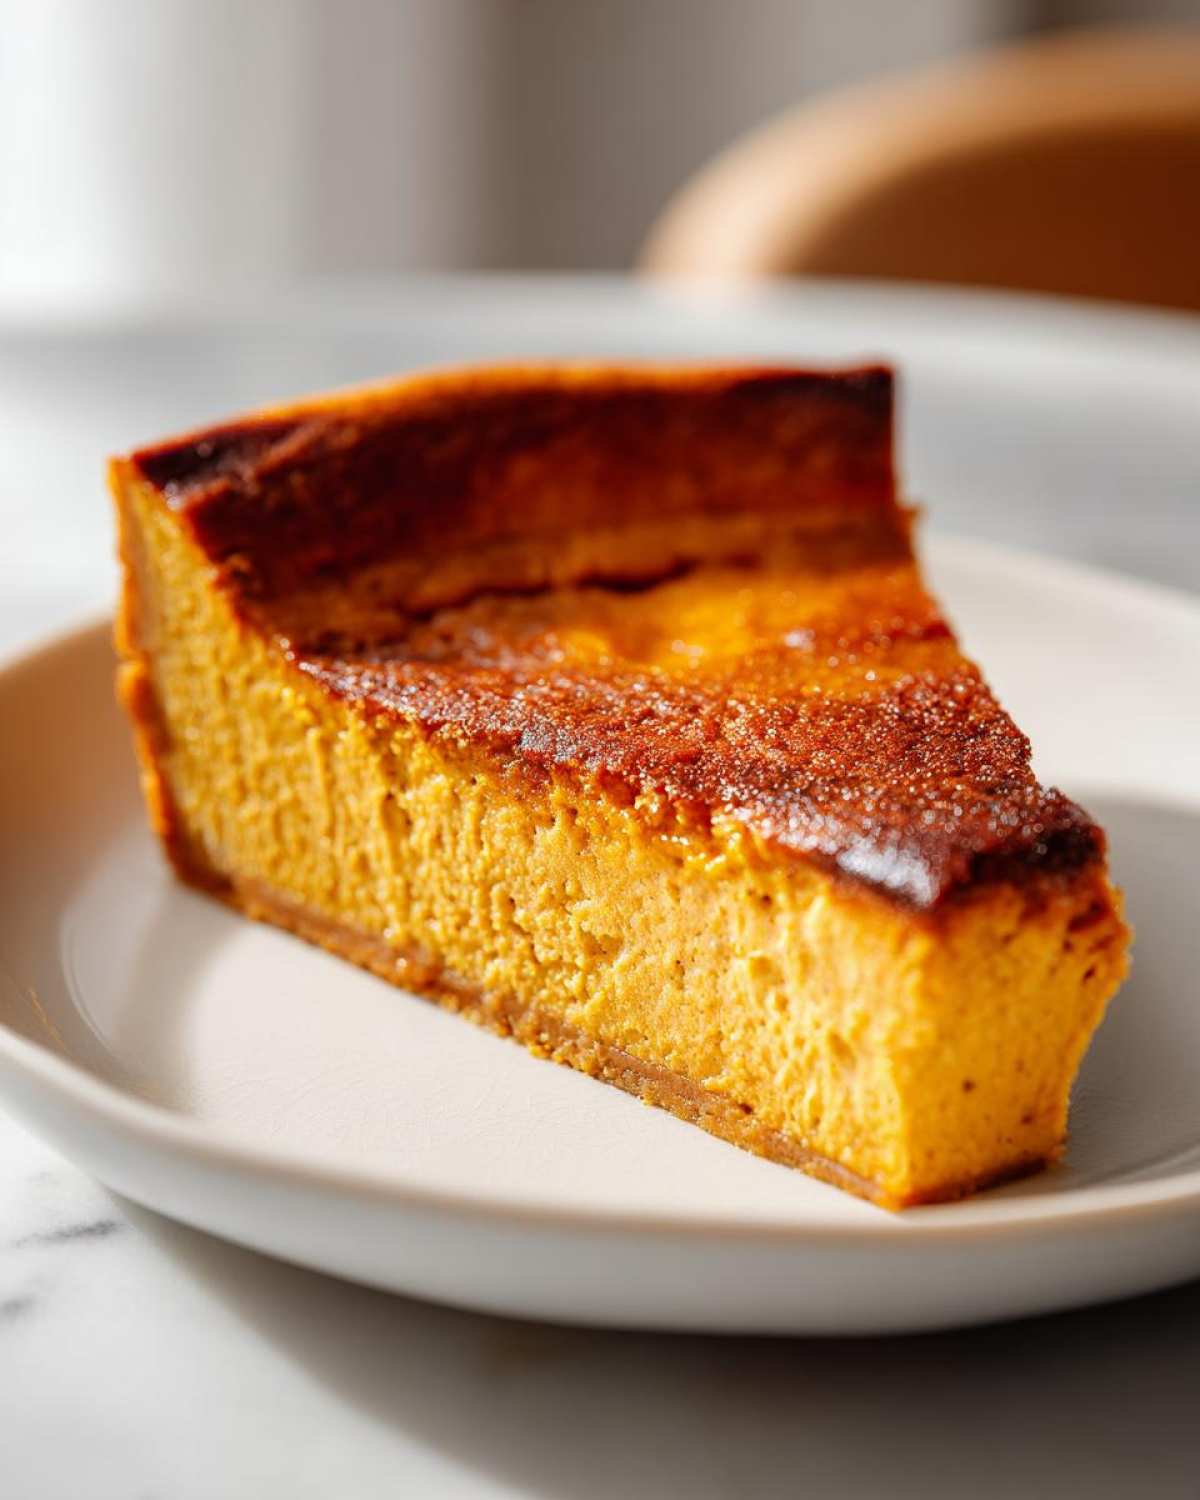
- Clean slices every time: Chilled slices hold their shape beautifully—no crumbling edges when you’re plating for guests.
- Make-ahead magic: The flavors deepen overnight, so bake it Wednesday and cross dessert off your Thanksgiving to-do list.
Honestly? It’s the pumpkin pie you’ll want to eat straight from the dish with a spoon. (No judgments here!)
Ingredients for Crustless Pumpkin Pie
This recipe is beautiful in its simplicity – just grab these pantry staples and you’re halfway to pumpkin heaven. I always use my favorite mixing bowl (the blue one with chips on the rim – don’t ask) to toss everything together. Here’s what you’ll need:
- 1 (15 oz) can pumpkin puree: Not pie filling, folks – the plain stuff. Libby’s is my go-to because it’s consistently smooth and flavorful.
- 3 large eggs: These are the magic that gives our custard structure. Room temp is ideal!
- 1/2 cup maple syrup: I like grade A dark for deeper flavor. Pack it in the measuring cup – no skimping!
- 1/2 cup coconut milk: The full-fat canned variety makes it decadent. Of course, regular milk works too if you’re not going dairy-free.
Now for the spice blend that makes your kitchen smell like Thanksgiving:
- 1 tsp vanilla extract: Quality matters here – skip the imitation stuff.
- 1 tsp cinnamon: Freshly ground if you’re feeling fancy.
- 1/2 tsp ground ginger: For that warm little kick.
- 1/4 tsp nutmeg: I always grate mine fresh – it makes a difference, promise.
- 1/4 tsp cloves: Just enough for depth without overpowering.
- 1/4 tsp salt: Balances all that sweetness perfectly.
See? Nothing complicated – just good ingredients ready to transform into custardy perfection. The coconut milk option is my little trick for making it dairy-free while keeping that lush texture we all crave.
How to Make Crustless Pumpkin Pie
Okay, friends – let’s get mixing! This recipe comes together faster than you can say “pass the whipped cream.” Just follow these simple steps, and you’ll have a velvety pumpkin custard that’ll make you forget all about that missing crust. Promise.
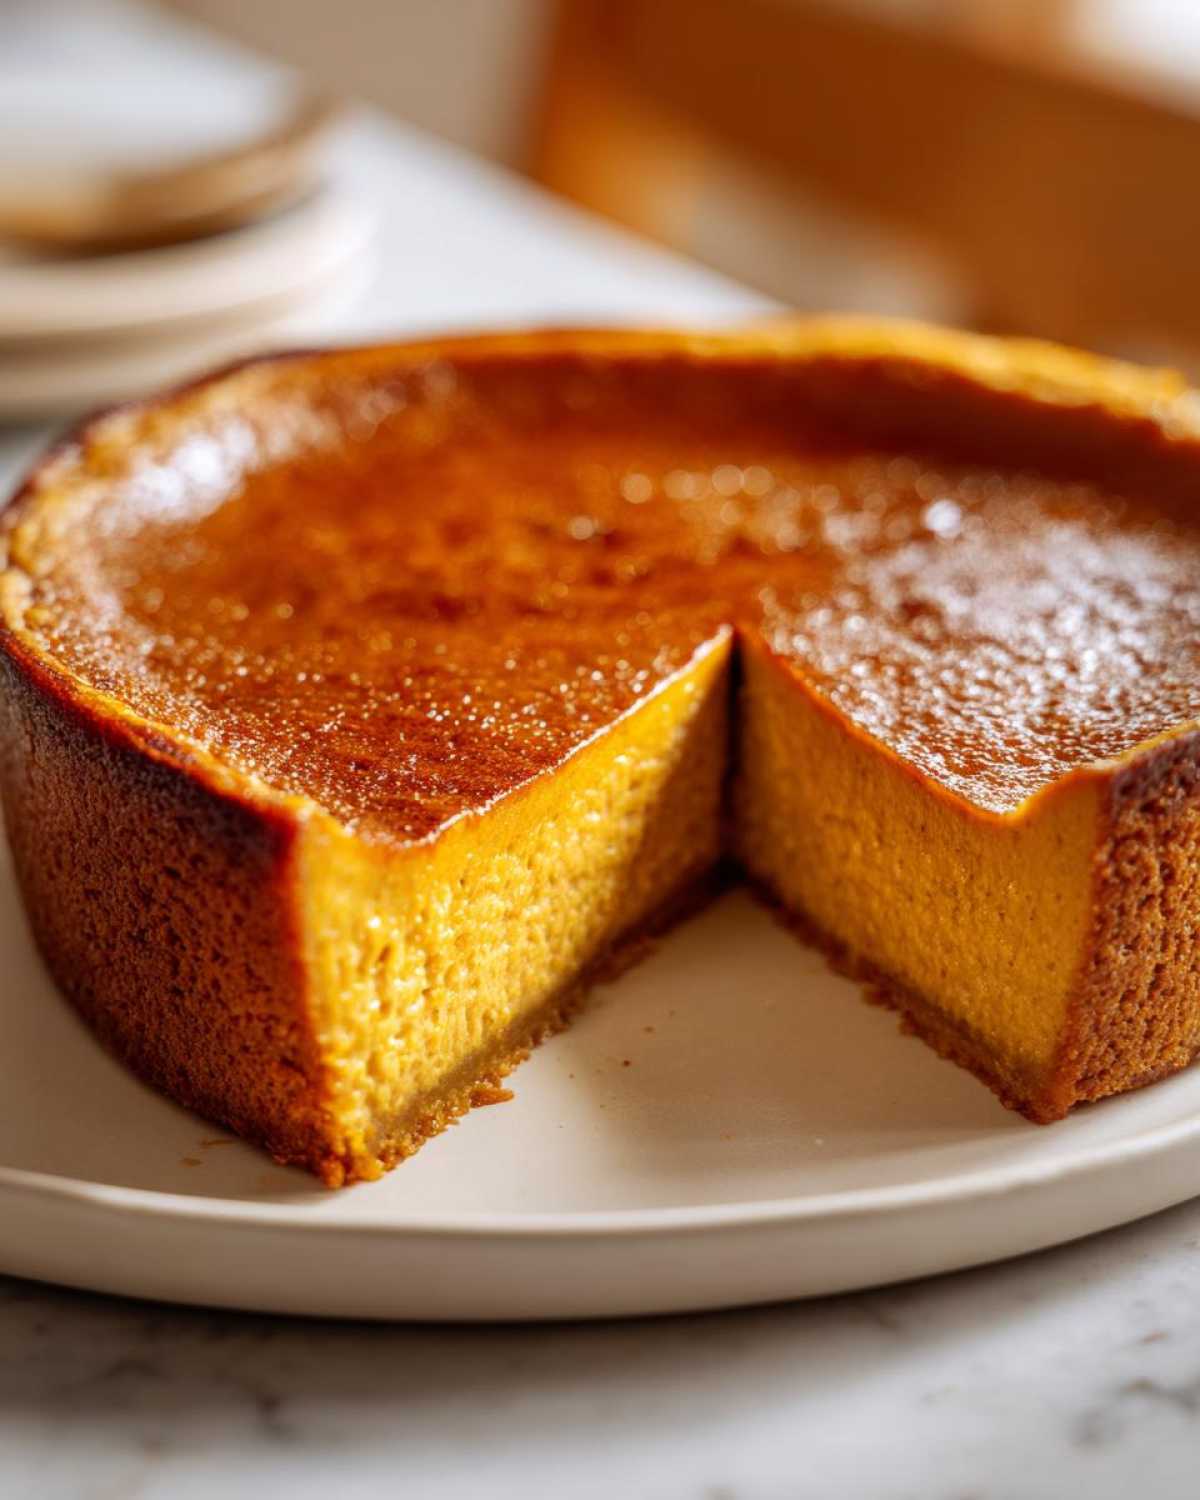
First things first: Crank that oven to 350°F (175°C). While it’s heating up, grab your favorite 9-inch pie dish – I use my trusty ceramic one that’s seen more Thanksgivings than I care to count. Give it a quick greasing with butter or coconut oil. Pro tip: Don’t skip this step unless you enjoy scraping pie remnants off baking dishes!
Now for the fun part – whisking! Dump your pumpkin puree, eggs, maple syrup, and coconut milk into a big bowl. Here’s where I confess I sometimes use my hand mixer instead of whisking by arm power alone – no shame in taking shortcuts when they work! Beat until it’s completely smooth, with no eggy streaks. Should look like a creamy orange dream.
Time for the spice brigade! Add your vanilla, cinnamon, ginger, nutmeg, cloves, and that pinch of salt. Give it another good mix – you’ll know it’s ready when your kitchen smells like autumn exploded in the best possible way.
Carefully pour your luscious mixture into the prepared dish. It should be pourable but not runny – kind of like pancake batter with attitude. Slide it into the oven and set your timer for 45 minutes.
Here’s where patience pays off: Resist opening the oven door! Just peek through the window. Around minute 40, start watching for that perfect set – the edges should look firm, and the center should have just the slightest jiggle (like your belly after Thanksgiving dinner). Mine usually takes exactly 47 minutes, but ovens vary.
When it’s done, pull it out and let it cool completely. I know it’s hard to wait, but trust me – letting it set means you’ll get those Instagram-worthy clean slices. The hardest part? Not devouring it straight from the dish with a spoon!
Tips for the Perfect Crustless Pumpkin Pie
Listen, I’ve made this crustless pumpkin pie more times than I can count—sometimes successfully, sometimes learning the hard way. Here are my foolproof tips for getting it right every single time:
- Chill like you mean it: Want those picture-perfect slices? Let the pie cool completely, then pop it in the fridge for at least 2 hours. I learned this the messy way when I tried slicing into a warm pie at Thanksgiving—let’s just say it looked more abstract art than elegant dessert!
- Fresh spices are everything: That jar of cinnamon sitting in your cupboard since last Thanksgiving? Toss it. Freshly grated nutmeg and quality spices make all the difference in bringing out those warm autumn flavors. I buy whole nutmegs and grate them with a microplane—it’s like pumpkin pie perfume!
- The toothpick test with a twist: Insert it near the center—you want moist crumbs clinging to it, not wet batter. But here’s my secret: the pie continues to set as it cools, so if it’s borderline, take it out. Better slightly under than overbaked!
Bonus tip from my grandma: If the top starts getting too dark before the center sets, tent it loosely with foil. Just don’t forget to remove it like I did that one time… crispy pumpkin pie anyone? (Just kidding, we still ate it!)
Dairy-Free and Other Variations
This crustless pumpkin pie is like that one friend who gets along with everyone—so easy to adapt! The coconut milk version is actually my favorite (and not just because my lactose-intolerant brother-in-law begs for it). That rich, creamy texture? Absolute magic. For extra razzle-dazzle, try these twists:
- Nutty goodness: Sprinkle chopped pecans or walnuts on top before baking—they get all toasty and glorious.
- Sweet switcheroo: Out of maple syrup? Honey works beautifully, just reduce it to 1/3 cup since it’s sweeter.
- Spice adventurer: Add a pinch of cardamom or allspice if you’re feeling fancy—I call it my “holiday edition.”
See? No crust means endless possibilities. Just don’t tell Grandma I’m messing with her perfect recipe!
Serving and Storing Crustless Pumpkin Pie
Oh, the joy of slicing into this creamy pumpkin beauty! I like to serve it cold straight from the fridge – it holds its shape beautifully that way. Top each slice with a snowy cloud of whipped cream or a scoop of vanilla ice cream if you’re feeling fancy. For extra pizzazz, try making pumpkin whipped cream as a topper – it’s like Thanksgiving in every bite!

Leftovers? (As if!) But if you do have some, just cover it tightly and refrigerate for up to 3 days. The flavors actually get better overnight as the spices mingle. For longer storage, wrap individual slices in plastic and freeze for up to 2 months. Thaw overnight in the fridge when pumpkin cravings strike. Want to reheat? 10 seconds in the microwave brings back that just-baked warmth, though I prefer it chilled myself. Perfect for those random Tuesday night pumpkin pie emergencies we all have!
Nutritional Information
Just a quick note – these numbers are estimates that might change based on your specific ingredients (maple syrup brands can vary so much!). But here’s the general breakdown per slice when I make it with my usual brands:
- Calories: 120
- Fat: 4g (2g saturated)
- Carbs: 18g
- Fiber: 2g
- Sugar: 12g
- Protein: 3g
Not bad for something that tastes this indulgent, right? The coconut milk version adds a smidge more fat but keeps it dairy-free. Remember – no crust means you’re basically eating vegetables here! (That’s my story and I’m sticking to it.)
Frequently Asked Questions
After making this crustless pumpkin pie countless times (and fielding texts from relatives mid-baking), here are the questions I get asked most:
Can I use fresh pumpkin instead of canned?
Totally! Roast a sugar pumpkin until tender, then puree the flesh until smooth. Just make sure to drain any excess liquid – fresh pumpkin can be watery. I love the homemade touch, but confession: I reach for canned most weeknights because hey, we’re all busy!
How do I really know when it’s done baking?
The best test is the jiggle – the edges should be set while the center still has a slight wobble (like Jell-O). A toothpick inserted about an inch from the edge should come out clean. And remember – it keeps setting as it cools, so don’t overbake!
Can I make this ahead for Thanksgiving?
Absolutely! In fact, it tastes even better after chilling overnight. Bake it Wednesday, cover once cooled, and refrigerate. The flavors meld beautifully. Check out my Pinterest for more make-ahead Thanksgiving desserts.
Is this really gluten-free?
Yep – no crust means no flour needed! Just double-check your spices and maple syrup labels if you’re highly sensitive. It’s naturally gluten-free without any weird substitutions.
Why does mine crack sometimes?
Overbaking is usually the culprit – that’s why the slight jiggle is key! Also, avoid drastic temperature changes; don’t transfer a hot pie straight to the fridge. But hey, cracked or not, it still tastes amazing under whipped cream!
Share Your Crustless Pumpkin Pie Experience
Did this recipe become your new Thanksgiving tradition? I’d love to hear about it! Leave a comment below with your favorite variation or that “aha” moment when you realized crustless pie is genius. Share your masterpiece on social media (tag me so I can gush over it!) or pin it to your dessert board – my Pinterest is packed with more easy, crowd-pleasing recipes just like this one. Happy baking, friends!
PrintCrustless Pumpkin Pie
A light, gluten-friendly pumpkin custard that sets without a crust. Perfect for Thanksgiving with balanced spices and clean slices. Dairy-free options included.
- Prep Time: 10 min
- Cook Time: 50 min
- Total Time: 60 min
- Yield: 8 servings 1x
- Category: Dessert
- Method: Baking
- Cuisine: American
- Diet: Gluten Free
Ingredients
- 1 (15 oz) can pumpkin puree
- 3 large eggs
- 1/2 cup maple syrup
- 1/2 cup coconut milk (or regular milk)
- 1 tsp vanilla extract
- 1 tsp cinnamon
- 1/2 tsp ground ginger
- 1/4 tsp nutmeg
- 1/4 tsp cloves
- 1/4 tsp salt
Instructions
- Preheat oven to 350°F (175°C). Grease a 9-inch pie dish.
- In a bowl, whisk pumpkin puree, eggs, maple syrup, and coconut milk until smooth.
- Add vanilla, cinnamon, ginger, nutmeg, cloves, and salt. Mix well.
- Pour mixture into the prepared pie dish.
- Bake for 45-50 minutes until set. Let cool before slicing.
Notes
- For a dairy-free option, use coconut milk.
- Chill for cleaner slices.
- Make ahead for meal planning convenience.
Nutrition
- Serving Size: 1 slice
- Calories: 120
- Sugar: 12g
- Sodium: 90mg
- Fat: 4g
- Saturated Fat: 2g
- Unsaturated Fat: 1g
- Trans Fat: 0g
- Carbohydrates: 18g
- Fiber: 2g
- Protein: 3g
- Cholesterol: 70mg