Nothing says Southern summer like the crisp tang of homemade pickled okra popping in your mouth! I still remember my first bite as a kid at Aunt Betty’s farmhouse – that vinegary kick mixed with garlic and dill made me fall in love instantly. “That’s real garden candy,” she’d say with a wink as we munched straight from the jar. Now these bright green spears star at my BBQs and, of course, as the ultimate Bloody Mary garnish (trust me, they’ll make your cocktail).
What makes this recipe special? That perfect snap! Unlike soggy store-bought versions, our pickled okra stays satisfyingly crisp thanks to a boiling water bath method passed down generations. The spicy garlic brine gets into every little ridge of the okra pods, creating flavor bombs that’ll have you sneaking “just one more” all afternoon. Want your friends begging for the recipe? Get those jars ready!
- Why You'll Love This Pickled Okra Recipe
- Ingredients for Crisp Pickled Okra
- Equipment Needed for Pickling Okra
- Step-by-Step Guide to Making Pickled Okra
- Tips for Perfect Pickled Okra
- Variations for Spicy Pickled Okra
- Serving Suggestions for Southern Pickled Okra
- Storing and Shelf Life of Pickled Okra
- Nutritional Information for Pickled Okra
- Frequently Asked Questions About Pickled Okra
- Share Your Pickled Okra Experience
Why You’ll Love This Pickled Okra Recipe
Listen, I know pickle lovers can be particular – that’s why this pickled okra recipe hits all the right notes:
- The texture is crisp-crunch perfection – no mushy okra here, thanks to our boiling water bath trick!
- That tangy garlic-dill brine makes your taste buds dance (just wait till you try it in a Bloody Mary)
- So easy to make – even my niece mastered it on her first try
- Keeps for months in the pantry (if they last that long – mine never do)
- Makes you feel like a Southern kitchen goddess when you pull those jewel-green jars out
Honestly, once you taste homemade pickled okra, those store-bought versions just taste like sad, limp imitations. And don’t get me started on how pretty they look lined up on your shelf!
Ingredients for Crisp Pickled Okra
Gathering the right ingredients makes all the difference in achieving that perfect pickled okra crunch! Here’s exactly what you’ll need – I’ve included some notes from my trial-and-error sessions so you get flawless results on your first try:
- 2 lbs fresh okra pods – look for firm, bright green ones about 3 inches long (soft or oversized okra turns mushy)
- 4 cups white vinegar – this gives that classic tang (apple cider vinegar works too for a mellower flavor)
- 4 cups water – filtered if your tap water has strong mineral flavors
- 1/4 cup pickling salt – not table salt! The anti-caking agents in regular salt can cloud your brine
- 8 cloves garlic – peeled and lightly smashed (trust me, you want this garlicky goodness!)
- 4 tsp dill seeds – the secret behind that addictive pickle flavor
- 4 tsp mustard seeds – yellow ones add subtle complexity
- 4 tsp black peppercorns – whole, not ground
- 4 tsp red pepper flakes – adjust up or down depending how brave you’re feeling!
See that special note about salt? Learned that the hard way when my first batch came out looking foggy! Now go hunt down some fresh okra – I’ll wait right here while you gather your ingredients.
Equipment Needed for Pickling Okra
Don’t stress – you probably already have most of this pickled okra gear in your kitchen! No fancy equipment here, just solid basics to make preserving a breeze:
- Large stainless steel pot – big enough to hold all your jars with at least 2 inches of water covering them
- Sterilized pint jars – Mason jars are perfect, but recycle any glass jar with a good seal (I’ve used salsa jars in a pinch!)
- Canning funnel – saves about 87% of the brine spills (ask me how I know)
- Jar lifter – trust me, those jars get HOT
- Bubble remover – or just use a clean chopstick if you’re feeling thrifty
That’s it! Now let’s get your counter prepped – things move fast once that brine starts boiling!
Step-by-Step Guide to Making Pickled Okra
Alright, let’s roll up our sleeves and make some magic happen! I’ll walk you through each step like I’m right there in your kitchen, whispering pickle-making secrets over your shoulder. Don’t worry – it’s easier than tying your shoes once you get the hang of it. Just follow along, and you’ll be popping those crisp pickled okra pods like a pro!
Preparing the Okra and Brine
First things first – give those okra pods a good bath! I wash mine in a colander under cold running water while gently rubbing off any fuzz. Trim just the very tip of the stem end (don’t cut into the pod itself, or you’ll get that dreaded sliminess!). Now for the brine – simply combine vinegar, water and pickling salt in your pot. Bring it to a rolling boil that makes your kitchen smell like a pickle factory (heavenly, right?).
Packing the Jars with Okra
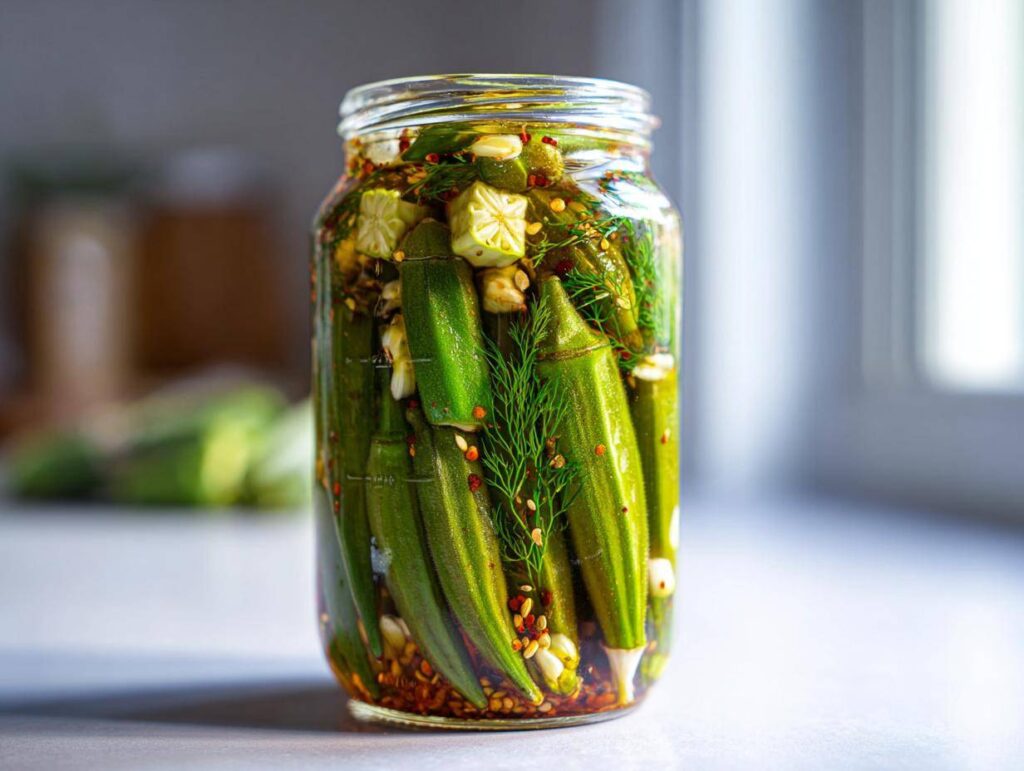
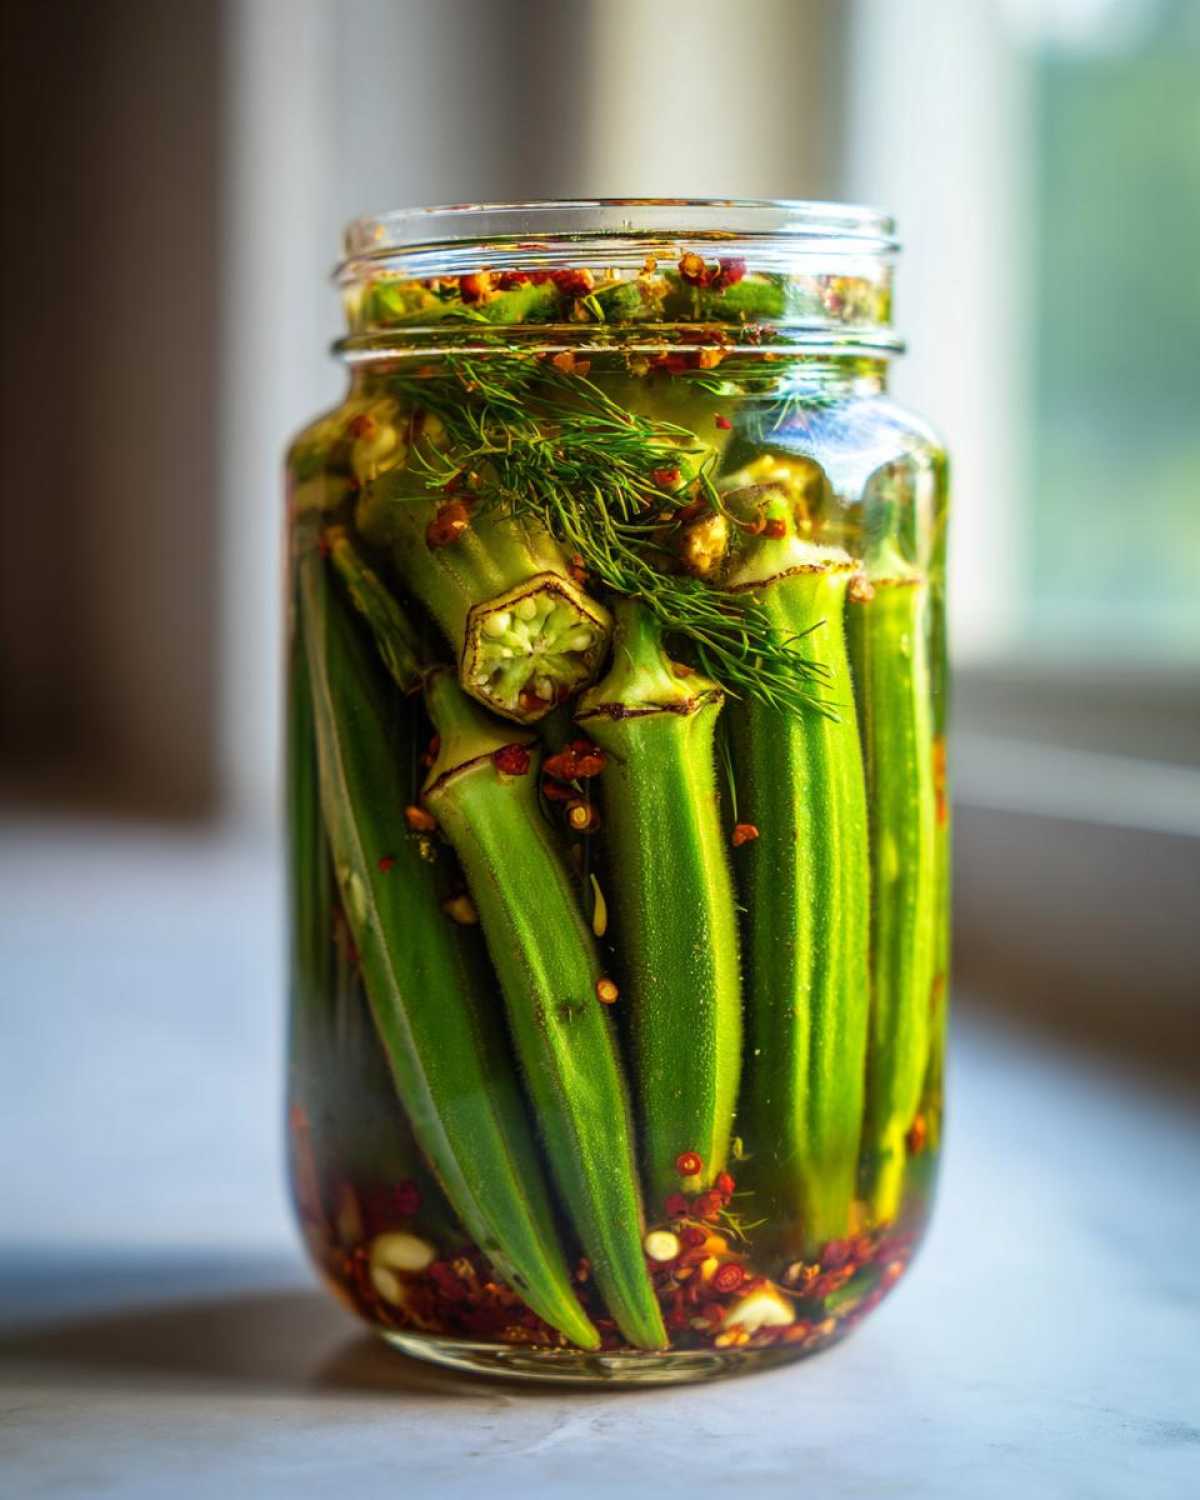
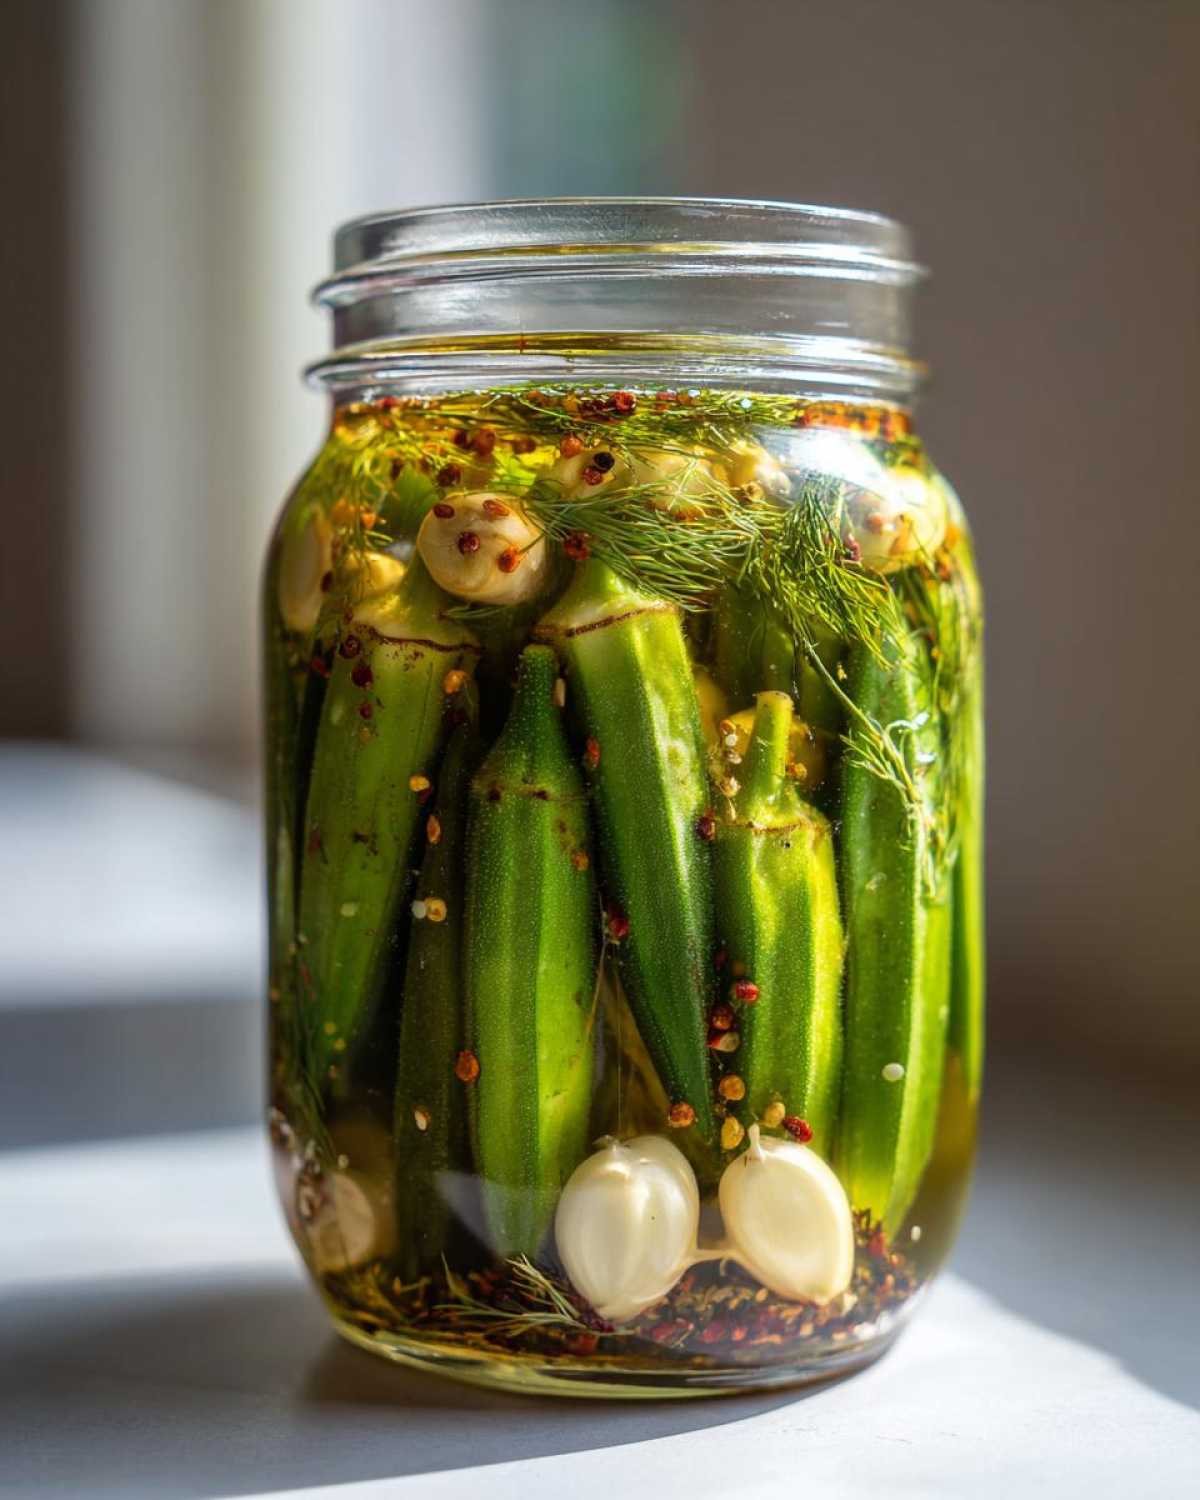
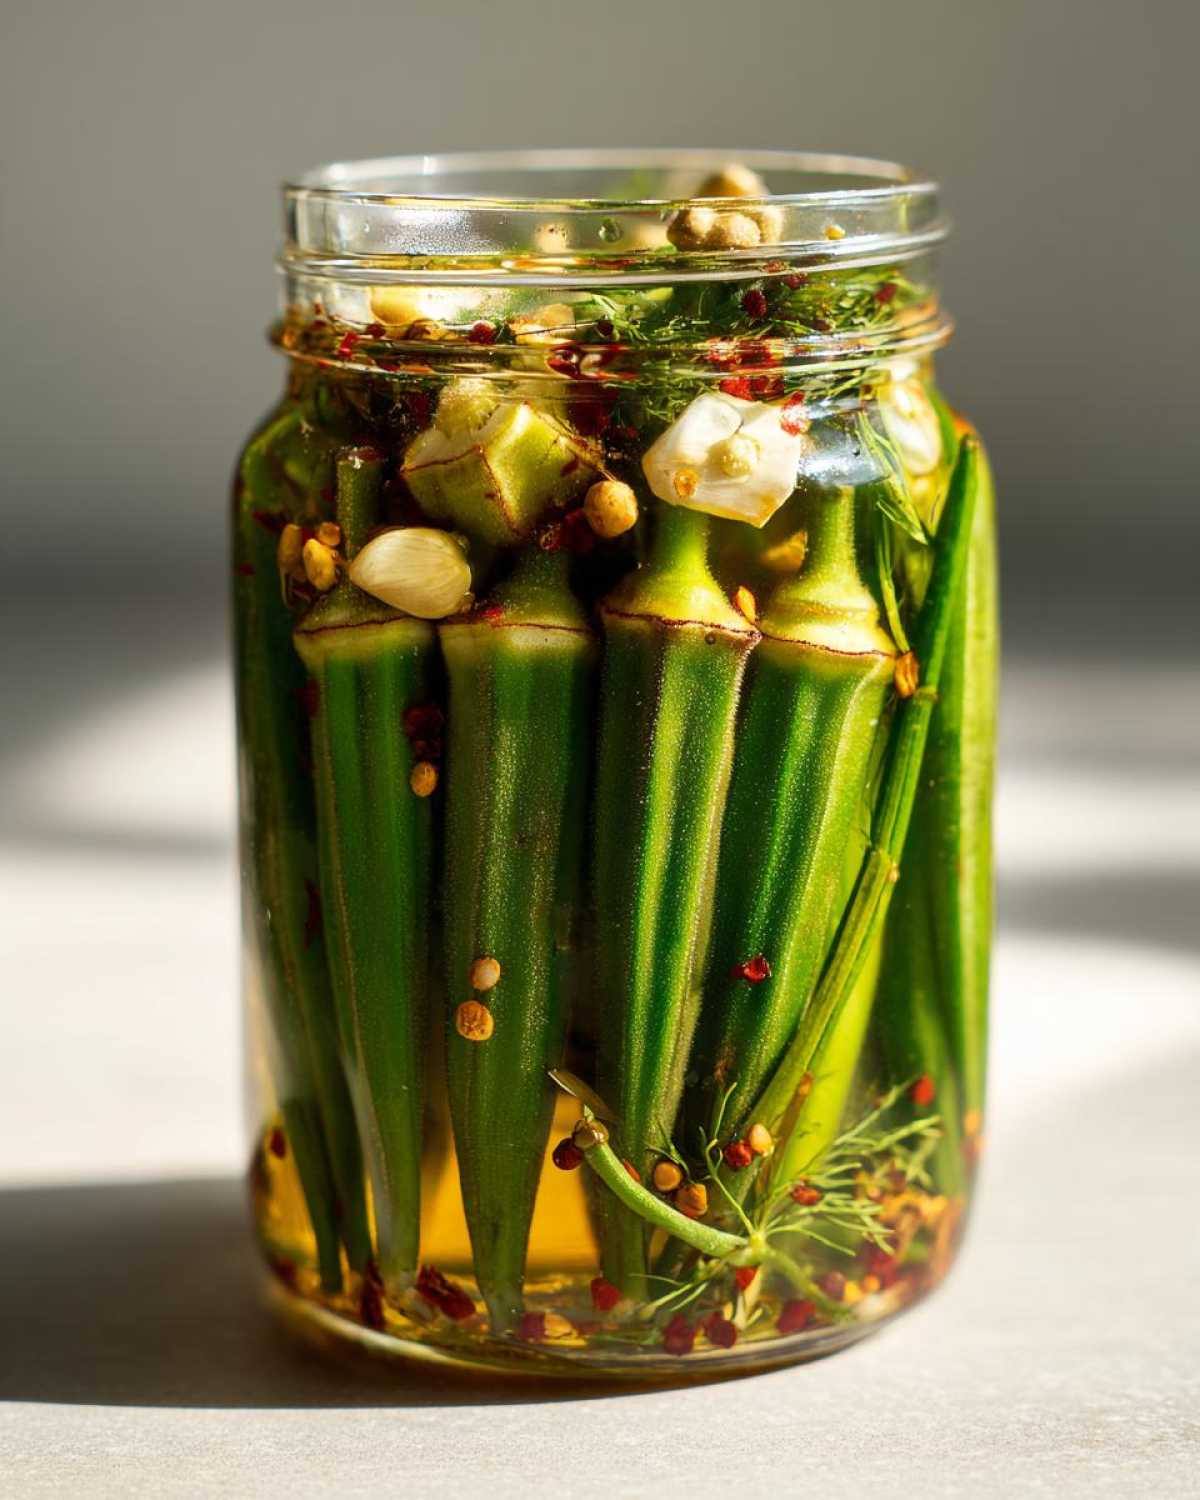
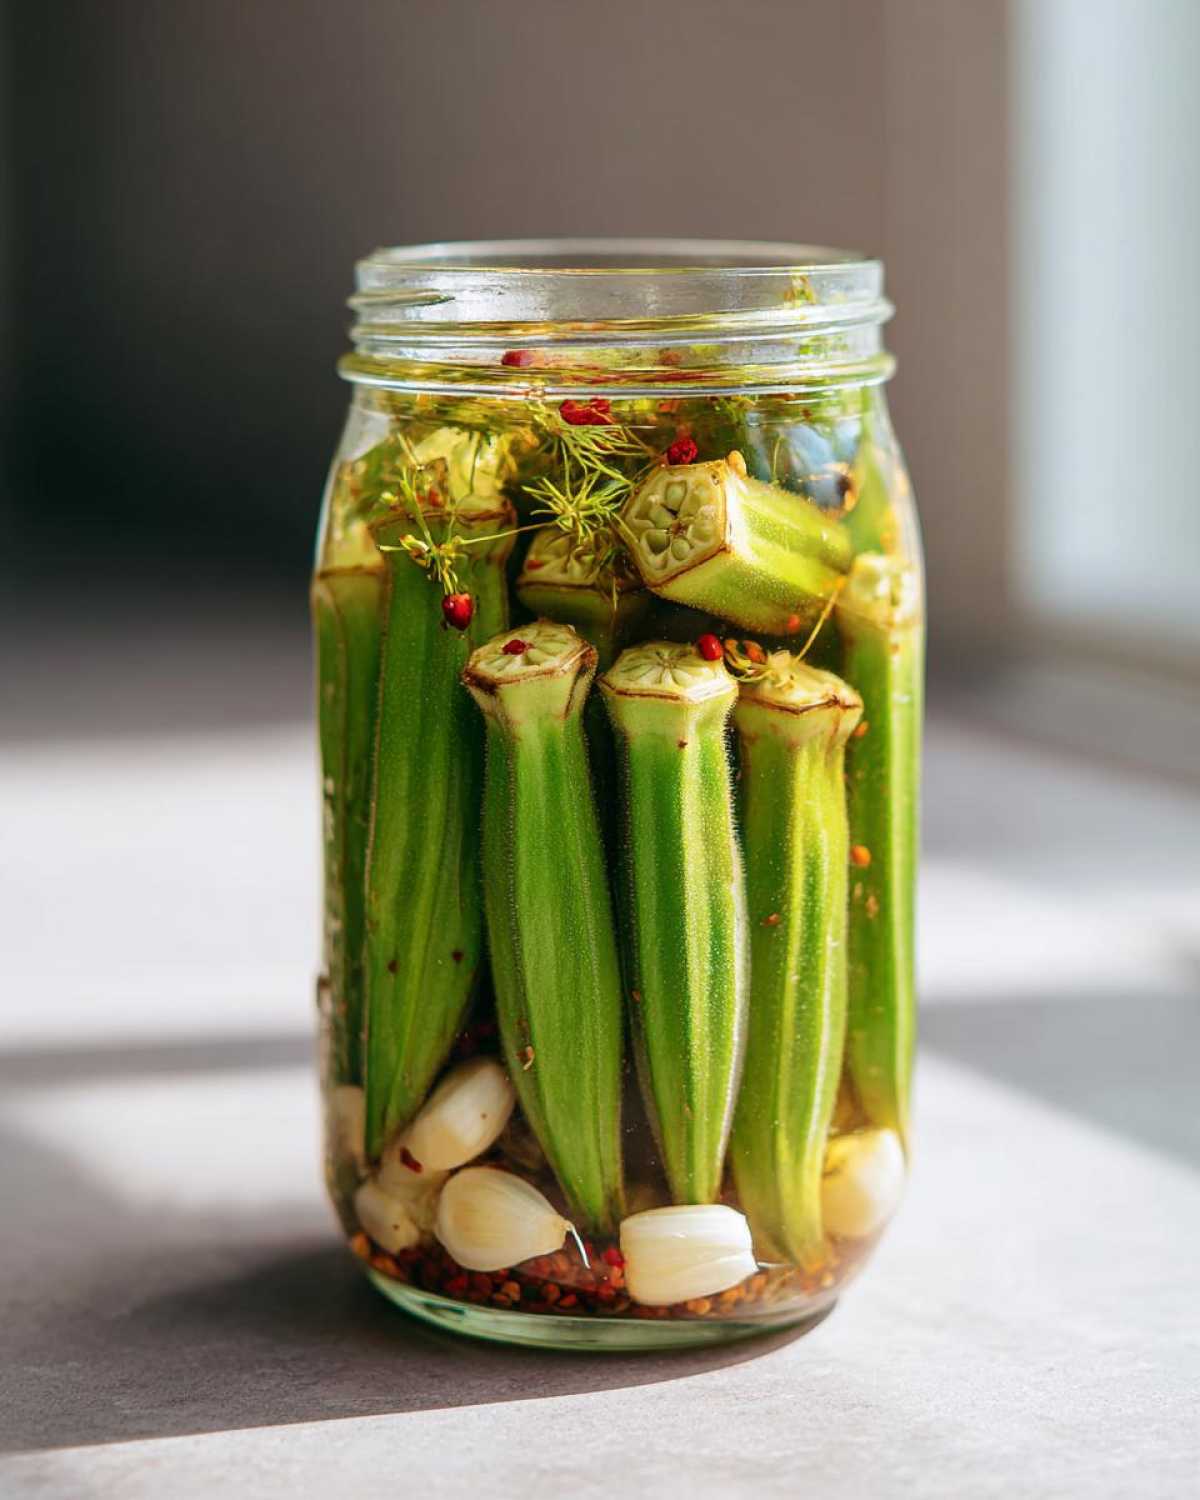
Here’s my favorite part – the okra puzzle! Stand those pods upright in sterilized pint jars like little green soldiers. Pack them snug but not squished – leave about 1/2 inch of headspace. Drop in garlic cloves and spices between the pods so every bite gets flavorful surprises. Pour the hot brine over everything, covering the okra completely while keeping that crucial headspace.
Processing the Pickled Okra
Time for the boiling water bath – this is what transforms good pickled okra into GREAT pickled okra! Carefully lower filled jars into your canning pot using the jar lifter. Process for 10 minutes at a full boil (start timing when water returns to boiling). Remove jars and let them cool completely – you’ll hear that satisfying “pop” as they seal! Now the hardest part… waiting 2 weeks before diving in for maximum flavor.
Tips for Perfect Pickled Okra
Want perfectly crisp results every time? Here’s what I’ve learned after making gallons of this Southern staple:
- Pick pods wisely – choose firm, young okra with no bruises for ideal crunch
- Tailor the heat – skip pepper flakes for kids or add habaneros if you dare!
- Test those seals – lids should stay depressed when pressed after cooling
- Wait it out – two weeks minimum lets flavors develop properly
The salt-to-vinegar ratio matters most – stick to the recipe your first time before experimenting. Trust me, you’ll want to make another batch soon anyway!
Variations for Spicy Pickled Okra
Once you’ve mastered the classic version, let’s turn up the heat! My Louisiana cousins swear by adding Cajun seasoning for that perfect smoky kick. Or try tossing in fresh chilies if you really want to set your mouth on fire – just don’t say I didn’t warn you! Last summer I experimented with extra garlic and habaneros, creating what my friends now call “green firecrackers.” Adjust the spices to match your taste – this versatile recipe welcomes all the heat you can handle!
Serving Suggestions for Southern Pickled Okra
These bright green spears do more than jazz up Bloody Marys (though they’re perfect for that!). Try them on charcuterie boards for a salty-tangy crunch, or pop them straight from the jar when snack cravings hit. My favorite trick? Chopping them into chicken salad sandwiches for an unexpected zing!
Storing and Shelf Life of Pickled Okra
Nothing makes me happier than seeing those jewel-green jars lined up in my pantry! Properly canned jars will stay crisp and delicious for up to 12 months if stored in a cool, dark place like a basement shelf. Once you pop the seal, they’ll keep beautifully in the refrigerator for weeks – not that mine ever last that long before getting devoured!
Nutritional Information for Pickled Okra
Now let’s talk about what’s inside those tasty green pods! While exact numbers vary between brands and batches, here’s roughly what you’re getting nutrition-wise with each crisp bite. Remember, homemade pickled okra lets you control exactly what goes in – unlike store versions packed with preservatives!
Approximate per serving (about 5 pods):
- Calories: 15
- Sugar: 0g
- Sodium: 240mg
- Fiber: 1g
- Protein: 1g
Of course, exact values depend on your specific ingredients and how much brine you consume (I always slurp a little extra!). But here’s the real scoop – when something tastes this good AND gives you fiber too, that’s what I call a snack win!
Frequently Asked Questions About Pickled Okra
I get these questions shouted at me across every backyard BBQ where my pickled okra makes an appearance – here’s the inside scoop from my vinegar-stained recipe cards:
How do I prevent slimy okra?
Three secrets: 1) Use fresh, firm pods under 4 inches long, 2) Don’t cut into the pod itself when trimming stems, and 3) That boiling water bath locks in crispness. Mushy okra happens when pods get bruised or overcooked – our method avoids both!
Can I reuse the brine?
Technically yes, but it dilutes flavor. Better idea? Save leftover brine to marinate chicken or mix into potato salad dressing – that tangy garlic punch works magic in other dishes!
How spicy is ‘spicy pickled okra’?
Our standard recipe gives a gentle kick, but Southerners like me often double the red pepper flakes for proper heat. For crazy spice, add sliced jalapeños or habaneros between the okra pods before sealing!
Why pack okra vertically?
Two reasons: 1) It fits more pods per jar (kitchen math!), and 2) The brine circulates evenly when jars aren’t overcrowded. Lay them sideways and you’ll get air pockets where flavor can’t reach.
How long until fullest flavor?
Patience, pickle lover! While you can eat them after 3 days, waiting 2 weeks lets the garlic and spices fully infuse. Open one jar for ‘quality control’ at 7 days if you must!
Share Your Pickled Okra Experience
I wanna hear how your pickling adventure went! Did your okra turn out crisp enough to make Aunt Betty proud? Leave me a comment below with your tips, tricks, or hilarious pickle-making mishaps (we’ve all had ’em!). And hey – snap a photo of those gorgeous jars lined up on your counter and tag me on Pinterest where I’m always pinning more Southern-inspired recipes. Now go forth and pickle, y’all!
PrintSouthern-Style Pickled Okra
Crisp, tangy pickled okra with a hint of spice. Perfect for snacking or garnishing Bloody Marys.
- Prep Time: 20 mins
- Cook Time: 10 mins
- Total Time: 30 mins
- Yield: 4 pints 1x
- Category: Pickles
- Method: Water Bath Canning
- Cuisine: Southern
- Diet: Vegan
Ingredients
- 2 lbs fresh okra pods
- 4 cups white vinegar
- 4 cups water
- 1/4 cup pickling salt
- 8 cloves garlic
- 4 tsp dill seeds
- 4 tsp mustard seeds
- 4 tsp black peppercorns
- 4 tsp red pepper flakes
Instructions
- Wash okra and trim stems.
- Combine vinegar, water, and salt in a pot. Bring to a boil.
- Pack okra vertically into sterilized jars.
- Add 2 garlic cloves, 1 tsp each dill seeds, mustard seeds, peppercorns, and 1/2 tsp red pepper flakes per pint jar.
- Pour hot brine over okra, leaving 1/2-inch headspace.
- Process jars in boiling water bath for 10 minutes.
- Let sit 2 weeks before eating for best flavor.
Notes
- Use fresh, firm okra for best results.
- Adjust red pepper flakes for desired heat level.
- Find more recipe inspiration on our Pinterest account.
Nutrition
- Serving Size: 1/4 cup
- Calories: 15
- Sugar: 0g
- Sodium: 240mg
- Fat: 0g
- Saturated Fat: 0g
- Unsaturated Fat: 0g
- Trans Fat: 0g
- Carbohydrates: 3g
- Fiber: 1g
- Protein: 1g
- Cholesterol: 0mg