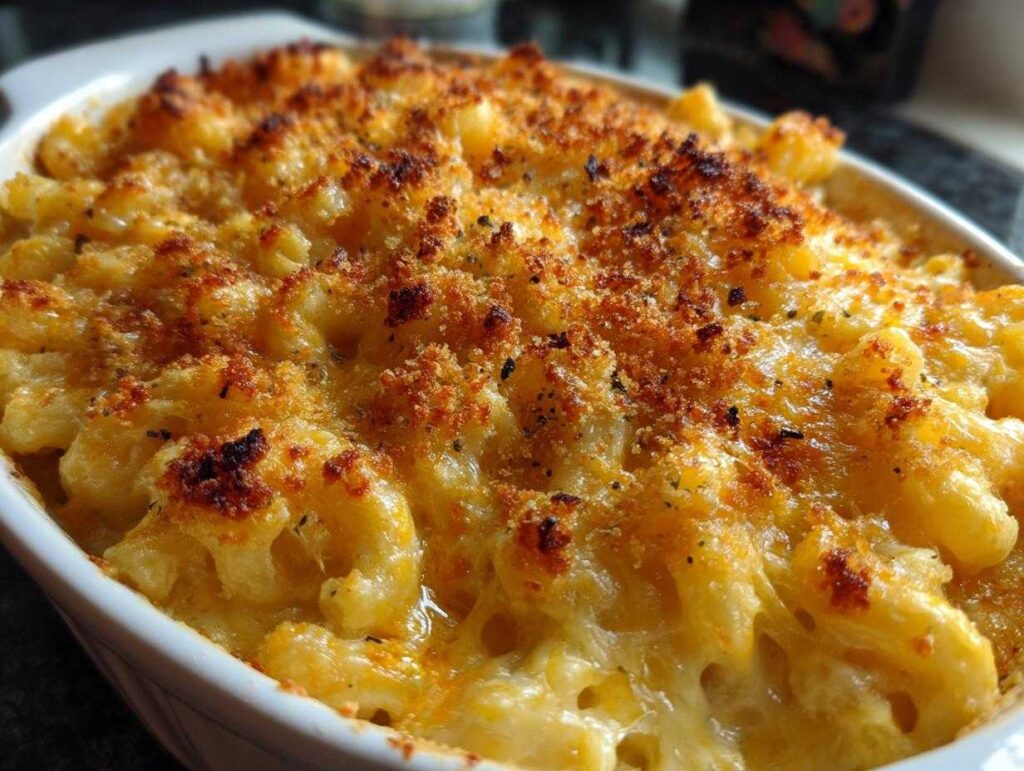
There’s something magical about mac and cheese that instantly transports me back to childhood. That first bite of creamy, cheesy goodness feels like a warm hug – and honestly, who doesn’t need more of those? My grandma’s annual Thanksgiving spread wasn’t complete without her bubbling casserole dish of homemade mac, the golden cheese crust cracking under my eager spoon. Now, I’m the one who gets swarmed at potlucks when I bring my version. What makes mine special? It stays perfectly creamy even after reheating – no dry, crumbly pasta here! Whether it’s a holiday feast or just one of those “I need comfort food” days, this mac and cheese never lets me down. The secret’s in the roux (don’t worry, it’s easier than it sounds) and the combination of cheddar and Gruyère that makes it extra rich. Want to know another reason I love this dish? You can make it ahead and just pop it in the oven when needed – perfect for busy hosts or meal planning pros.
- Why You'll Love This Mac and Cheese
- Ingredients for Creamy Baked Mac and Cheese
- How to Make the Best Mac and Cheese
- Tips for the Creamiest Mac and Cheese
- Make-Ahead and Storage Tips
- Serving Suggestions for Mac and Cheese
- Mac and Cheese Variations to Try
- Nutritional Information
- Frequently Asked Questions
Why You’ll Love This Mac and Cheese
Let me tell you why this mac and cheese recipe has become my go-to for every occasion – and why it’ll become yours too! First off, that silky, creamy sauce hugs every bite of pasta like it was made just for you (because it was). It’s foolproof too – no fancy techniques, just simple steps that guarantee perfect results every time. Need to impress a crowd? Watch how fast this disappears at potlucks – even picky kids beg for seconds! And here’s the real game-changer: you can make it days ahead. Just stash it in the fridge and bake when you’re ready – no last-minute kitchen chaos.
Ingredients for Creamy Baked Mac and Cheese
Oh, this is where the magic begins! Over the years, I’ve learned that the right ingredients make all the difference in mac and cheese. No skimping here – we’re going for full-on creamy, cheesy perfection. Let me walk you through what you’ll need:
- 1 lb elbow macaroni – The classic choice for that nostalgic texture, though any short pasta works in a pinch!
- 4 tbsp butter – Real butter only, please! This is what makes our roux rich and velvety.
- 1/4 cup all-purpose flour – Our trusty thickener that prevents any sauce graininess.
- 3 cups whole milk – The higher the fat content, the creamier your sauce will be.
- 2 cups shredded cheddar cheese – I like sharp cheddar for that bold flavor – shred it yourself if you can!
- 1 cup shredded Gruyère cheese – This is my secret weapon for that extra melty, slightly nutty goodness.
- 1/2 tsp salt + 1/2 tsp black pepper – Basic but essential flavor boosters.
- 1/2 tsp paprika – A subtle smoky note that makes your taste buds dance.
- 1 cup panko breadcrumbs (optional) – For that irresistible golden crunch on top! I sometimes mix in a tablespoon of melted butter.
See? Nothing too fancy, just quality ingredients that come together beautifully. The cheese combo here is my personal favorite – it melts like a dream and gives that perfect stretch when you scoop it out. Trust me, once you try it this way, there’s no going back!
How to Make the Best Mac and Cheese
Alright, let’s get our hands cheesy – I’m walking you through my foolproof method for mac and cheese that never fails to impress. First, preheat that oven to 375°F (190°C) – we want it nice and hot when our masterpiece is ready! Cook your elbow macaroni just until al dente (about 1 minute less than the package says) because it’ll keep cooking in the oven. Now here’s where the real magic happens.
Preparing the Cheese Sauce
Melt your butter in a big pot over medium heat – I like to use my Dutch oven for this. When it stops sizzling, whisk in the flour to make your roux. Cook it just until it turns light golden, about 1-2 minutes, stirring constantly. This cooks out that raw flour taste and gives us a smooth base. Now slowly pour in the milk while whisking like your life depends on it! Small splashes at first until it’s all incorporated – this prevents lumps. Keep whisking until the sauce thickens enough to coat the back of a spoon, about 3-4 minutes. Oh, that velvety texture is everything!
Baking to Perfection
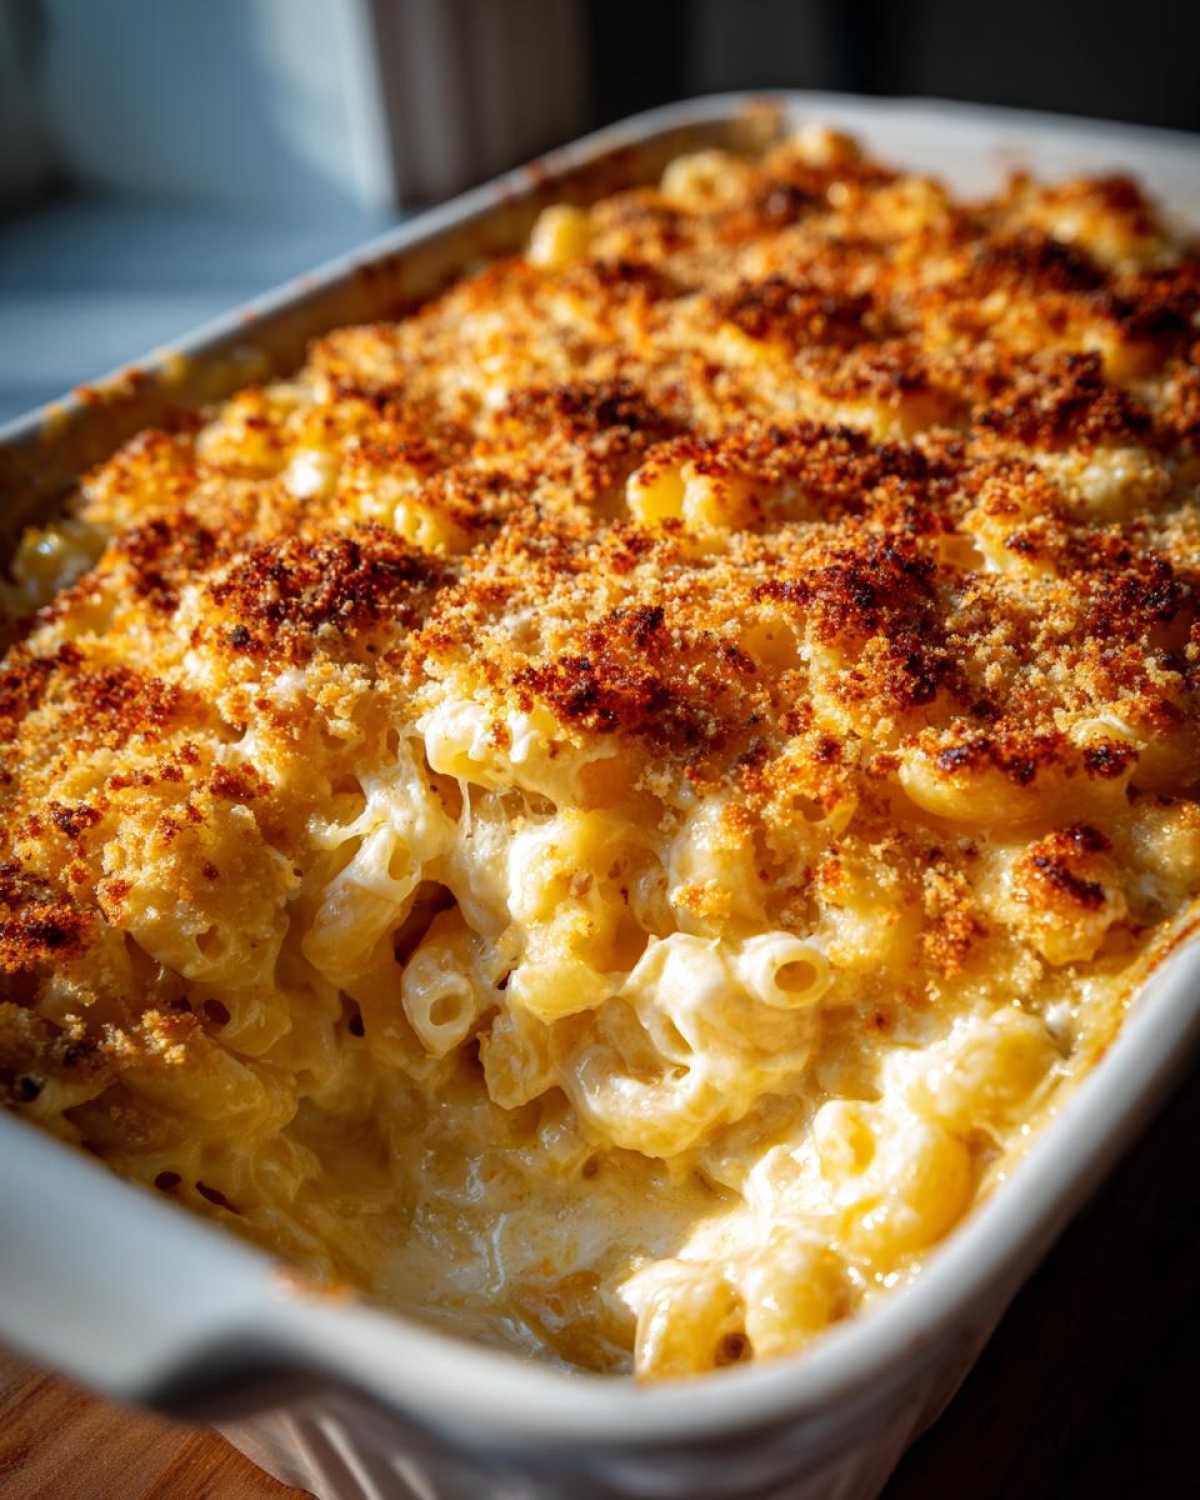
Take your cheese sauce off the heat and stir in your shredded cheeses a handful at a time. Watch them melt into that glorious, glossy pool! Now fold in your cooked pasta – get every nook coated in that cheesy goodness. Pour it into your baking dish, then for that perfect crunch, sprinkle on your buttered panko topping if using. Bake for about 20-25 minutes until it’s bubbling like a happy little volcano and the top turns golden brown. That smell? Pure nostalgia. Let it cool just a few minutes before serving – trust me, patience here means you won’t burn your tongue on molten cheese heaven!
Pro tip: For extra creamy results like my creamy lasagna, always cook your sauce over medium heat and never let it boil once the cheese goes in. High heat is the enemy of smooth cheese sauces!
Tips for the Creamiest Mac and Cheese
After years of making mac and cheese (and plenty of trial and error!), I’ve learned a few tricks to guarantee that irresistibly creamy texture every time. First up – cheese matters more than you think! Those pre-shredded bags might be convenient, but they’re coated with anti-caking agents that can make your sauce grainy. Take the extra minute to shred your own cheddar and Gruyère – you’ll taste the difference.
Here’s another biggie: don’t let your sauce boil once the cheese goes in. High heat makes cheese separate faster than a kid spotting broccoli on their plate. Keep it on medium-low and stir gently as it melts. If you’re baking it later, undercook your pasta by a minute – it’ll soak up the sauce perfectly in the oven without turning mushy.
Leftovers? No problem! When reheating, sprinkle a tablespoon of milk over the top before popping it in the oven. It wakes up that creamy texture like magic. And if you want next-level smoothness, warm it on the stovetop with a splash of milk, stirring frequently. Works like a charm every time!
Make-Ahead and Storage Tips
Here’s why I love this mac and cheese recipe so much – it practically plans itself! You can assemble the whole dish up to 2 days ahead. Just cover tightly and refrigerate before baking – perfect for those busy holidays when oven space is precious. Leftovers? Oh honey, they’re just as good! Store cooled mac and cheese in an airtight container in the fridge for 3-4 days. When reheating, splash a little milk over the top before popping it in a 350°F oven for about 15 minutes (covered for creamy, uncovered if you want that top crispy again). Microwave works in a pinch too – just stir every 30 seconds and add that magic splash of milk!
Serving Suggestions for Mac and Cheese
Oh, let me tell you how I love to serve this mac and cheese – it plays so well with others! For a cozy weeknight dinner, I’ll pair it with simple roasted Brussels sprouts or crisp green beans. Thanksgiving? It’s the ultimate sidekick to turkey and all the fixings. Need something lighter? A bright, crunchy salad with apples cuts through the richness perfectly. And for cookouts, this mac and cheese holds its own next to smoky ribs or grilled chicken. Basically, it’s the friend that gets along with everyone at the table!
Mac and Cheese Variations to Try
Oh, the fun part – making this mac and cheese your own! Once you’ve mastered the basic recipe (which, trust me, is perfection on its own), try mixing things up. For some smoky crunch, I love stirring in crispy bacon bits before baking. Feeling adventurous? Diced jalapeños give a nice kick – my Texas relatives go wild for this version! Sometimes I’ll swap Gruyère for smoky Gouda or pepper jack for extra spice. Last Thanksgiving, I roasted butternut squash and mixed it in – the sweet creaminess was unreal. The possibilities are endless with this mac and cheese – just don’t tell Grandma I messed with her recipe!
Nutritional Information
Now let’s talk nutrition – because even comfort food loves company with balance! Keep in mind these values are rough estimates since ingredient brands and portion sizes vary. My cheesy masterpiece gets its rich texture from quality dairy, packing protein and calcium. While it’s definitely an indulgent dish, I balance it out with lighter sides. Remember – life’s about savoring the moments (and the mac) without overthinking every bite!
Frequently Asked Questions
Over the years, I’ve gotten so many questions about this mac and cheese recipe – and I love sharing all my cheesy wisdom! Here are the ones that come up most often:
Can I use pre-shredded cheese for baked mac and cheese?
Oh honey, I get it – pre-shredded is convenient! But trust me, taking 5 extra minutes to shred your own cheddar and Gruyère makes all the difference. Those bagged cheeses have anti-caking agents that can leave your sauce grainy. Freshly shredded melts into that dreamy smooth texture we all crave!
How do I keep my mac and cheese from drying out when reheating?
Here’s my secret: always splash a little milk over the top before reheating (1-2 tablespoons does the trick). For the oven, cover with foil and bake at 350°F until warmed through. Stovetop? Low heat with frequent stirring and that magic milk splash. Works every time – you can find more inspo for creamy dishes on my Pinterest!
What’s the best way to make this ahead for holidays?
I do this all the time! Assemble your mac and cheese completely (sauce, pasta, everything) but don’t bake it. Cover tightly and refrigerate up to 2 days. When ready, bake as directed – might need 5 extra minutes since it’s cold. Perfect for meal planning those busy feast days!
Can I freeze leftover mac and cheese?
Absolutely! Cool completely, then freeze in airtight containers for up to 3 months. Thaw overnight in the fridge before reheating. Pro tip: underbake it slightly before freezing so it’s perfect when reheated. The texture won’t be quite as creamy as fresh, but still delicious with my milk trick!
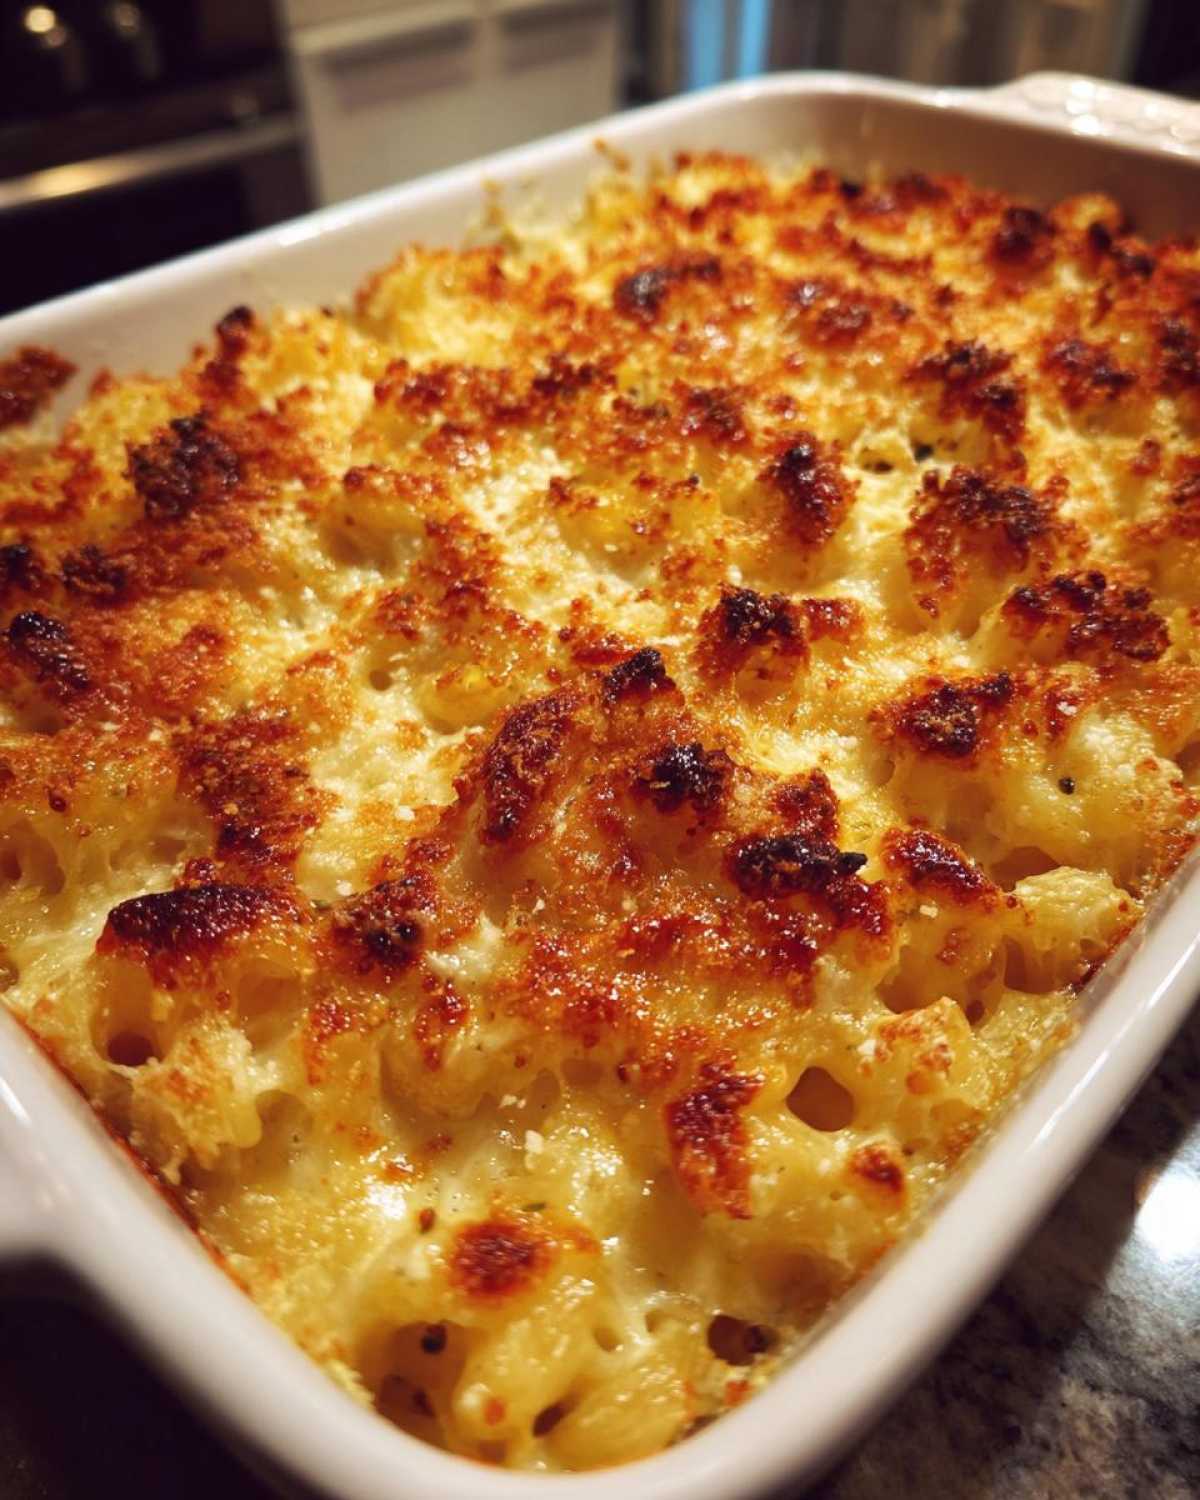
Creamy Baked Mac and Cheese

A rich and creamy mac and cheese perfect for holidays and potlucks. Easy to make ahead and reheat without drying out.
- Prep Time: 15 min
- Cook Time: 25 min
- Total Time: 40 min
- Yield: 8 servings 1x
- Category: Side Dish
- Method: Baking
- Cuisine: American
- Diet: Vegetarian
Ingredients
- 1 lb elbow macaroni
- 4 tbsp butter
- 1/4 cup all-purpose flour
- 3 cups whole milk
- 2 cups shredded cheddar cheese
- 1 cup shredded Gruyère cheese
- 1/2 tsp salt
- 1/2 tsp black pepper
- 1/2 tsp paprika
- 1 cup panko breadcrumbs (optional topping)
Instructions
- Preheat oven to 375°F (190°C). Cook macaroni according to package instructions, then drain.
- In a large pot, melt butter over medium heat. Whisk in flour to form a roux.
- Gradually add milk, whisking constantly until smooth. Cook until slightly thickened.
- Stir in cheddar and Gruyère cheeses until melted. Season with salt, pepper, and paprika.
- Combine cooked macaroni with cheese sauce. Transfer to a baking dish.
- Sprinkle breadcrumbs on top if using. Bake for 20-25 minutes until bubbly and golden.
Notes
- For a crispy topping, mix breadcrumbs with melted butter before sprinkling.
- Make ahead: Prepare up to baking, cover, and refrigerate. Bake when ready.
- Reheat leftovers in the oven with a splash of milk to keep creamy.
Nutrition
- Serving Size: 1 cup
- Calories: 450
- Sugar: 5g
- Sodium: 400mg
- Fat: 22g
- Saturated Fat: 13g
- Unsaturated Fat: 7g
- Trans Fat: 0g
- Carbohydrates: 45g
- Fiber: 2g
- Protein: 18g
- Cholesterol: 60mg