
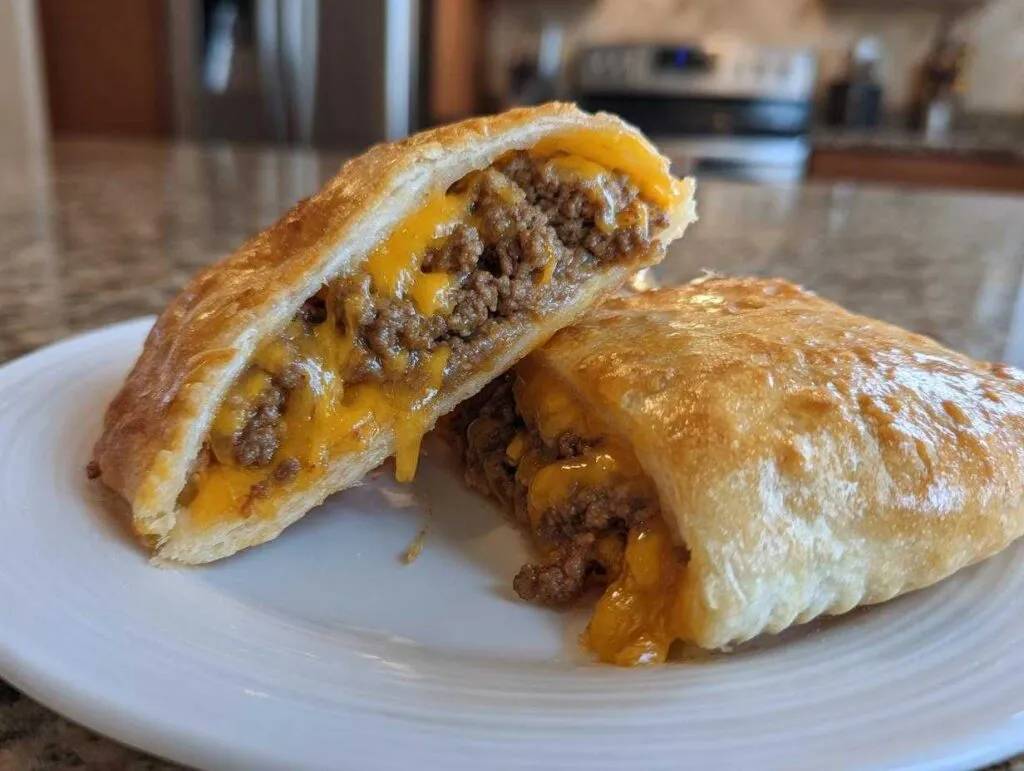
Oh, you know those nights! When you need dinner on the table like, five minutes ago, but you’re totally craving that cozy, savory flavor of a classic cheeseburger? Me too! That’s why I am so thrilled to share my absolute go-to solution: these incredible, flaky **cheeseburger pockets**.
Seriously, taking that juicy, cheesy smash-burger experience and tucking it right into a warm, handheld crescent roll? It’s culinary genius, if I do say so myself. This recipe brings pure comfort food magic to your busiest weeknights without any grill fuss. Trust me, you are going to want to save this one immediately!
- Why These Cheeseburger Pockets Are Your New Weeknight Hero
- Gathering Ingredients for Perfect Cheeseburger Pockets
- Step-by-Step Guide to Making Homemade Cheeseburger Pockets
- Expert Tips for Achieving the Best Cheesy Burger Bites
- Making Cheeseburger Pockets Ahead of Time and Storage
- Serving Suggestions for Your Handheld Cheeseburger Recipe
- Frequently Asked Questions About Cheeseburger Pockets
- Nutritional Overview of Cheeseburger Pockets
- Share Your Cheeseburger Pockets Creations!
Why These Cheeseburger Pockets Are Your New Weeknight Hero
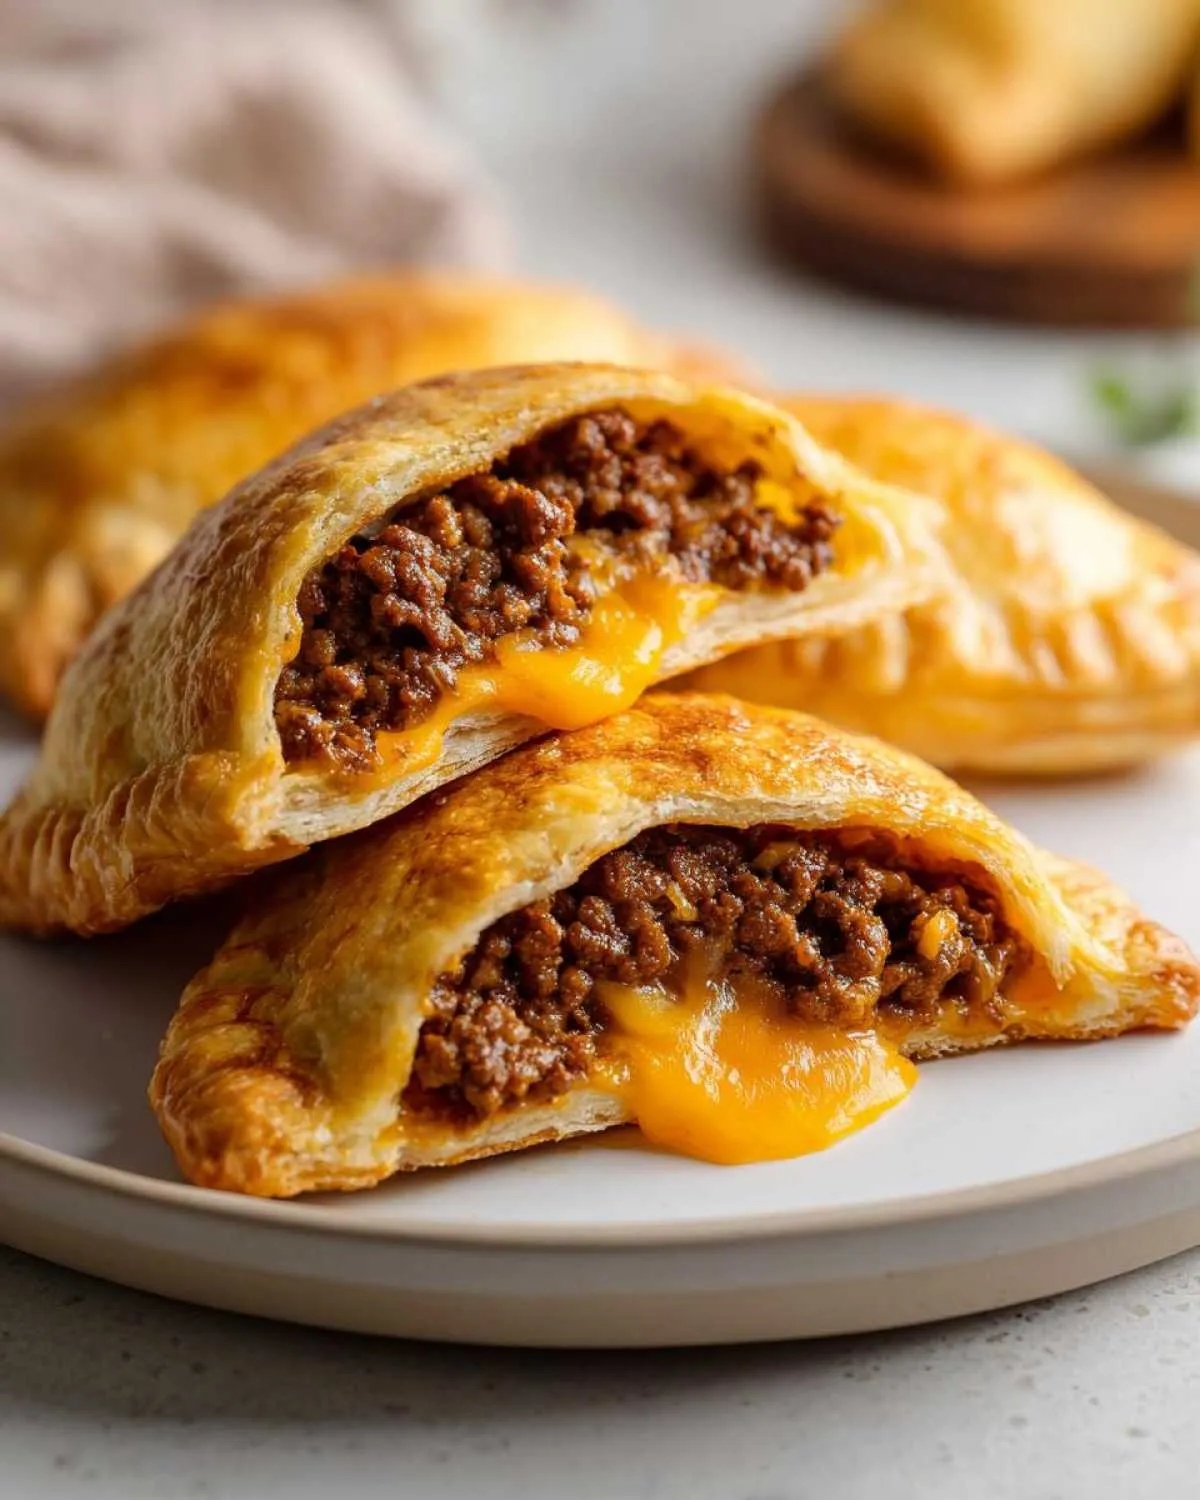
If you are tired of the same old weeknight rotation, these pockets are your answer! They deliver that mouthwatering burger experience in a way that feels special but takes virtually zero time. Honestly, they blow those cardboard frozen versions out of the water every single time.
- They are ridiculously fast to assemble, meaning less time standing over the stove and more time relaxing.
- They’re perfectly portable—hello, lunchboxes and picnics!
- Everyone in the family, even the picky eaters, begs for these!
Quick Prep and Bake Time
We are talking about a total time commitment of maybe 33 minutes, start to finish! That makes these **Quick Dinner Pockets** indispensable when you need a satisfying meal fast. Seriously, under half an hour for this level of deliciousness?
Family Approved Comfort Food Handheld Meals
The greatest benefit here is the universal approval rating. These are wonderful **Kid Friendly Cheeseburger Recipe** additions because what kid doesn’t like cheese wrapped in flaky dough? That buttery, flaky crust cracks open to reveal the savory filling—pure happiness! If you love a good handheld meal like this, you absolutely have to check out my recipe for Easy Chicken Pot Pie sometime soon, too!
Gathering Ingredients for Perfect Cheeseburger Pockets
Okay, gathering is always my favorite part because it means the magic is about to start! Since we rely on store-bought dough for speed here, we really need to pay attention to the filling ingredients to make sure these really taste like amazing, traditional burgers. Don’t worry, it’s mostly pantry staples!
If you are looking for another comforting recipe using beef, check out my creamy Cheeseburger Soup recipe next! It hits that craving in a totally different way.
Ingredient Specifics and Notes
You’re going to need one full pound of good ground beef—don’t skimp here! That beef needs one small onion, and I mean *finely* chopped. We want onion flavor, not giant chunks that tear the dough later. For the cheese, I insist on either 8 ounces of sharp shredded cheddar cheese or those classic, melty American cheese slices. The American gives you that authentic fast-food gooiness, but cheddar adds better flavor, so pick your pleasure!
And don’t skip the Worcestershire sauce! That little dash adds a huge boost of umami and depth, making you think you spent all day seasoning this filling instead of just a minute.
Step-by-Step Guide to Making Homemade Cheeseburger Pockets
Alright, let’s get down to business! This is where your effort really transforms simple ingredients into cozy, cheesy goodness. I’m going to walk you through this slowly because the order of operations matters, especially when dealing with dough that wants to puff up quickly!
Preparing the Savory Beef Filling
First things first, heat up a skillet over medium heat and toss in your one pound of ground beef along with that finely chopped onion. You need to cook this until the beef is totally browned and the onions have softened up nicely. Now, here’s a vital step: drain off every single drop of excess grease. Soggy pockets are the enemy of flaky crusts, my friends!
Once drained, slide the heat to low and stir in all those amazing spices: the garlic powder, dried mustard, salt, pepper, and that splash of Worcestershire sauce. Let that cook for just sixty seconds so those flavors really meld together. Then, take the whole skillet off the heat. You absolutely must let this filling cool down for at least ten minutes before we try to wrap it, or the hot meat will melt the crescent dough before it even hits the oven. Trust me on the cooling step!
Assembling Your Crescent Roll Burger Pockets
While that’s cooling, go ahead and preheat your oven to 375 degrees Fahrenheit and line a baking sheet with parchment paper—it makes cleanup a dream! Unroll your crescent dough and separate those little triangles. If you want a bigger bite, gently press two triangles together along their longest sides to make a square that you can cut in half to make a bigger pocket. We need 16 pieces total!
Take one triangle and place about two tablespoons of that cooled beef mixture right onto the wide end. Top that with a sprinkle of cheese or half a slice. Now for the important sealing technique! Fold the dough over the filling to make your pocket shape. You need to crimp those edges *firmly* with the tines of a fork. This is how we create those tight, satisfying **Cheeseburger Empanadas Style** edges and keep that cheese locked inside. Finally, brush the tops lightly with your beaten egg wash—that’s what gives us that beautiful, shiny, golden finish.
Baking to Golden Perfection
Pop those sealed **Homemade Cheeseburger Pockets** onto your lined baking sheet, making sure they are seam-side down so they don’t pop open while baking. Bake them for about 15 to 18 minutes. You are looking for them to be golden brown and nicely puffed up. They smell incredible when they’re done—like a gourmet fast-food joint opened right in your kitchen! If you are looking for other ideas for using dough like this, try my amazing Easy Sausage Balls Recipe!

Expert Tips for Achieving the Best Cheesy Burger Bites
Now that you know the basic steps for making those perfect **Cheesy Burger Bites**, let me share a few little tricks from my kitchen notebook. These are the things that take these **Easy Ground Beef Pockets** from “good” to “Oh my goodness, I need another eight!” These tips really help elevate the flavor profile.
Flavor Boosts for Your Easy Ground Beef Pockets
If you want to truly mimic that perfect diner cheeseburger flavor inside your pockets, you need a little tang! My best suggestion is this: once the beef mixture is cooked and drained, stir in about one tablespoon of ketchup and one teaspoon of classic yellow mustard right along with your seasonings. It sounds so simple, but it makes the filling taste exactly like a juicy burger rather than just seasoned ground beef. It’s a little secret that makes a huge difference!
Achieving a Crispy Crust Alternative
I love the golden, gorgeous shine that the egg wash gives our **Handheld Cheeseburger Recipe**—it just looks so professional, right? But sometimes you want something a little less glossy and maybe just a bit more rustic and crisp. If that’s your preference, here’s what you do: skip the beaten egg wash entirely! Instead, give the tops of your sealed pockets a very light misting with your favorite cooking spray before they go into the oven. This helps them brown nicely and get that crisp exterior without the shine. It’s a simple switch, but it totally changes the texture!
For another amazing baked comfort food that’s just as satisfying, you should definitely try my recipe for a Best Baked Mac and Cheese next week!
Making Cheeseburger Pockets Ahead of Time and Storage
Listen, sometimes even a 30-minute dinner is too much, especially when you have a packed week! That’s why I adore making a huge double batch of these **cheeseburger pockets** when I have a free moment. They freeze beautifully, which means you suddenly have amazing **Quick Dinner Pockets** ready to go anytime.
It’s such a lifesaver knowing I can pull something this satisfying out of the freezer on a crazy Tuesday night. If you like planning ahead for meals, you should absolutely check out my recipe for Freezer Breakfast Burritos!
Freezer Friendly Beef Pockets Assembly
The process for freezing these **Freezer Friendly Beef Pockets** is super easy. You assemble them completely—fill them, press them, crimp them with the fork, the whole nine yards! Then, instead of baking them immediately, you lay them out on a parchment-lined baking sheet. Make sure they aren’t touching!
Pop that tray right into the freezer until the pockets are frozen solid. This is called flash freezing, and it stops them from sticking together into one giant cheesy block. Once they’re rock hard, transfer them all into a heavy-duty freezer bag. When you’re ready to eat, just pull out what you need and bake them straight from frozen at 375 degrees Fahrenheit, adding about 10 to 15 extra minutes to your cooking time. Keep an eye on them until they are golden and piping hot all the way through!
Serving Suggestions for Your Handheld Cheeseburger Recipe
These **Handheld Cheeseburger Recipe** pockets are fantastic all by themselves—truly a complete meal wrapped in flaky dough—but presentation and pairing always make dinner feel more special, right? Since these pockets are already rich with beef and cheese, we usually lean toward something bright, crisp, or, let’s be honest, something delicious to dip into!
Dipping Sauces for Savory Baked Pockets Recipe
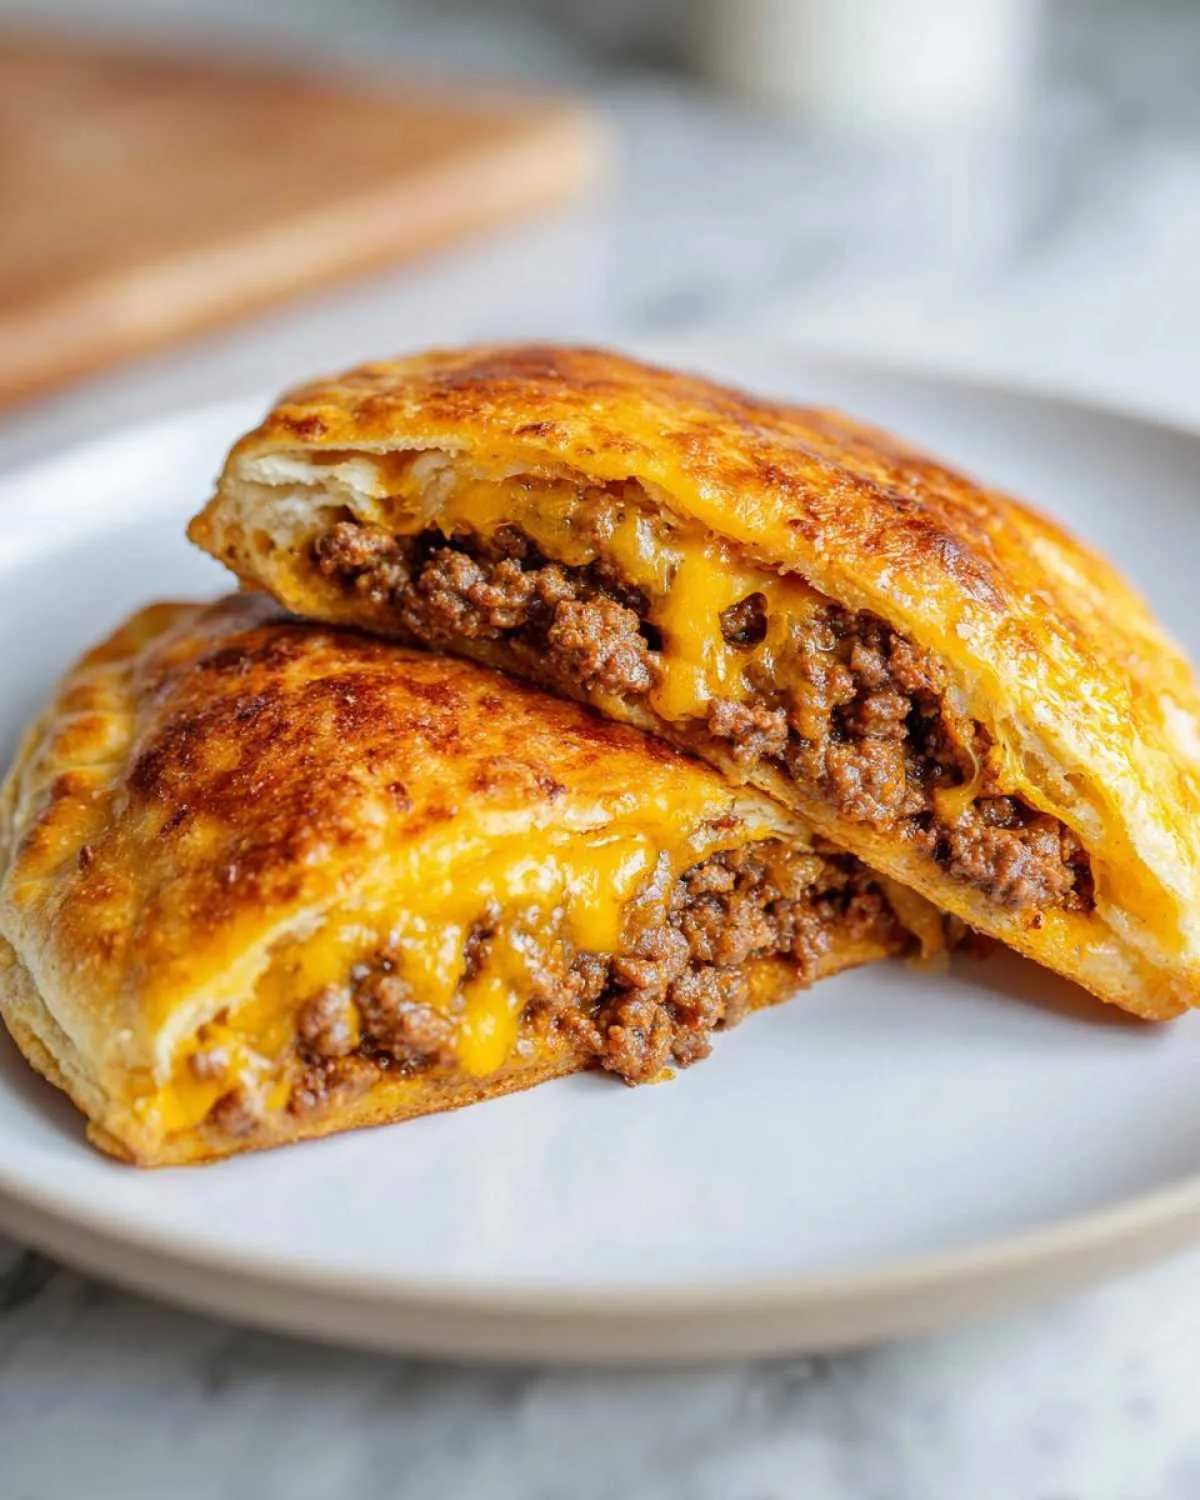
If you’re serving these **Savory Baked Pockets Recipe** bites for game day or a party, you absolutely need a dipping station! Forget just plain ketchup; we can do better! A simple mix of ketchup, a tiny dab of mustard, and a spoonful of mayo makes an amazing quick fry sauce. If you want something wilder, you could whip up my Easy Homemade Teriyaki Sauce, though that’s a little outside the typical burger flavor profile—but sometimes that’s fun!
If you love finding fun snack and dipping ideas, you should definitely come over and follow our boards on our Pinterest account! We post new snack inspiration all the time over there.
Pairing with Light Sides
To cut through all that glorious fat and cheese, I always like serving these up with something green and fresh. You don’t want a heavy side dish competing with your **Cheeseburger Pockets**! A simple side salad tossed with a tangy vinaigrette is perfect. Or, if you’re feeling like a bit more effort but still keeping it light, grab some broccoli or green beans and roast them quickly with a little olive oil and salt until they are tender-crisp. It balances out the meal beautifully!
Frequently Asked Questions About Cheeseburger Pockets
I always get so many questions after people try these for the first time—which is totally understandable because they are addictive! Dealing with a handheld meal like this can sometimes lead to little hiccups, so let’s clear up the most common things I hear about making perfect **cheeseburger pockets**.
Can I use different types of dough for these cheeseburger pockets?
Oh, absolutely you can experiment with the dough! While I’m devoted to the refrigerated crescent roll dough—it just gives you that perfect balance of flakiness and buttery flavor—you can certainly try other things. Puff pastry is decadent, though it puffs up a lot more! Even square biscuit dough pieces work in a pinch, but you might need to play with the baking time slightly. It all comes down to what texture you prefer in your **Homemade Cheeseburger Pockets**.
What cheese works best for Cheesy Burger Bites?
This is key to getting that perfect cheese pull! For the ultimate melty texture, you really can’t beat good old American cheese slices. Hands down, they give you that gooey, classic flavor that reminds you of your favorite drive-thru burger. However, if you want a little more tanginess in your **Cheesy Burger Bites**, I highly recommend a sharp cheddar or even a Colby blend. Just make sure whatever cheese you choose is shredded small enough or sliced thin enough to melt quickly!
How do I stop the cheese from leaking out of my Handheld Cheeseburger Recipe?
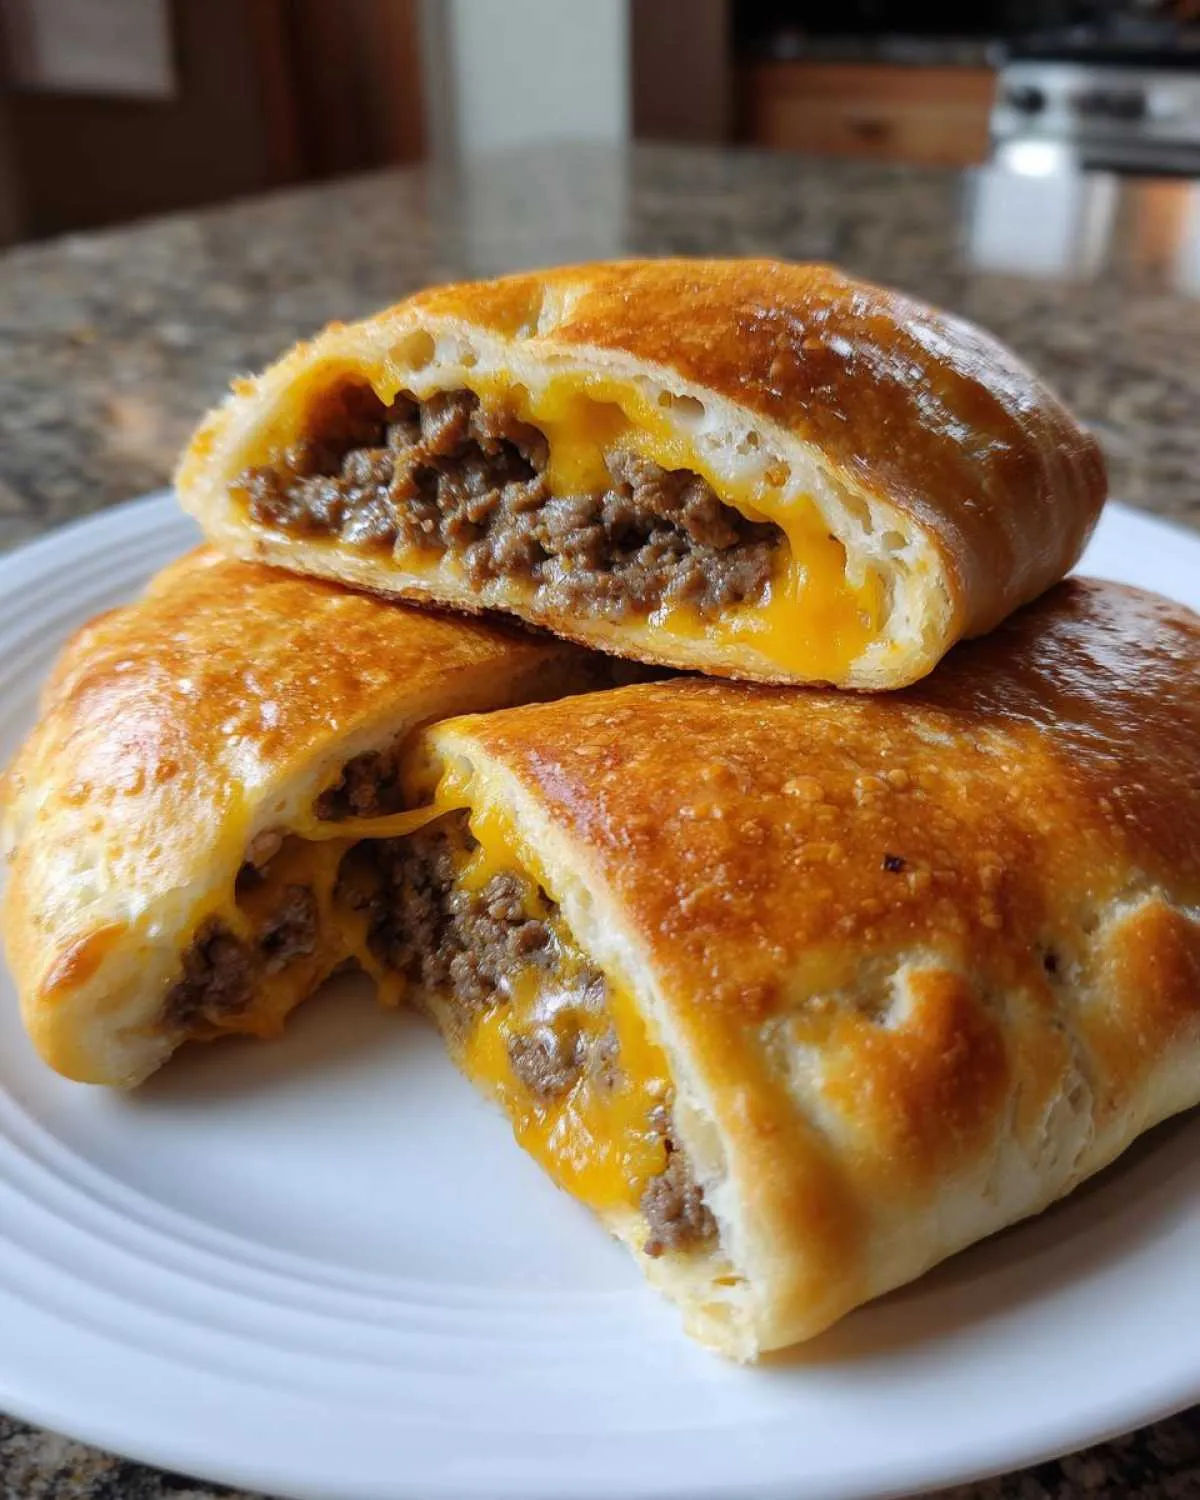
This is the biggest panic point for first-timers! If you want to avoid creating cheesy lava floods on your baking sheet while making your **Handheld Cheeseburger Recipe**, you need two things working for you. First, and I can’t stress this enough: make sure your beef filling is completely cool or at least fully lukewarm. Hot filling melts the dough too fast! Second, you have to seal them up tight. After you fold the dough over, use a fork to firmly crimp all the way around the edge—like you’re sealing a pie crust. Don’t skimp on that step, and definitely don’t overfill them!
If you haven’t tried it yet, my Easy Pizza Pinwheels also rely on a good tight seal to keep all the goodness inside their pastry!
Nutritional Overview of Cheeseburger Pockets
Now, I know some of you are tracking macros, and some are just curious! So, here is the breakdown for one of these fantastic **cheeseburger pockets**. Remember, this is based on the recipe using standard crescent rolls and cheddar cheese.
As always with my recipes, these numbers are estimates! We’re talking about 380 Calories, 22g of Fat, 25g of Carbs, and a really solid 19g of Protein per pocket. It’s amazing comfort food that packs a punch!
Share Your Cheeseburger Pockets Creations!
That’s it, my friends! You now have everything you need to whip up a batch of the most satisfying, flaky, cheesy **cheeseburger pockets** you’ve ever tasted. Honestly, making these always reminds me of how food can just instantly cheer you up after a long day. They are just so fun to hold and eat!
I would absolutely love, love, LOVE to see your results! Are your pockets golden brown? Did you sneak in some pickle relish like I suggested? Once you give these a try, come right back here and leave me a star rating—it really helps other busy cooks know they can trust this recipe. And please, if you get creative with the fillings, leave a comment below!
If you’re looking for another kitchen project that brings the same level of satisfaction (but maybe involves chocolate instead of beef!), make sure you check out my recipe for Homemade Chocolate Chip Cookies next. Happy baking, and enjoy every single cheesy, beefy bite!
PrintEasy Crescent Roll Cheeseburger Pockets for a Quick Dinner
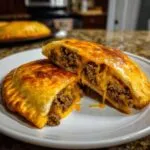
Make these incredibly easy and cheesy cheeseburger pockets using refrigerated crescent roll dough. They pack all the flavor of a classic burger into a portable, flaky pastry, perfect for family dinners or game day snacks.
- Prep Time: 15 min
- Cook Time: 18 min
- Total Time: 33 min
- Yield: 8 servings 1x
- Category: Dinner
- Method: Baking
- Cuisine: American
- Diet: Vegetarian
Ingredients
- 1 pound ground beef
- 1 small onion, finely chopped
- 1 teaspoon garlic powder
- 1 teaspoon dried mustard
- 1/2 teaspoon salt
- 1/4 teaspoon black pepper
- 1 tablespoon Worcestershire sauce
- 8 ounces shredded cheddar cheese (or American cheese slices)
- 2 cans (8 count each) refrigerated crescent roll dough
- 1 egg, beaten (for egg wash)
Instructions
- Preheat your oven to 375 degrees Fahrenheit. Line a baking sheet with parchment paper.
- In a skillet over medium heat, cook the ground beef and chopped onion until the beef is fully browned and the onion is soft. Drain off any excess grease.
- Stir in the garlic powder, dried mustard, salt, pepper, and Worcestershire sauce into the cooked beef mixture. Cook for one minute more. Remove from heat and let the mixture cool slightly.
- Unroll the crescent roll dough. Separate the triangles. If using slices, gently press two triangles together to form a larger rectangle. You should have 16 total pieces.
- Place about 2 tablespoons of the cooled beef mixture onto the wider end of each dough triangle. Top the beef with a small amount of shredded cheese or half a slice of cheese.
- Fold the dough over the filling to create a pocket shape. Crimp the edges firmly with a fork to seal the pocket completely. Make sure the seal is tight to prevent cheese leakage.
- Place the sealed pockets seam-side down on the prepared baking sheet.
- Brush the tops of the pockets lightly with the beaten egg wash for a golden finish.
- Bake for 15 to 18 minutes, or until the crescent rolls are golden brown and puffed.
- Let the **Cheesy Burger Bites** cool slightly before serving.
Notes
- For a deeper flavor, add 1 tablespoon of ketchup and 1 teaspoon of yellow mustard to the cooked beef mixture along with the seasonings.
- These **Homemade Cheeseburger Pockets** freeze well. Assemble them completely, place them on a baking sheet to freeze solid, then transfer them to a freezer bag. Bake from frozen at 375 degrees Fahrenheit for about 25-30 minutes, checking frequently.
- If you prefer a crispier crust, lightly spray the tops with cooking spray instead of using an egg wash.
Nutrition
- Serving Size: 1 pocket
- Calories: 380
- Sugar: 2
- Sodium: 550
- Fat: 22
- Saturated Fat: 9
- Unsaturated Fat: 13
- Trans Fat: 0.5
- Carbohydrates: 25
- Fiber: 1
- Protein: 19
- Cholesterol: 65